My lovely and talented wife gave me some cards and stickers by illustrator Tommy Siegel from his “Extremely Realistic Fine Art Bird Prints” collection. Tommy created the collection in response to bird purists telling him that his cartoons of birds weren’t “anatomically correct” so he added human butts to the birds and then published them under this title. I appreciate the “fuck yourself” attitude and the satire and my wife knows me and my sense of humor. I wanted to display them in a way that would continue the satire so I envisioned putting them in hand carved rustic woodland themed frames with a nice matte. I am hoping that someday an ornithological expert will visit my office be drawn to the pictures to identify the birds and that I get to watch/experience the reaction.
I’ve gotten pretty good at making custom frames so I quickly made some frames out of maple that was left over from another project that was 1 1/4” by 3/4” . Using the frame clamping jig that I got from Woodcraft it wasn’t any big deal to whip them up. I have found that just marking the miters on the wood and directly lining up each cut works better on the power miter box than trying to use a stop. The angled ends of the miters make the stop less accurate than for straight cuts.
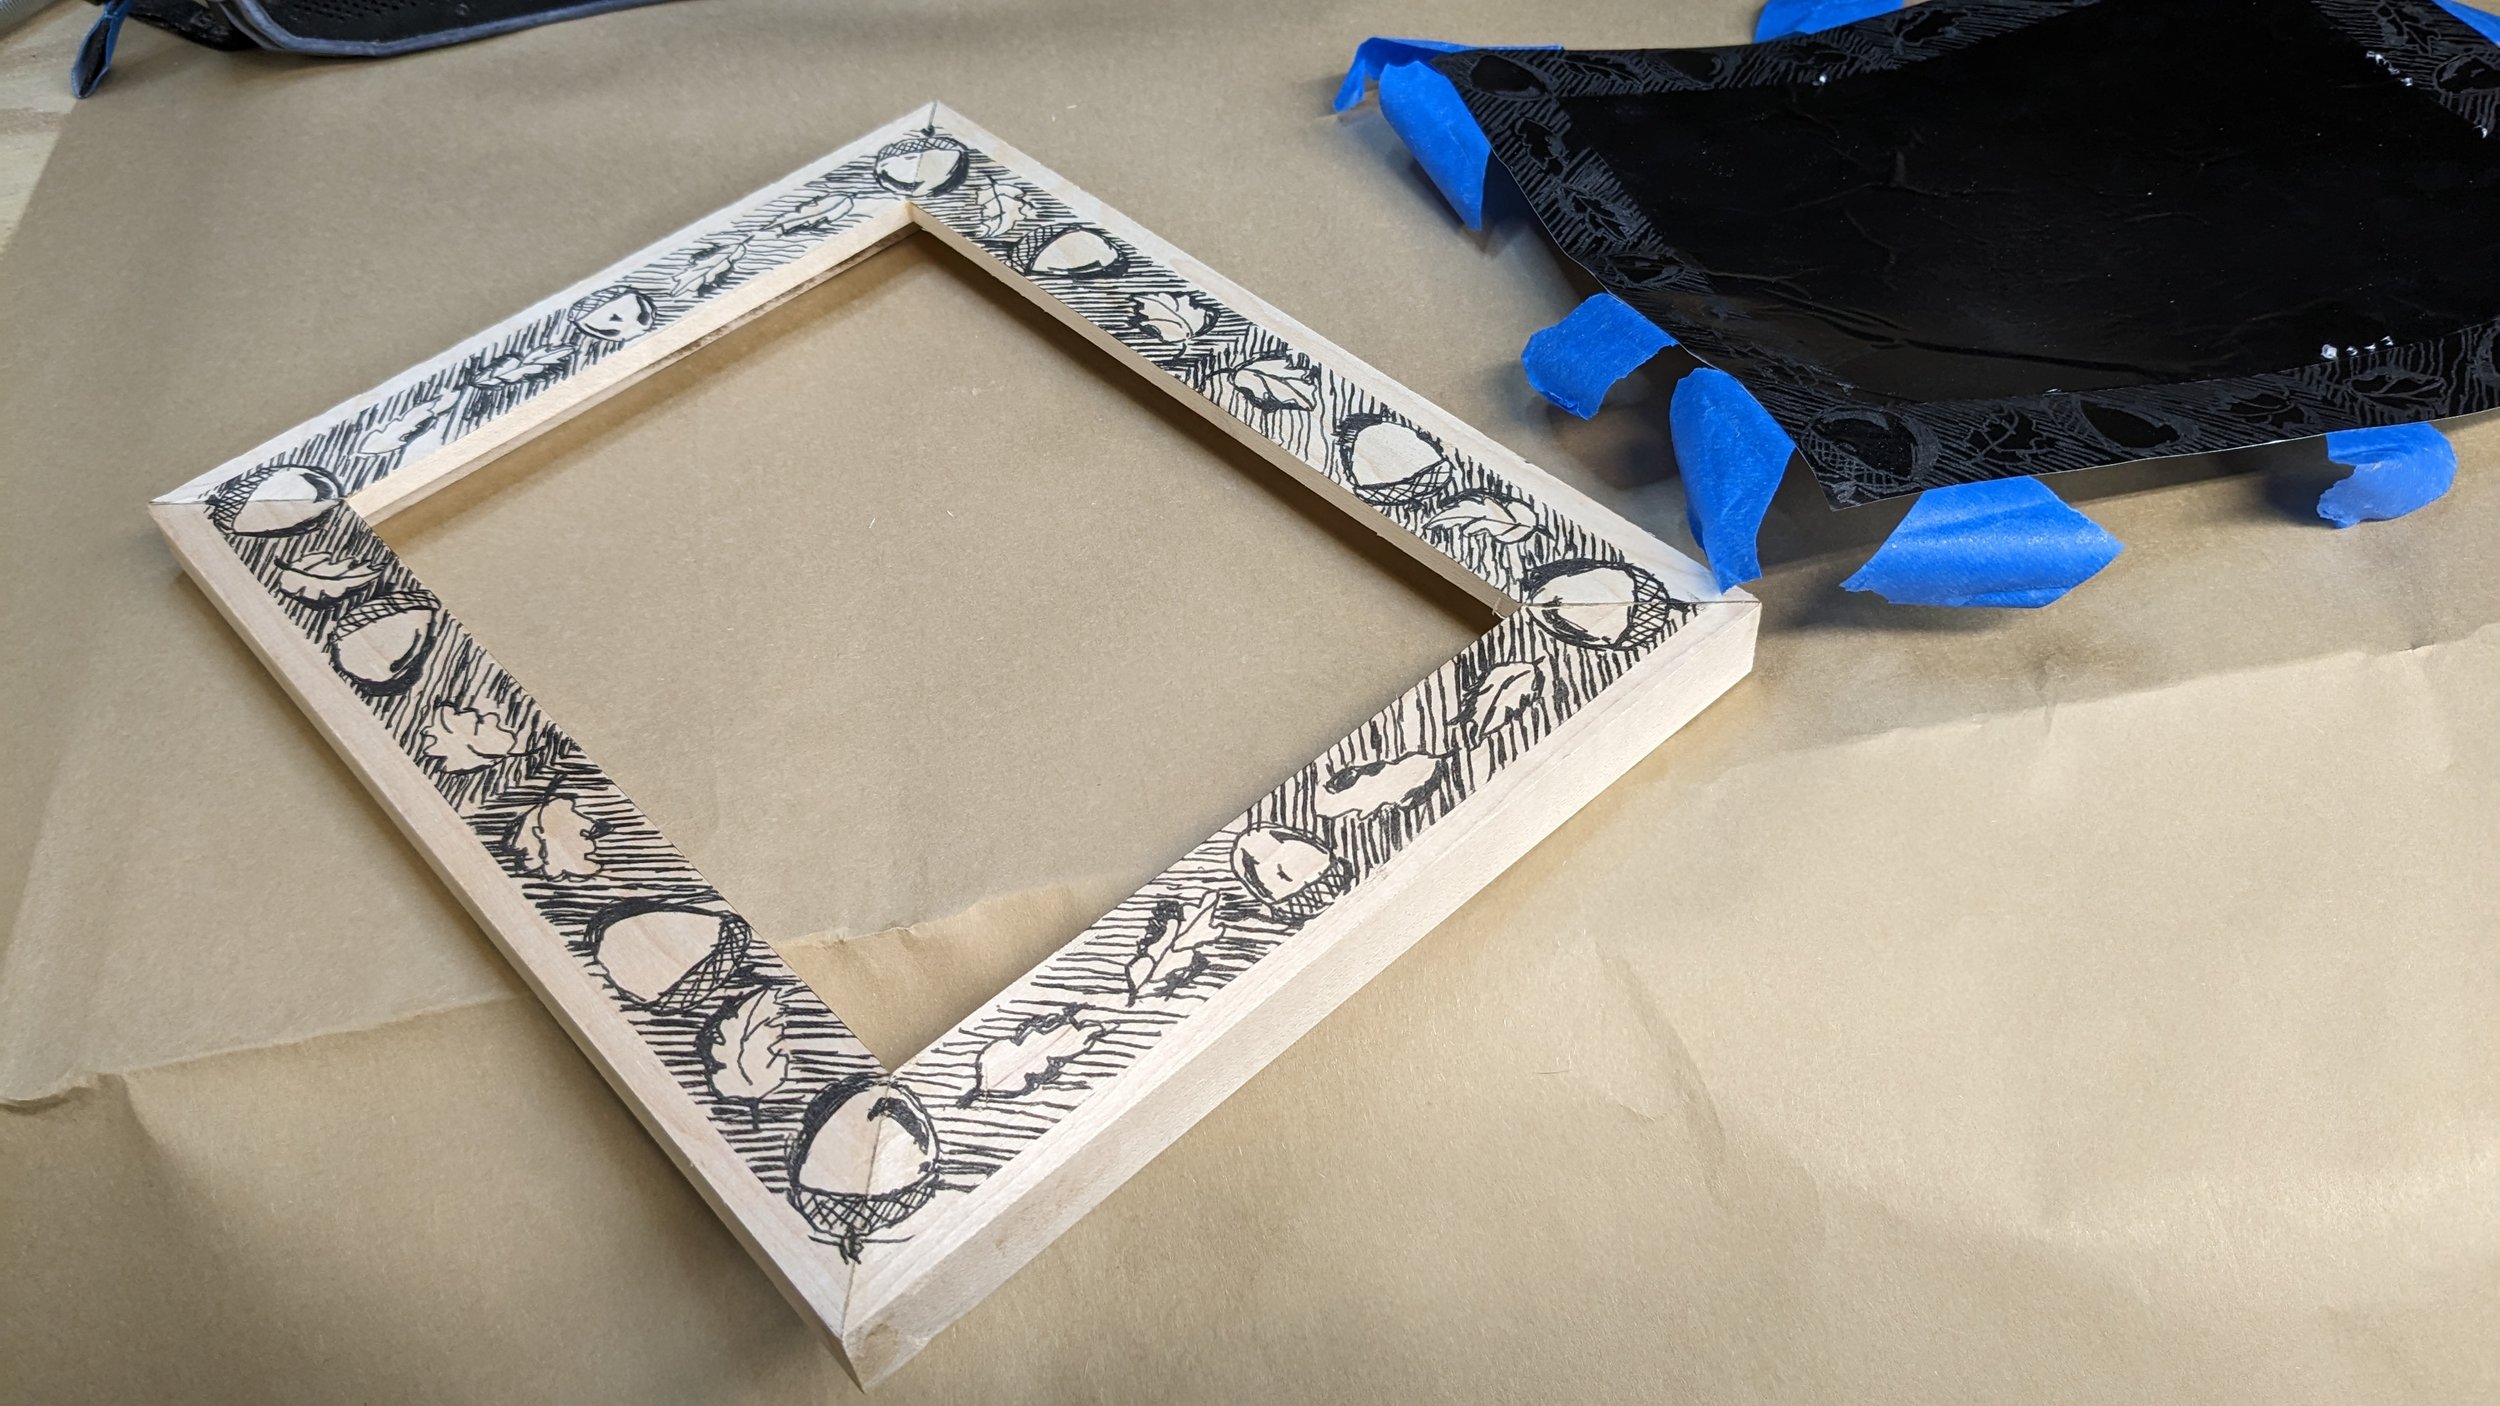
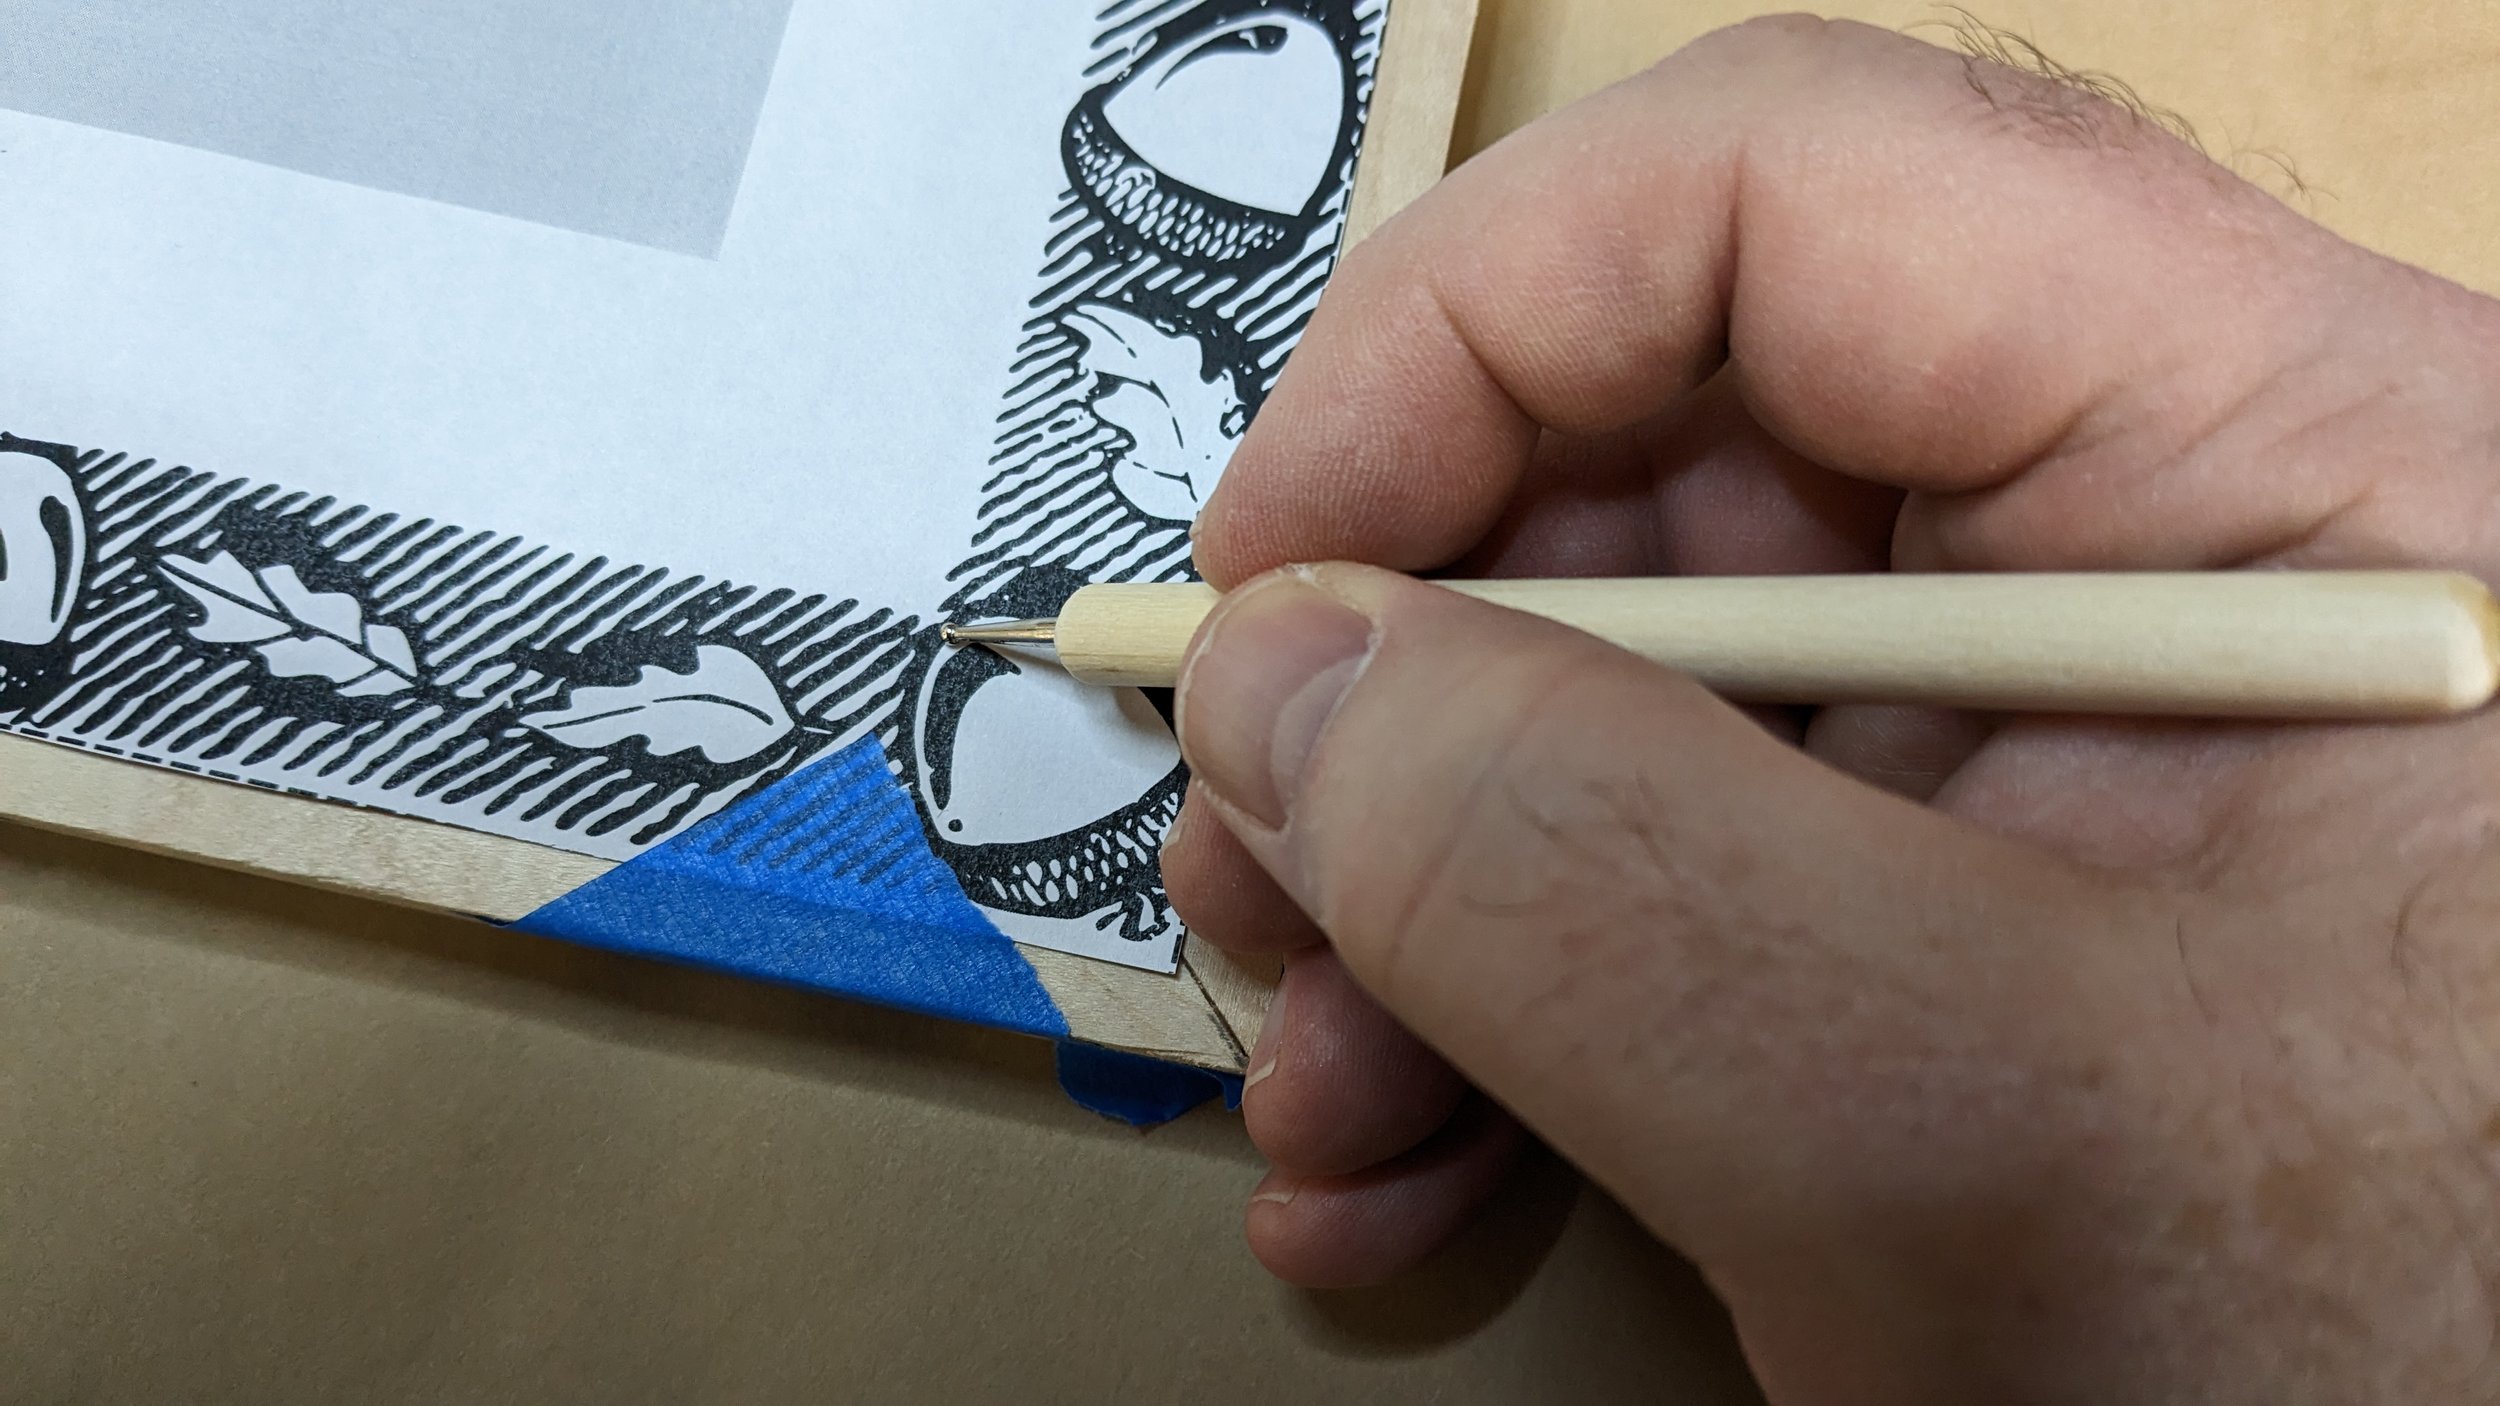
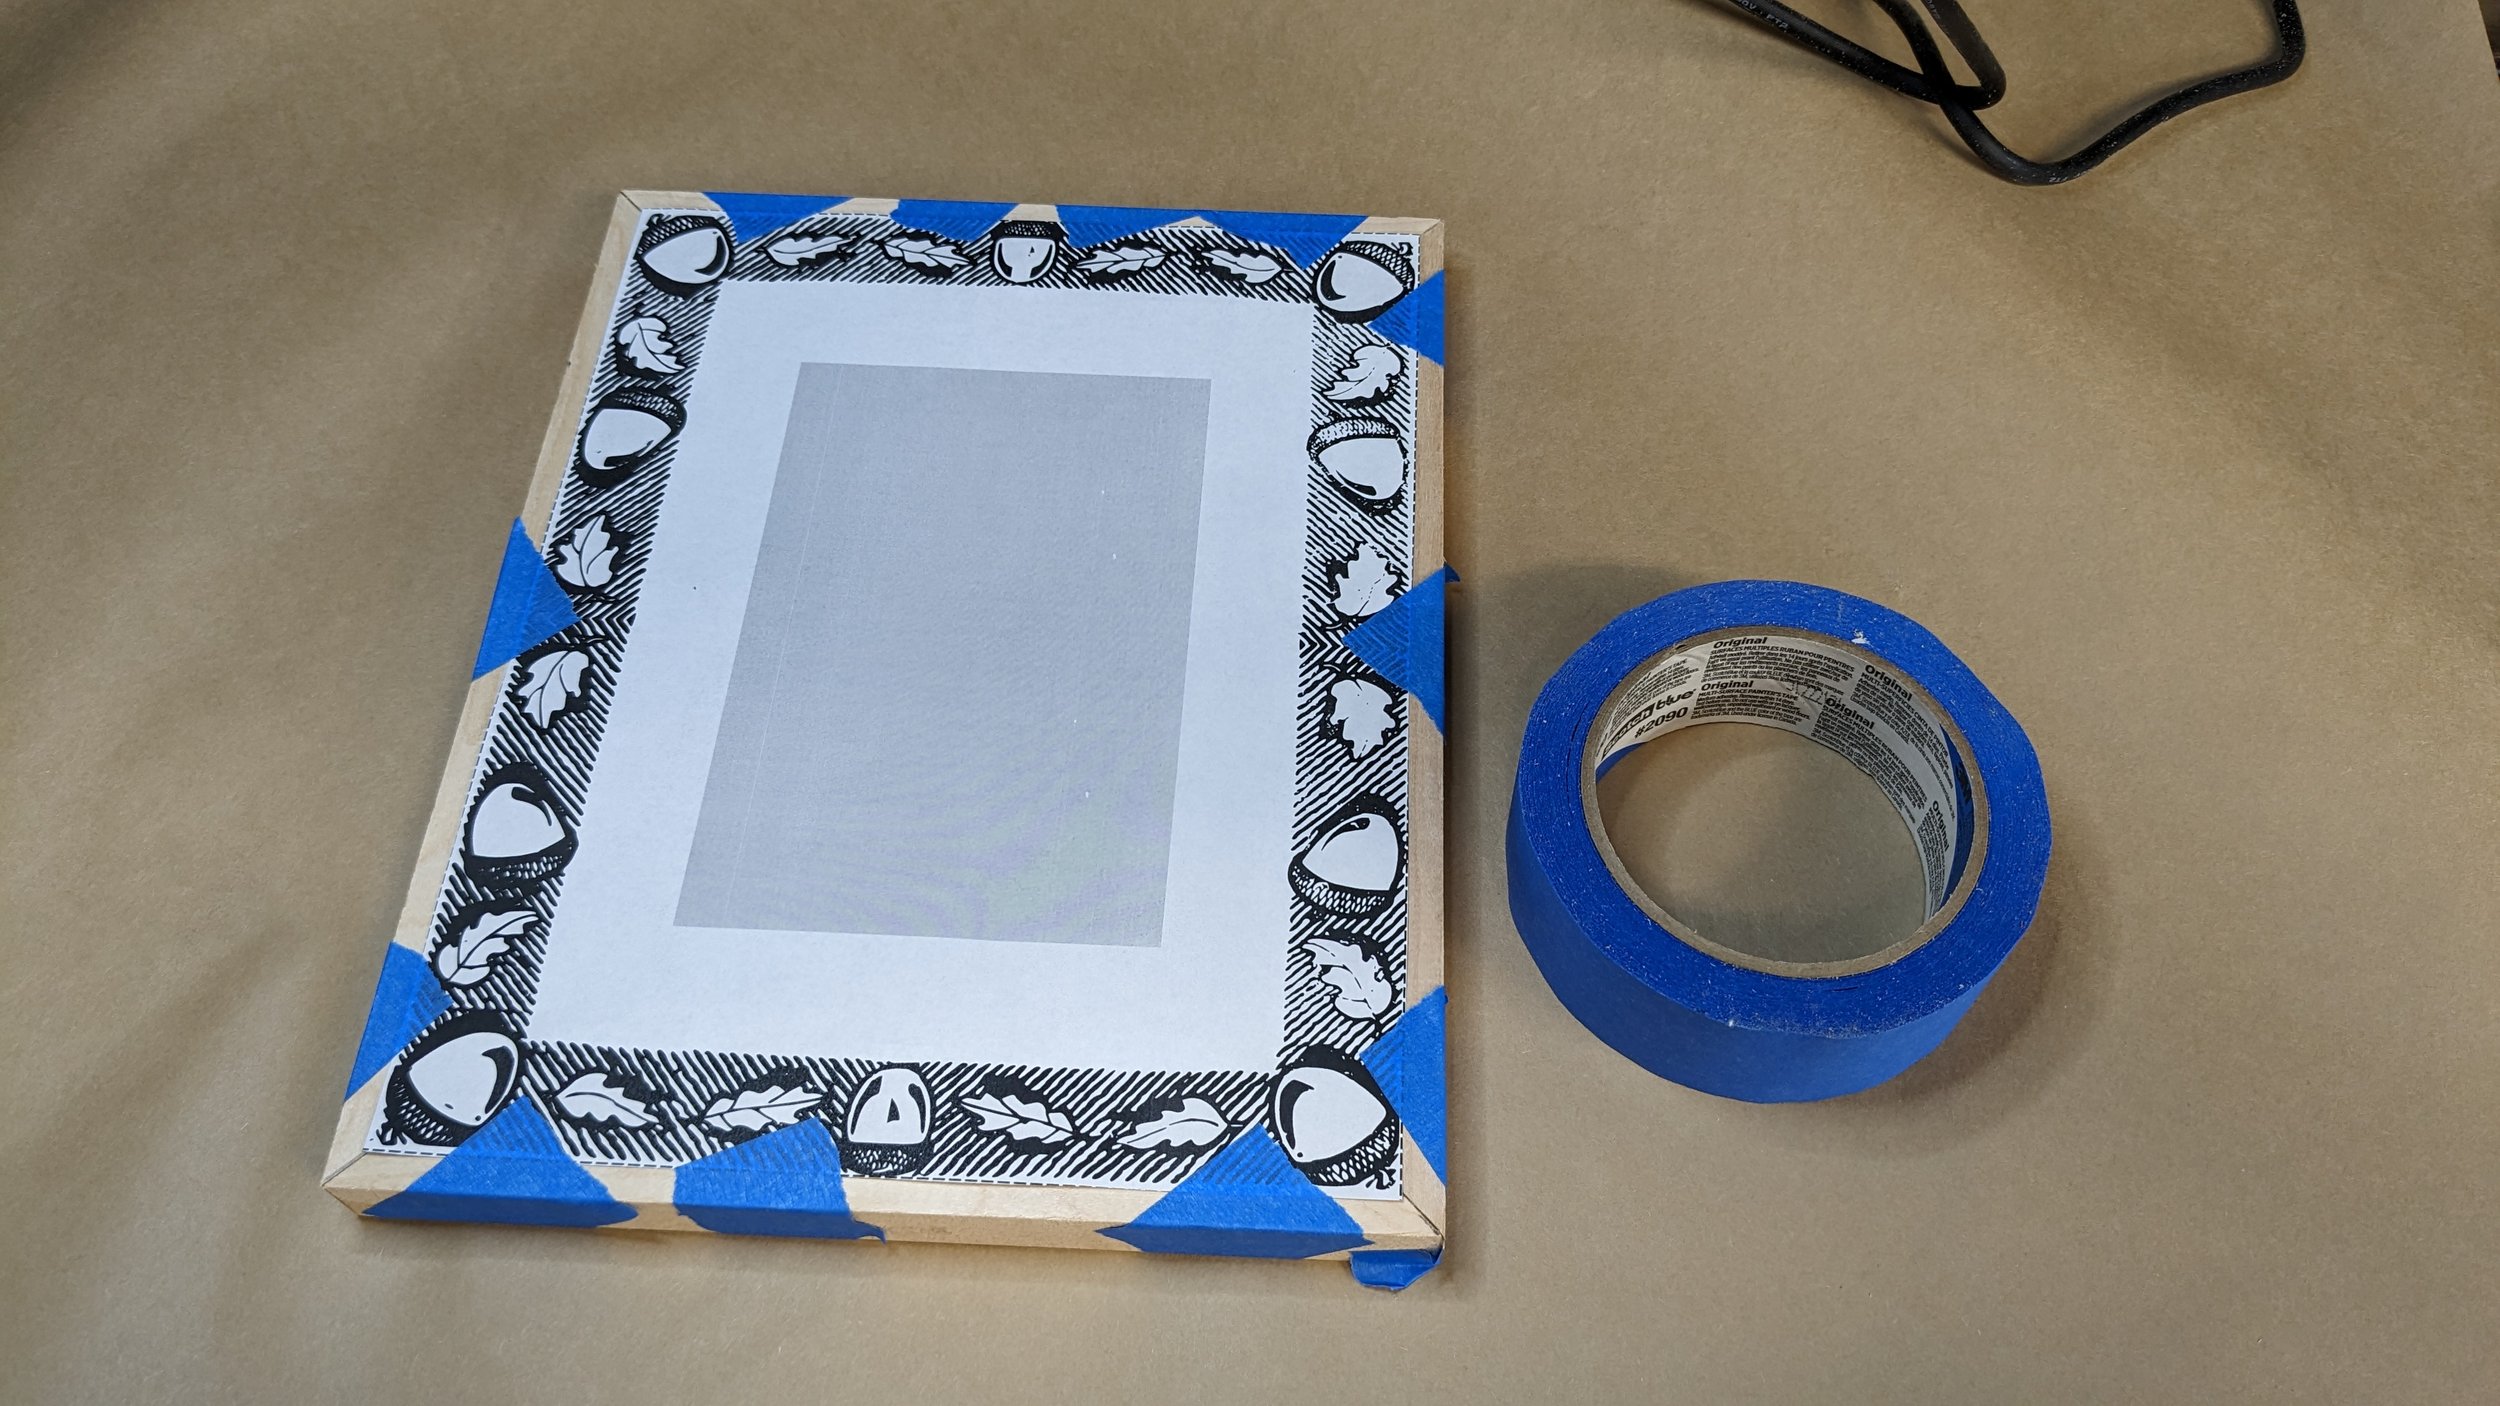
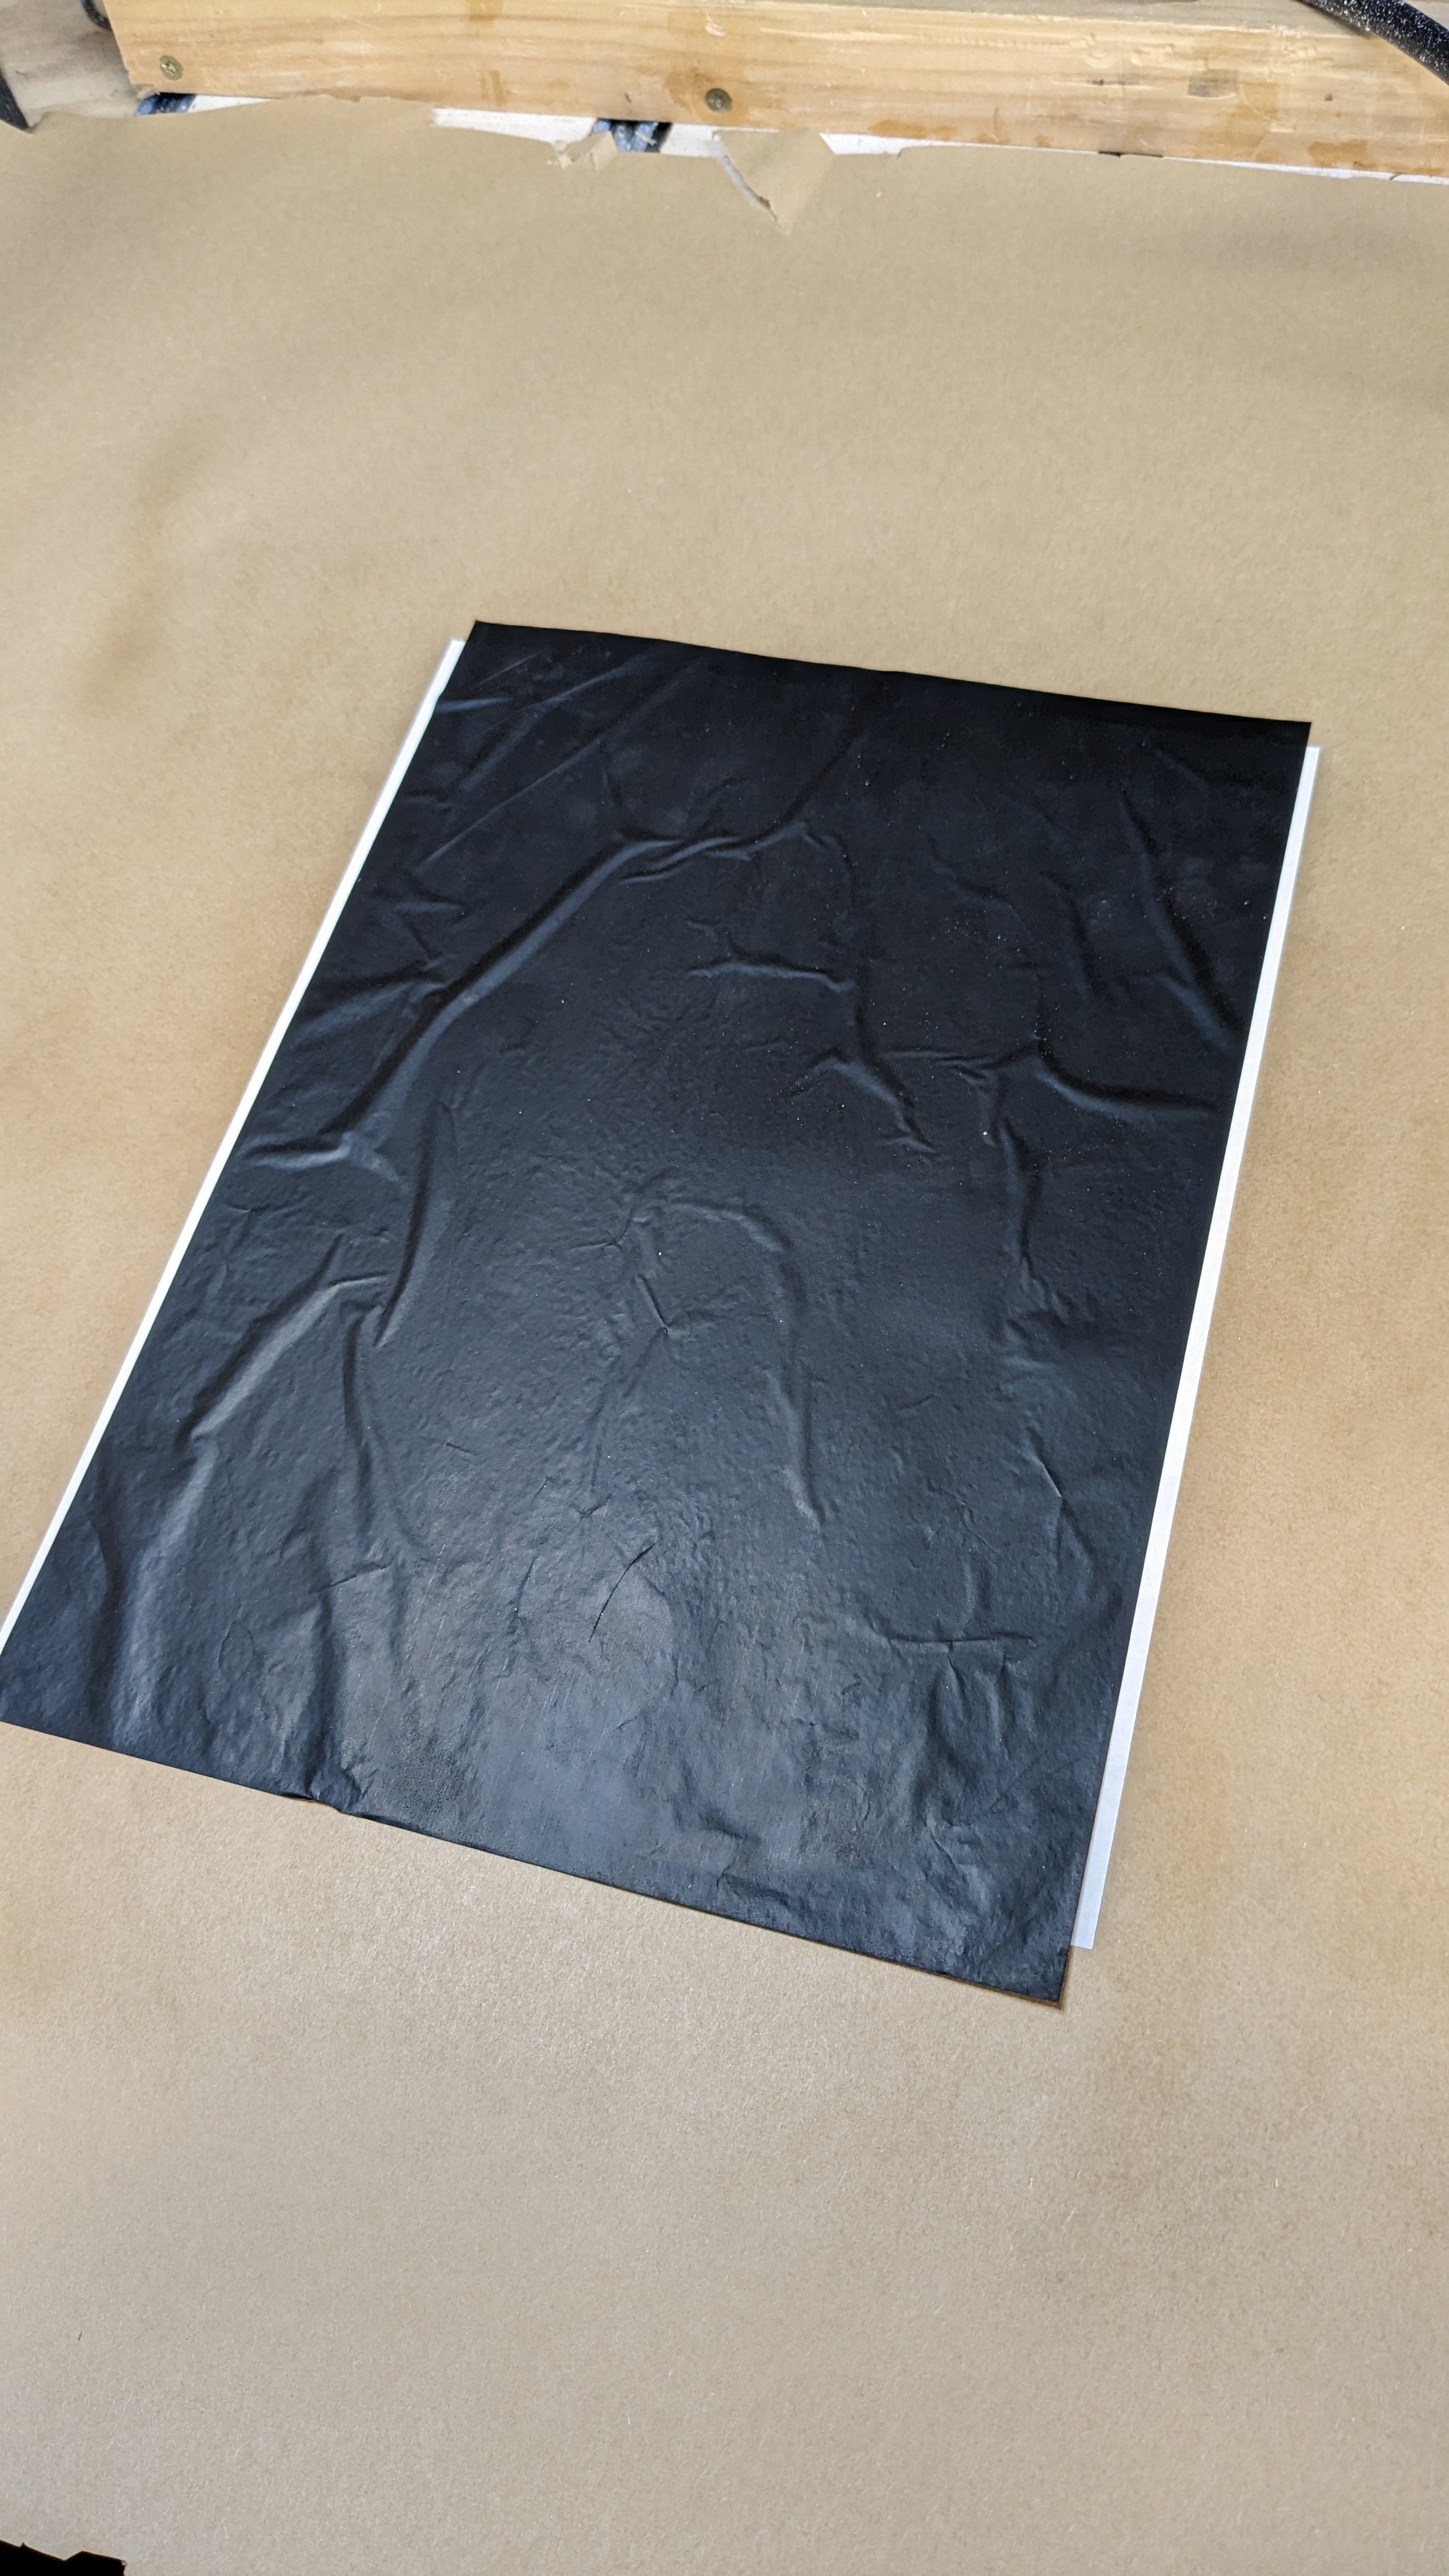
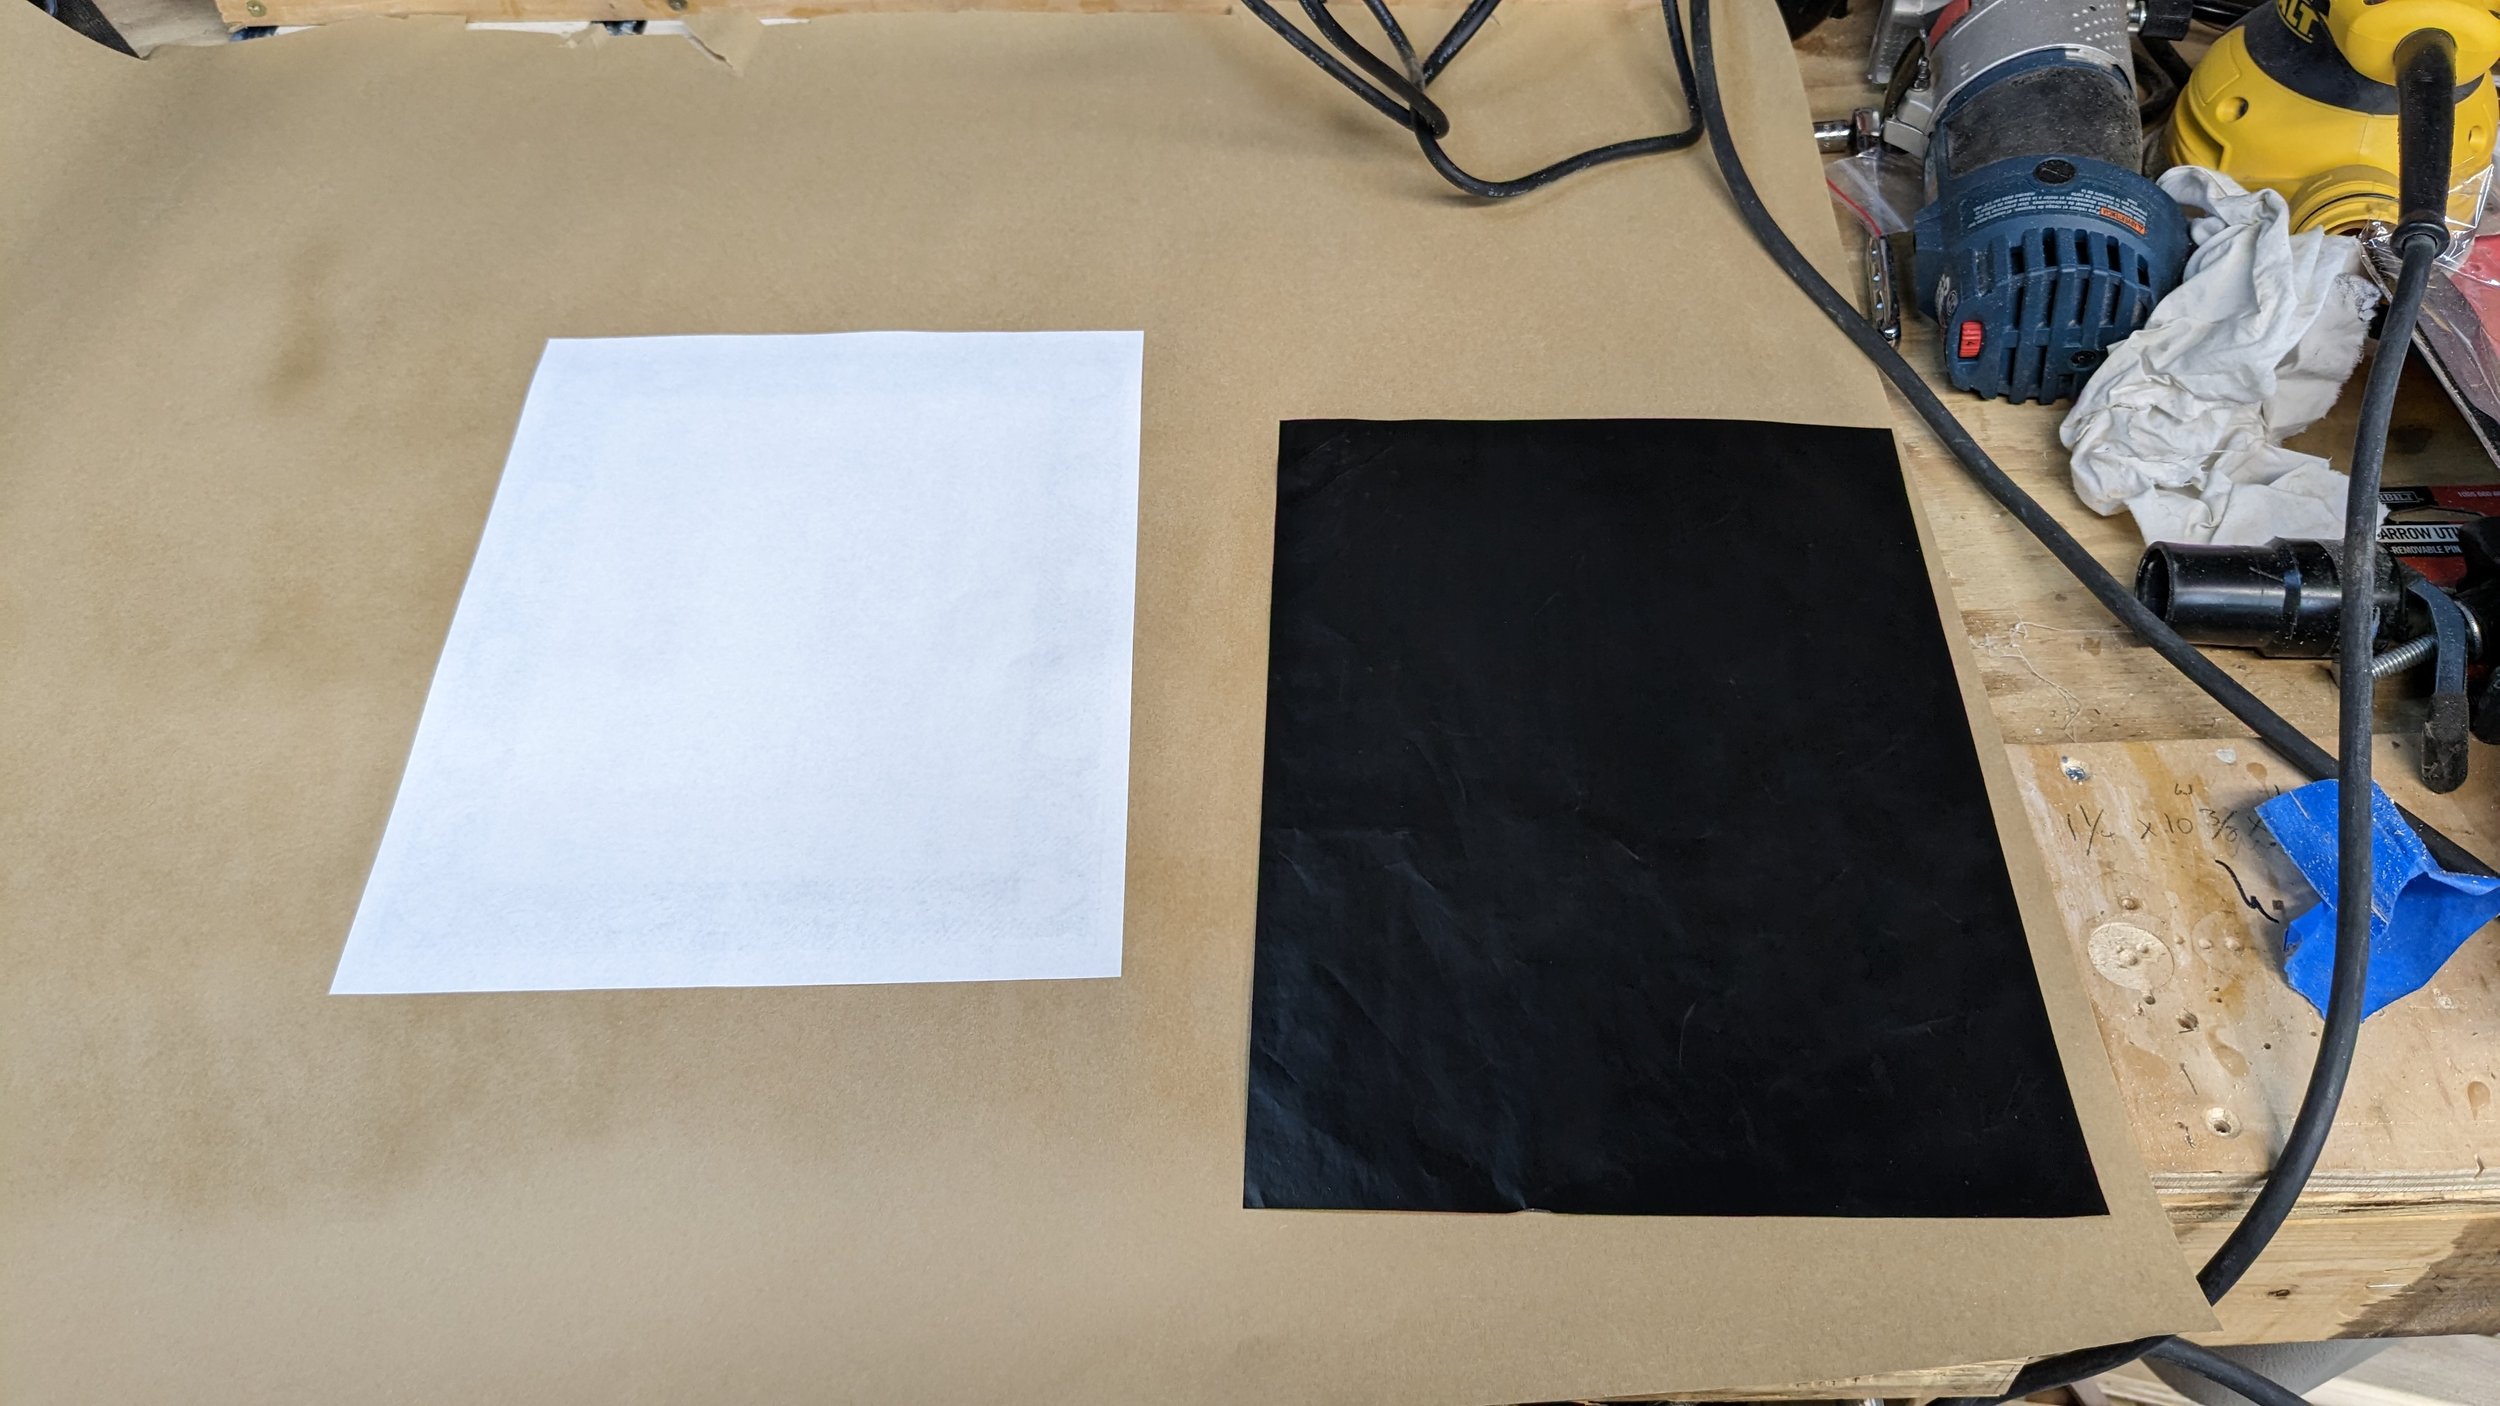
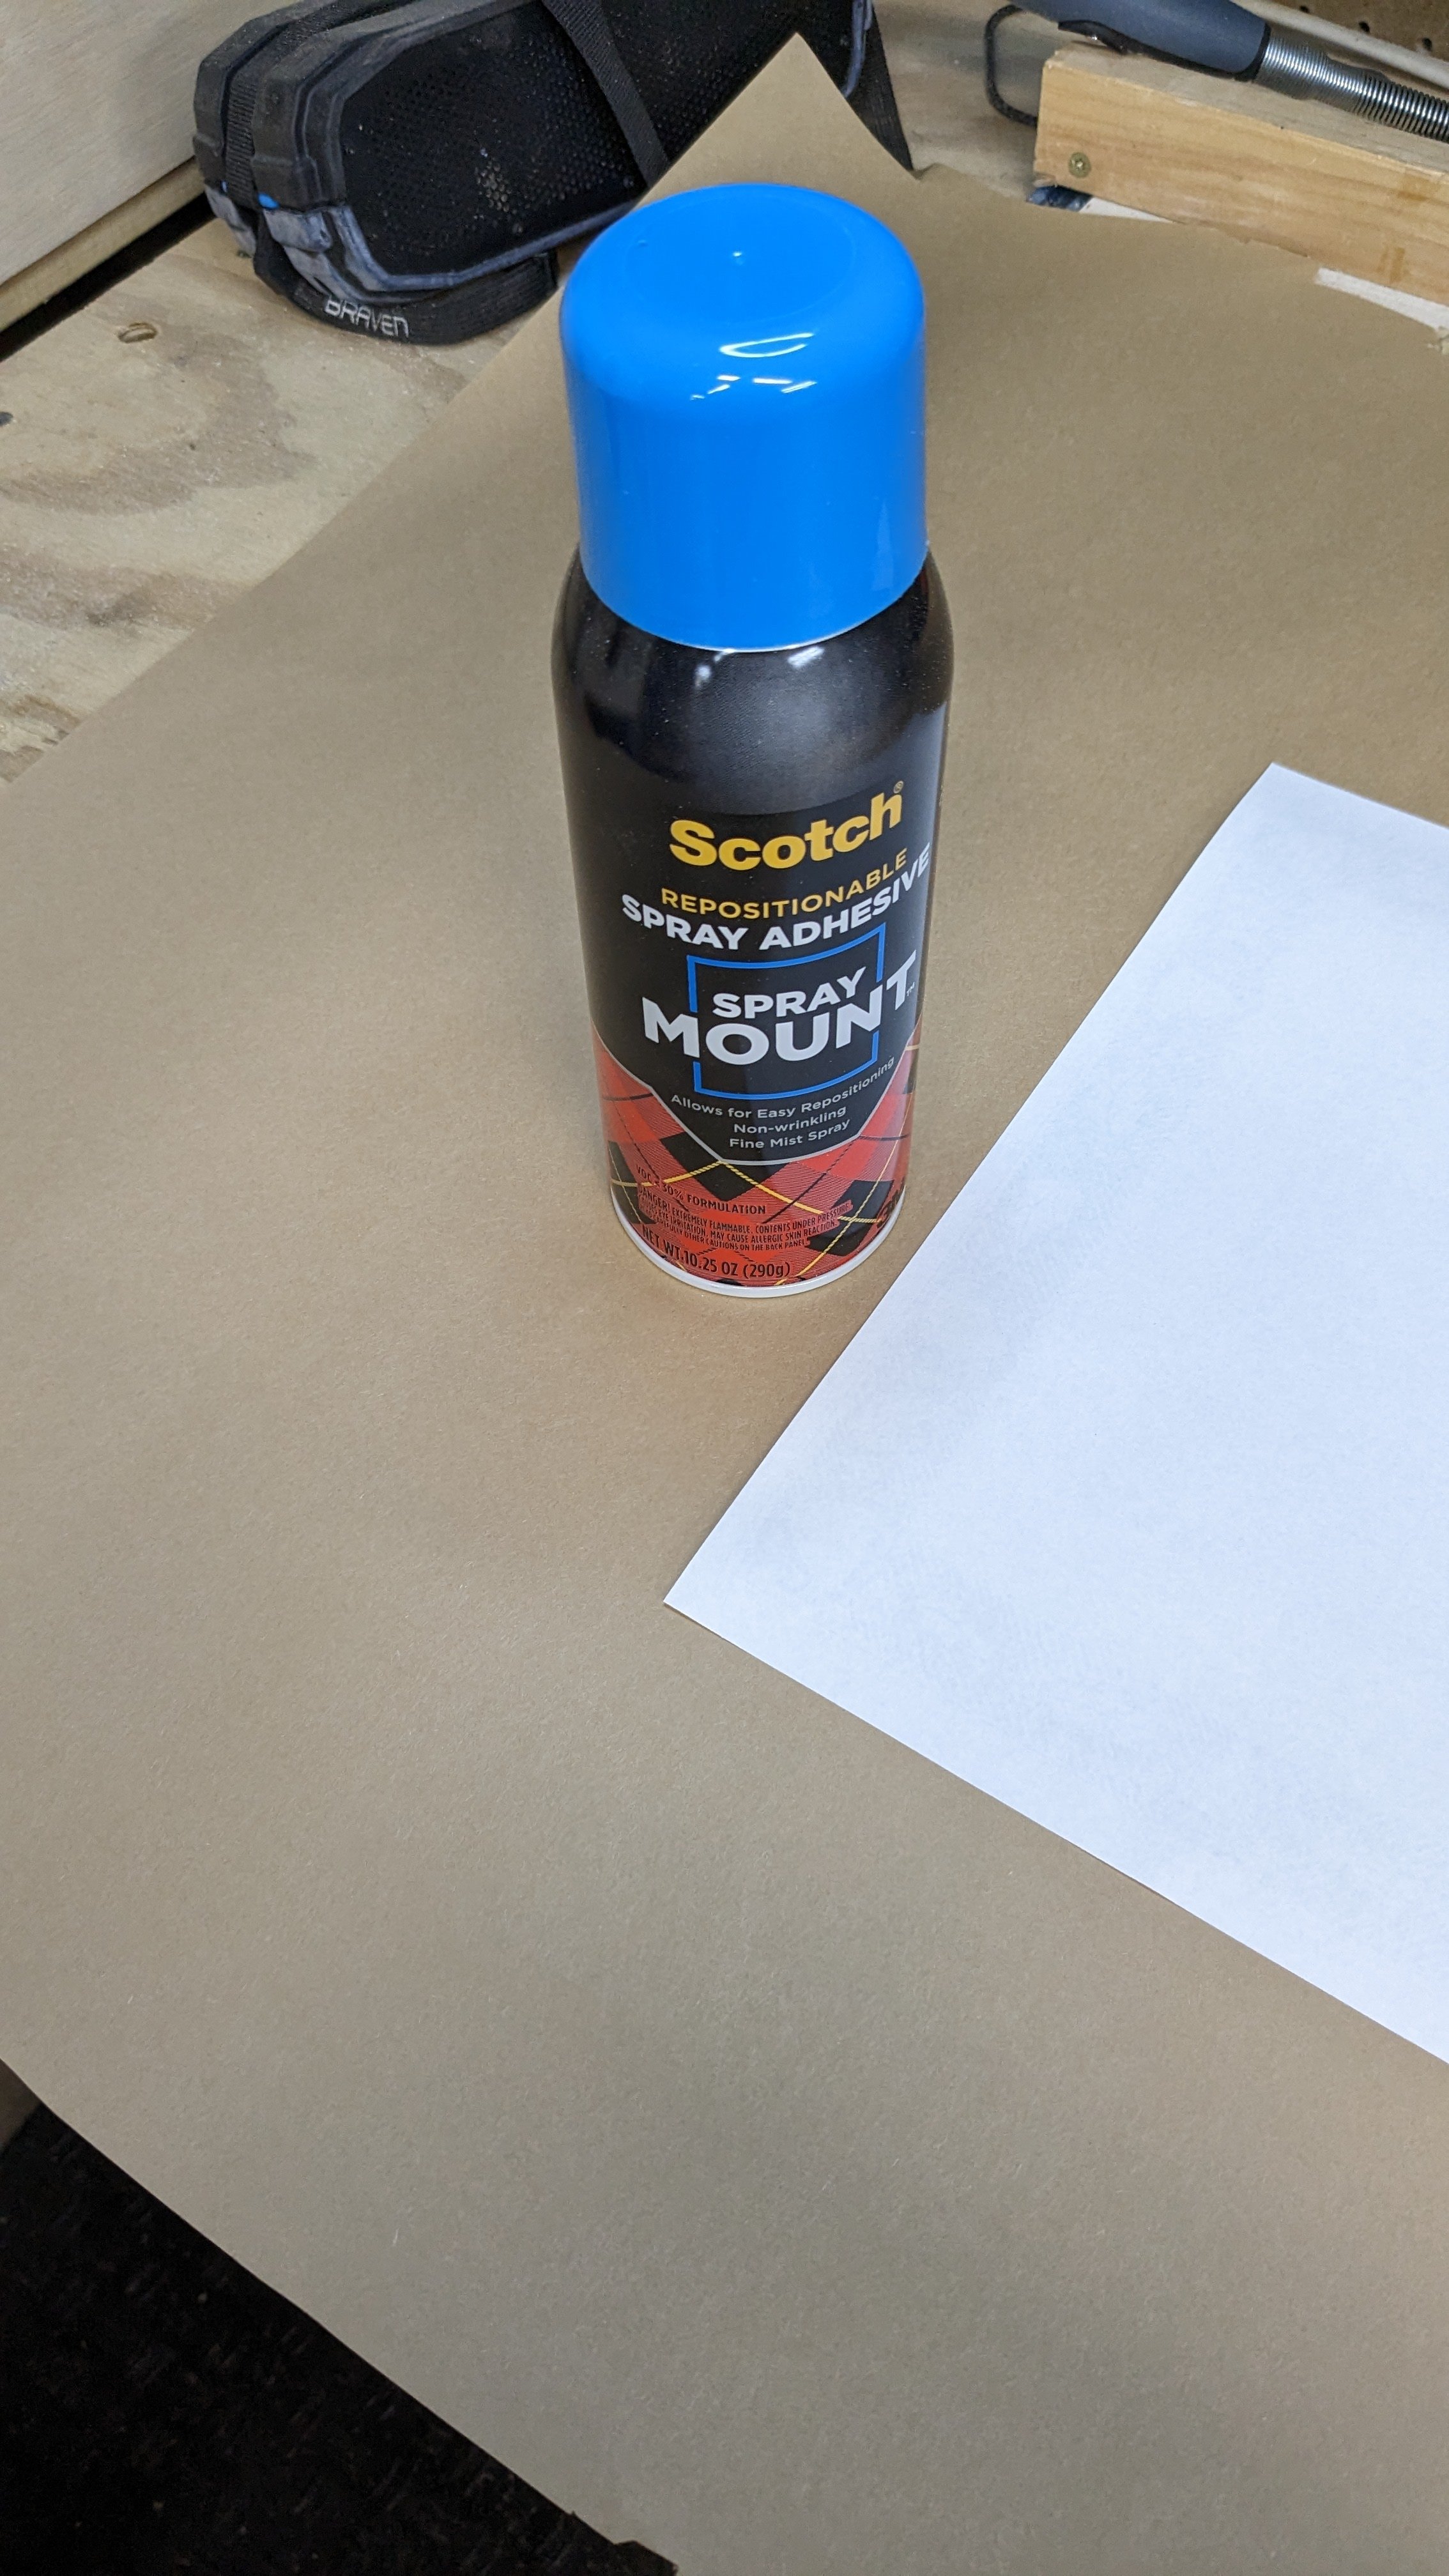
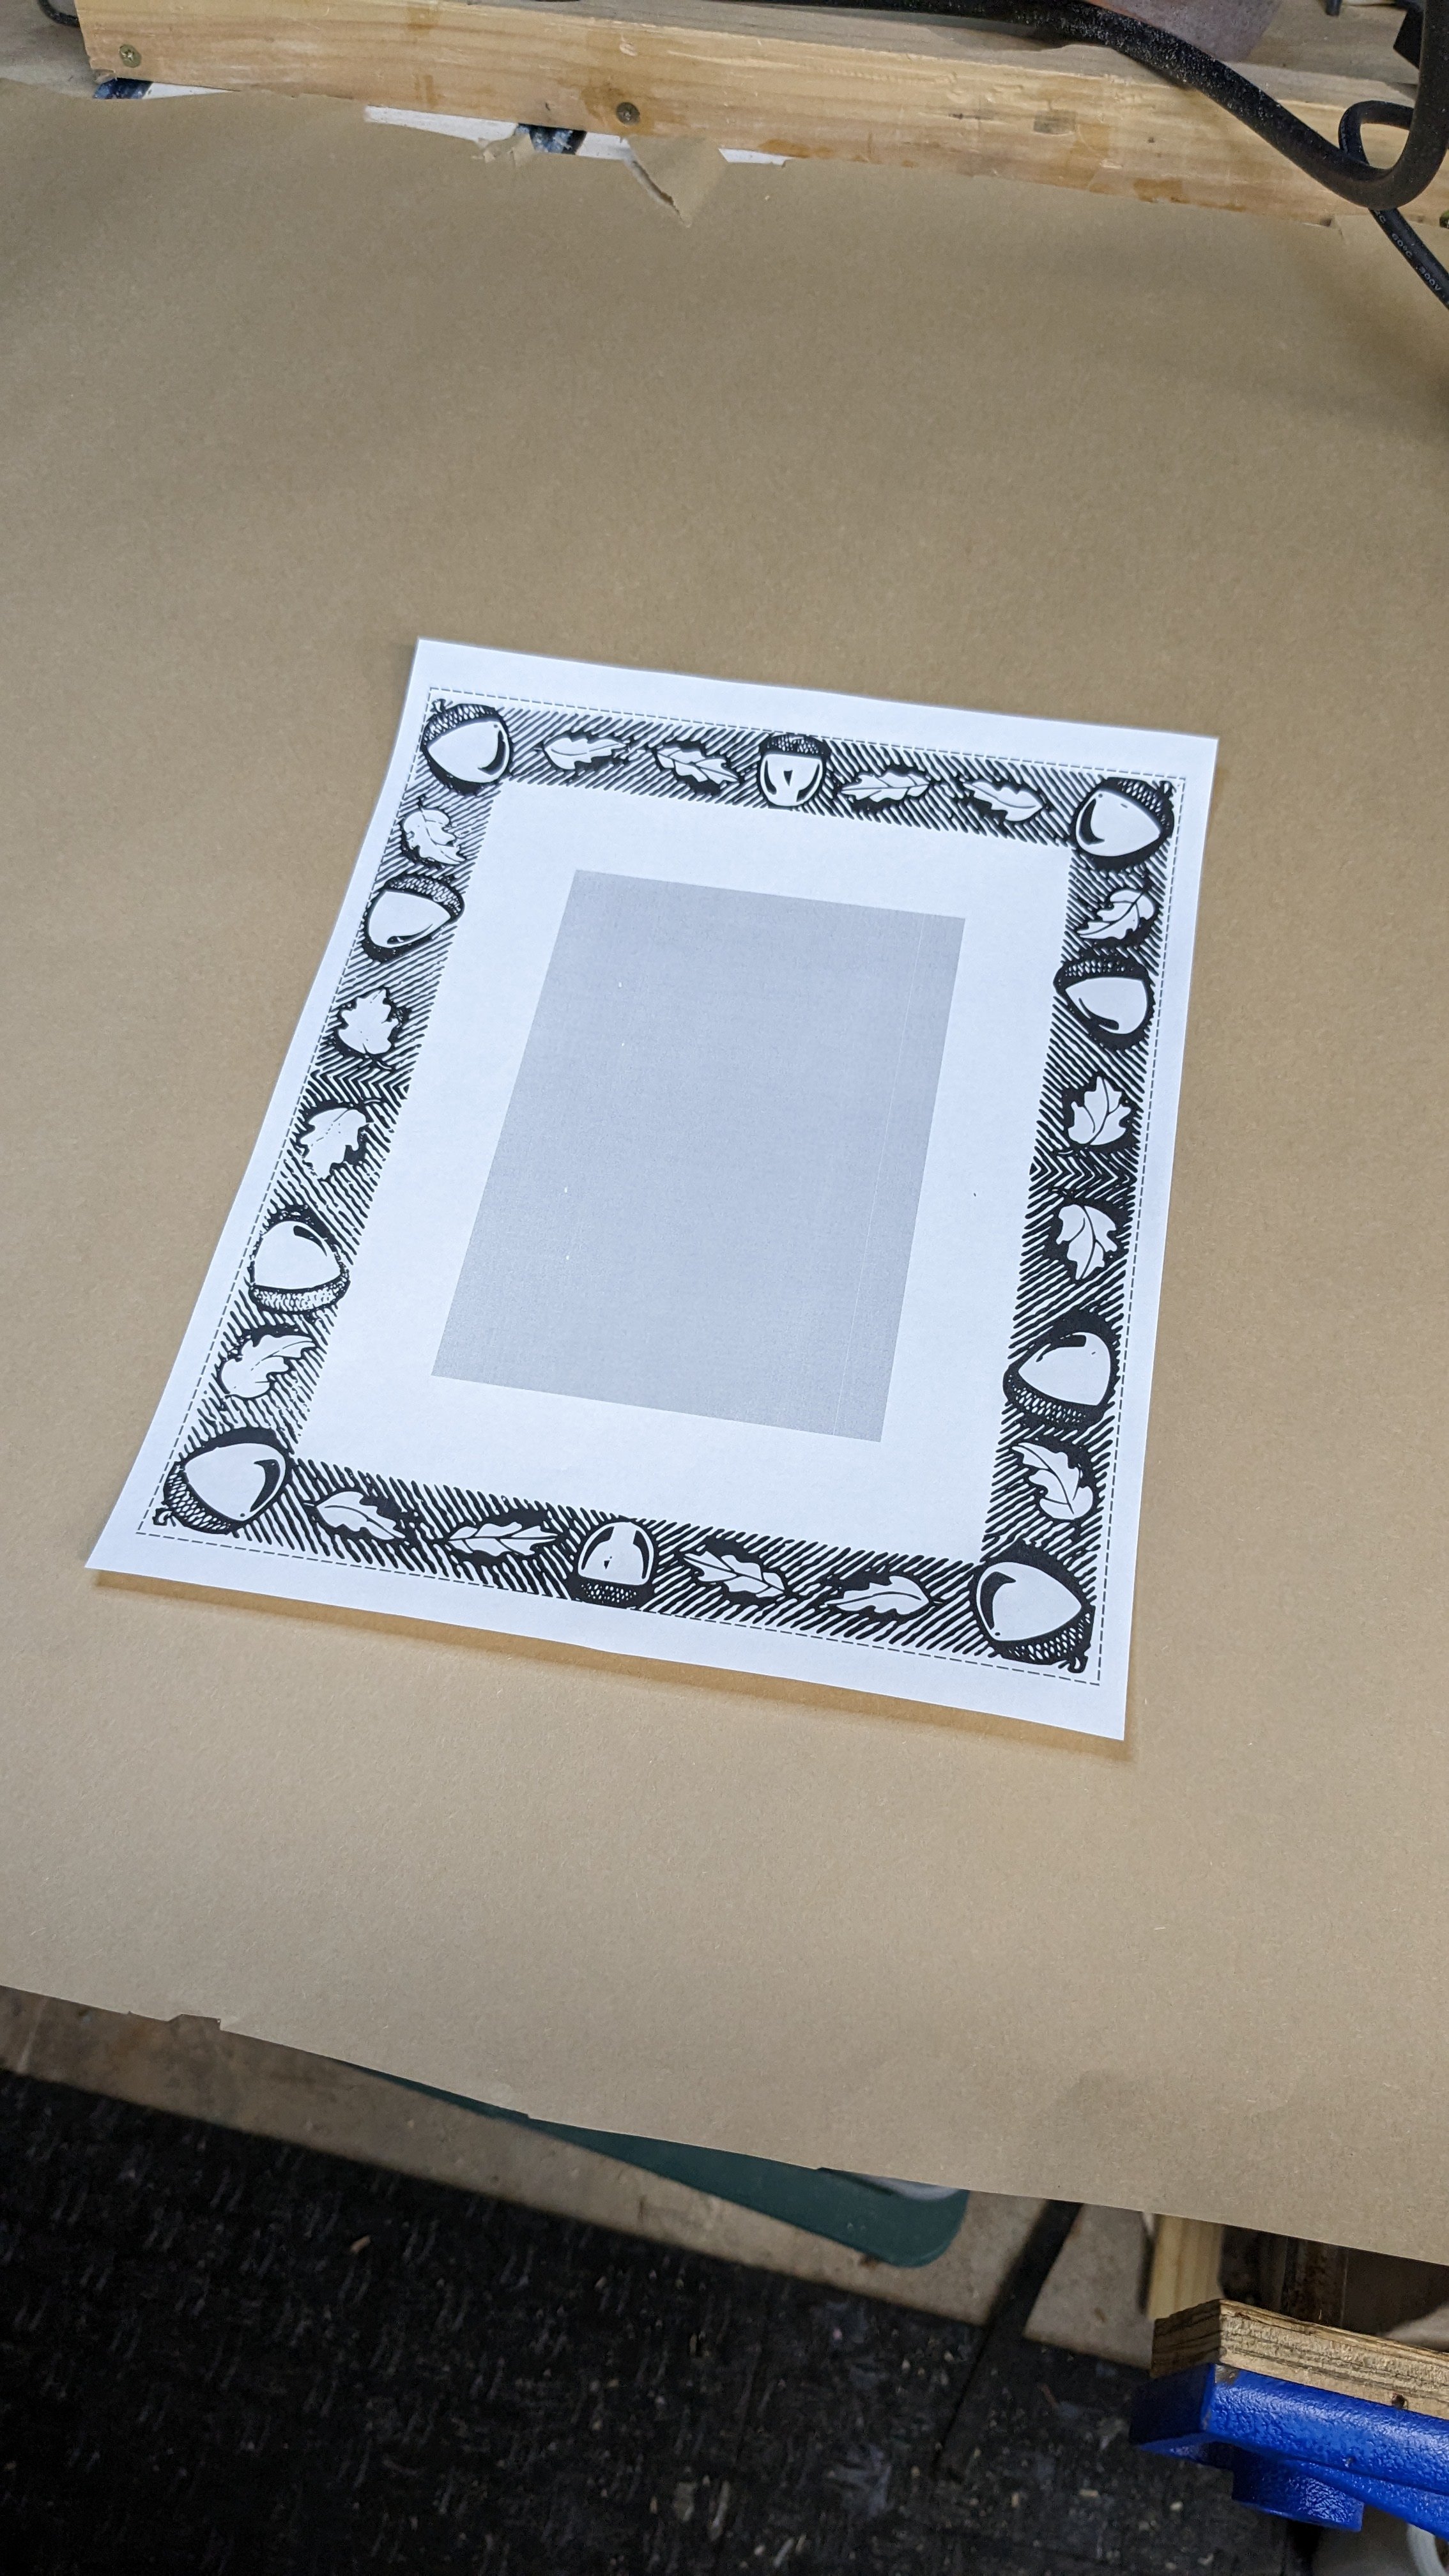
I wanted to try carving a “ye olde rustic forest” kind of pattern around the frame and I wanted to use my Dremel to do it. After googling this I found some howto videos on YouTube that were very useful. I found a public domain frame pattern of oak leaves, acorns, and bark pattern online as an SVG file and I was able to resize it to the size frame that I wanted to do. I got some carbon paper and styluses for rubbing and impression using it. After printing the pattern out at full size, I spray mounted the carbon paper ( carbon side out ) to the back of the pattern. Then I lined up the pattern on the frame and taped it on carbon side down to the frame.
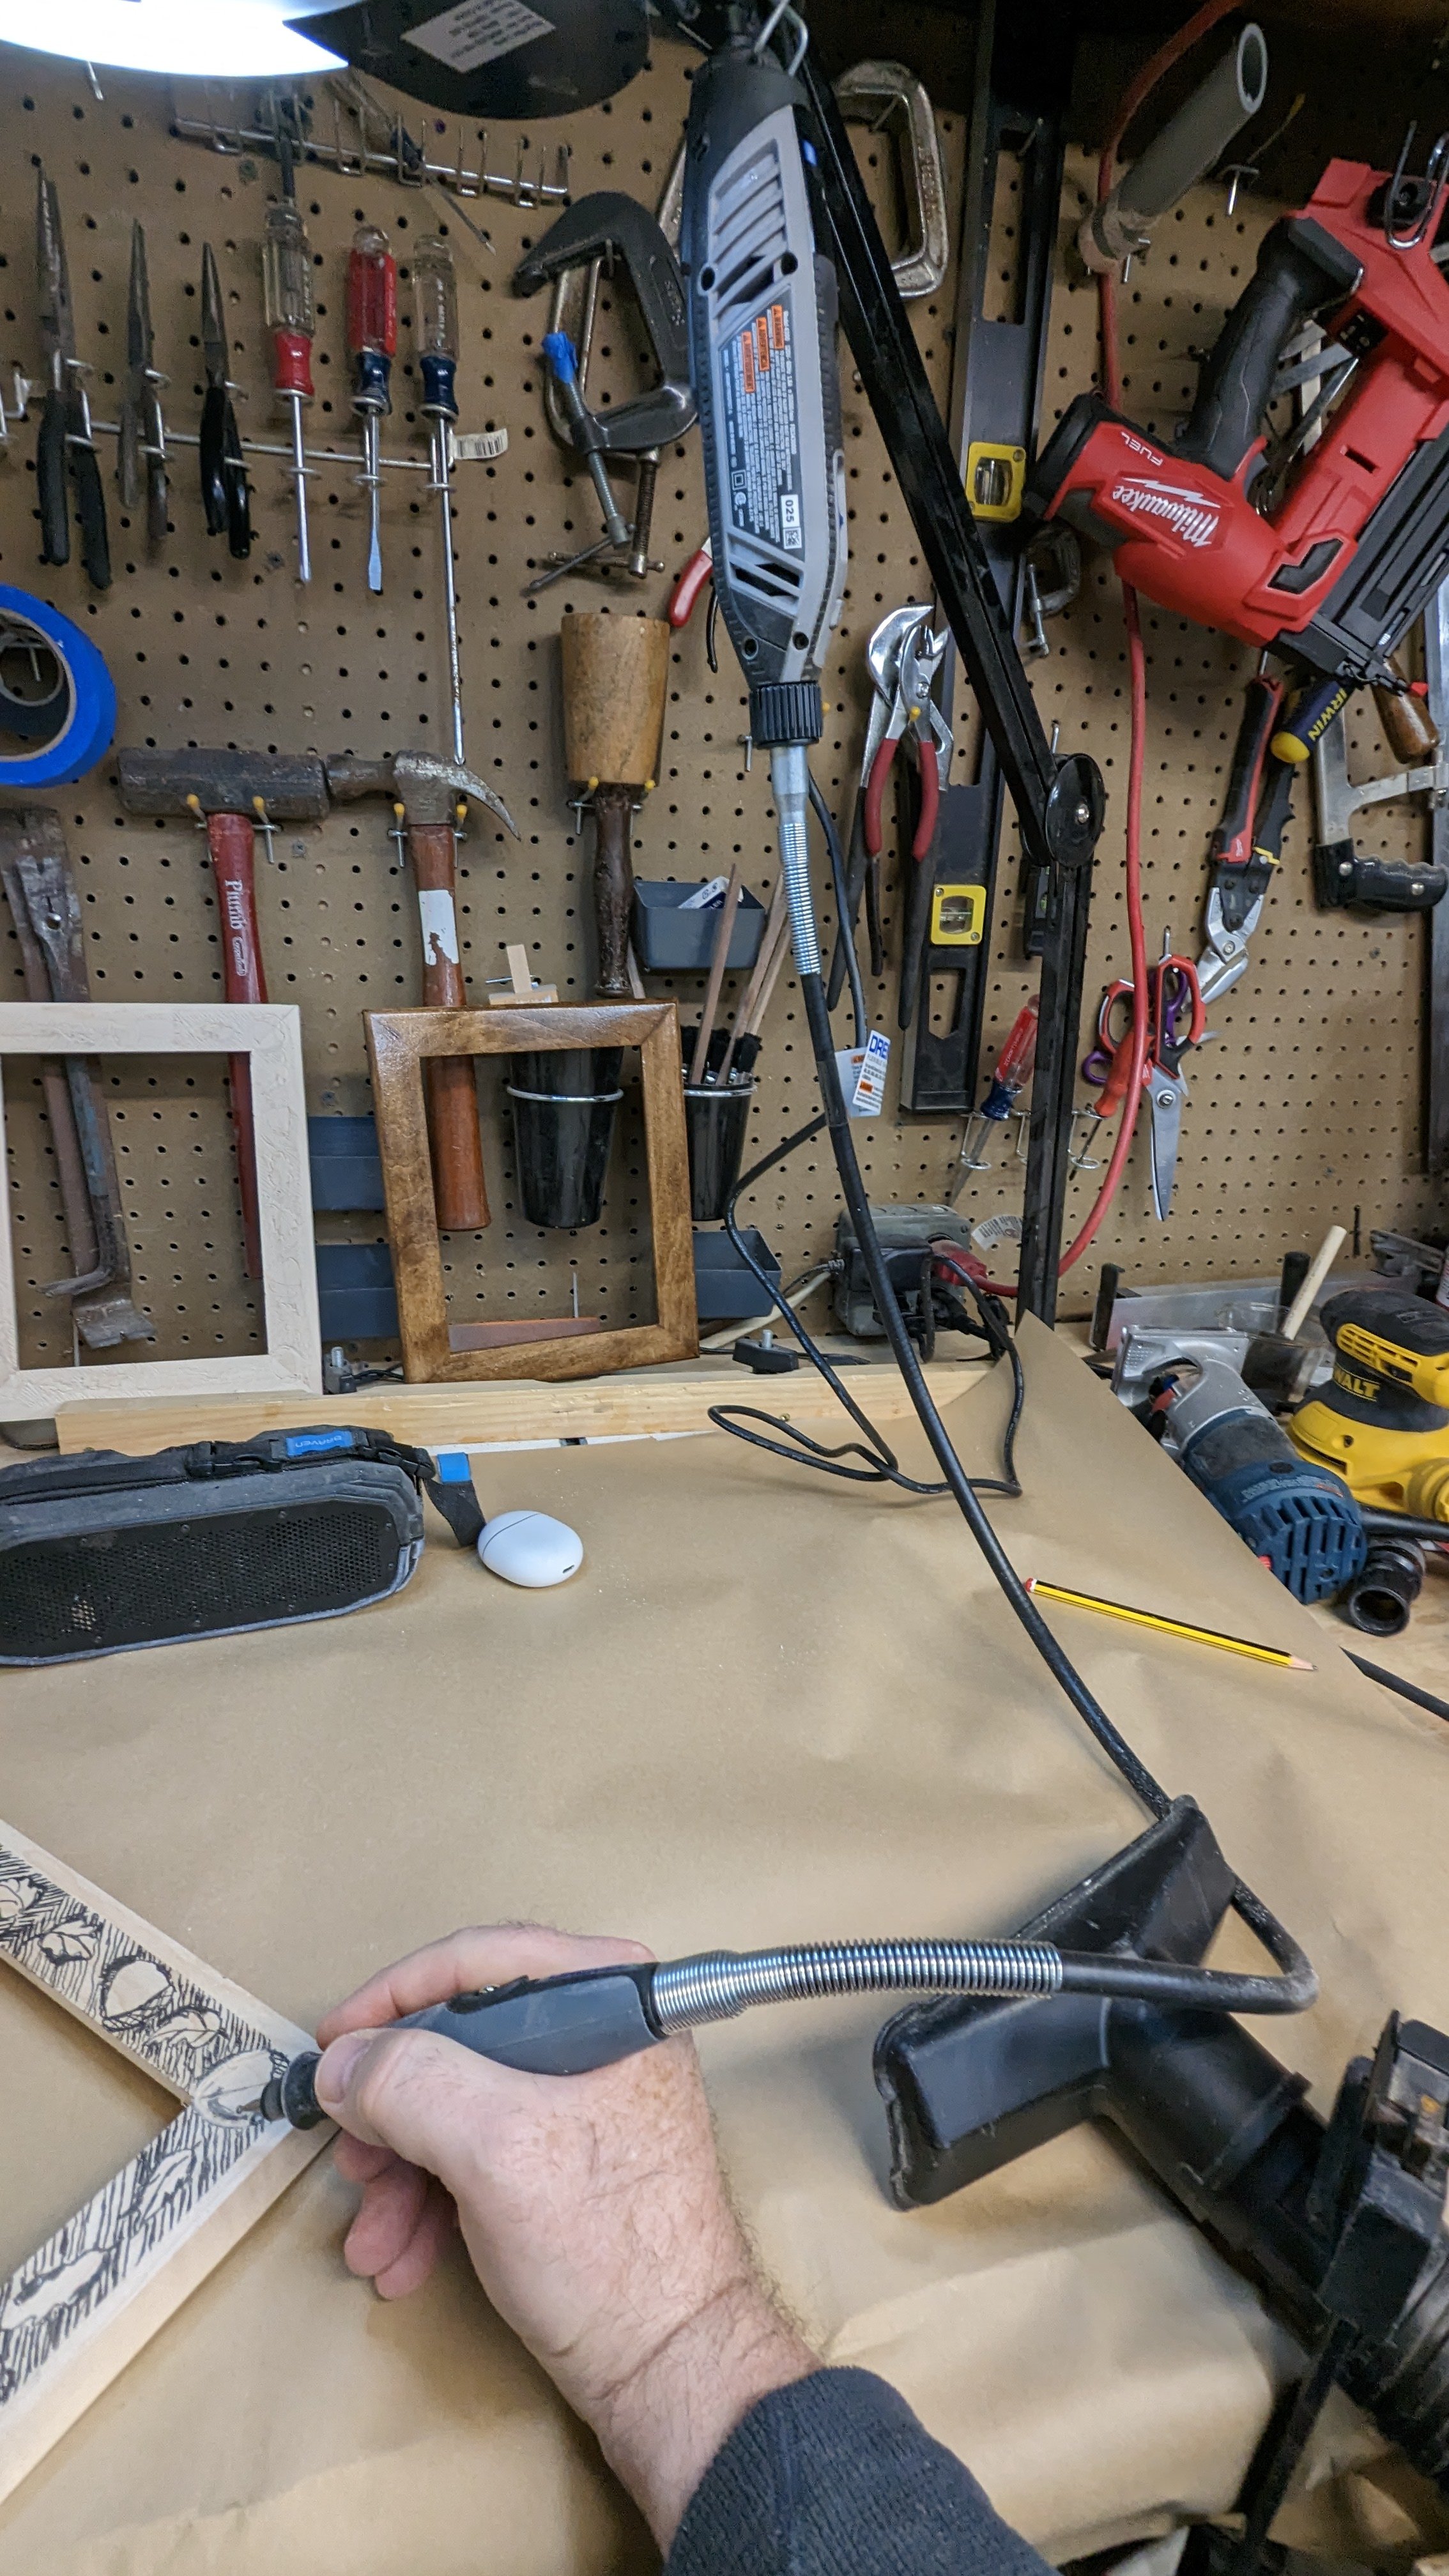
Using the rubbing styluses I traced over all of the black areas of pattern transferring it to the maple frame. I had to pace myself doing this because I had a tendency to hold the stylus too tight and probably to be pressing too hard, hurting my hand. But, taking multiple breaks I got it done. I got a flexible extension drive attachment for my Dremel which has a light comfortable pen-like grip at the end and a collet to drive a 1/8” Dremel tool. This is great because controlling the Dremel while you hold the whole weight of it in your hand is very difficult for any long period of time. I hung the Dremel from my work light arm to keep the shaft from kinking. I used the smaller of my Dremel ball head cutters to carve a round profile groove where ever there was black on the pattern. Like the pattern transfer process I took multiple breaks to both keep my hands from cramping and also to keep the flexible drive cool.
You can check out pictures of the process below:


I wasn’t sure of the finish, I wanted something quite dark that looked “olde timey” and I wanted the carved parts to be even darker. I decided to try out the first frame to completion before I went on to the second one. I sanded it from 120 to 320 grit, after adding a 3/8” round over with an edge detail with the router and rounding the inside edge as well. I decided to try the Medium Walnut Danish Oil and unfortunately it didn’t do either thing that I wanted from it. The general color was too light and the carving didn’t seem to get any more pigment than the surrounding.
So, I let that finish dry and then using my sanding station I sanded it and the carving completely off the piece and then I tried a dark walnut stain that I had a small can of from a very early project. This gave me the color I wanted and I was convinced that it would also darken the carving. I sprayed a couple of coats of clear acrylic lacquer on it and that gave me the fancy frame sheen I was looking for. Now I had a plain extra frame to use for another picture.
I made another frame quickly and proceeded with transferring the pattern and carving it on both frames, adding the edge details, and sanding them. Then I stained both frames and sprayed them with acrylic lacquer. You can see the progress below:


Some nice rich colored mattes and backing with foam core and faced with 1/16” clear acrylic and they were done. I’ve hung them in my office and they make me smile every time I see them.