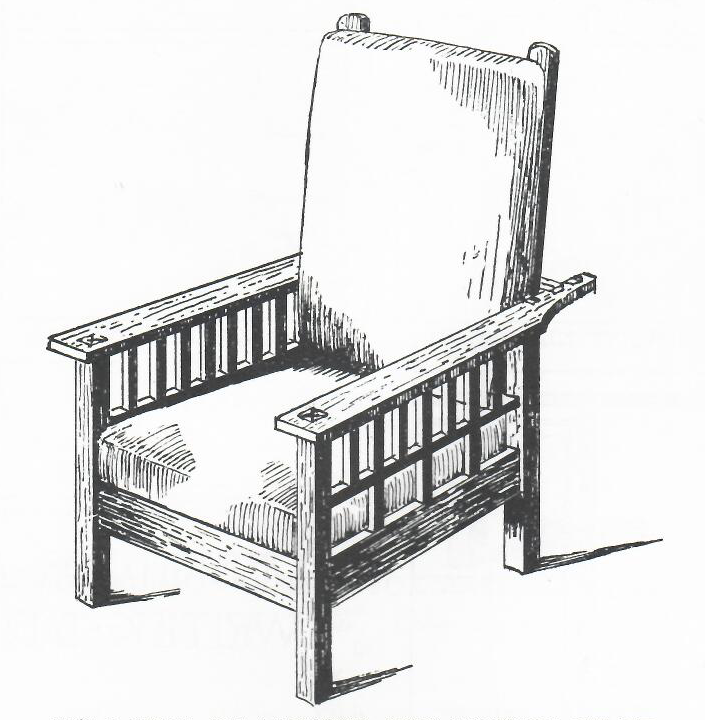
I’ve been a fan of Craftsman style furniture and architecture ( Mission and Stickley are also terms folks use ) and a long time ago ( on the order of twenty-five years ) I got a book about Craftsman furniture called “MAKING AUTHENTIC CRAFTSMAN FURNITURE, Instructions and Plans for 62 Projects, Articles from The Craftsman edited by Gustav Stickley.” I love most of the furniture in the book, but I have always wanted a Morris Chair ( the one in the book is Stickley’s interpretation of a William Morris design ). I am very happy to say that the convergence of skills, tools, time and resources has given me the opportunity to build one.
The article about the Morris Chair in the book is a whopping one paragraph, a cut list, and a one page measured drawing with no details of joints or very much construction advice at all. In a way this was sorta motivational for me because I often get frustrated trying to follow someone else’s detailed instructions. I do better applying technique to a higher level plan and improvising.
I came up with a revised cut list based on what I could get from vendors and I ordered a bunch of 13/16” x 5” quarter sawn white oak. This was a little intimidating since it isn’t cheap ( especially if you have to have them mill it to size for you ) and it focuses one on not fucking up and wasting any of it. I have to say that white oak is just fantastic to work with. It cuts, drills, chisels and sands beautifully. The only surprise was that after working with it without gloves for a day my hands were almost black from the tannin in the wood. I learned however that lemon juice removes the stain very easily.
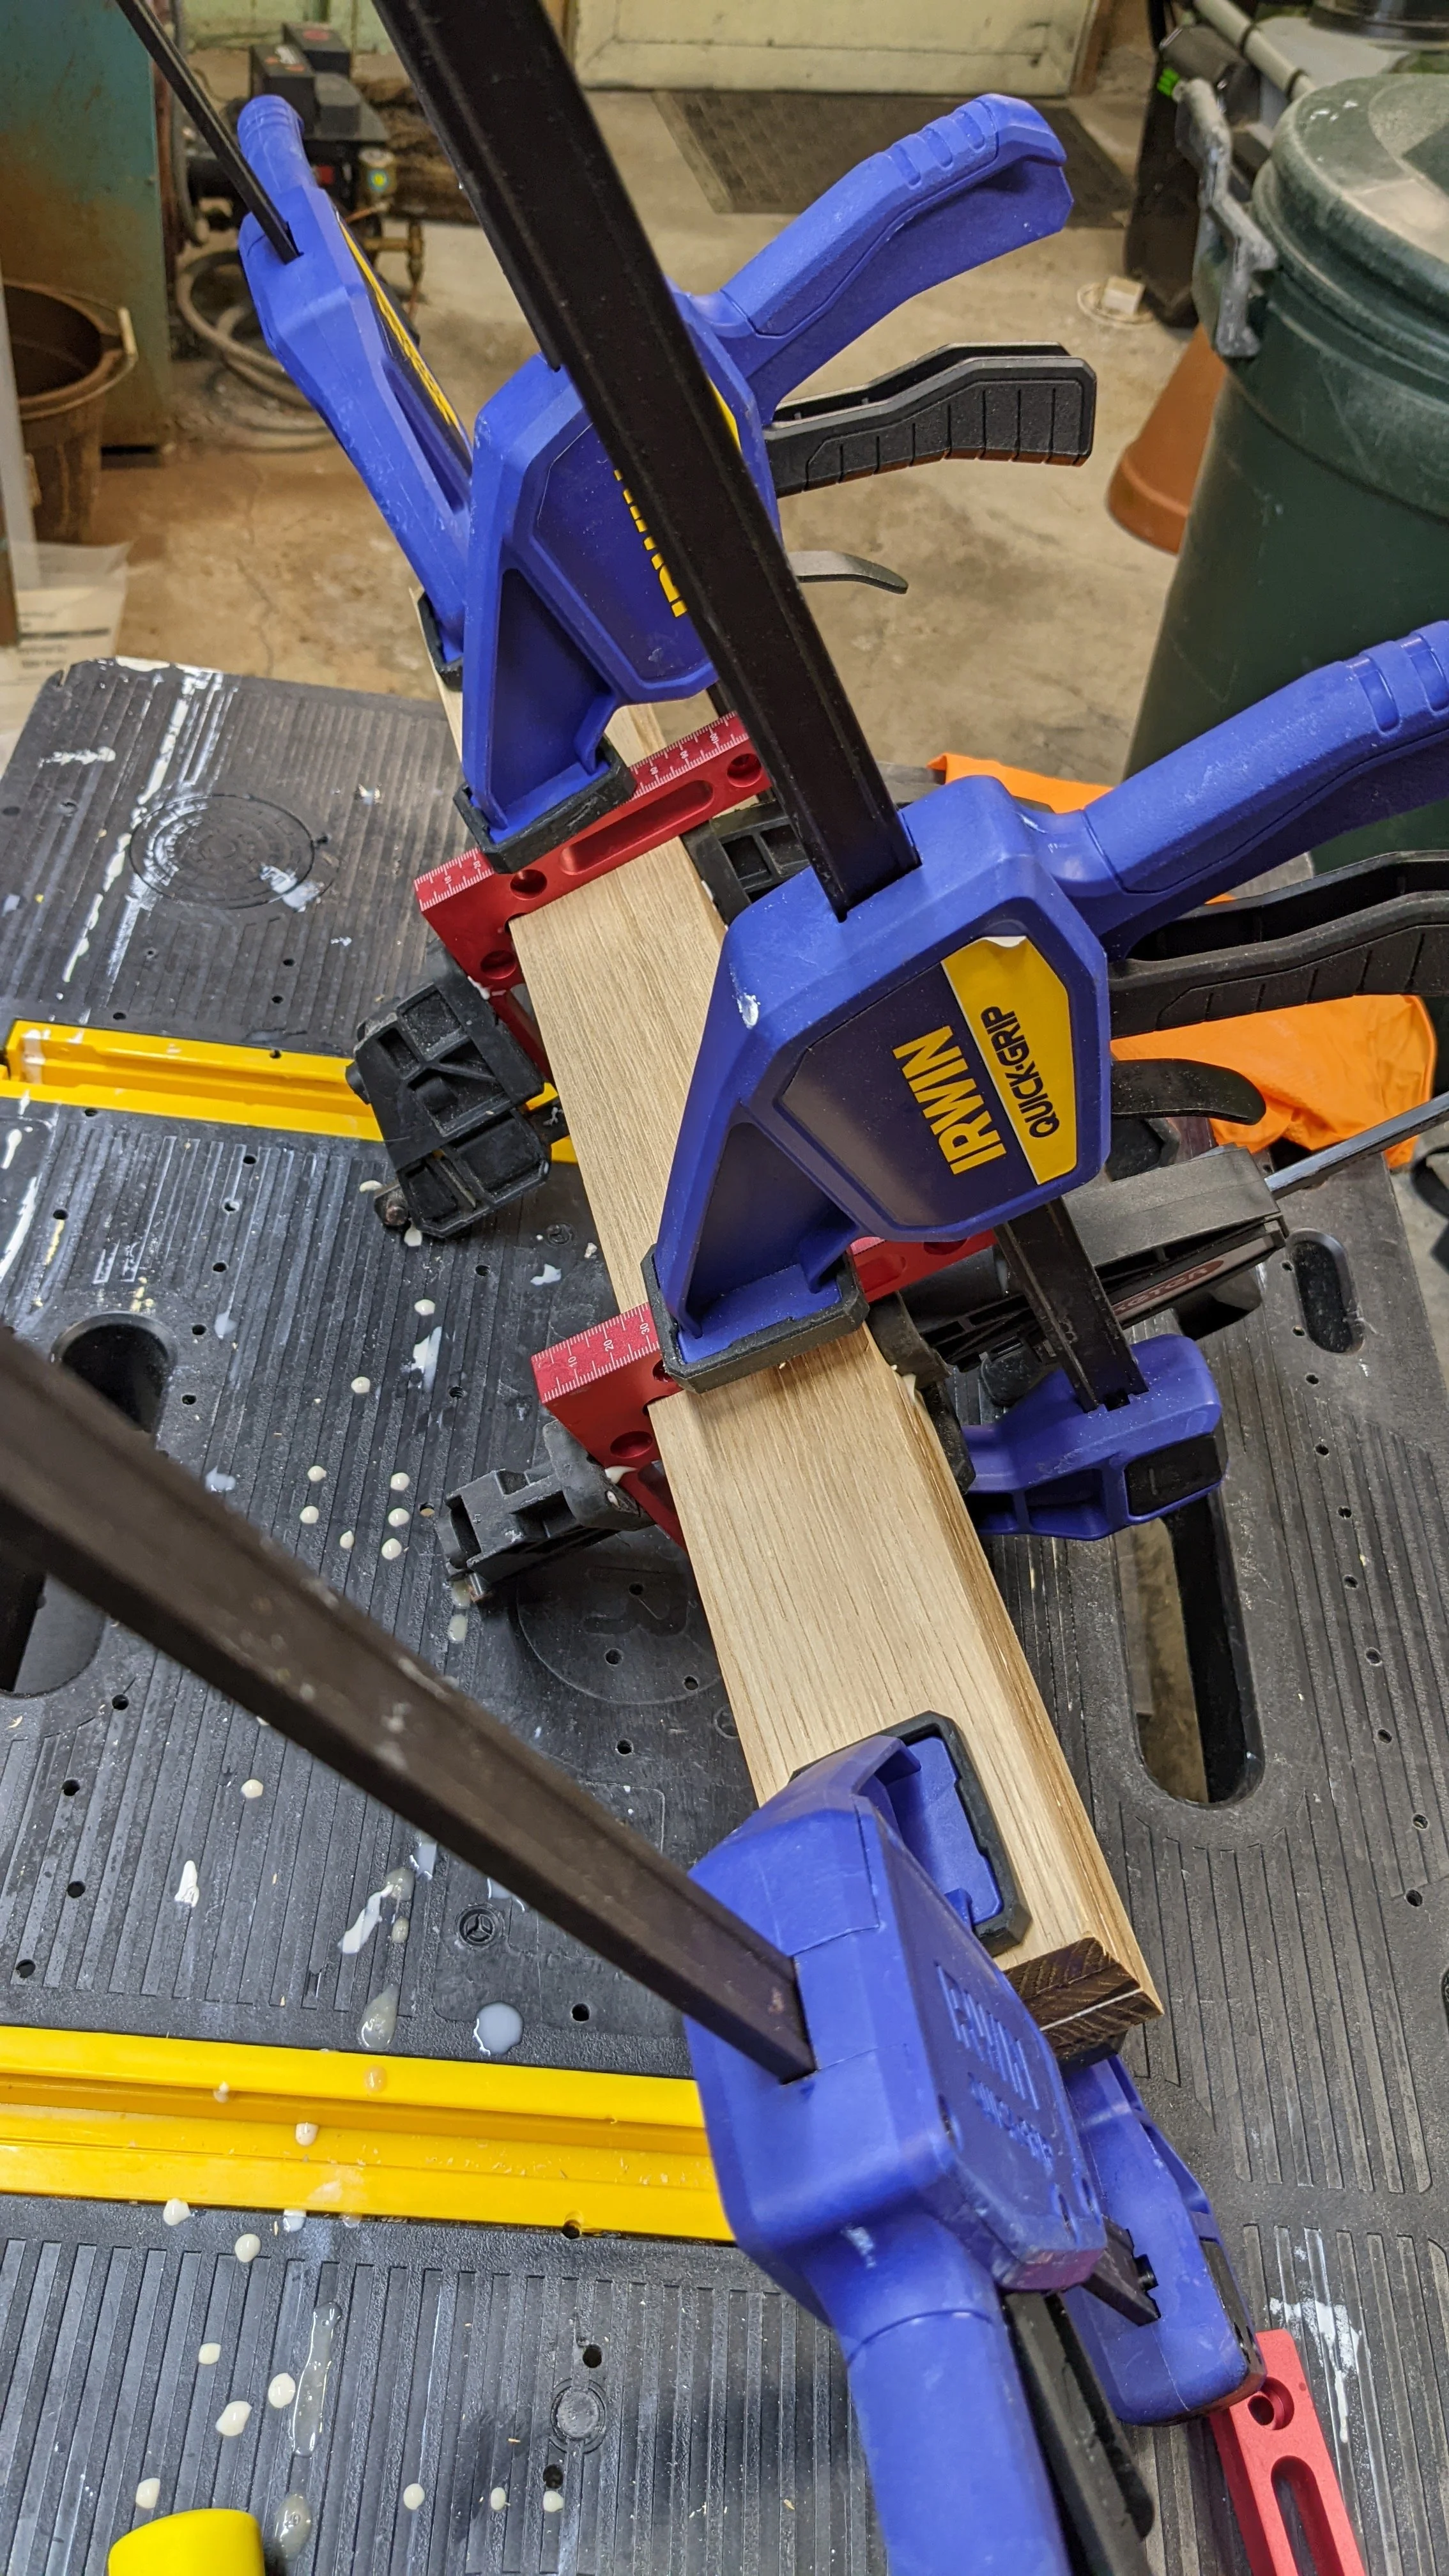
I glued up blanks for the legs which required some precision and extra clamping fixtures to try and get all the sides perfectly lined up ( since I don’t have a planer/joiner ). It worked out pretty well, the small variations I was able to clean up with the belt sander.
This was the first project I had that really used the drill press in anger. I used forstner bits to do most of the mortising and cobbled up various clamping fixtures to hold the pieces getting mortised in place for the operations. I also sharpened the chisels that I had and got a set of new ones to get the sizes I would need for cleaning up the various sized mortises. There were a lot of joints to do so my skills got better and better as I went along. I did the tenons using a combination of the table saw for the shoulder cuts and the band saw with a 1/2” blade with 14 teeth per inch for the cheek cuts. My precision has improved a lot since the Nightstand project. This was the first time I did tenons that interfered with each other so I learned to notch them so that they could pass each other in the mortise.
I got very comfortable with dry-fitting everything repeated and checking it for square and fit etc… I have assembled this chair probably dozens of times now. I simplified the frets on the sides of the chair because I didn’t like the pattern from the article at the scale they had it. I also substituted a slatted seat cushion support instead of a woven seat support because I like a firmer seat on my furniture.
In researching finishes for the chair I came across Danish Oil by WATCO and I have to say that I’m in love. Compared to everything else I’ve ever used, the process to get a nice looking finish with this stuff is very straightforward. I also sanded all of the pieces through 120,150, and 220 grit before assembly which took a while but also allowed me to be more thorough and consistent than any finish before now. I also masked off the joints during the glue up and had very little glue cleanup as a result.
Hero tools on this project were my new Starrett combinations square ( actually accurate down to 64ths ) and the Precision Engineer's Square Set from Groz both of which allowed me to get everything fitting and square to much better precision. The Groz squares are also great for making sure that your table saw, band saw, drill press, and miter saw are all actually square to their respective tables.
The next skill expansion is going to be perhaps learning how to use the sewing machine. My lovely and talented wife is going to teach me while we make the seat cushions for the chair. I’m waiting for a shipment of the foam so I’ll have some time to find the fabric and do something else for a bit. I’m really looking forward to lounging in this chair in my office and reading many many books in it.
The next project on the horizon is making a decorative dice box for aforementioned lovely and talented wife. Her return to playing RPGs has also brought on a dice collecting habit.
See you next time…