My shop where I build things is located in my basement and is connected to my garage which is also under the house. It isn’t very big so I’m always looking for ways to get more room for projects and machines. Recently I was told that my 40+ year old oil powered steam boiler was on it’s way out and that I’d have to replace it. I realized that I could solve this problem and reclaim almost 20 square feet of floor space where my oil tank was located if I converted to gas.
Oil tank on top of platform, under platform is a coal pile from 1929…
So, after a long period of dances with electricians, plumbers, removal people, inspectors etc… I have a new gas powered steam boiler ( No really, I wasn’t going to rip out all of the steam pipes and radiators in my 1929 house, I don’t care… ) and unfortunately under the platform and the coal pile was a granite outcropping like others at the back of my basement. If I wanted a flat floor for a work surface I’d have to reduce the outcropping to at least floor level.
I thought “How hard can it be?” and went out and got a hammer drill, a carbide drill bit, a set of feathers and wedges and set about splitting the outcropping into pieces.


This went well for a while, but it is very hard work. I could only do so much and then I’d have to take a break for a while to keep from hurting myself. Then I ran into a very hard section of the granite that just wouldn’t split. I would tap in the wedges and it wouldn’t crack, the wedges would get stuck and I would end up having to drill the wedges out.
I shifted to “Plan B” which was to score the area at about two inch intervals with a diamond wheel and then use a carbide chisel and sledge hammer to snap off pieces. This made the feather and wedges process seem like the easiest thing in the world. I quickly realized that it would also take forever since I was only getting about a 1/2” thickness of rock removed per round of chipping and I couldn’t even manage to do the whole area at once.
Then I thought perhaps I can just pour concrete in the area that I have cleared and then work on the remaining area in the fullness of time while still getting some floor space. I used multiple online concrete calculators to figure out how much I would need and quickly realized that just mixing that amount of concrete let alone wrangling that number of 50 lb bags would kill me.
“Plan C” rapidly emerged. I called up the masons who had helped me with our new retaining walls and garden landscaping. We came to an agreement on price and in two days they had removed the remaining granite outcropping and poured a new floor section.
Rock removed by professionals and new floor poured…
With the new floor in place I wasted no time in starting to build out the new area. I had thought about the layout many times and I drew up some rough scale drawings to make a material estimate and ordered everything to be delivered from Home Depot. In the meantime I painted the walls with two coats of basement paint.
Two coats of basement paint
My plan was to have lower cabinets and work surfaces running into the corner with drawer units and shelf units all painted, with doors, drawer fronts, and cabinet backs to control dust and mildew. There would also be three upper cabinets of similar construction for more shelf storage.
The first step was to screw pressure treated battens to the wall to support the lower and upper cabinets.
Pressure treated battens to support work surfaces screwed to concrete using Tapcon screws…
I then built a 2x4 frame, yes I had considered doing frameless cabinets but I wanted the extra strength to possibly support machines, hammering etc… It also made all of the cabinets modular so if I wanted to move or replace one in the future I could just unscrew it and pop it out of the frame later on.

2x4 frame, yes yes I know it’s unnecessary…
I cut the counter tops out of 23/32” cheap shit sheathing plywood ( which I’m going to top with hardboard later in this story ) and built the boxes, drawers, and shelves out of the same material.
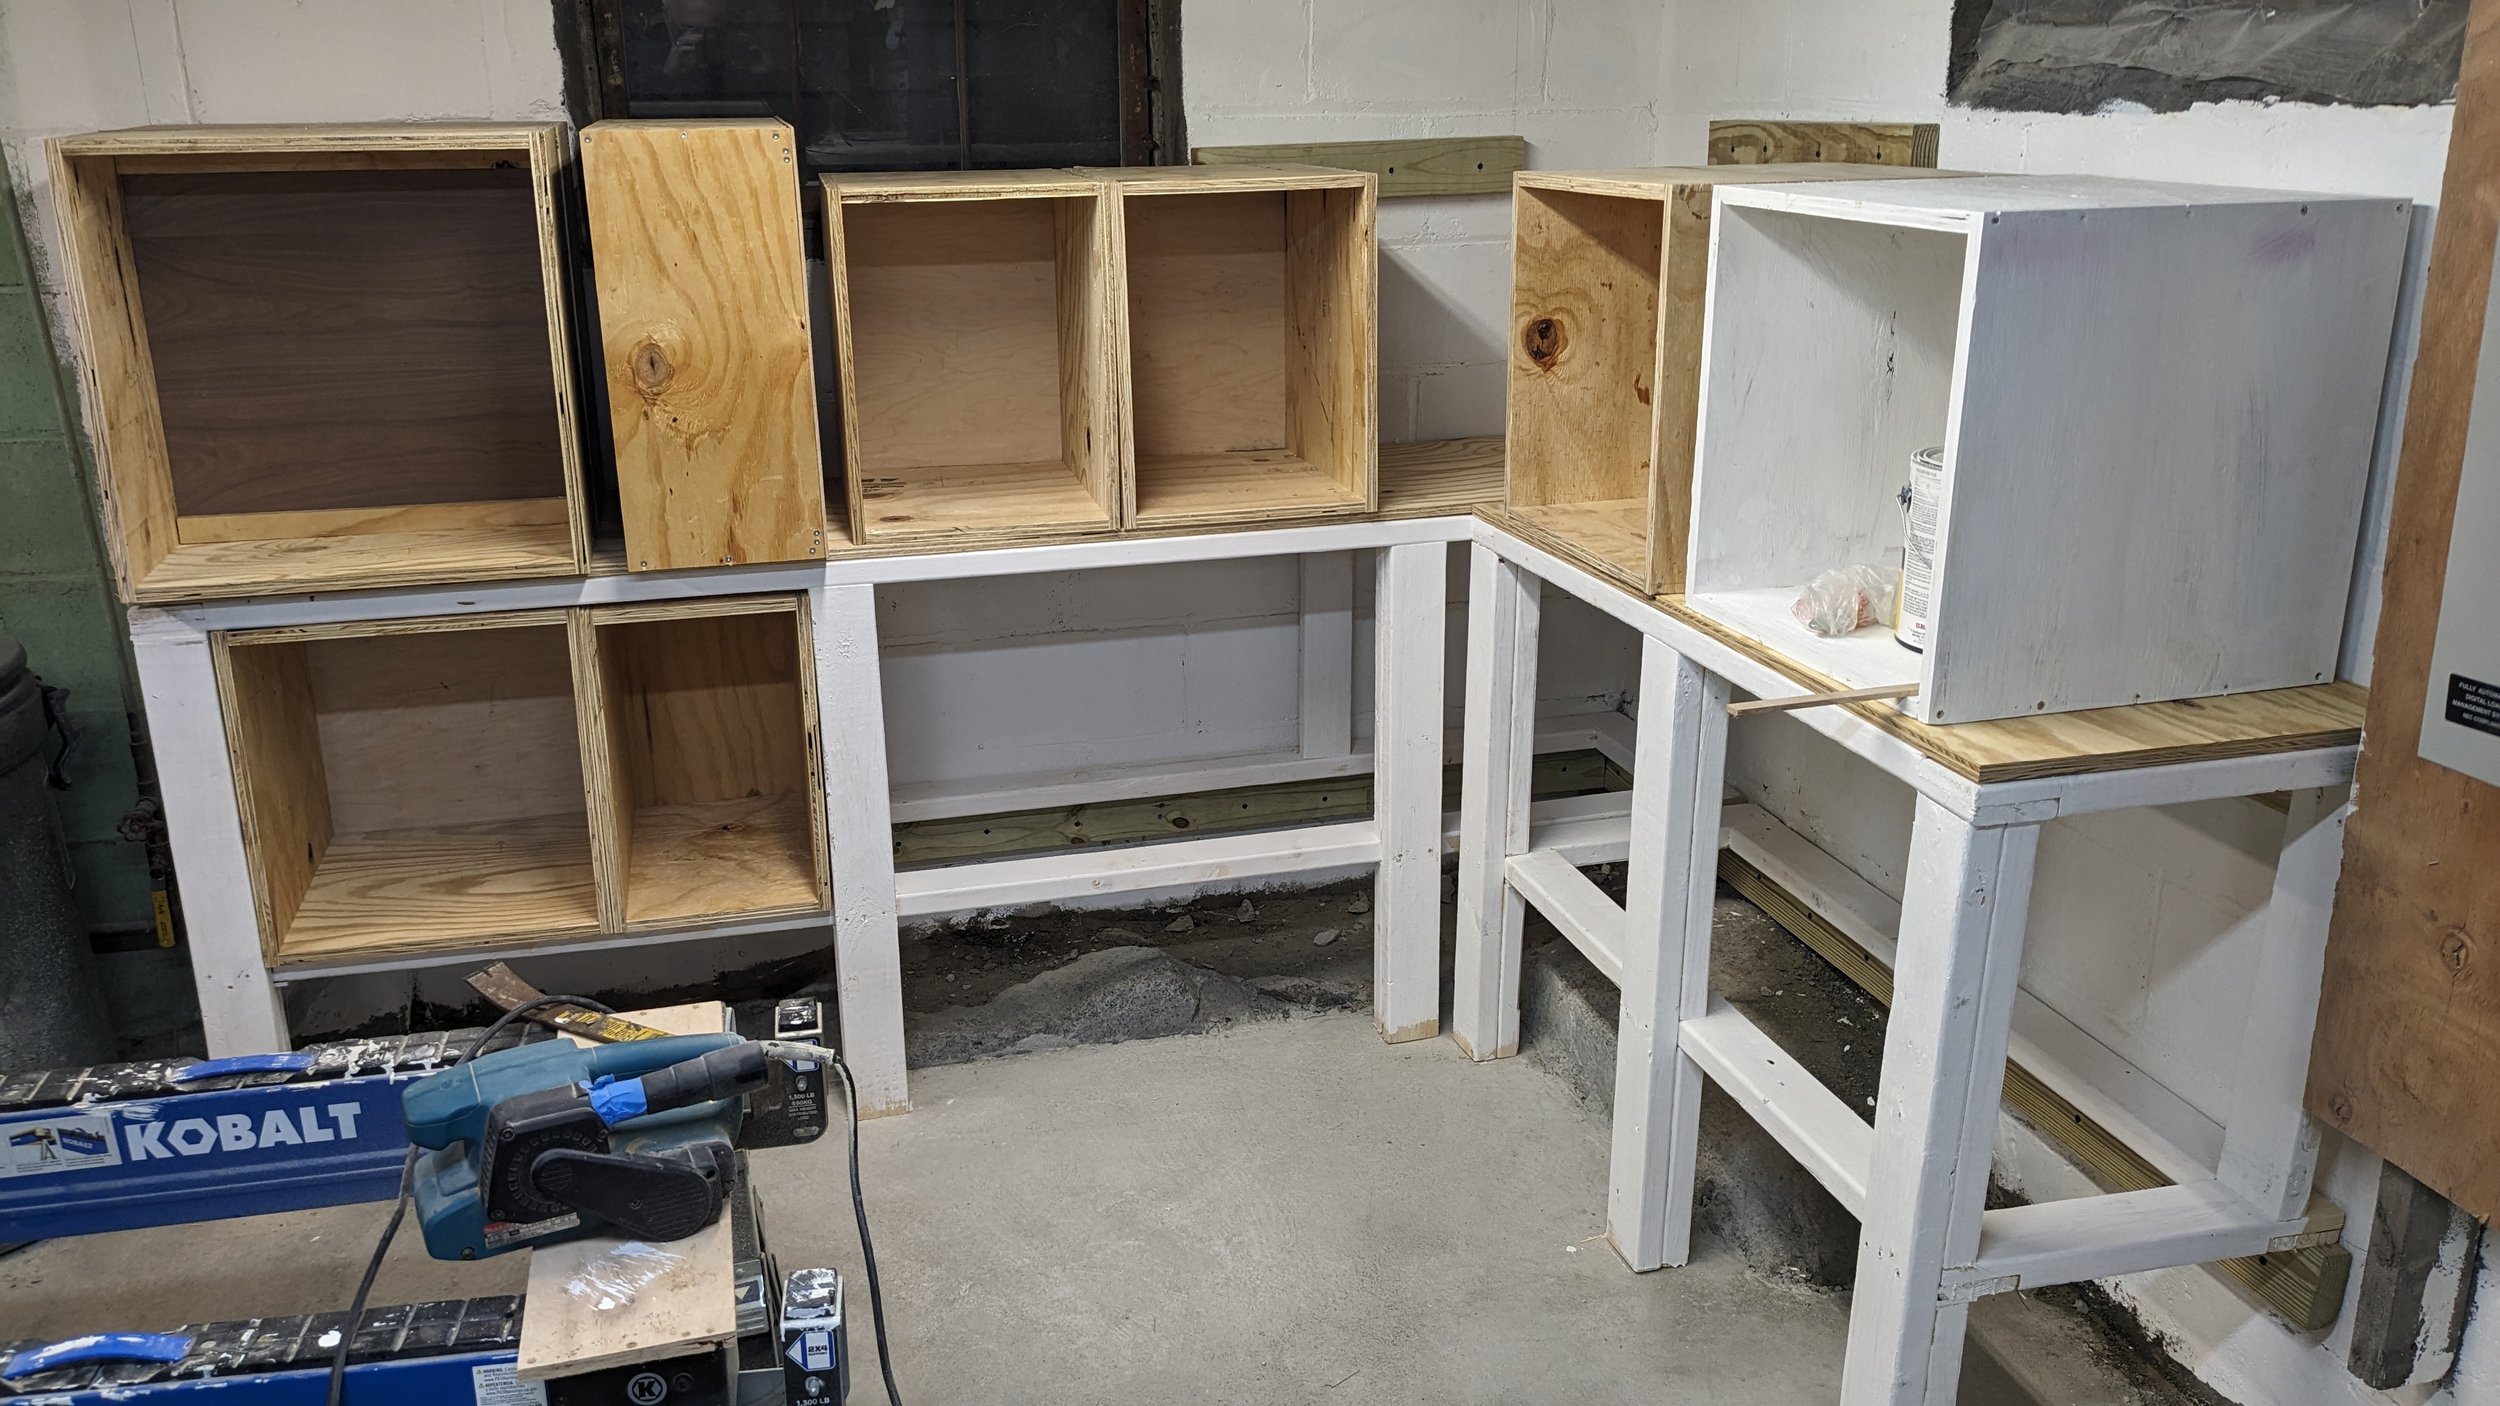
Cabinet boxes 23/32” sides and 1/4” backs… shelf boxes drilled for adjustable shelf pins…
I got a good deal on some cheap drawer slides on Amazon and built and installed all the drawer units with drawer fronts, handles etc… You’ll also note that I’m painting (badly) everything with Zinzer primer to help prevent mildew ( my basement is damp ).


Next was lots of doors, I used simple half-lap joints and some 1” ( really 3/4”) select pine for the frames and 1/4” plywood for the panels. I was able to mass produce the parts since all the uppers were the same doors and the lowers were all the same height.
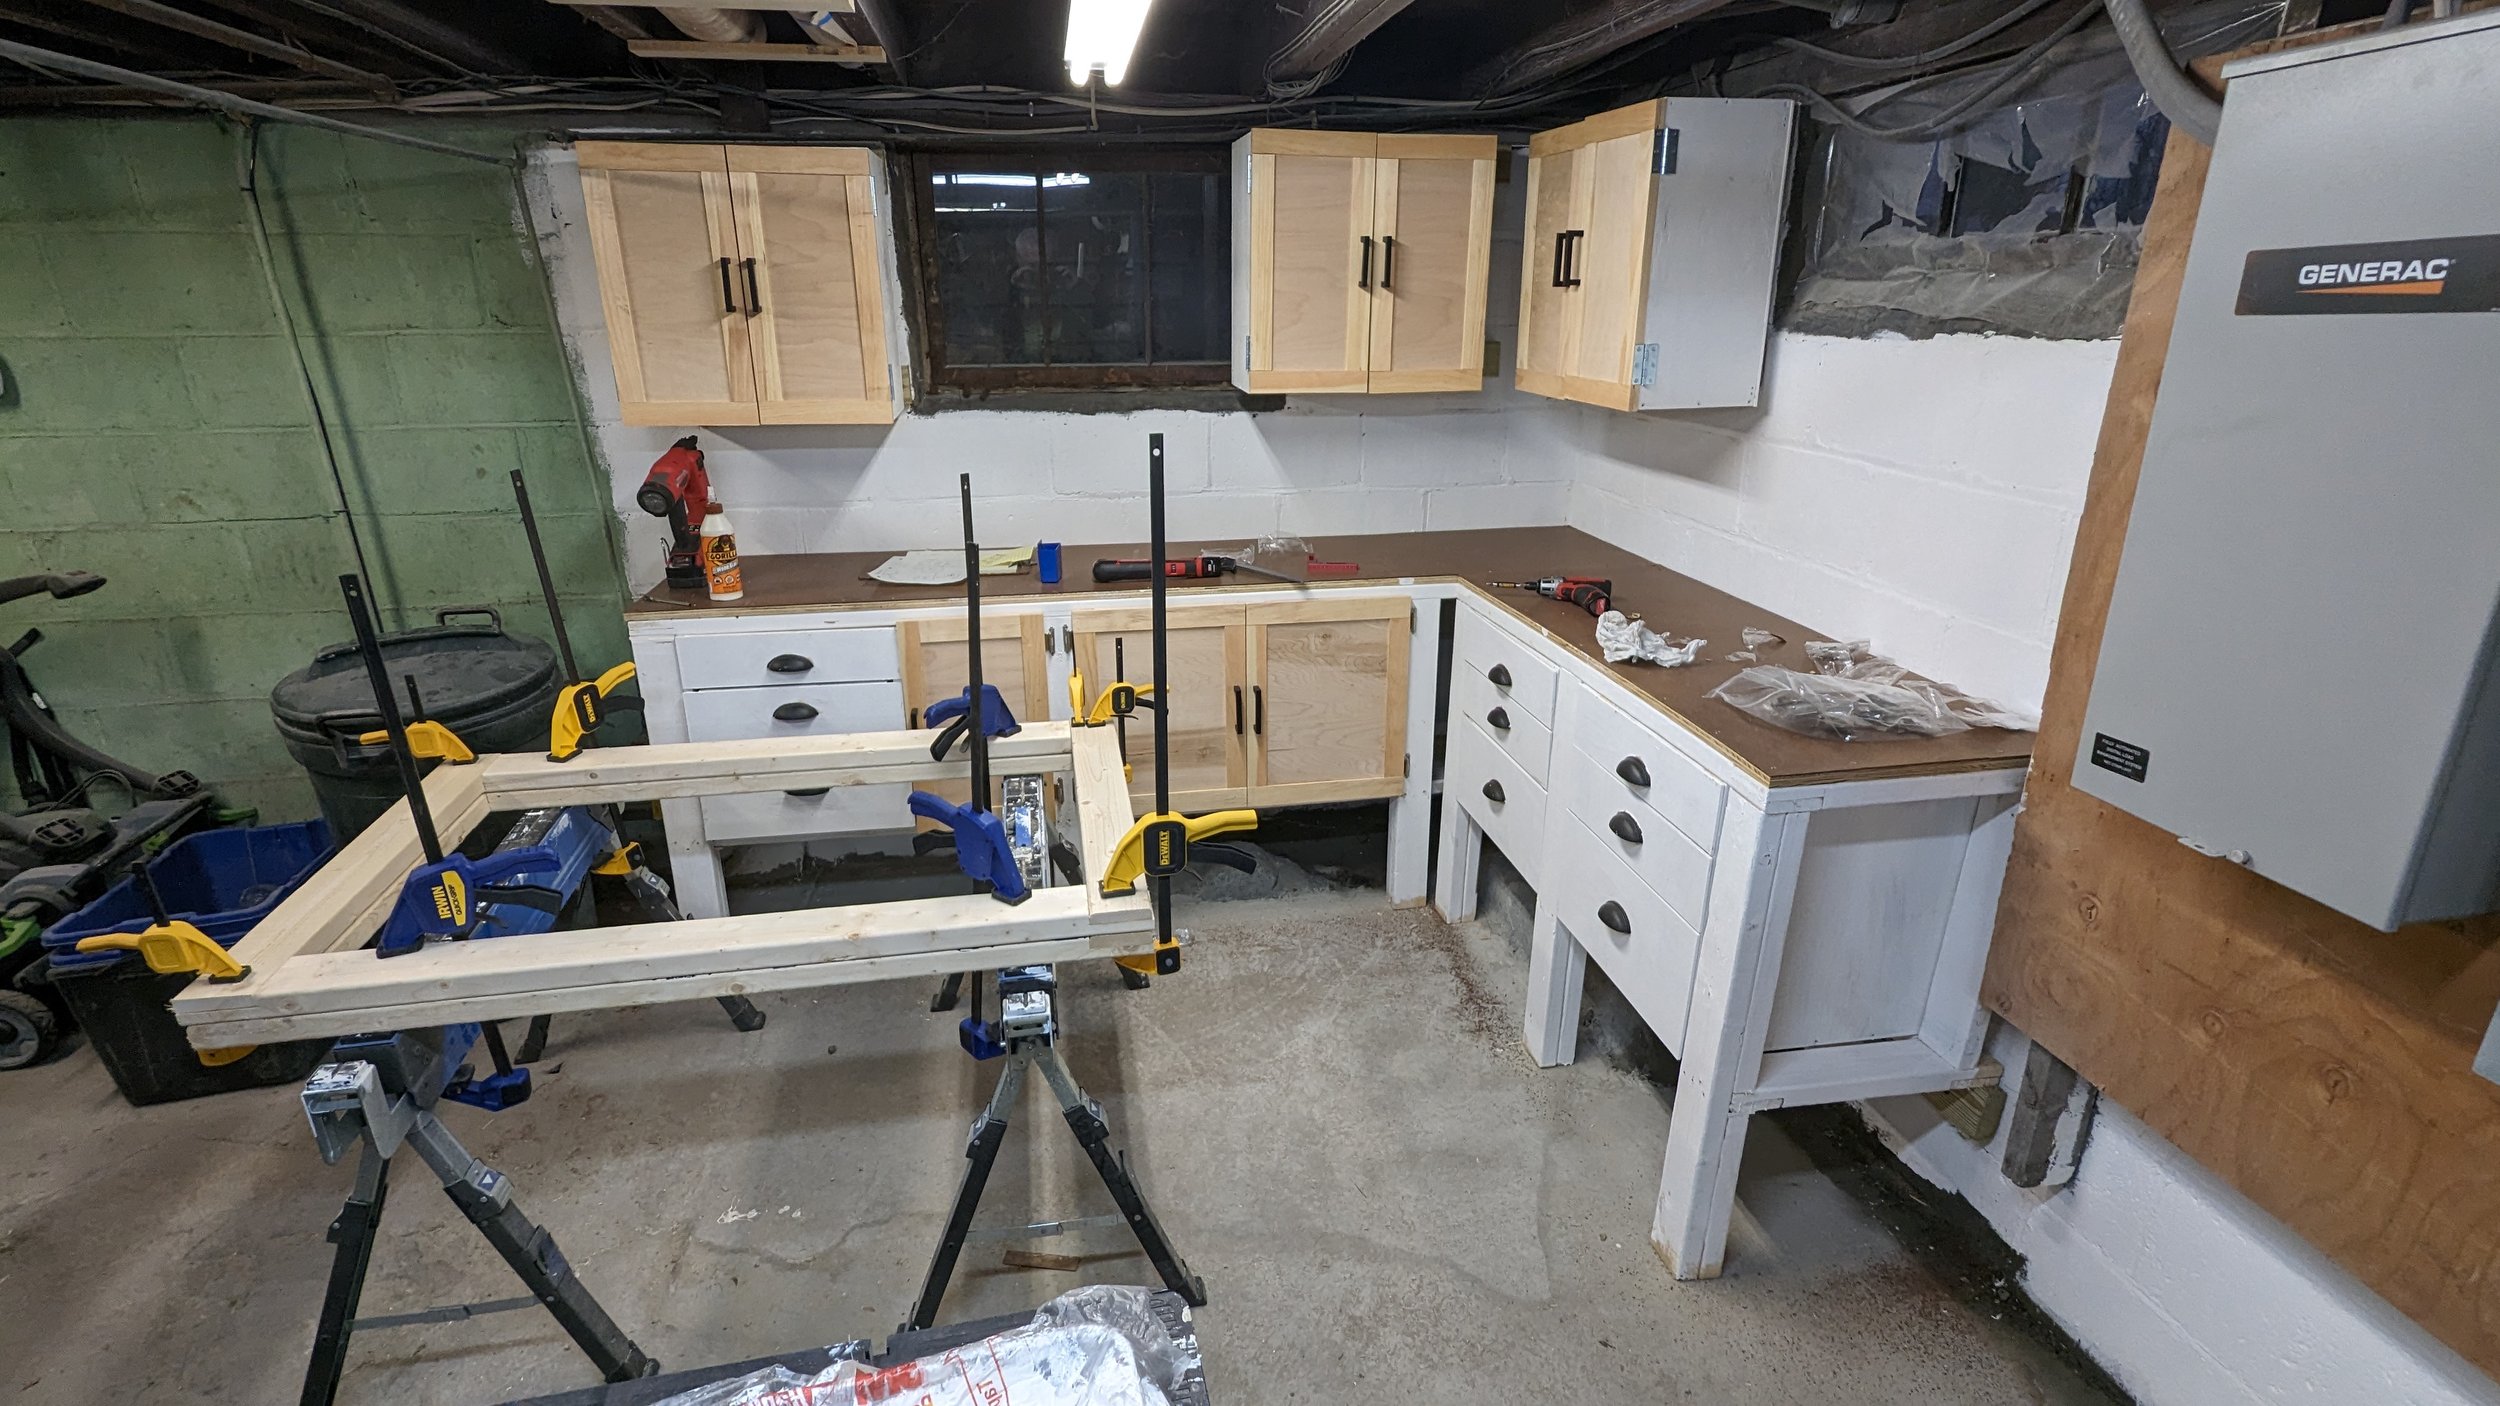
Doors installed for all of the upper and lower cabinets…
Finally, I built a rolling island with a work surface and storage inside. I found these cool ratcheting leveling casters that have rubber feet that come down and lift up the leg to make the island stationary and it also lets it be leveled pretty accurately.
Rolling leveling work table island with storage…
I’m so excited to have this new workspace finally and I’ve already started building a project with it.
Addendum: A hero tool
I meant to mention a new tool that I got for this project. I knew that I was going to be cutting up a lot of 23/32” ( close to 3/4” ) plywood and other sheet goods for this project. I’ve always been unhappy with clamping straight edges, boards, etc… and trying to follow along them with the circular saw. I watched with jealousy makers on YouTube using lovely Festool Track Saws and doing effortless long cuts. I couldn’t bring myself to part with the money for a track saw. However I found a compromise that only cost a hundred bucks. The Milescraft Track Saw Guide which is an adapter that converts almost any 7.5” circular saw into a track saw. It comes with tracks, clamps, the adapter sled and alignment accessories. I can only say that it works perfectly. It doesn’t do a couple of things that a real track saw can do like plunge cutting and pre-cutting the kerf in front of the saw. I don’t actually need those things, it does everything else. I cut up many sheets of various thickness material quickly and accurately using my 20 year old Porter Cable circular saw and this adapter. Highly recommended.

