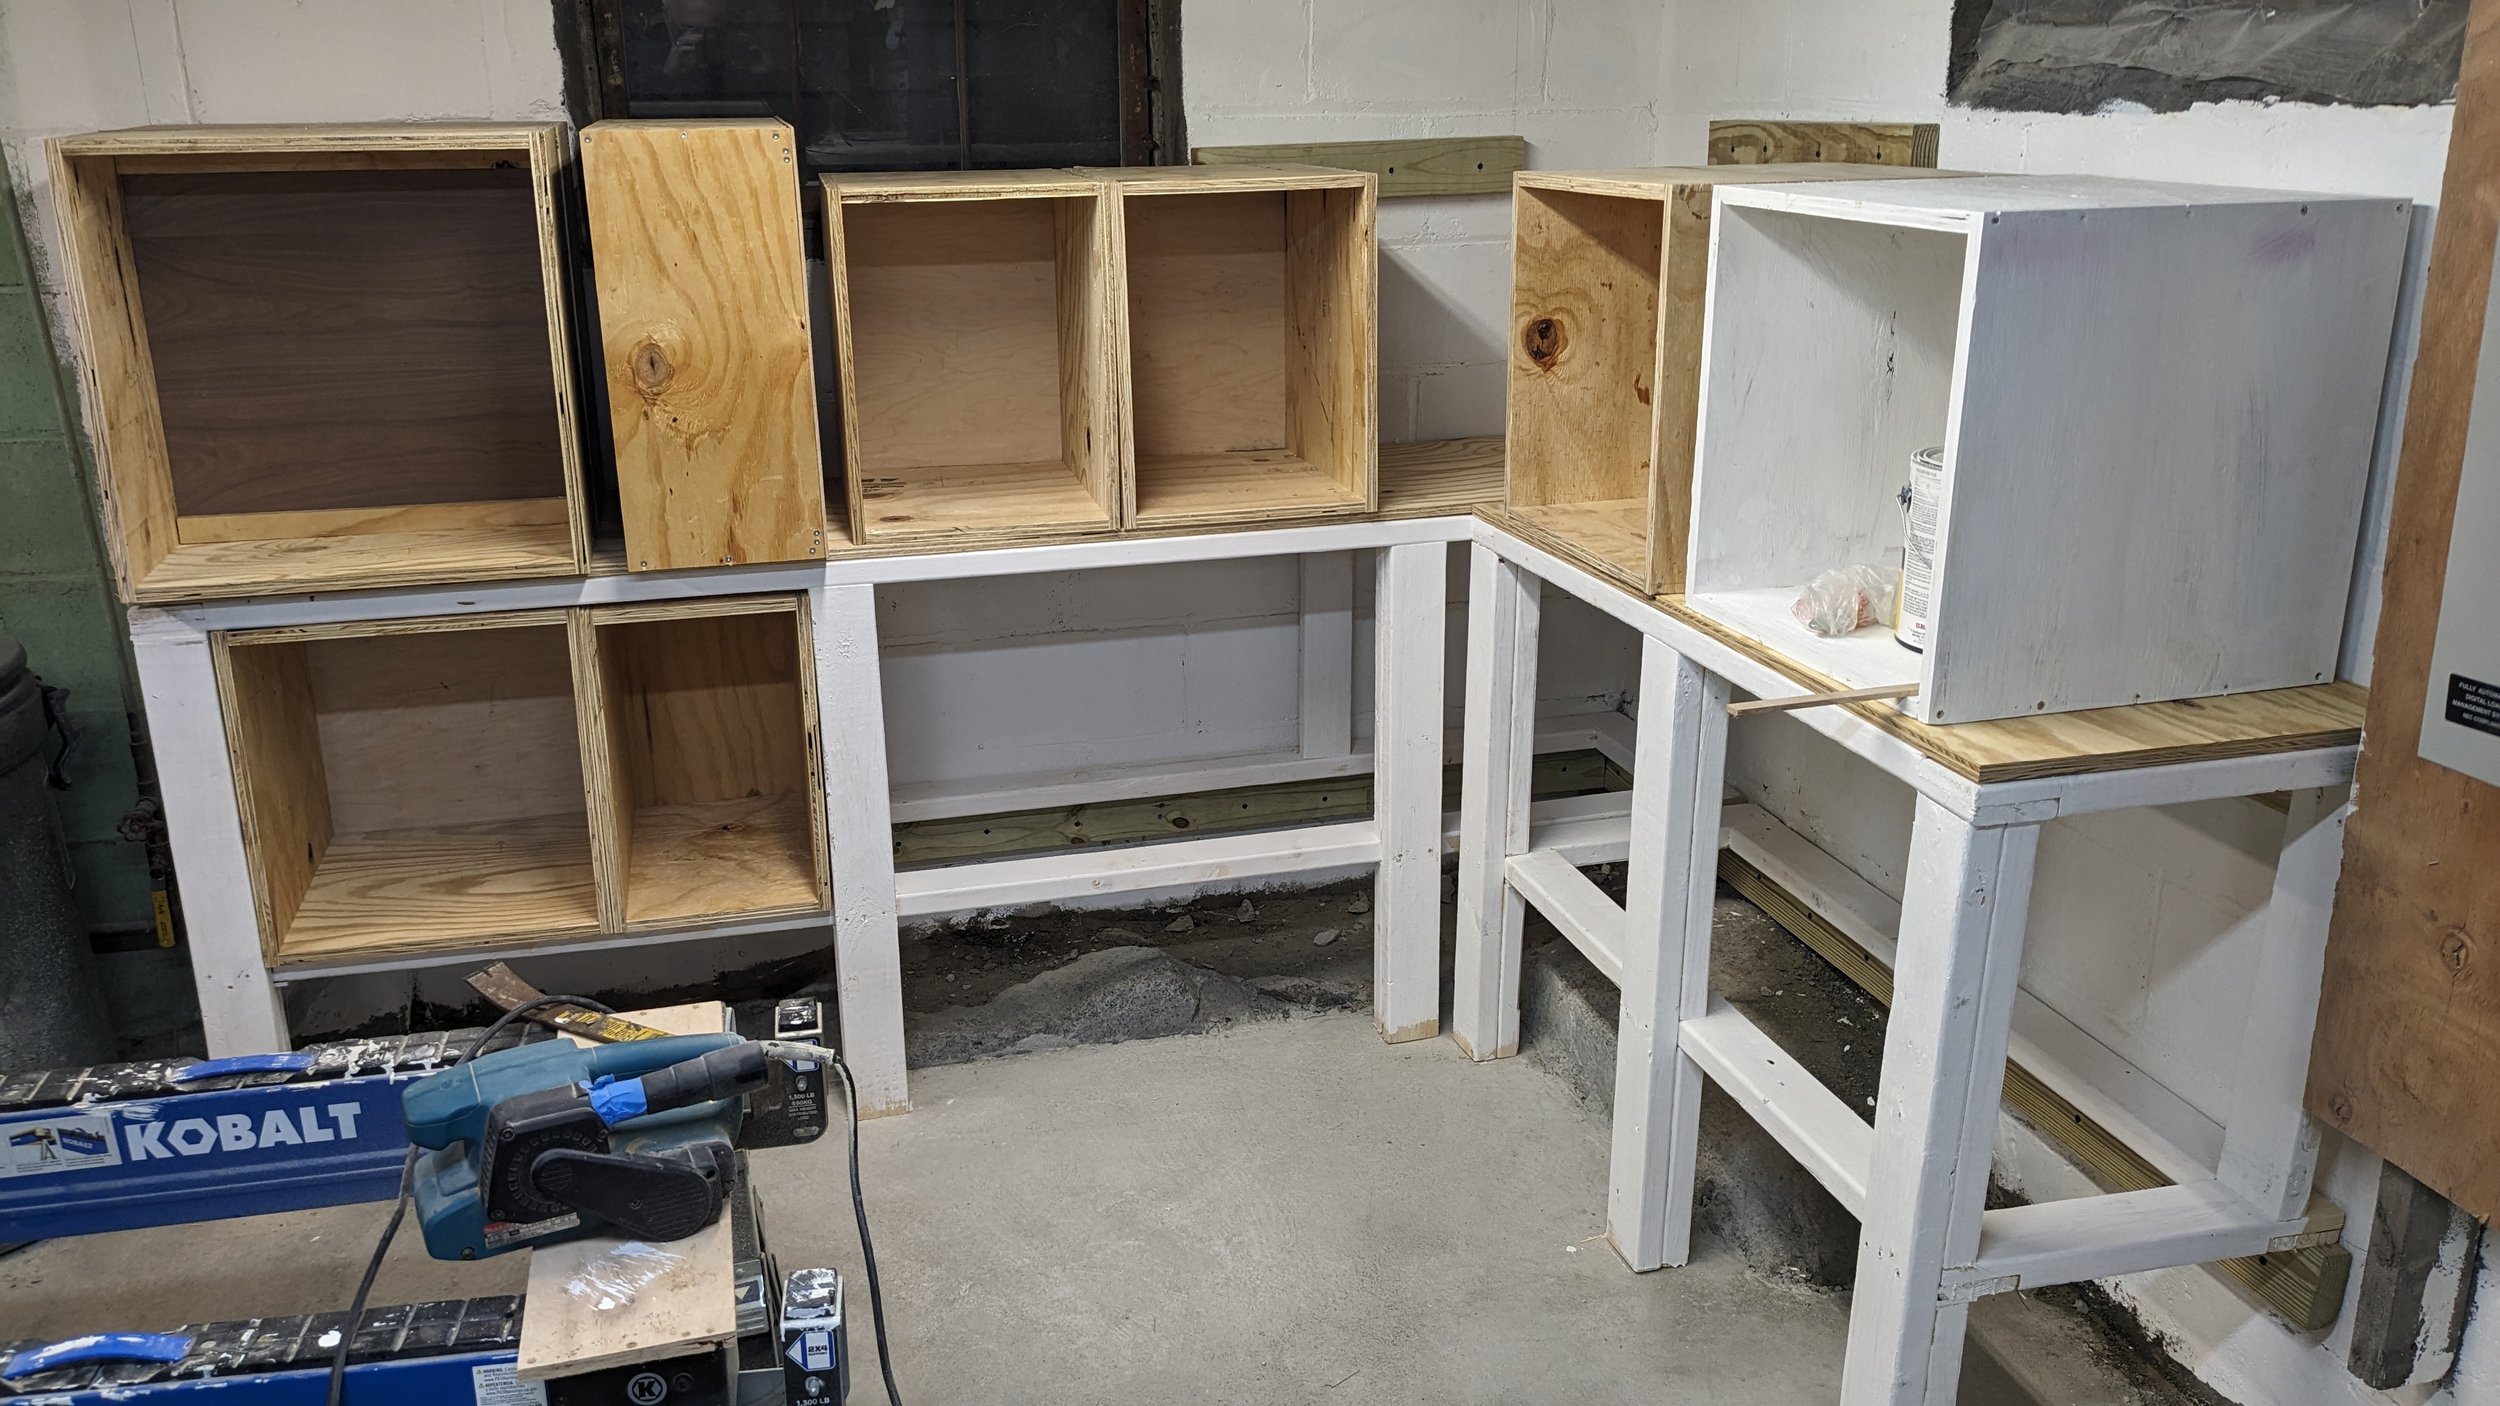
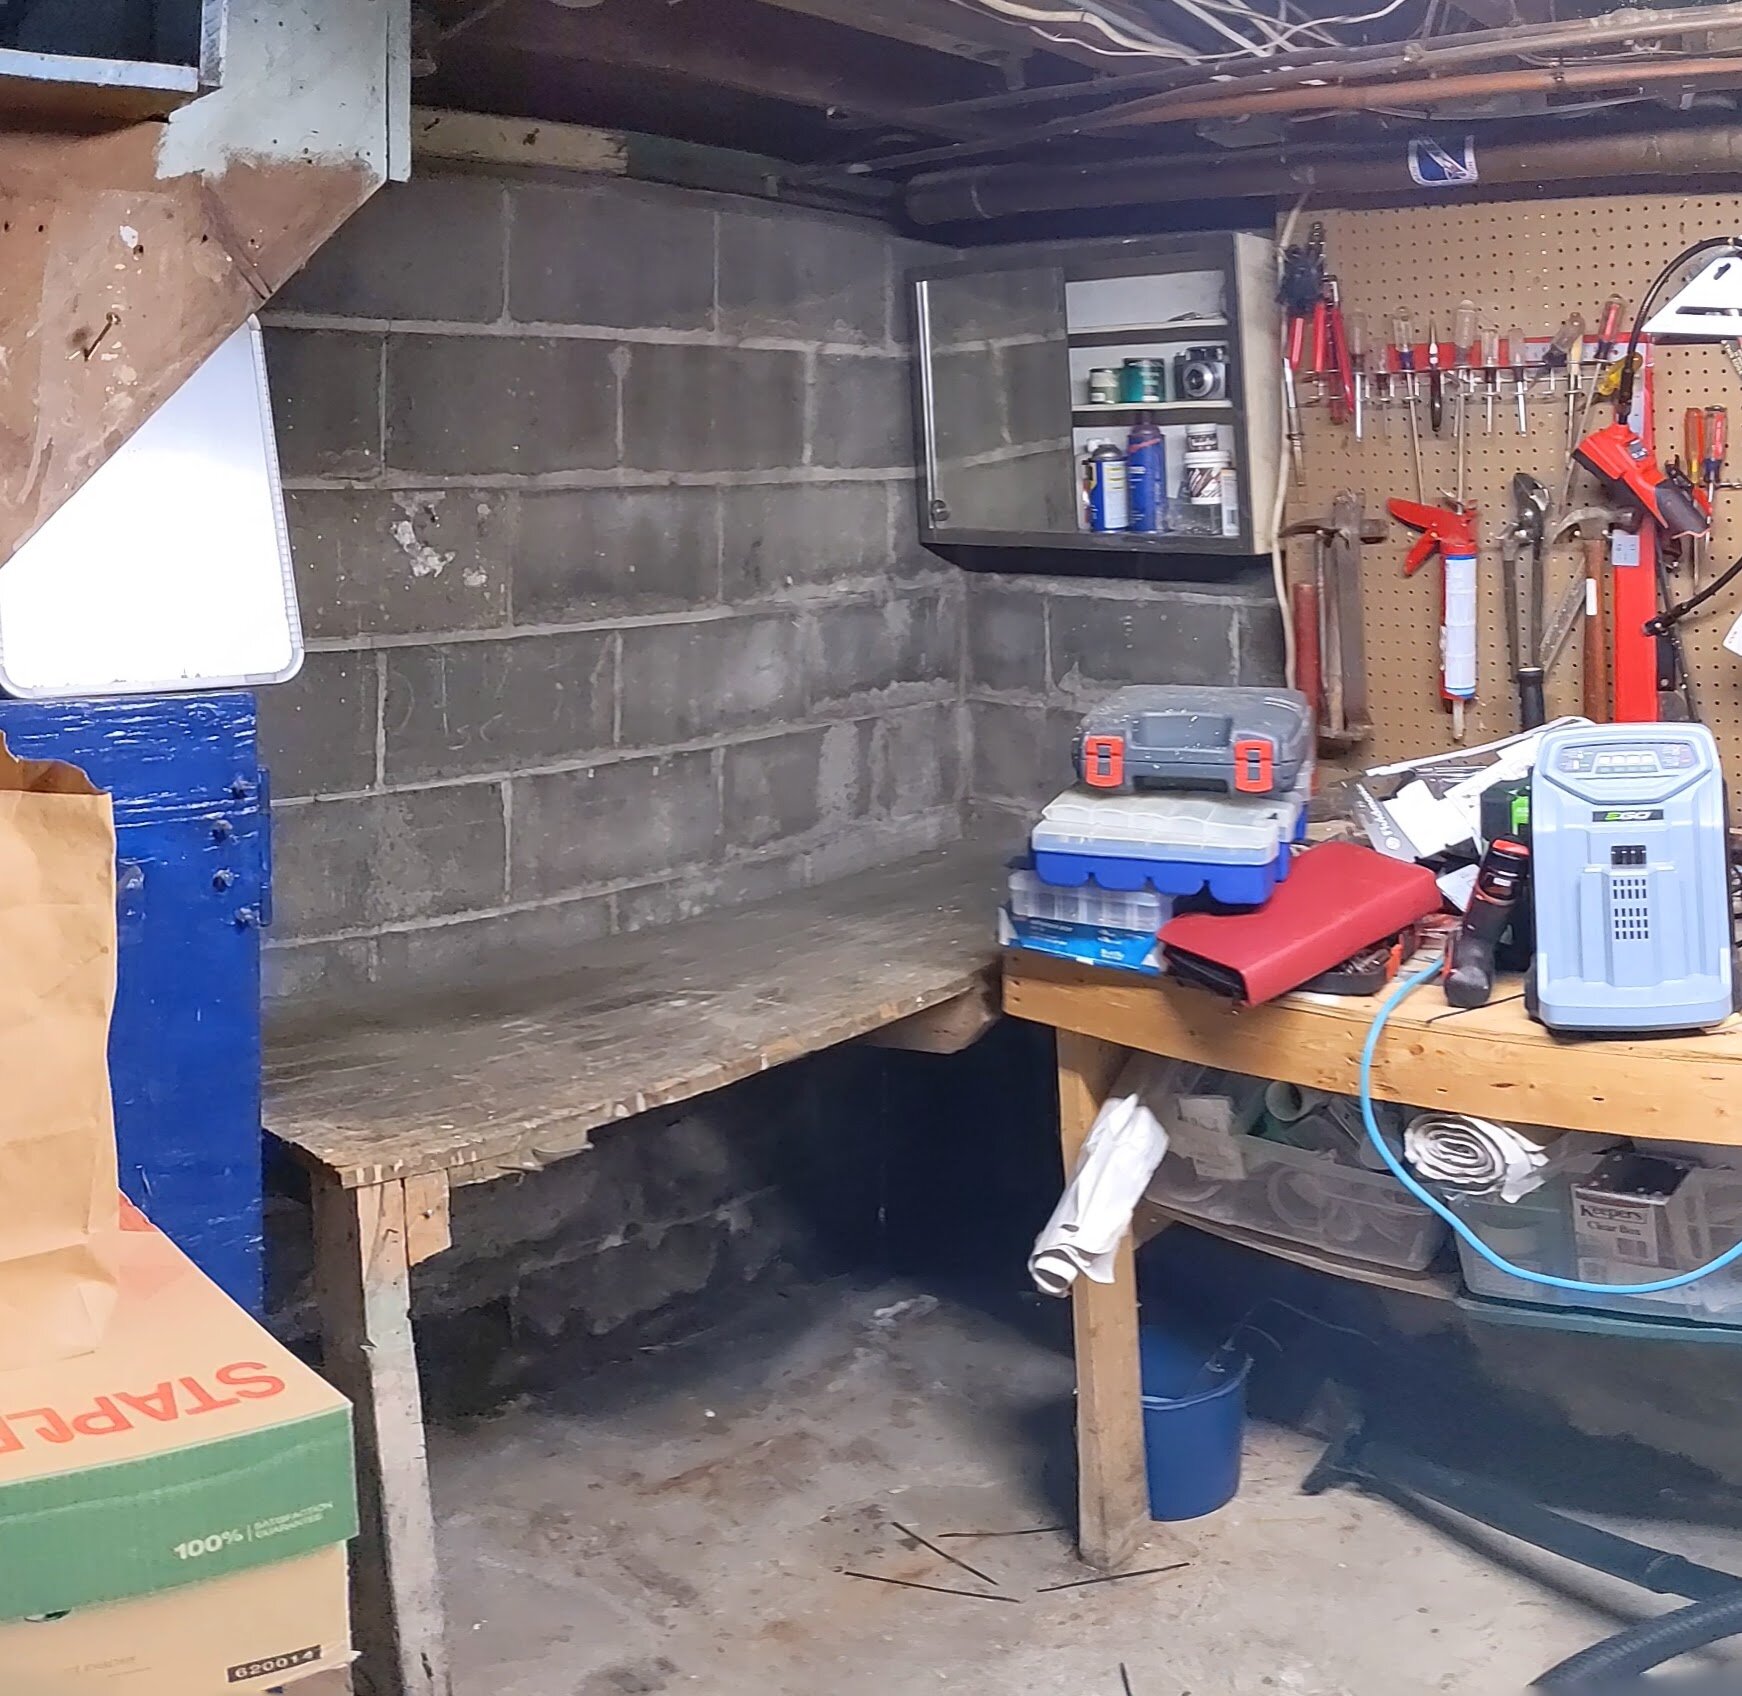
When you have a shop in a relatively small basement storage space is at a premium. I’m constantly looking for ways to add more storage or in this case make the storage I have more usable. The top shelf in the storage behind the basement stairs has been an evolution from open shelves to a set of flat deep drawers and now to make the top shelf more effective pull out shelf organizers. The problem was that if anything went to the back of this 24 inch deep shelf it would be very hard to access. I saw a great deal on Amazon for Blum TANDEM under-mount slides and I’d been watching someone on YouTube making pull out shelves for a kitchen pantry and this gave me the idea to make a bunch of pull out shelves for the shop.
Three of the units are six inches wide and two are nine inches wide. The front three are 18 inches tall and the back two are 15 inches and 14 inches tall respectively. They are all 21 inches deep. The end panels are 3/4 inch natural birch plywood and the top, bottom and shelves are 1/2 inch natural birch plywood. The rails to keep stuff from coming off the shelves are 1/4” natural birch plywood.
The construction is just rabbets top and bottom and dados to support the shelves. I used glue and 15 gauge finish nails ( I love my Milwaukee cordless 15 gauge finish nailer, it is fantastic ). The back of each cabinet is nailed and glued on.
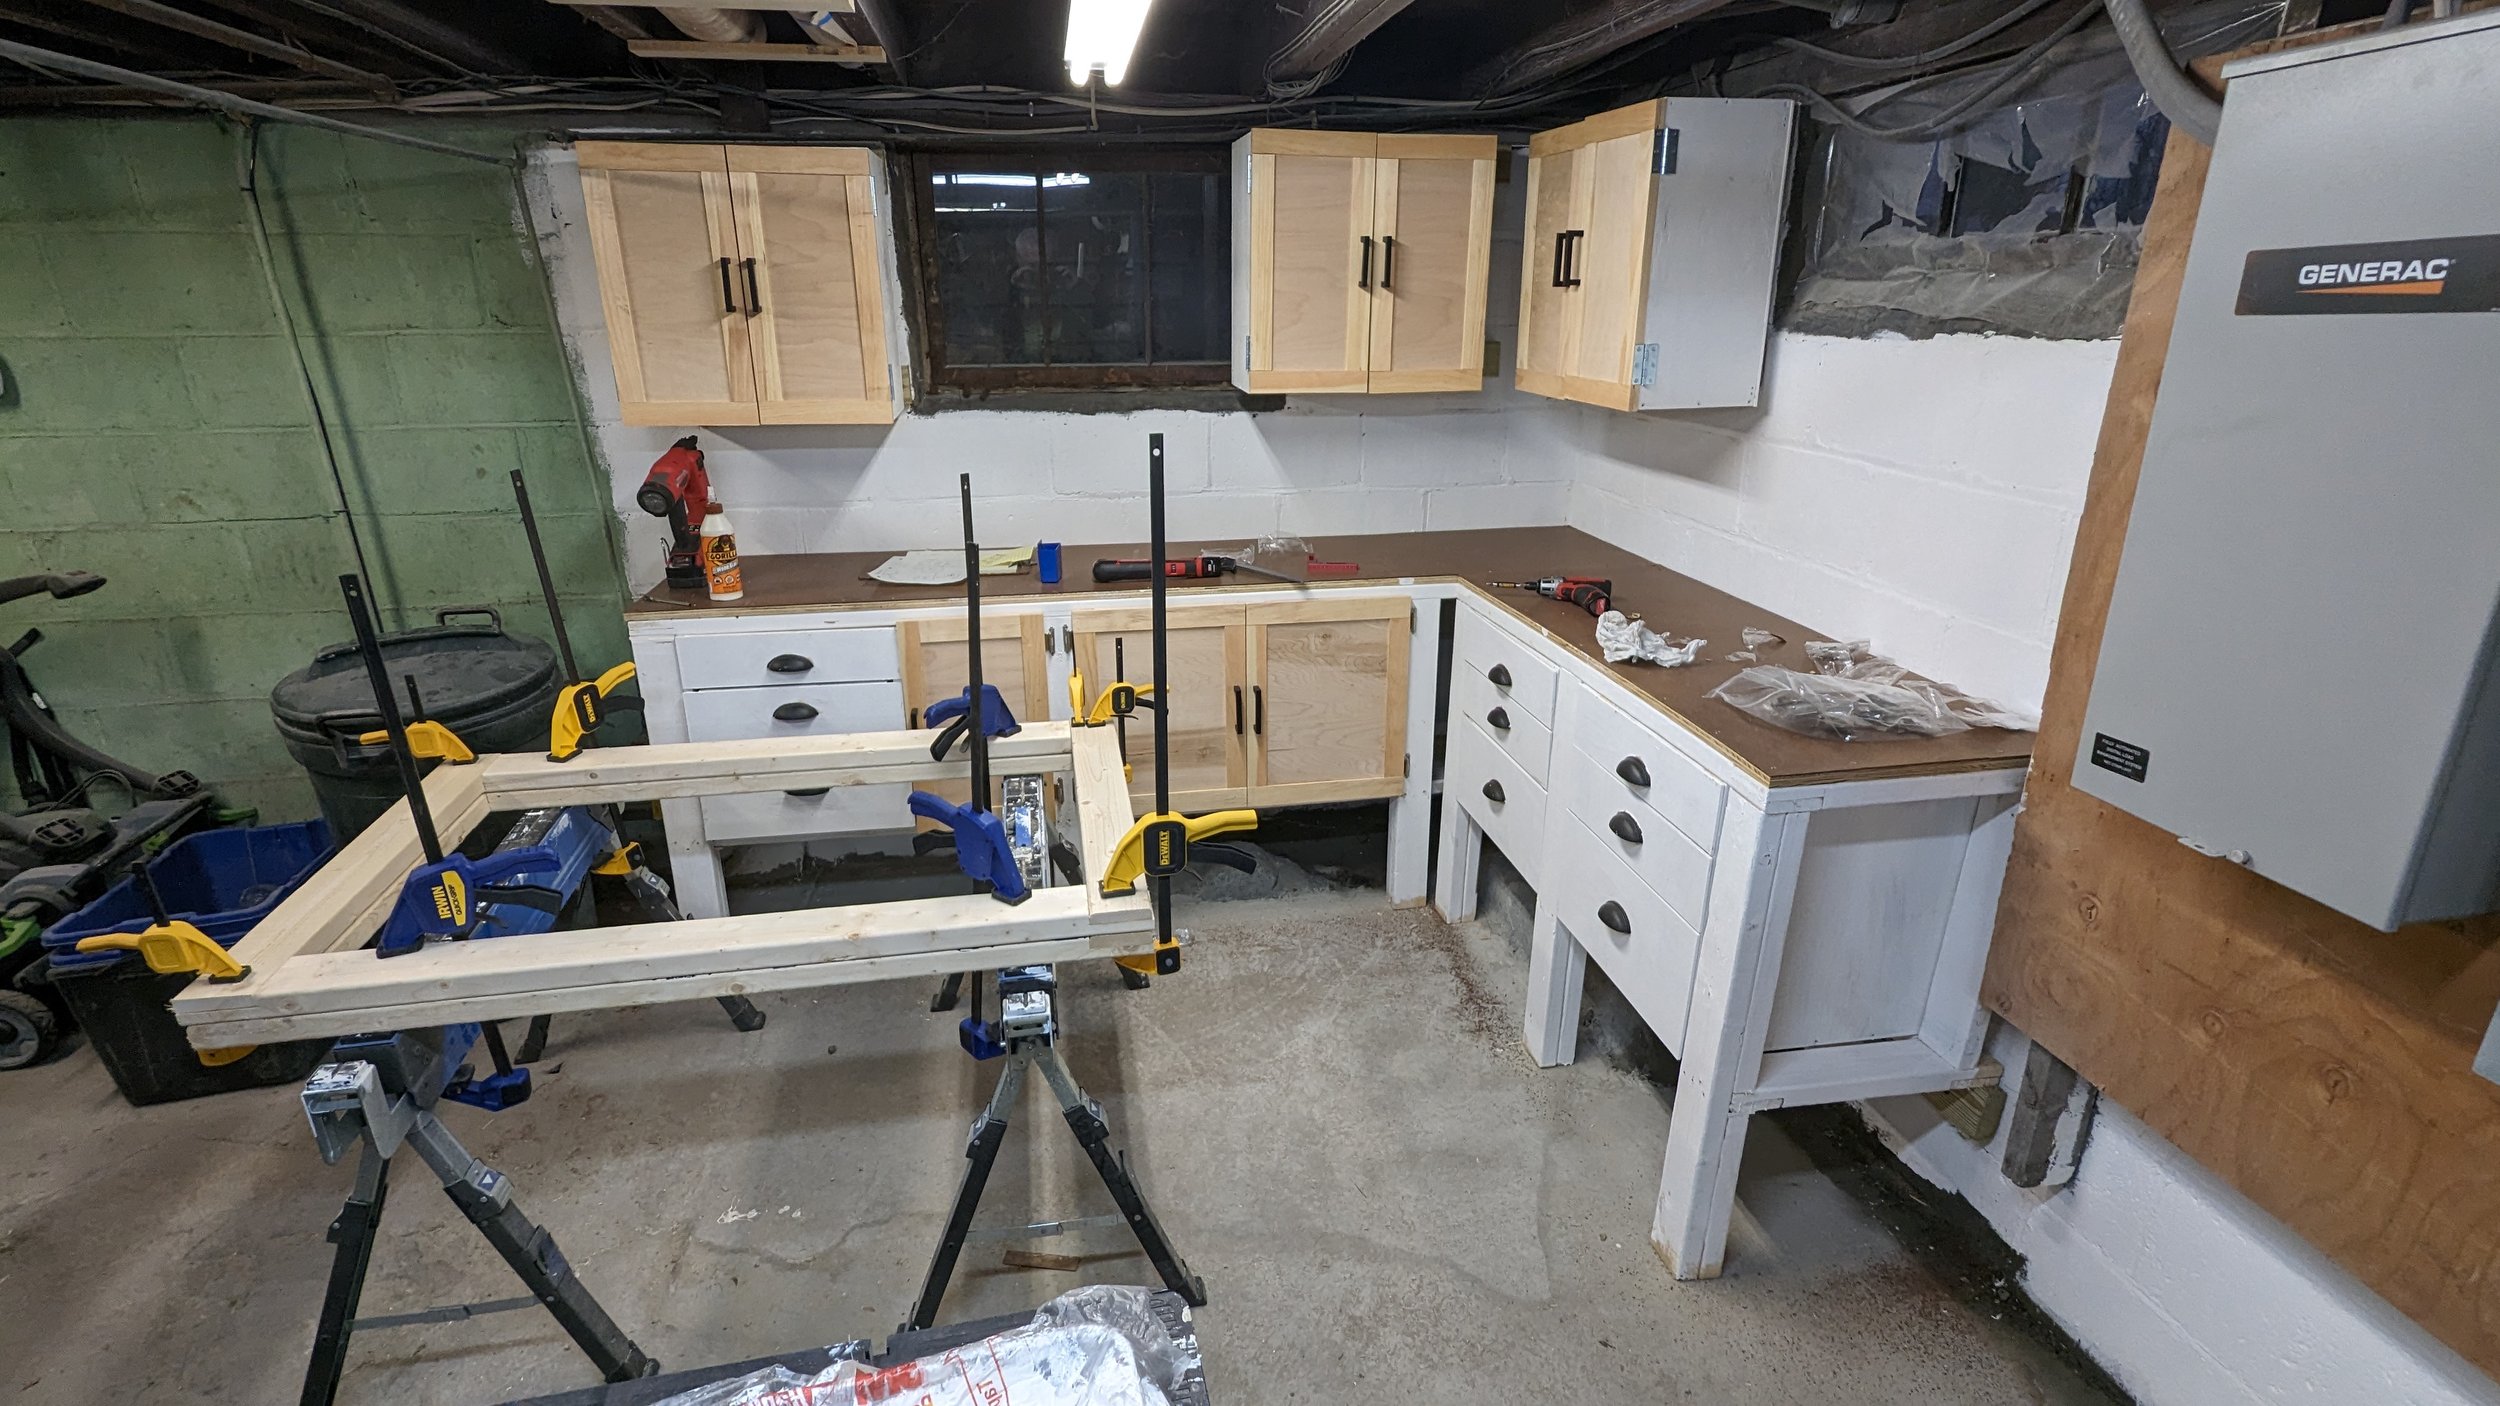
The TANDEM under-mount slides are pretty easy to work with except for one tiny oversight on my part, there is a minimum drawer width because the levers and mechanism to connect the cabinet to the rails have a fixed width and I was just under it with the six inch wide cabinets. I was able to work around it by modifying the bottom of the six inch cabinets so it all worked out.
I also had to reduce the height of the furthest back cabinet because the spacing between units wasn’t as tight as I’d estimated. I was able to just slice the top off of the unit and make it into an open topped roll-out, just like I had designed it that way to clear the pipe going over it.
All in all they work great, pull out smoothly, soft close, clear everything around them and have made that space very usable. I even have some “baby fat” as Adam Savage calls it, extra storage that is empty. That won’t last long.