Building Project: TV Lift Case and Side Table

I’ve been wanting a larger TV for a while, we have a relatively small TV because it fits inside the old TV cabinet that we’ve had for quite a while. My beautiful and talented wife likes to be able to hide the TV when we’re not using it, so that is one constraint. Also, our house is relatively small and there is really only one spot in the living room where we can put the television. That space is limited in size. So, I came up with the idea of building a cabinet that was a nice display cabinet for some of our items we’ve collected in our travels while the rear part of the cabinet would hide a TV lift that would raise a 43 inch TV out of the back of the case and then it would swing forward on an armature to make viewing angle and distance very adjustable.

We also needed another side table in the living room with some storage, so I’m going to make that at the same time out of matching materials. Here’s the design I came up with:

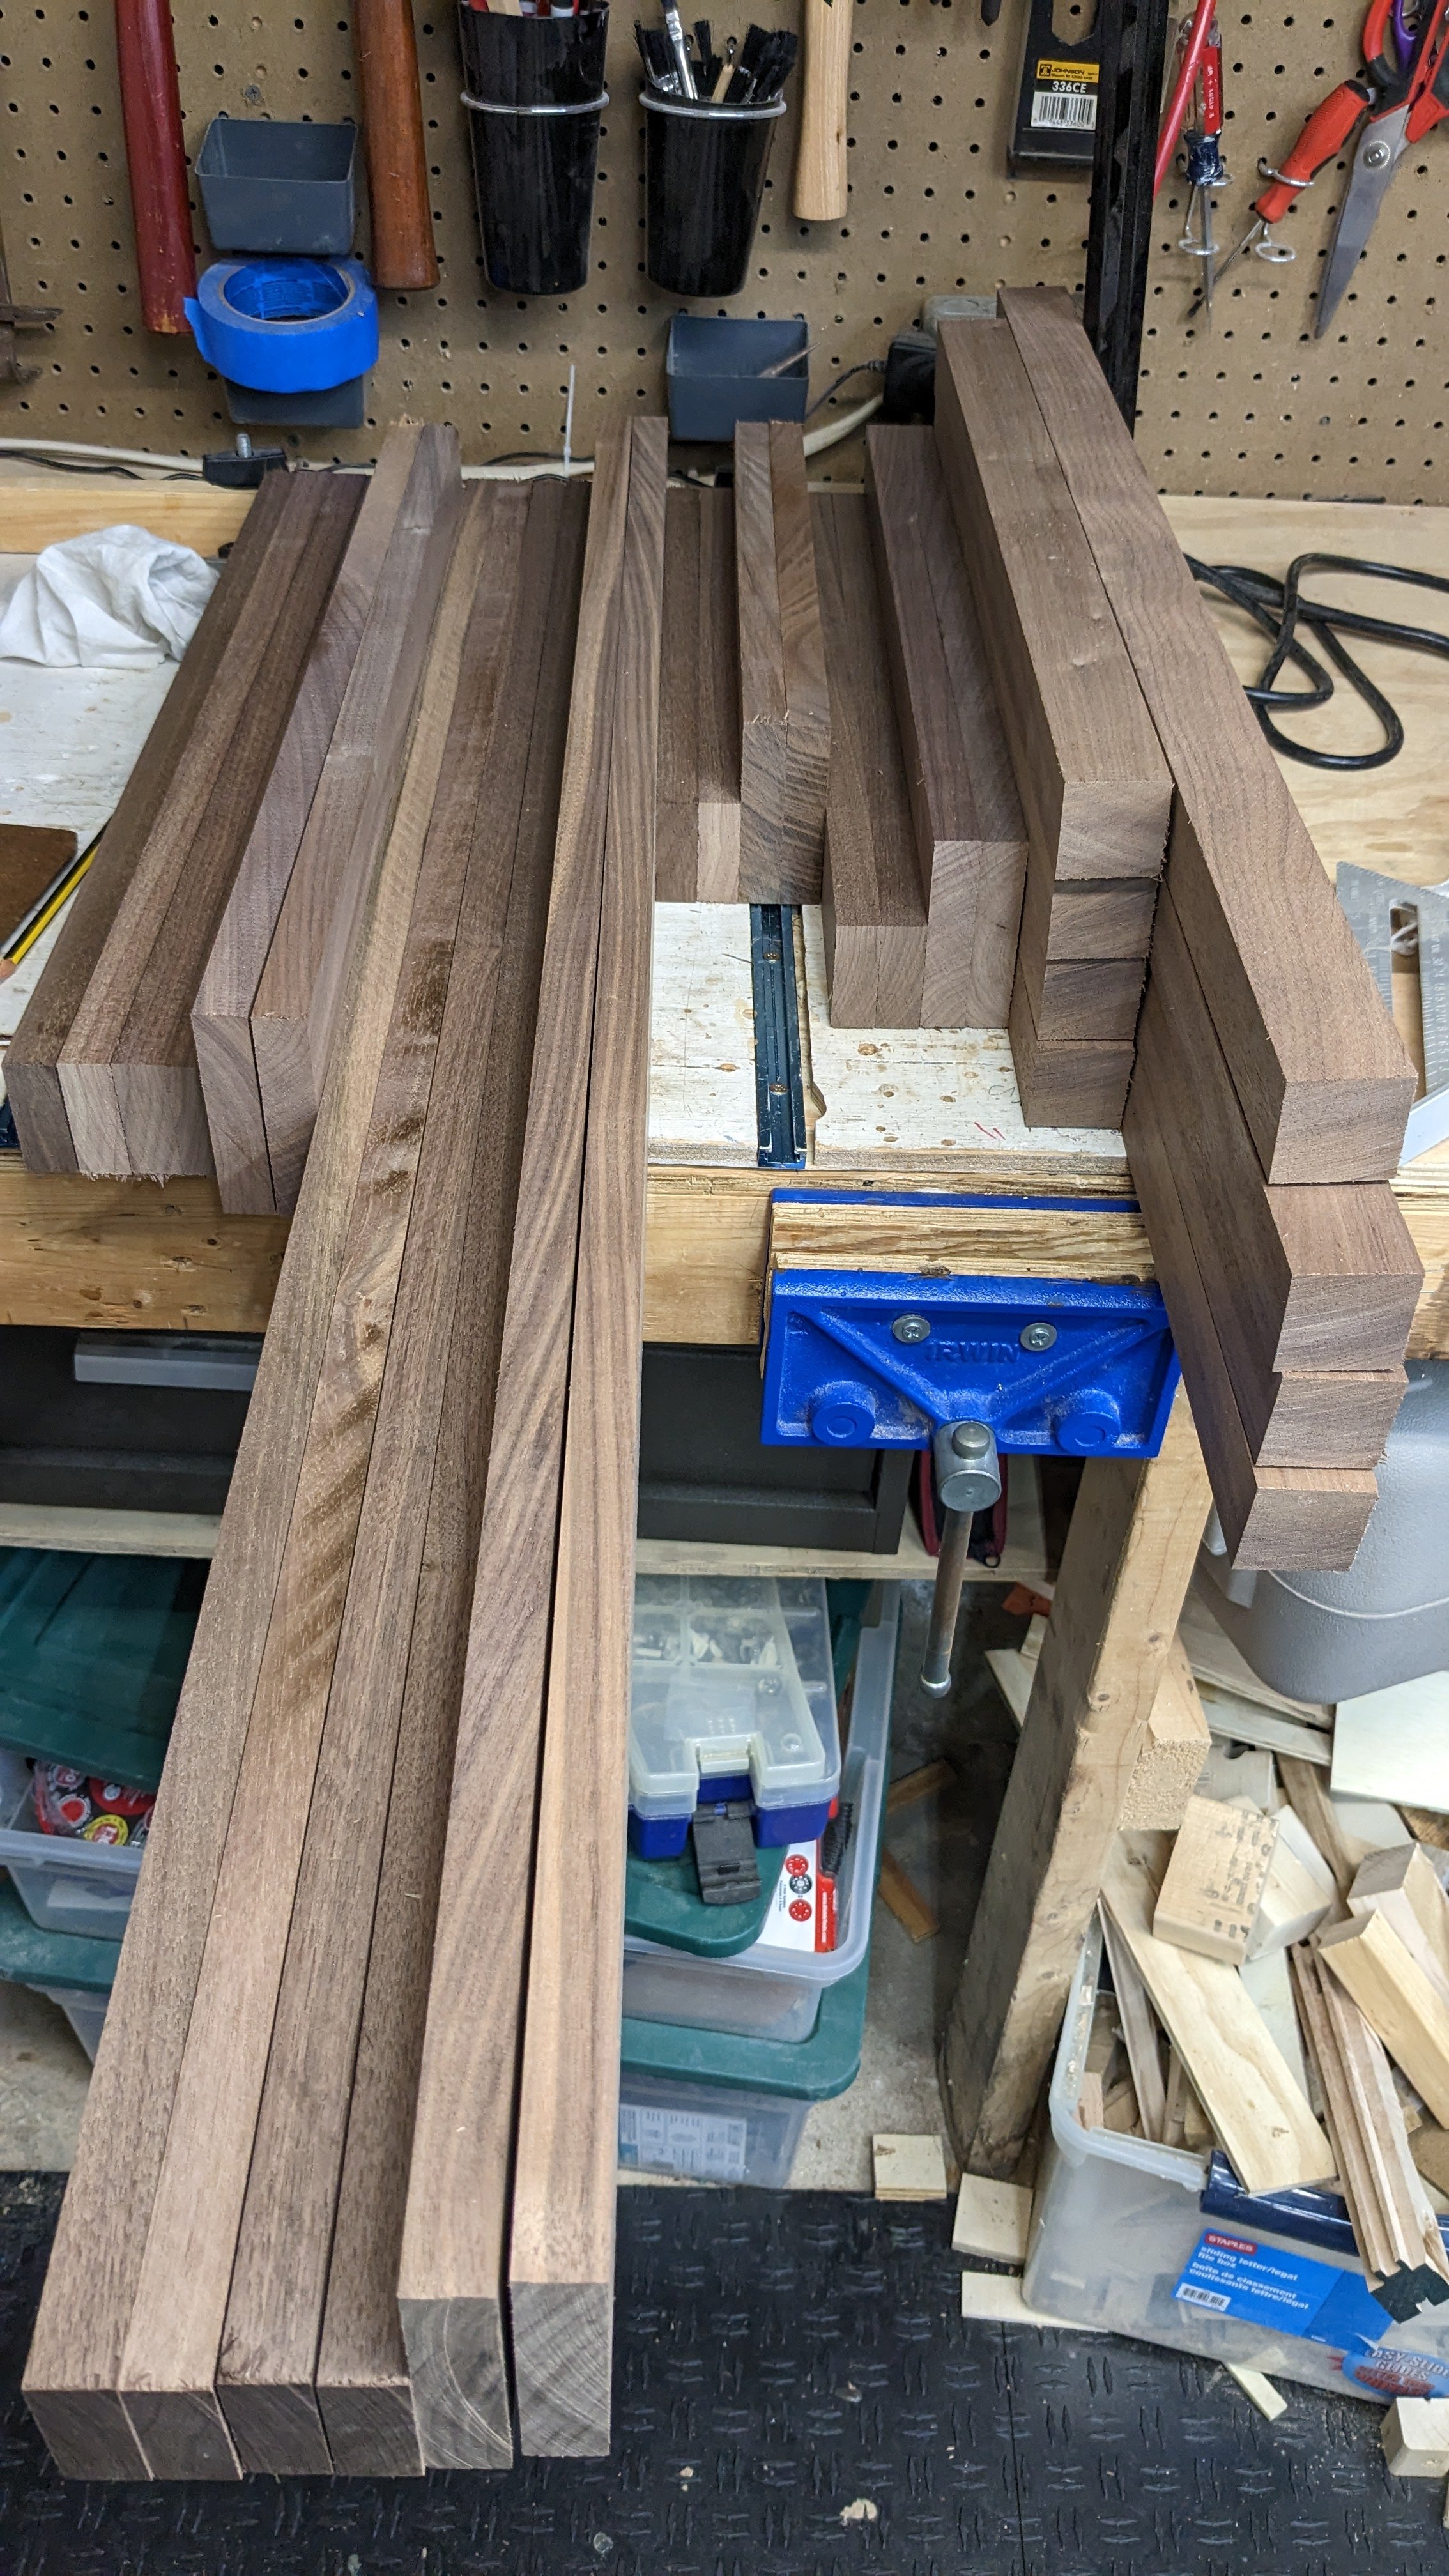
Most of the furniture that is currently in the living room is a dark walnut finish so I’m going to make this furniture out of walnut as well. This is my first time using walnut and I’m excited to see how it comes out. The finish is probably going to be some combination of Danish Oil and Polyurethane… I think I’m going to have to experiment to see what color of Walnut Danish Oil I’m going to use. And I’m going to try the wipe on Polyurethane from WATCO to see if I can improve on my last effort.

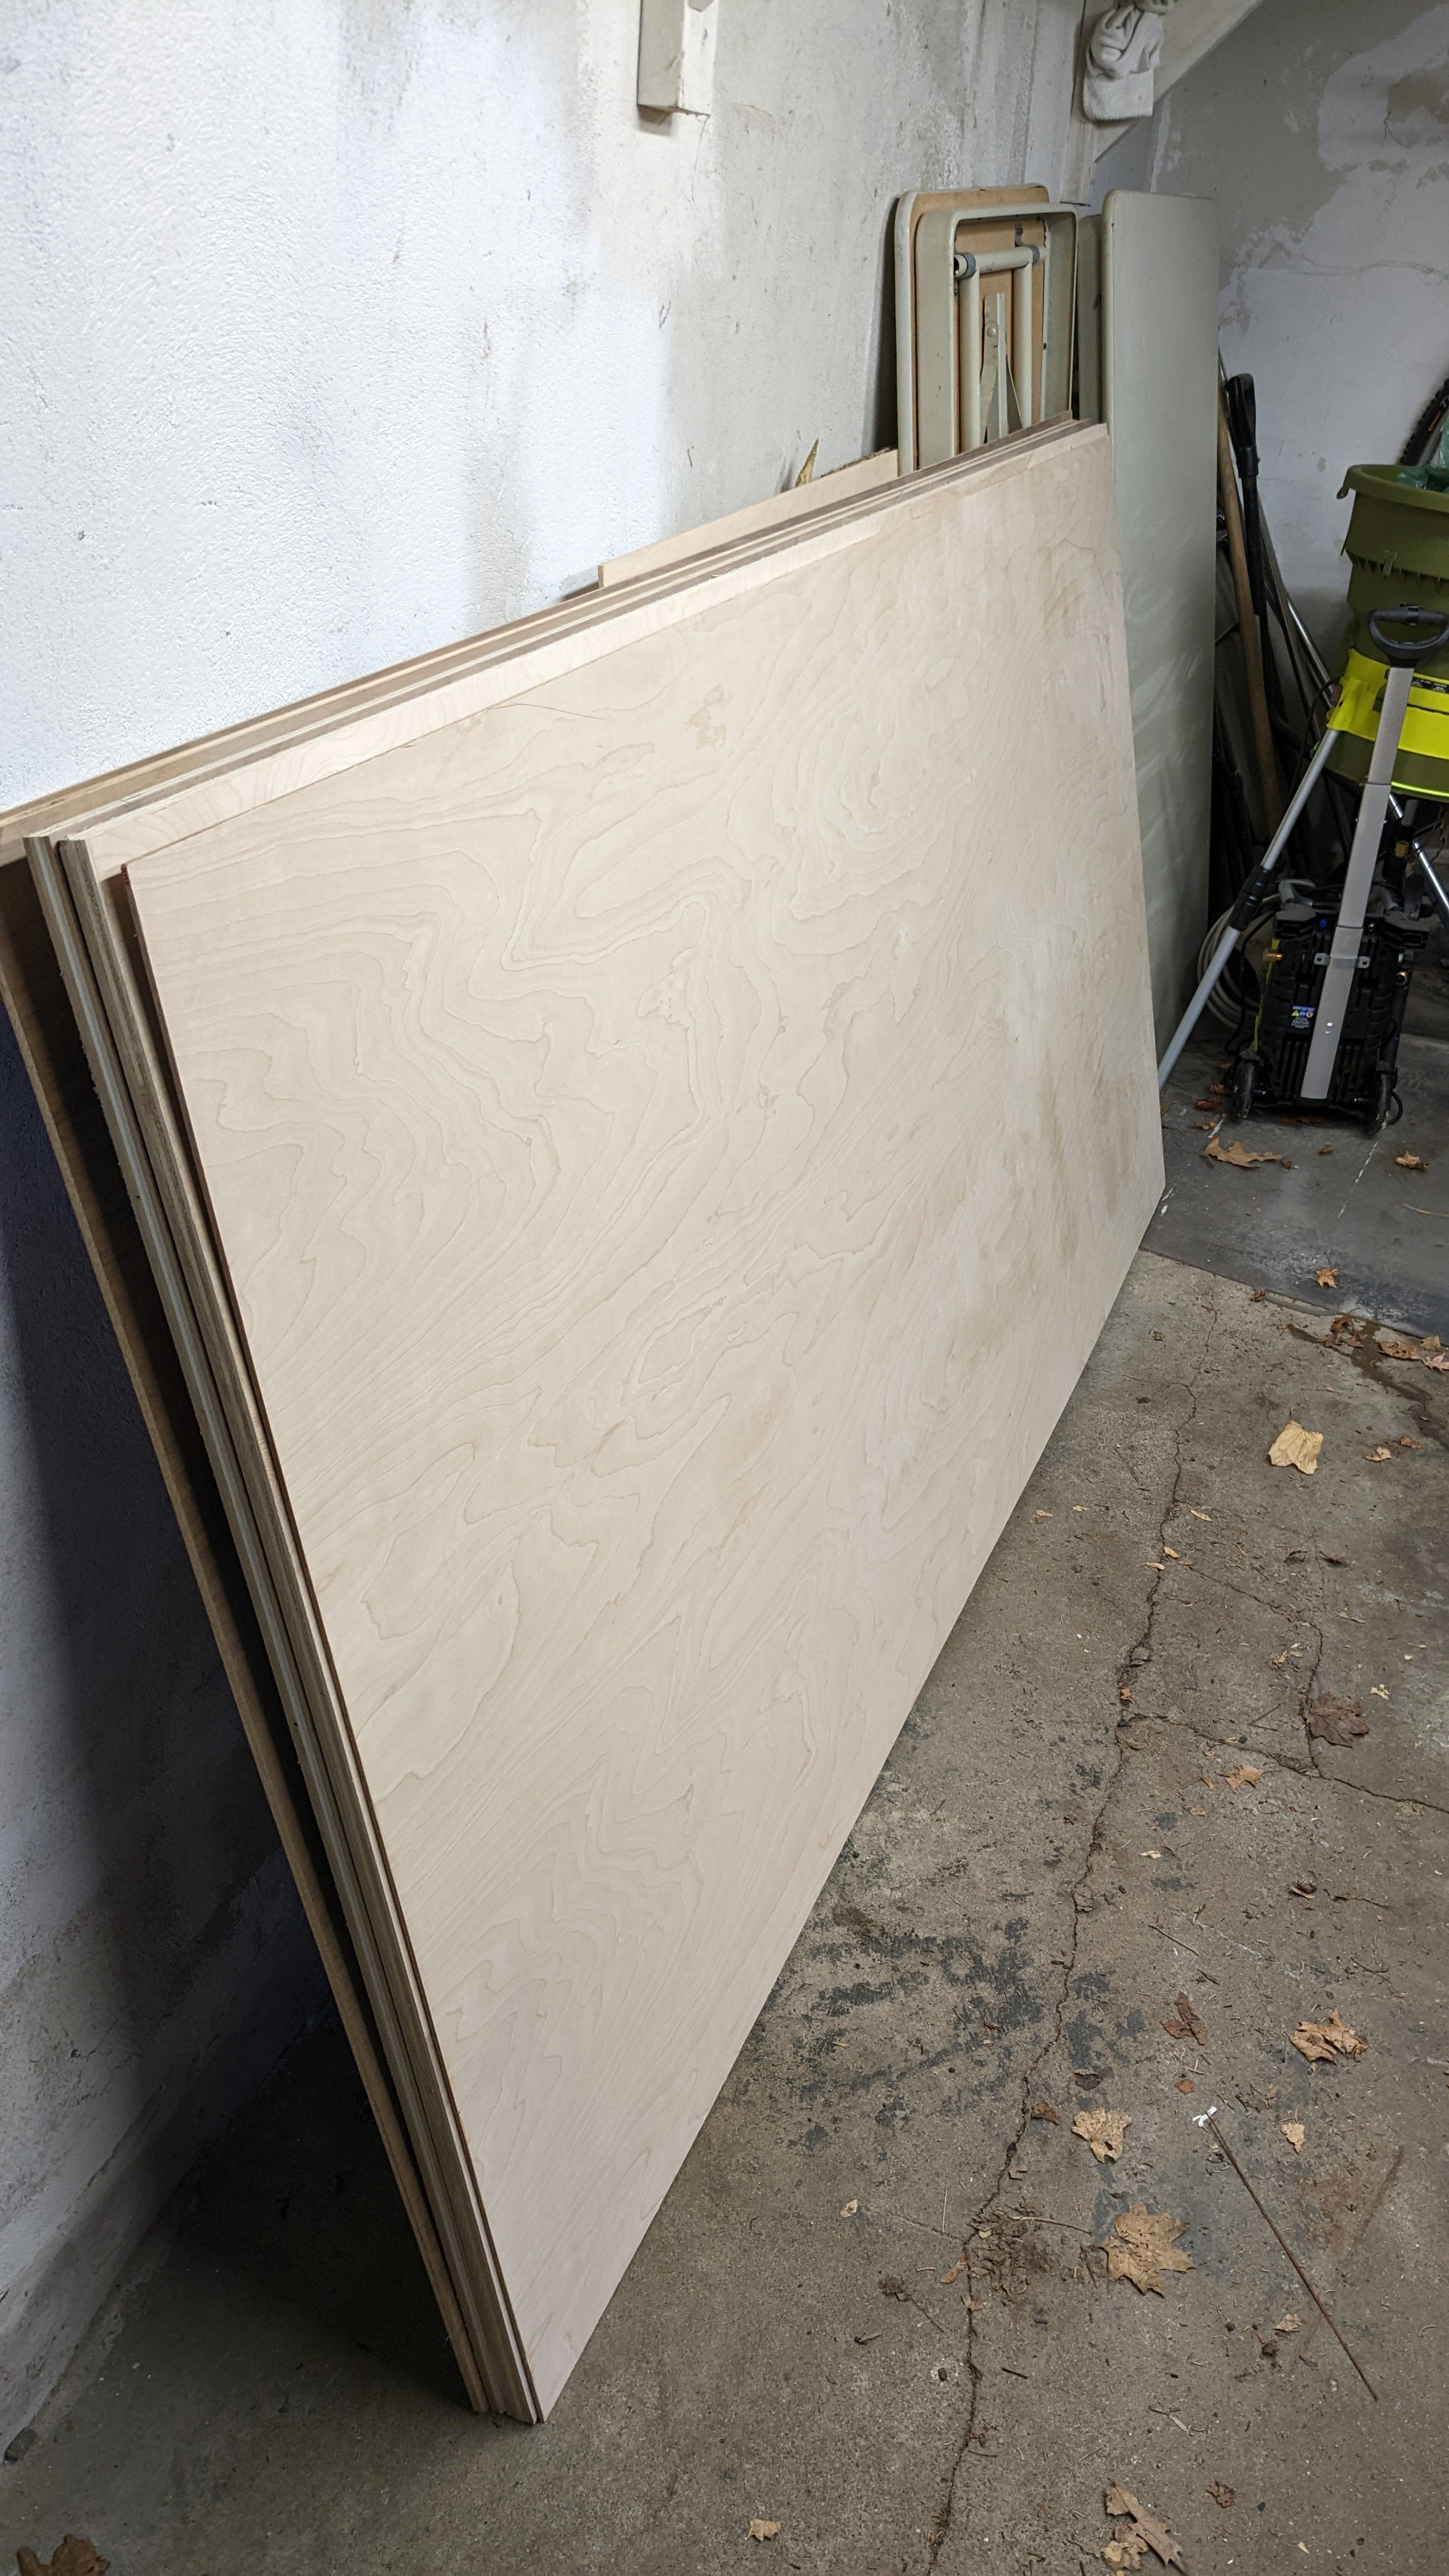
The stock is in, sourced again from Boulter Plywood right in Medford, MA and it is lovely stuff…

There are some new tools on this build as well, I got some heavy duty panel clamps from Rockler which will help make the glue up for the tops of these cabinets flat and tight by clamping in four directions at once… ( I hope… )

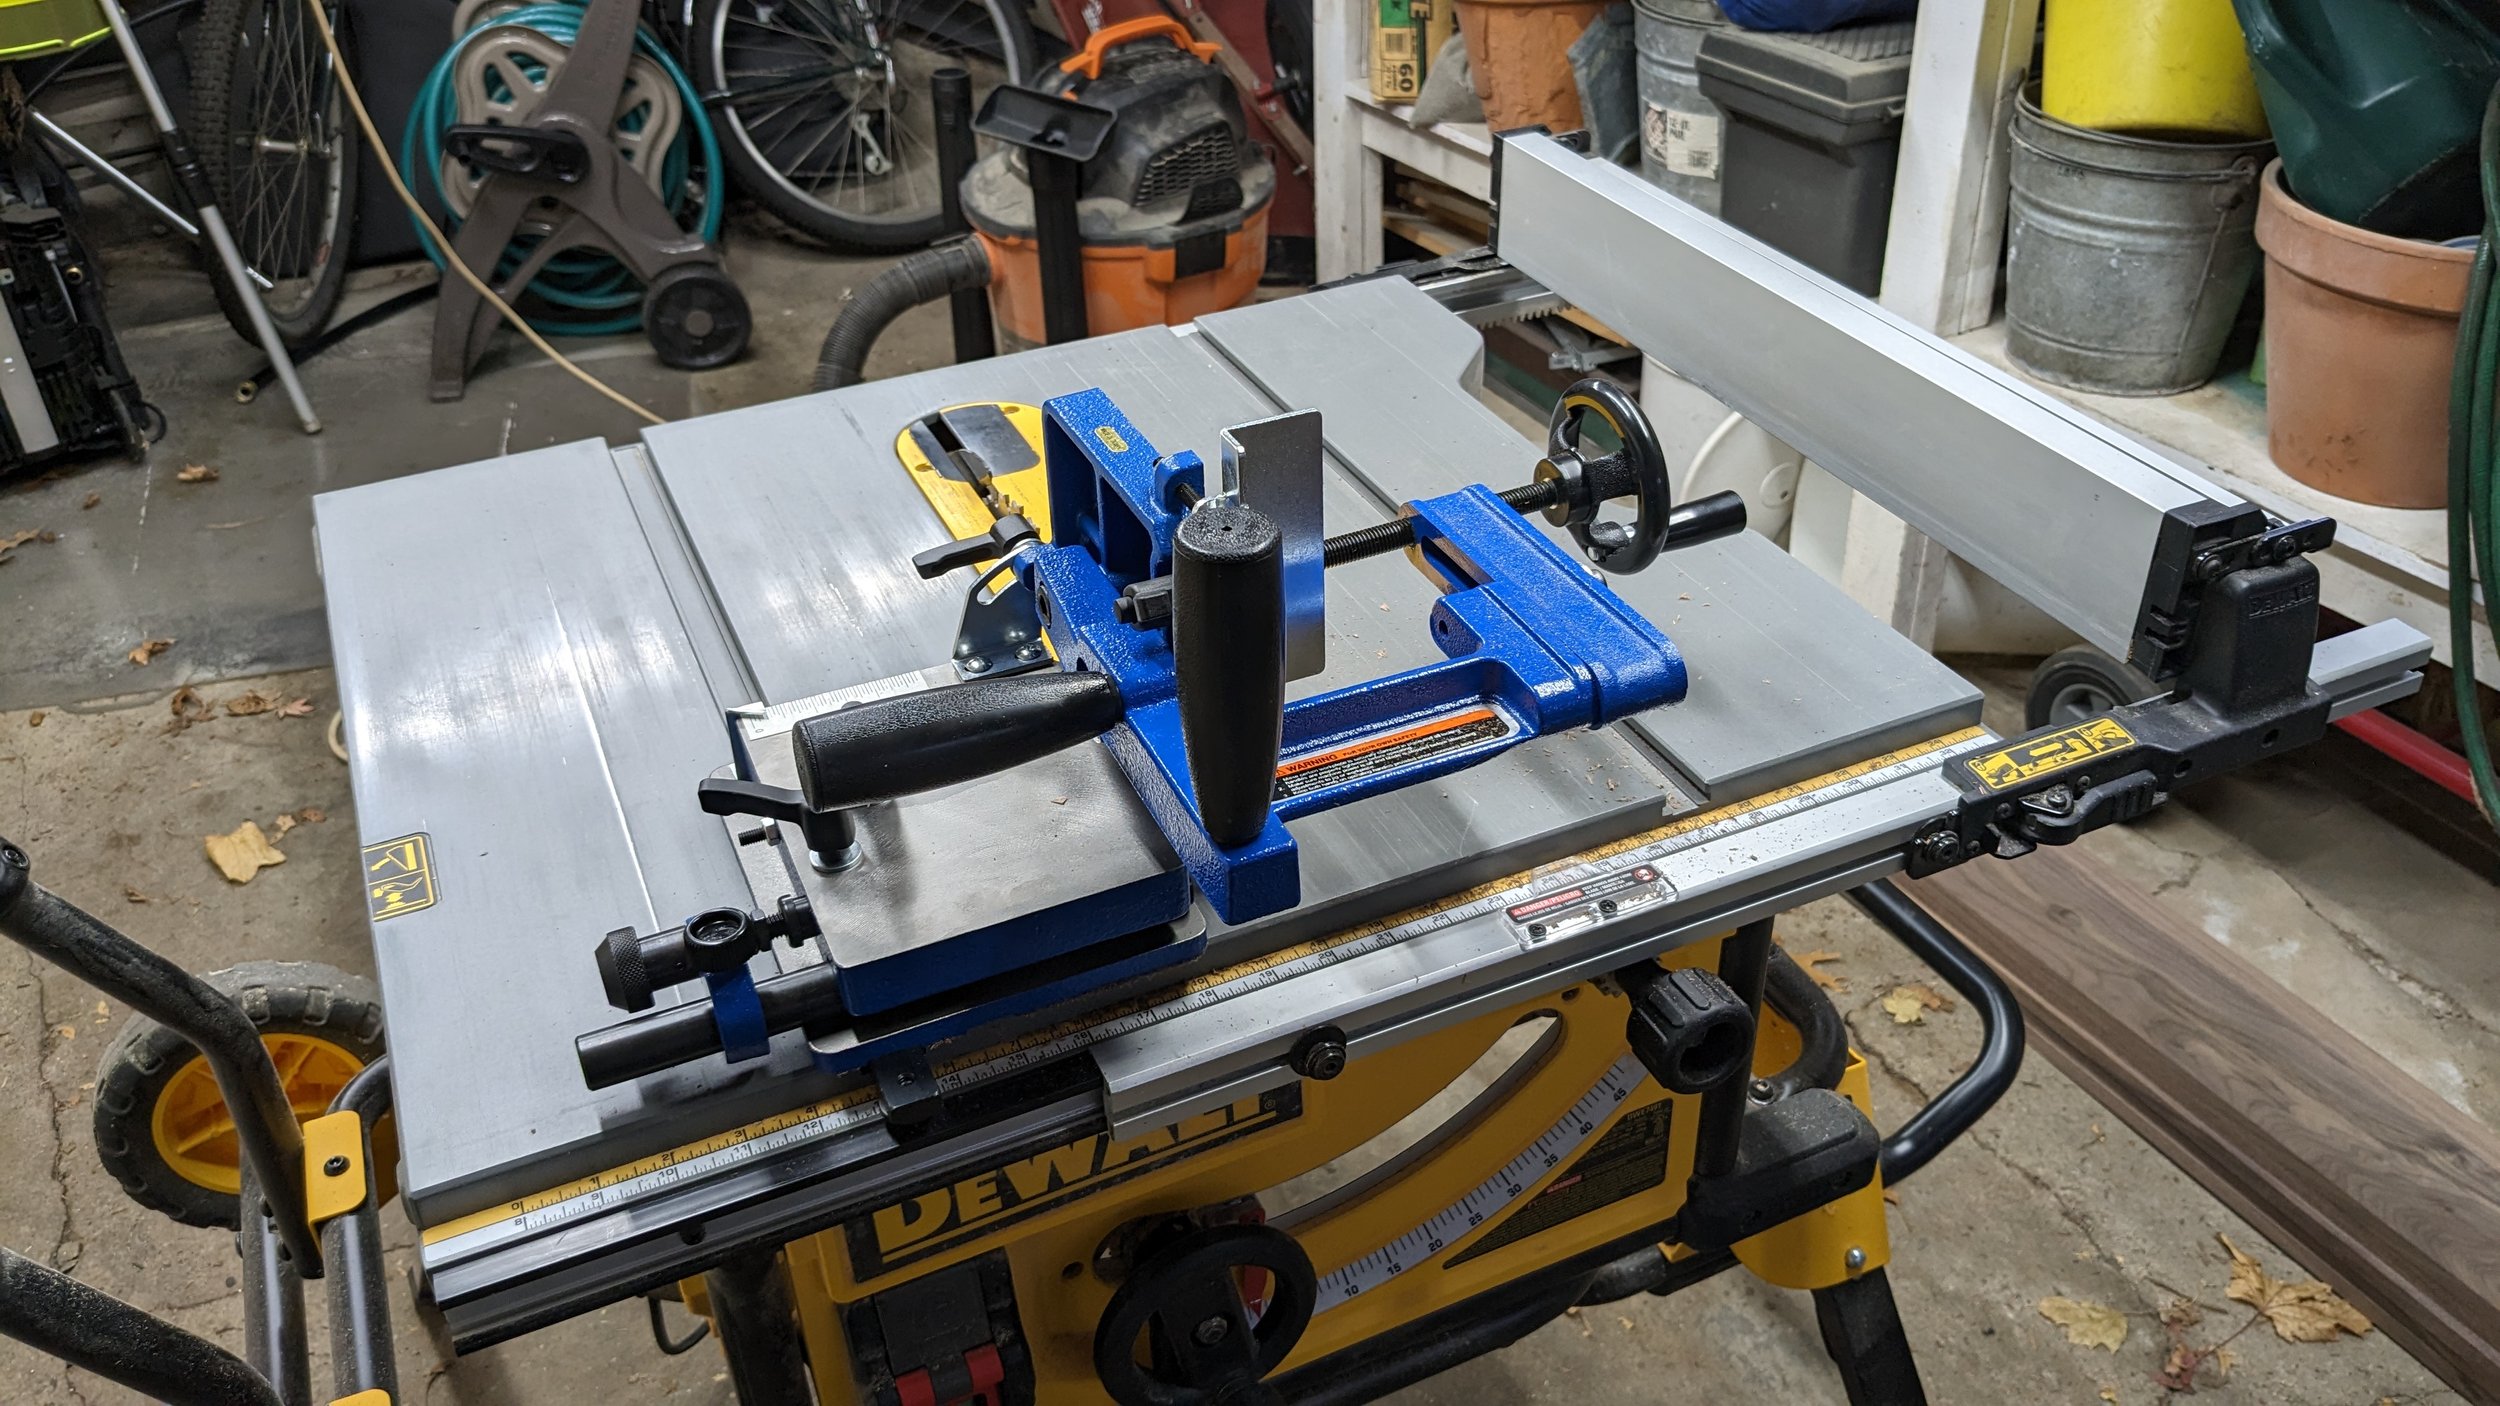
Also, I got a table saw tenoning jig because apparently I’m going to be a mortise and tenon kind of person. I built one myself, but I didn’t provide for any fine adjustment in my design and it was just a little out of true and I realized I couldn’t afford tapered tenons… so I bought a machined cast iron one also from Rockler

And finally I got a two axis vice for my drill press. It is like a miniature milling table which has a vice at the top and then sliding ways that allow whatever is in the vice to be moved in x or y very precisely and without having to unclamp it. I usually do my mortises by using a forstner bit to remove most of the material on the drill press, drilling multiple holes in a row. This will hopefully speed up the process because I was previously clamping and unclamping the piece every time and also make it more precise by avoiding the errors that might crop up in that repeated process. I picked this up at Harbor Freight.

I’ve got the frame parts for both pieces cut to length and I’m about to start cutting all of the tenons… I’ll keep y’all posted on how things go…

Building Project: Mailbox

We just had the house re-sided and all the trim replaced. The place looks brand new and fabulous, we’re very happy. I was not happy to put our beat-up mailbox back on the house. So, I decided to fix my several gripes with the mailbox by building one. I wanted one that would comfortably fit 8 1/2 x 11 magazines and envelopes and completely contain an extra day’s mail or so if needed. I wanted it to protect the mail from rain and snow and be easy to look down inside of. These were all things that our old mailbox had failed to do for some twenty-five years… yes, yes, I can hold a grudge for quite some time.

I measured the space that we had to work with and created a simple design. I also made a chipboard mock-up of the box to get my wife’s approval and to confirm the usability. I used off-cuts of the 1/2” maple plywood that I’ve been building lots of stuff from. I even put a nice 1/4” pine plywood floating bottom in it with drainage holes in case water should ever get inside. I cut rabbets into the front and the back to receive the sides and a 1/4” dado around the bottom inside to receive the bottom. I glued it up and it is solid as heck.

Two hinges (recessed) hold the top which is beveled and cut to overhang on all sides and then I made some plates to hold some transparent flexible plastic as a protective “shingle” to keep blowing rain from getting in from the top. I primed the whole thing with my new best friend latex primer and then a couple of finish coats of a pretty gray acrylic latex exterior paint ( actually the original trim color on the house).

I just screwed it to the house through the 1” extension of the back above and below the mailbox.

Here is the design drawing and the pictures:

I’m really happy with how it came out, and it is performing very well.

The next project is going to be a big one. I’m going to build a Morris Chair for my office. This is an image from “MAKING AUTHENTIC CRAFTSMAN FURNITURE Instructions and Plans for 62 Projects Articles from The Craftsman edited by GUSTAV STICKLEY”:

I’ve wanted to make one of these for easily twenty years or more and I’ve had that book for probably that long. It’ll be made out of quarter sawn white oak and just yesterday I sucked it up to order the milled lumber that I’ll need. This is going to be a challenging one, but hopefully it’ll be a great chair to sit and read in when I’m done.

I’ll share my progress, that’s all for now…

Building Project: Library Step and starting a Nightstand

My lovely wife mentioned that she would like another library step ( a small two step stool for reaching the upper shelves of libraries) for our library as she uses the existing one in her office. We have many many books and book shelves. Since we already had one, I stole all the critical dimensions off of it. It was 3/4” material, about 15 inches tall, two steps about 7 inches deep. I didn’t have any 3/4” material but I did have a bunch of 1/2” maple furniture grade plywood. For the first time, I cut out all of the blanks I needed from the 1/2” plywood doubled and glued them up into approximately 1” thickness though technically it was probably 3/4” since 1/2” plywood is really 3/8”… anyway… I was able to square up the pieces on the table saw and I taped the sides together and did the layout right on the wood itself. I cut most of the profile on the bandsaw, until I snapped the blade by turning too tightly in thick material. I finished the last couple of cuts with a hand coping saw… less fun than you think.

After lots of sanding and shaping I glued and screwed it together using countersunk screws and I filled the screw heads with stain-able wood filler. I stained the whole thing with a dark walnut stain and then clear coated it with a spray clear coat. I’m still getting the hang of stain and how to get it to be even, so in this case I sorta leaned into the flaws I saw developing and went for an antique distressed look. I’m happy with how it came out and it is very sturdy and useful.

Following on that I decided to make a nightstand for next to our bed to replace a crude old shelf we’ve been using for 30 plus years… I decided that I wanted to make this one more based on joinery and so I designed a nice side table with legs, a drawer at the top, and a shelf in the middle as well as a top that was covered in felt. I did do some drawing for this one since the dimensions were critical and the joinery was going to be complicated.

The frame is soft maple and the panels are furniture grade maple plywood, the shelf, drawer, and top will probably be sanded pine plywood with the top framed with soft maple. I’m in progress working on it right now, and I’m learning a lot. I’ve seen joinery and such done many times before but this is my first time doing it. I haven’t messed anything outwardly visible up yet which I’m very proud of.

As part of this project I got a new high quality router and a router table. Excellent addition to the shop and it made a lot of the mortising much easier than it would have been. I’ve got some more wood on order and I need to do the drawer, shelf, bottom and back. I’ll report on progress as it happens.

Building Project: Completed Library/Guest Room Sofa-bed with Cedar Chest Headboard

A week or so ago the mattress that I ordered for the Sofa-bed got manufactured and delivered. I was able to go on and do the adjustments and tweaks to the project with it in place. After establishing that it fit perfectly and that it would fold around the slat frame as designed I first worked on getting the alignment of the trundle to the fixed frame correct.

I had essentially guessed at the mounting position of the casters on the trundle based on pressing one into the carpet. I couldn’t press hard enough to simulate someone sitting or lying on top of it so I was off by about 1/4” and so the trundle was scraping the carpet after being pressed down with enough weight. I uninstalled it and flipped it over and added strips of 1/2” plywood under the casters and then I used the adjustable feet in the fixed base to get the perfect alignment so that the trundle slides in and out easily.

I then added the pins to the front of the trundle to connect it to the last section of slat frame. This worked great and keeps the slats aligned and they move consistently with the trundle when opening and closing. You can still raise and lower the seat to get into the storage in the trundle and the seat just drops back on the pins. I may epoxy the pins into the trundle at some point but it might not be necessary.

Next, I added the locks on the front of the trundle to ensure that it wouldn’t roll out when the sofa-bed was closed.

Finally, I installed the reading lamps with USB charging ports on either side of the headboard.

The next thing was to attach the mattress to the slats frame so it would bend the right ways when we closed the sofa bed. I had thought that since it was a sofa-bed mattress it would come with some kind of straps or ties already attached to it, I was wrong. So, plan-B was to order a custom futon cover and my very talented wife modified it by making and attaching ties to the cover at all the positions we needed. I installed D-rings around the sides and top of the slats frame to tie them to. It works great, not pulling too hard but keeping the mattress in place and curved around the slats frame as it is closed or opened.

So it is essentially complete and in use, we’ve put away the guest bedding in the headboard cedar chest, and some framed pictures and other stuff in the storage under the seat. I may come back and just round some of the outer corners of the slats frame and perhaps do more about the opening/closing process. I think we’re going to see how things go for a bit in order to decide.

I’m really happy about how this came out and how well the design plan worked out in actual implementation. That’s it until the next project!