• Home
  • Blog
  • About
  • Privacy Policy
Menu

James Goodwin

  • Home
  • Blog
  • About
  • Privacy Policy

Bed Frame: Completion

July 25, 2024

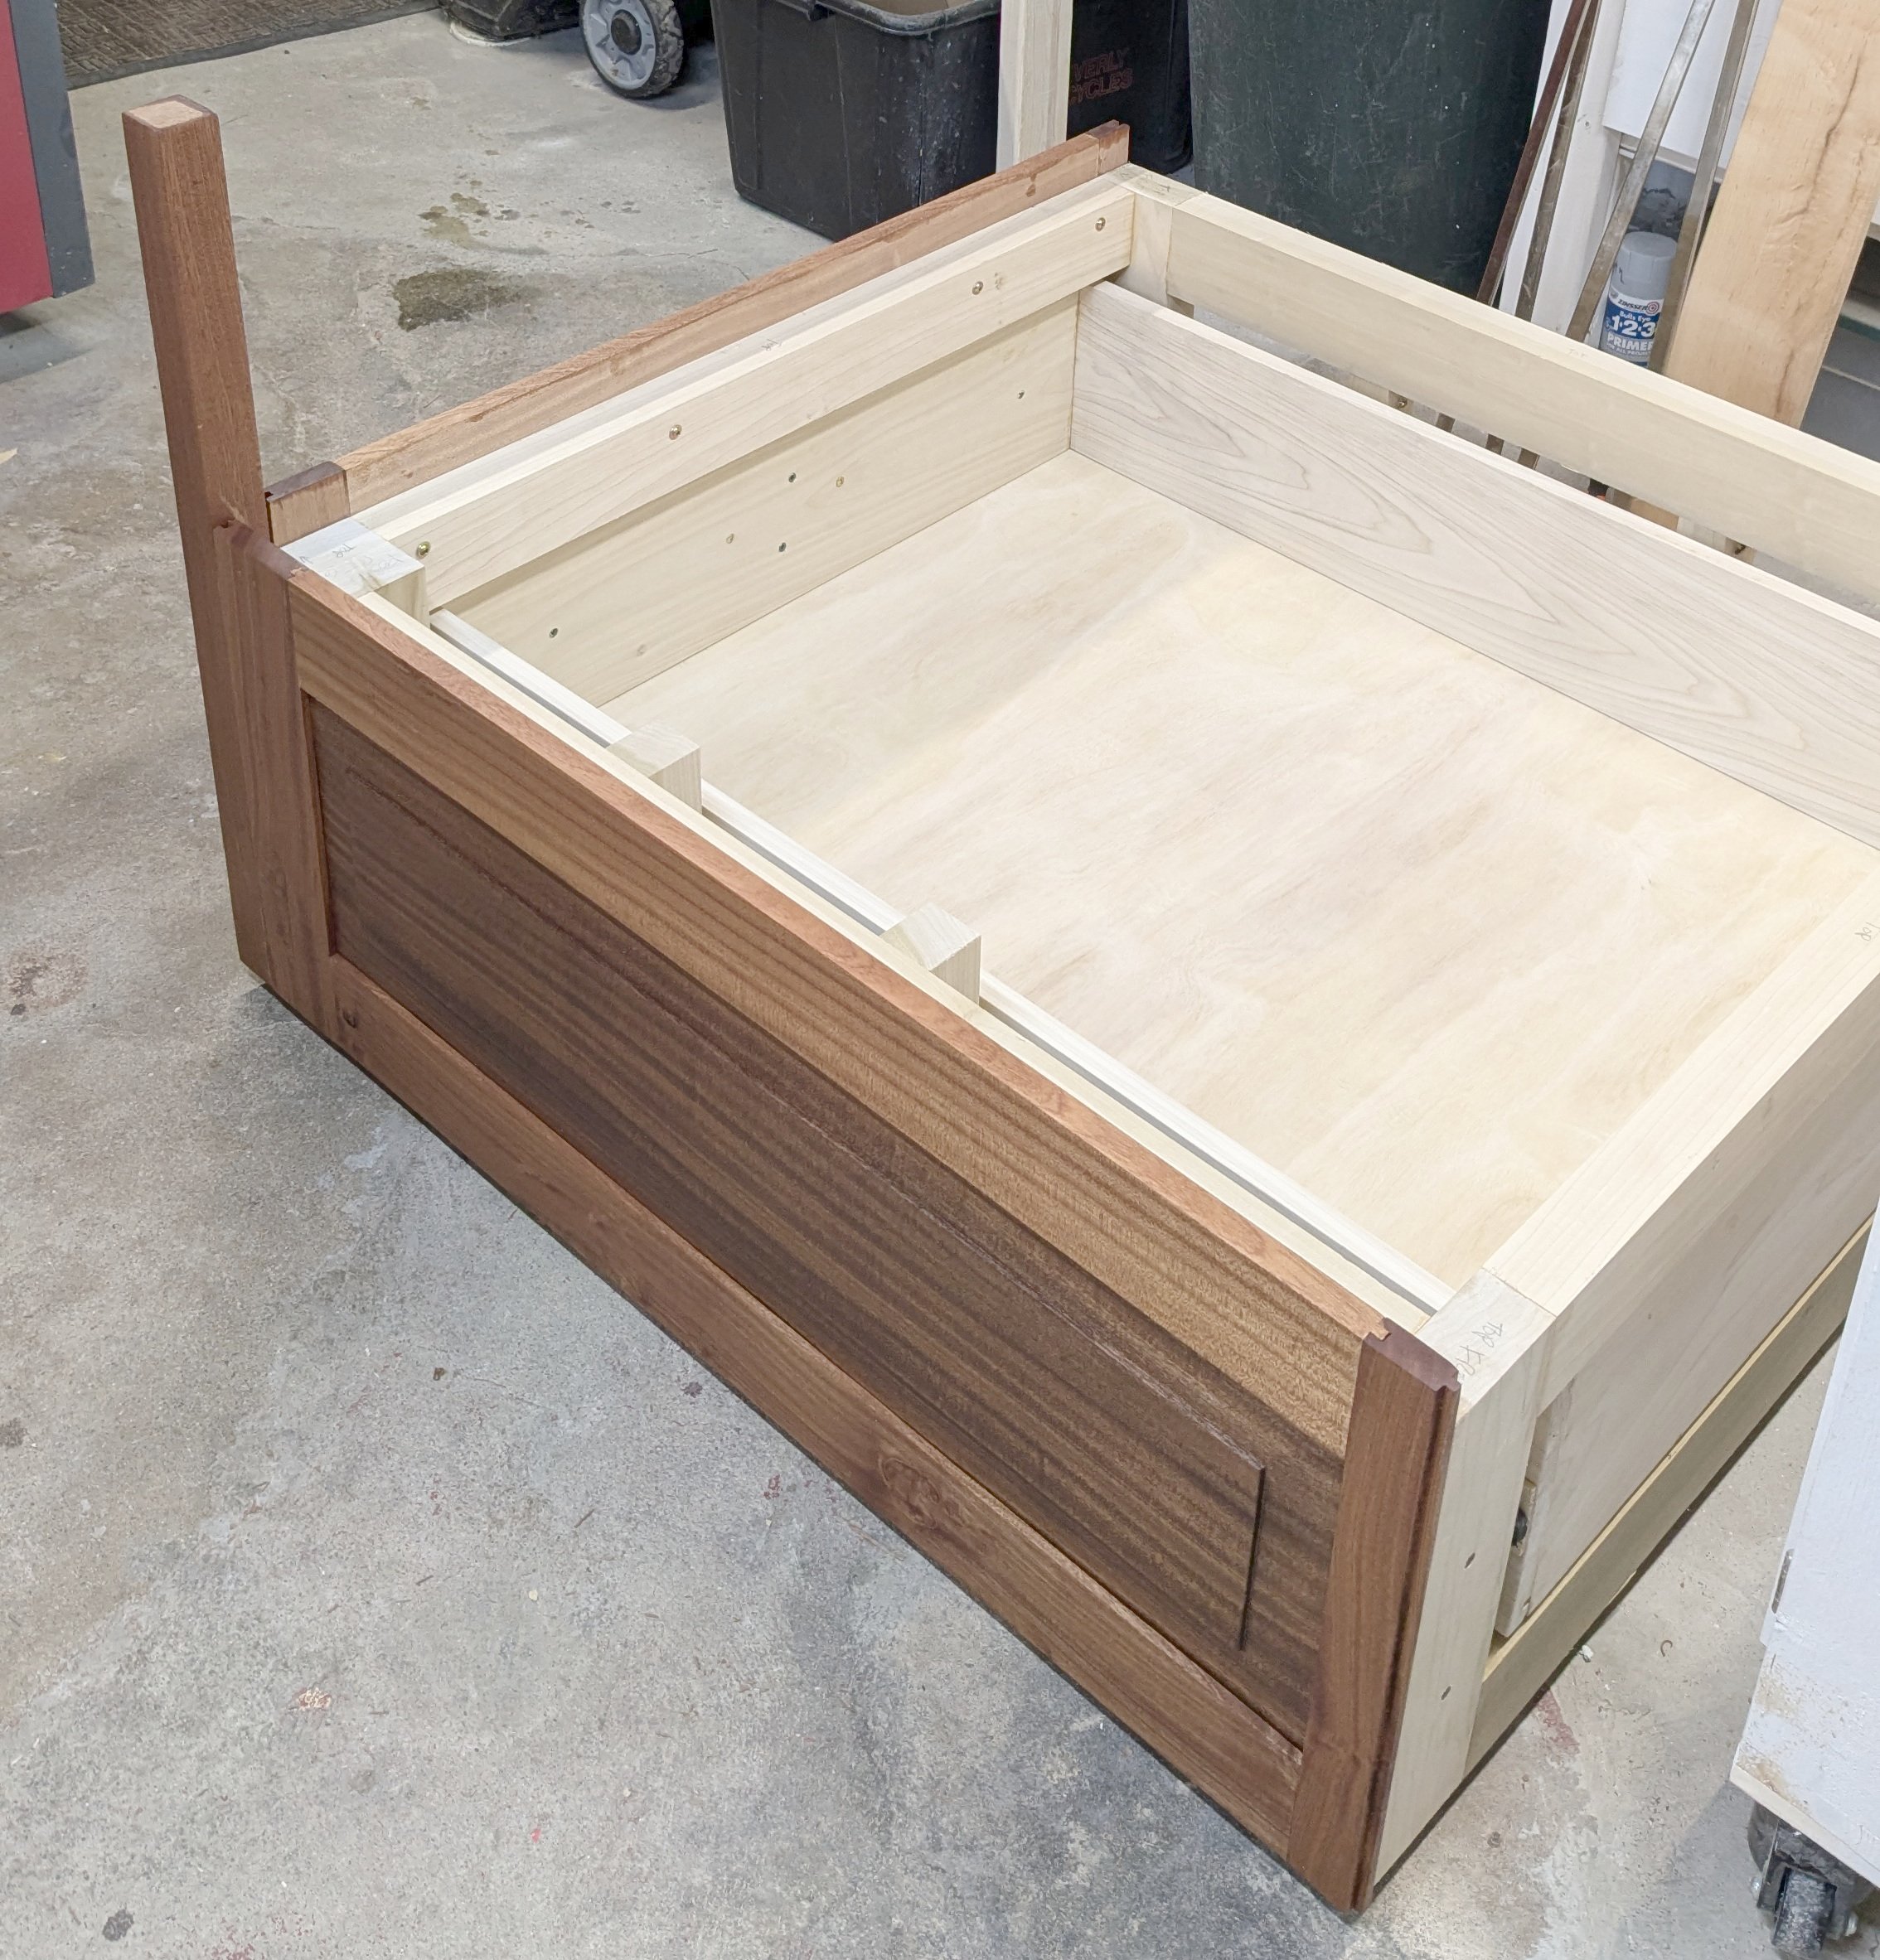
This bed replacement was a big project and technically this is just the first phase completed. At the end of last post I had just completed one quarter of this king size bed frame with storage. I went on to finish all the steps on the matching corner of the frame and to make sure they fit up with each other.

I also built the footboard with it’s nineteen spindles, thirty-eight mortise and tenon joints and very fiddly assembly including making sure it would fit the already cut dry mortises in the uprights. This was an entertaining glue-up which I made sure to let dry completely while held in the position it would live on the bed later on.

The cap that tops the footboard was screwed on also in place to make sure it would clear the tops of the uprights, some tweaking was required including cutting it to precise length with matching overhangs.

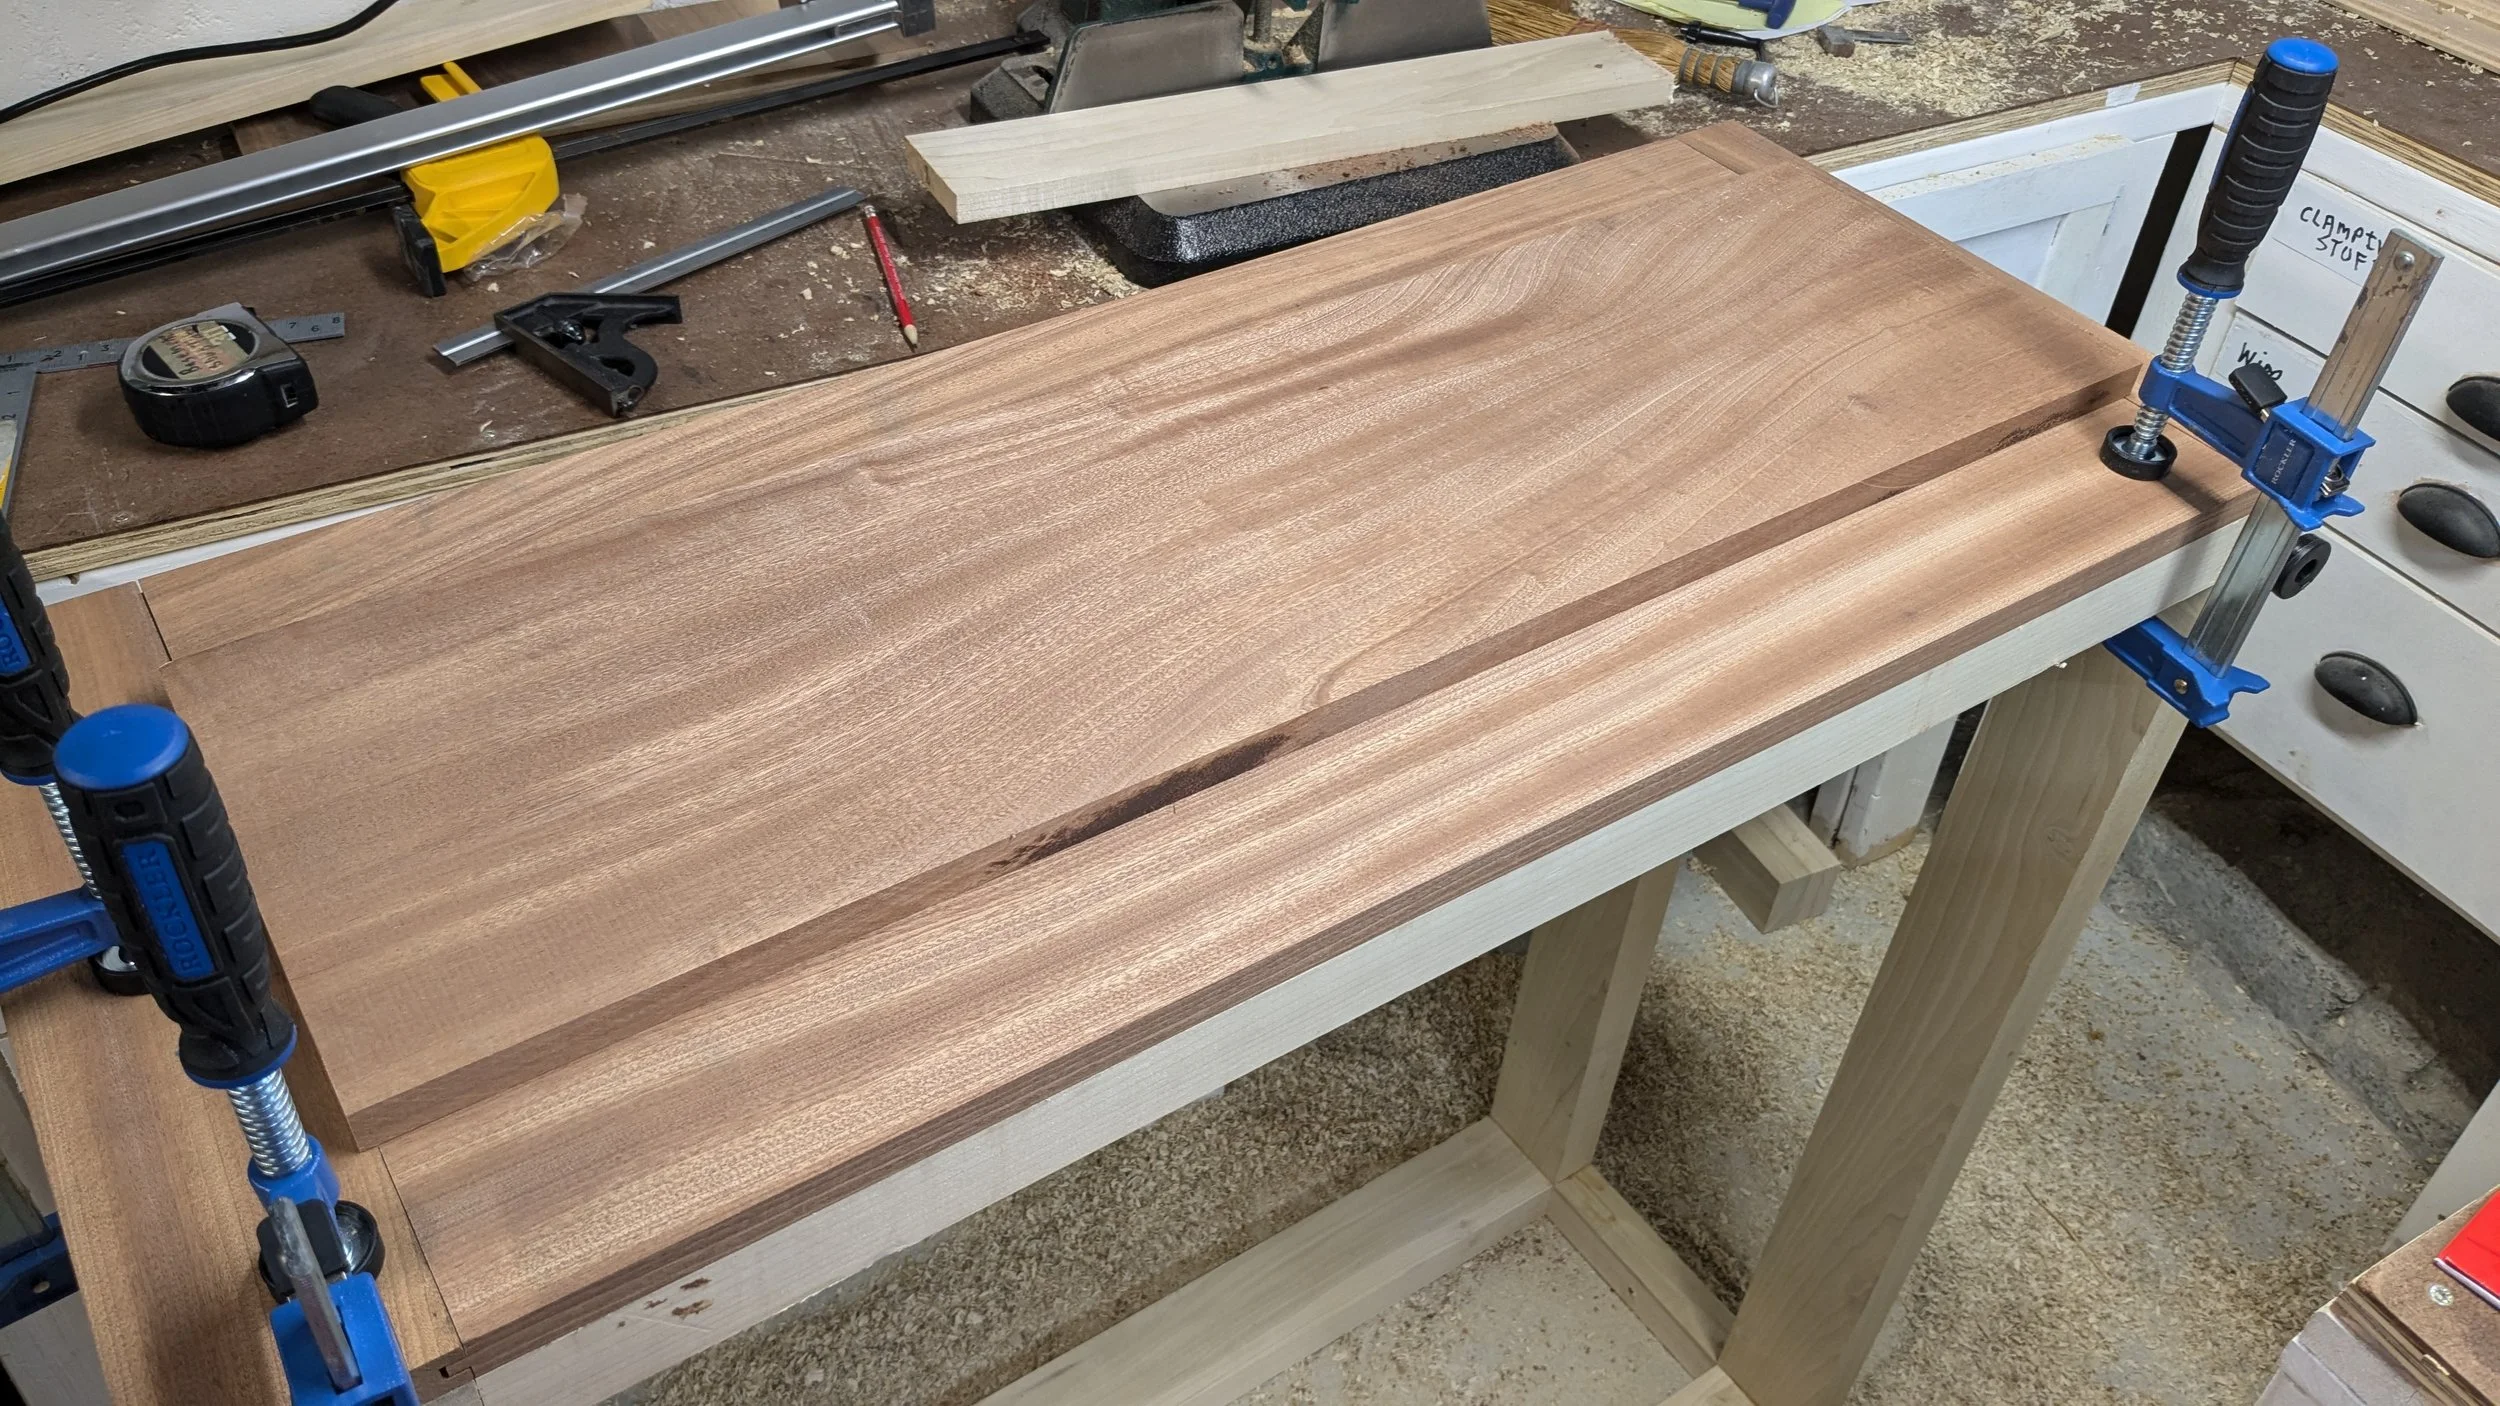
Then it was on to sand and finish the last two panels, glue them up and put them onto their respective sub frames.

Finally I masked off the hardware and drawer fronts on the drawer bodies and sprayed them with a clear enamel to just give them some surface protection.

After some drying and curing time, it was time to move everything to the bedroom on the second floor of our house. My beautiful, talented, strong and patient wife helped me to move each of the sub frames, drawers, slats, and footboard out the garage door, up the front steps, up the inside stairs, and into the bed room.

After regaining my composure I aligned and bolted up the frame components.

We installed the slats, screwing in the first slat and the last slat after adjusting the spacing.

Then we installed the drawers and put the mattress on to the frame and we were done ( see picture at the start of the post ). You may notice some blue tape on the wall, these tapes mark the stud locations in the wall. The next project will be an upholstered headboard which will be attached to the wall with a Z-clip system. So before putting the bed where it’s going I had to determine the stud locations by finding the stud that one of the electrical outlets was attached to and spacing across.

The cat approves of the new bed and I can say after sleeping on it that it achieves all of the goals that we had. It is very stable and silent even with a large creature like myself moving around on it. It fits the king mattress perfectly with a little allowance for the mattress to change shape as it is used. It provides easy to access storage under the bed.

Of course this project has spawned some follow on projects, the headboard is the first one, and also there will be a matching bed-side cabinet/table to replace the one that now no longer fits on my wife’s side of the bed. Stay tuned for those projects!

In Journal Tags building, bed frame, sapele, journal
Comment

Bed Frame: Progress

July 16, 2024

Just over a month ago I started on building a version of the design I described in my last post. The design has changed in small ways, mostly simplifications and optimizations and in some cases addition of critical details. As usual it involved a trip to Boulter Plywood Corp. in Medford, MA where I bought all the material for the inside frame of the bed, all Poplar and a little bit of plywood and for the outside panels which is all Sapele. It was my largest lumber order to date and I selected each board and they kindly delivered it since it wouldn’t fit in the Audi. I have to say the quality of the S4S lumber from Boulter is wonderful, very straight, very cleanly milled, very few defects.

View fullsize PXL_20240611_140509471.jpg
View fullsize PXL_20240611_140506510.jpg
View fullsize PXL_20240611_140459848.jpg

In addition to ordering fasteners, drawer slides, handles, leveling feet, webbing, bolts, a drilling guide block, hard wax oil finish, more clamps. I acquired a new machine, a Grizzly Industrial bench top mortising machine. This has improved the quality of my mortise and tenon joints by leaps and bounds, not to mention the speed.

I also built a panel raising jig for my table saw, it consists of a tall add on fence to support the panels and a raised feather board to help keep the panels flush to the fence when cutting the the bevels on the panels. I iterated a little bit on this but all in all it did a great job cutting all the panels.

As usual I started building from the inside out, the bed frame that supports the mattress is built in four sub-modules. I chose to frame it out of 1 3/4” x 3 1/2” poplar, each sub module has one doubled post and then three other posts that are going to bolt to their neighboring module to form a doubled post at every intersection. There are eight mortise and tenon joints per module, each module is essentially identical except that the foot modules have their top rails on one side cut down to 3” to give more room for the drawers that will be installed in the foot of the bed.

View fullsize IMG_20240615_132740_085.jpg
View fullsize IMG_20240612_100610_510.jpg
View fullsize IMG_20240612_145925_378.jpg
View fullsize IMG_20240618_160223_662.jpg
View fullsize PXL_20240620_174433009.jpg
View fullsize PXL_20240621_120330807.jpg

I installed leveling feet in all the corners of the sub modules. I carefully drilled bolt holes between all of the modules after clamping them together square to each other. I used 3/8” x 4” bolts with washers and lock washers to bolt them together. Then I cut the slats ( 3/4” x 3 1/2” Poplar) to length and spaced them two inches apart and then connected them with upholstery webbing. The frame is very solid.

Next I worked on fabricating the panels that are going to wrap the frame. For each panel created the perimeter frame out of 3/4” x 3 1/2” Sapele joining them with mortise and tenon joints. Each frame part gets a 1/4” x 1/4” groove on it’s inside edge to accept the floating panel. After dry fitting each frame I measured for the floating panel and cut it from 3/4” x 9 1/4” Sapele boards allowing 3/8” extra to fit into the groove. I used the panel raising jig to cut a 2” wide bevel on the front of each panel and then I put a 1/4” x 1/4” rabbet on the back side so there is a 1/4” edge tongue around the edge of the panel that centers it in the frame.

View fullsize PXL_20240621_203156849.jpg
View fullsize PXL_20240624_135515139.jpg
View fullsize PXL_20240625_133326109.jpg
View fullsize PXL_20240705_202314366.jpg

Adjacent panels have a dry tongue and groove joint that connects the sub modules. I dry fitted adjacent panels to make sure the fit between modules was correct. The foot board was complicated, I joined the uprights of the foot board to the intersecting panels with grooves and splines. The nineteen spindles between the two rails required a LOT of tweaking to get right. Because the modules have to come apart, the rails will be inserted into dry mortise and tenon joints in the uprights and held in place by pressure from the sub module bases.

Next I built the two huge drawer bodies 8” x 40” x 31 3/4” out of Poplar for the sides and 1/4” plywood for the bottom.

View fullsize PXL_20240706_181616733.jpg
View fullsize PXL_20240711_184956796.jpg

I fitted them in their corresponding sub frames and added internal structure to support the heavy duty drawer slides.

And finally I started installing the panels onto the modules with the foot right module. I sanded all the frame parts 80 ( for the ones that I milled ), 120, 220, and 320 grit. I applied General Finishes Hard Wax Oil to the raised panel first so that if it shifted around in the frame there wouldn’t be any unfinished edges showing. I then glued up each panel and applied finish to the frame after the glue had cured.

View fullsize PXL_20240714_131807551.jpg
View fullsize PXL_20240714_150610903.jpg
View fullsize PXL_20240714_180631458.jpg

I then assembled the panels onto the sub frame and attached them with cabinet screws from the back side. I carefully spaced the drawer front inside it’s frame and attached the drawer hardware and screwed the drawer face on from inside the drawer.

Here is the first completed sub-module, I’m really happy with the progress so far, there are a few tweaks and probably a second coat of finish but mostly it’s just repeat this process four more times…

View fullsize PXL_20240715_142001833.jpg
View fullsize PXL_20240715_142015663.jpg
In Journal Tags building, bed frame, sapele
Comment

Bed Frame: Designing a new project

May 6, 2024

I don’t usually discuss projects when they’re in the concept or design stage of the process. All of my projects go through those stages to some degree unless it’s a repair or something very ad-hoc. I guess I don’t write about the design because I still might not actually go forward to construction. I figured I would change things up this time and see what happens.

My beautiful and talented wife and I have been discussing the shortcomings of our current bed and bed frame. The bed on my side is a bit too soft for me, which is just right for my wife. The frame creaks a lot. The mattress plus box spring plus frame height is a little high for us. It would be nice to have a little more space, it is currently a Queen size. We have a bunch of low plastic boxes that store winter/summer clothing under the bed, drawers would be better.

I measured the space available in our bedroom and a King size bed 80” x 77” would fit without significantly impacting movement around the room. I also learned about Twin XL mattresses which are 80” x 38” and two of them put together are referred to as a “split king.” This would allow us to have two different firmness mattresses on one king frame. I decided to make a platform bed frame so we could get rid of the box spring and have a solid structure supporting the mattresses.

Another practical requirement is that I need to build this bed frame in my shop in the basement and get it to the bedroom on the second floor with only my wife’s assistance. I decided to make the frame modular and construct four frames for each quarter of the bed and they would be bolted together on the inside upon final installation. I also intend to put leveling feet on each sub-frame so I can get the whole surface level.

I decided to hide the frame that actually supports the mattresses behind decorative panels. After some discussion we decided on raised panels which are in keeping with our colonial style house. ( see the first image in this post ) Since you won’t see the frame I decided to make it out of Poplar to control costs and manage the overall weight of the bed. Slats will sit on top of the frame hidden on the sides by the decorative panels.

Each frame module will be a mirrored version of the one in the image above ( several views). The panel face frame will probably be glued to the face or faces of the module as needed. The headboard will be a separate construction which will frame a decorative padded fabric element and will be attached to the wall not the bed frame. The foot-board will be attached with screws ( perhaps concealed by decorative covers or plugs) to the end modules at assembly time. The end modules will contain two large drawers taking up nearly their entire internal space that pull out on heavy duty long drawer slides.

The drawer faces will echo the panels on the sides of the bed.

The rest of the furniture in the room is made from cherry and is in the Mission style. We didn’t want more cherry and after looking at a number of possible other woods we chose Sapele for it’s color and nice grain patterns. As for finish I’m testing a few different ones on a 4’ piece of Sapele that I sanded to 320. The current contenders are Natural Danish Oil, Wipe on Polyurethane, and Hard Wax Oil.

Natural Danish Oil, Wipe on Poly over Danish Oil, Wipe on Poly by itself, One coat of Hard Wax Oil, Two coats of Hard Wax Oil

This design has been through a few iterations. Each iteration I look to see if I can simplify something or understand any important details like exactly how the panels will fit together or respond to feedback from my wife. I try not to be too attached to any given element of the design and step back and try to evaluate it as a whole. The good part about iterating on drawings is you can just make a new drawing and it is cheap and relatively easy.

The next step for me is coming up with a cut list based on the “final” design and figuring out the materials cost estimate. That process might generate some design changes as well.

In Journal Tags building, design, journal, bed frame
Comment

Latest & Greatest

Blog RSS
Featured
May 2, 2025
Cruise around Japan
May 2, 2025
May 2, 2025
Apr 2, 2025
One day builds...
Apr 2, 2025
Apr 2, 2025
Mar 31, 2025
Modern Wing-back Chair
Mar 31, 2025
Mar 31, 2025
Mar 16, 2025
Retired five years, an update...
Mar 16, 2025
Mar 16, 2025
Jan 29, 2025
The Clock
Jan 29, 2025
Jan 29, 2025
Jan 28, 2025
Reykjavik Iceland and Helsinki Finland Trip ( December 2024 )
Jan 28, 2025
Jan 28, 2025
Jan 28, 2025
San Francisco trip to Bay Area Maker Faire ( October 2024 )
Jan 28, 2025
Jan 28, 2025
Sep 15, 2024
Some small projects...
Sep 15, 2024
Sep 15, 2024
Aug 13, 2024
Re-purposing Skills
Aug 13, 2024
Aug 13, 2024
Aug 12, 2024
Screech Owl House
Aug 12, 2024
Aug 12, 2024

Tags

  • building
  • journal
  • projects
  • python
  • software

All content on this site is Copyright 2007-2024 by James Goodwin unless otherwise noted.