So… In the six years and some months since I retired I’ve been doing a lot of woodworking. I’ve learned a lot and the shop has evolved steadily and I’ve even joined a woodworking guild. One of the things that often comes up is wood turning and if I’m going to do it. I deferred deciding that on the grounds that I didn’t know where I would put a lathe in my shop. However, recently I figured out how to make some more space in the shop and I finally decided to go ahead and learn wood turning and get a lathe.
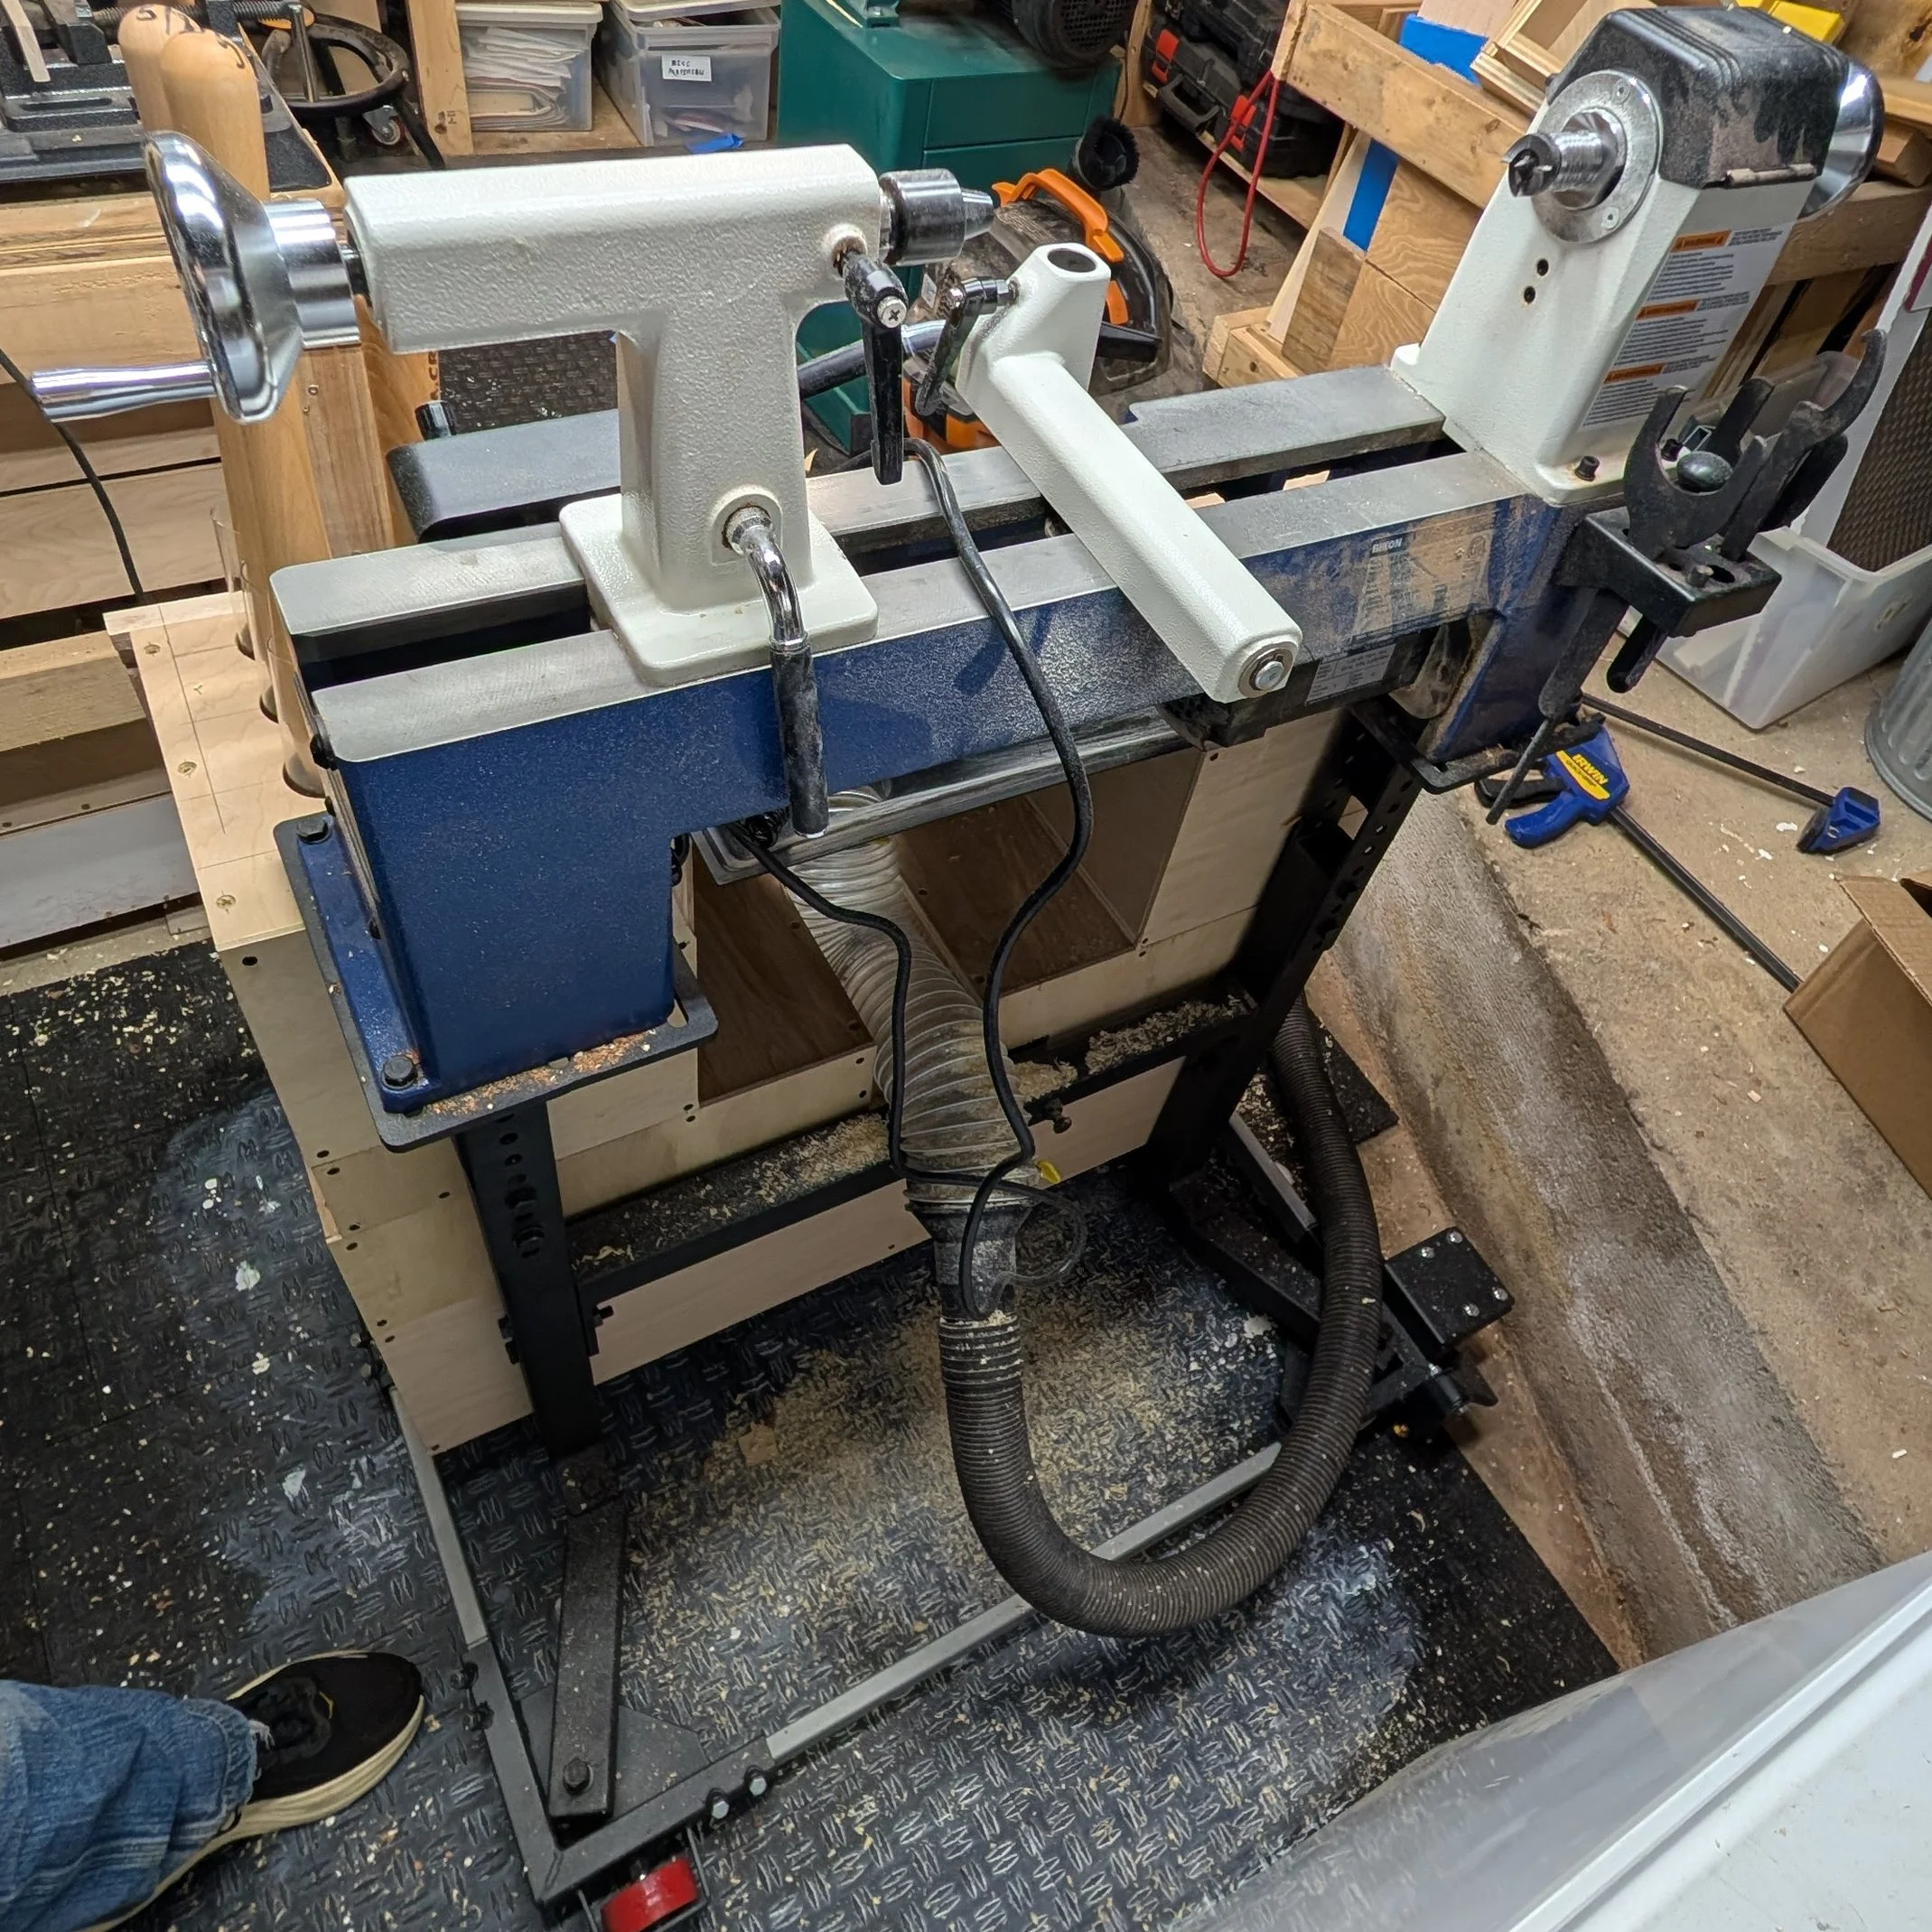
I didn’t have enough space for a big lathe so I got what is termed a midi-lathe it is a 16” x 12” RIKON lathe. It fit my price point, came with a good collection of accessories, and fit my goals which were to mostly turn bowls and other hollow things that were 12” or less in diameter.
I also got a nice stand for it and eventually I put it on a mobile base that I had purchased when I got my band saw but never used due to height restrictions. Fortunately I have a chain hoist and a fine collection of heavy duty eye-bolts so I was able to hoist it onto the mobile base and re-adjust the working height.
The other thing that folks talk about when discussing wood turning is the plethora of additional tools and work holding accessories you need to acquire in addition to the lathe. This lathe came with a nice chuck, a worm screw, a live center, a drive center, and a face plate. Which is quite bit more that many similarly priced lathes come with. I then acquired several sizes and types of high speed steel turning chisels gouges, scrapers, etc… as well a several sizes and types of carbide turning tools… because I couldn’t decide what kind of person I was going to be and figured I would just do both. I also got a drill chuck, some cole jaws for gripping a hollow form after it has been hollowed, a new wet sharpening system, and a special jig for sharpening turning gouges.
I justified a bunch of the expense by having sold all of my photographic equipment that I no longer used for a decent percentage of the total cost of this project.
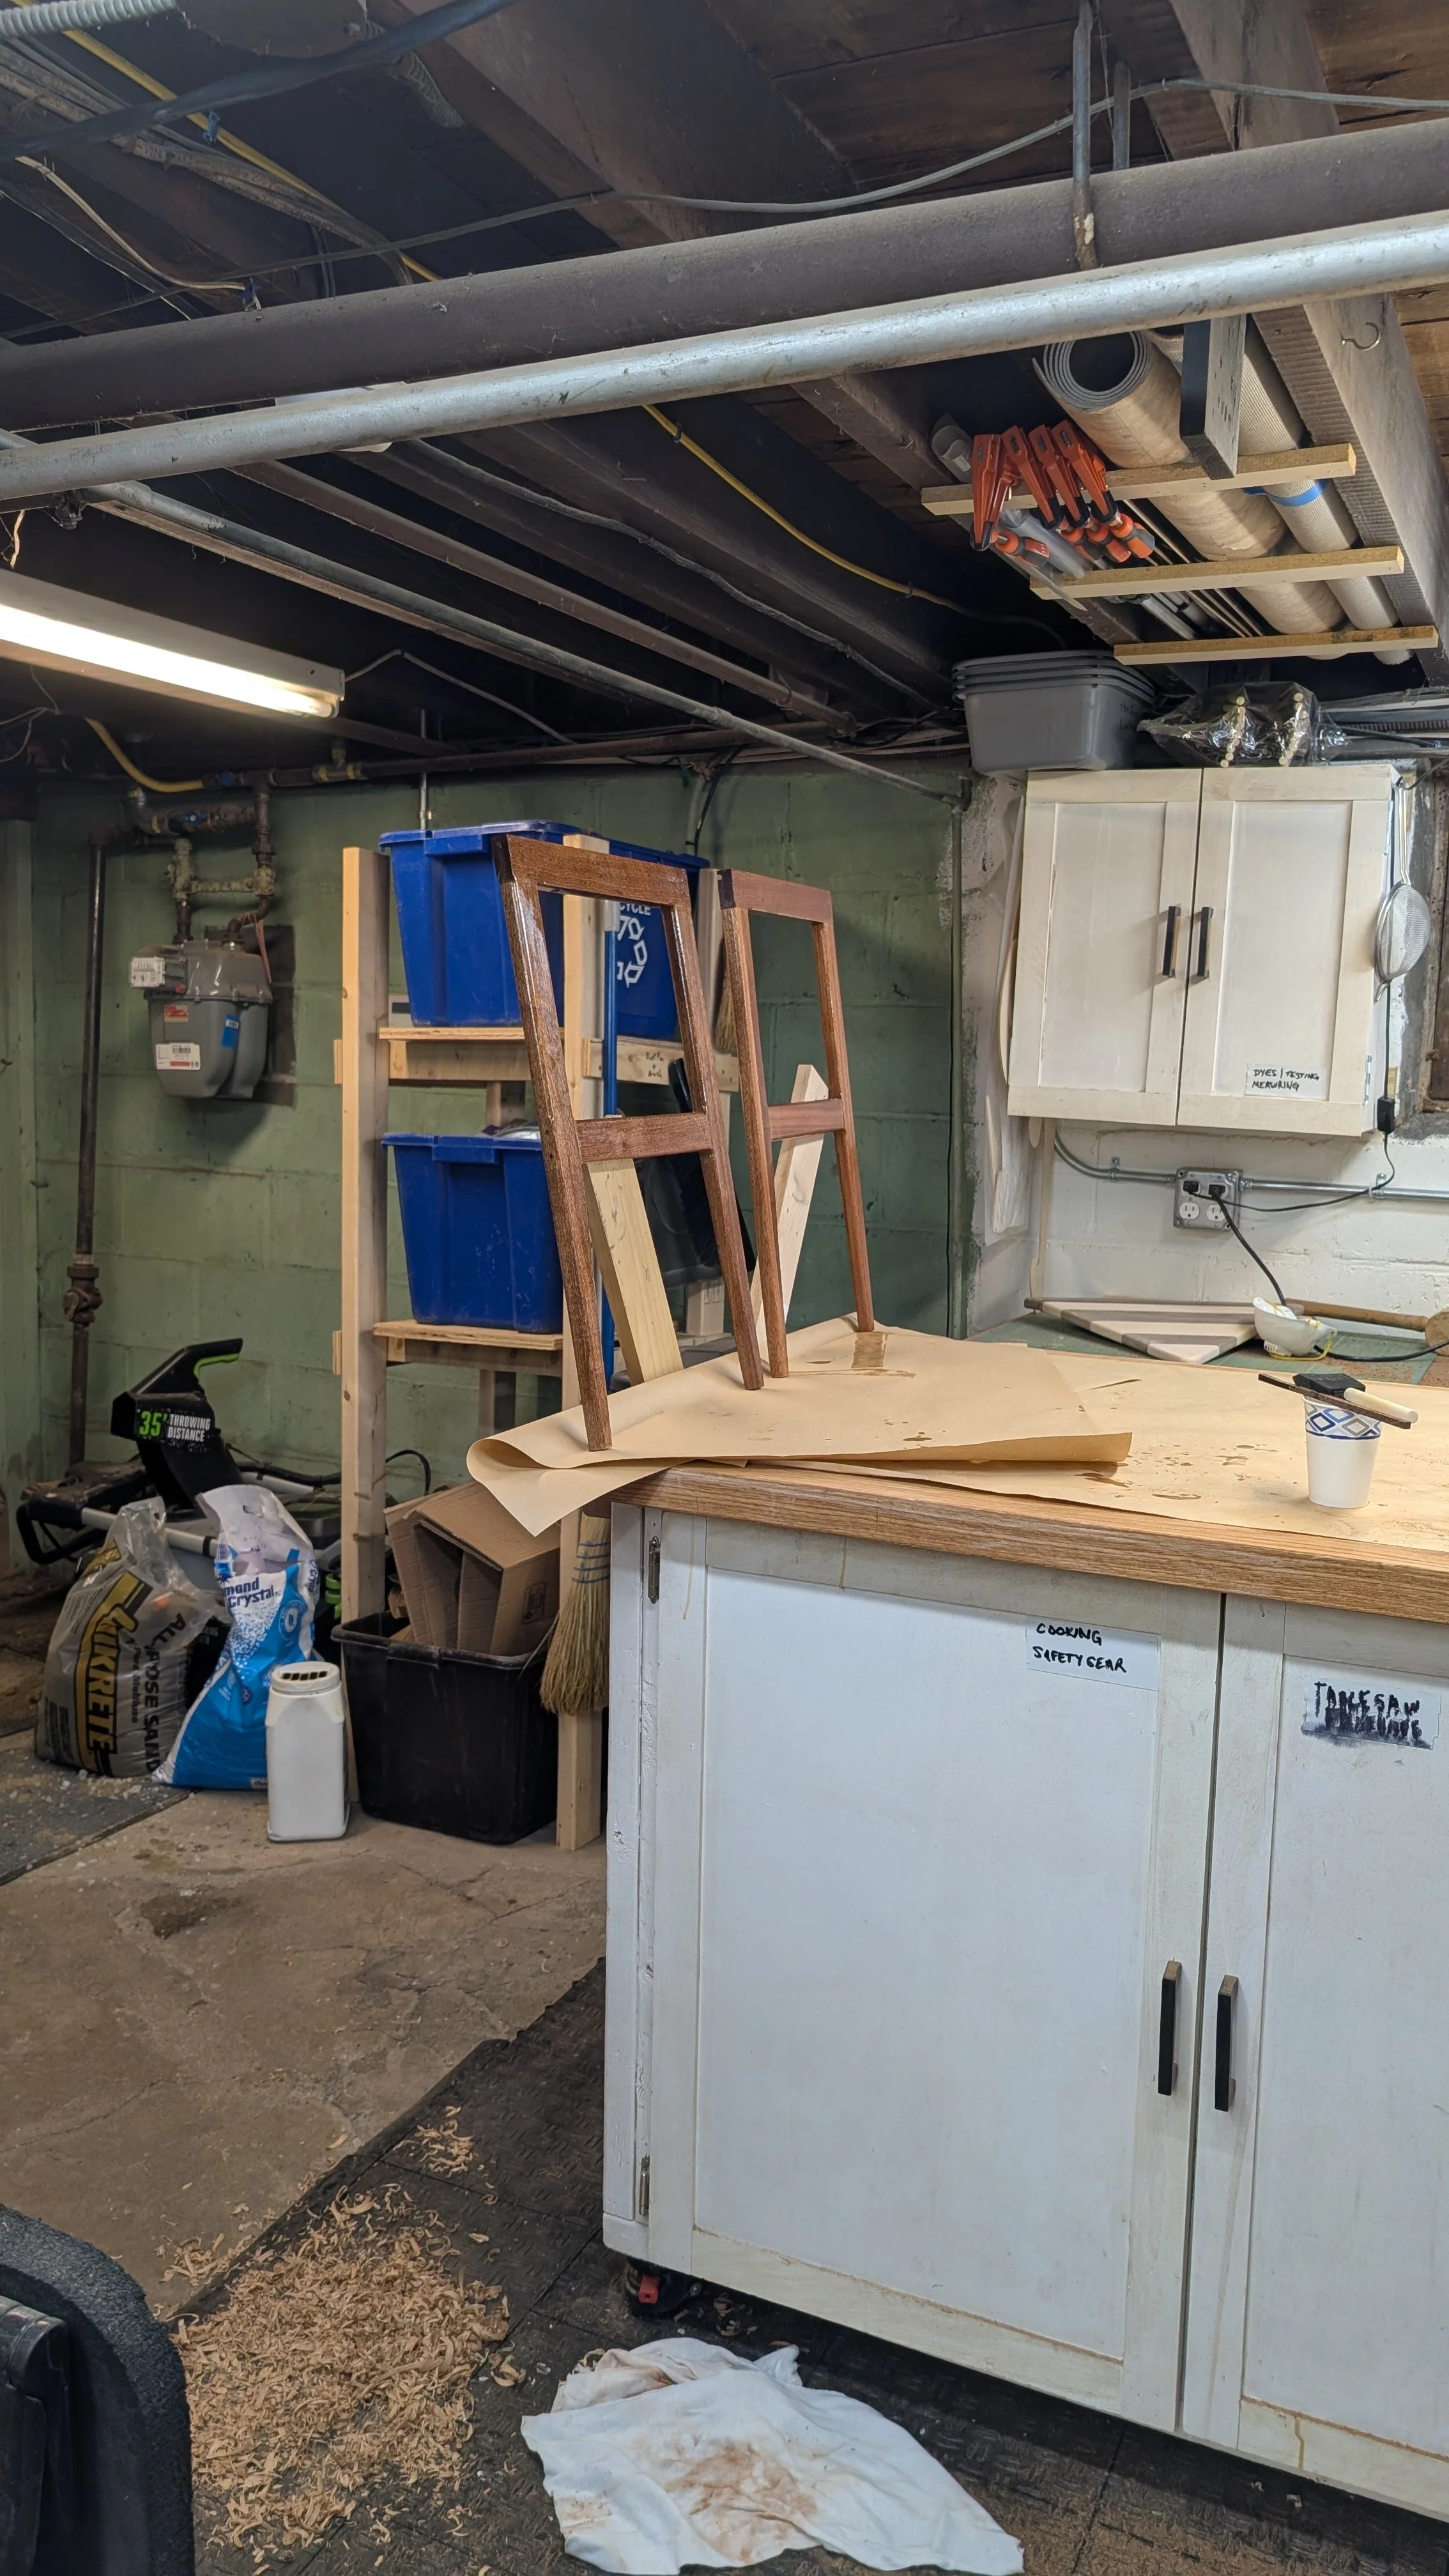
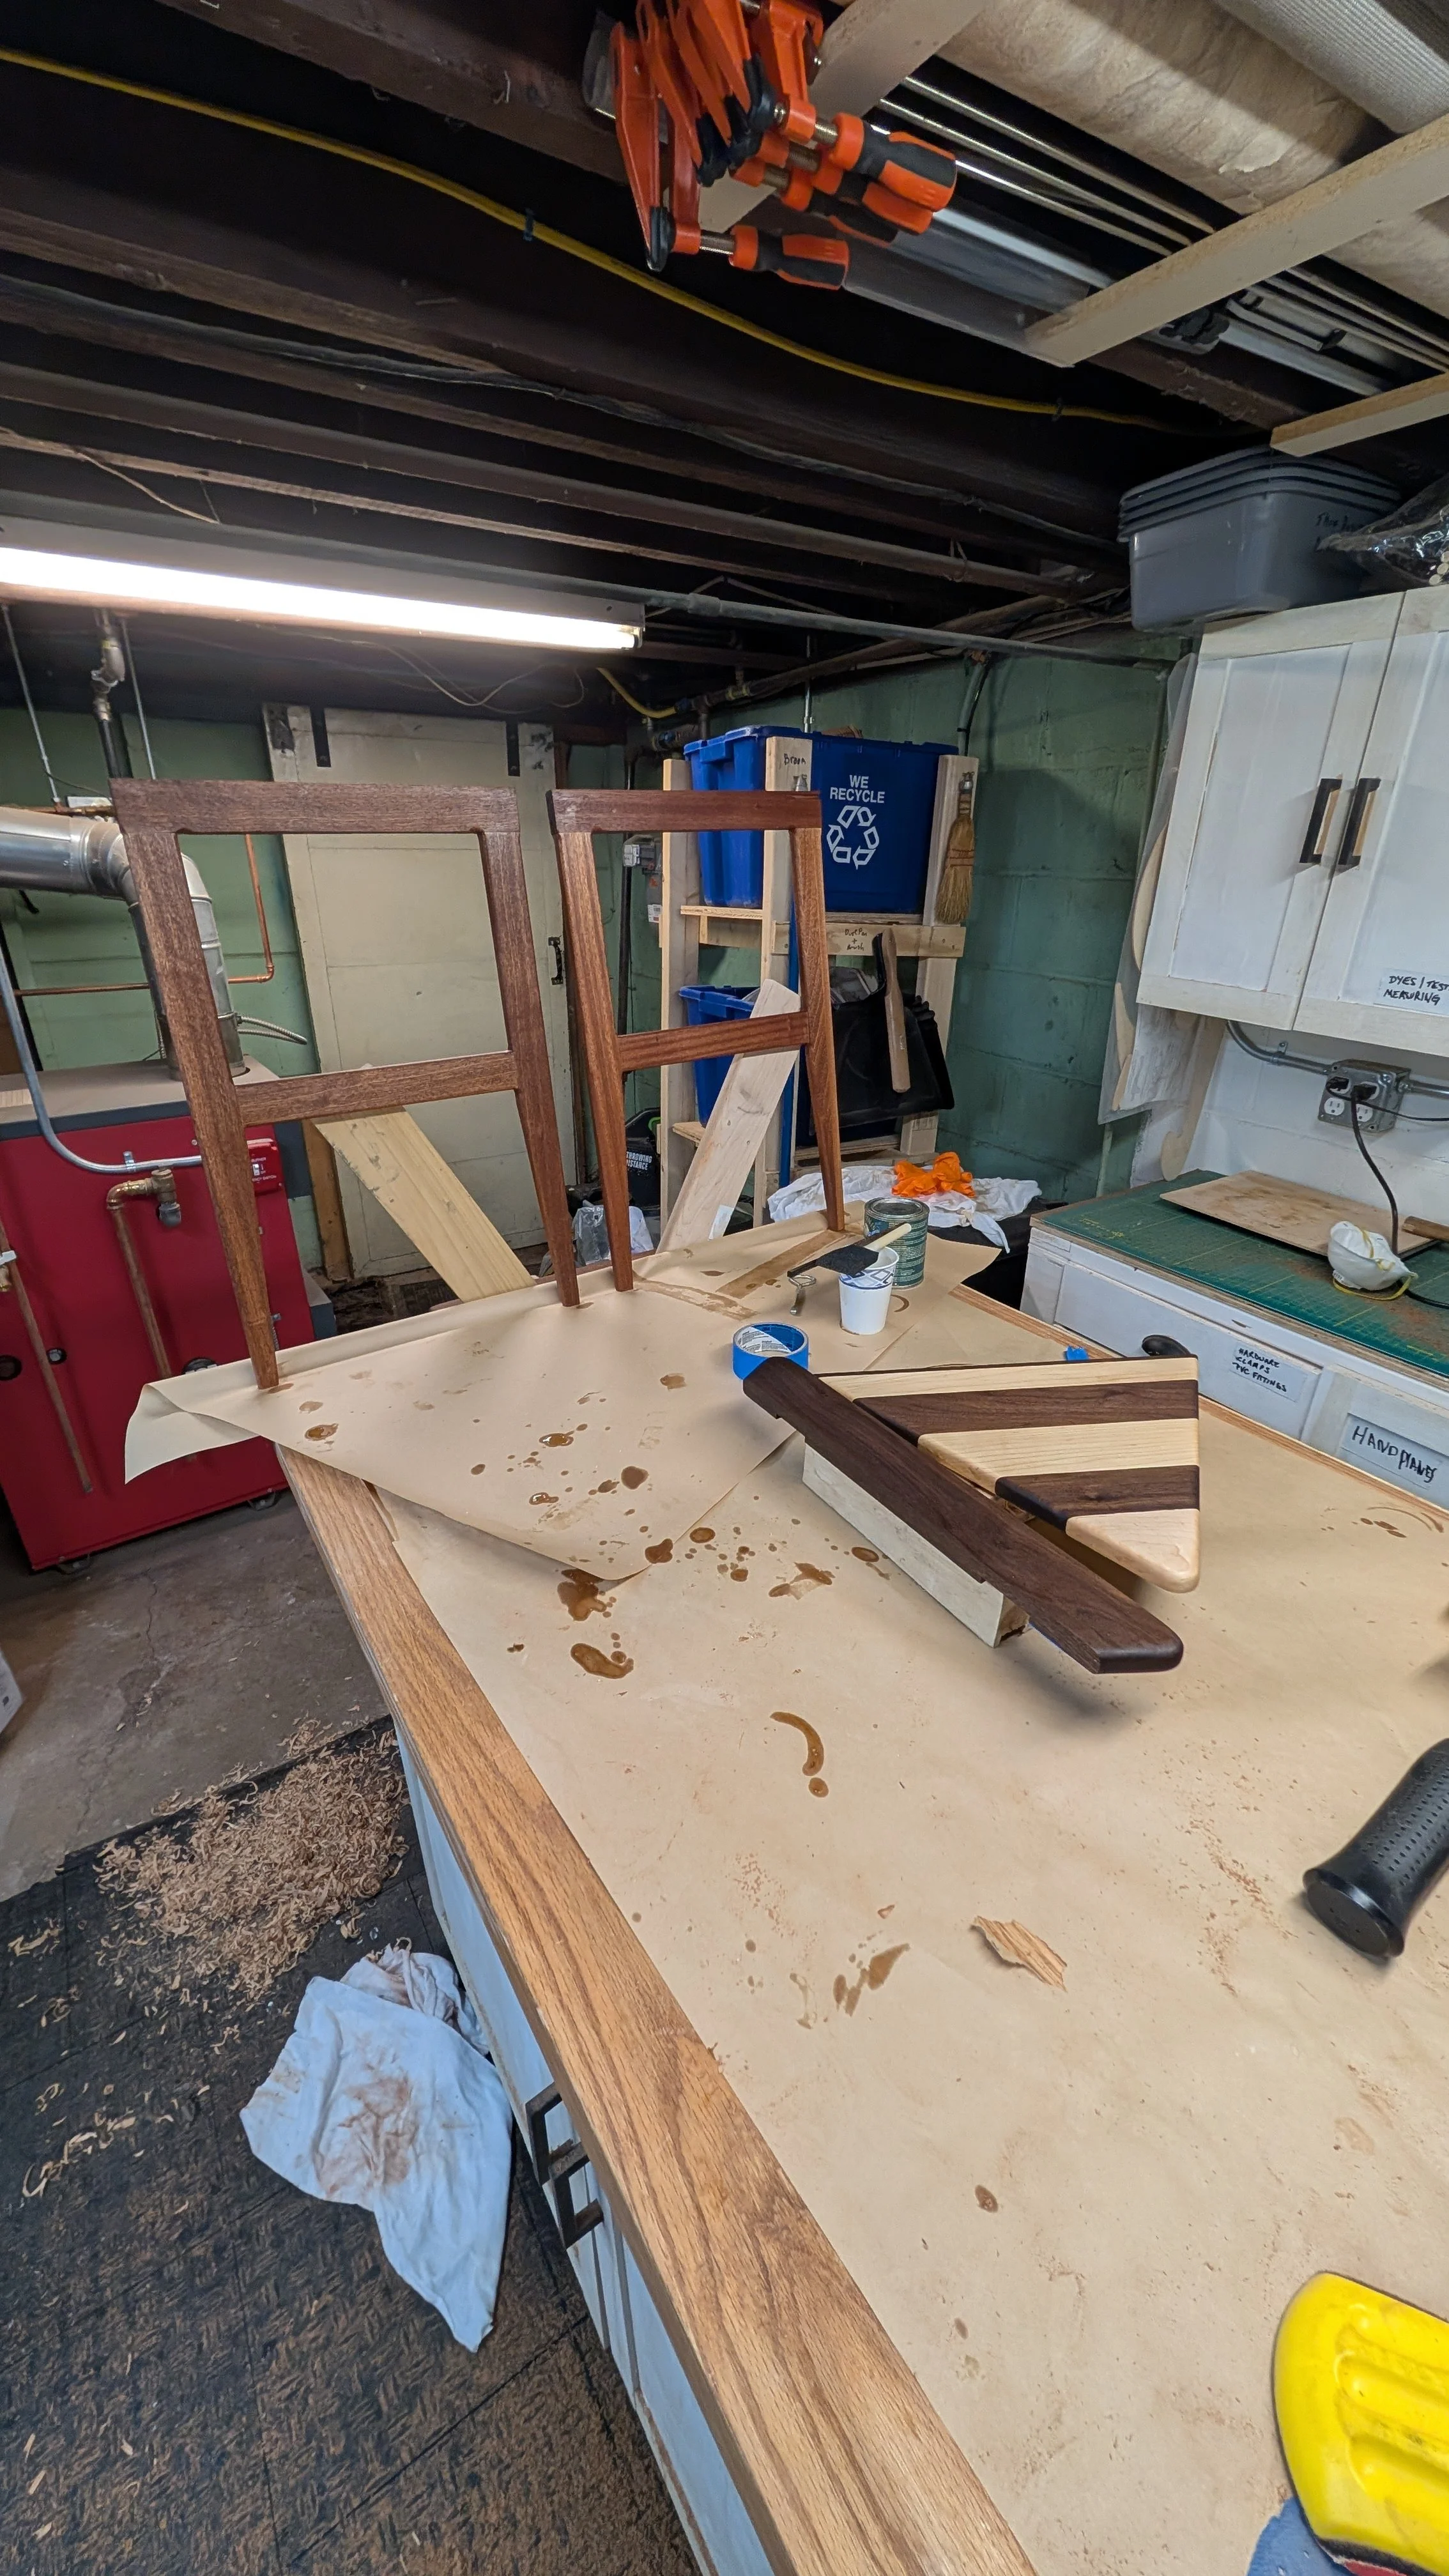
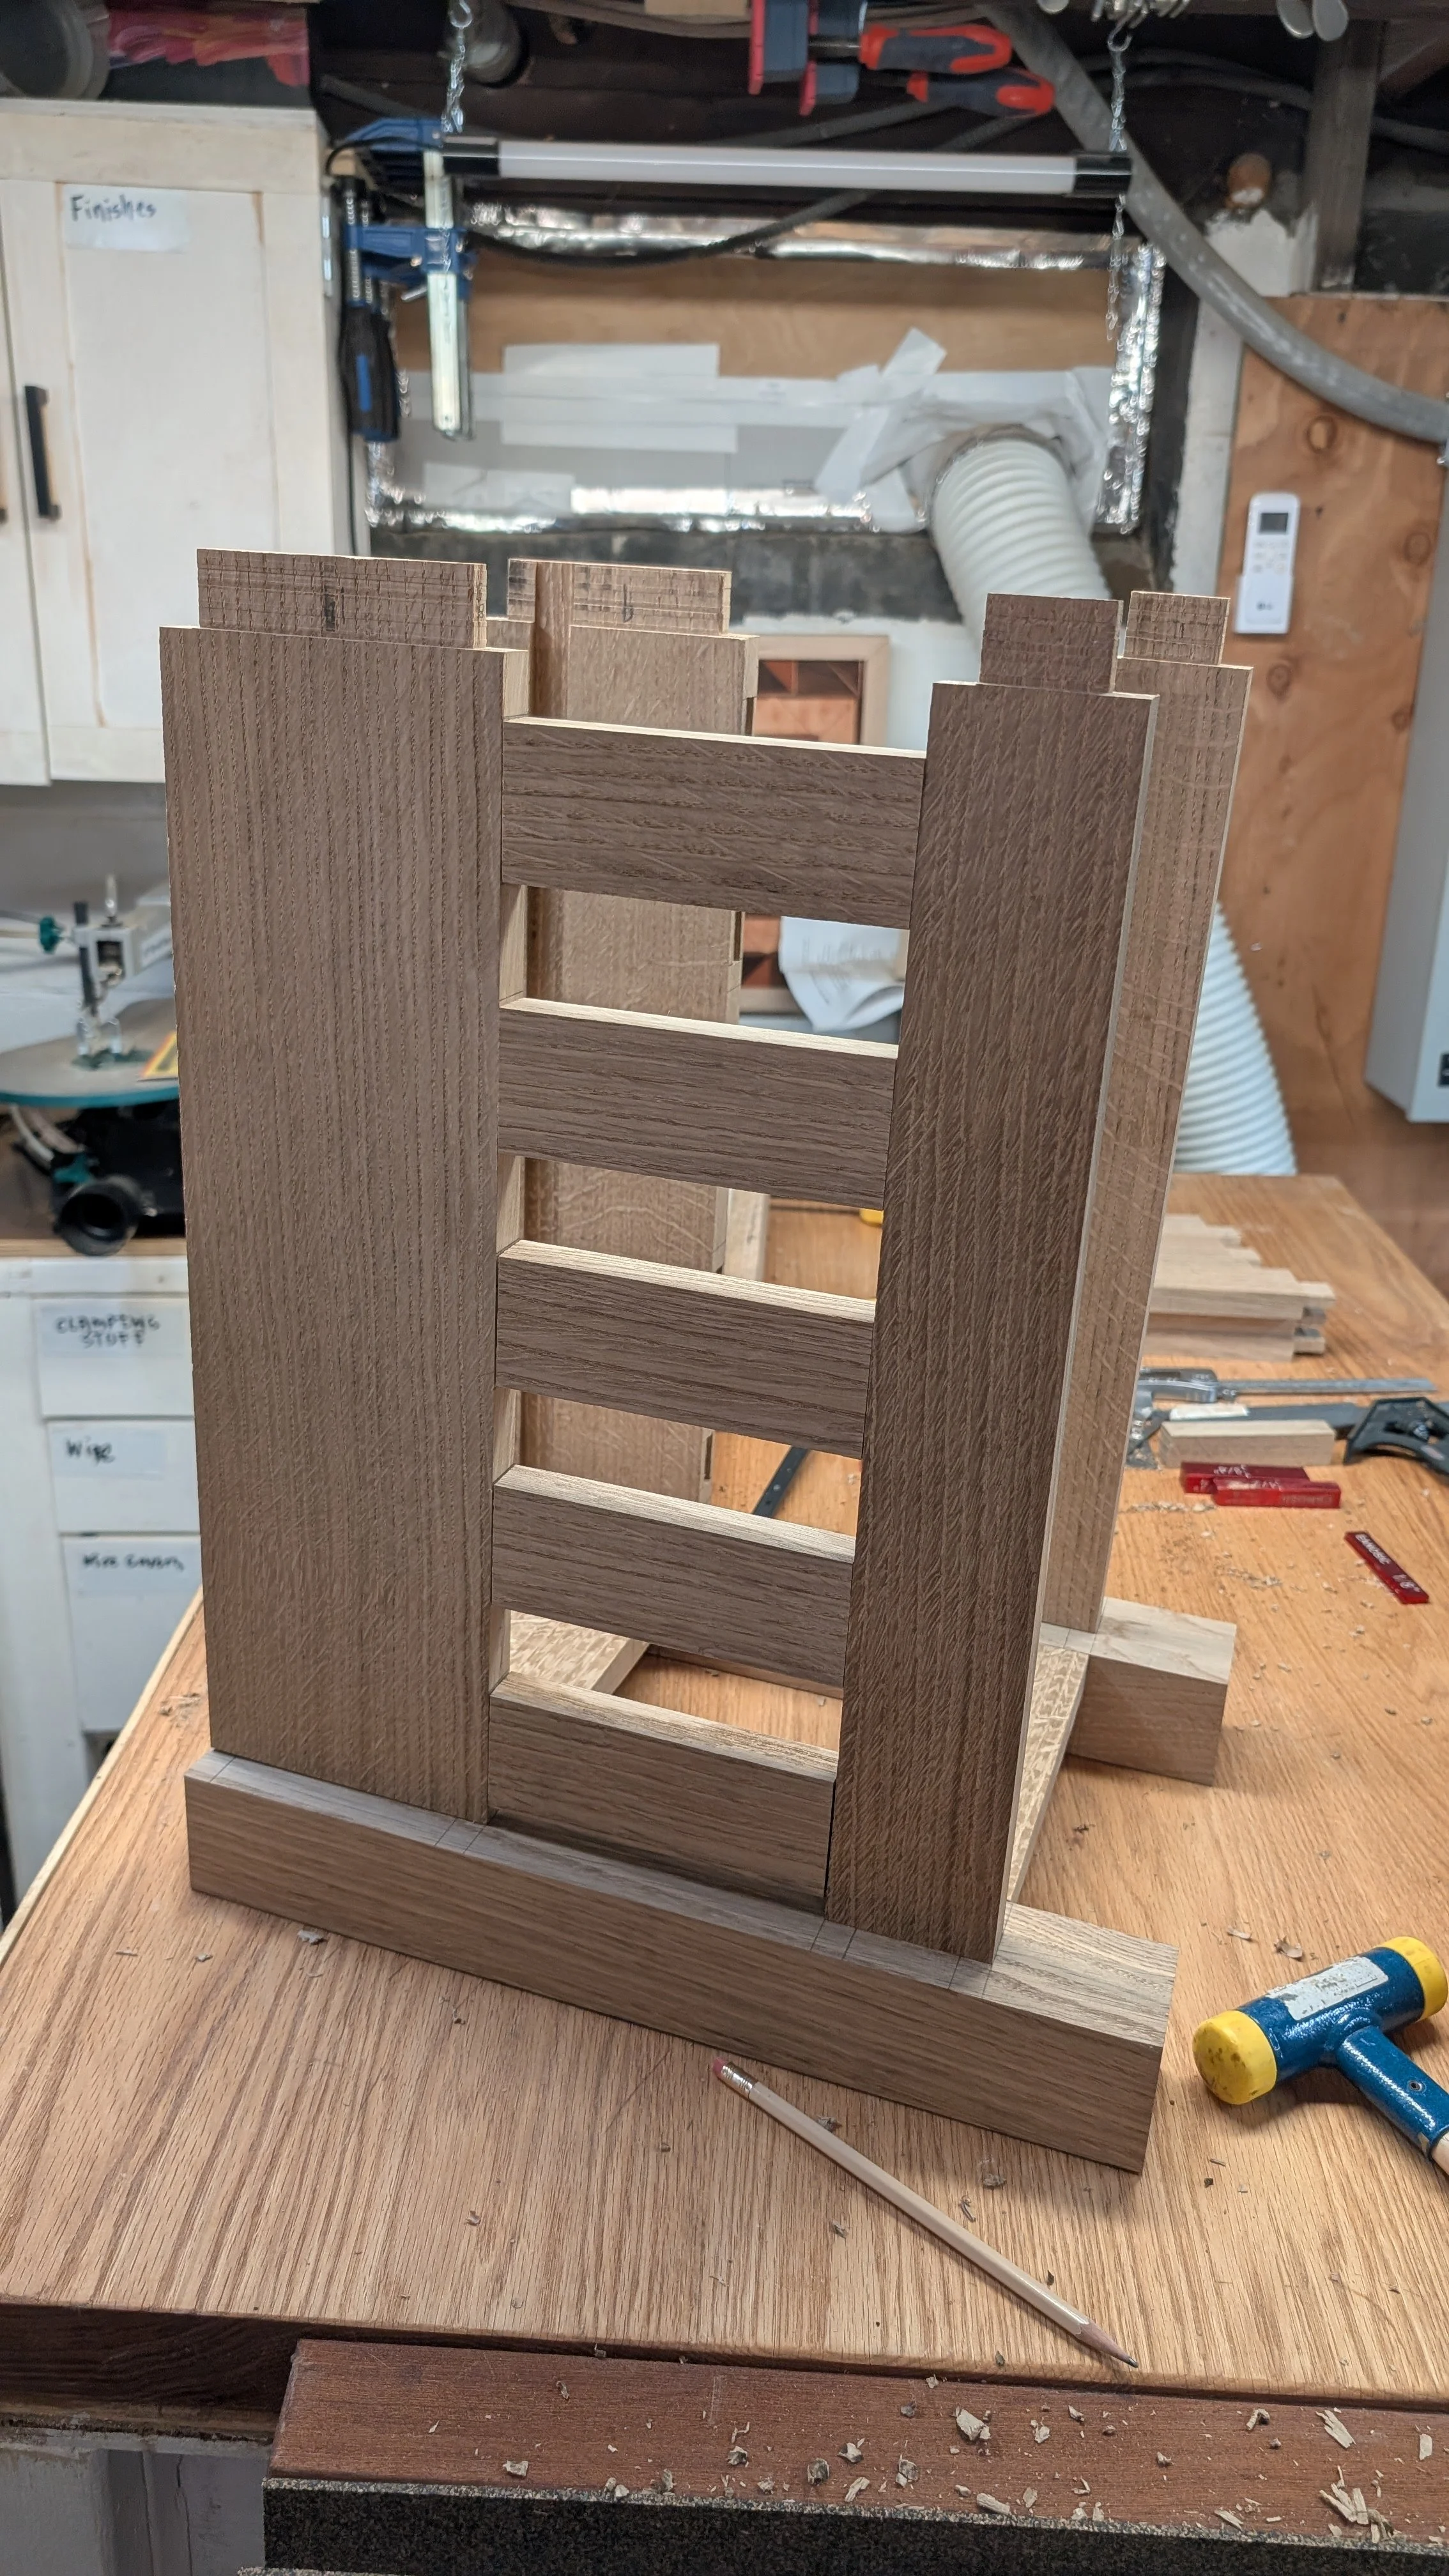
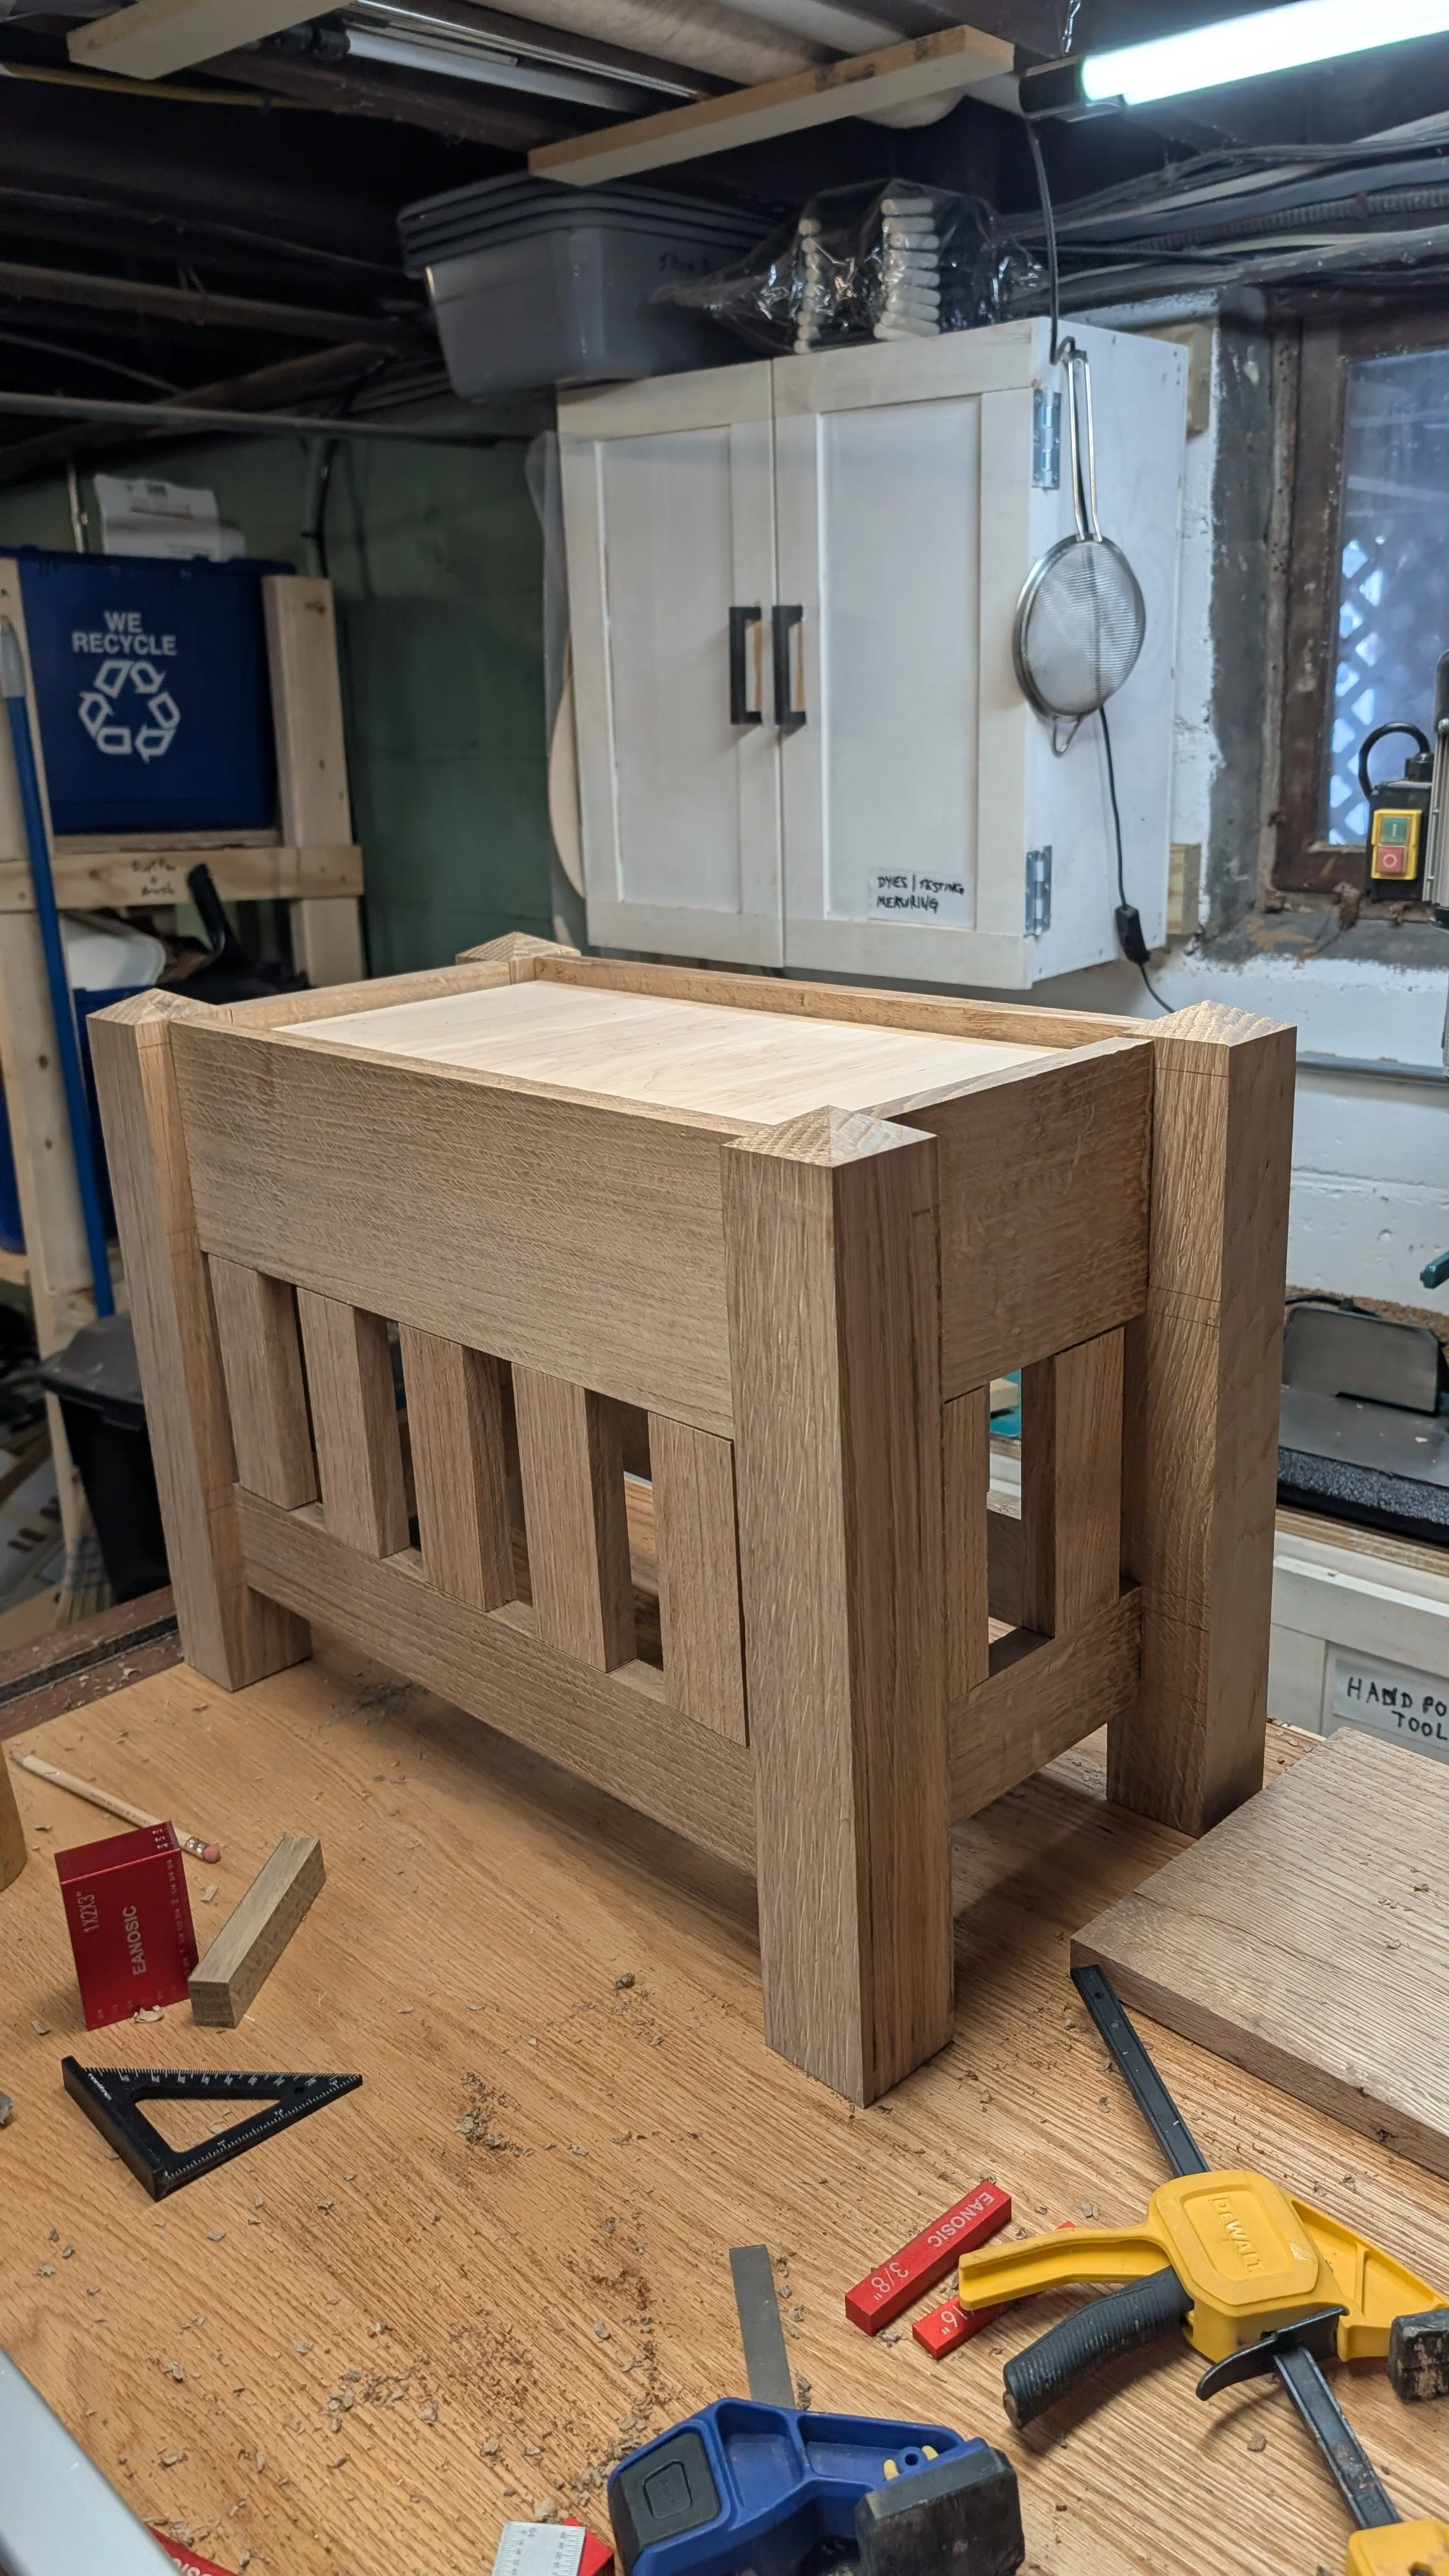
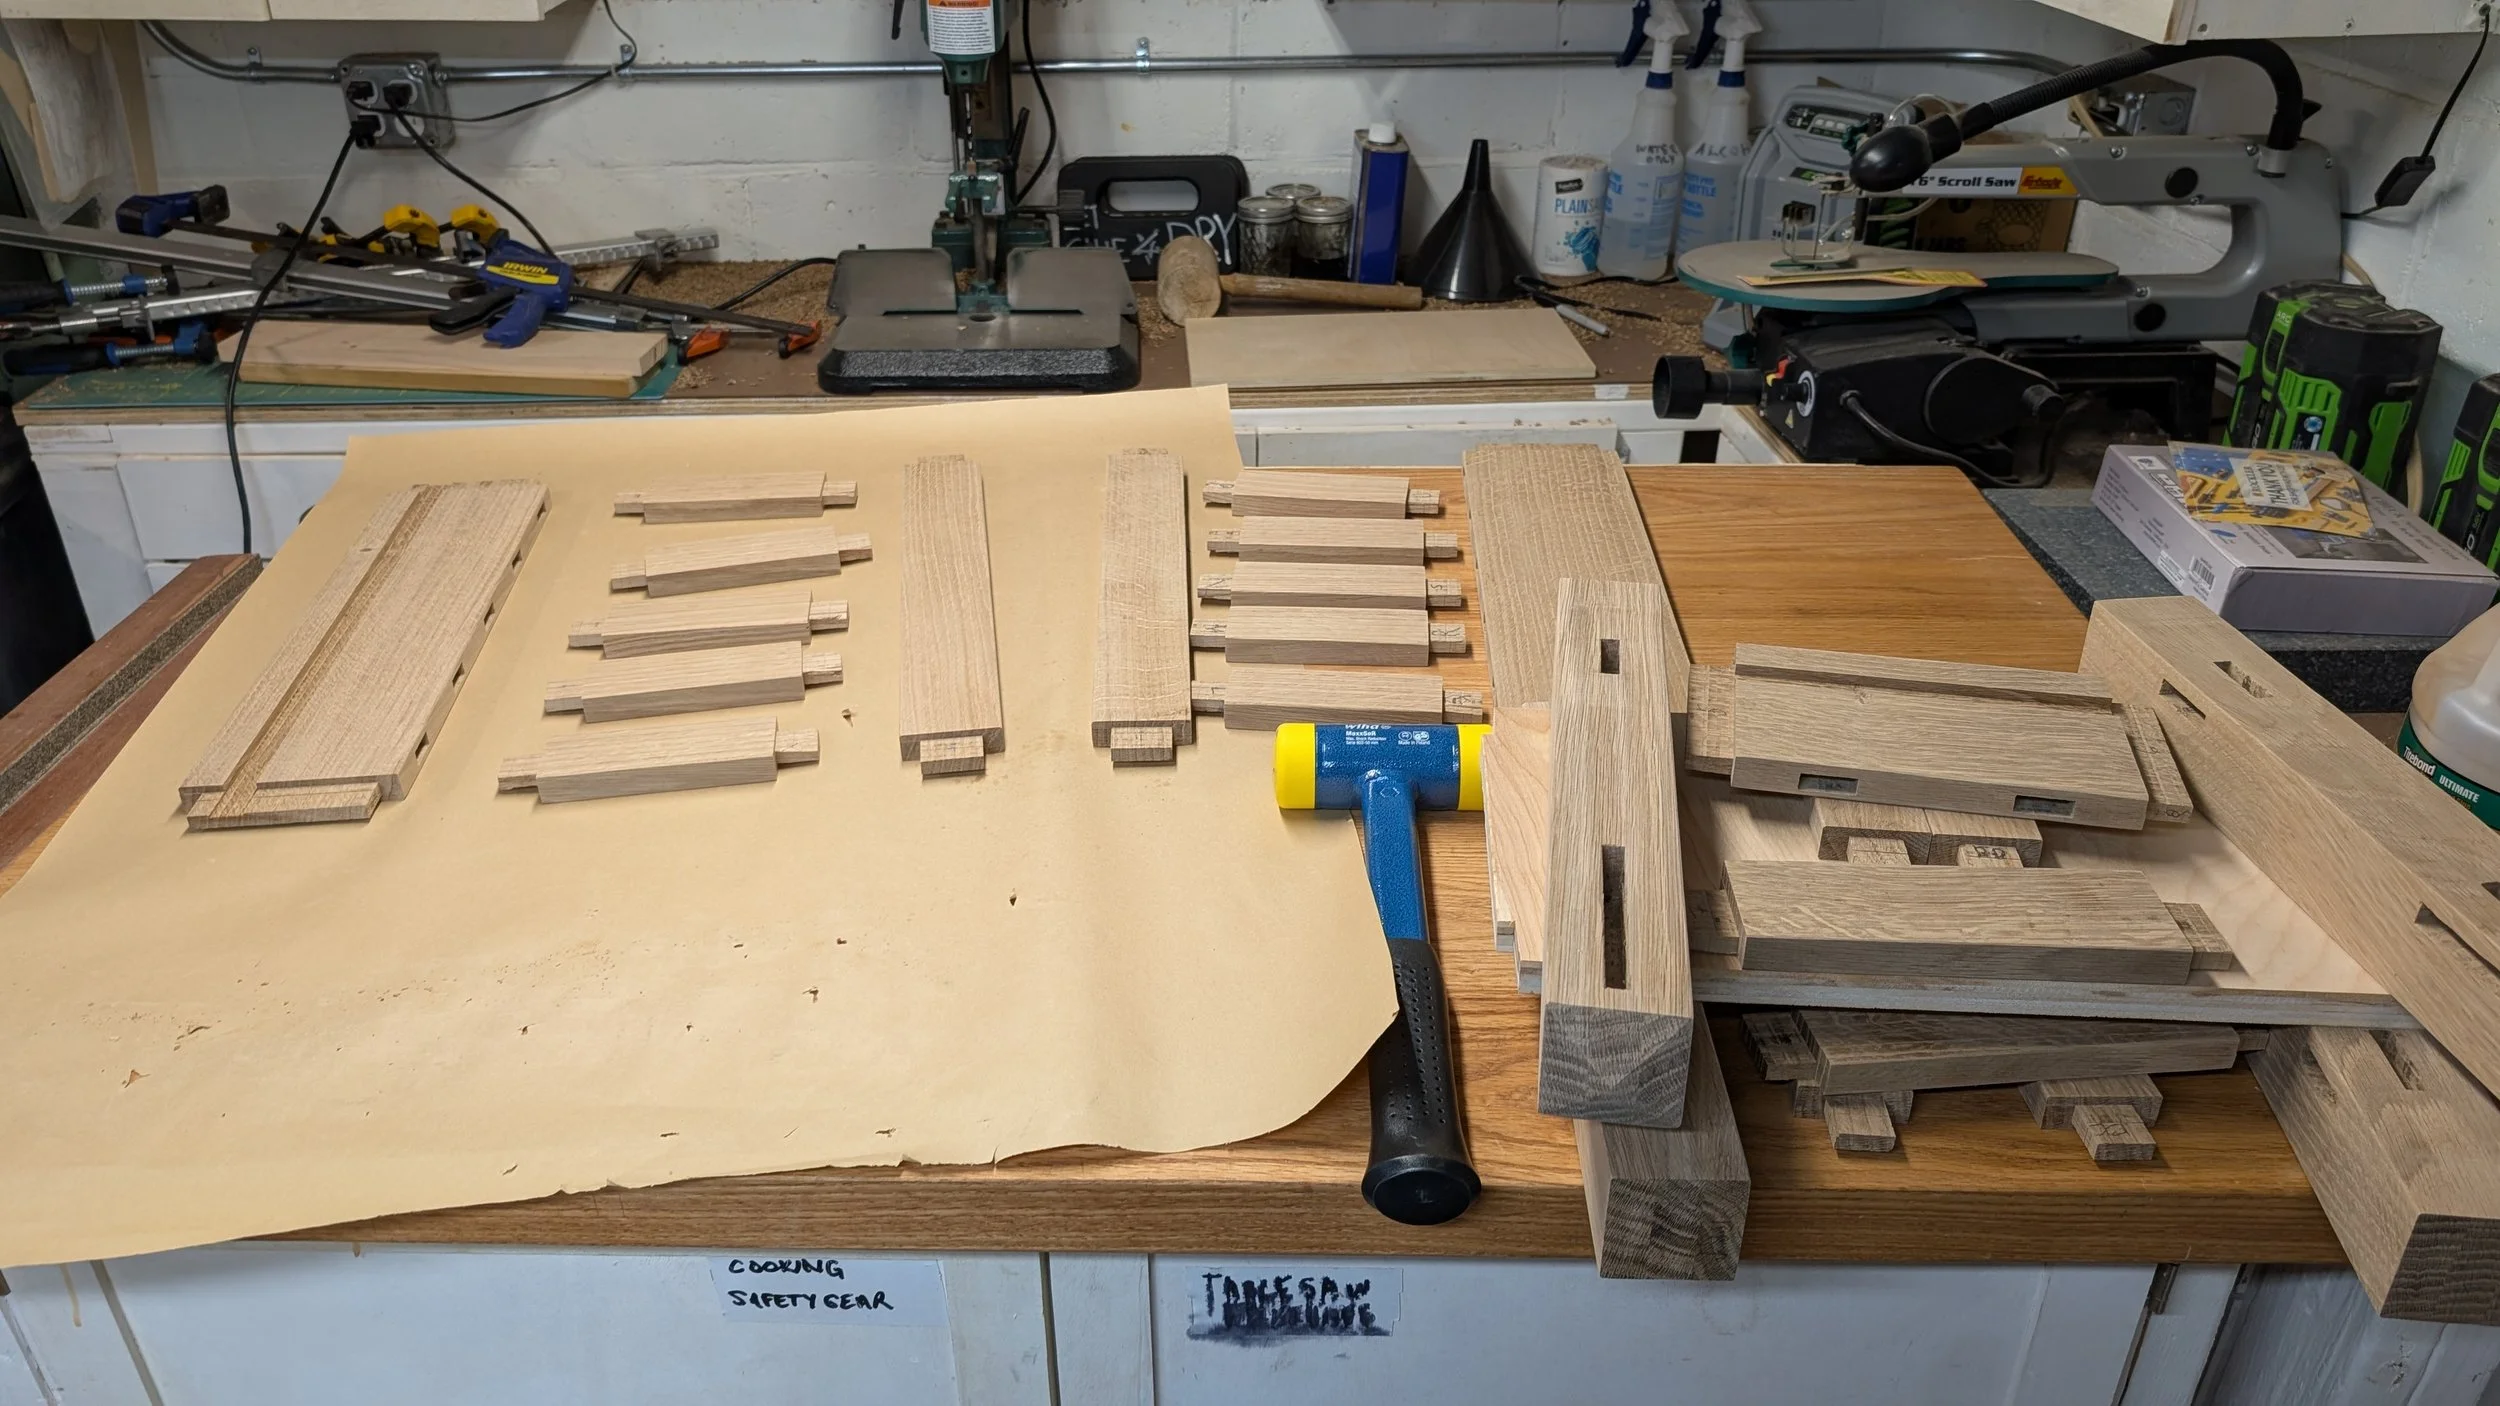
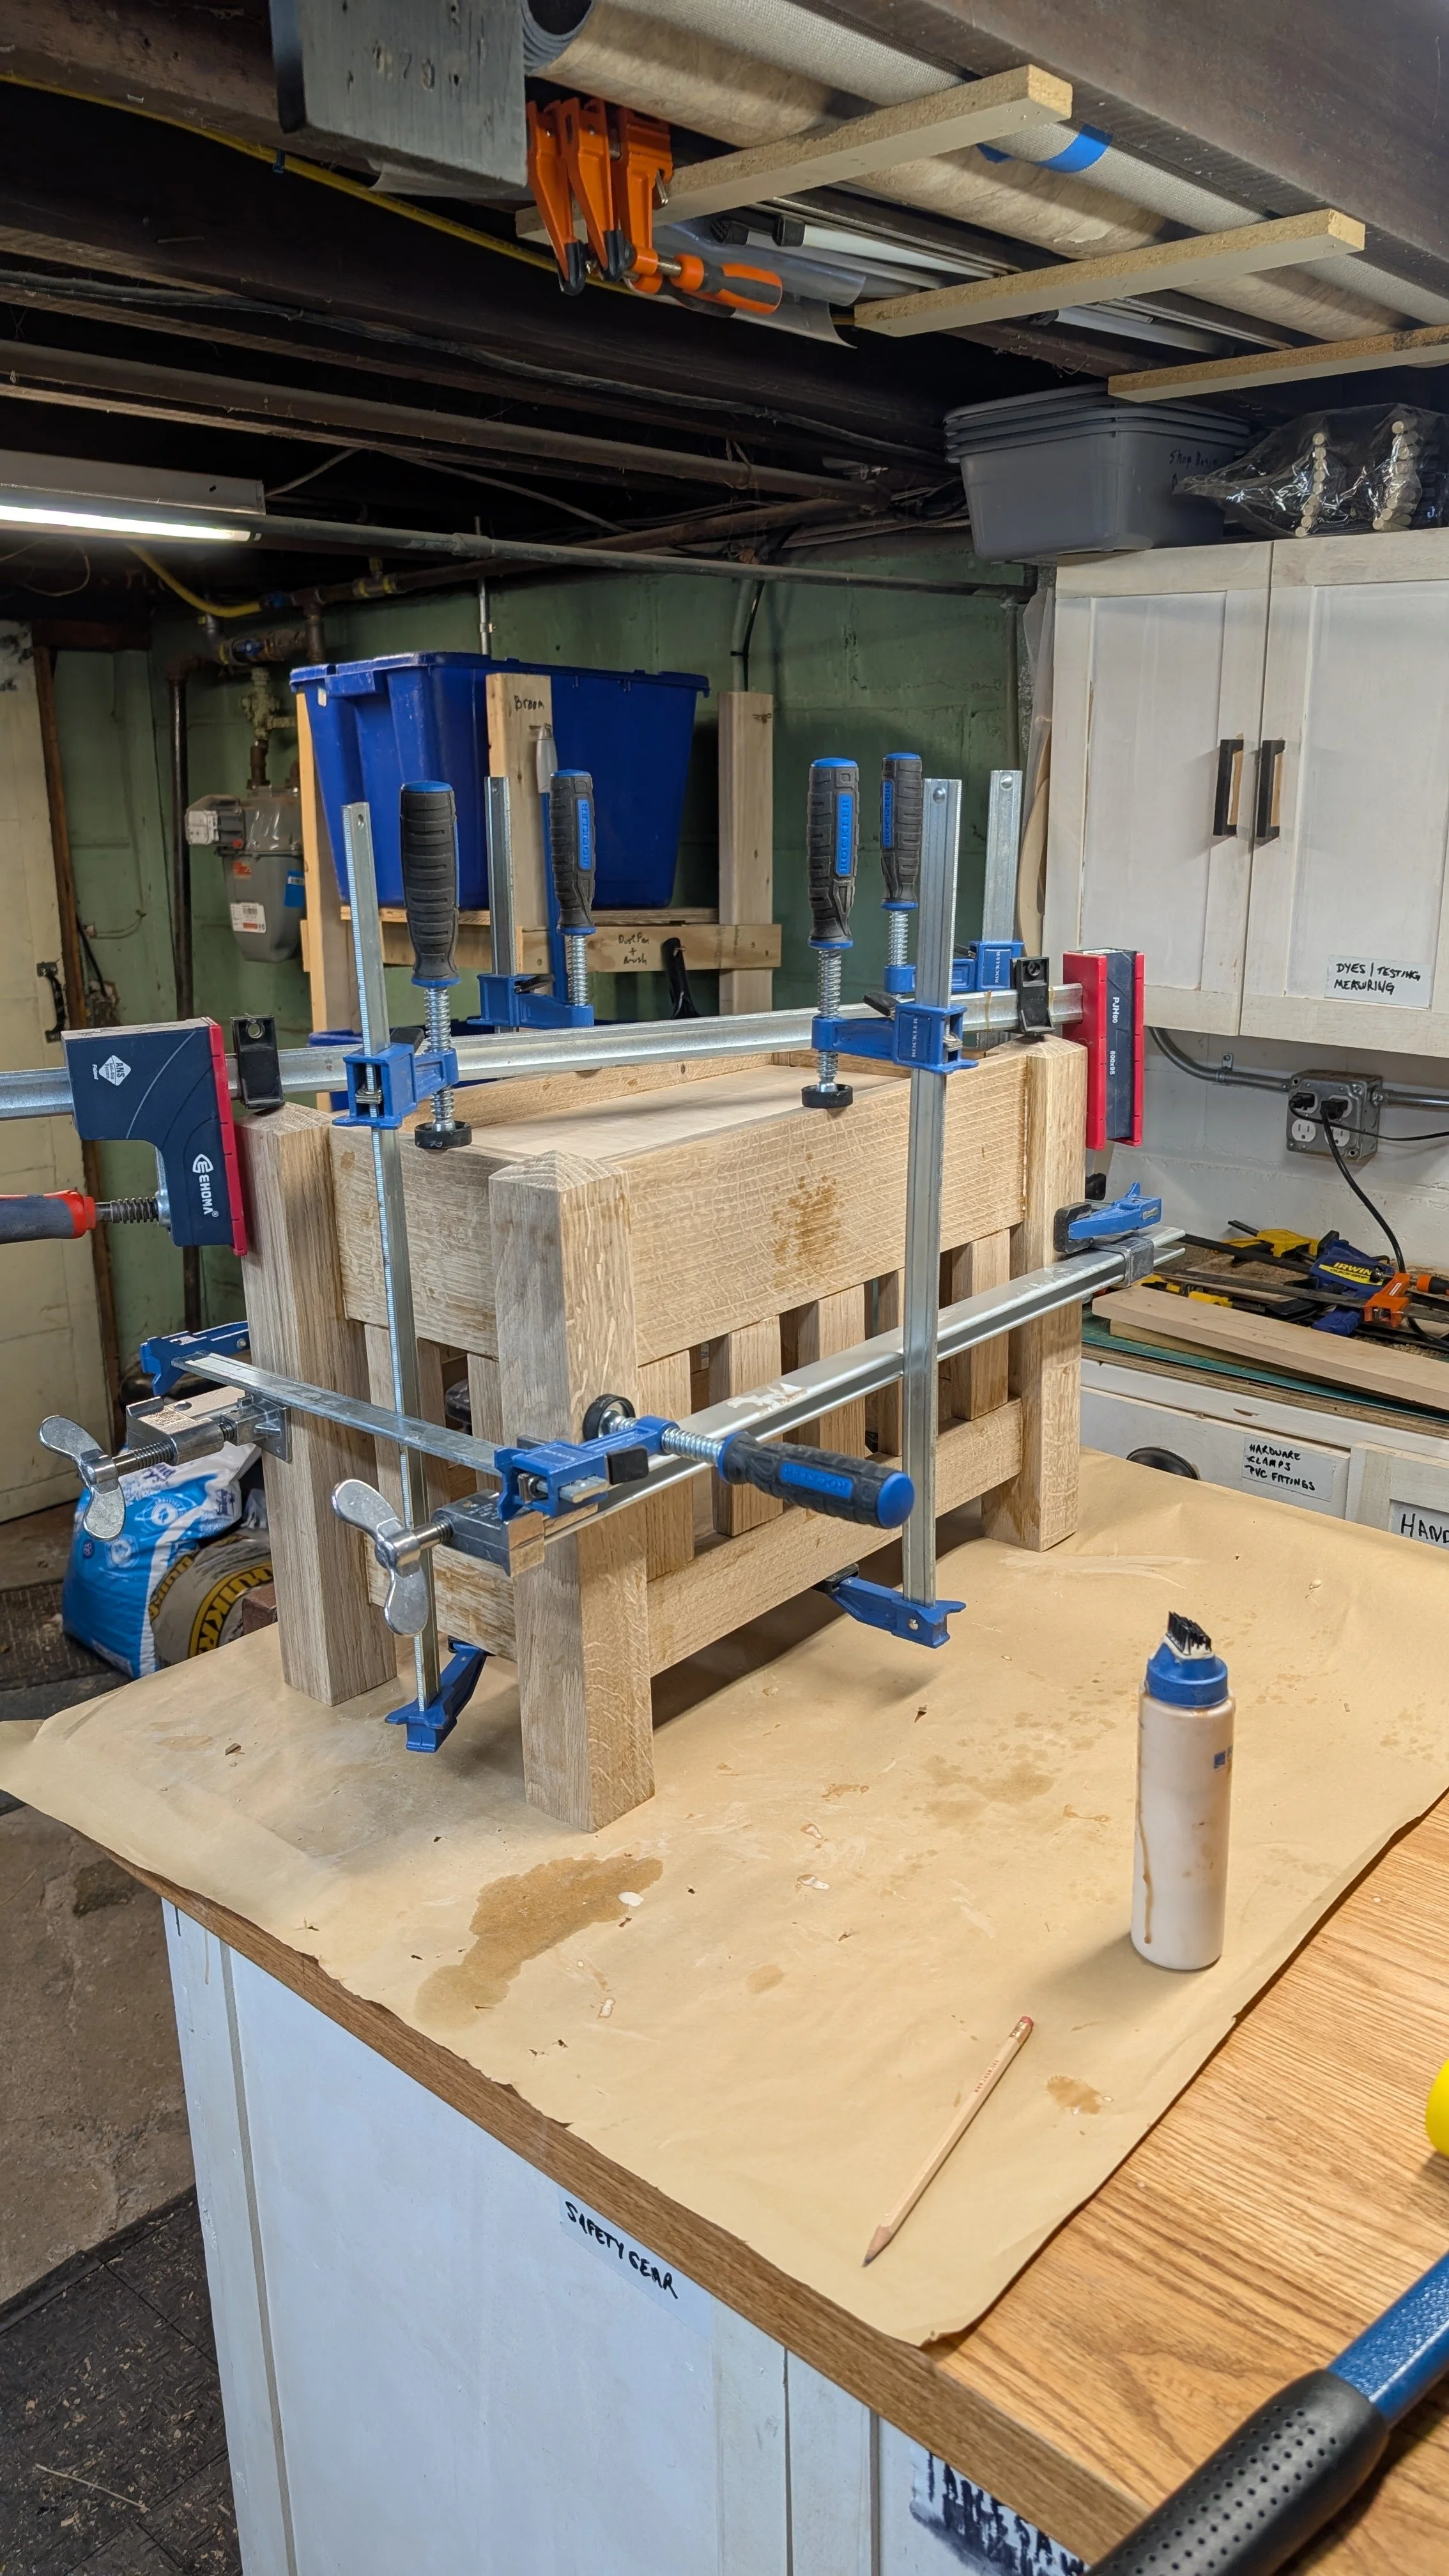
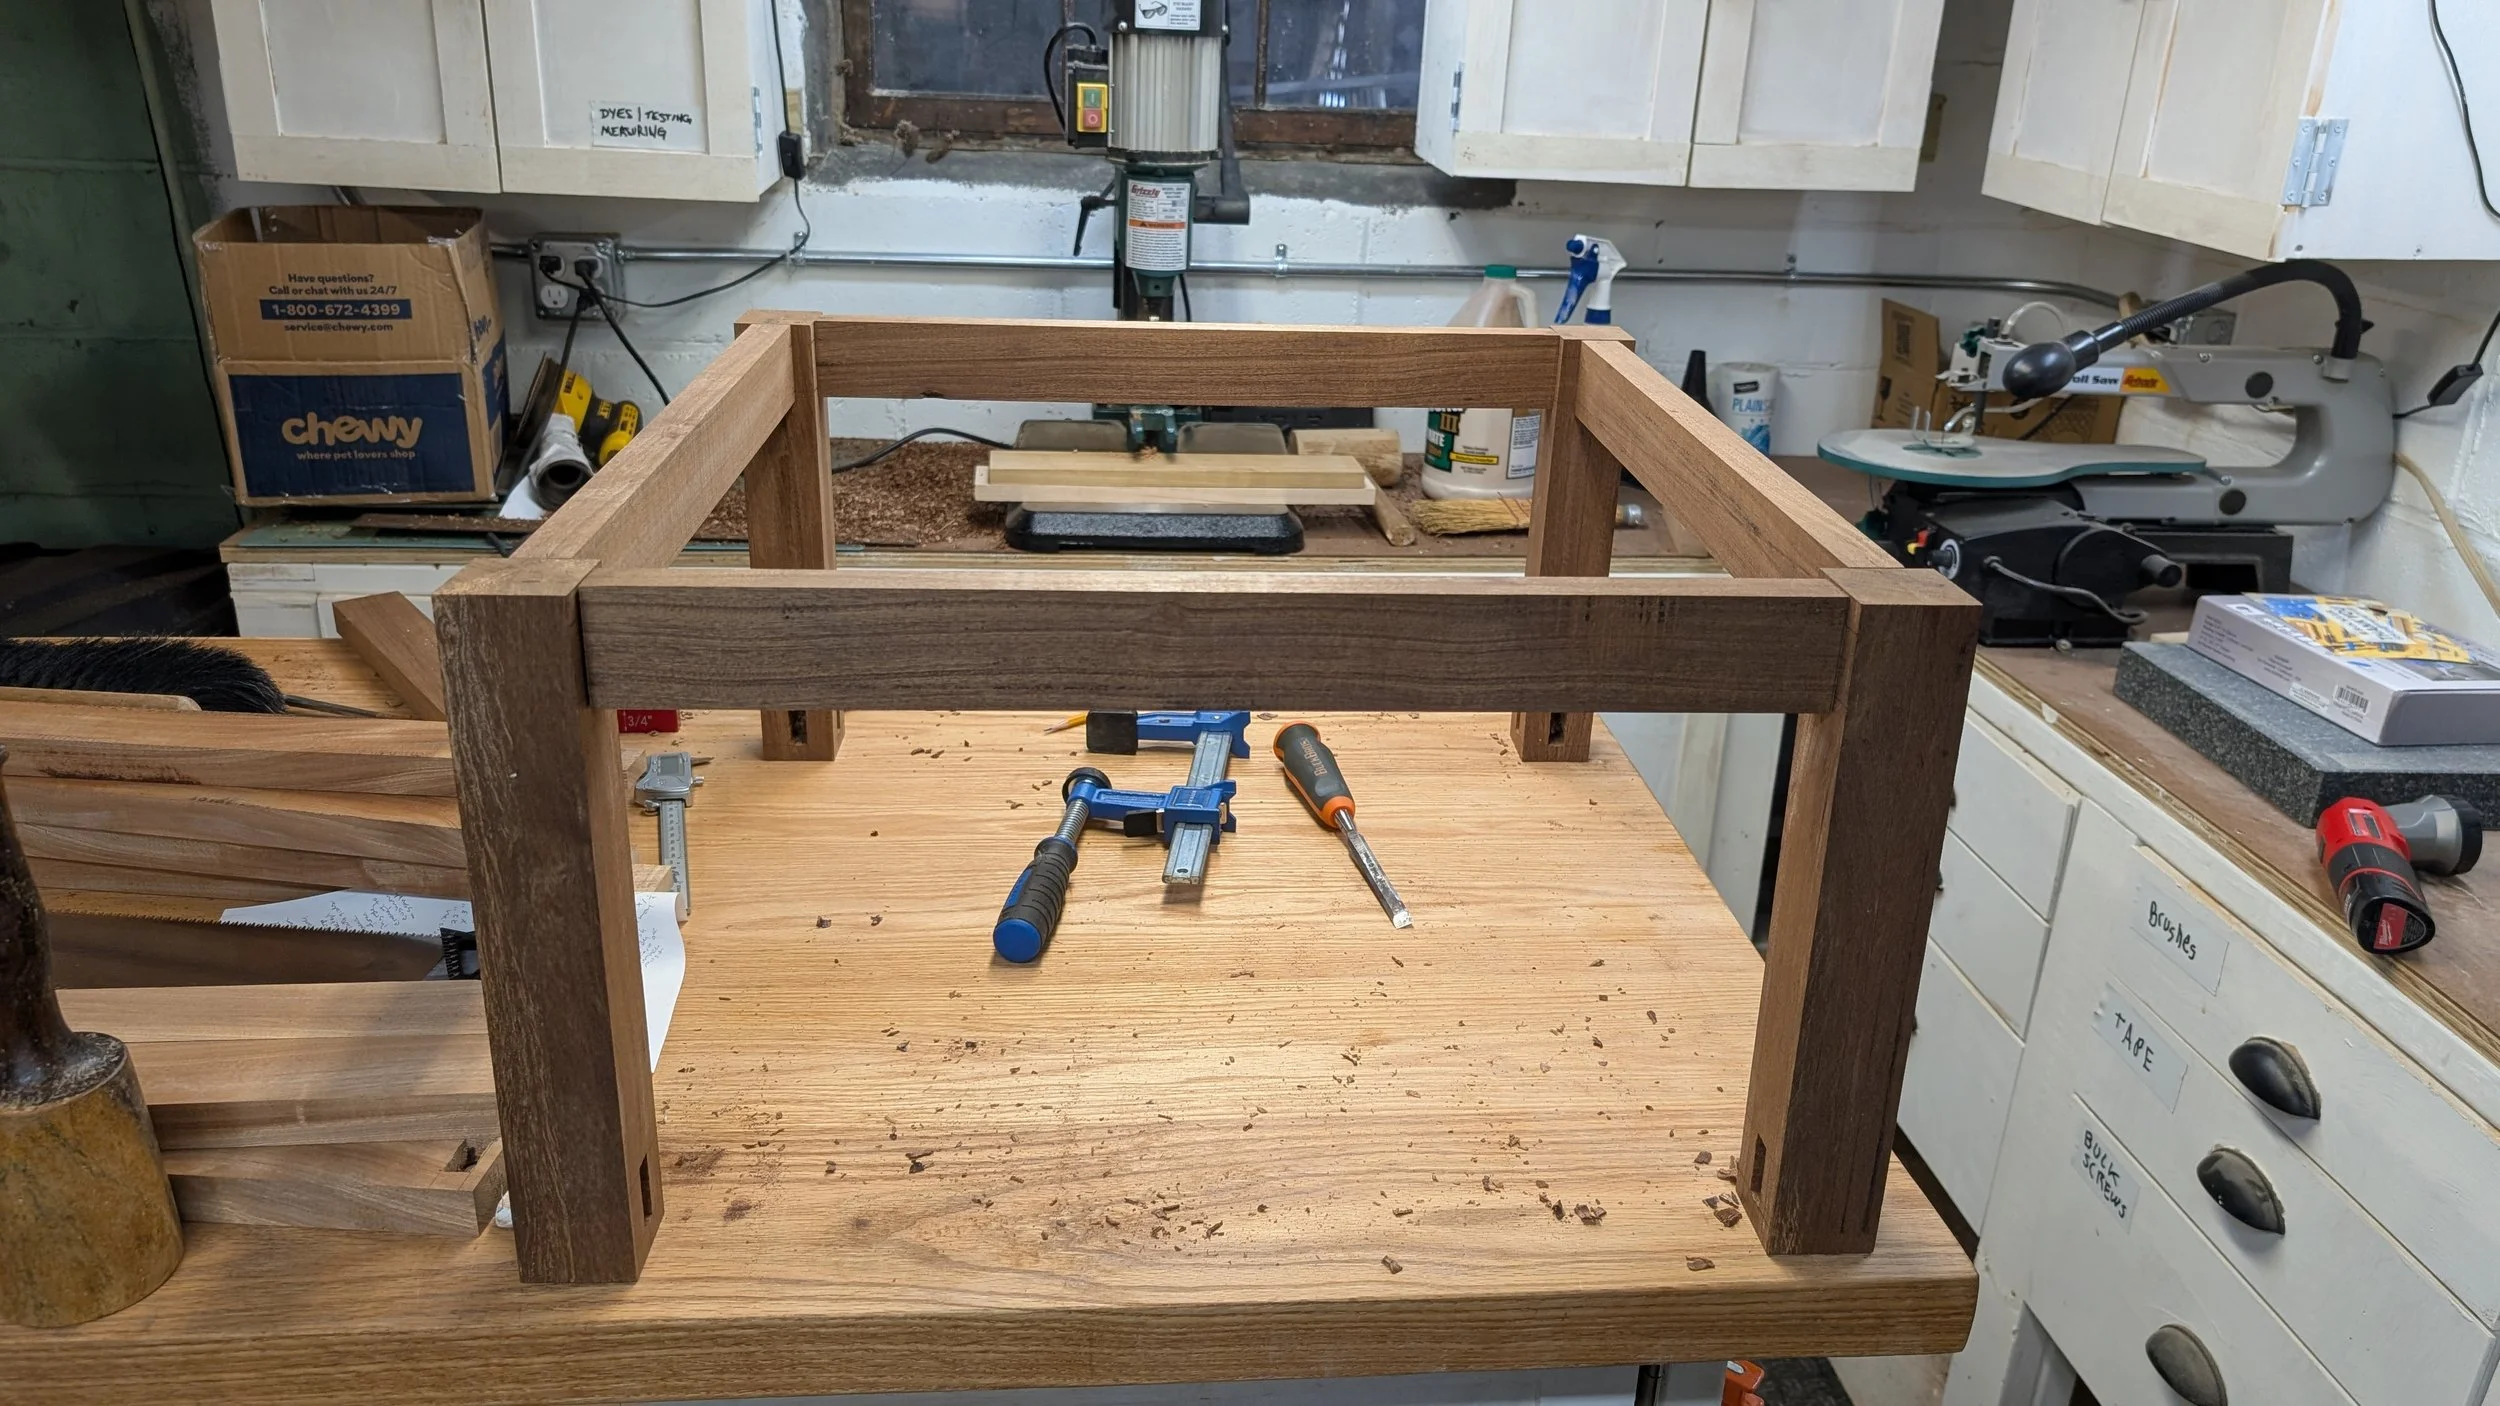
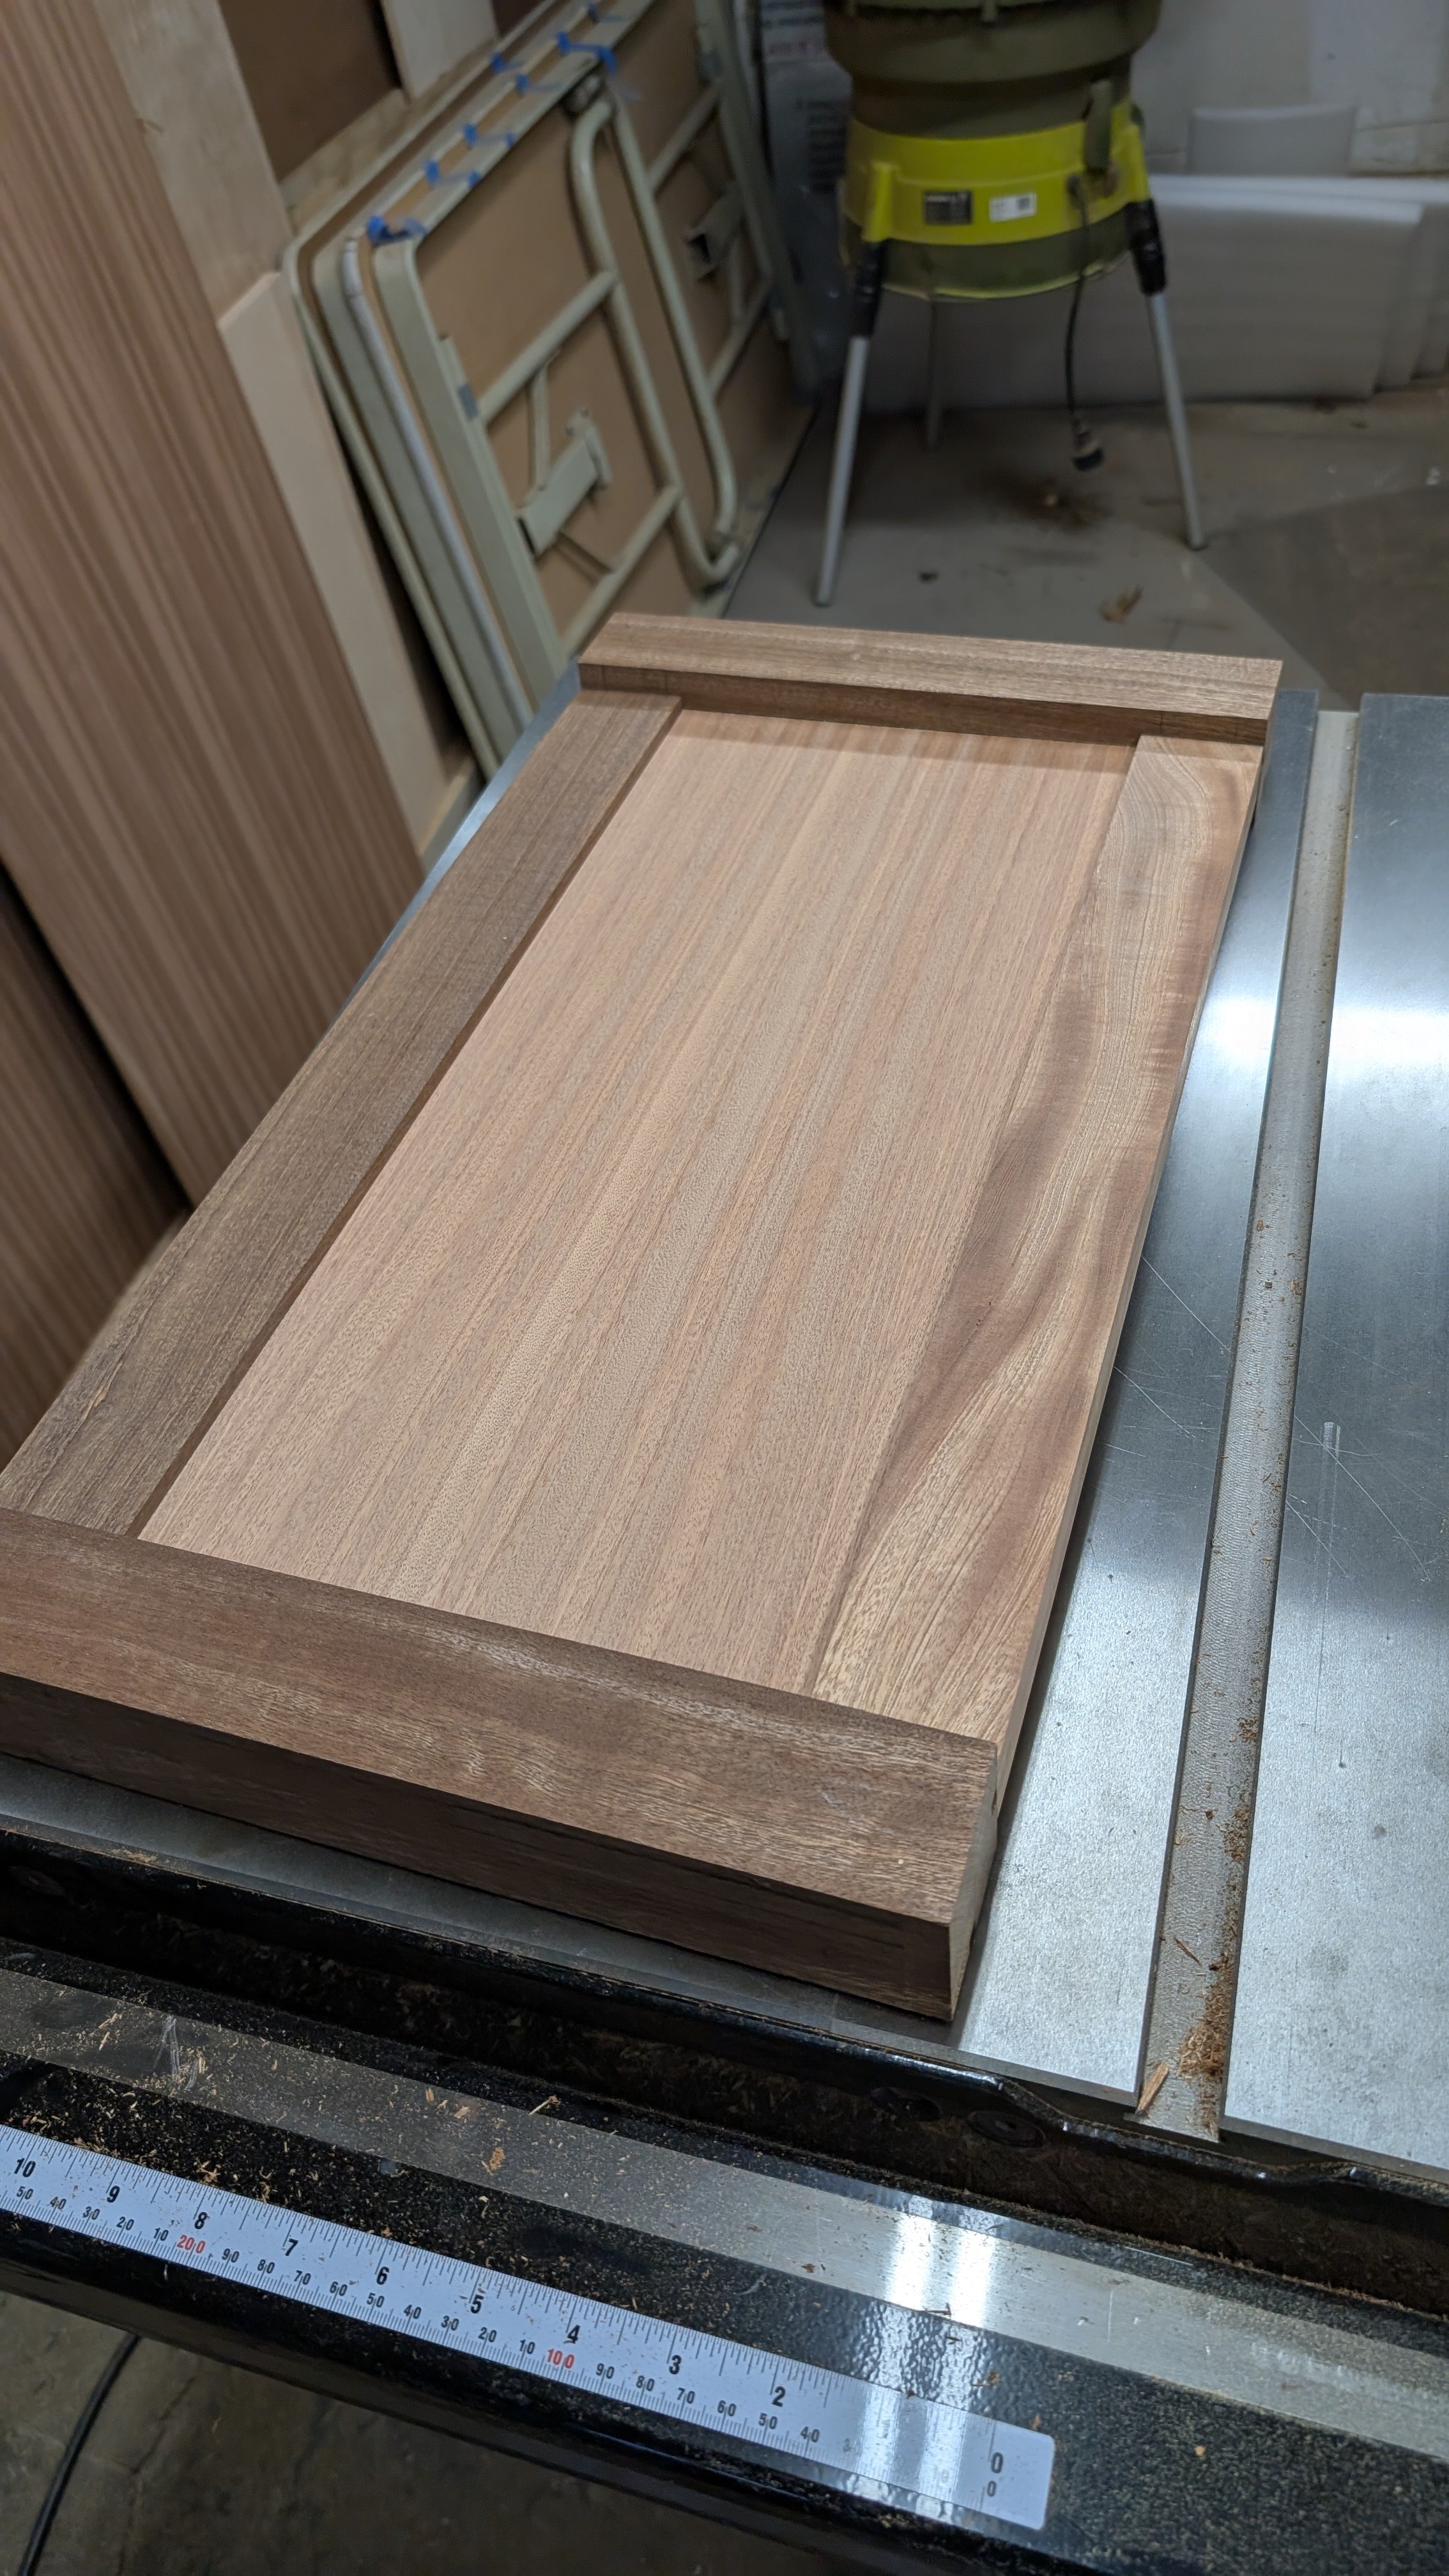
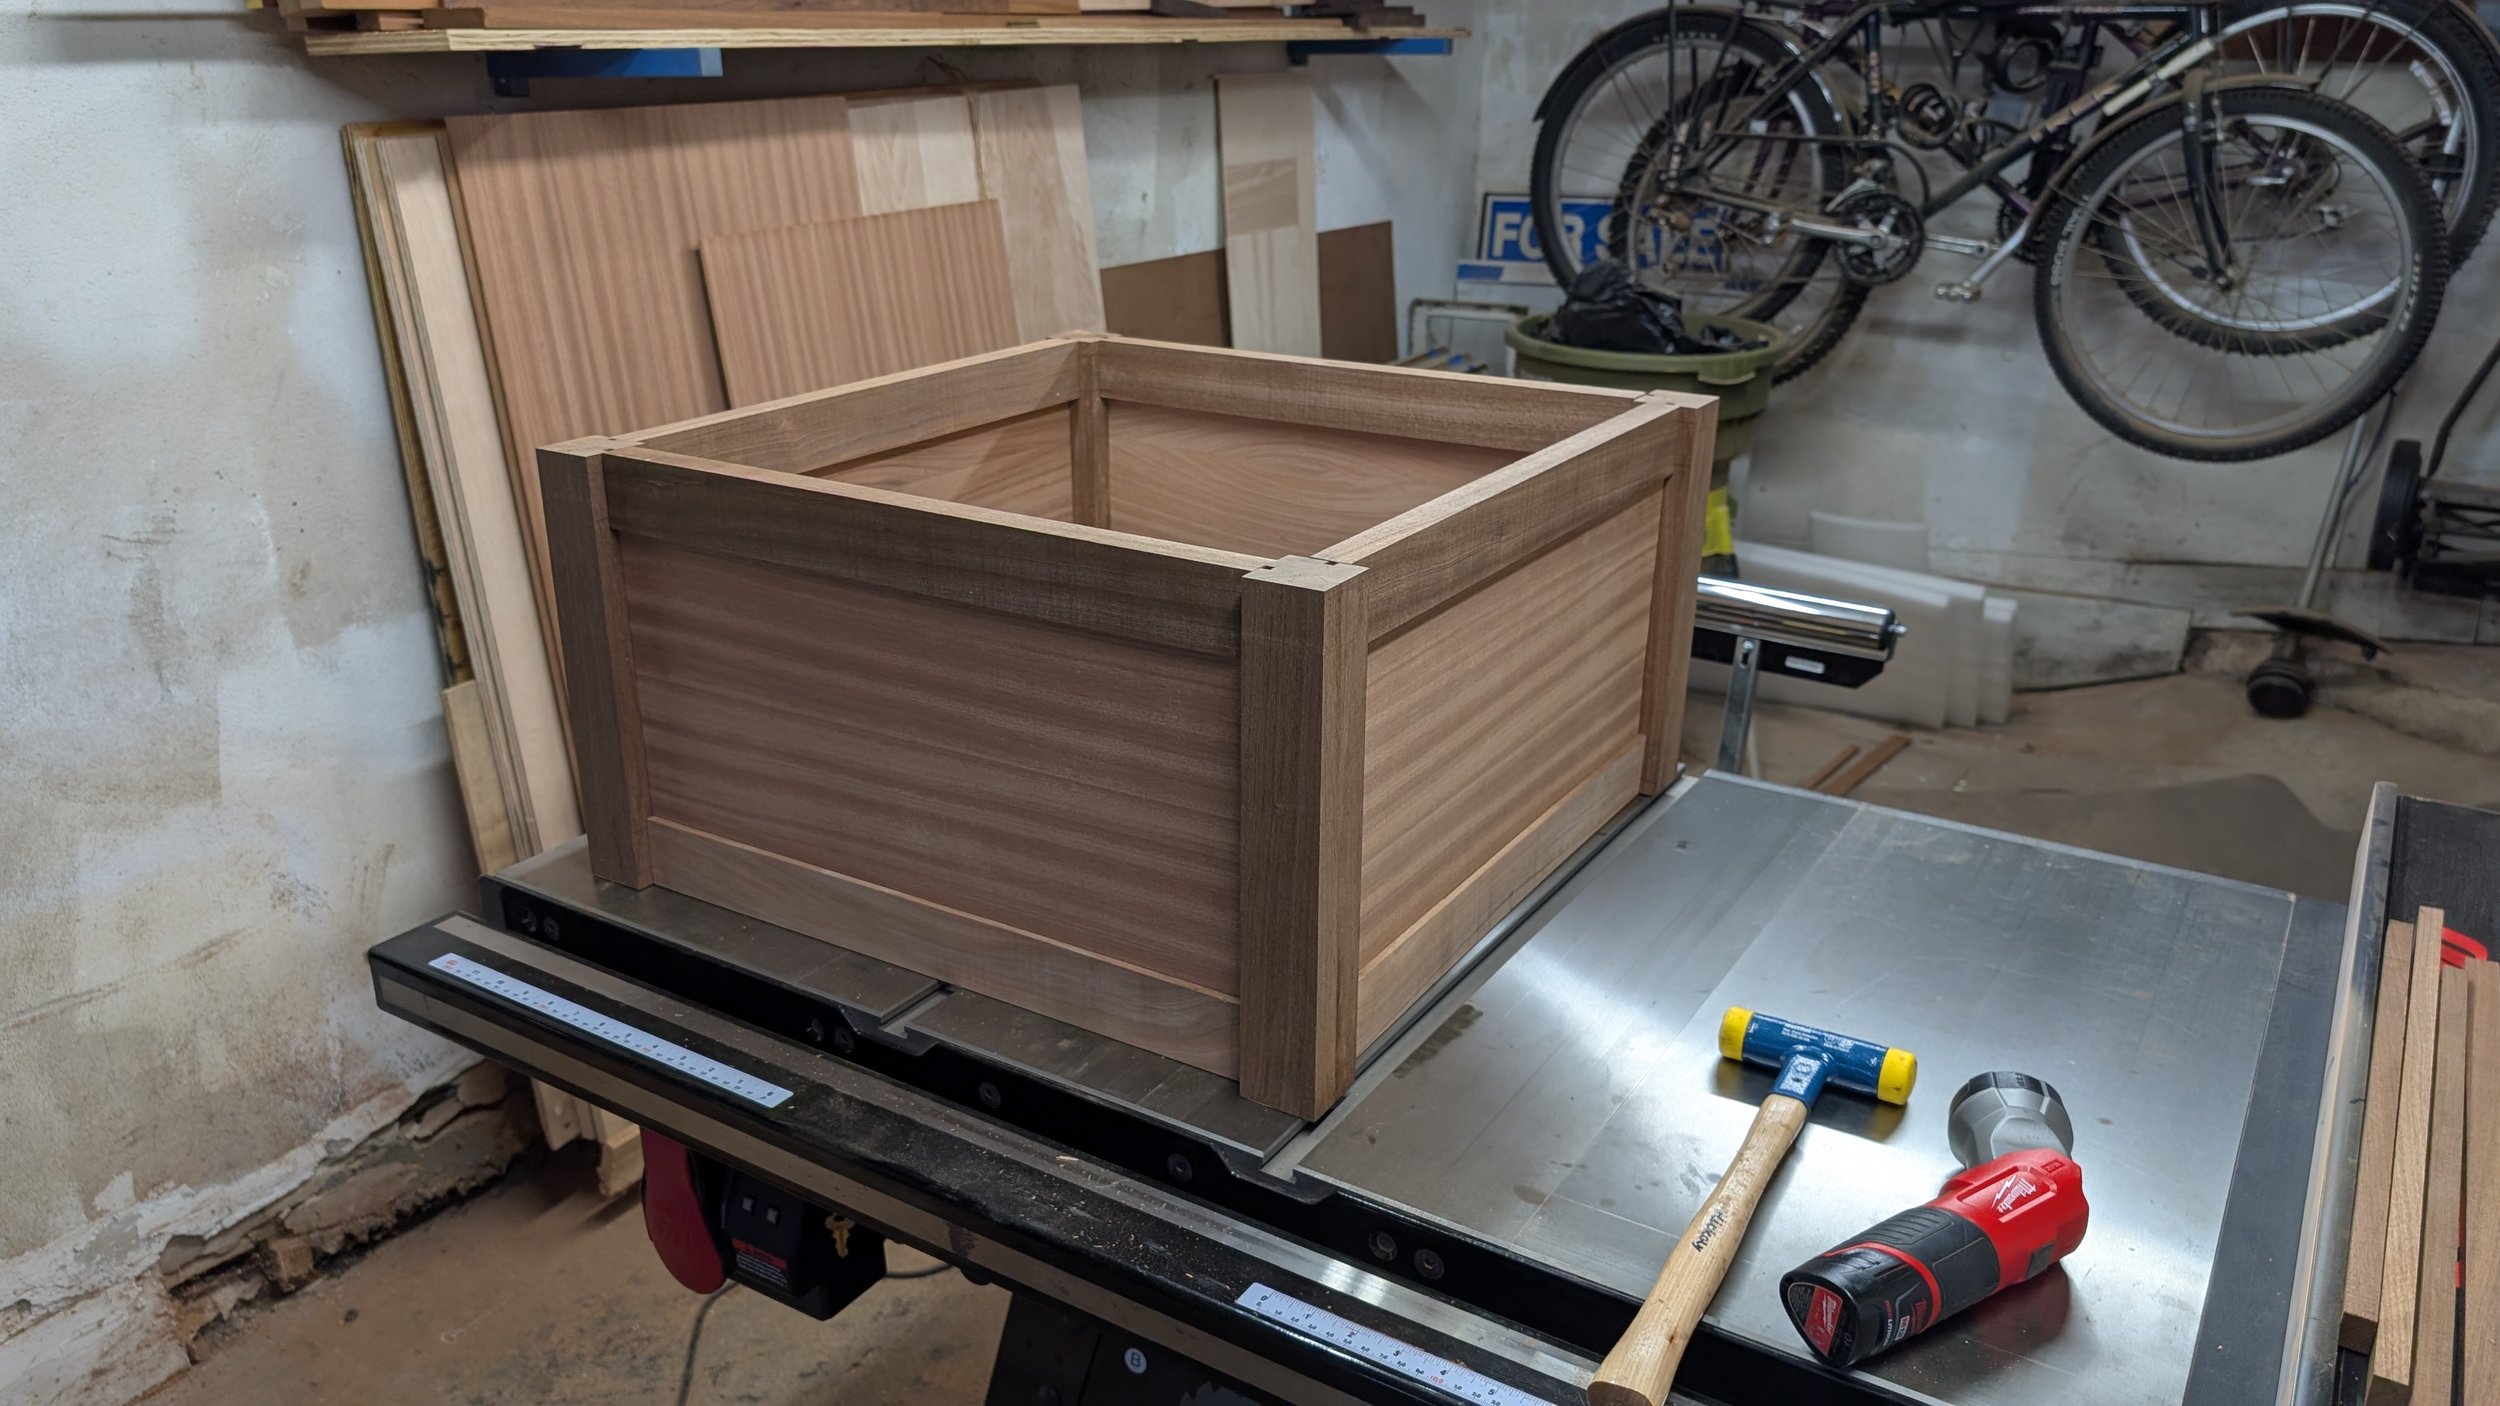
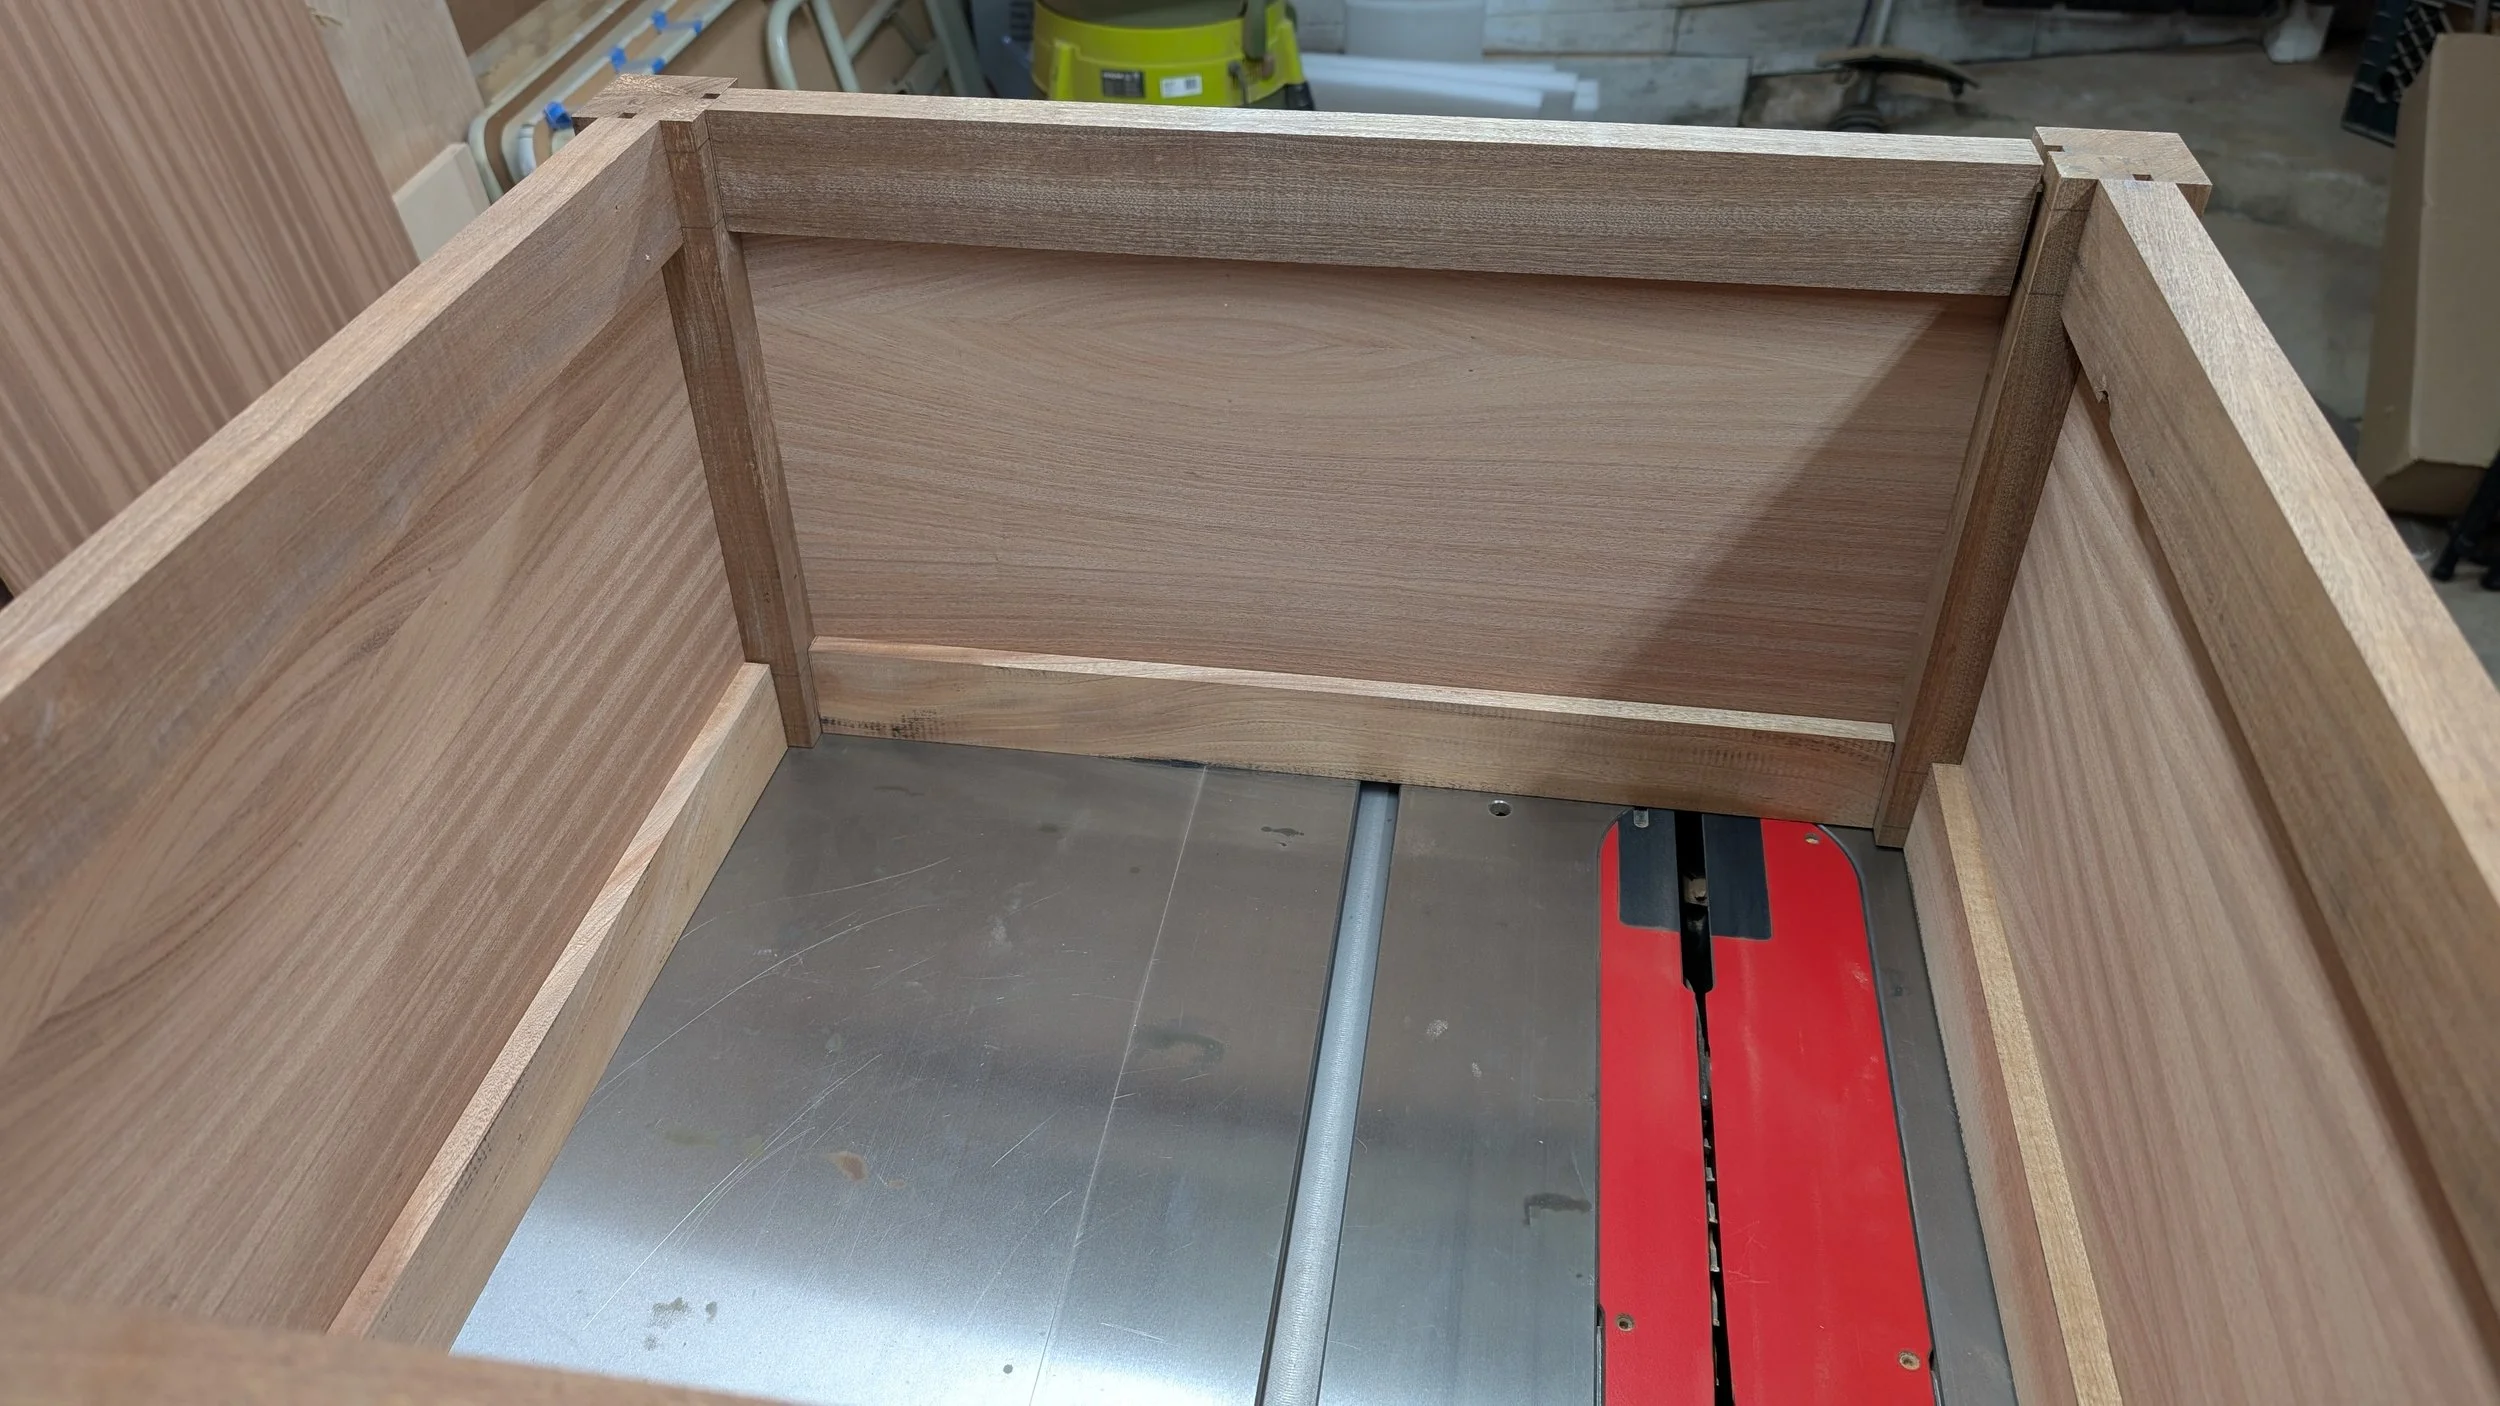
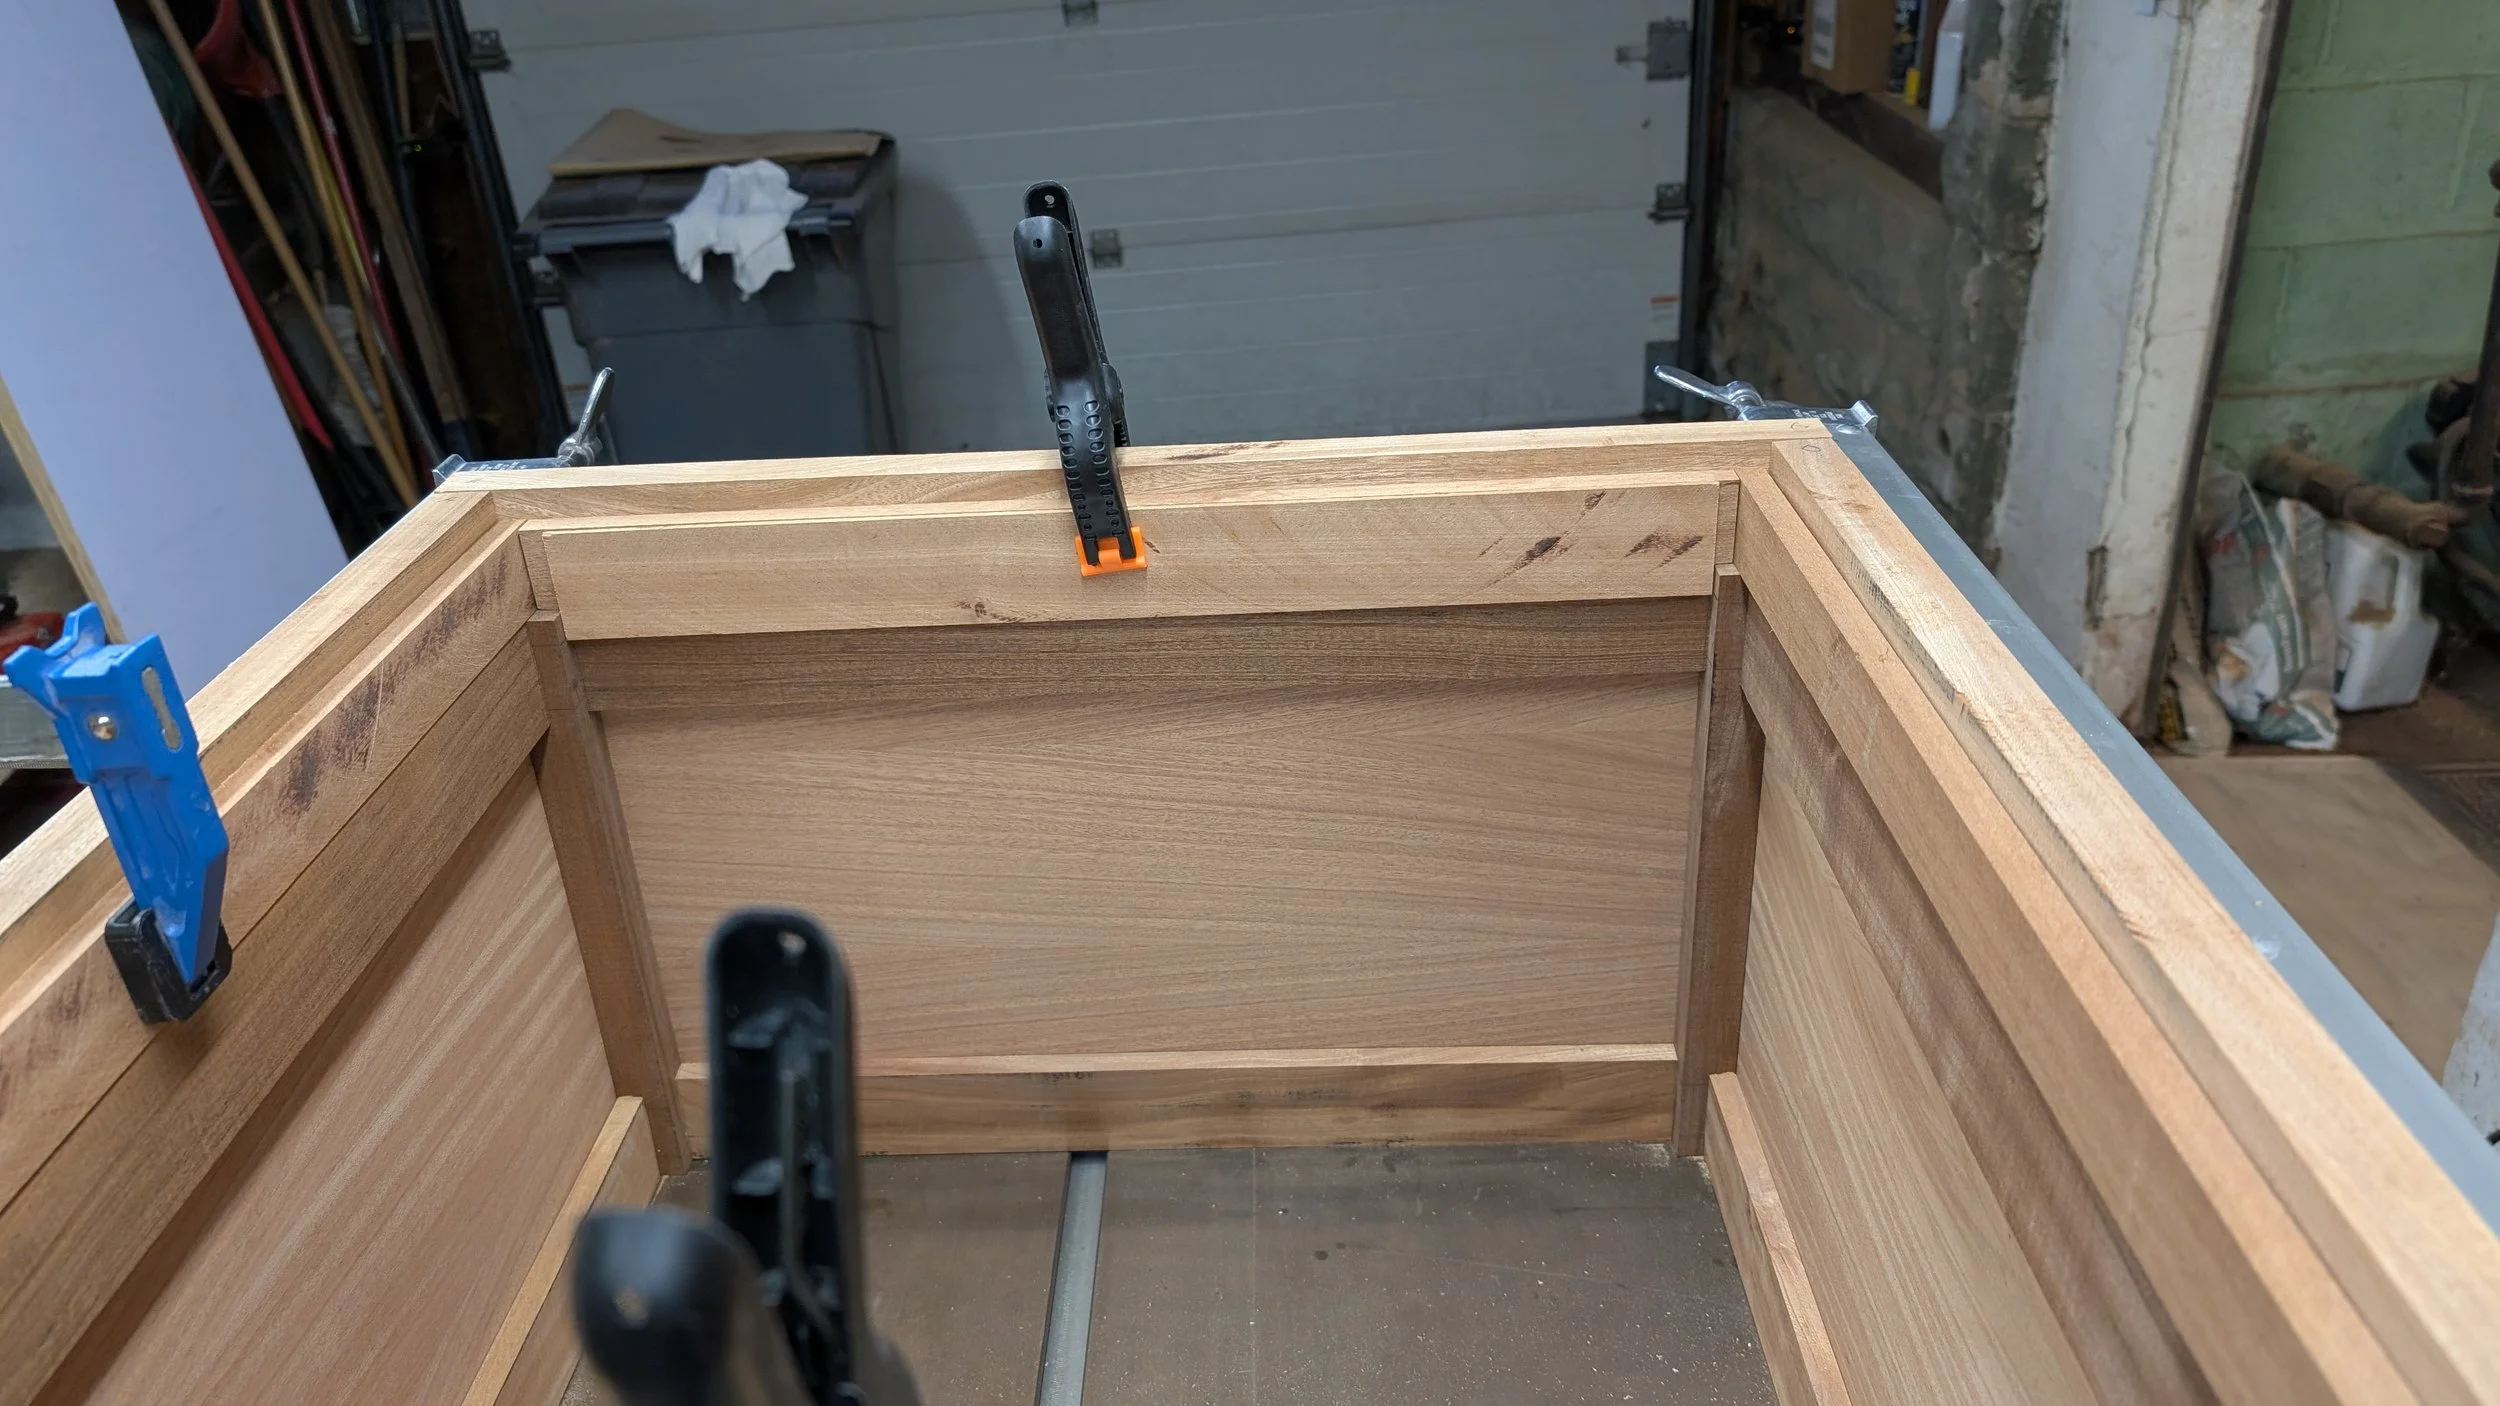
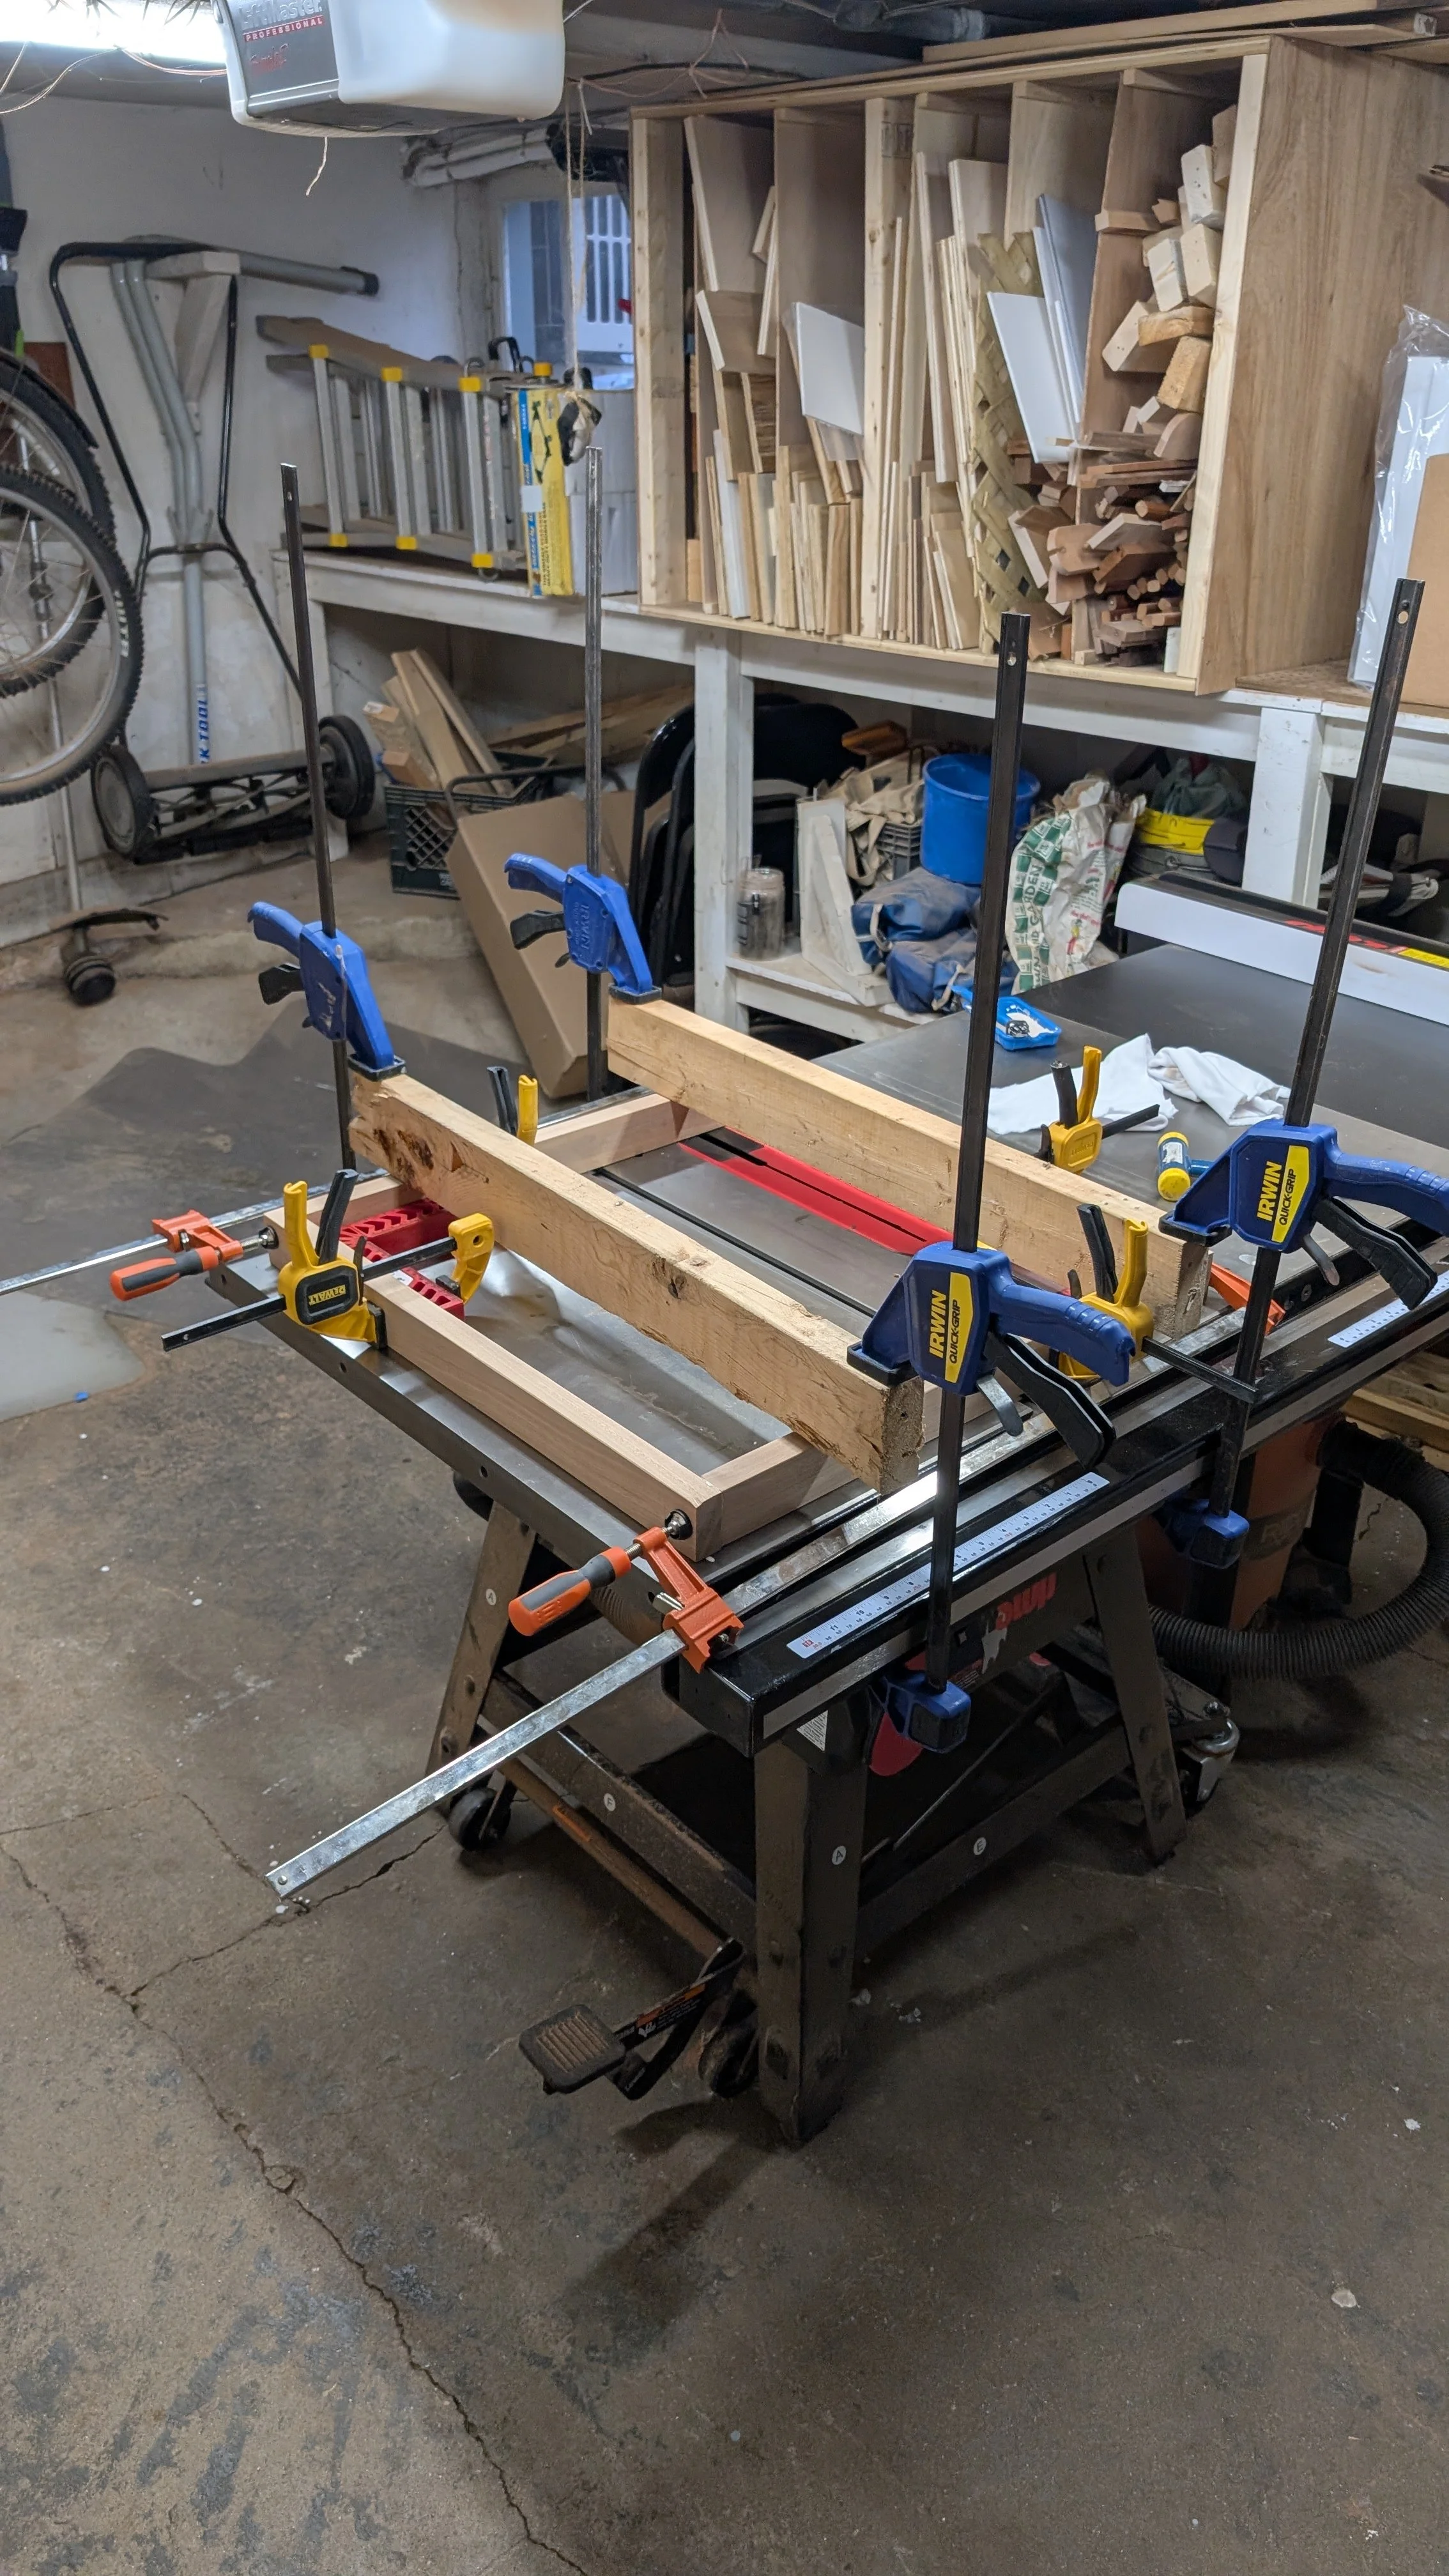
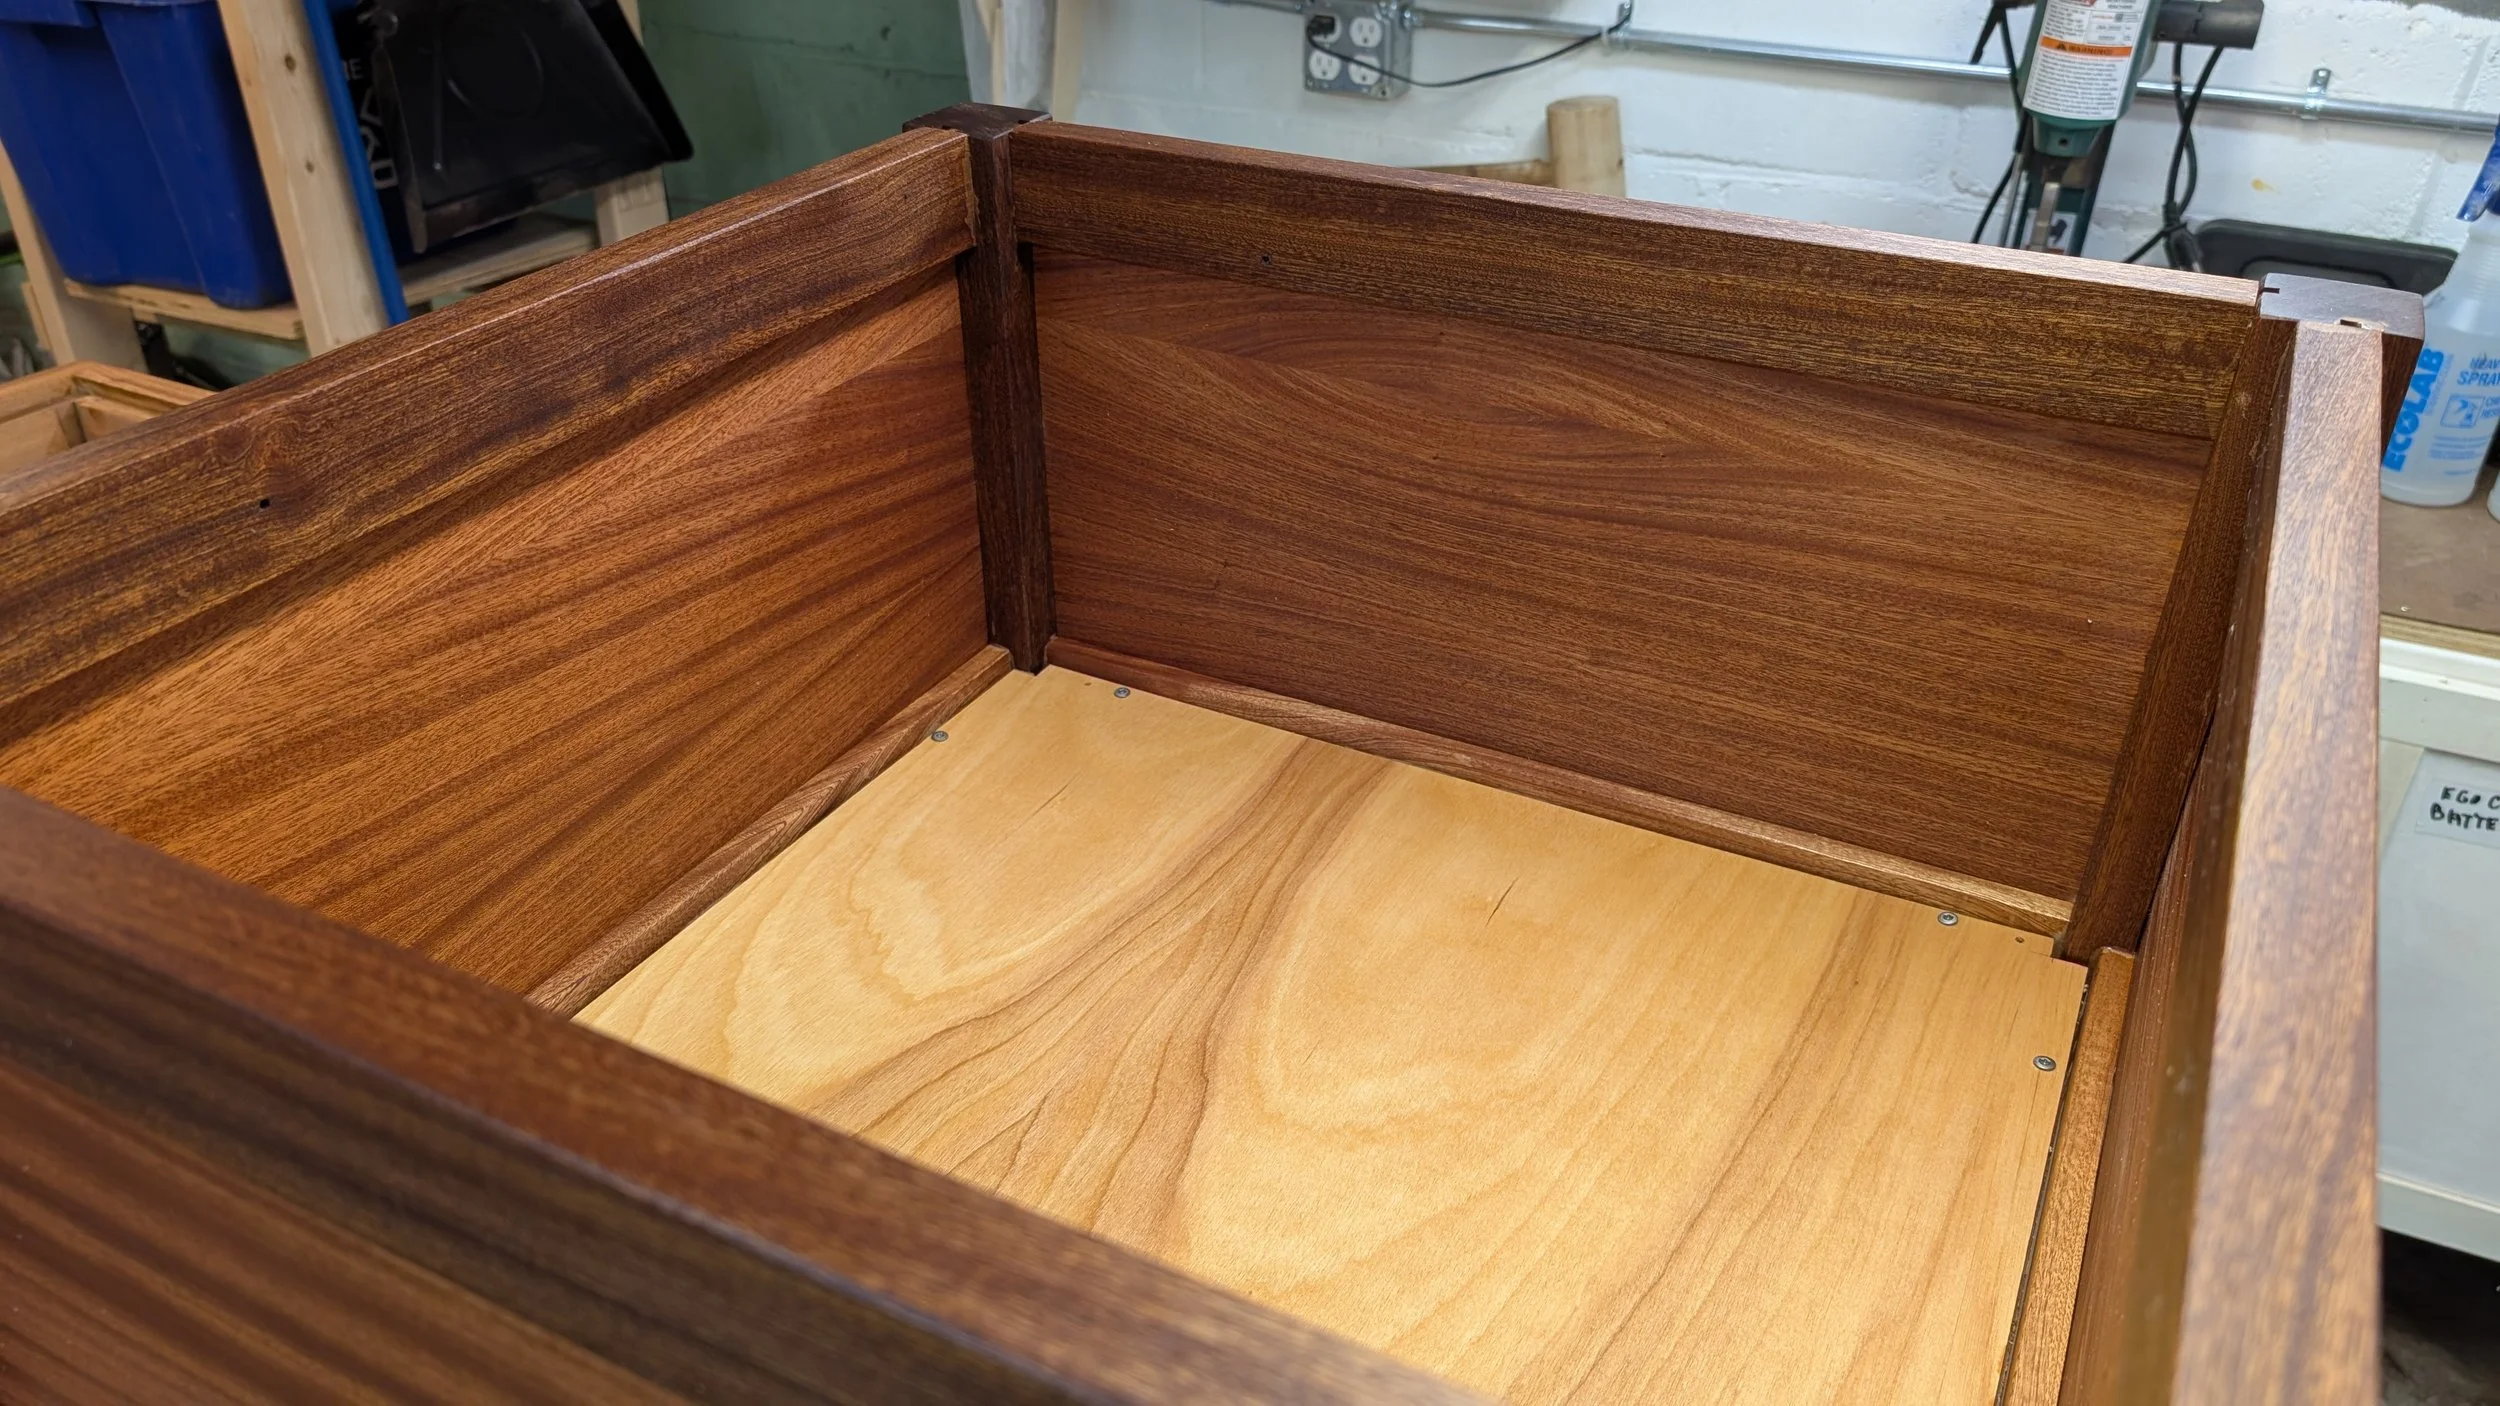
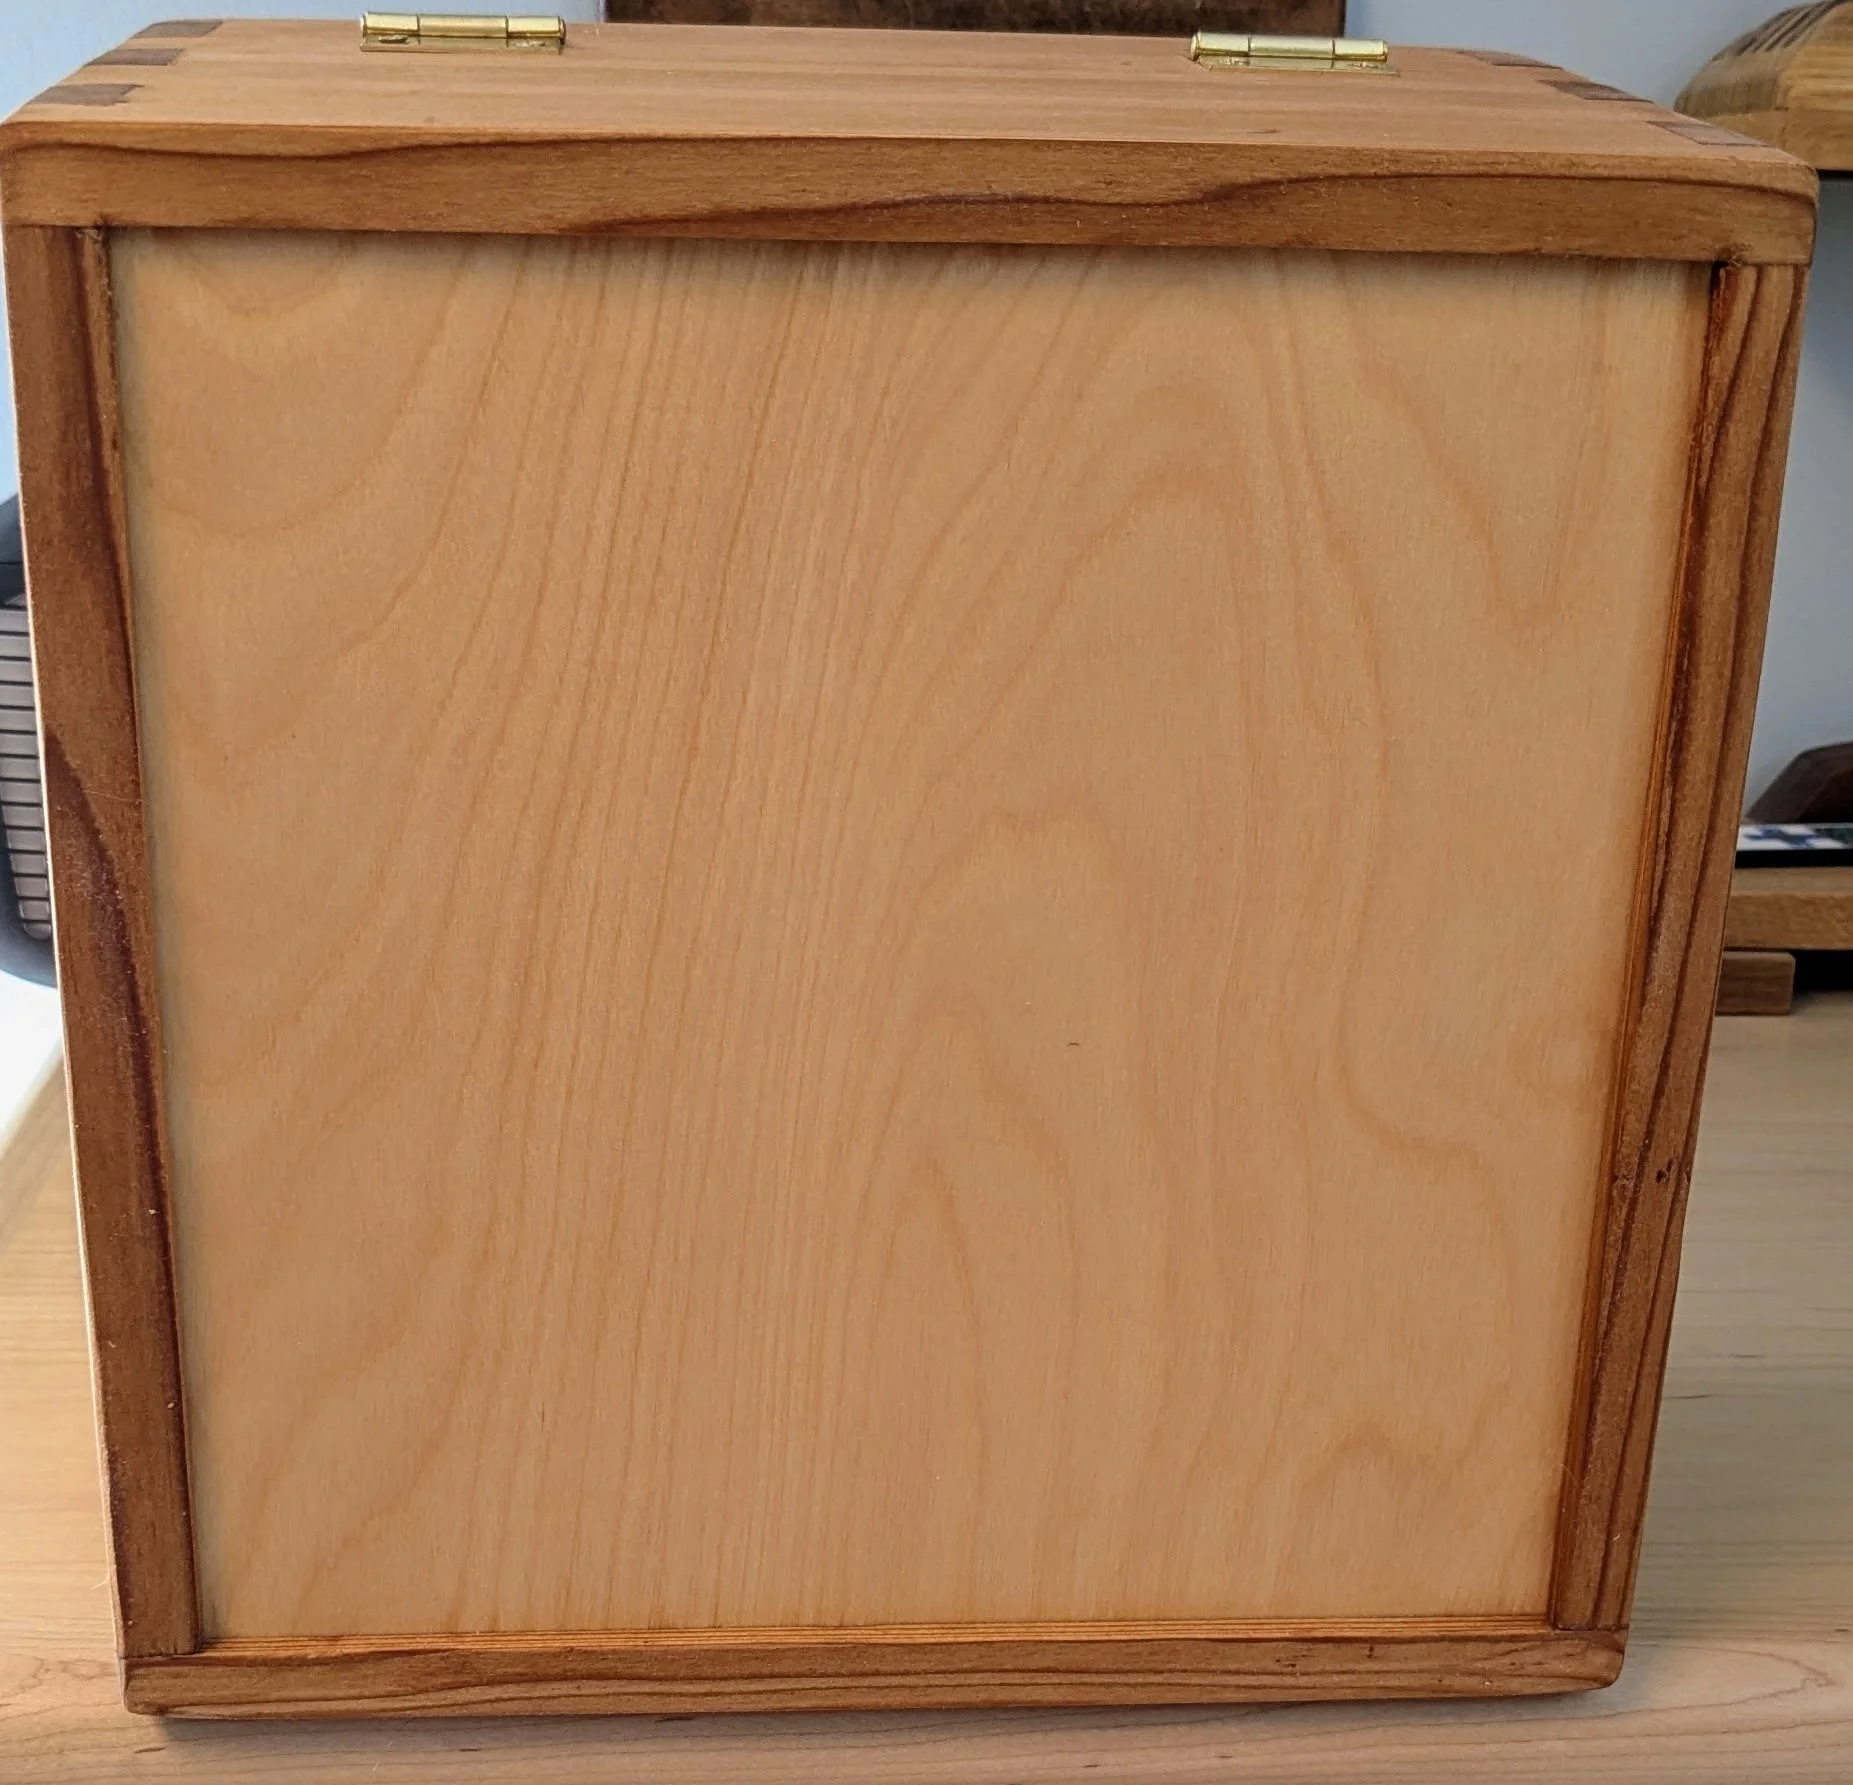
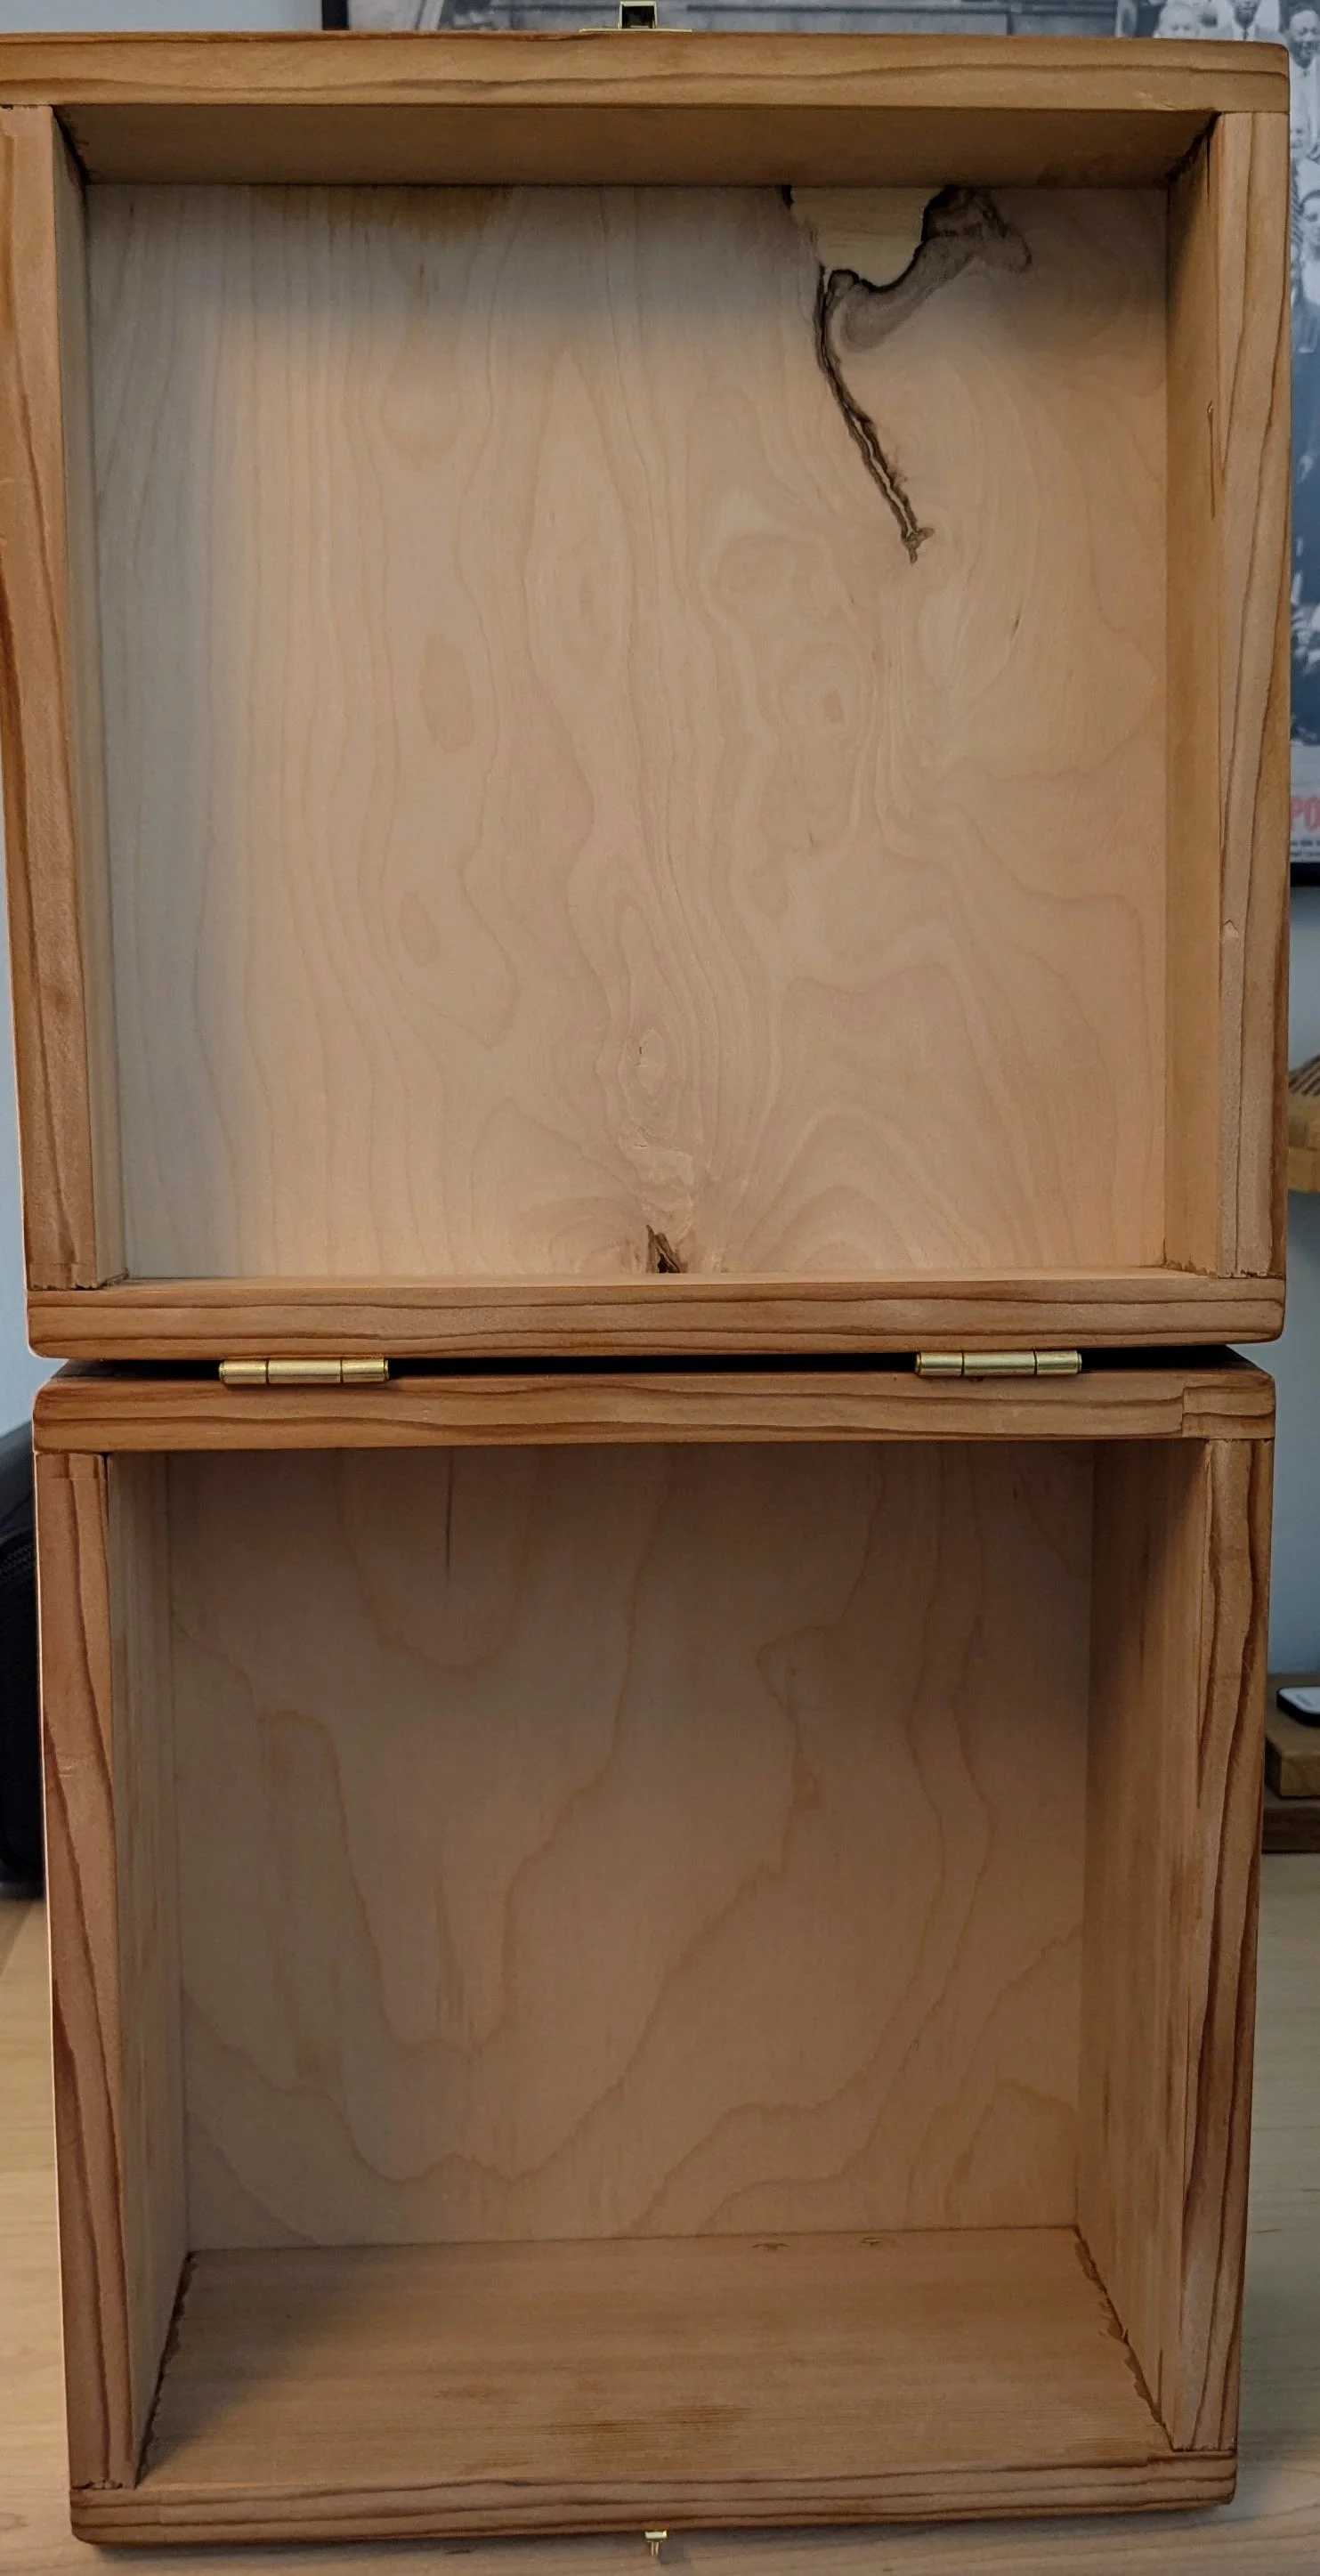
The other problem was, where would all of these tools live in my already somewhat full and small shop? I decided to build a storage cabinet that would ride on the mobile base with the lathe and also house some dust collection.


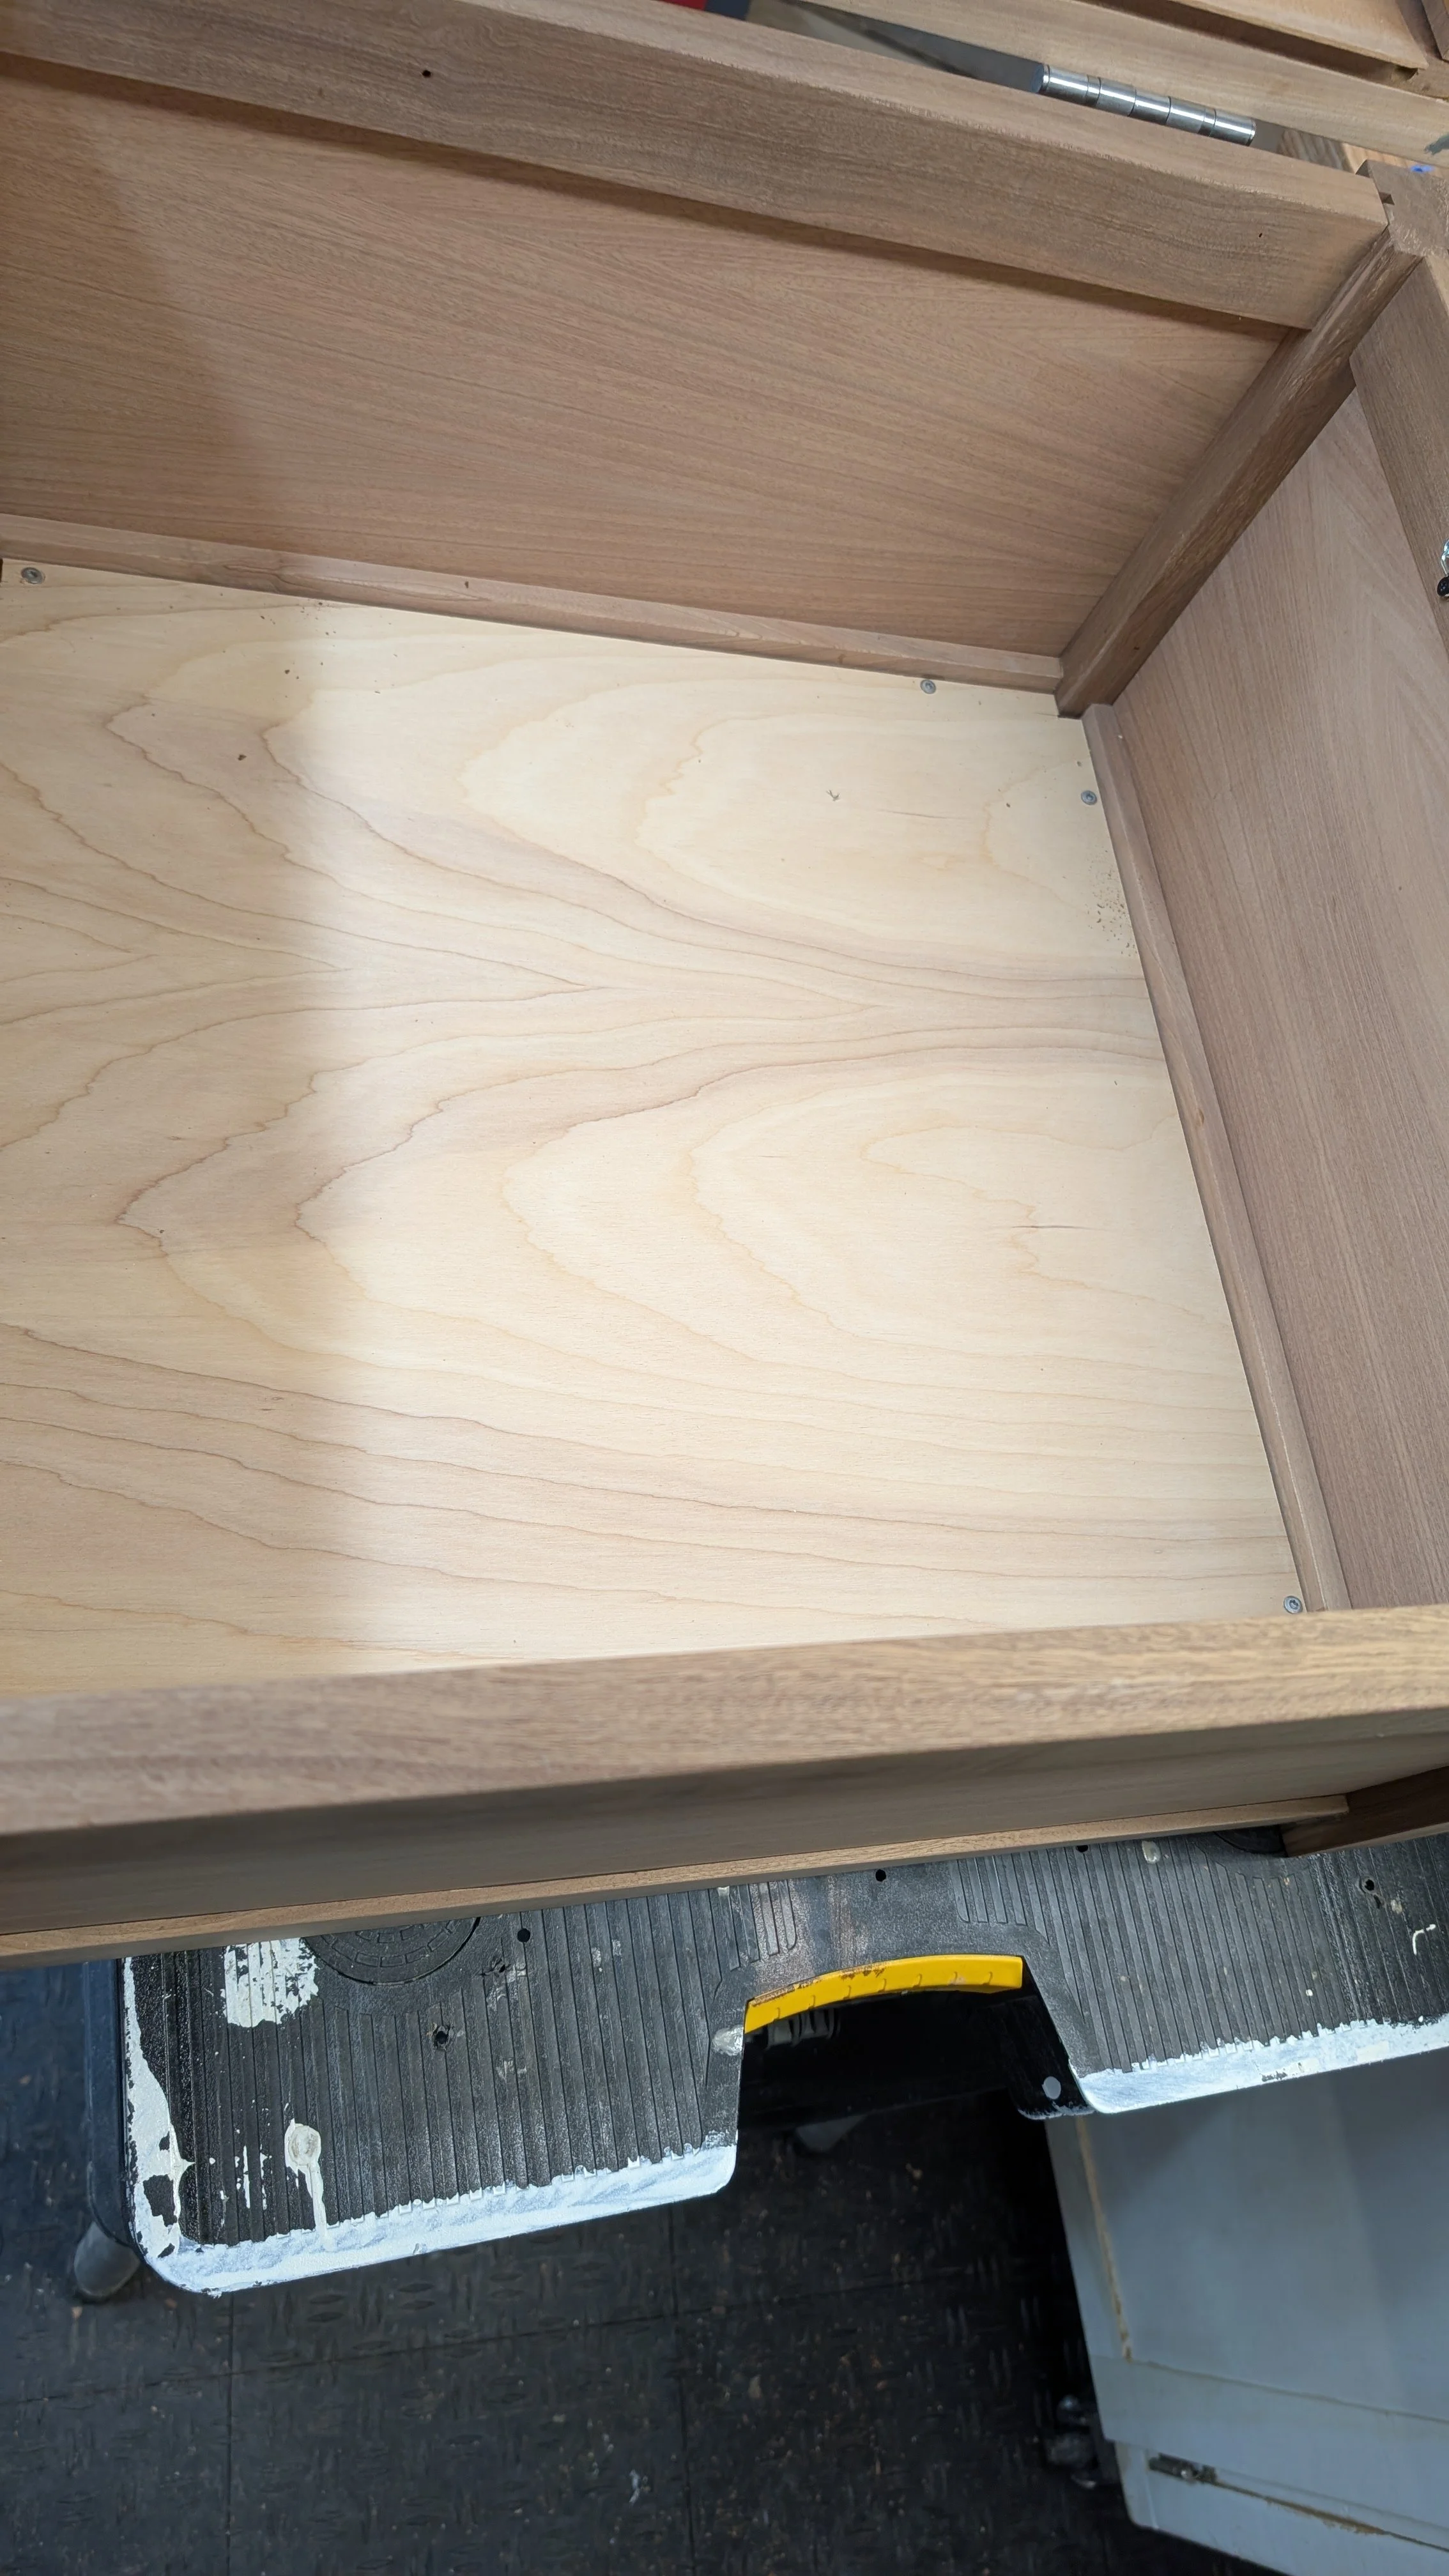
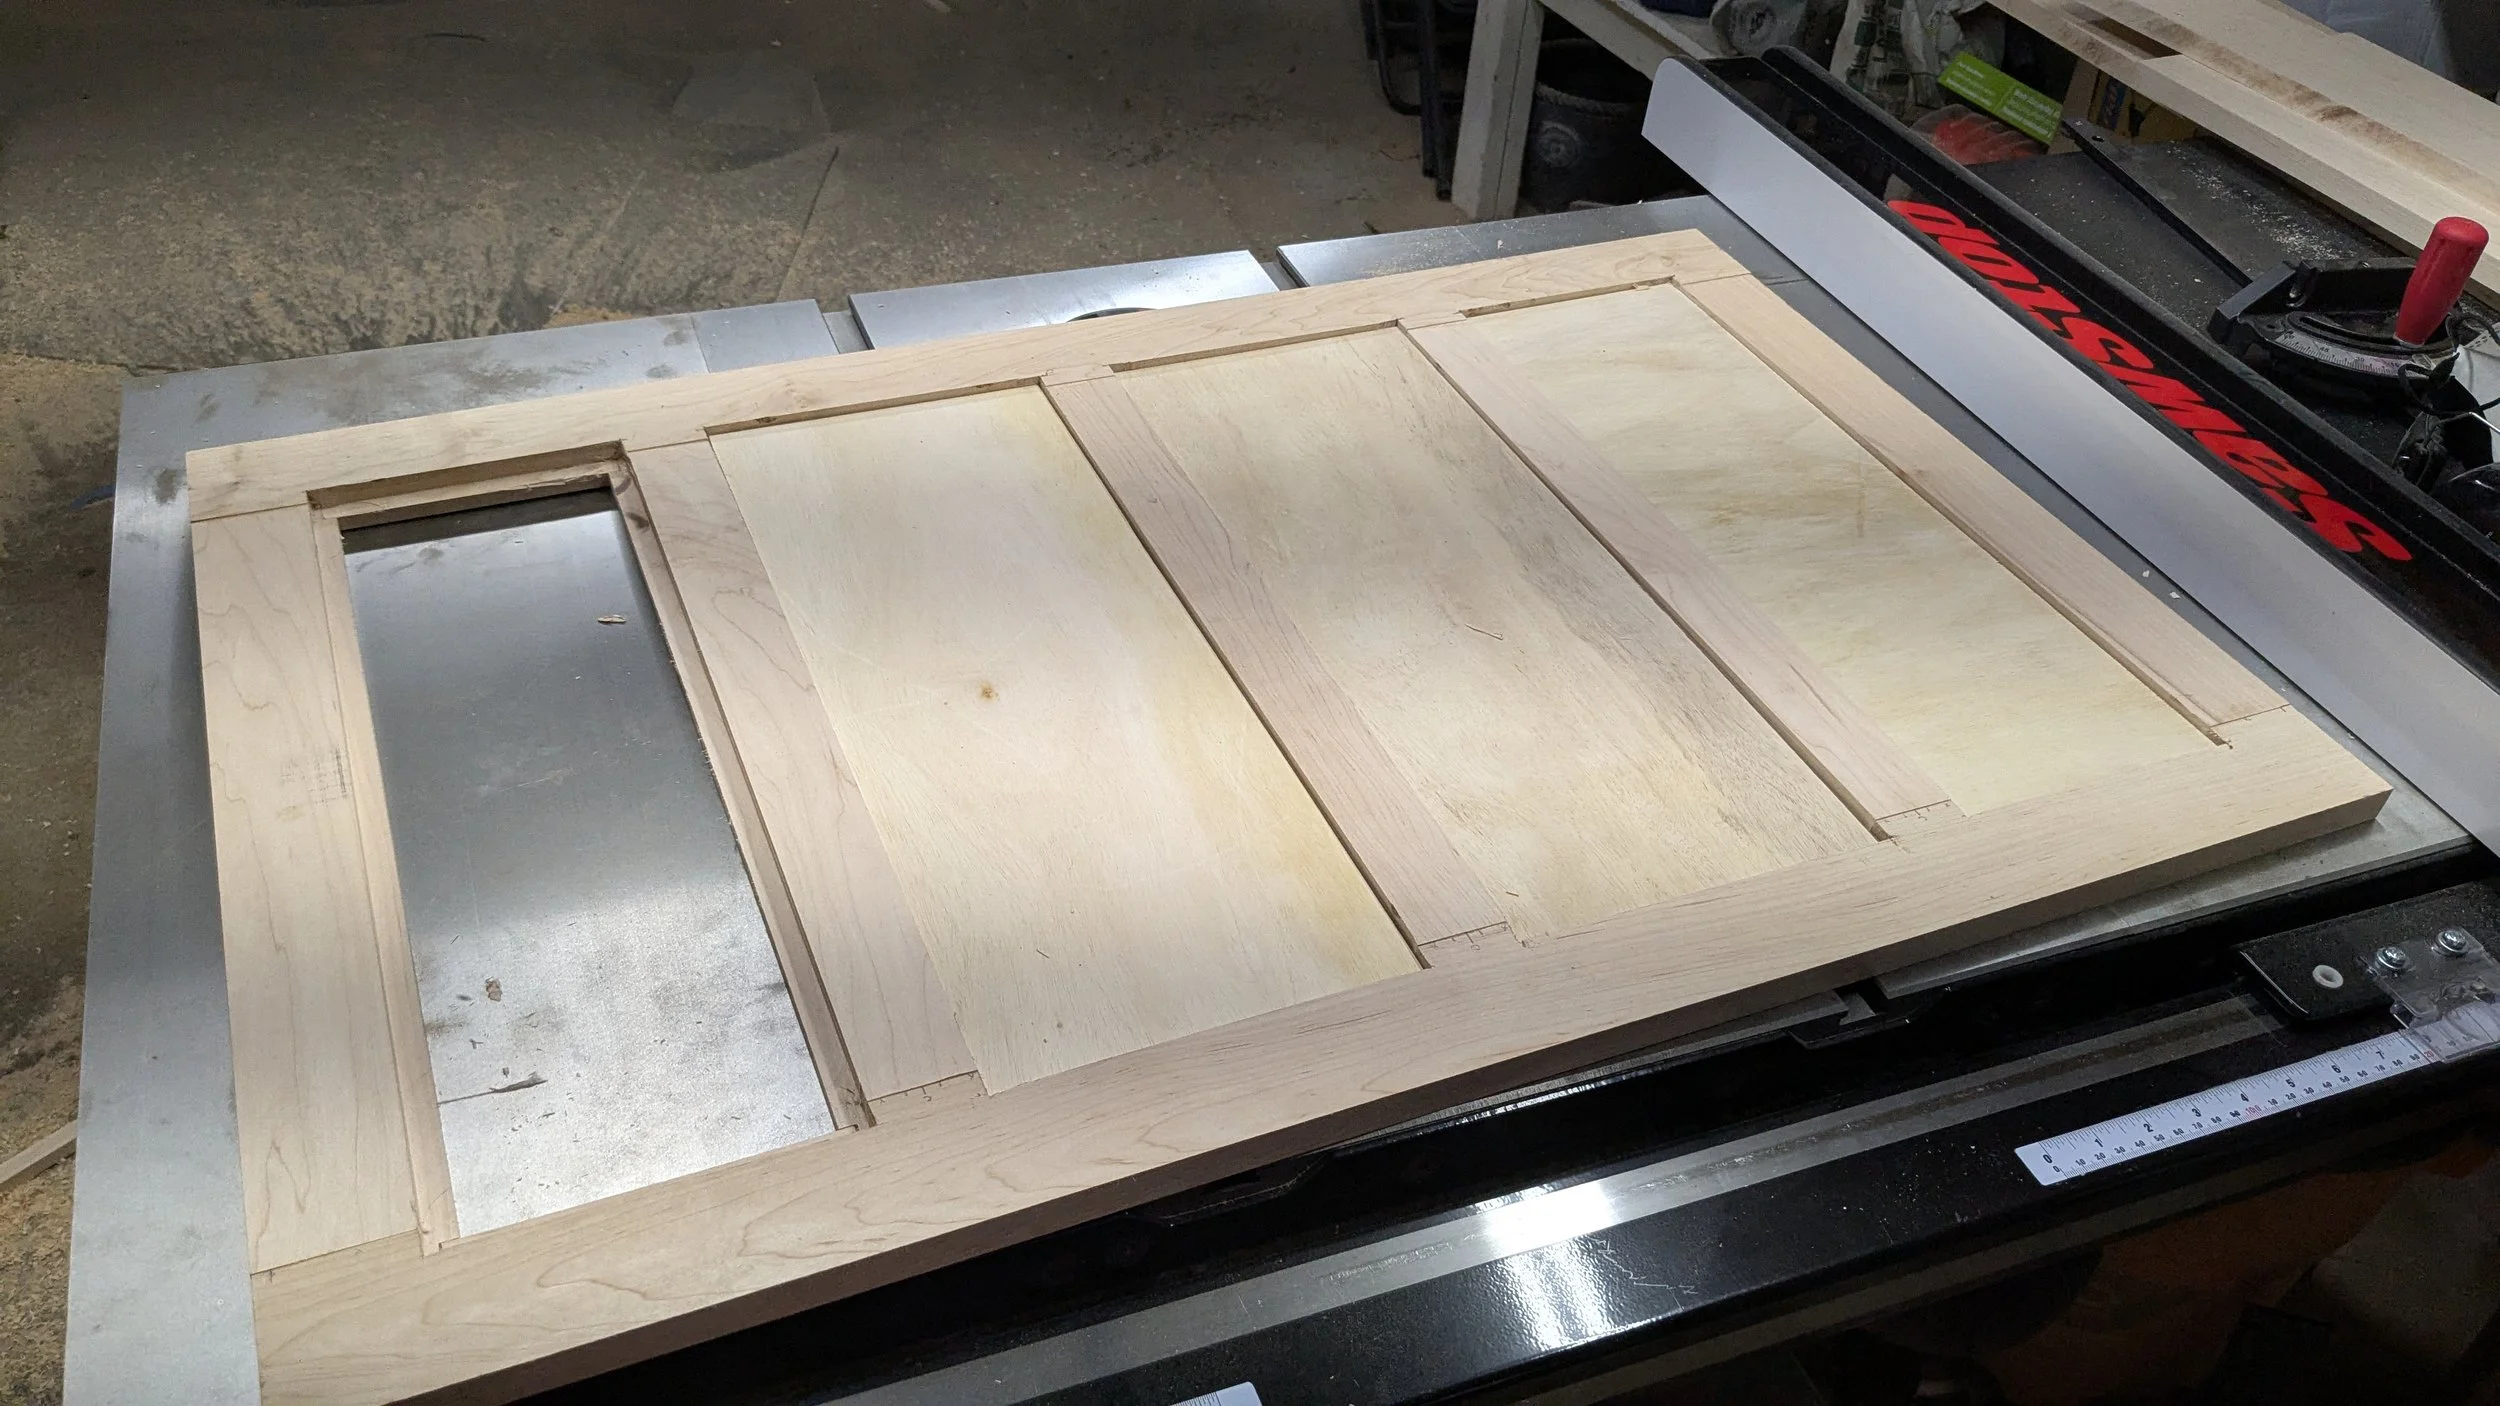
I used up a lot of scrap plywood and made my very first set of very crude bypass doors.
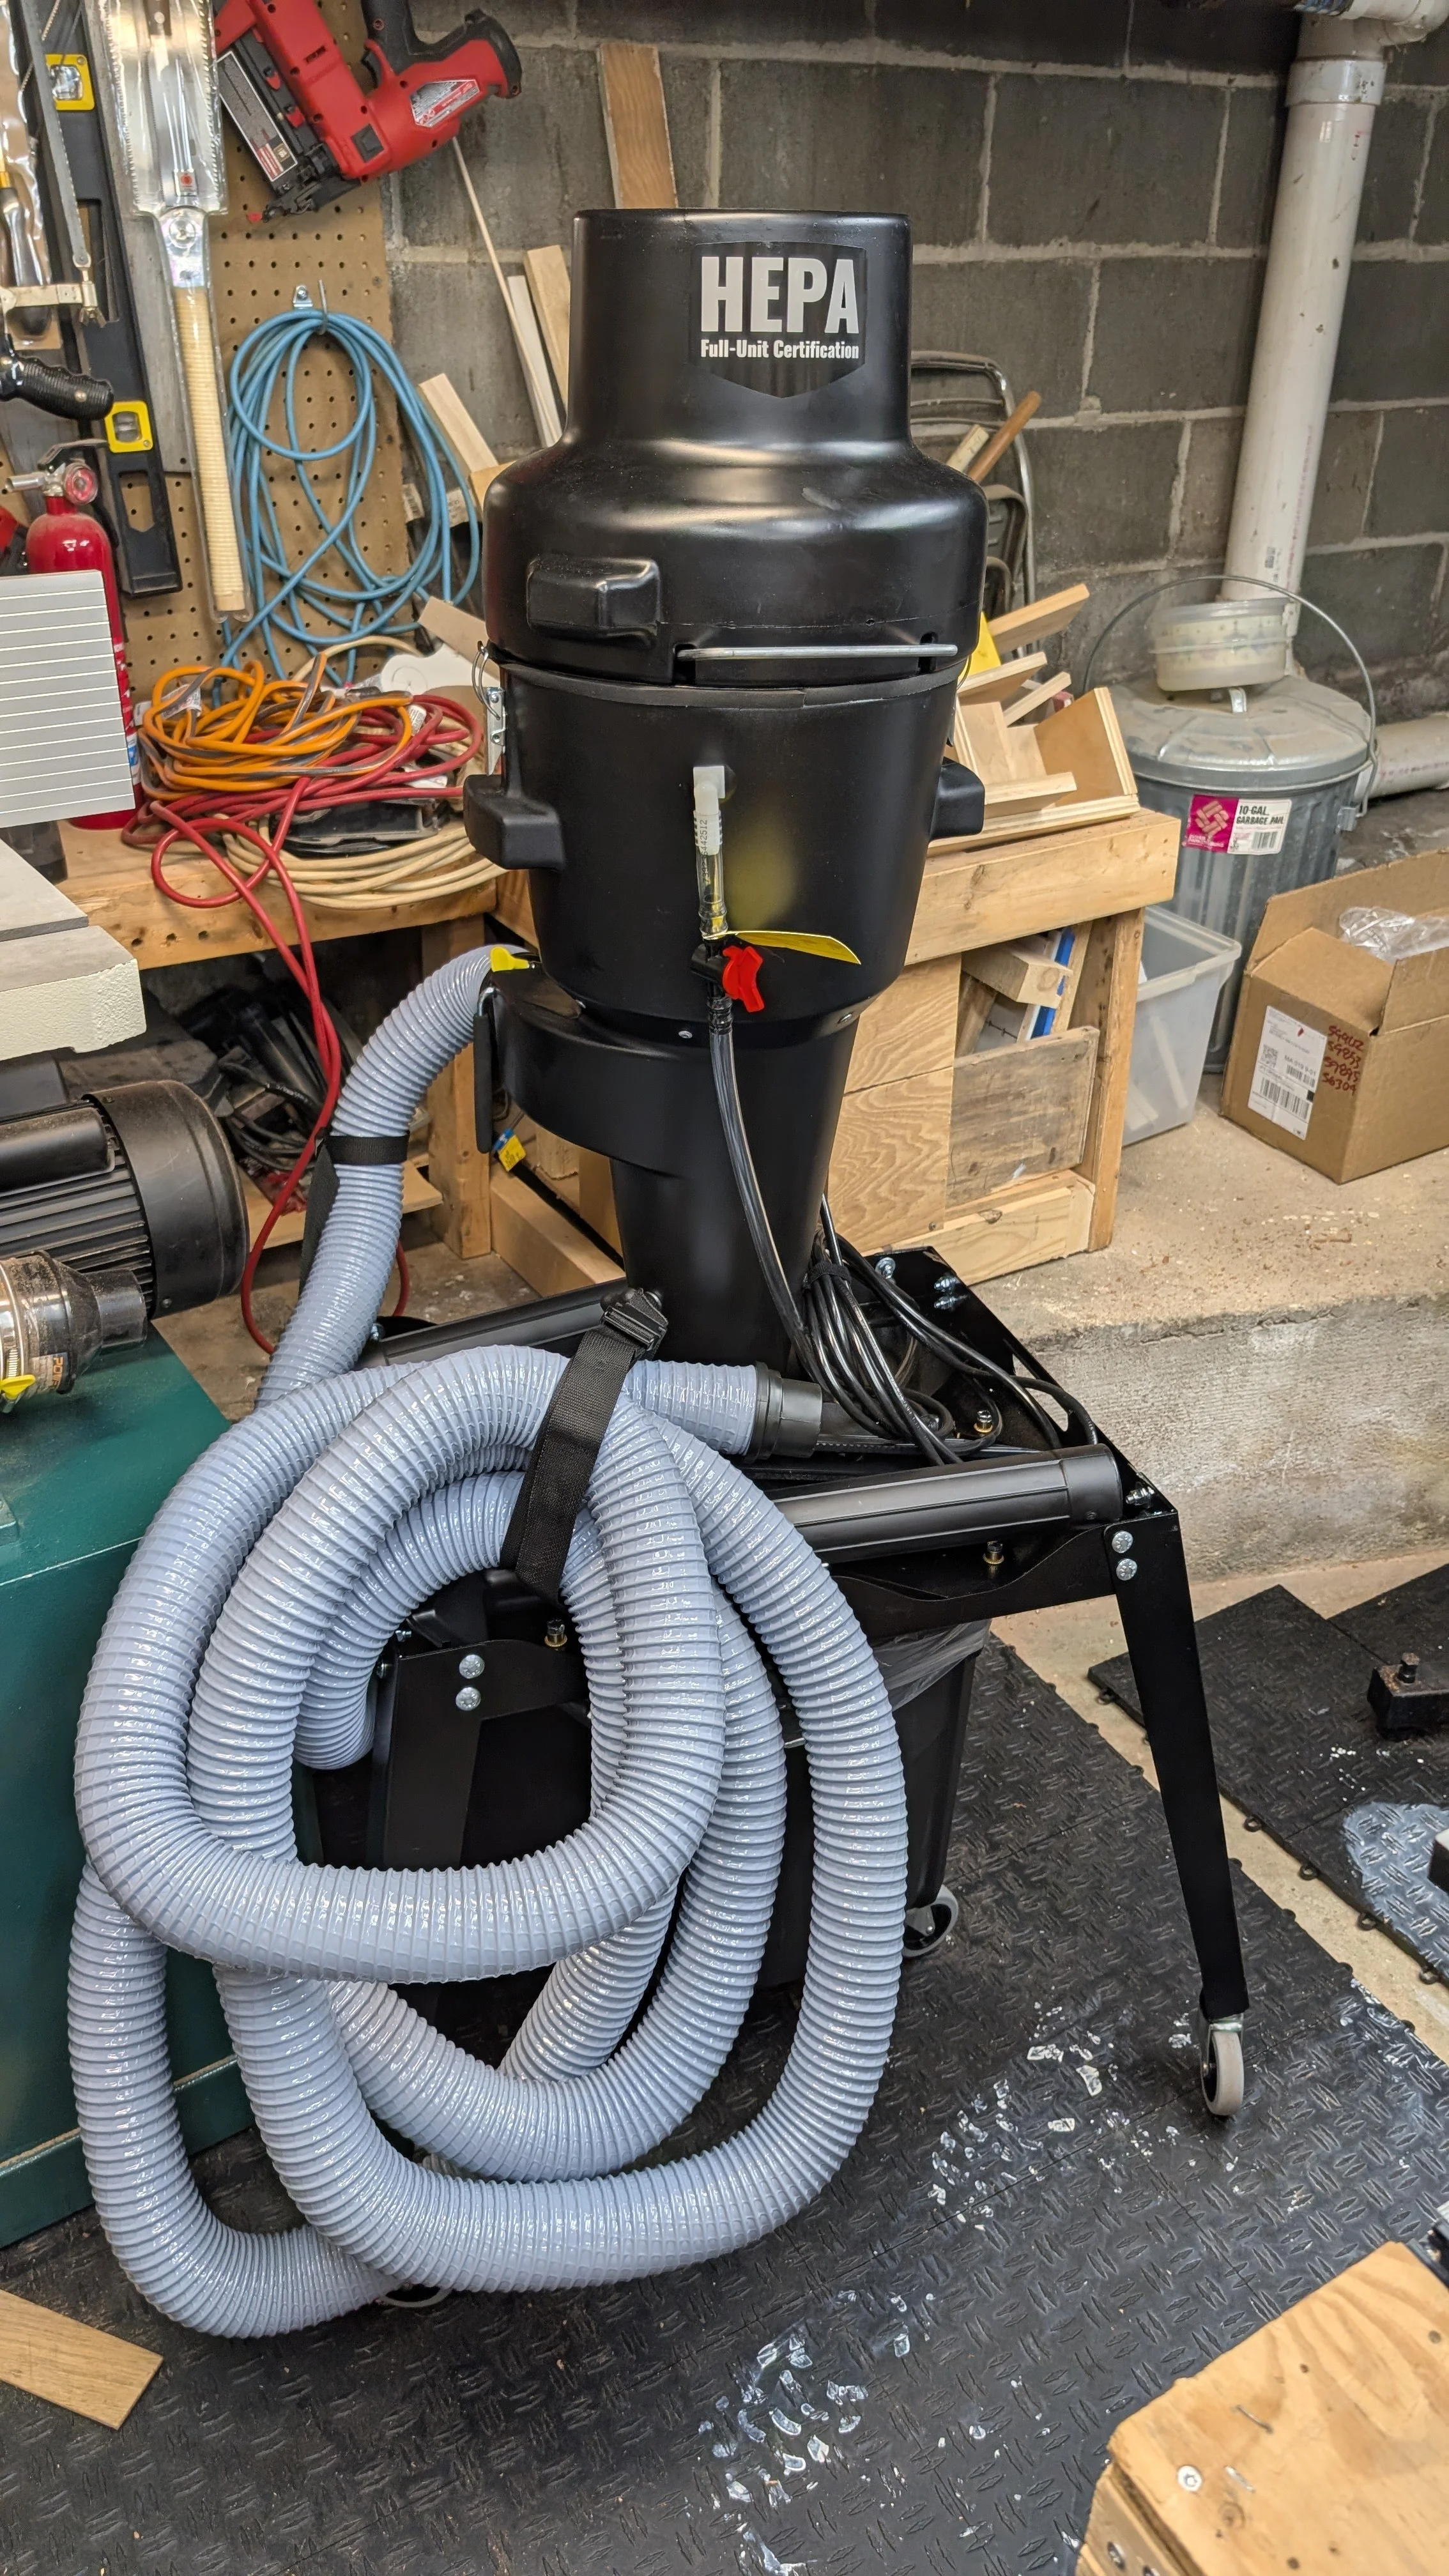
On a parallel shop improvement track I also upgraded the dust collection in the shop with a Dust Cobra from Oneida Air. It is a very nice dust collector and has a 25 foot hose that lets me get to almost all of the shop without moving it. It was a serious two day project to assemble it but it was worth the effort.
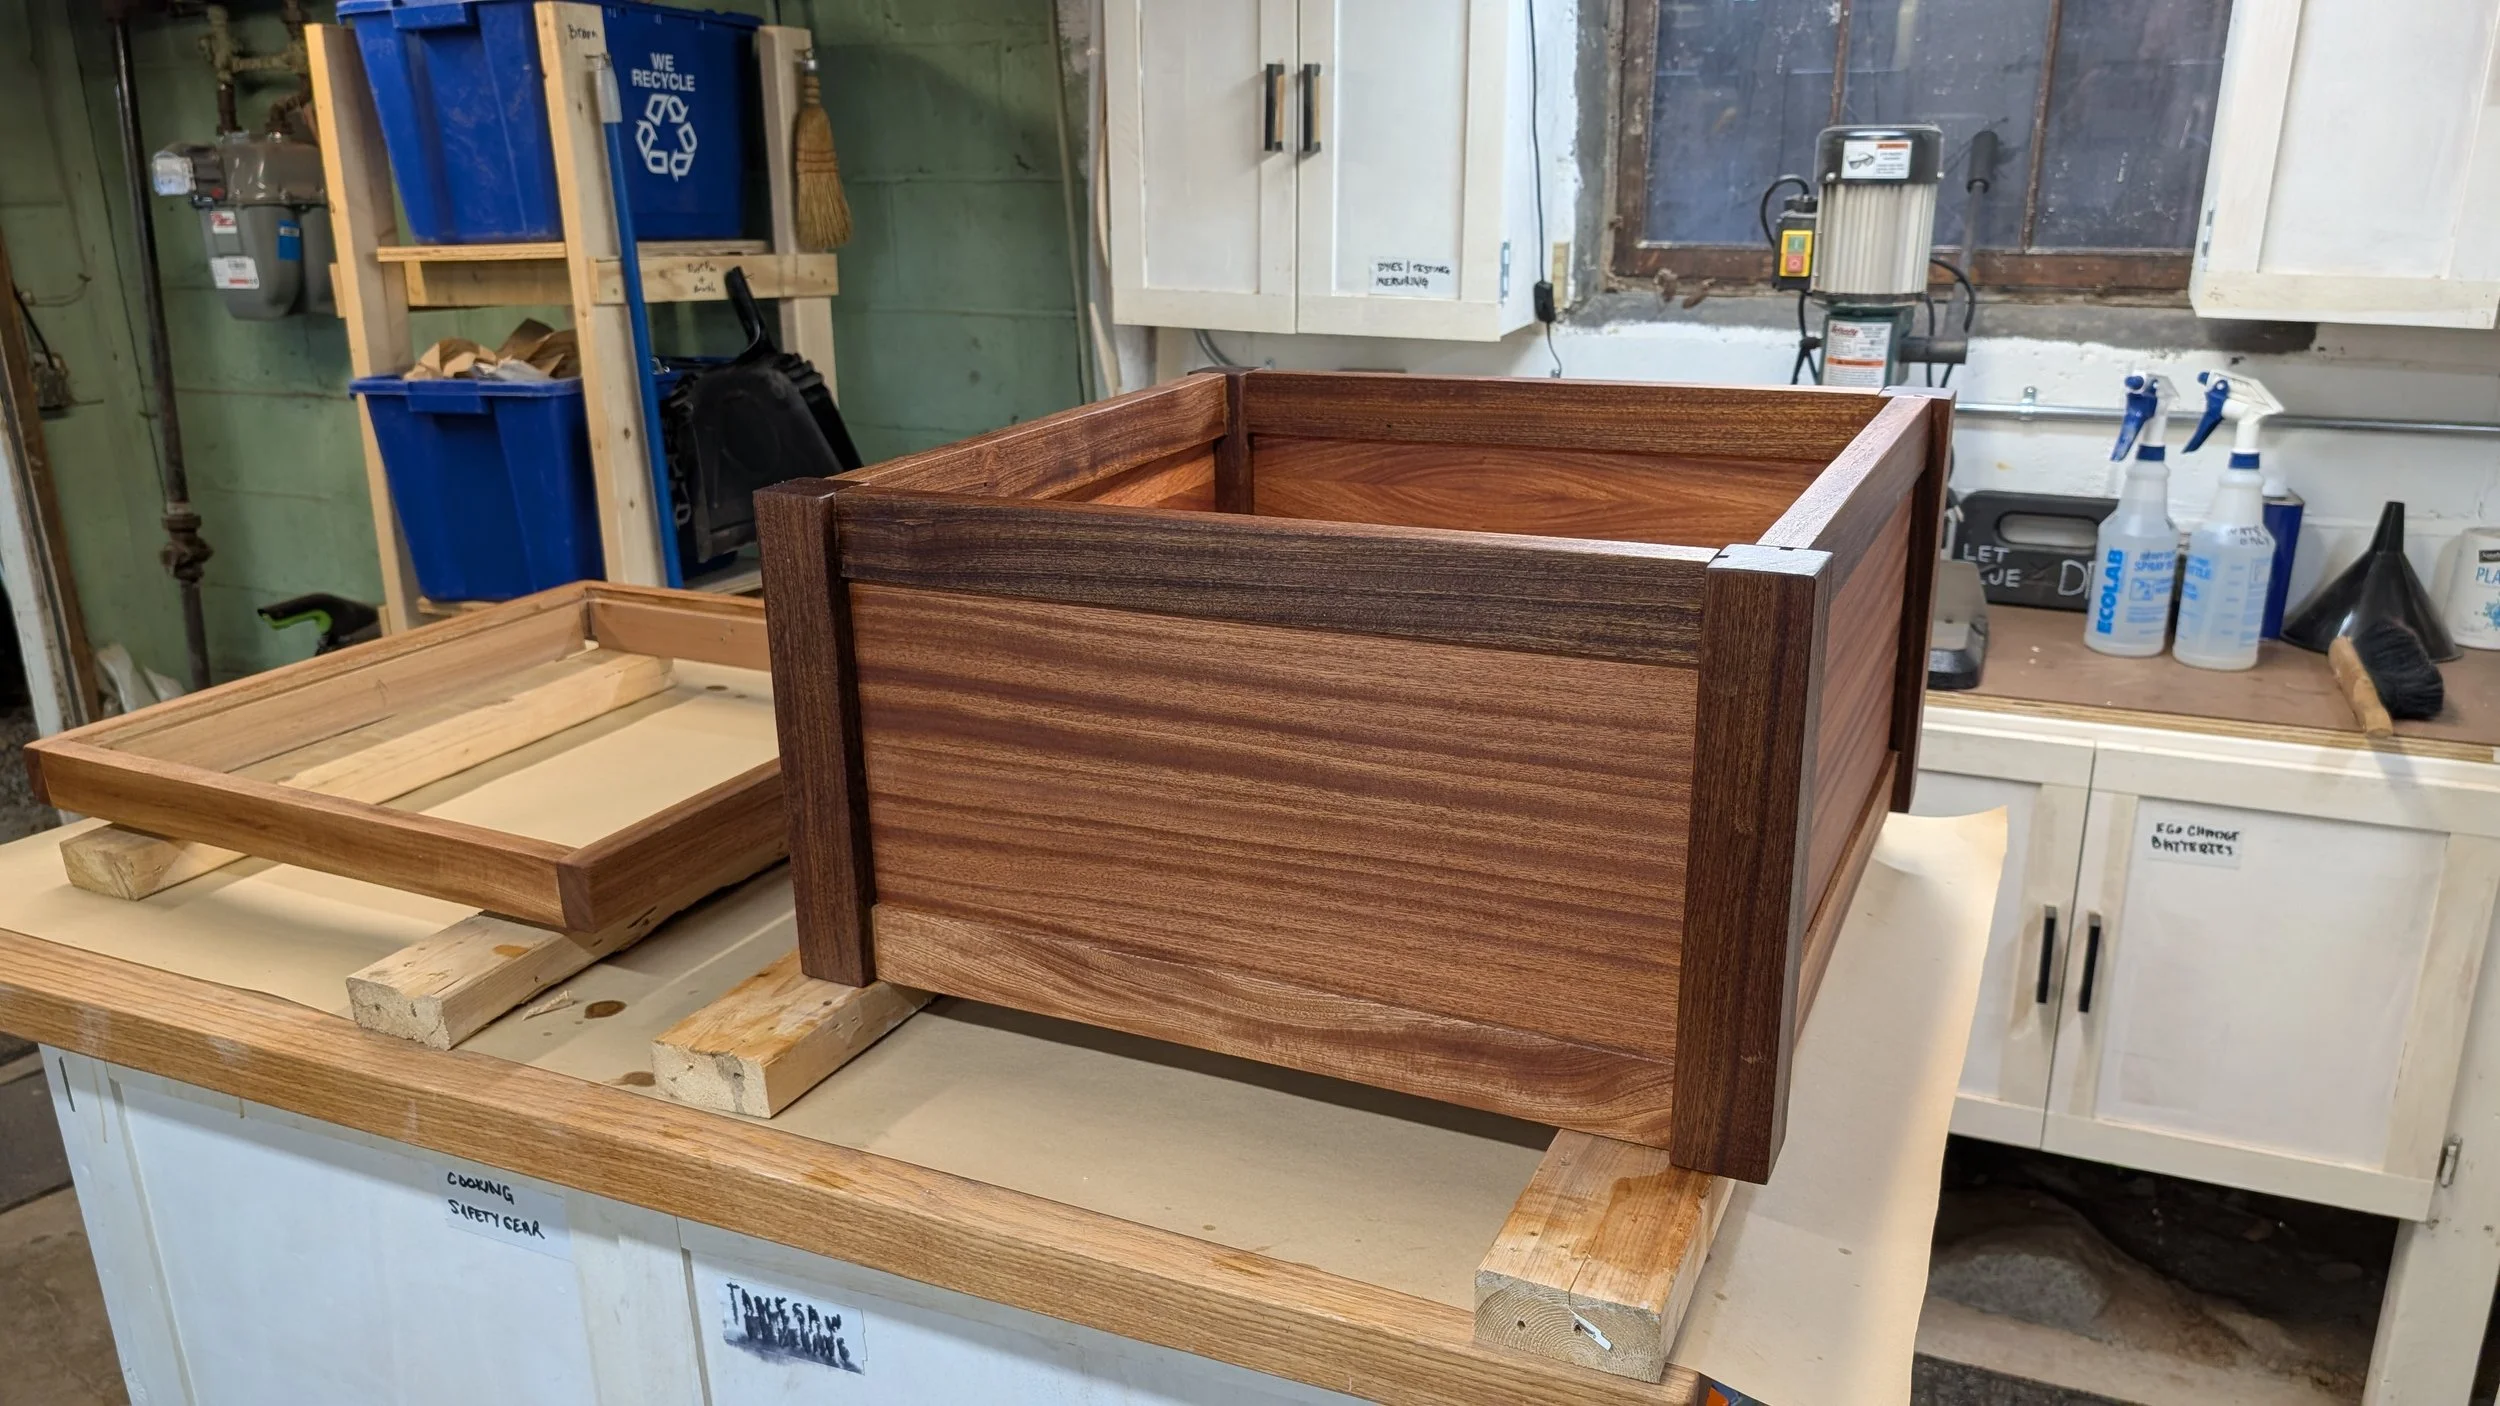
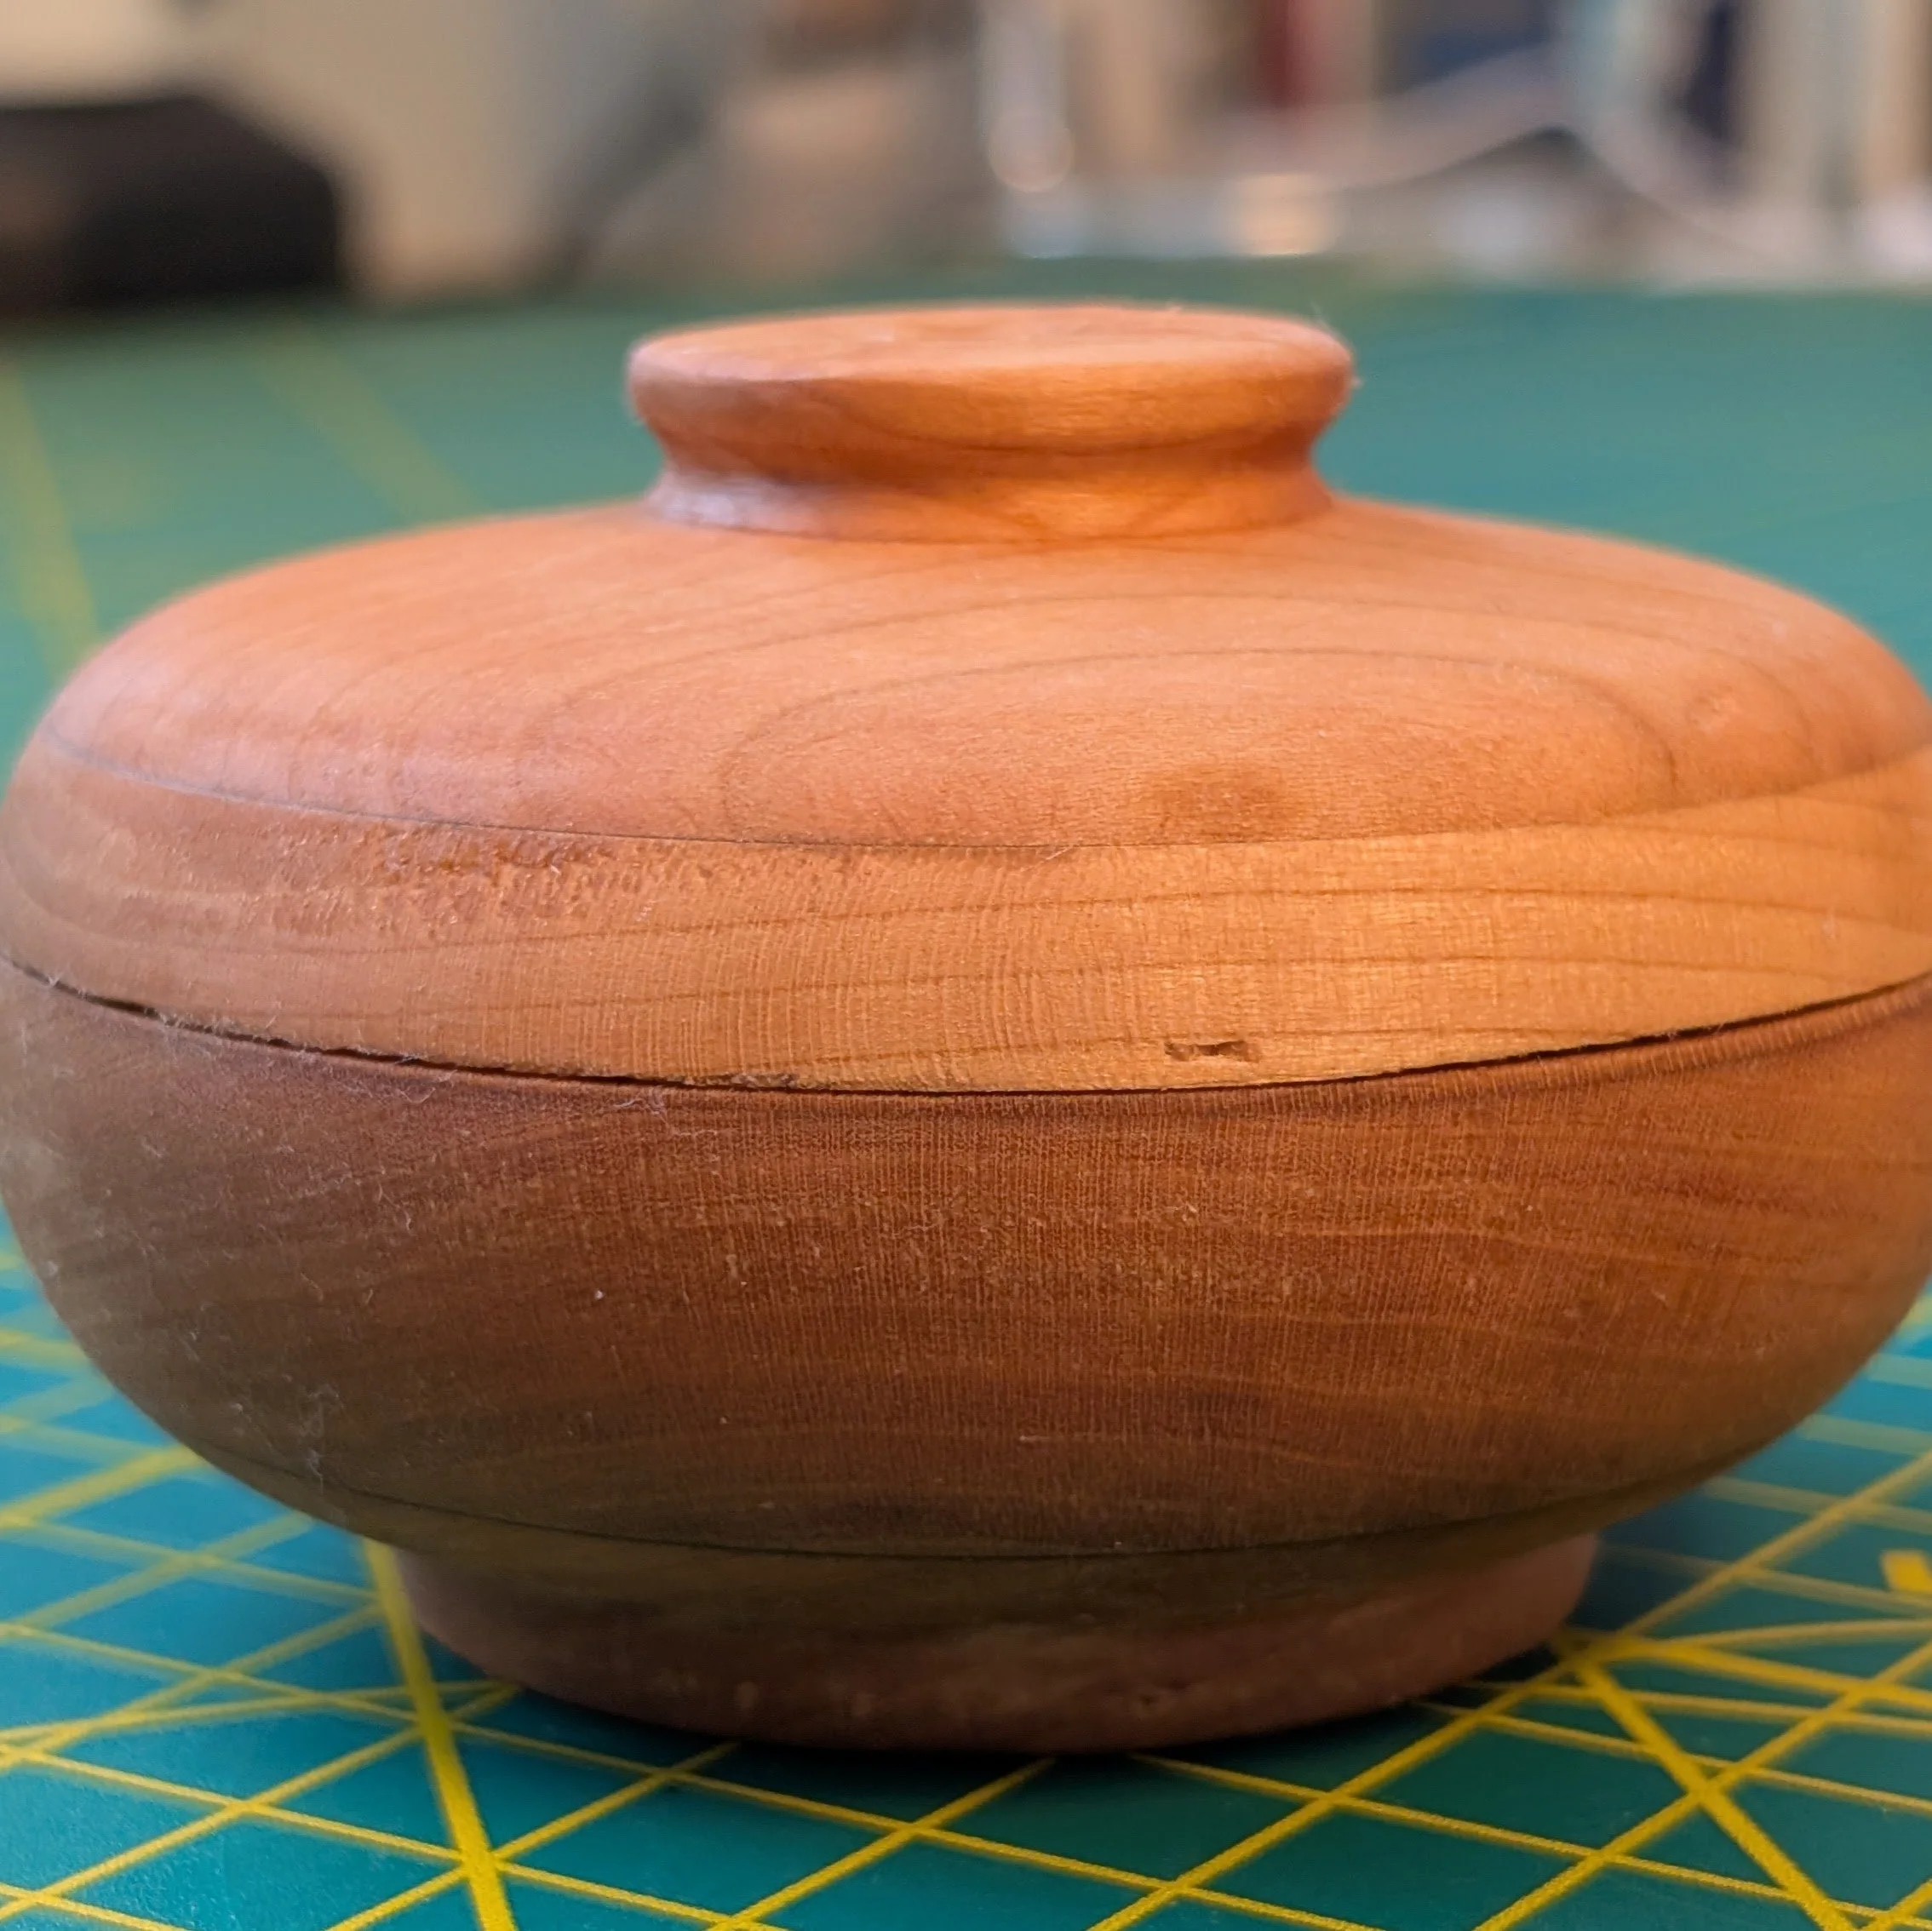
I then practiced turning on some scrap wood and then once I’d achieved some sense of what I was doing I glued up some scrap 3/4” Sapele into a turning blank for attempting a covered box. It went ok, mistakes were made but then covered up or at least hidden from the pictures below. I also made a knob for the lid by doing some spindle turning and then gluing it in. I practiced doing some sanding and finishing as well even though it is far from perfect.


For my next exploration I glued up two smaller blanks of cherry and the first one I tried turning a “cup” shape.


This one is now housing my pens, pencils, knives and scissors on my desk. The other Cherry blank I decided I would try to make a covered bowl that was close to spherical.


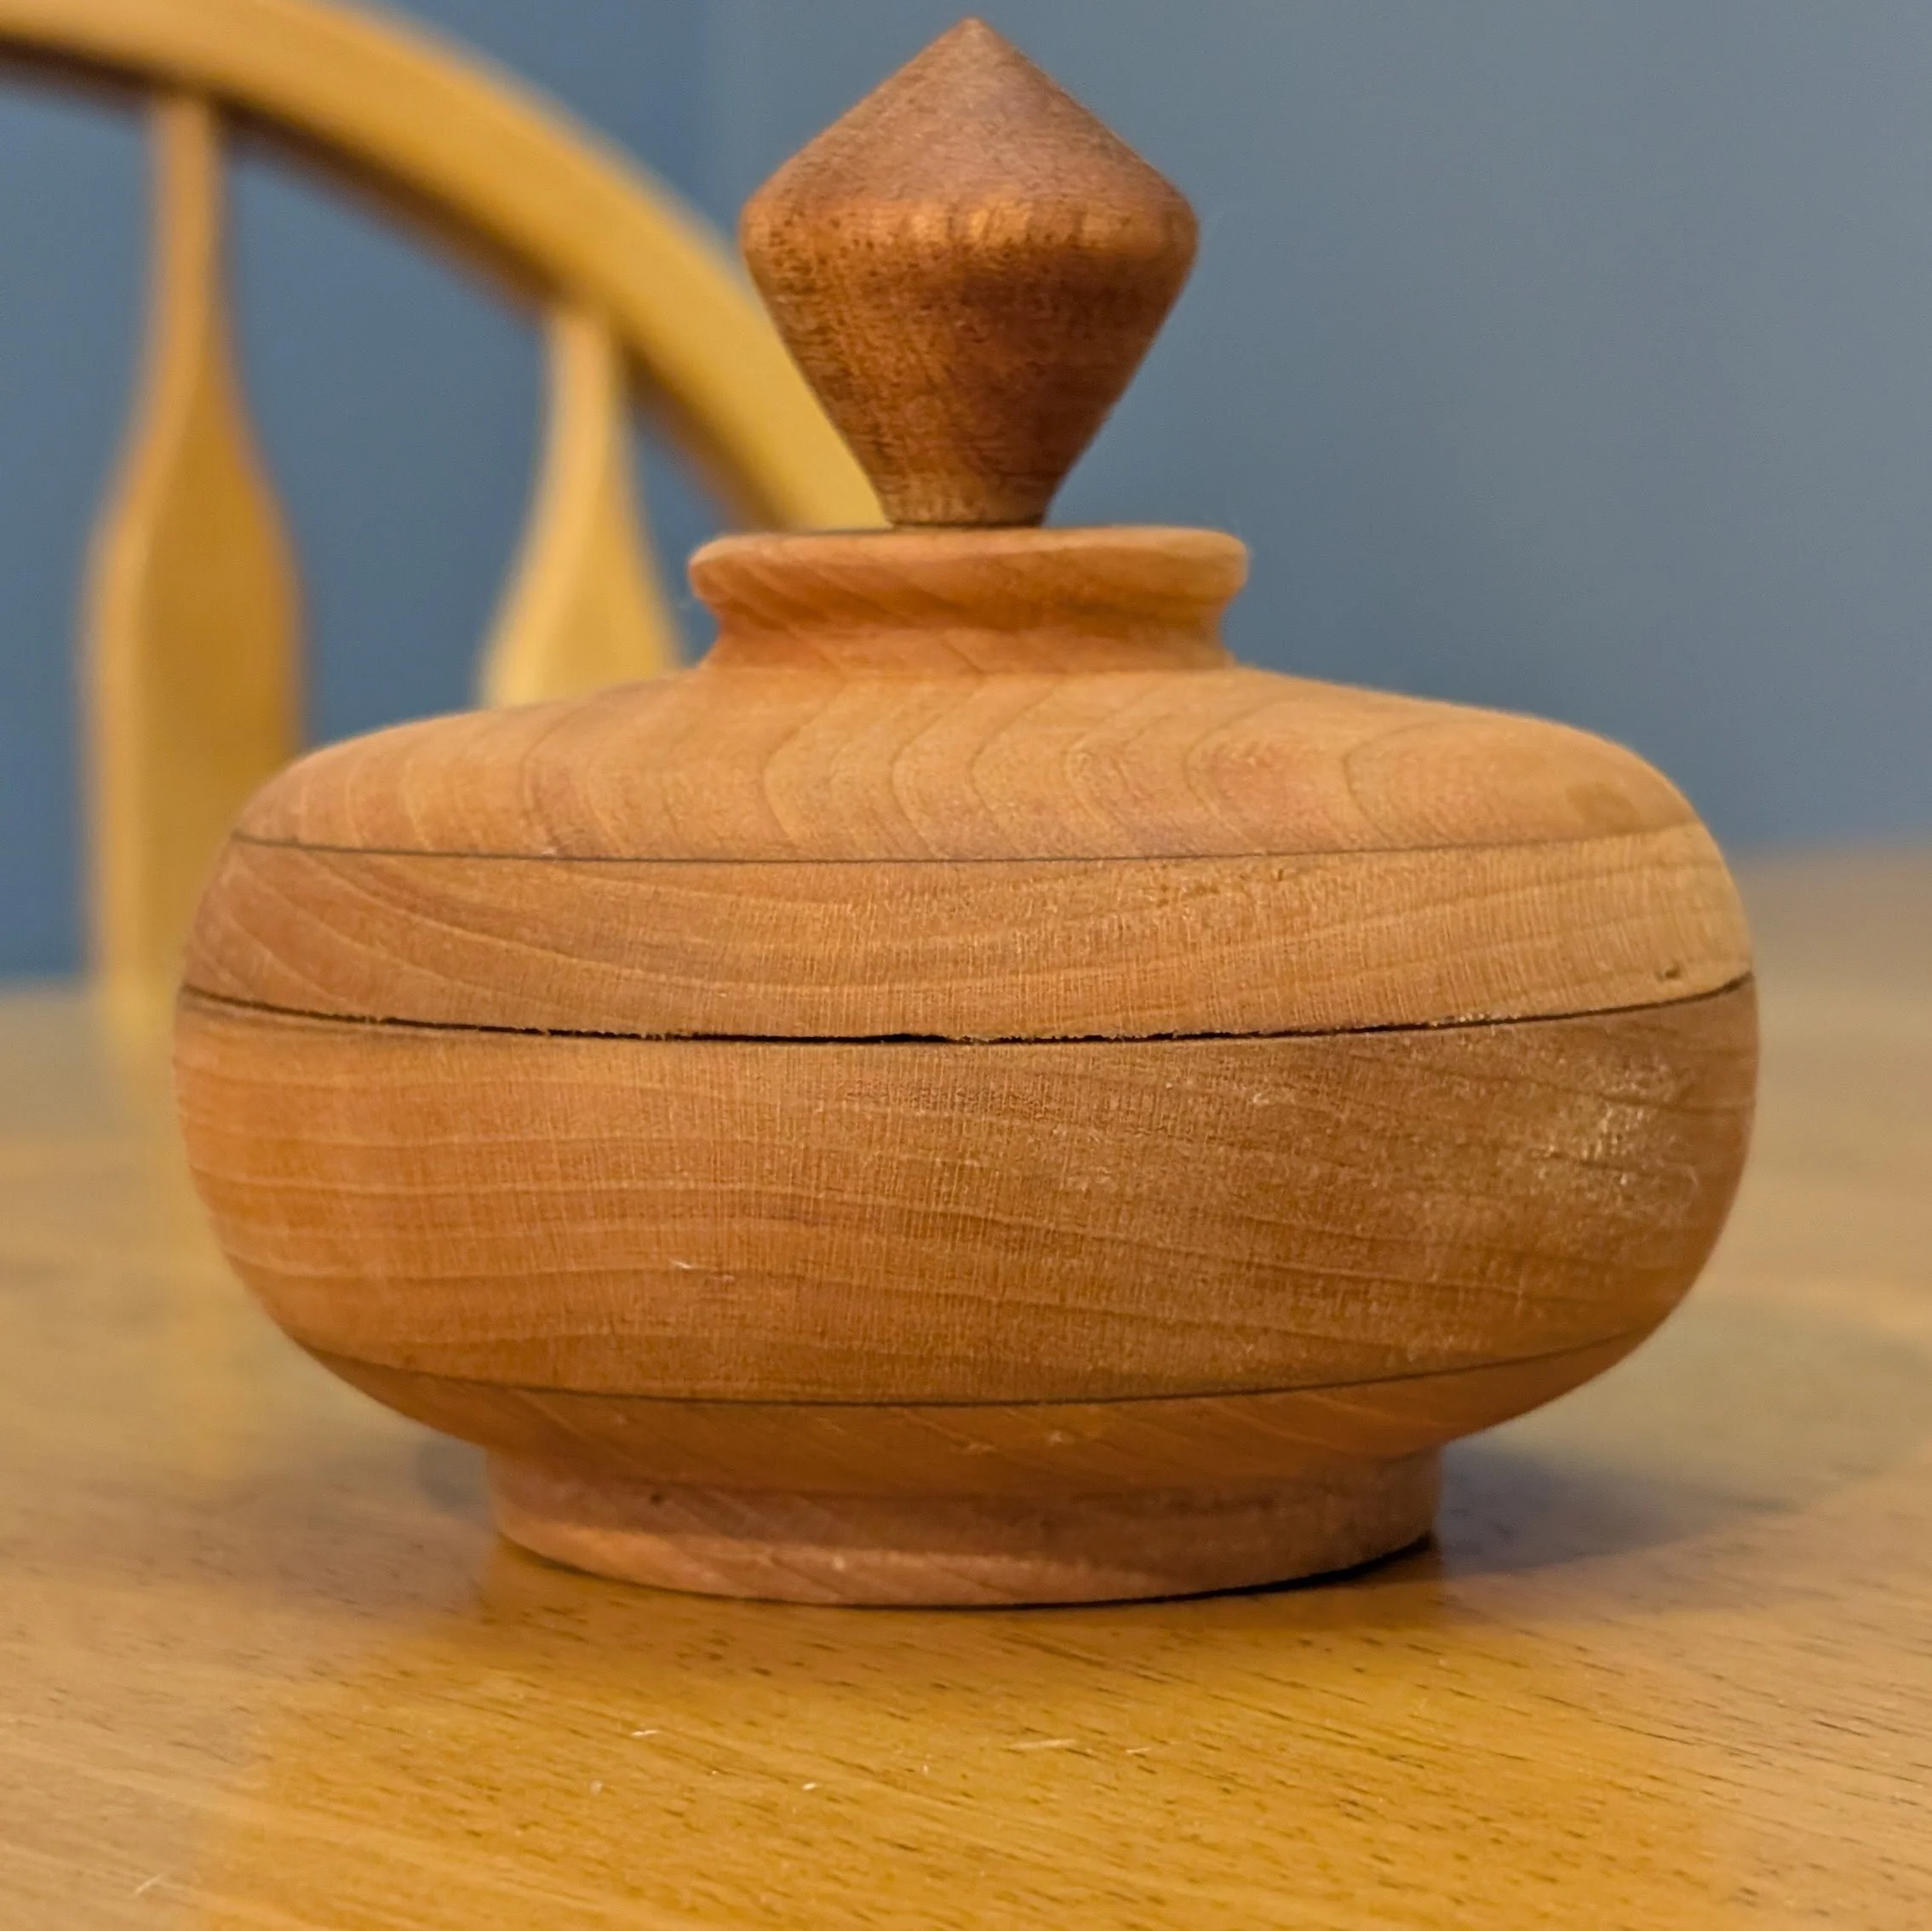
More ovoid than spherical but I like the shape. I also did some more spindle turning to make it a finial.
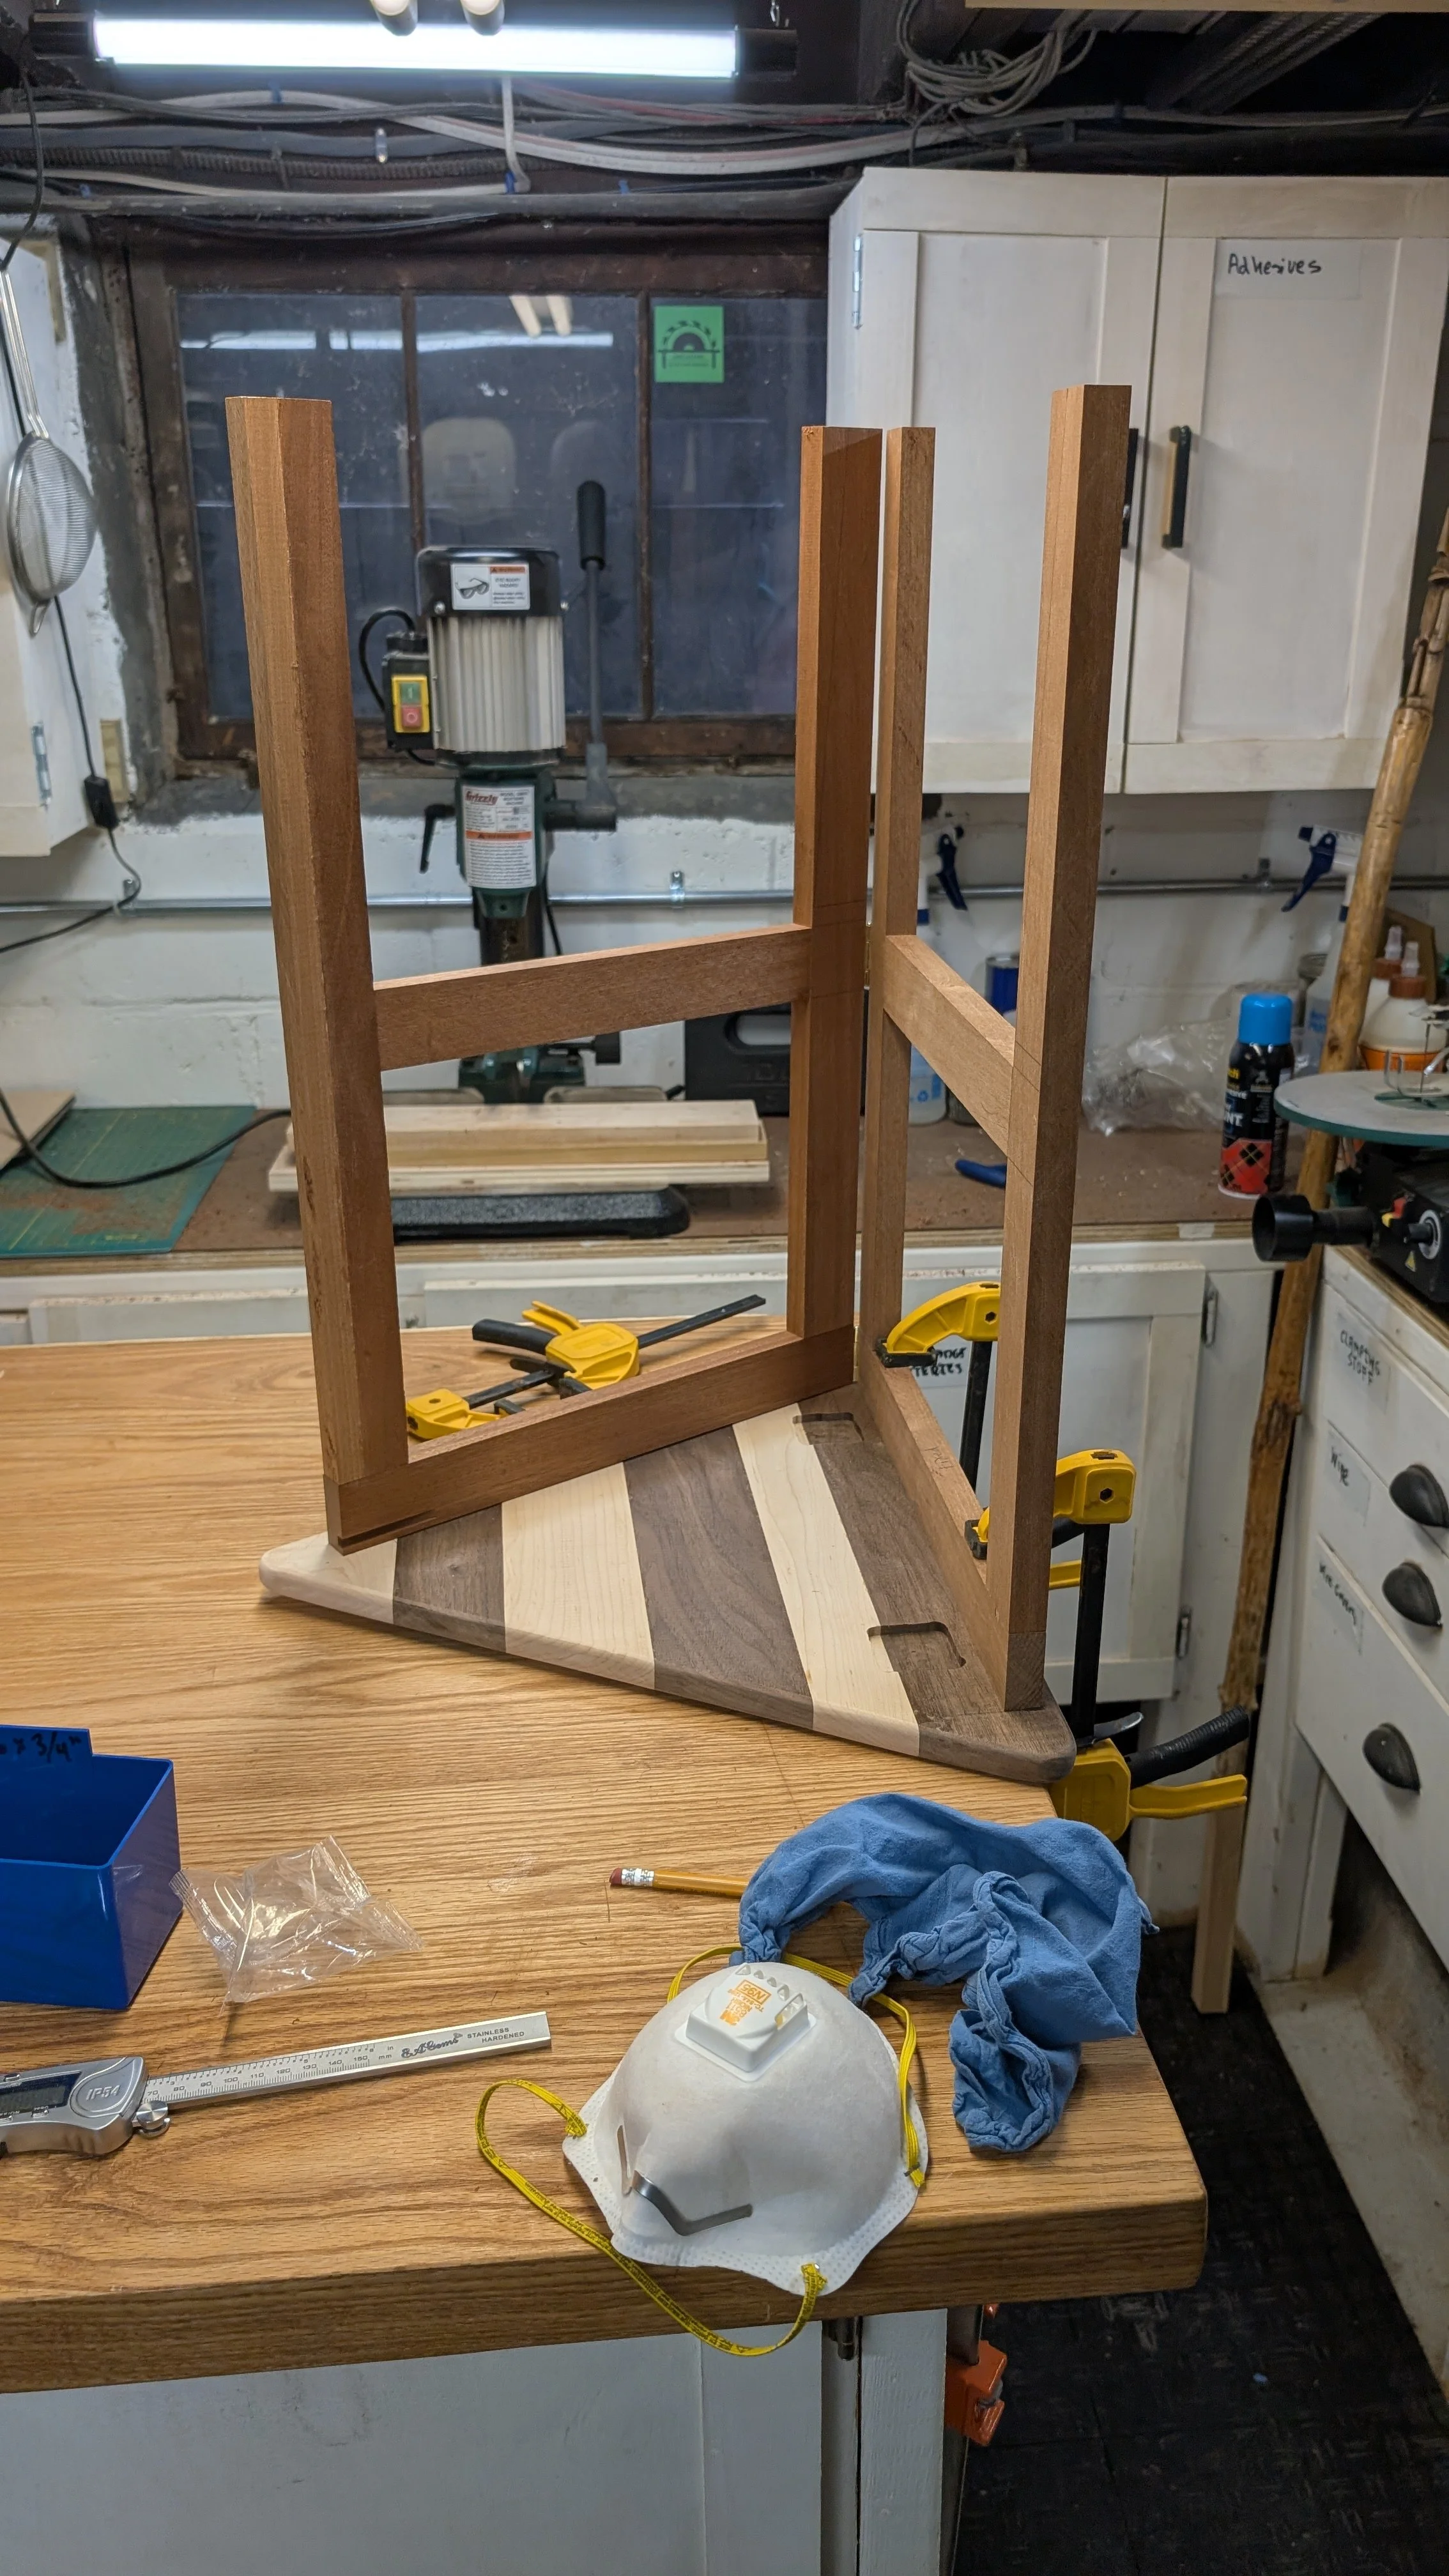
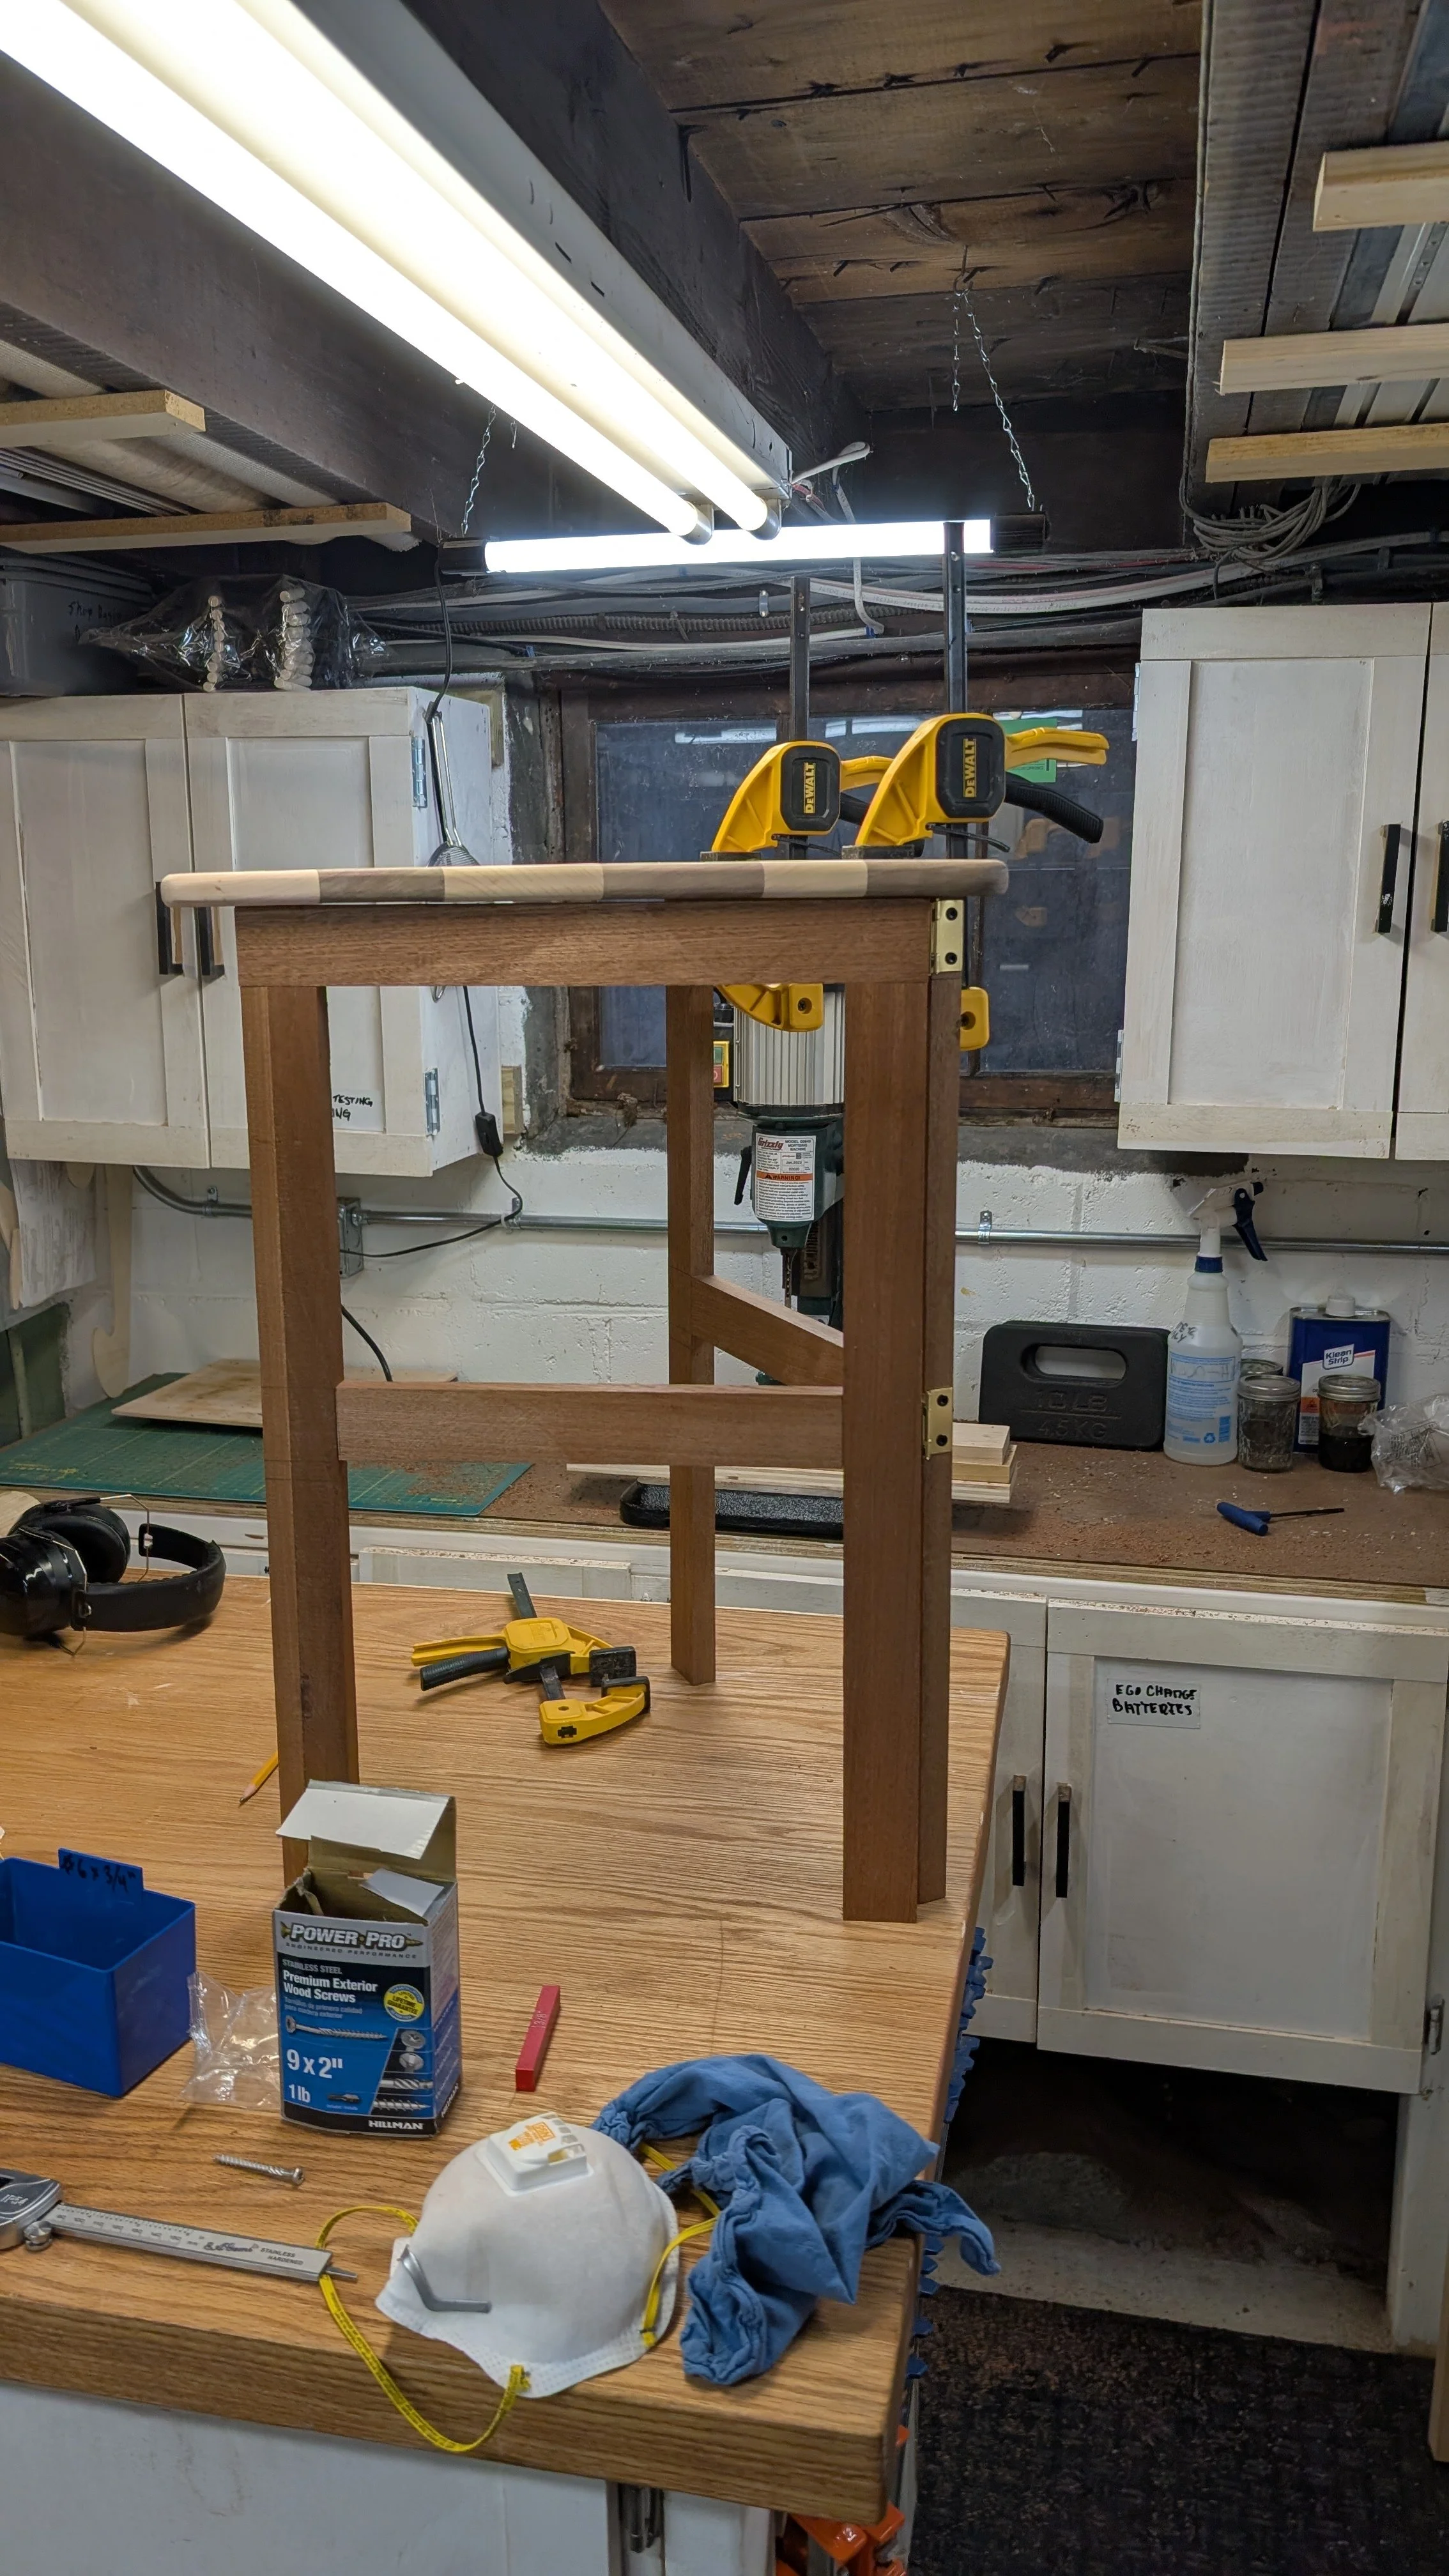
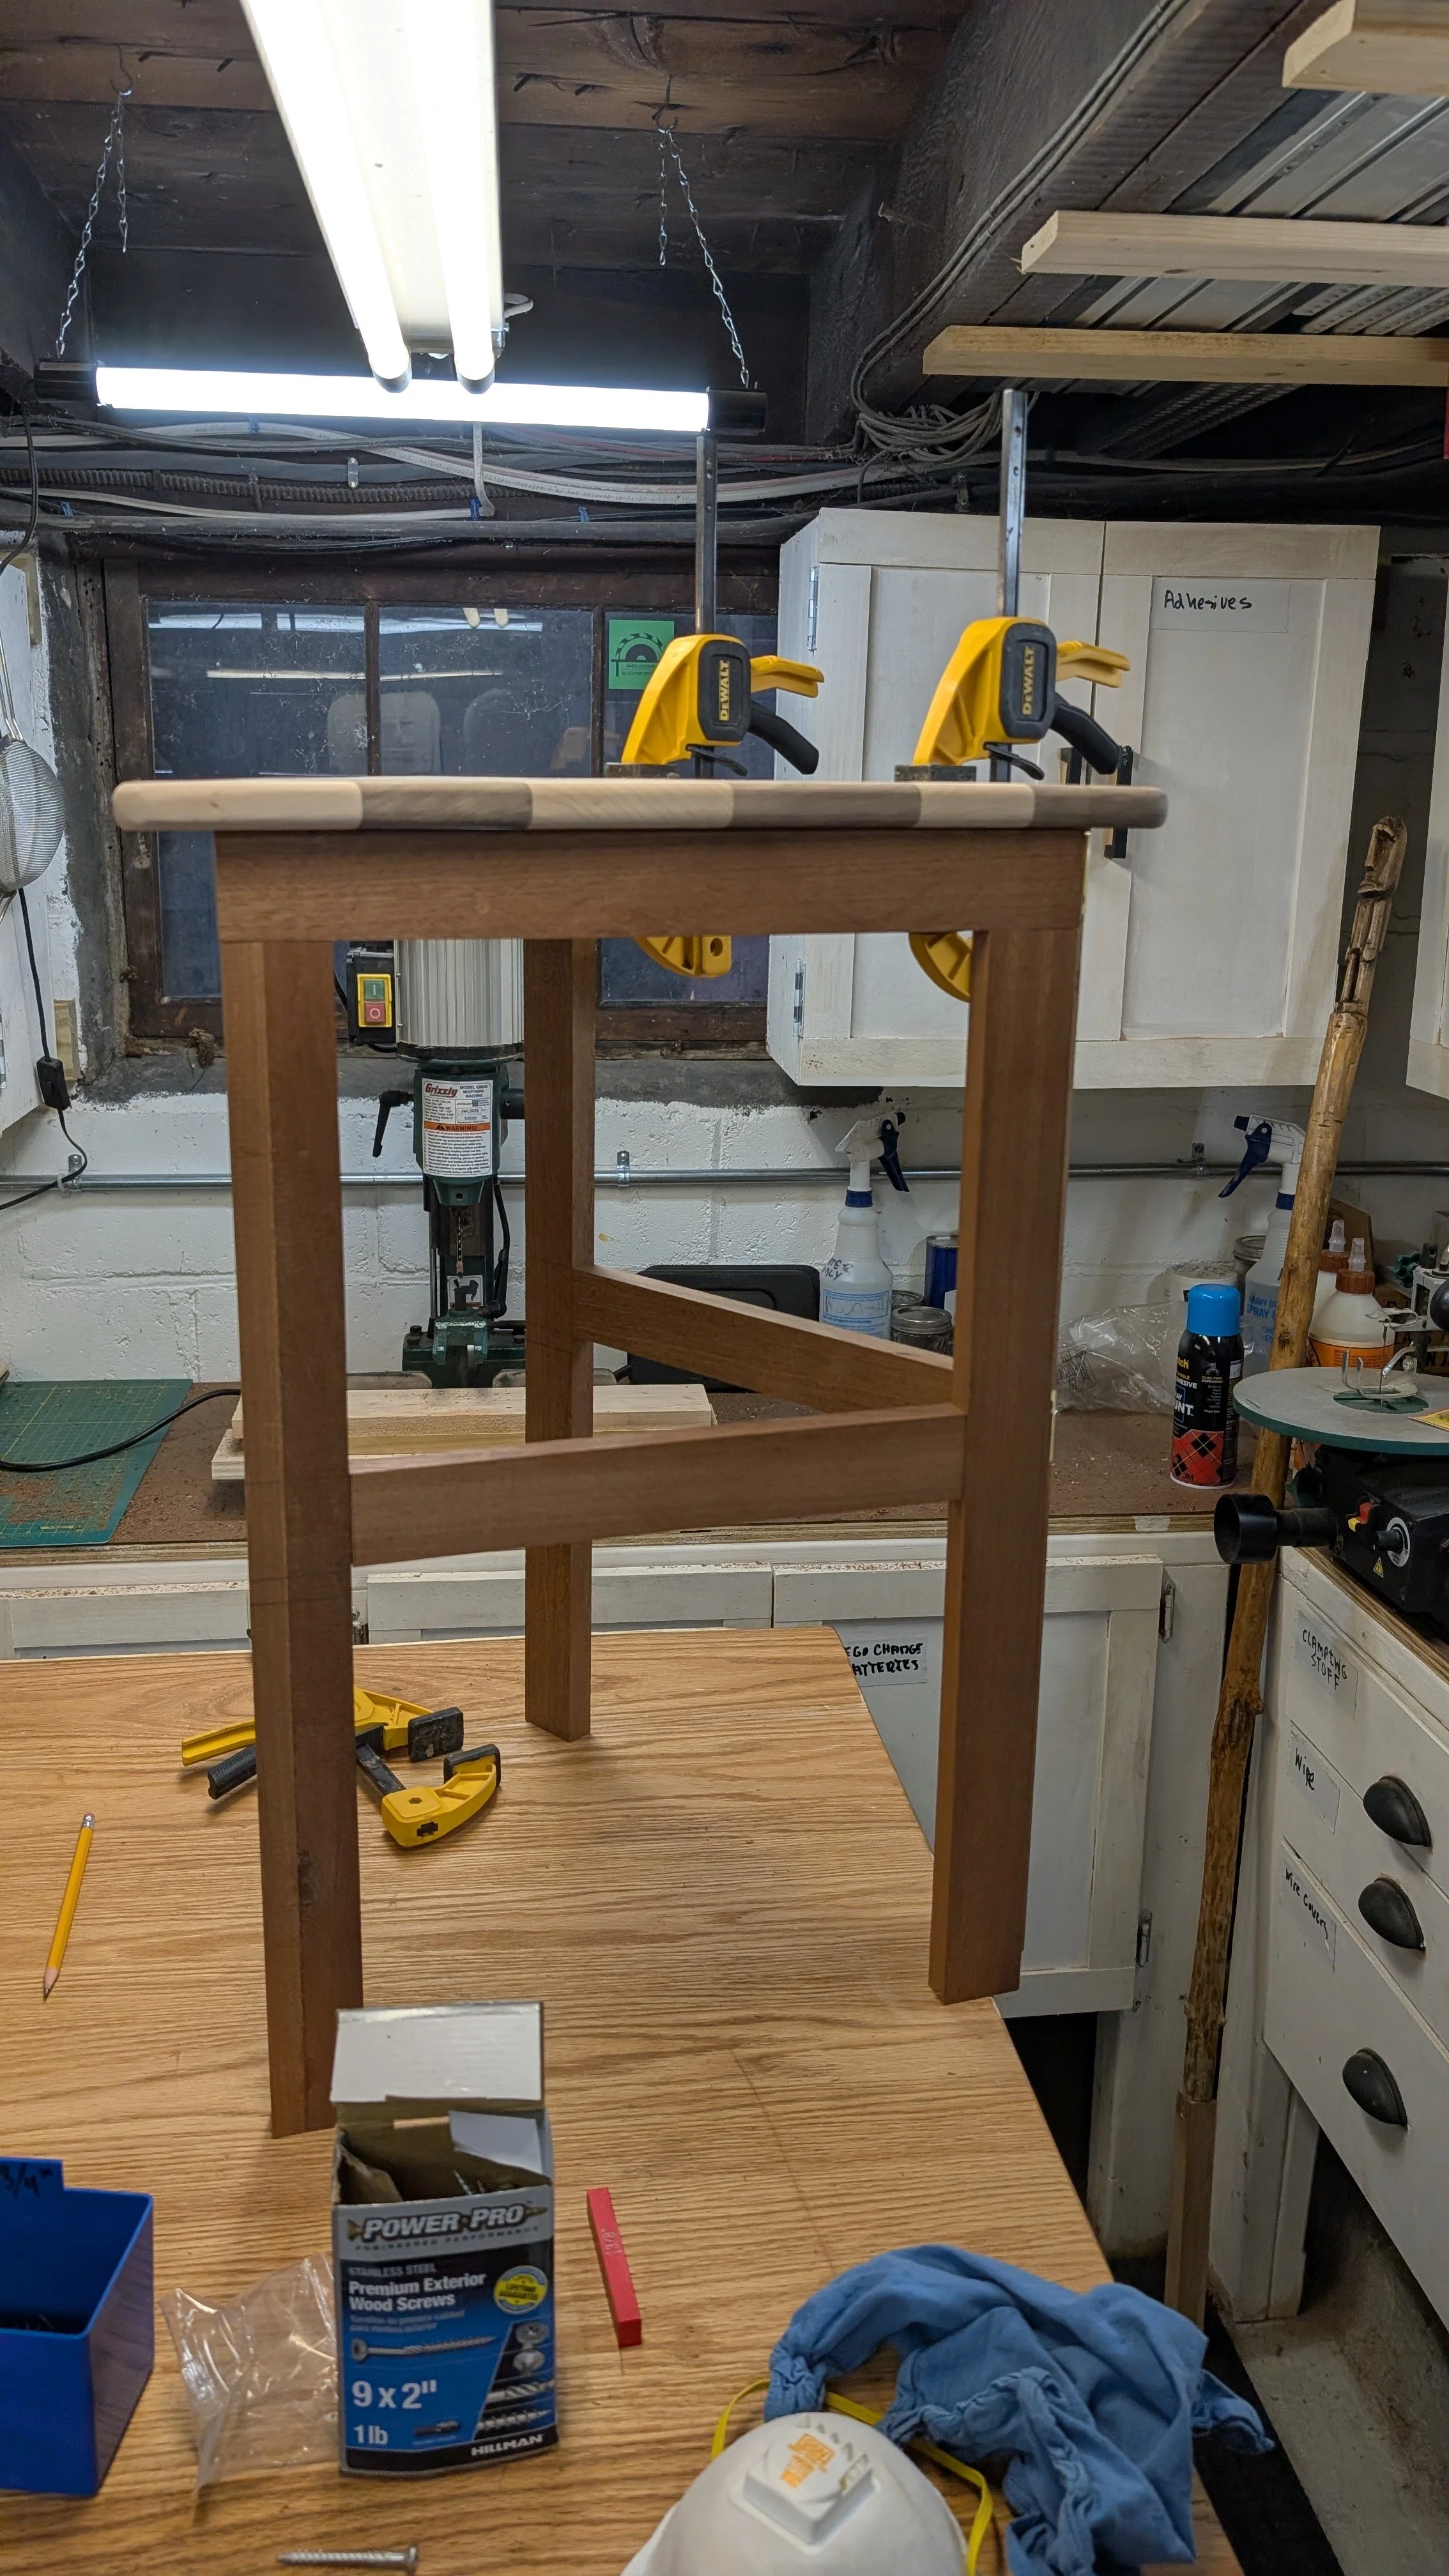
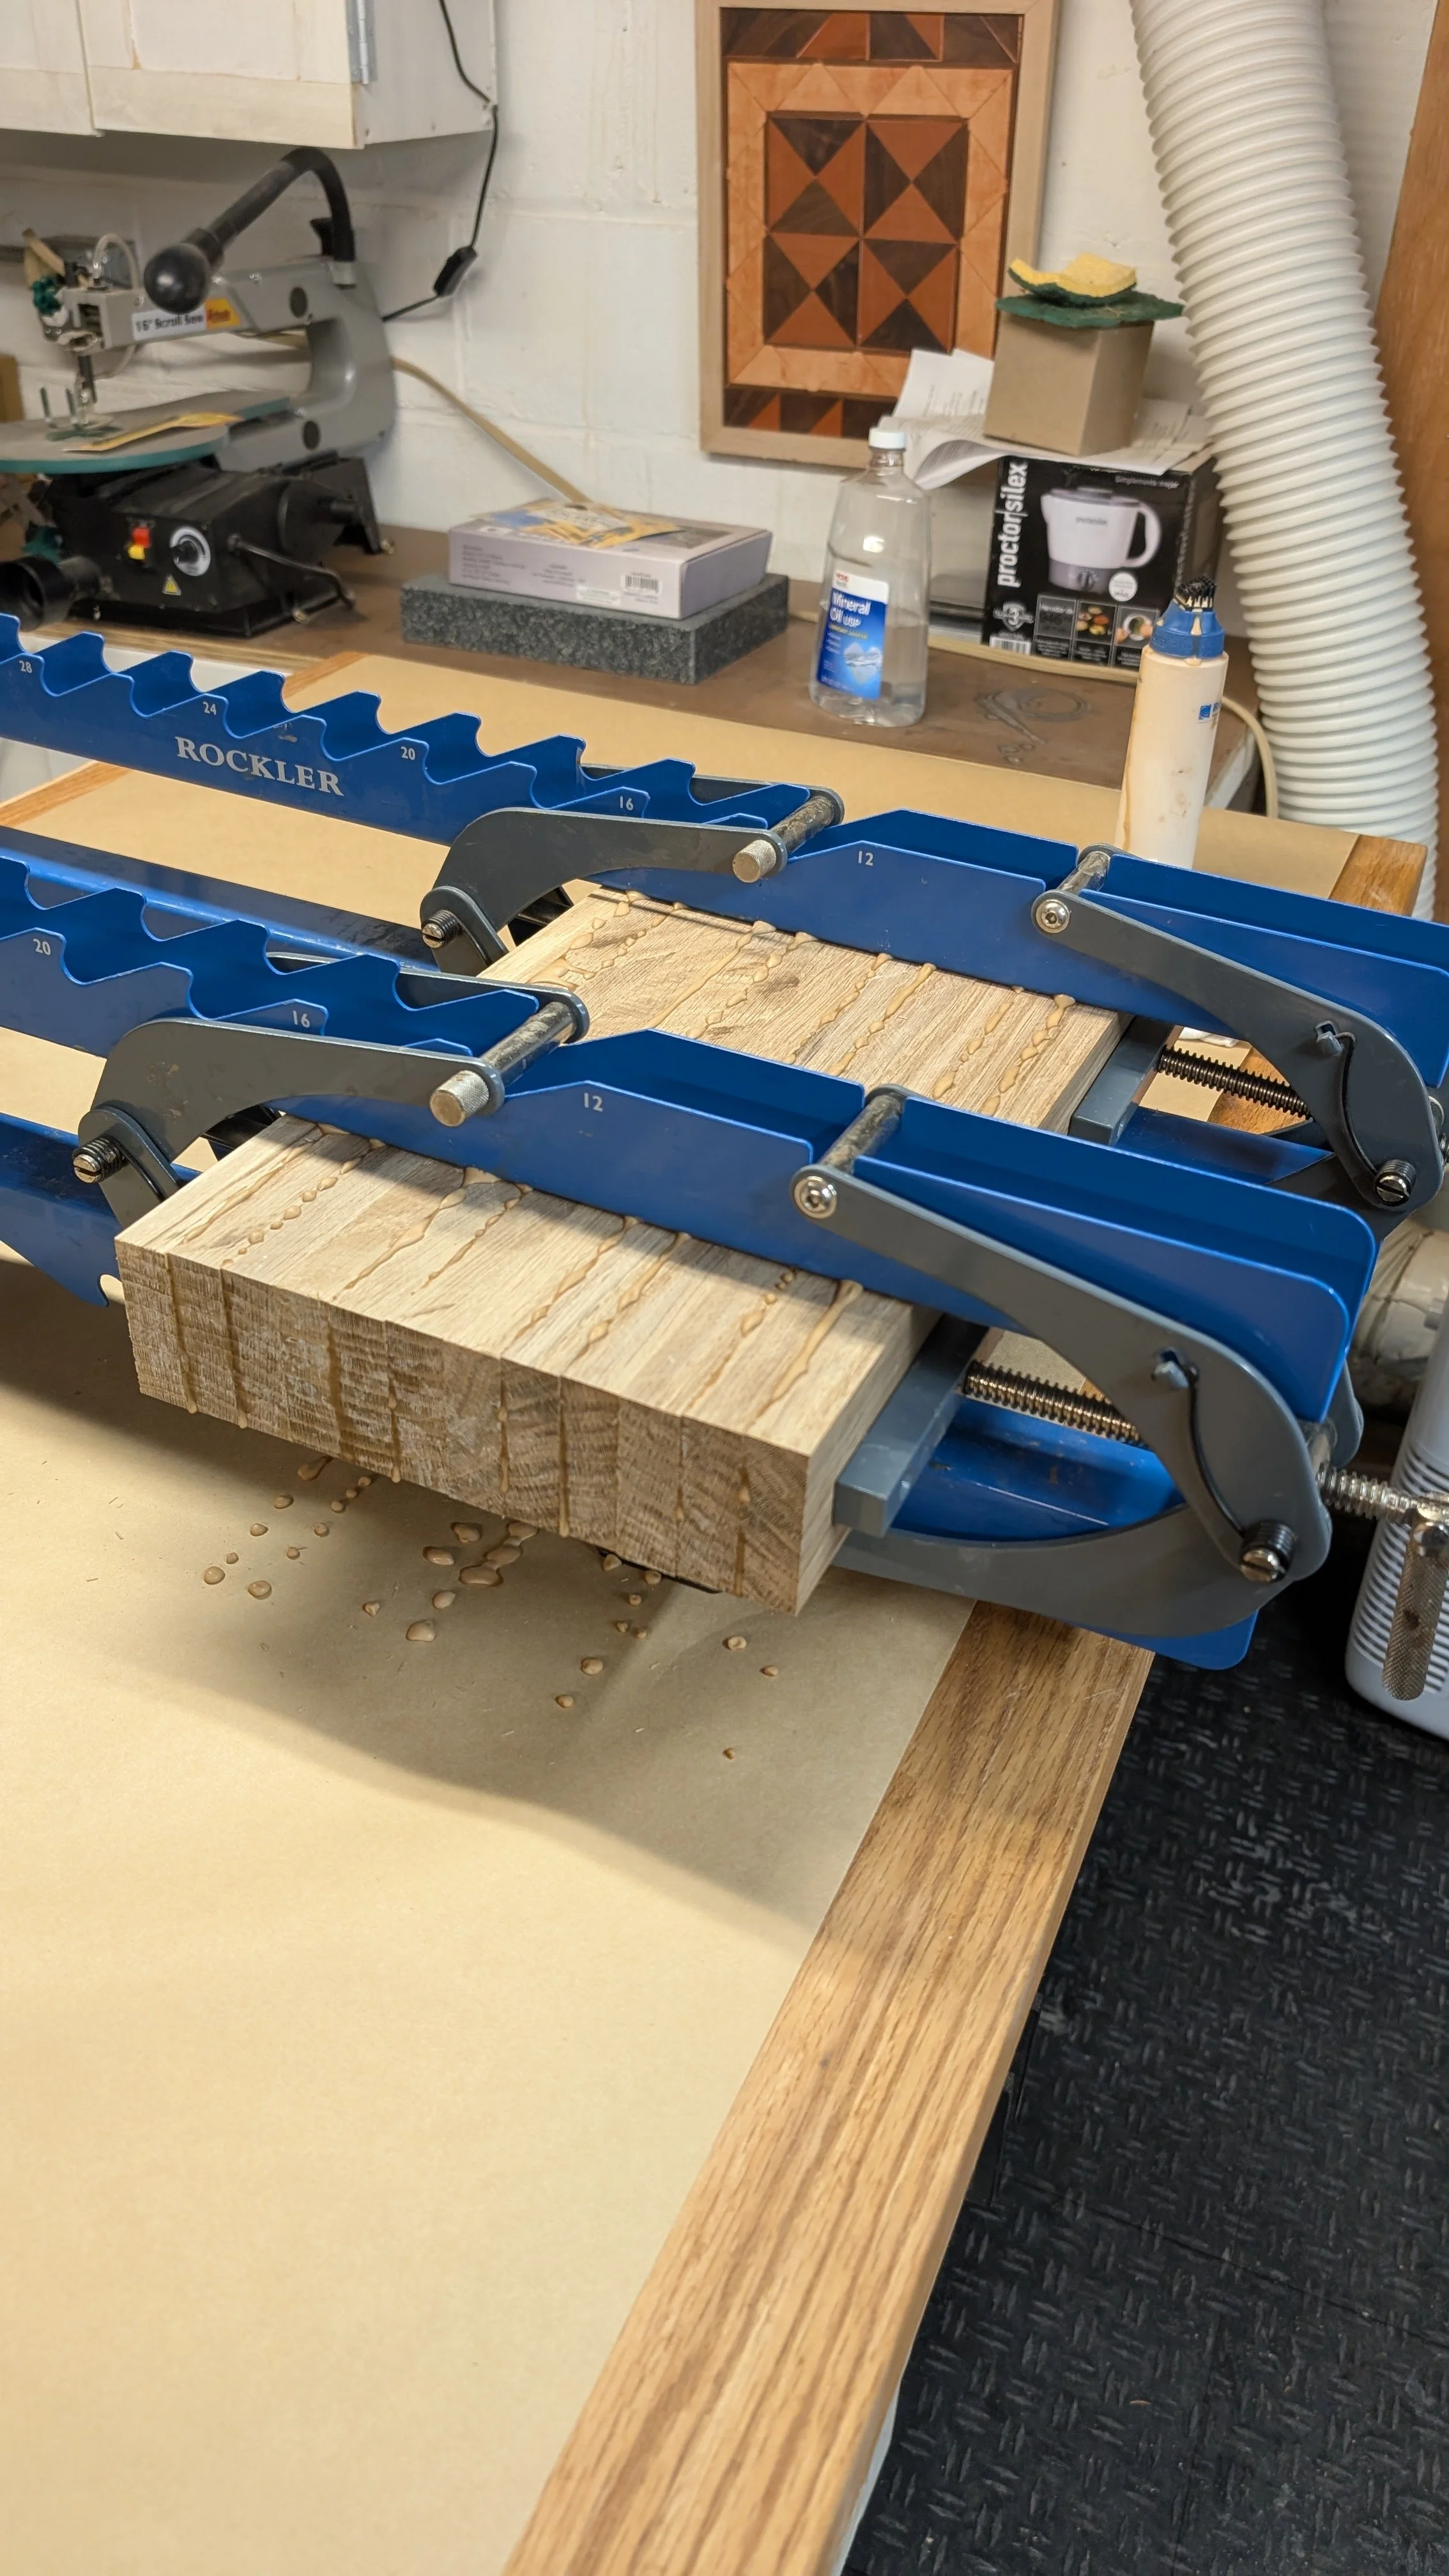
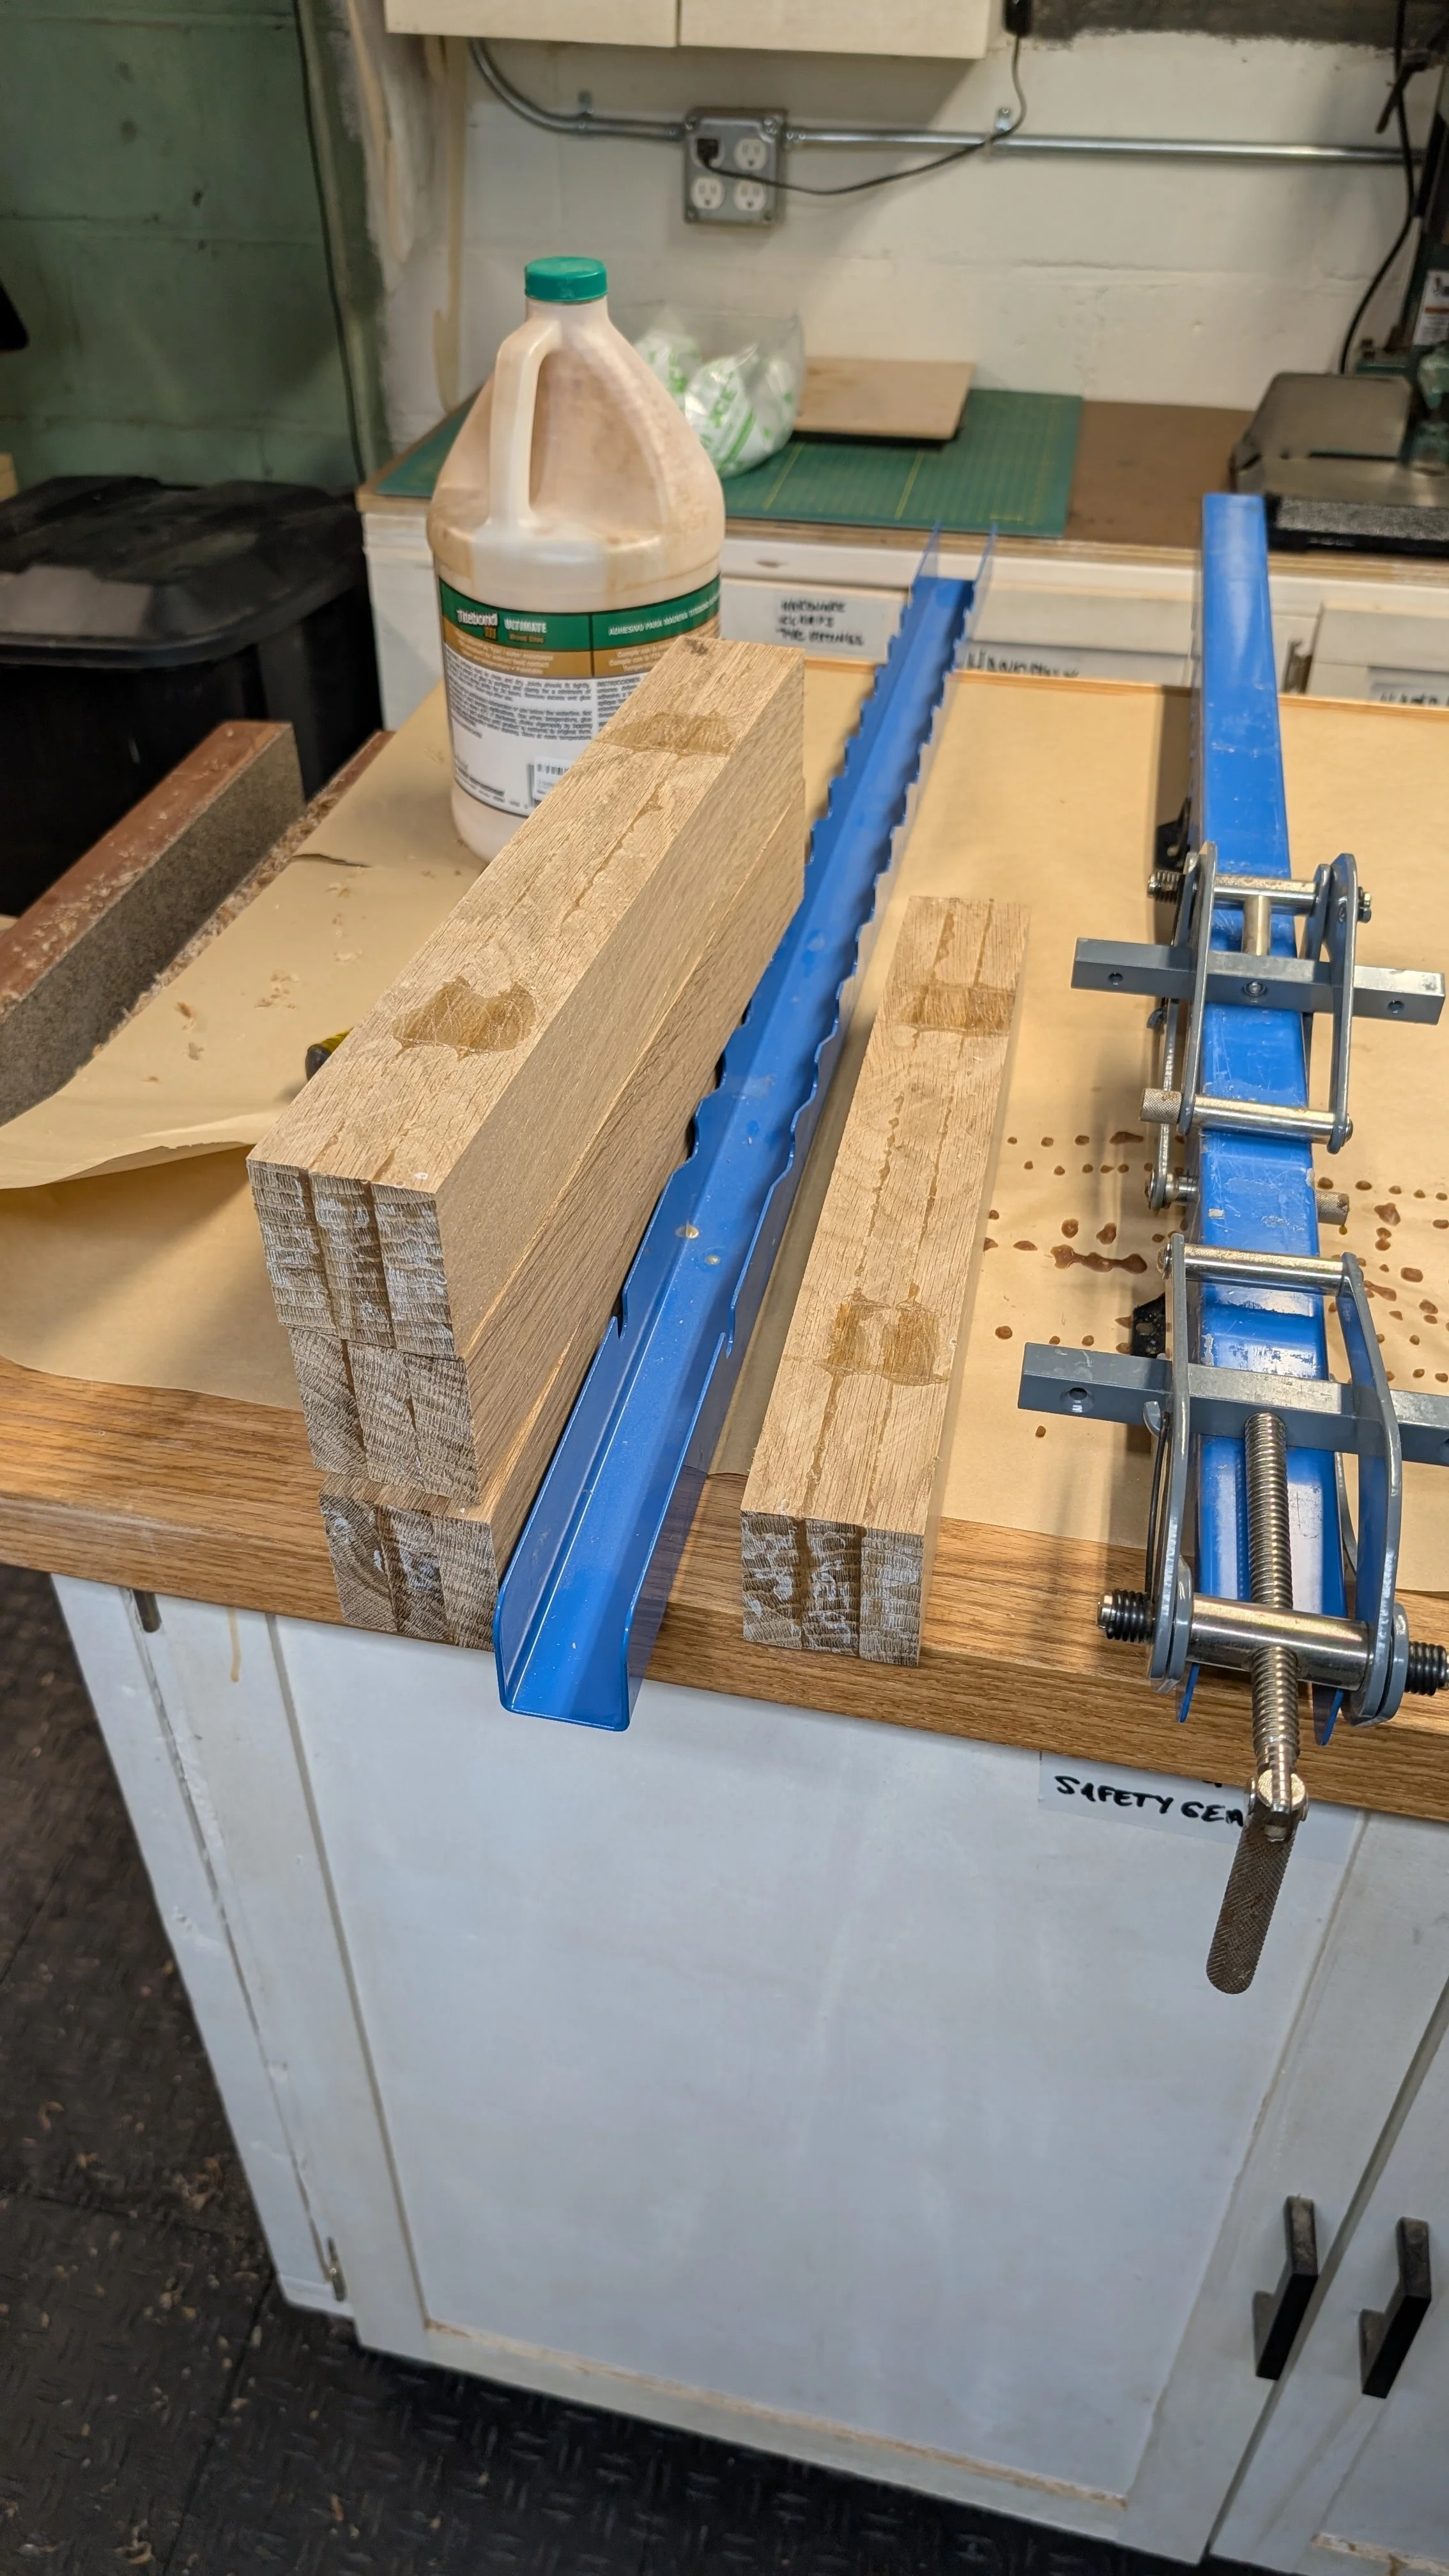
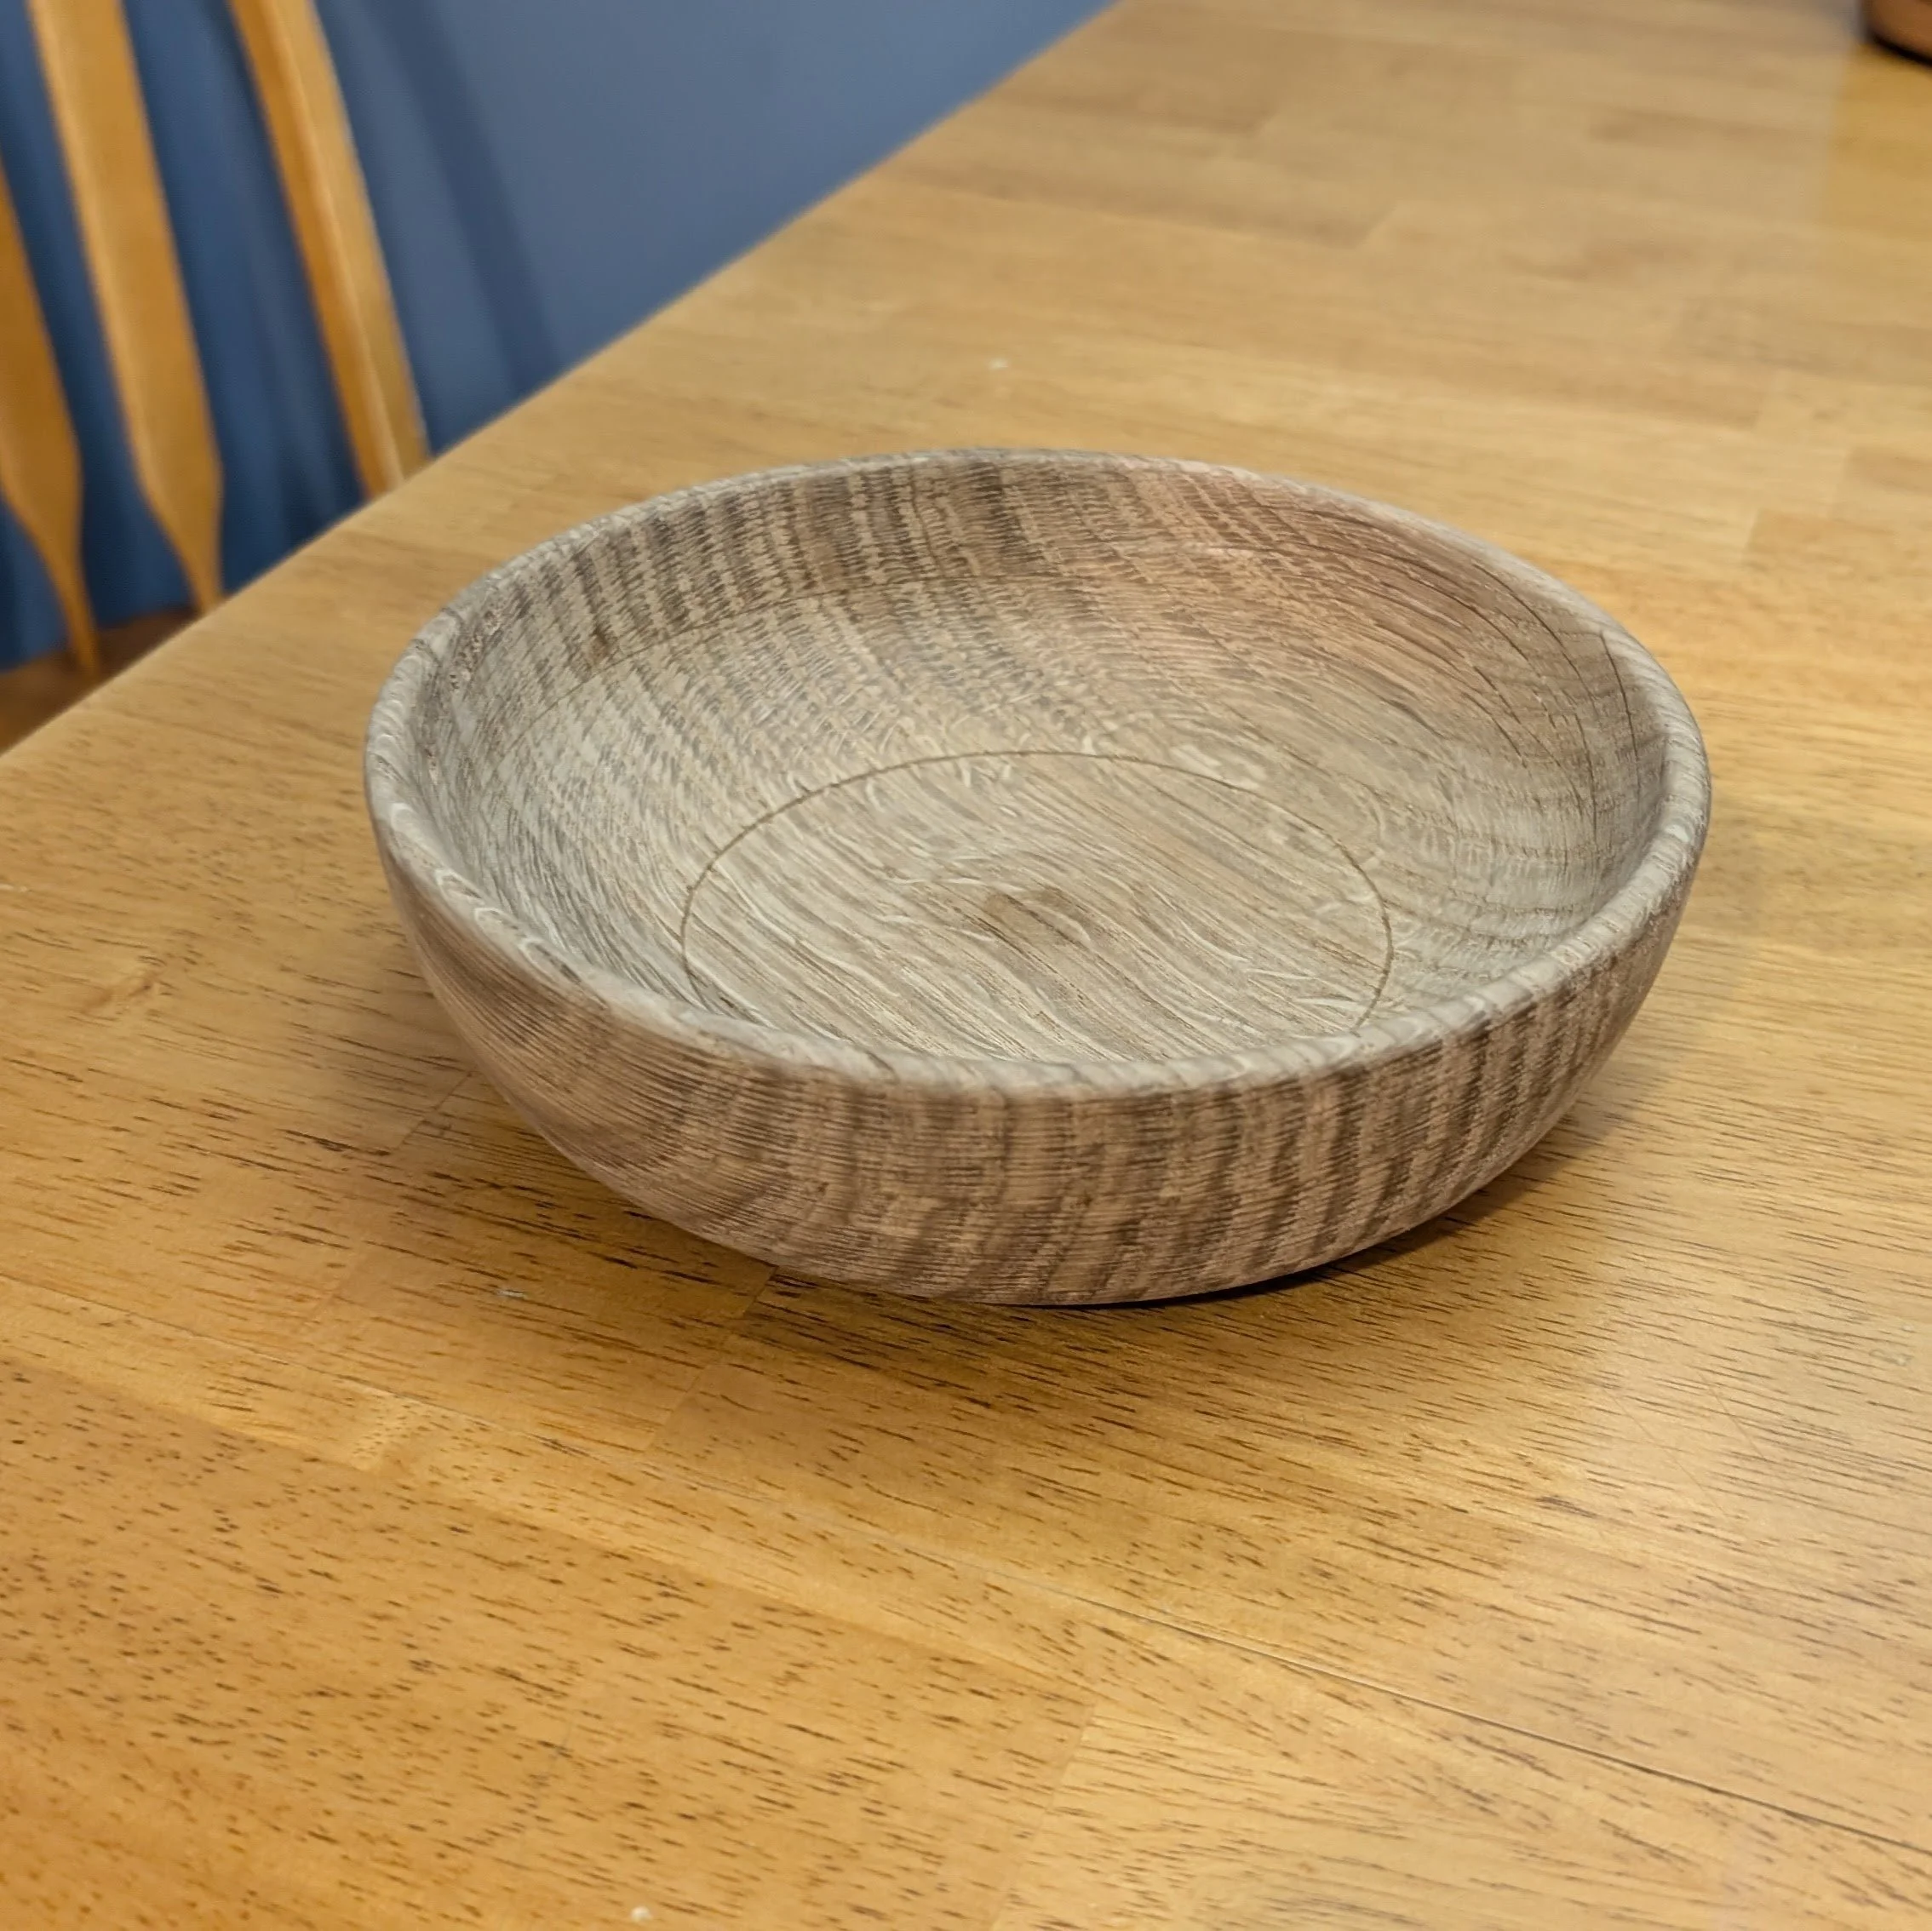
The next project was to make a useful sized serving vessel, so I glued up a 8” x 3” blank of white oak. I cut it to mostly round. I drilled a recess for mounting it on the chuck. I turned the bottom and the outside without too much difficulty. Even sanding it. I put another recess inside the foot of the bowl and turned it around.
Unfortunately the board that I made the blank out of had a crack in the end of it that I thought I would cut off when rounding. I did not. A big chunk came out of the top so I had to shorten the whole piece by about 3/8”, no big problem.
Hollowing something of this size was challenging and I learned a lot about tool selection, cutting angles, etc… there were mistakes. The final bowl is another half inch shorter. But still perfectly proportioned.


I’m having a lot of fun learning about wood turning. It is very engrossing when you are doing it. The problem solving and debugging when you make a mistake is also very rewarding. Even my crude beginner efforts are nice objects that I’m happy to have. I will be continuing my journey soon.