After many years of not having a record player or for that matter vinyl records we now own both again. It’s been fun playing records at parties and small gatherings either ours or ones that other folks bring. I don’t think we’ll be collecting a large number of records, just a few special recordings that are fun to have in this format.
We didn’t really have a place for storing/viewing records either so they were up on a high bookshelf and not really easily viewed. I decided to make a record sorter to let us or guests browse through the records easily. It needed to not take up much room and be attractive to fit in with other furniture in our living room.
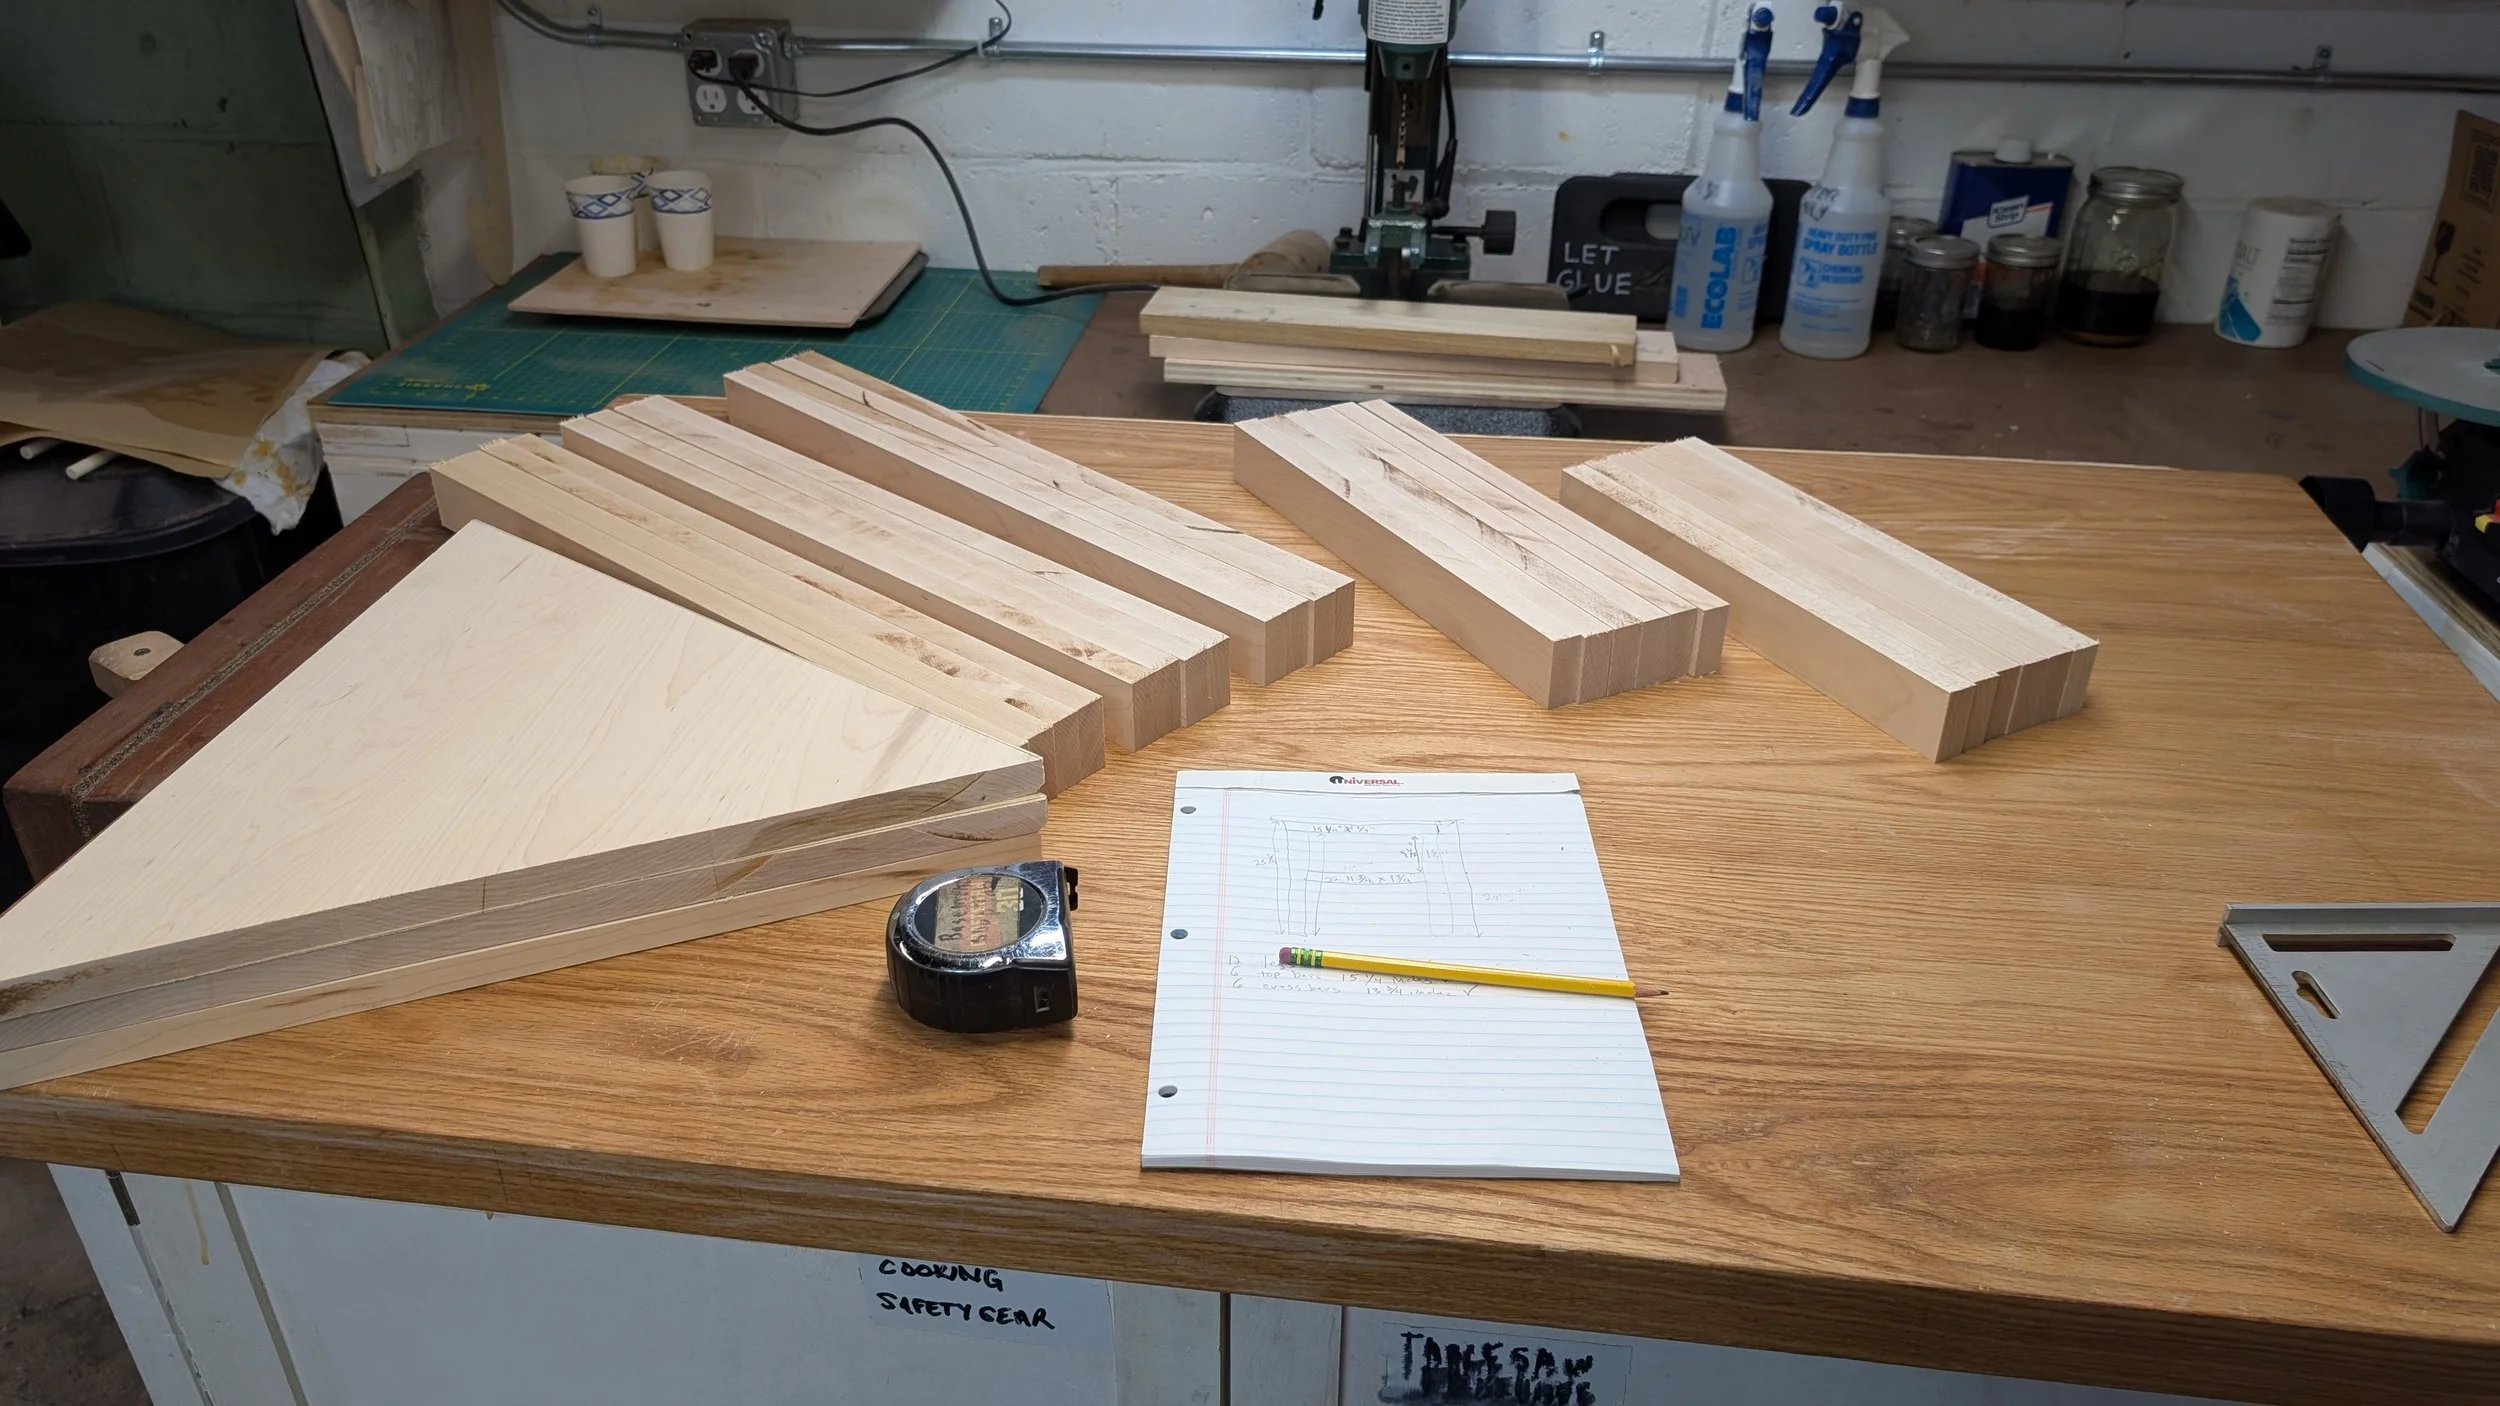
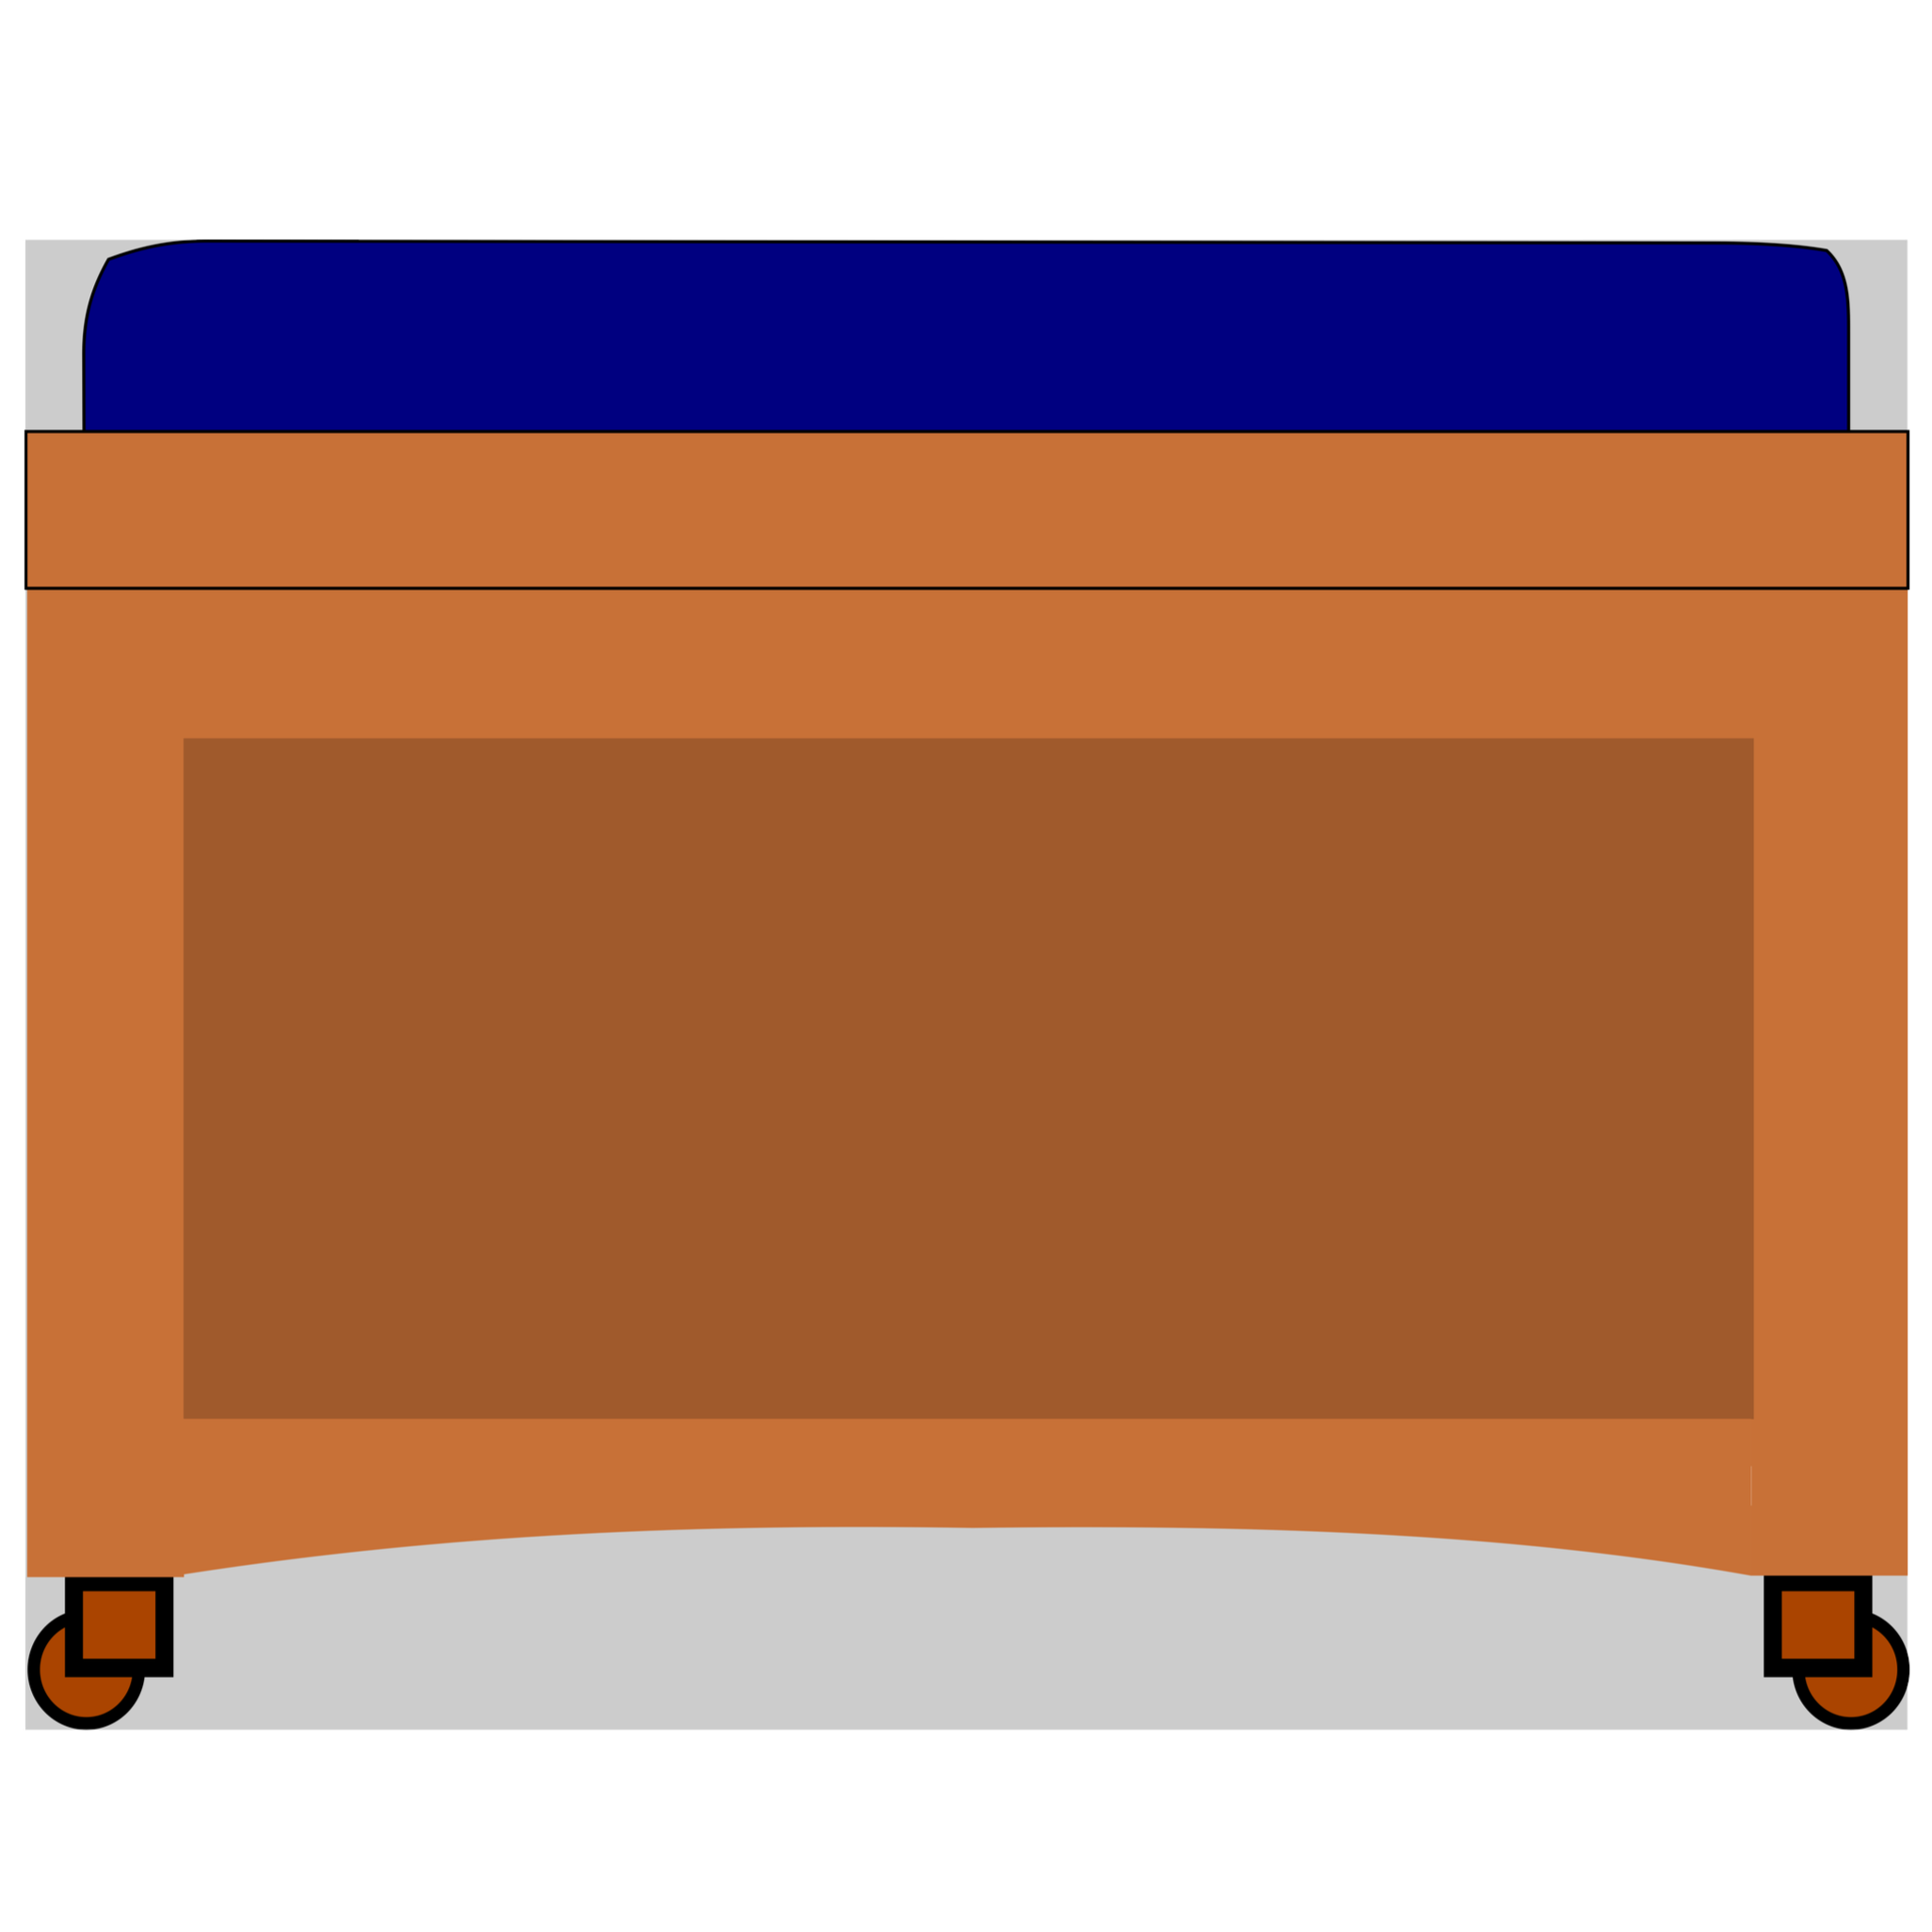
I decided to make it in a retro-modern style and wood choice to contrast a little with the rest of the colonial-ish furniture in the room. Here’s my very rough drawing of the concept. The red lines are just dimension references to help with drawing the curved outline of the ends of the sorter. The dark brown line is a reference for the groove that would receive the ends of the sorting bin sides.
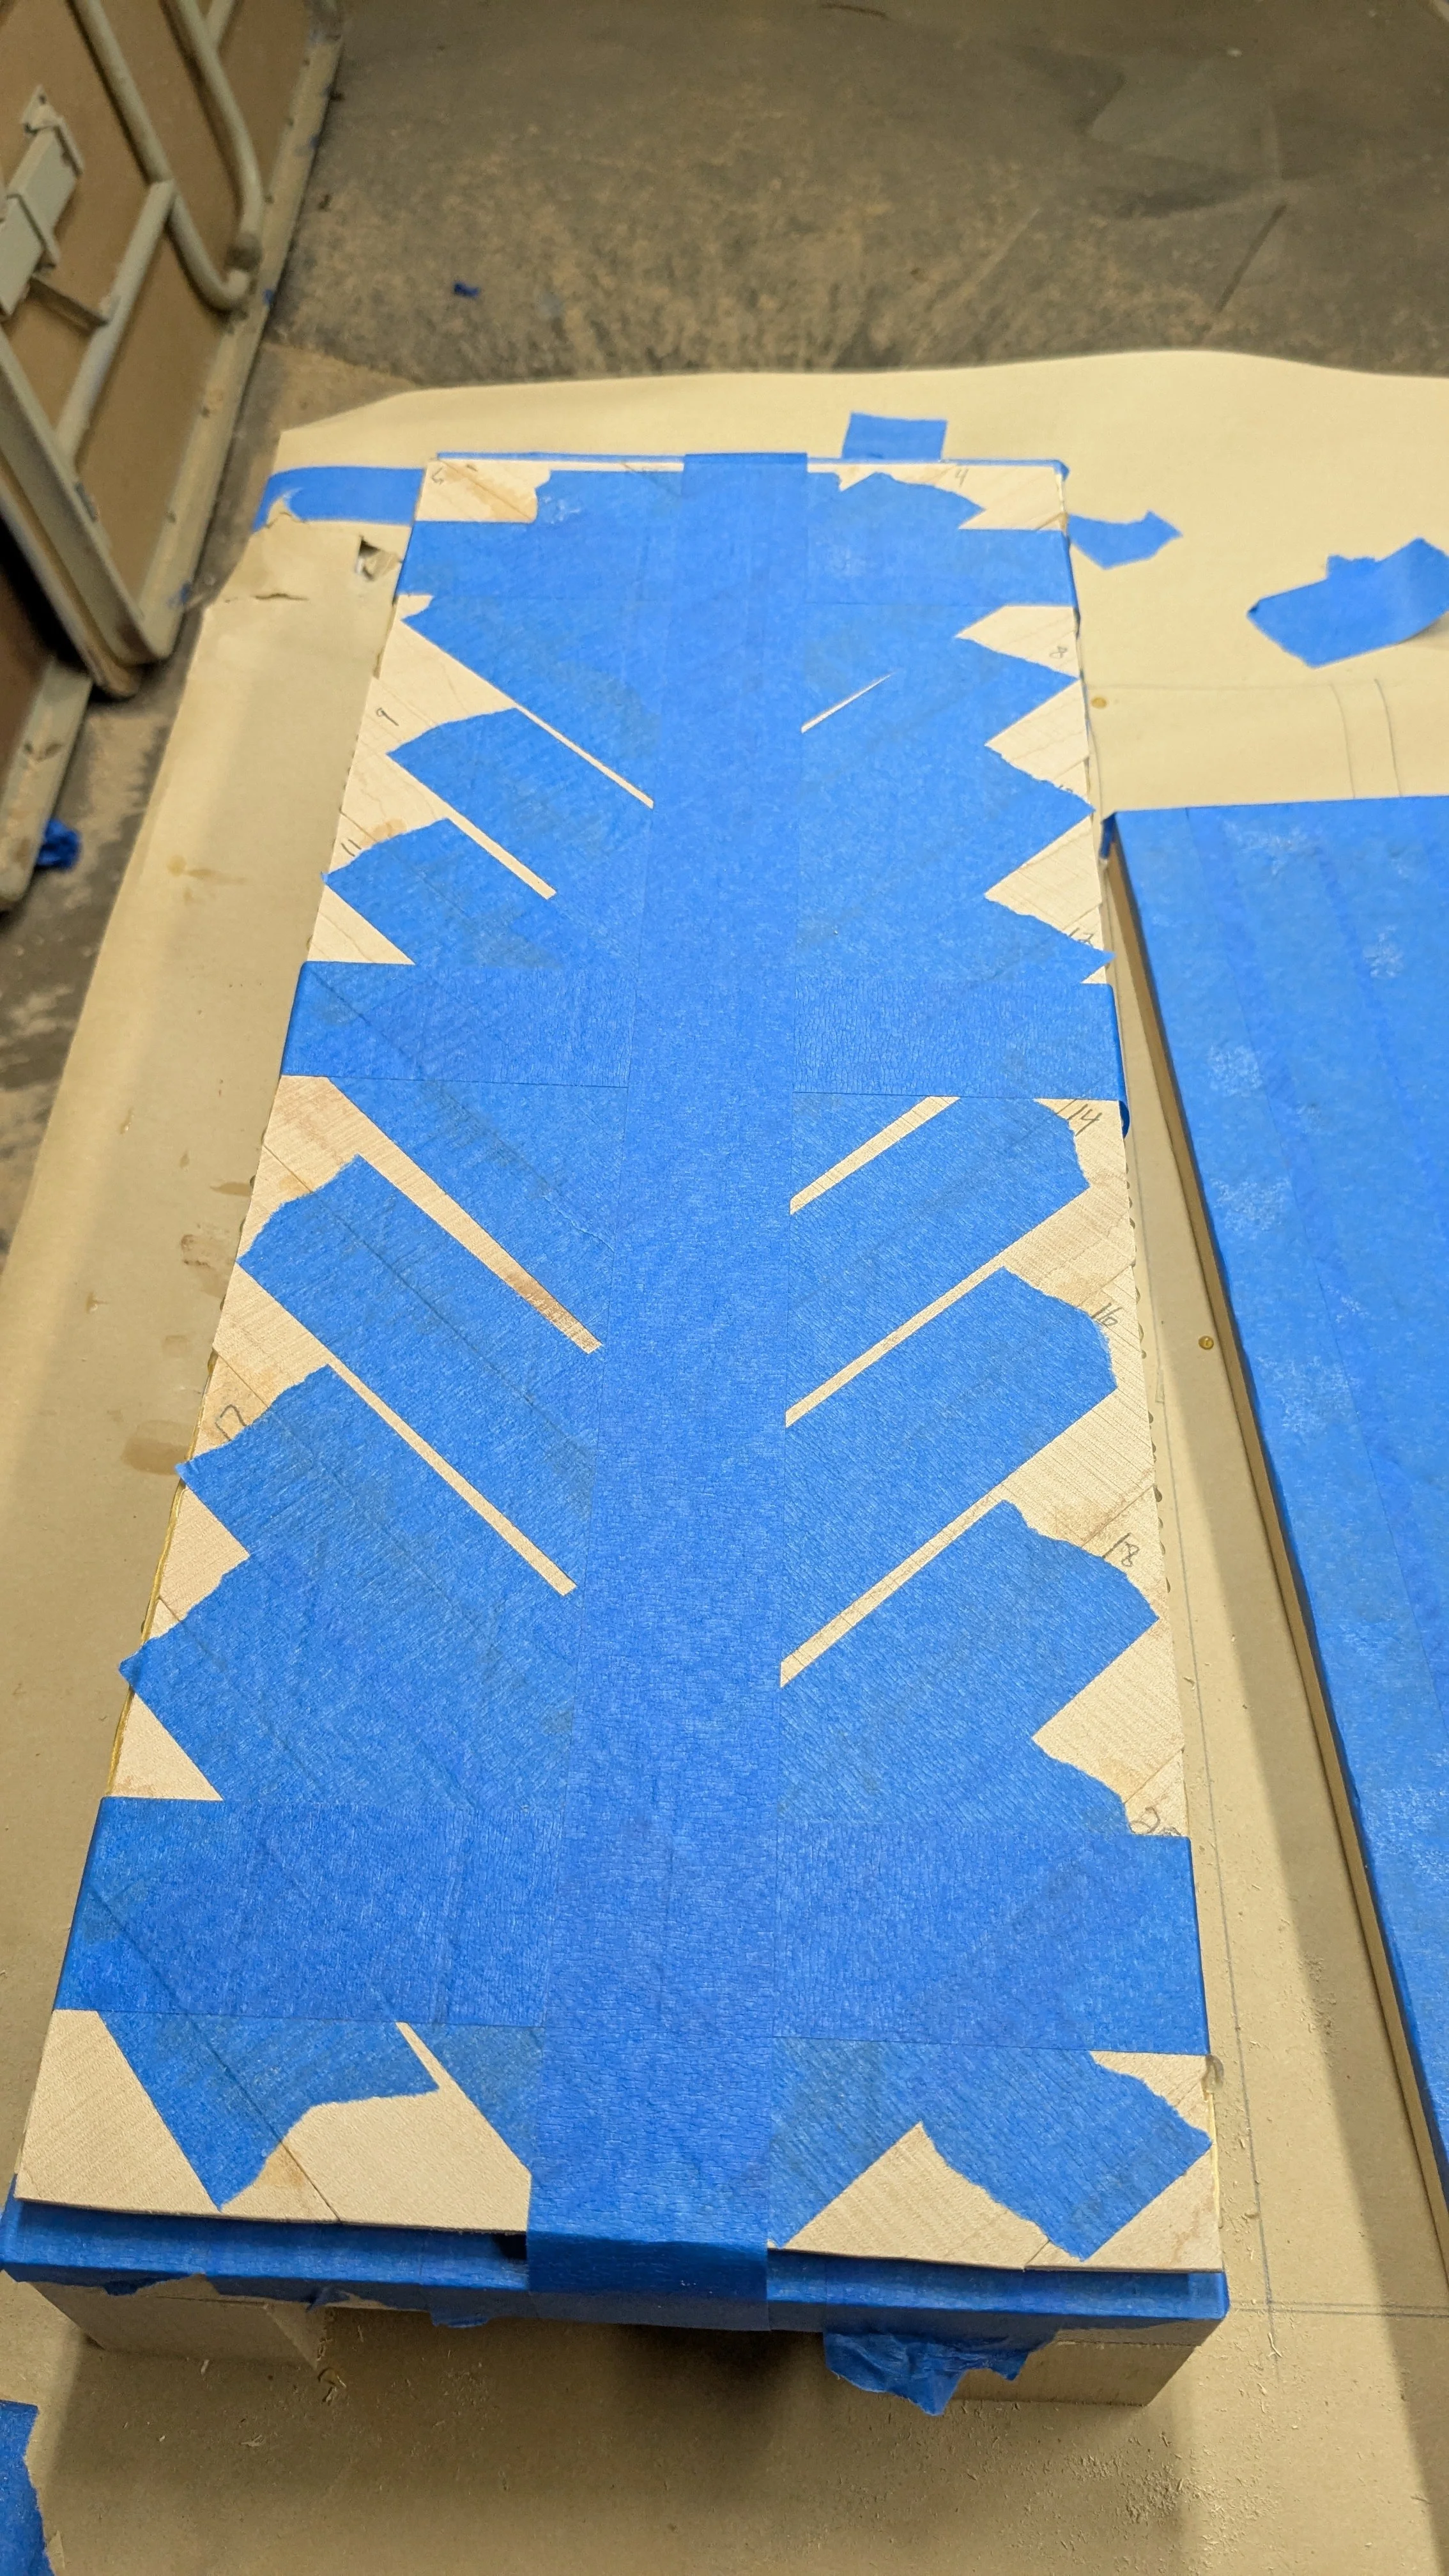
I drew the layout on chipboard at full scale including the location of the groove. I then cut the chipboard out into two different templates, one for the groove and one for the perimeter. Each template was only 1/2 of the whole thing split vertically since it was symmetrical along the vertical axis. I checked the fit of records against the template as well.
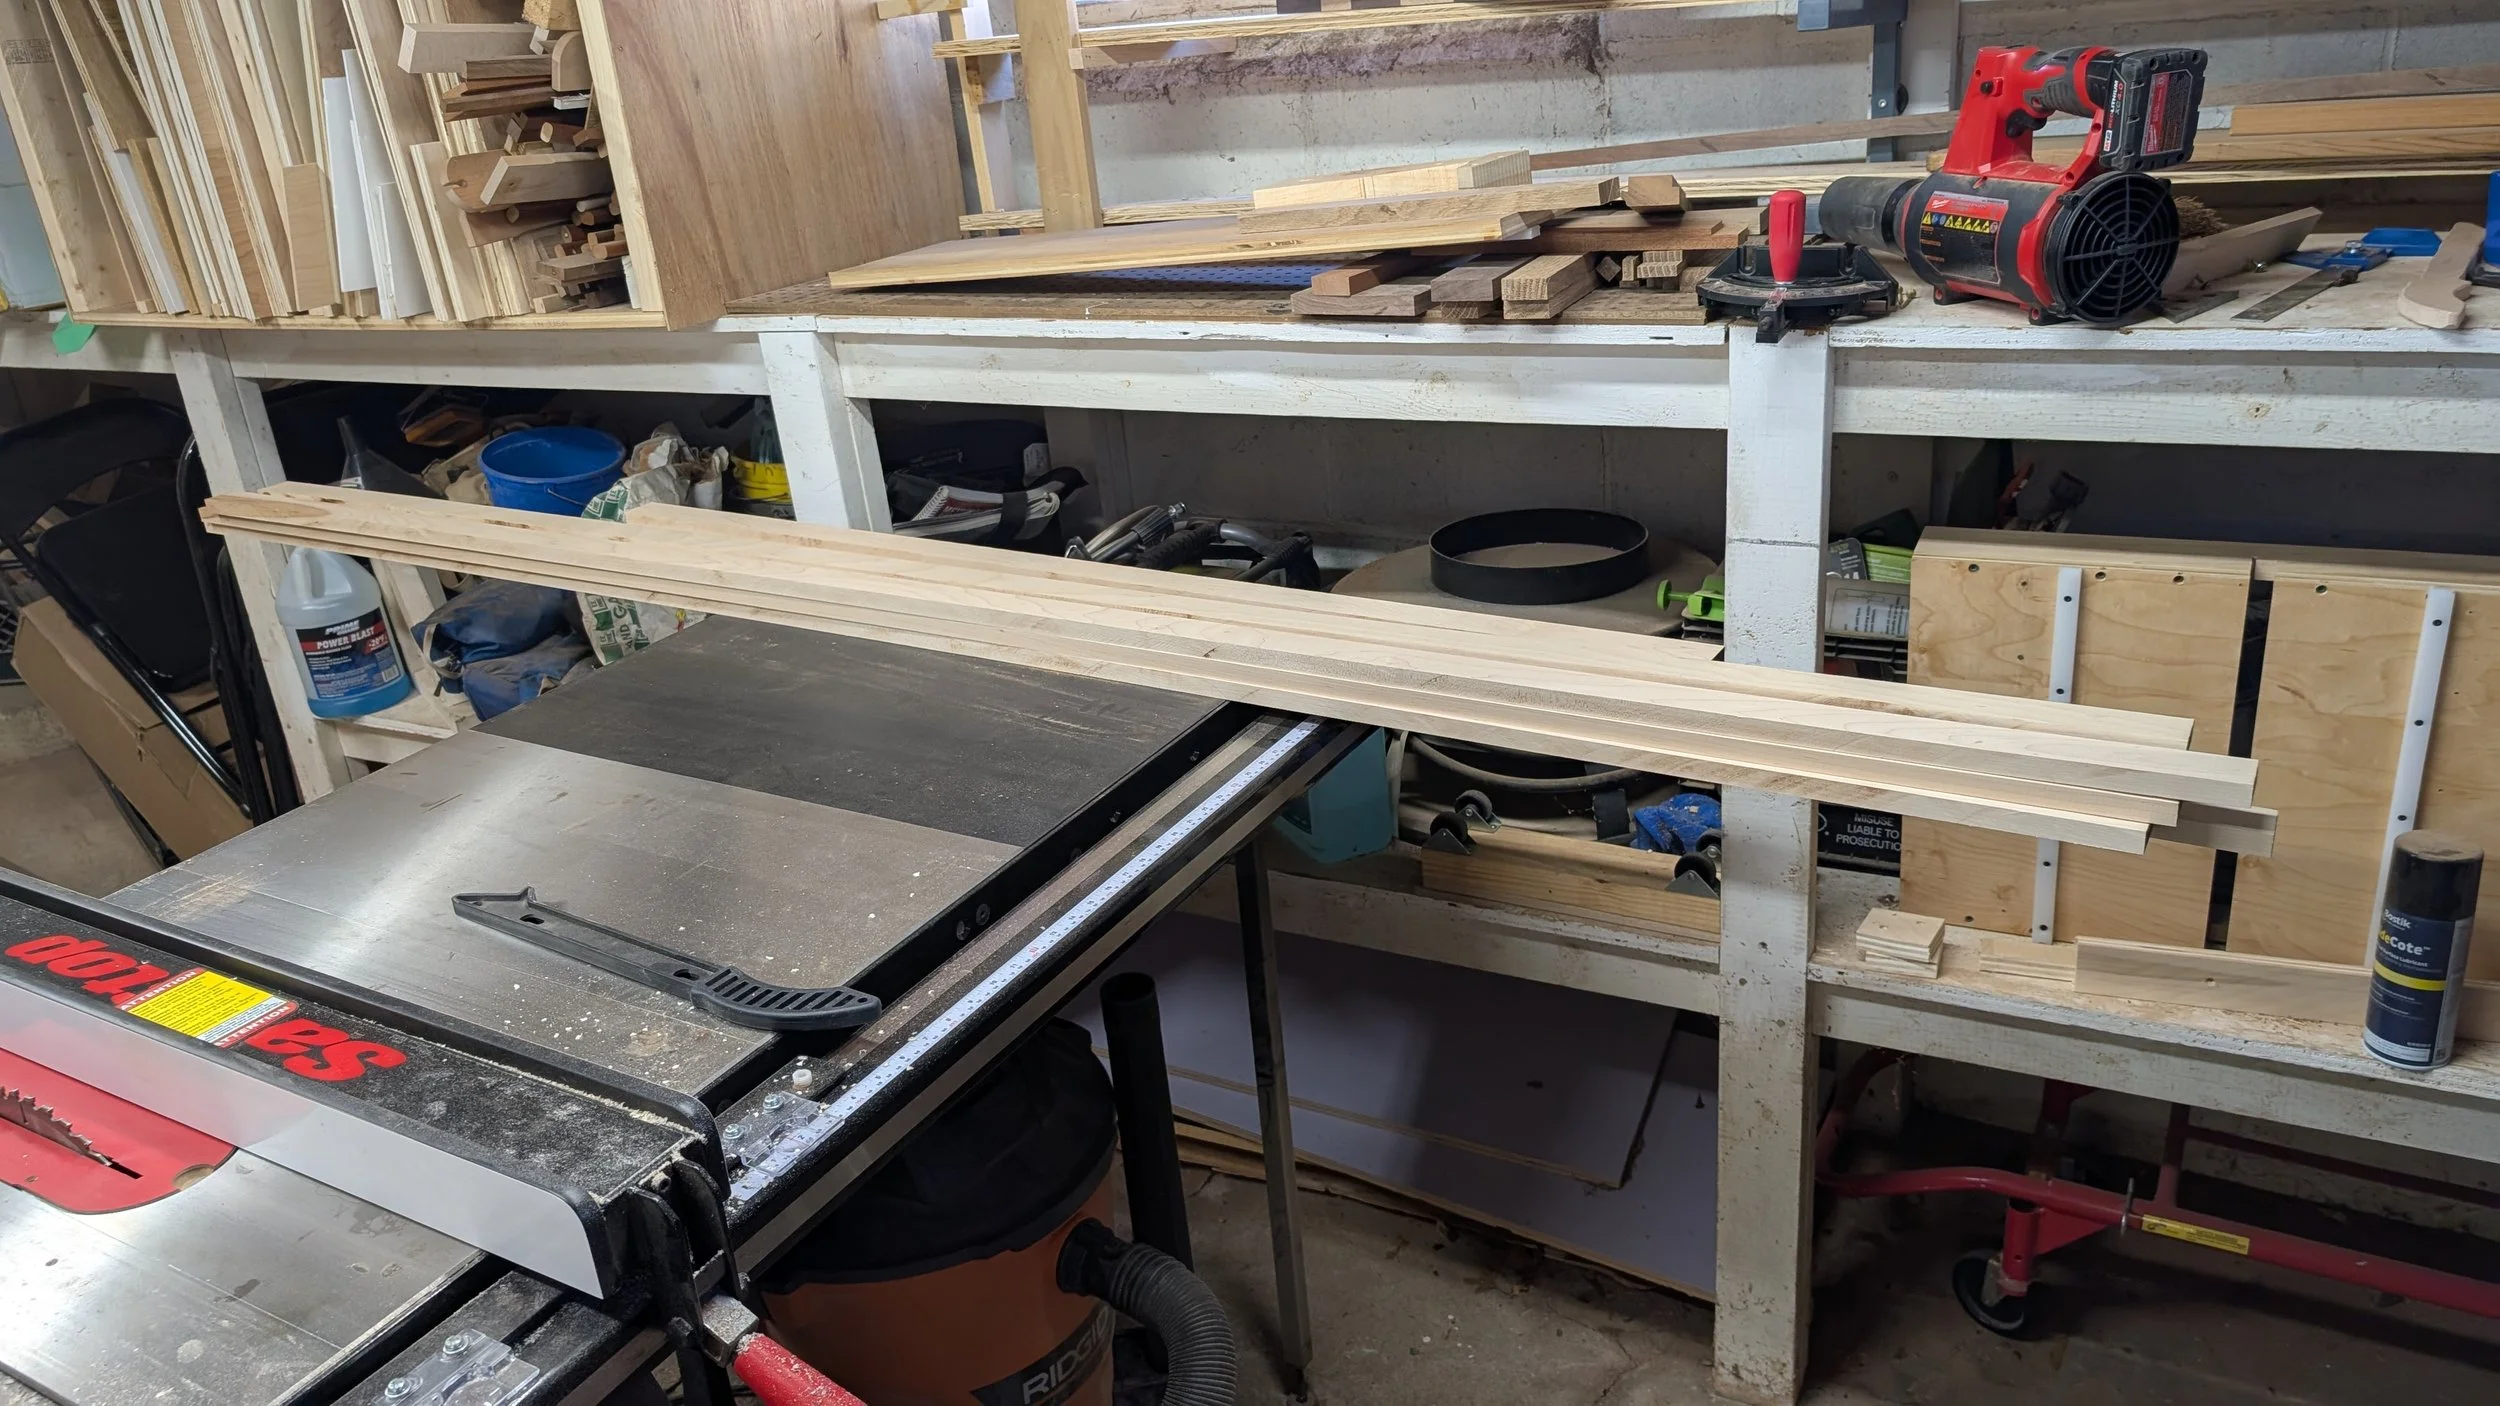
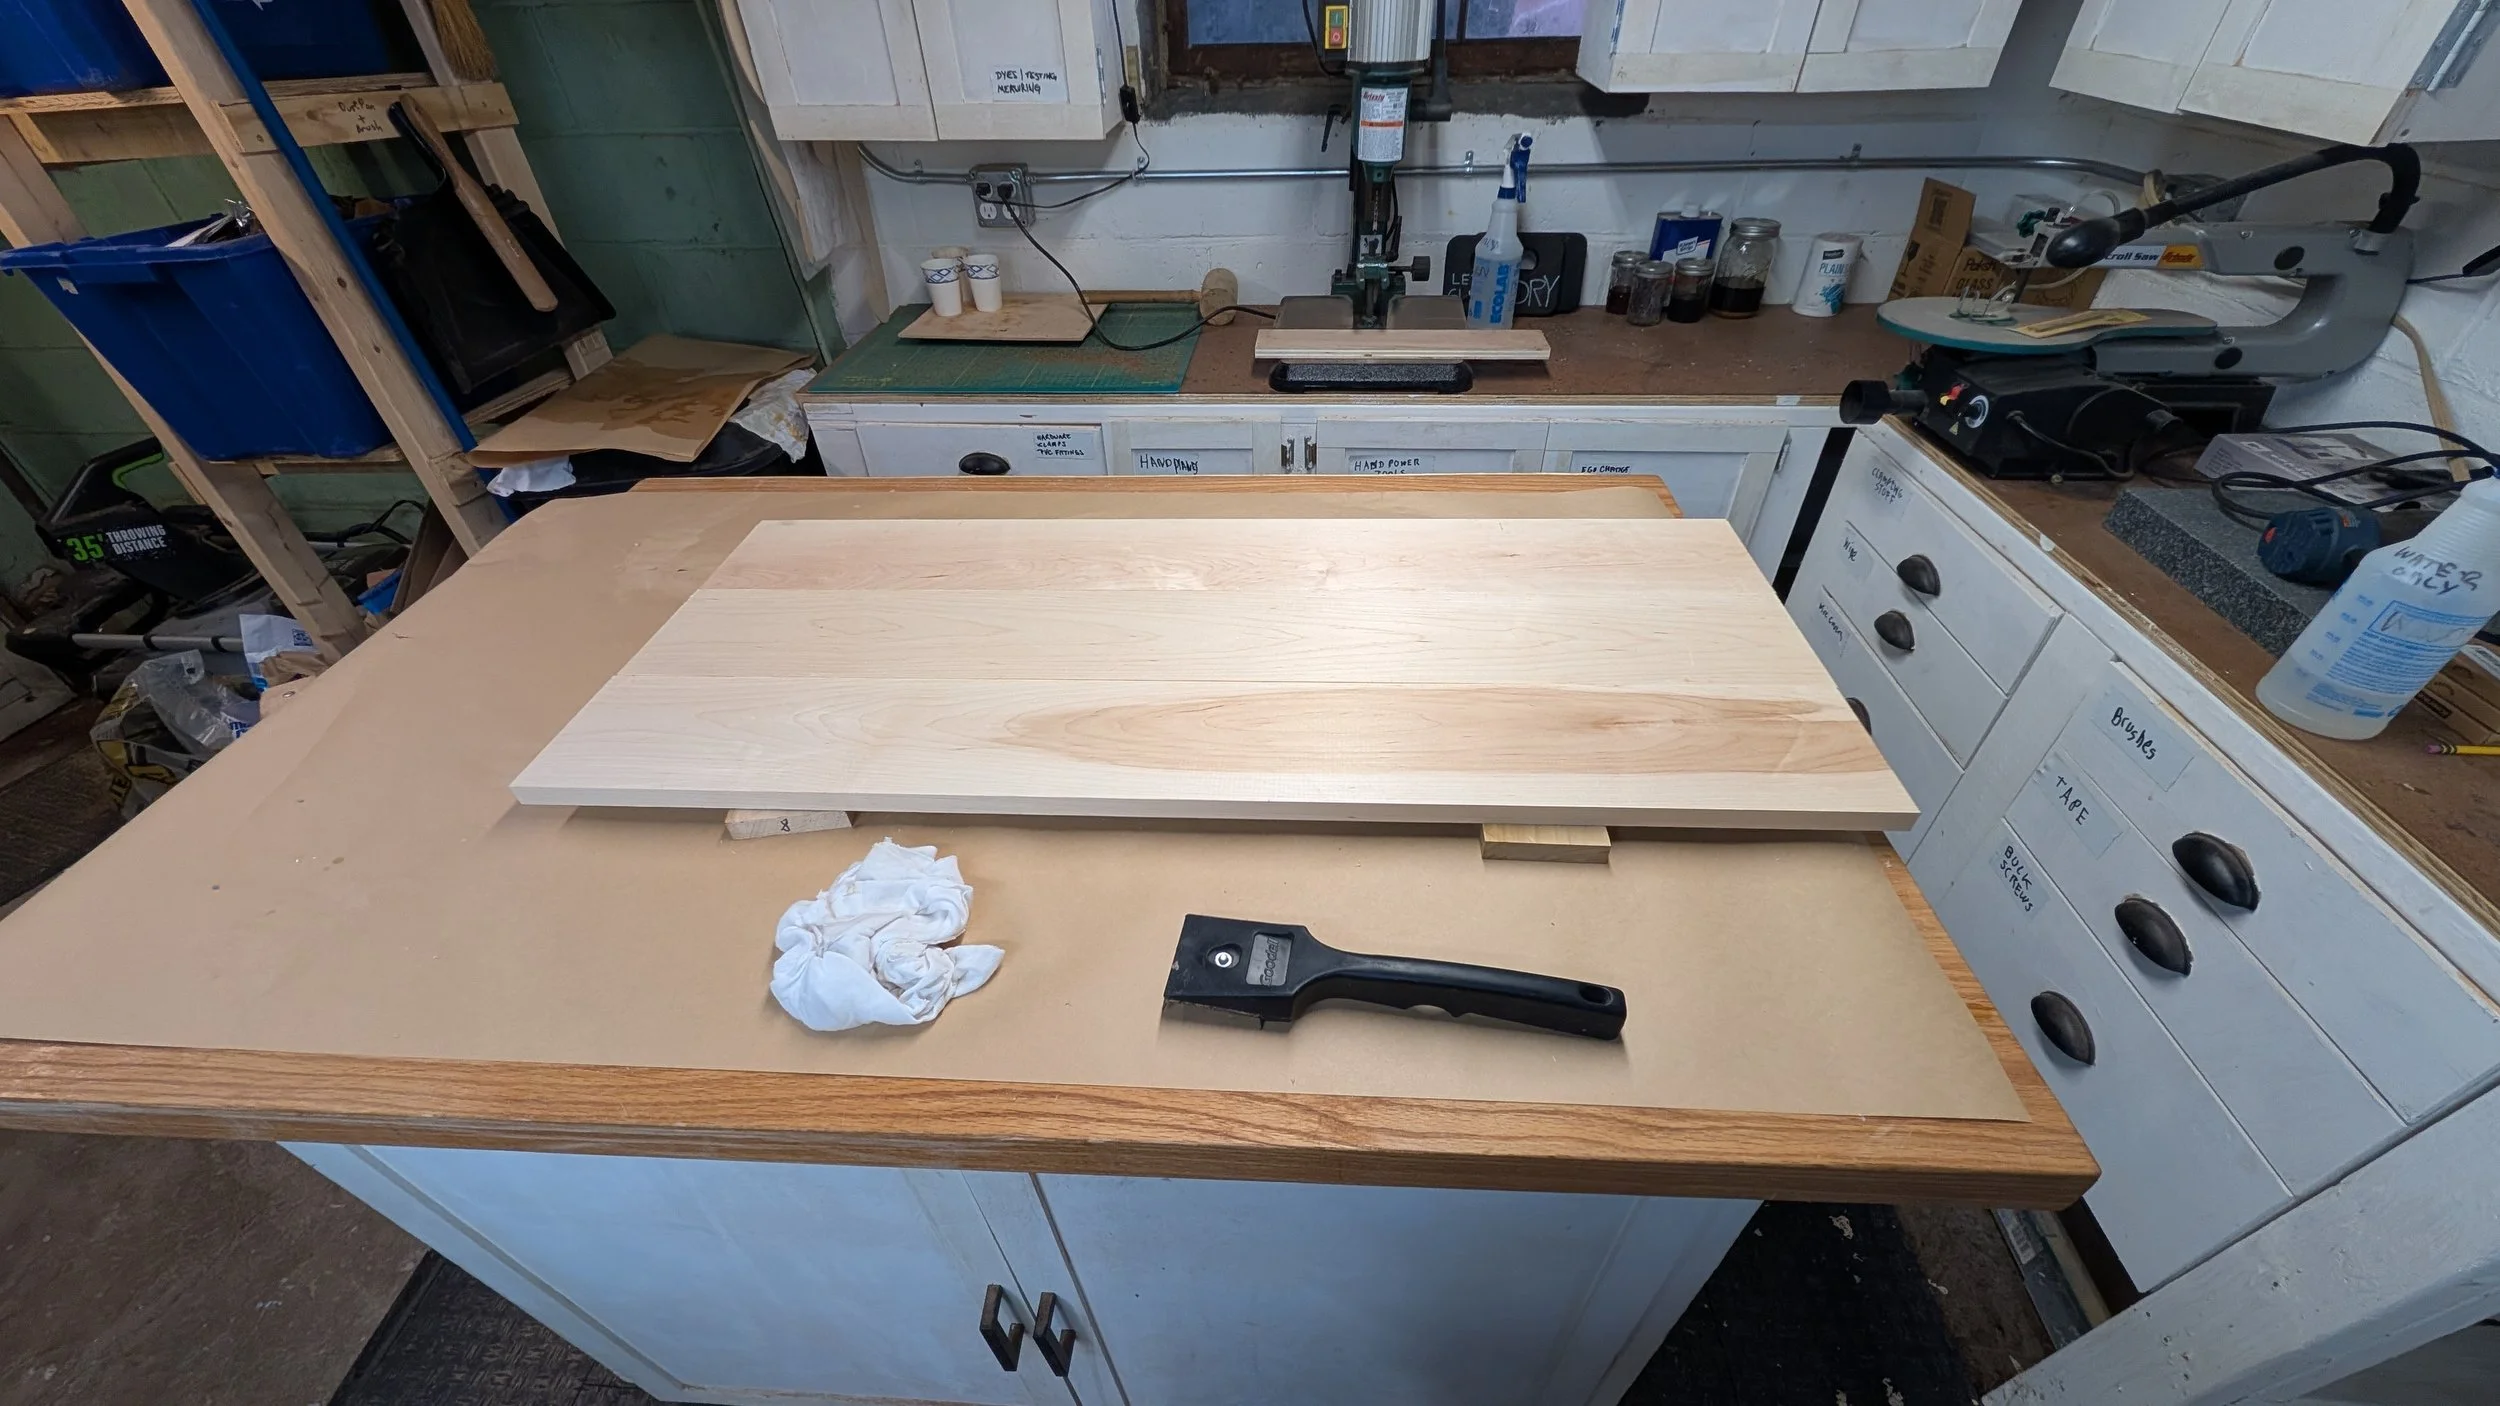
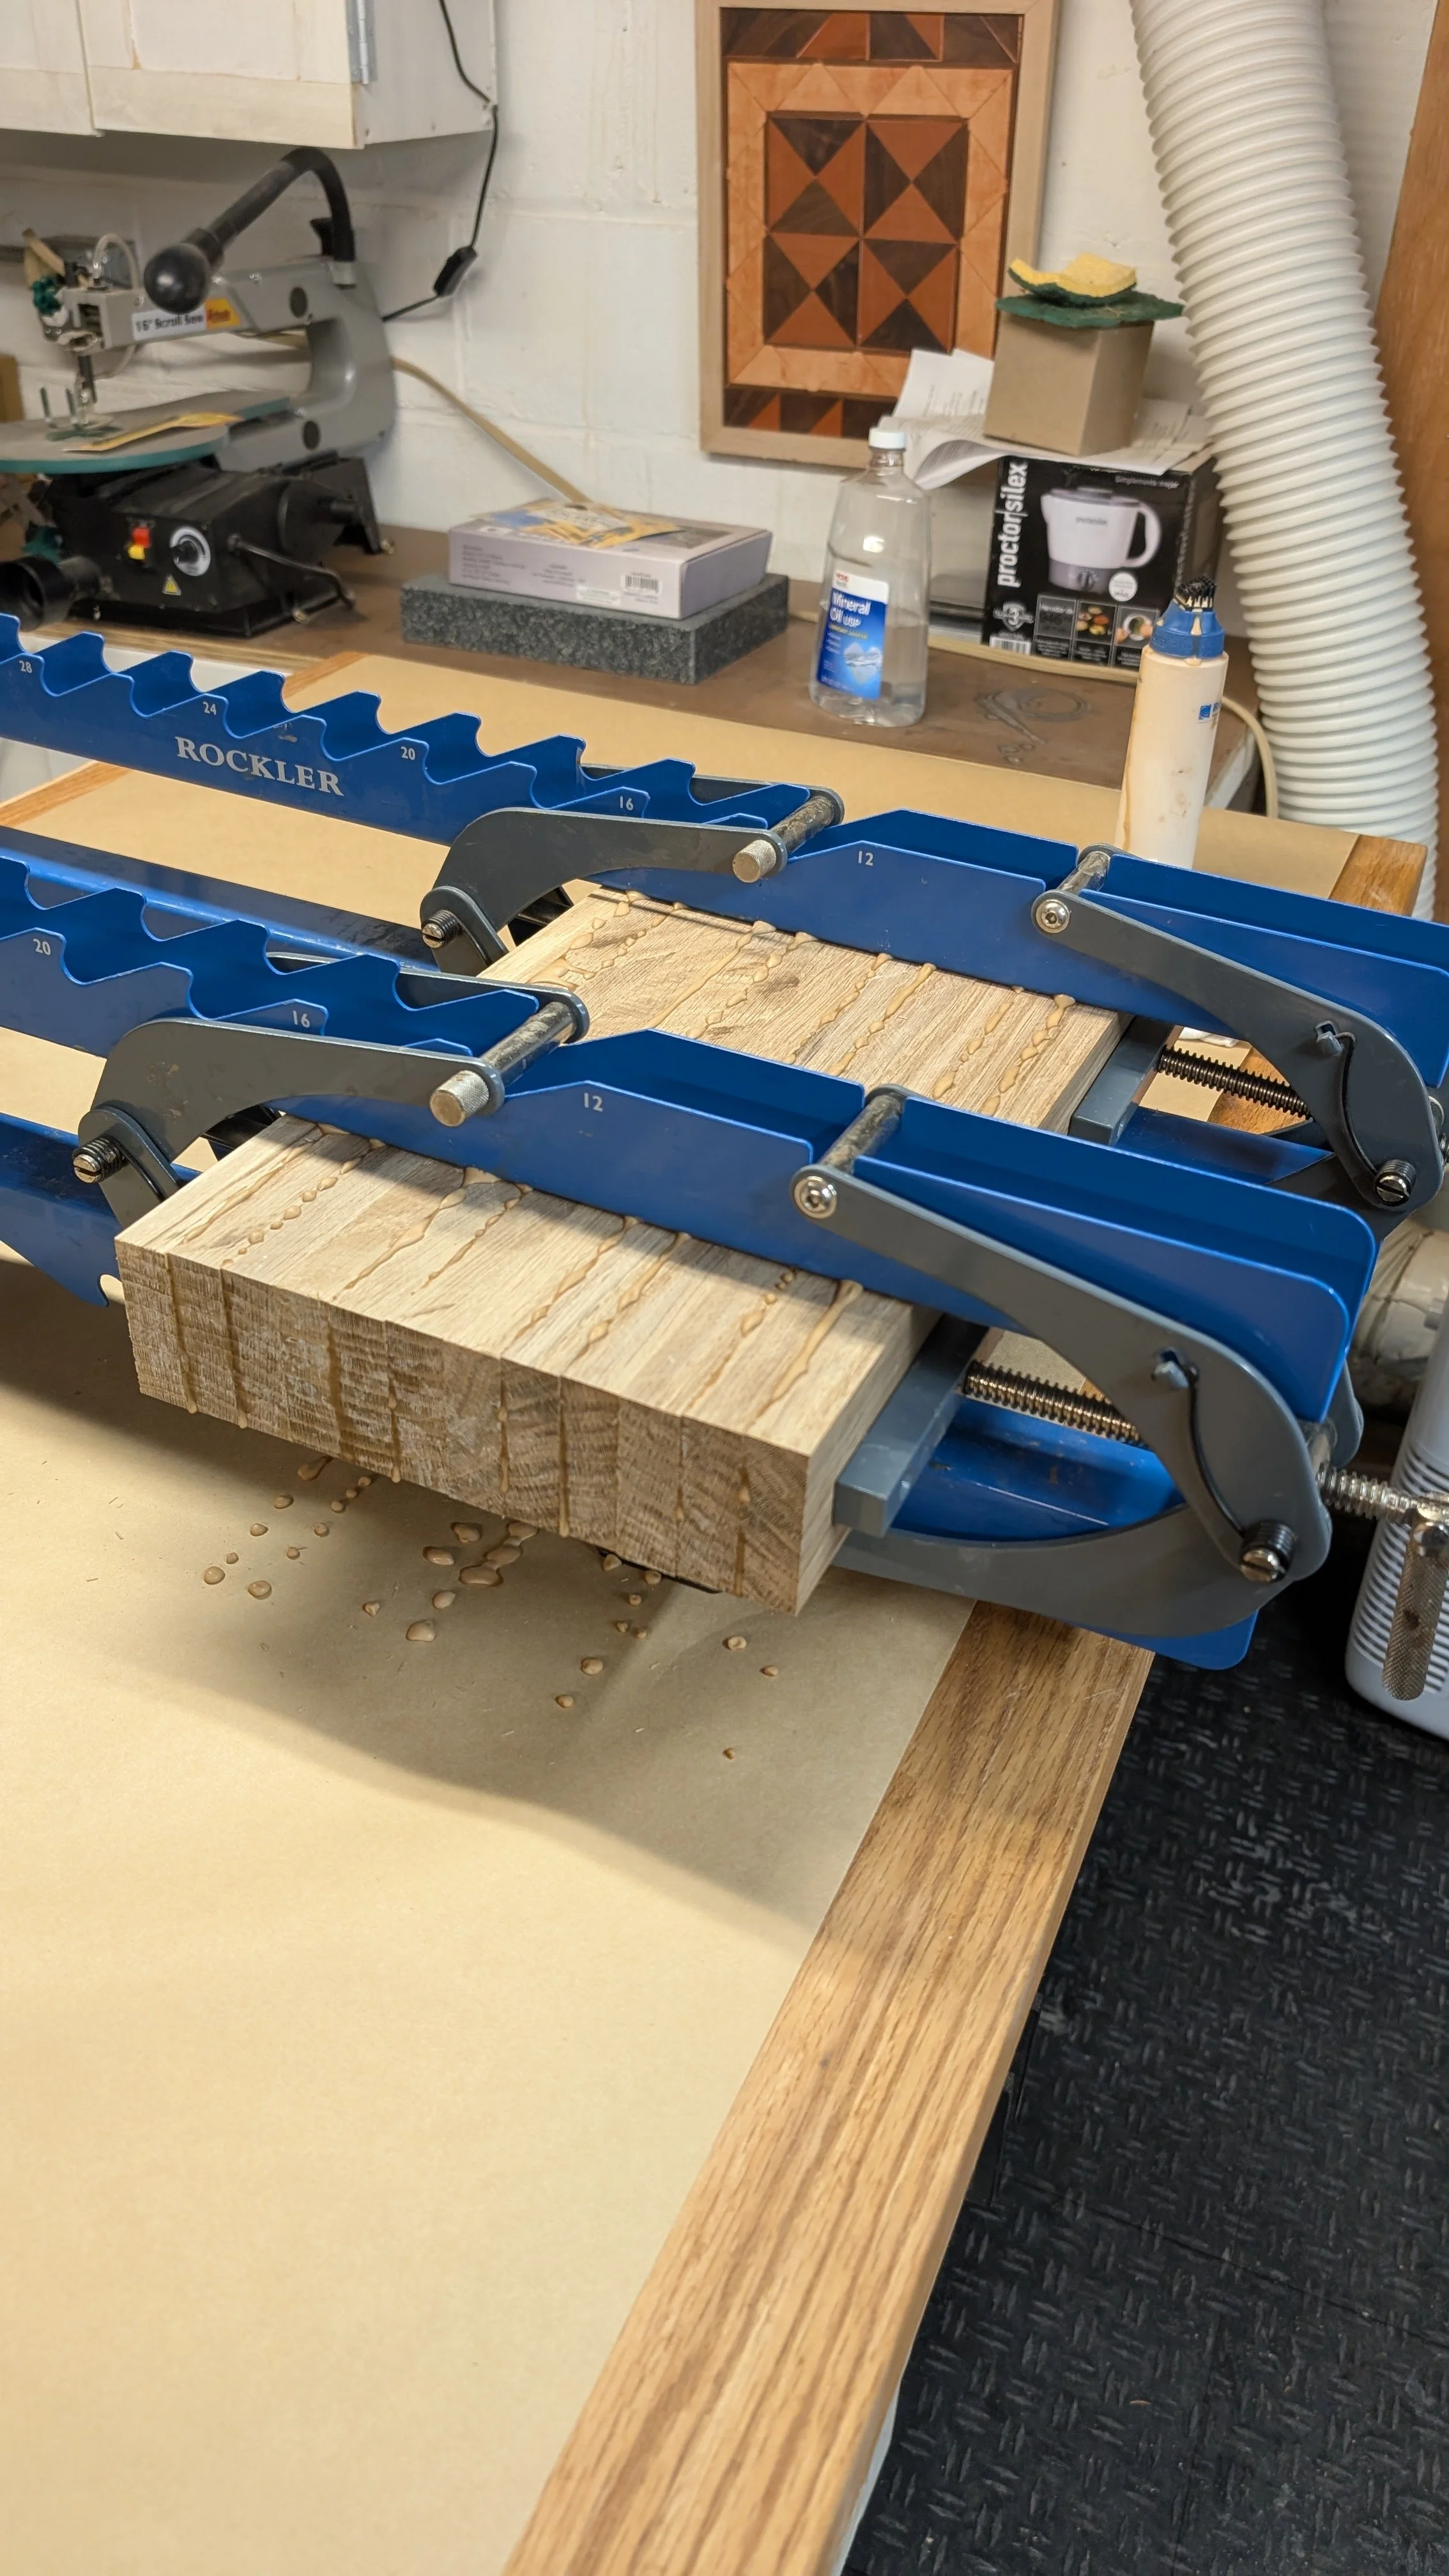
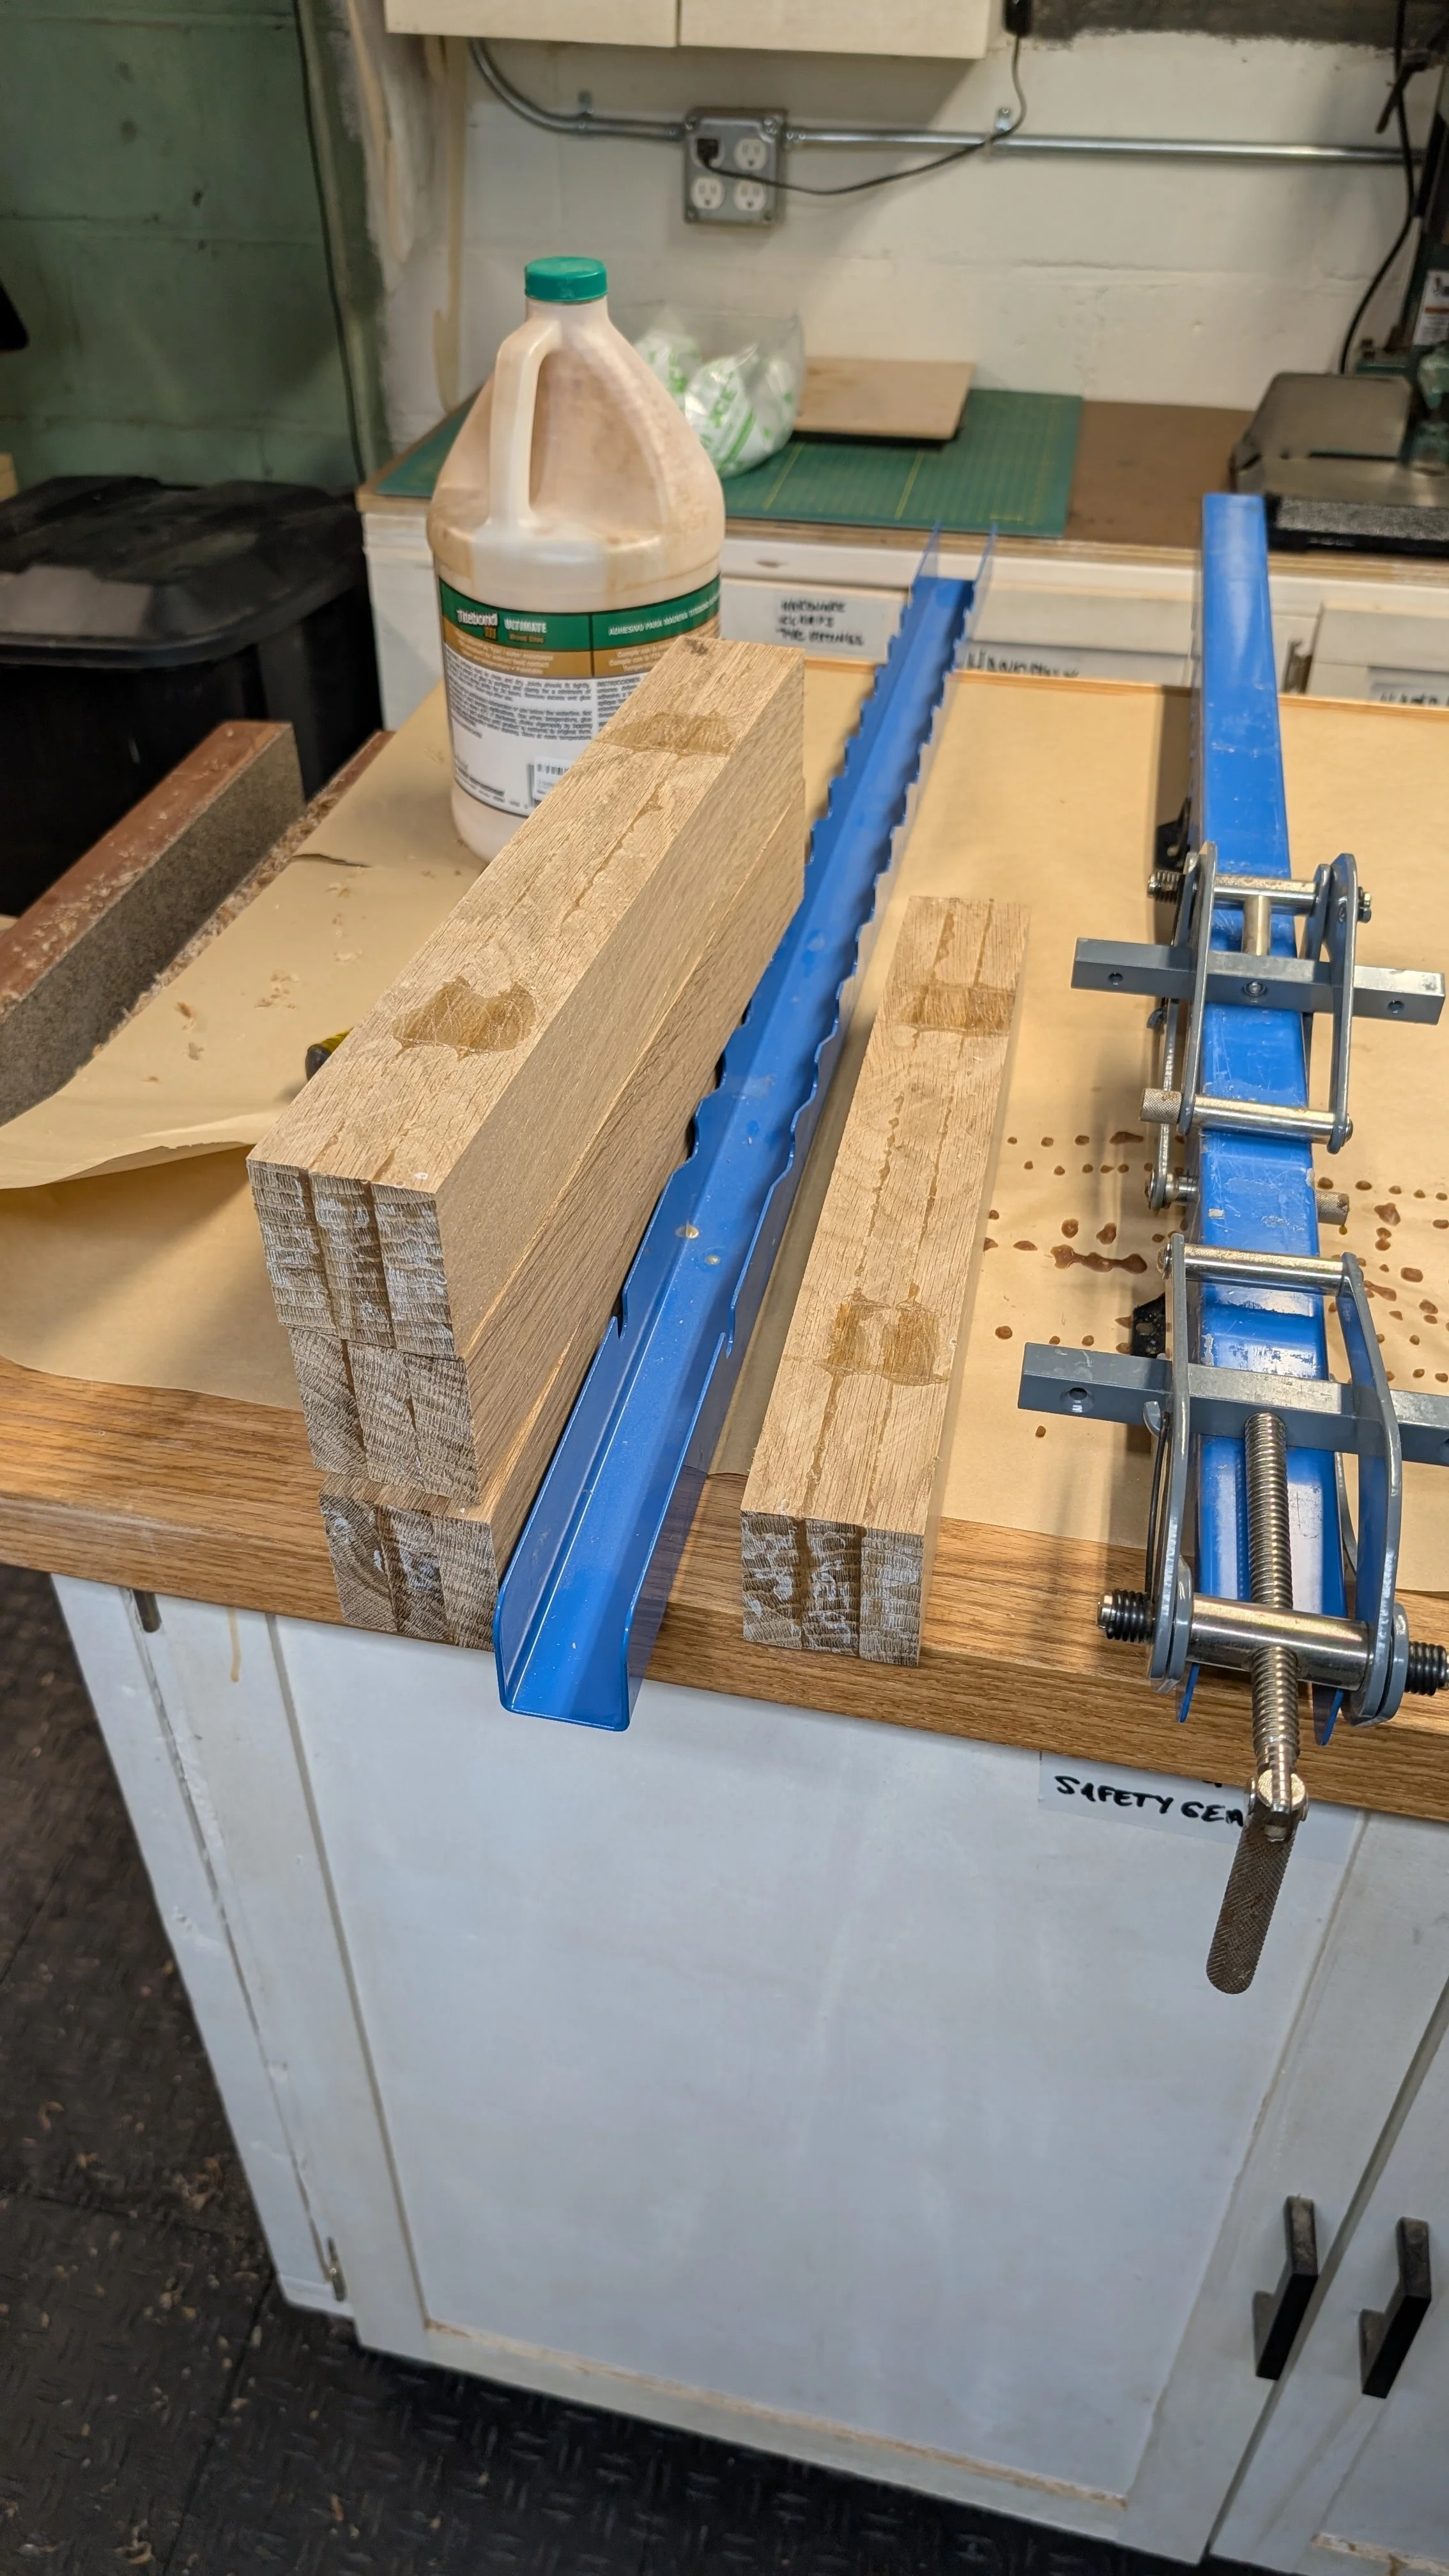
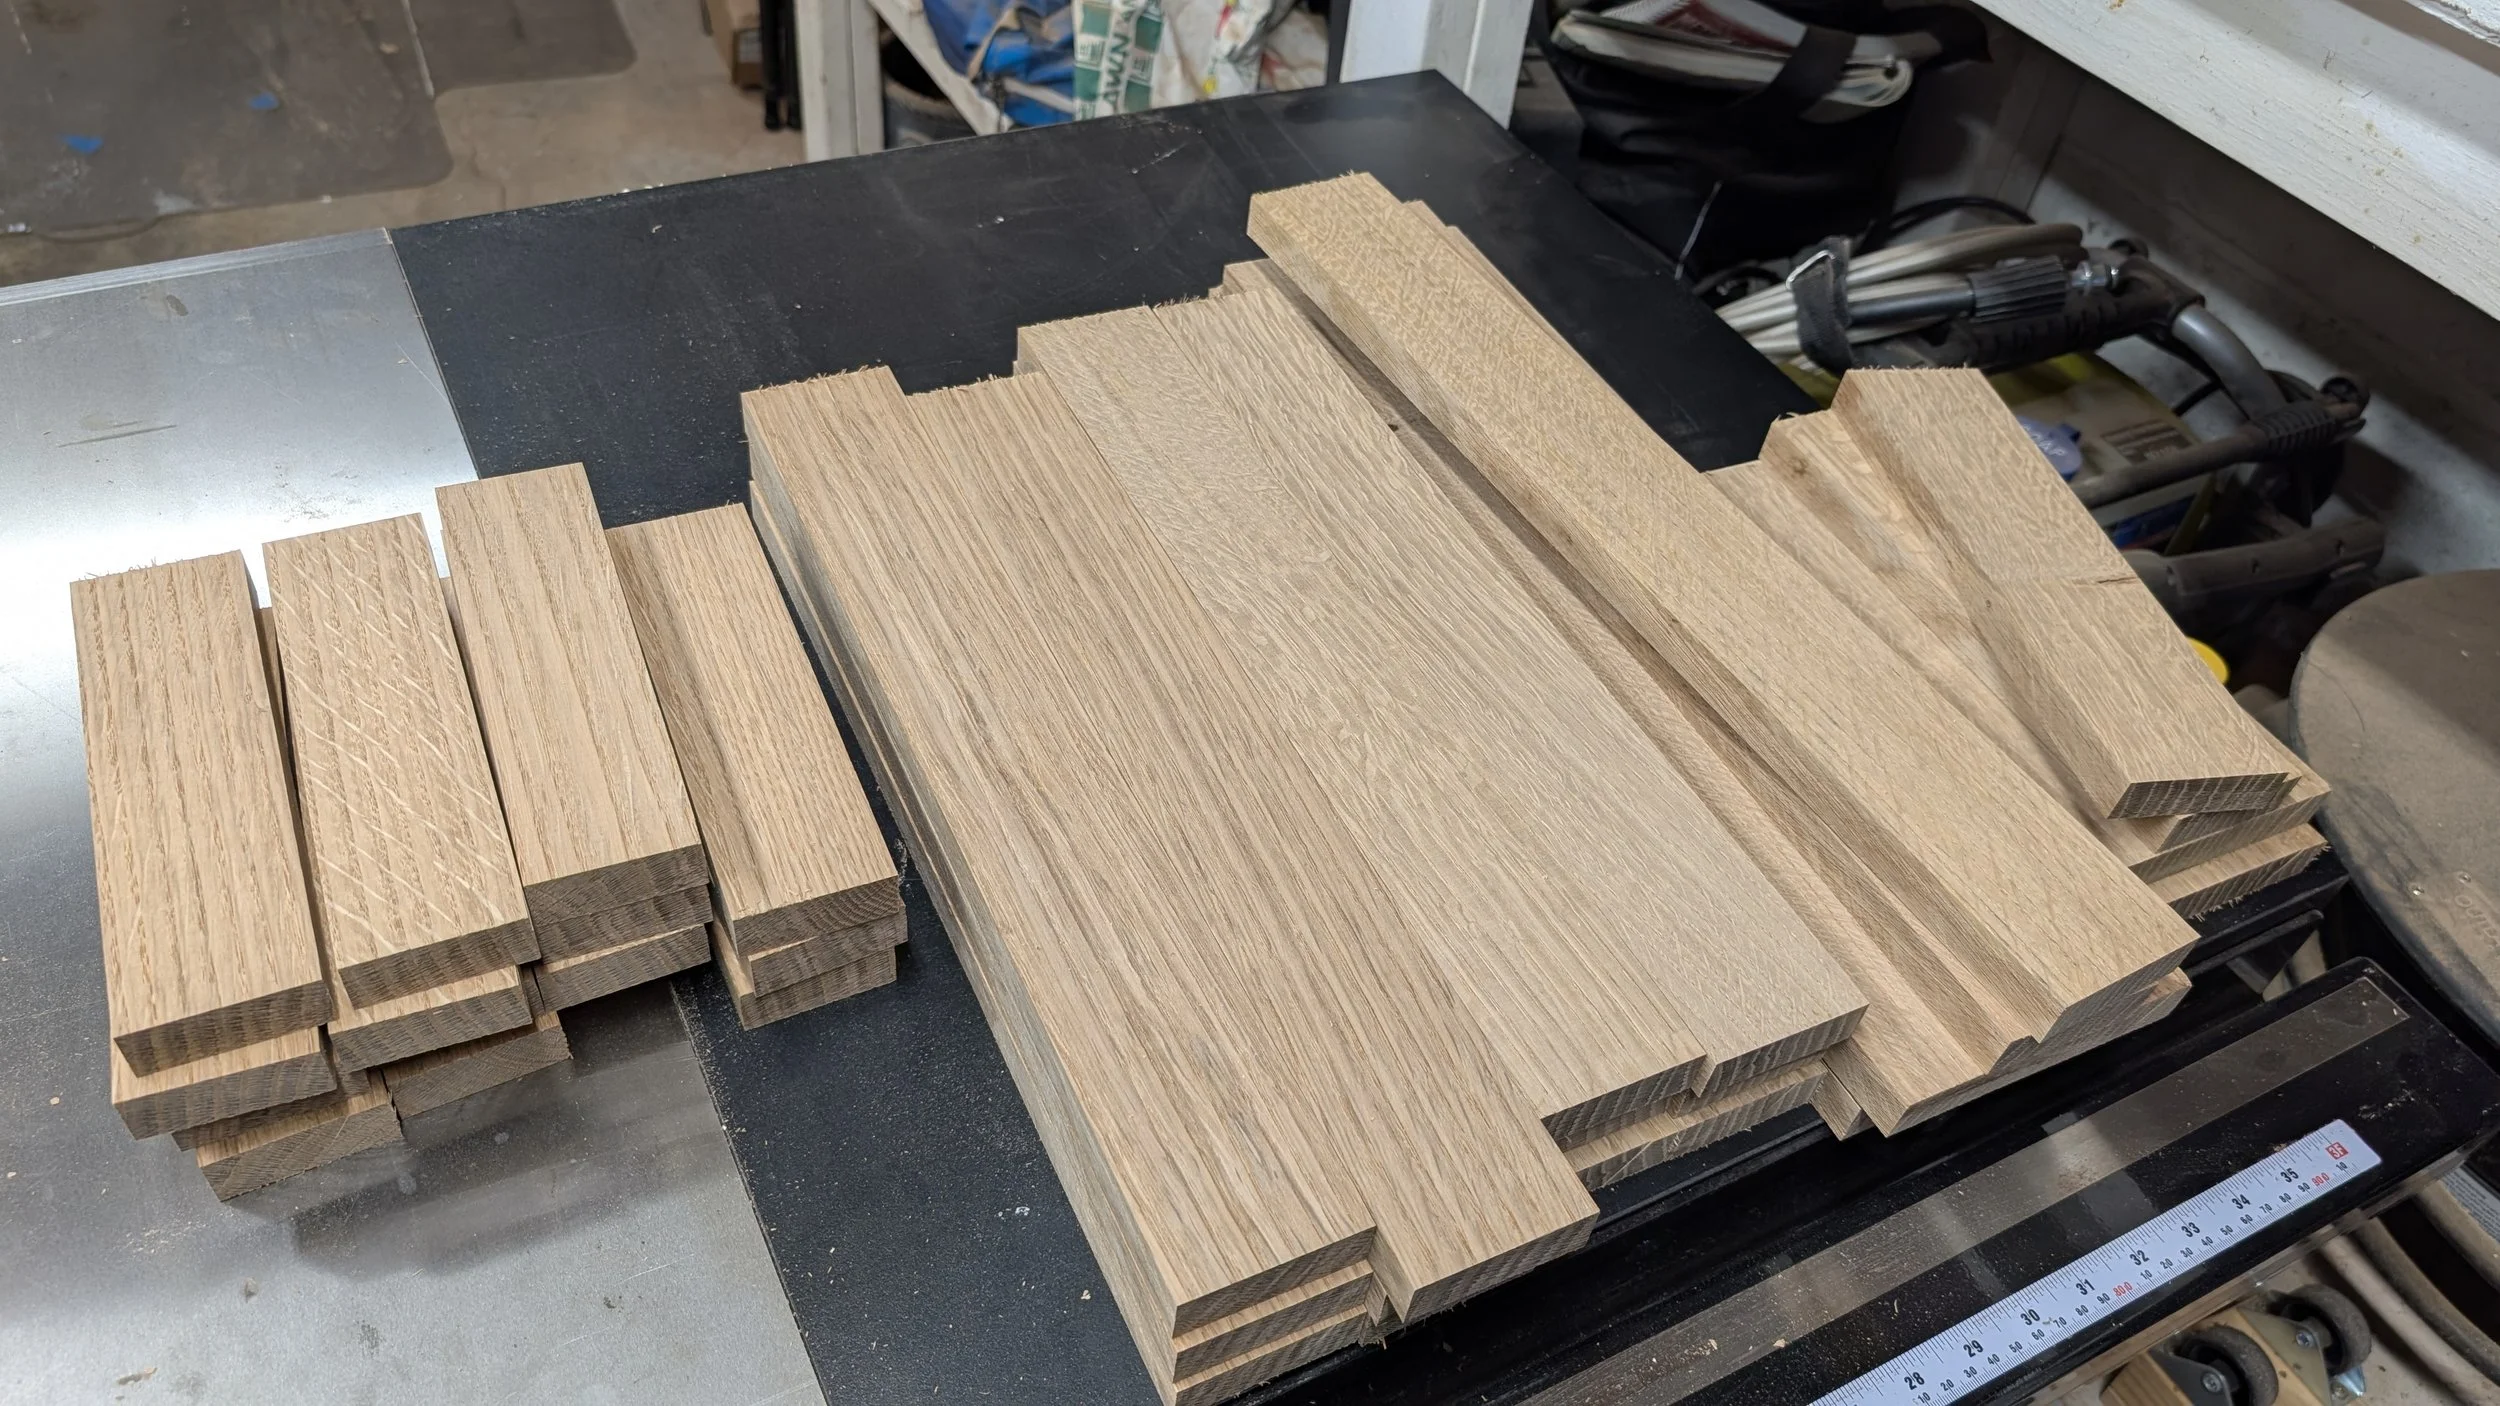
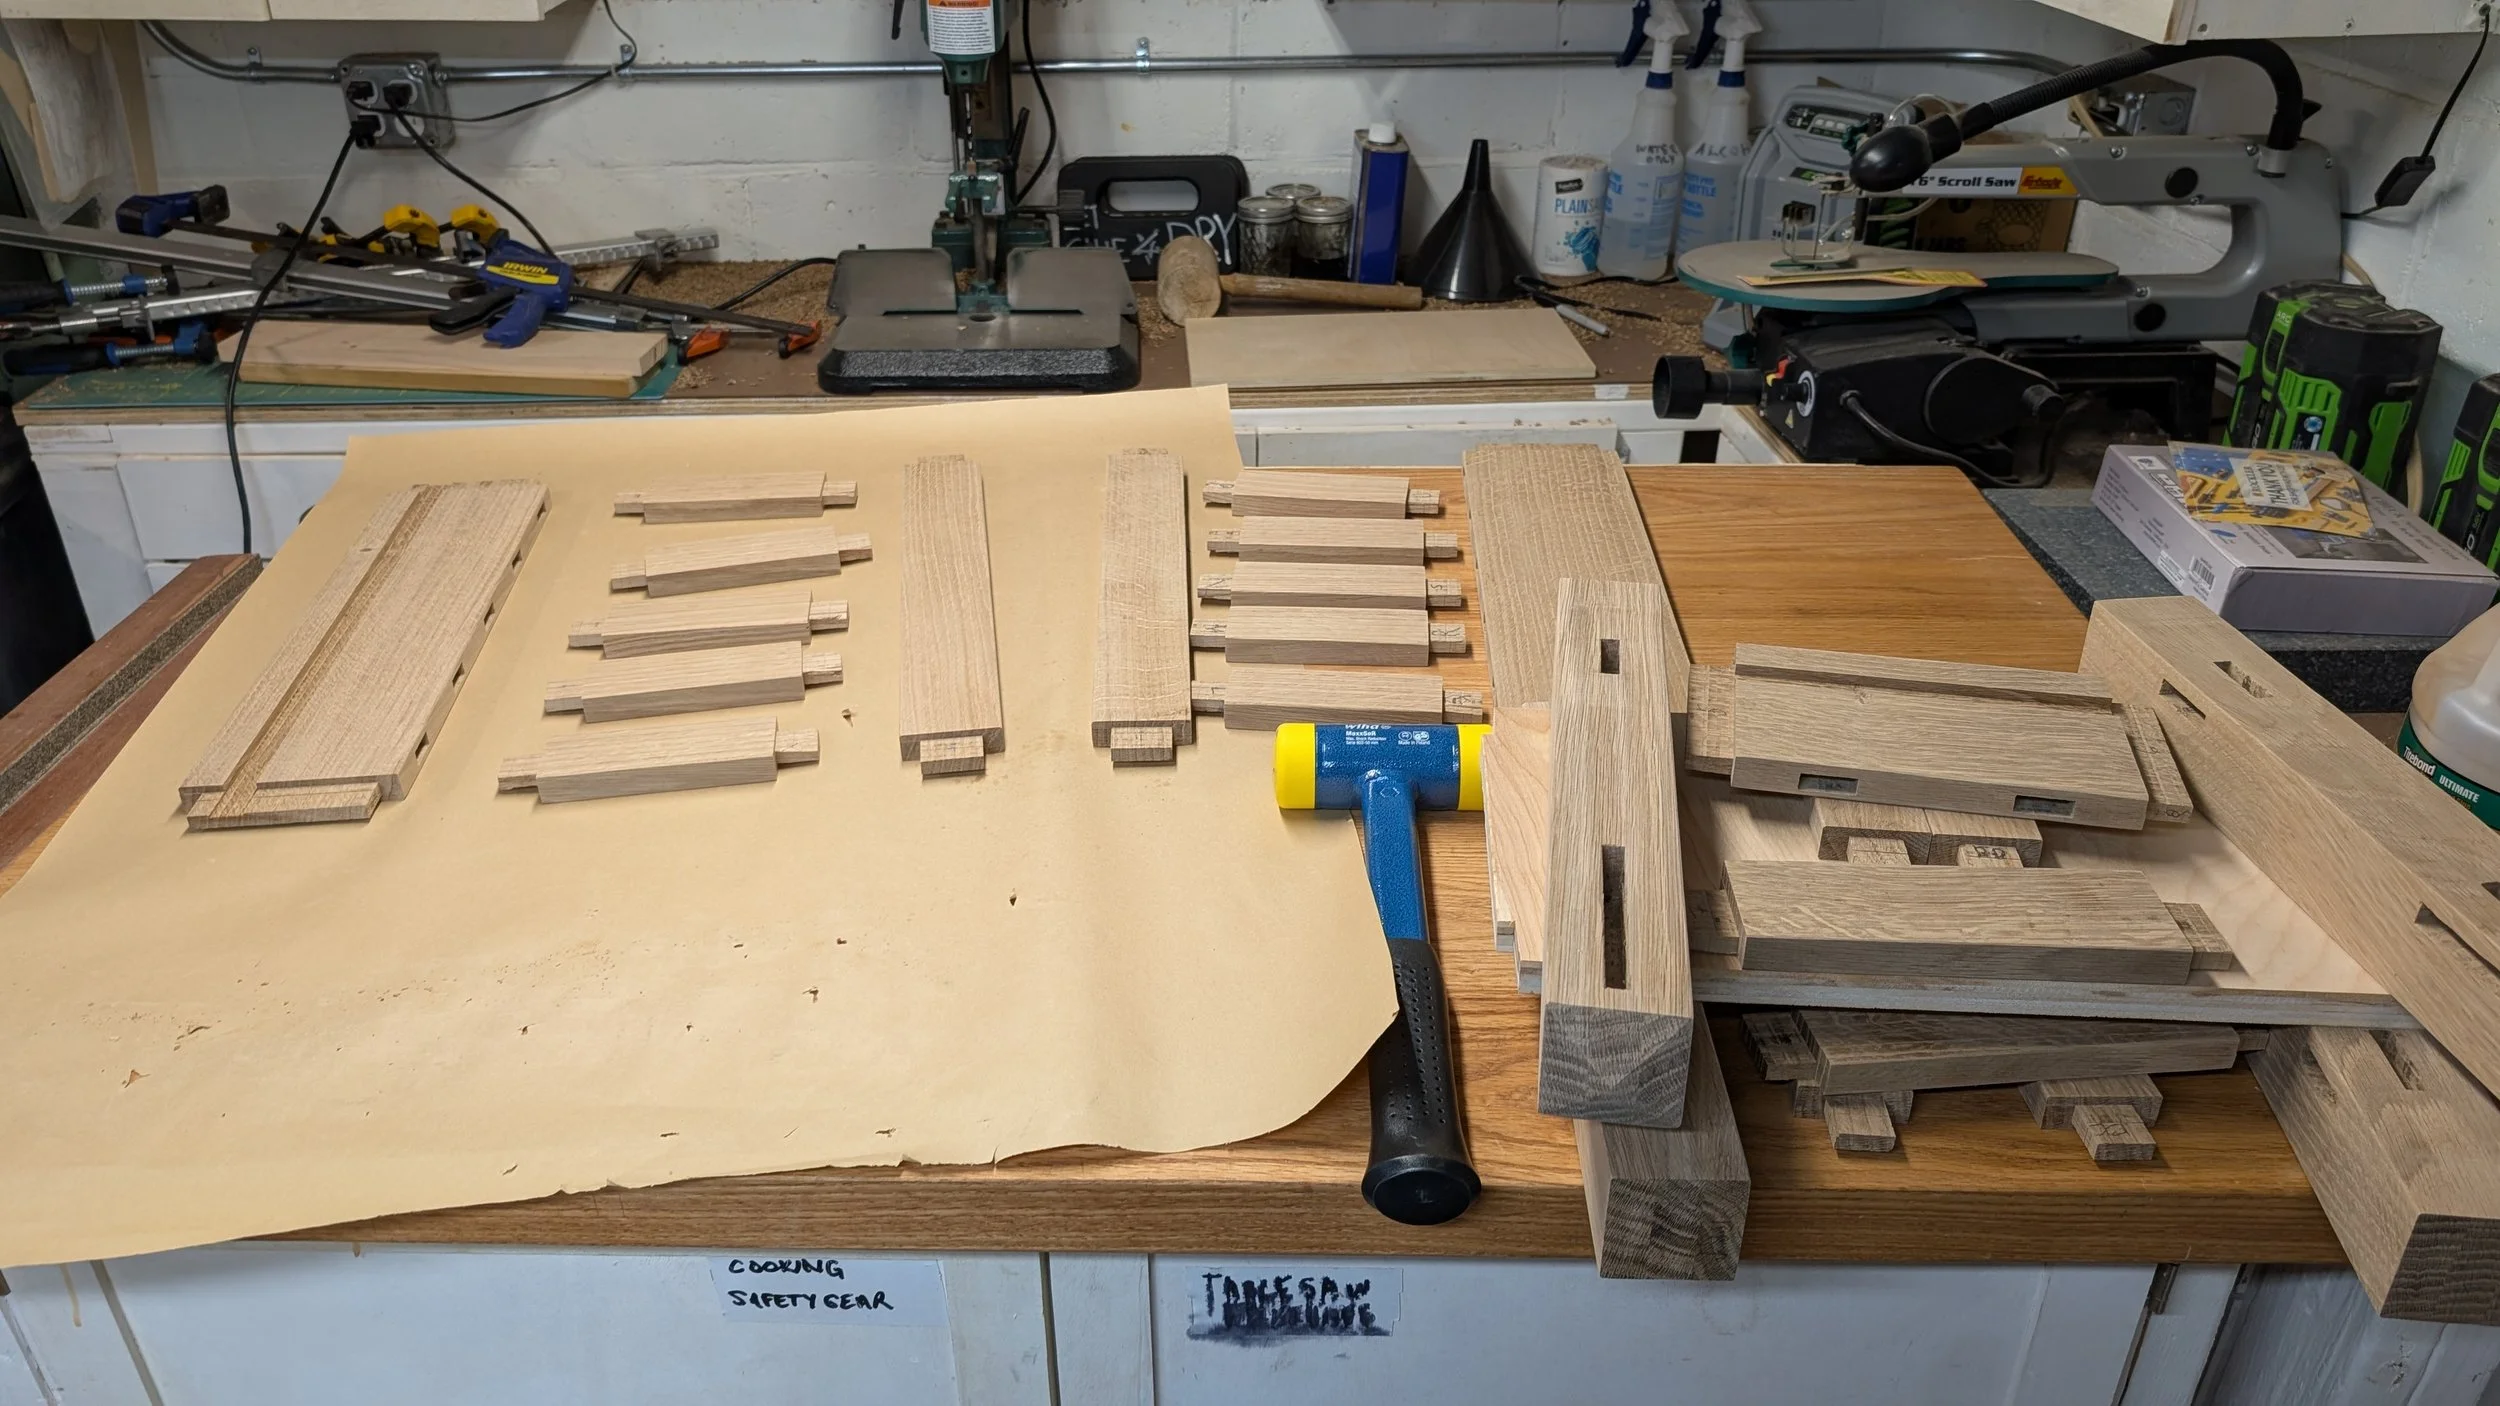
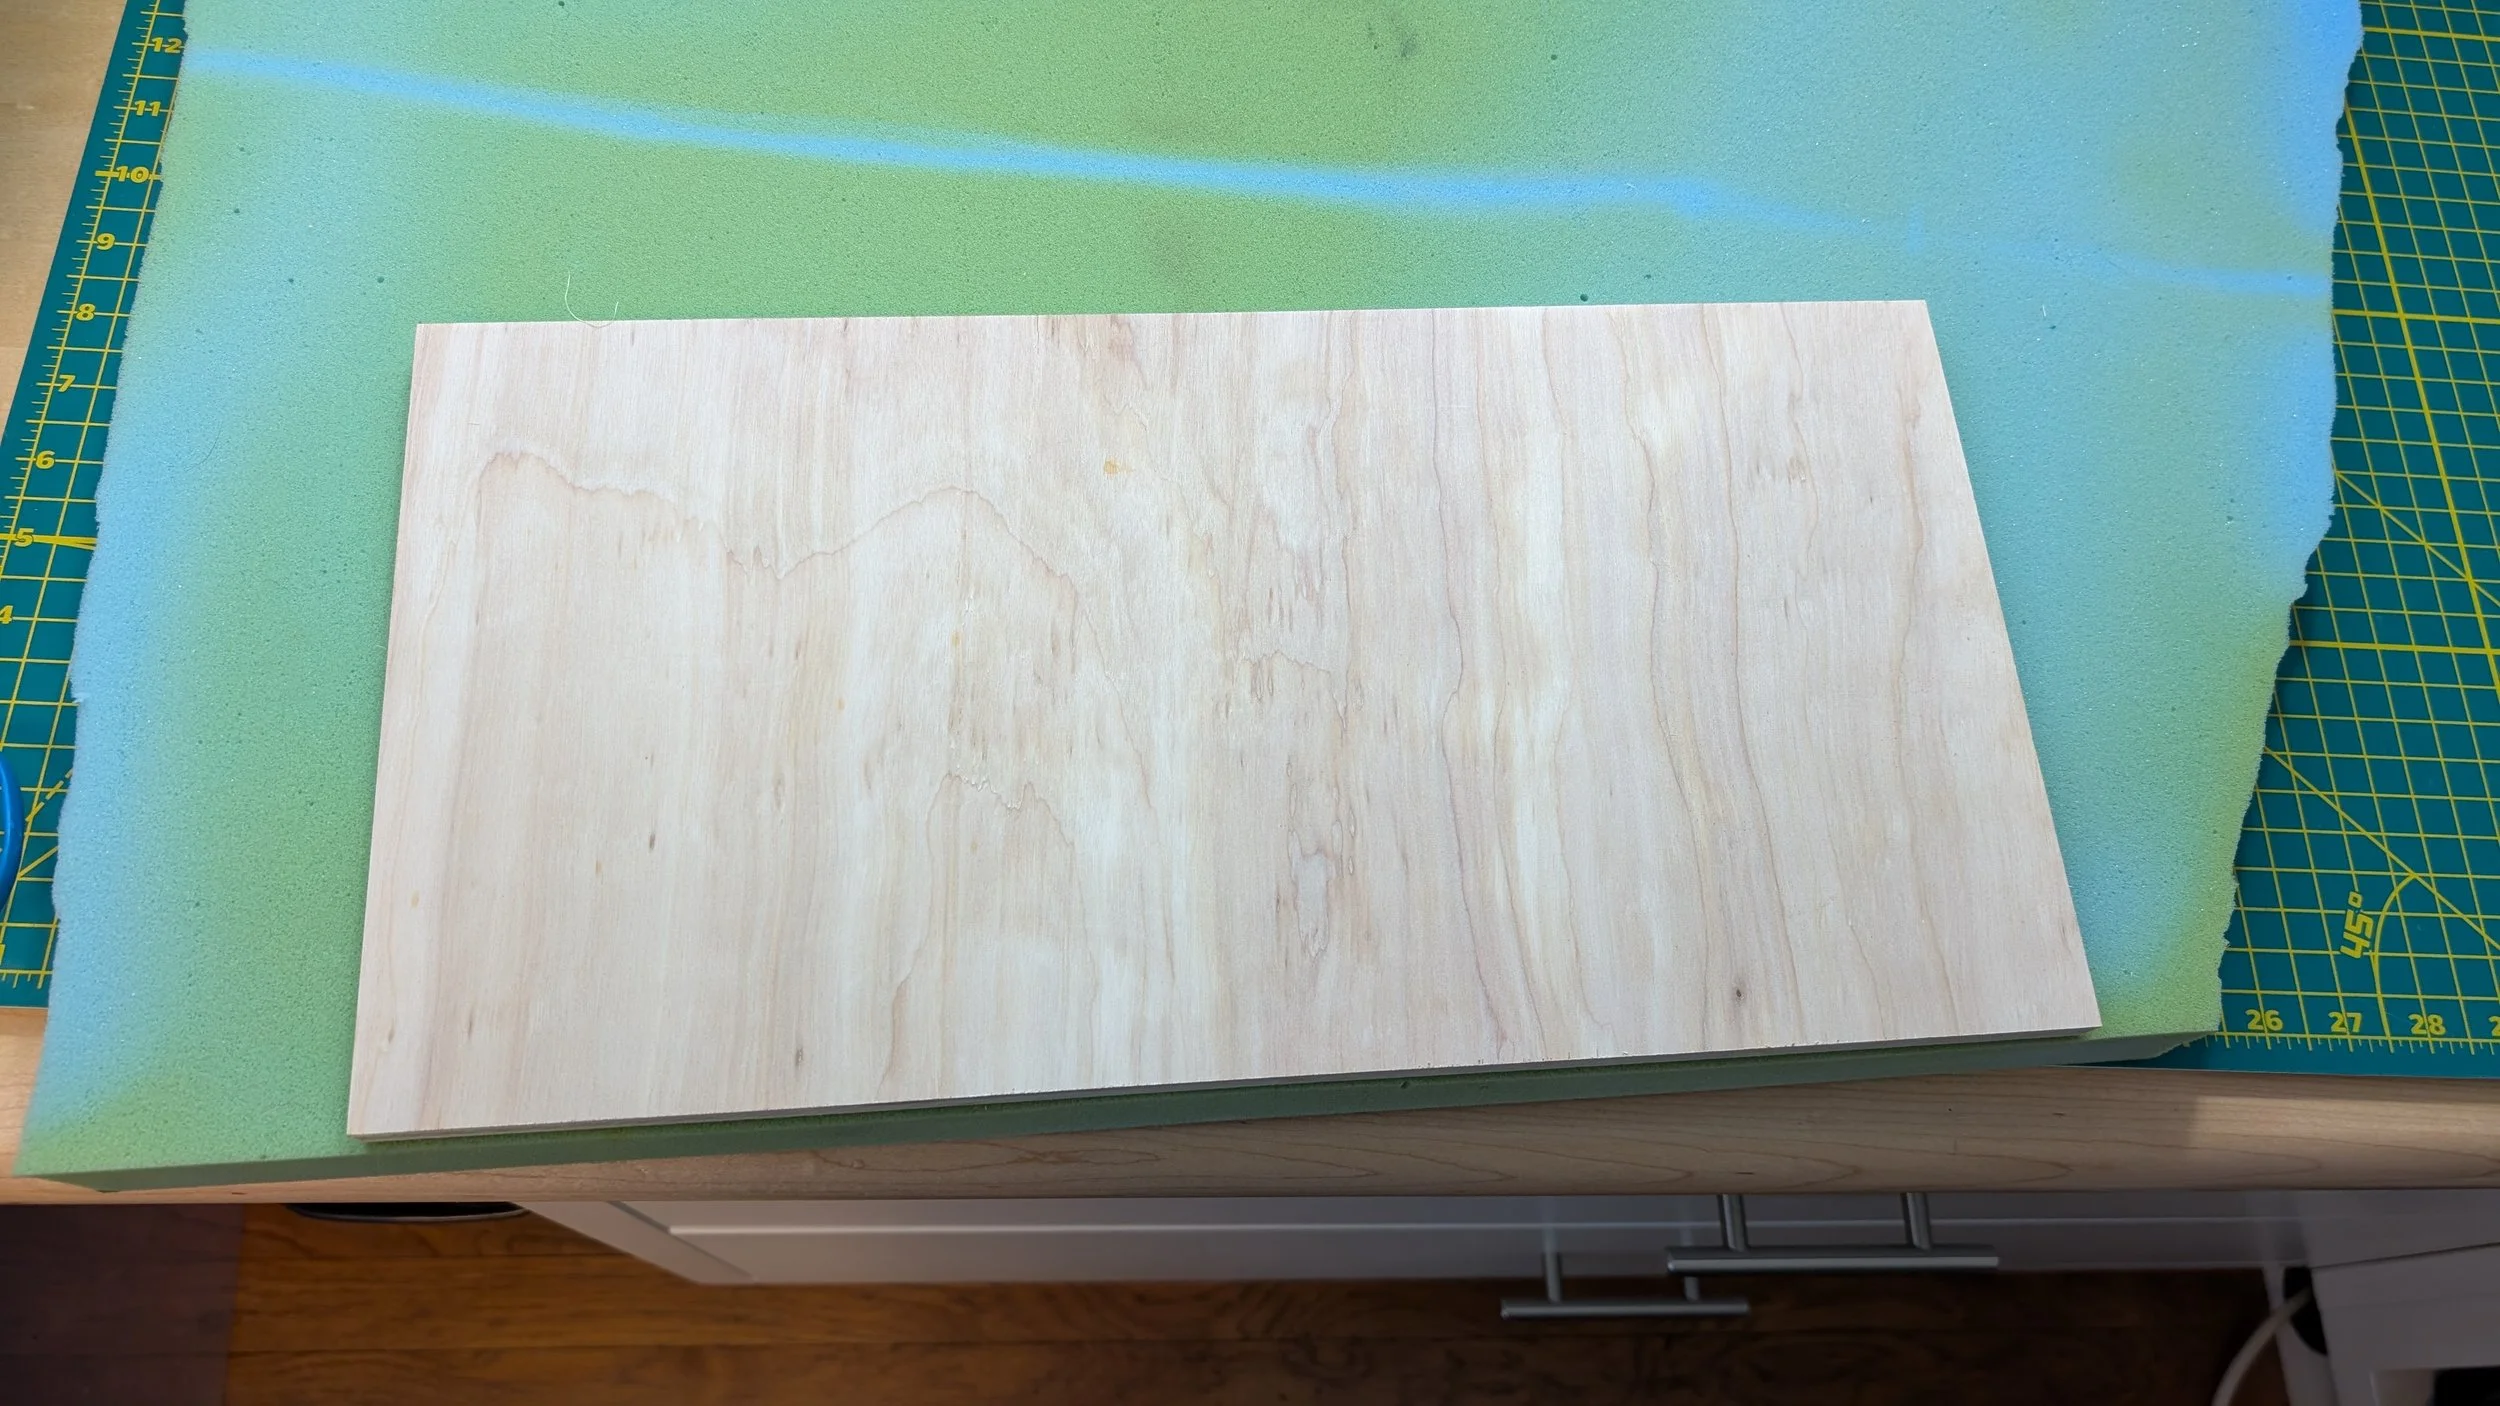
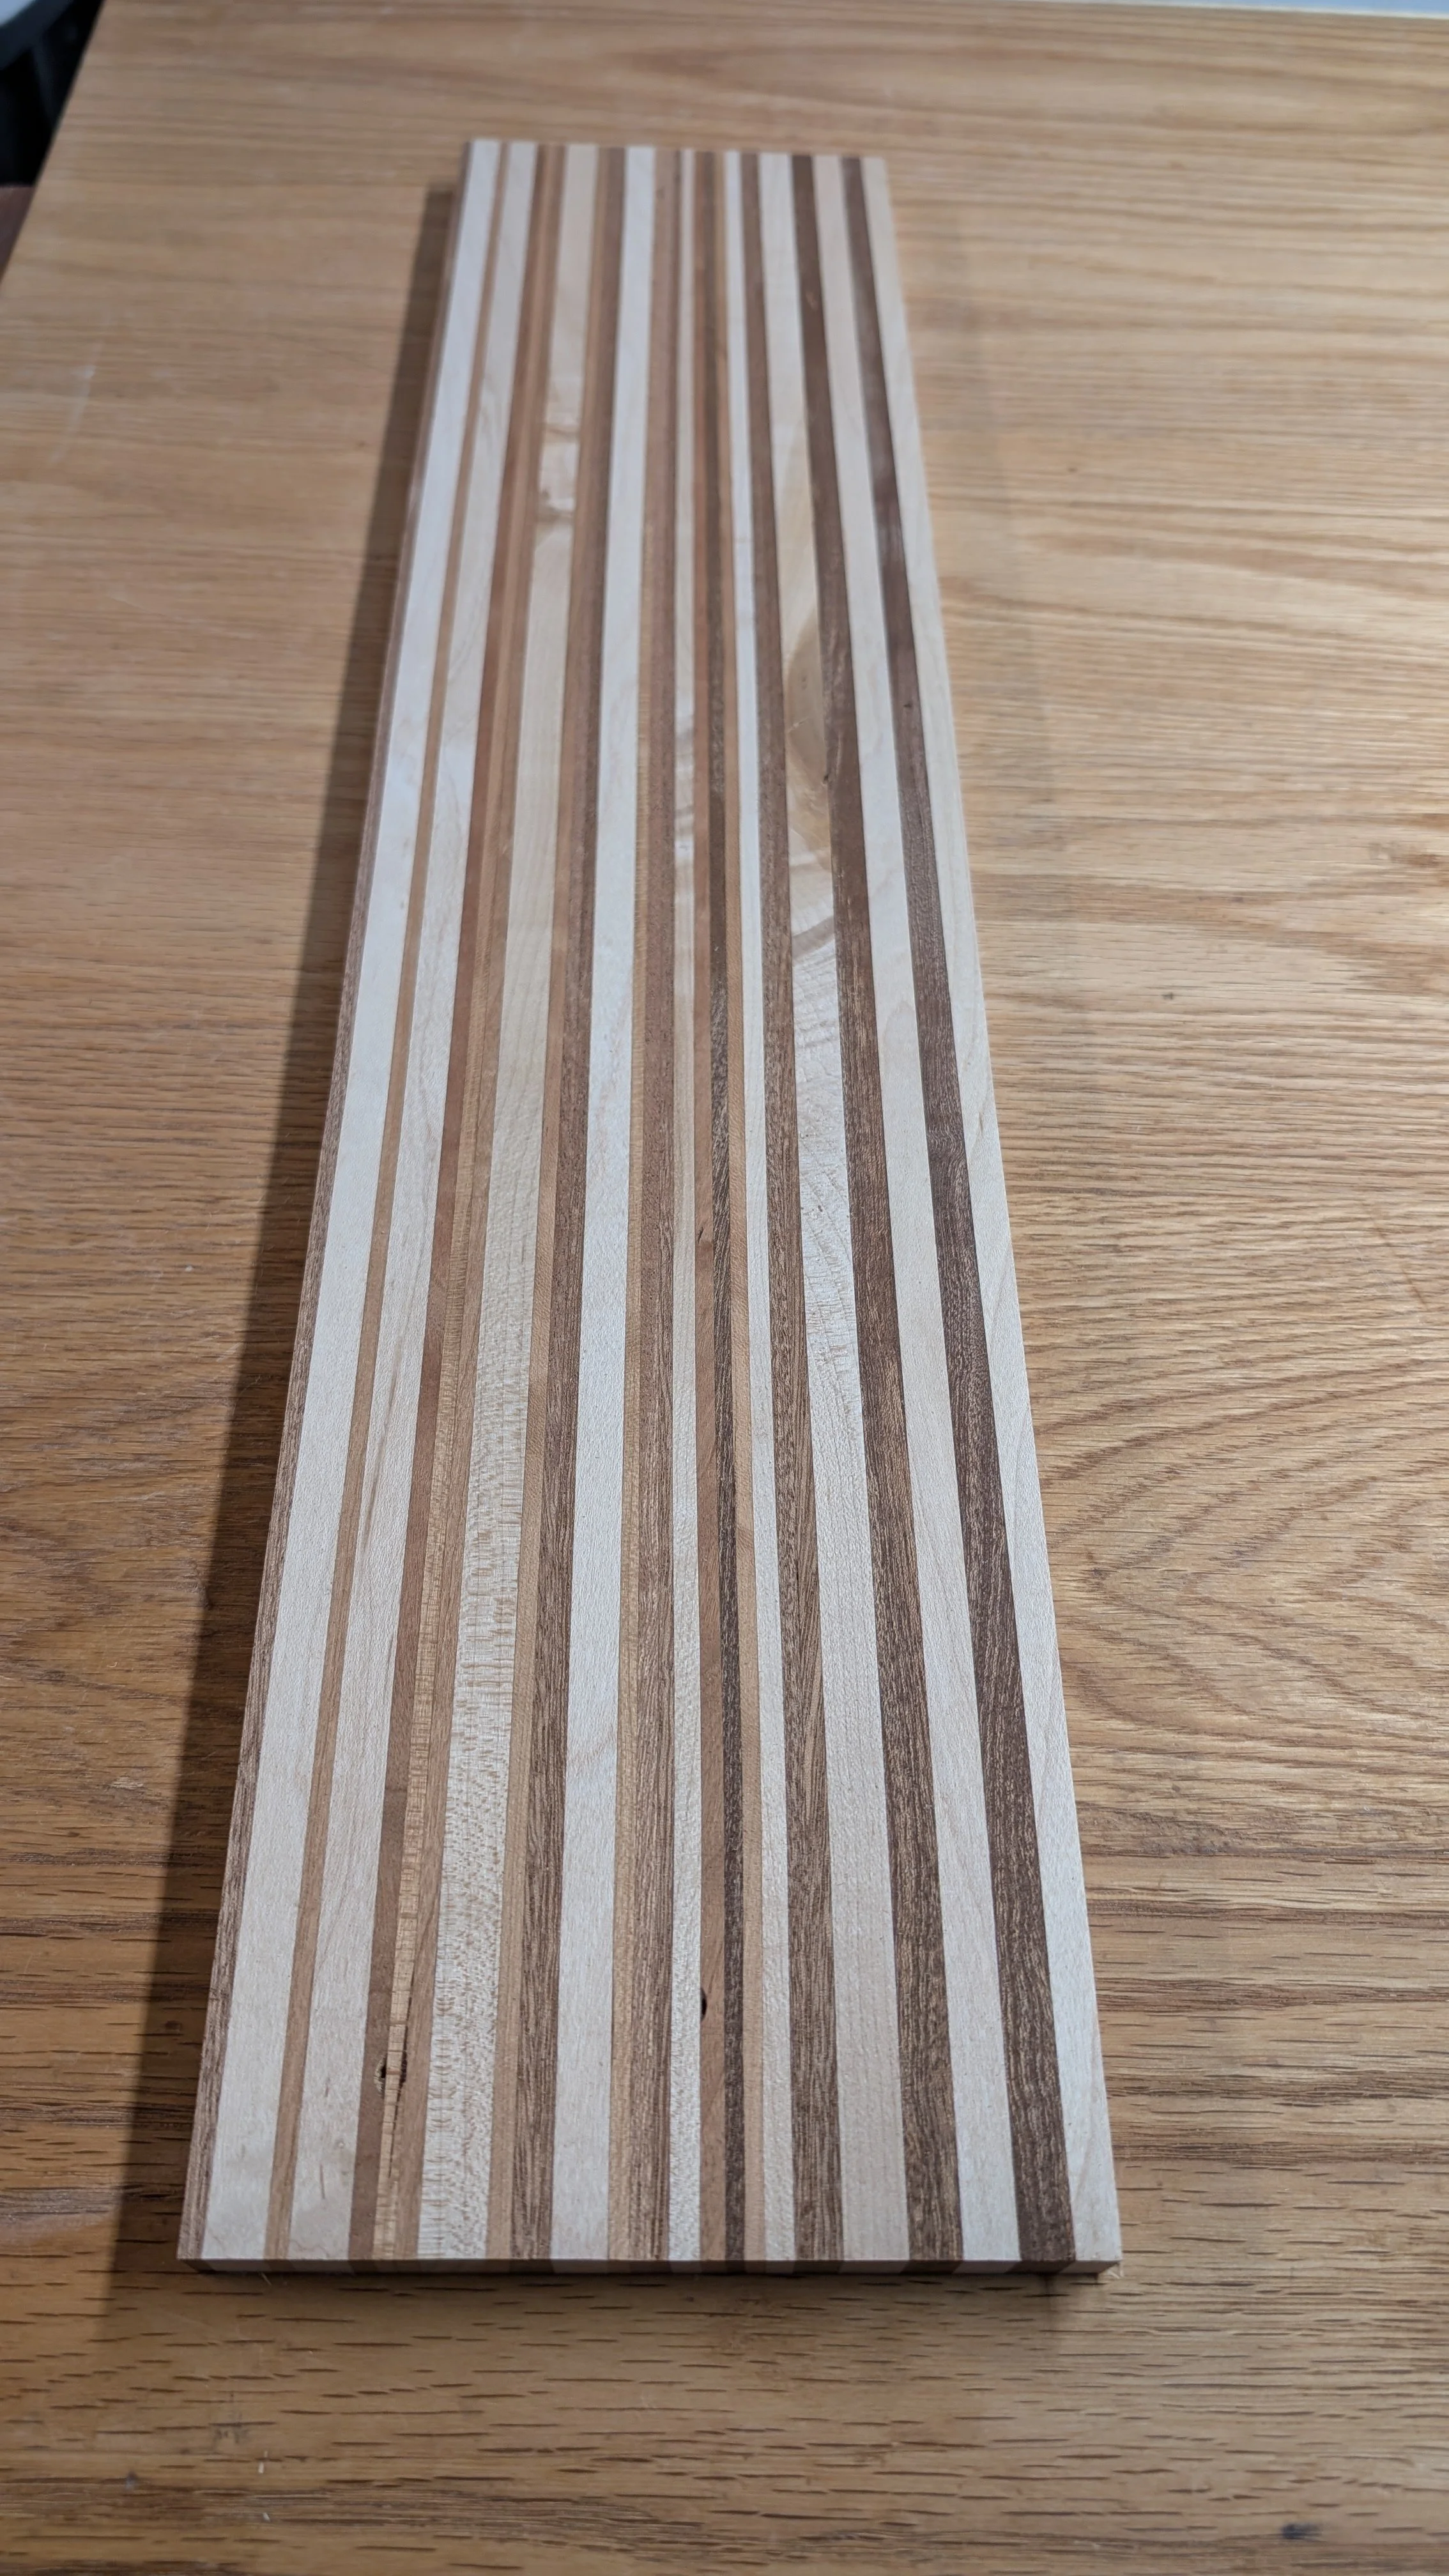
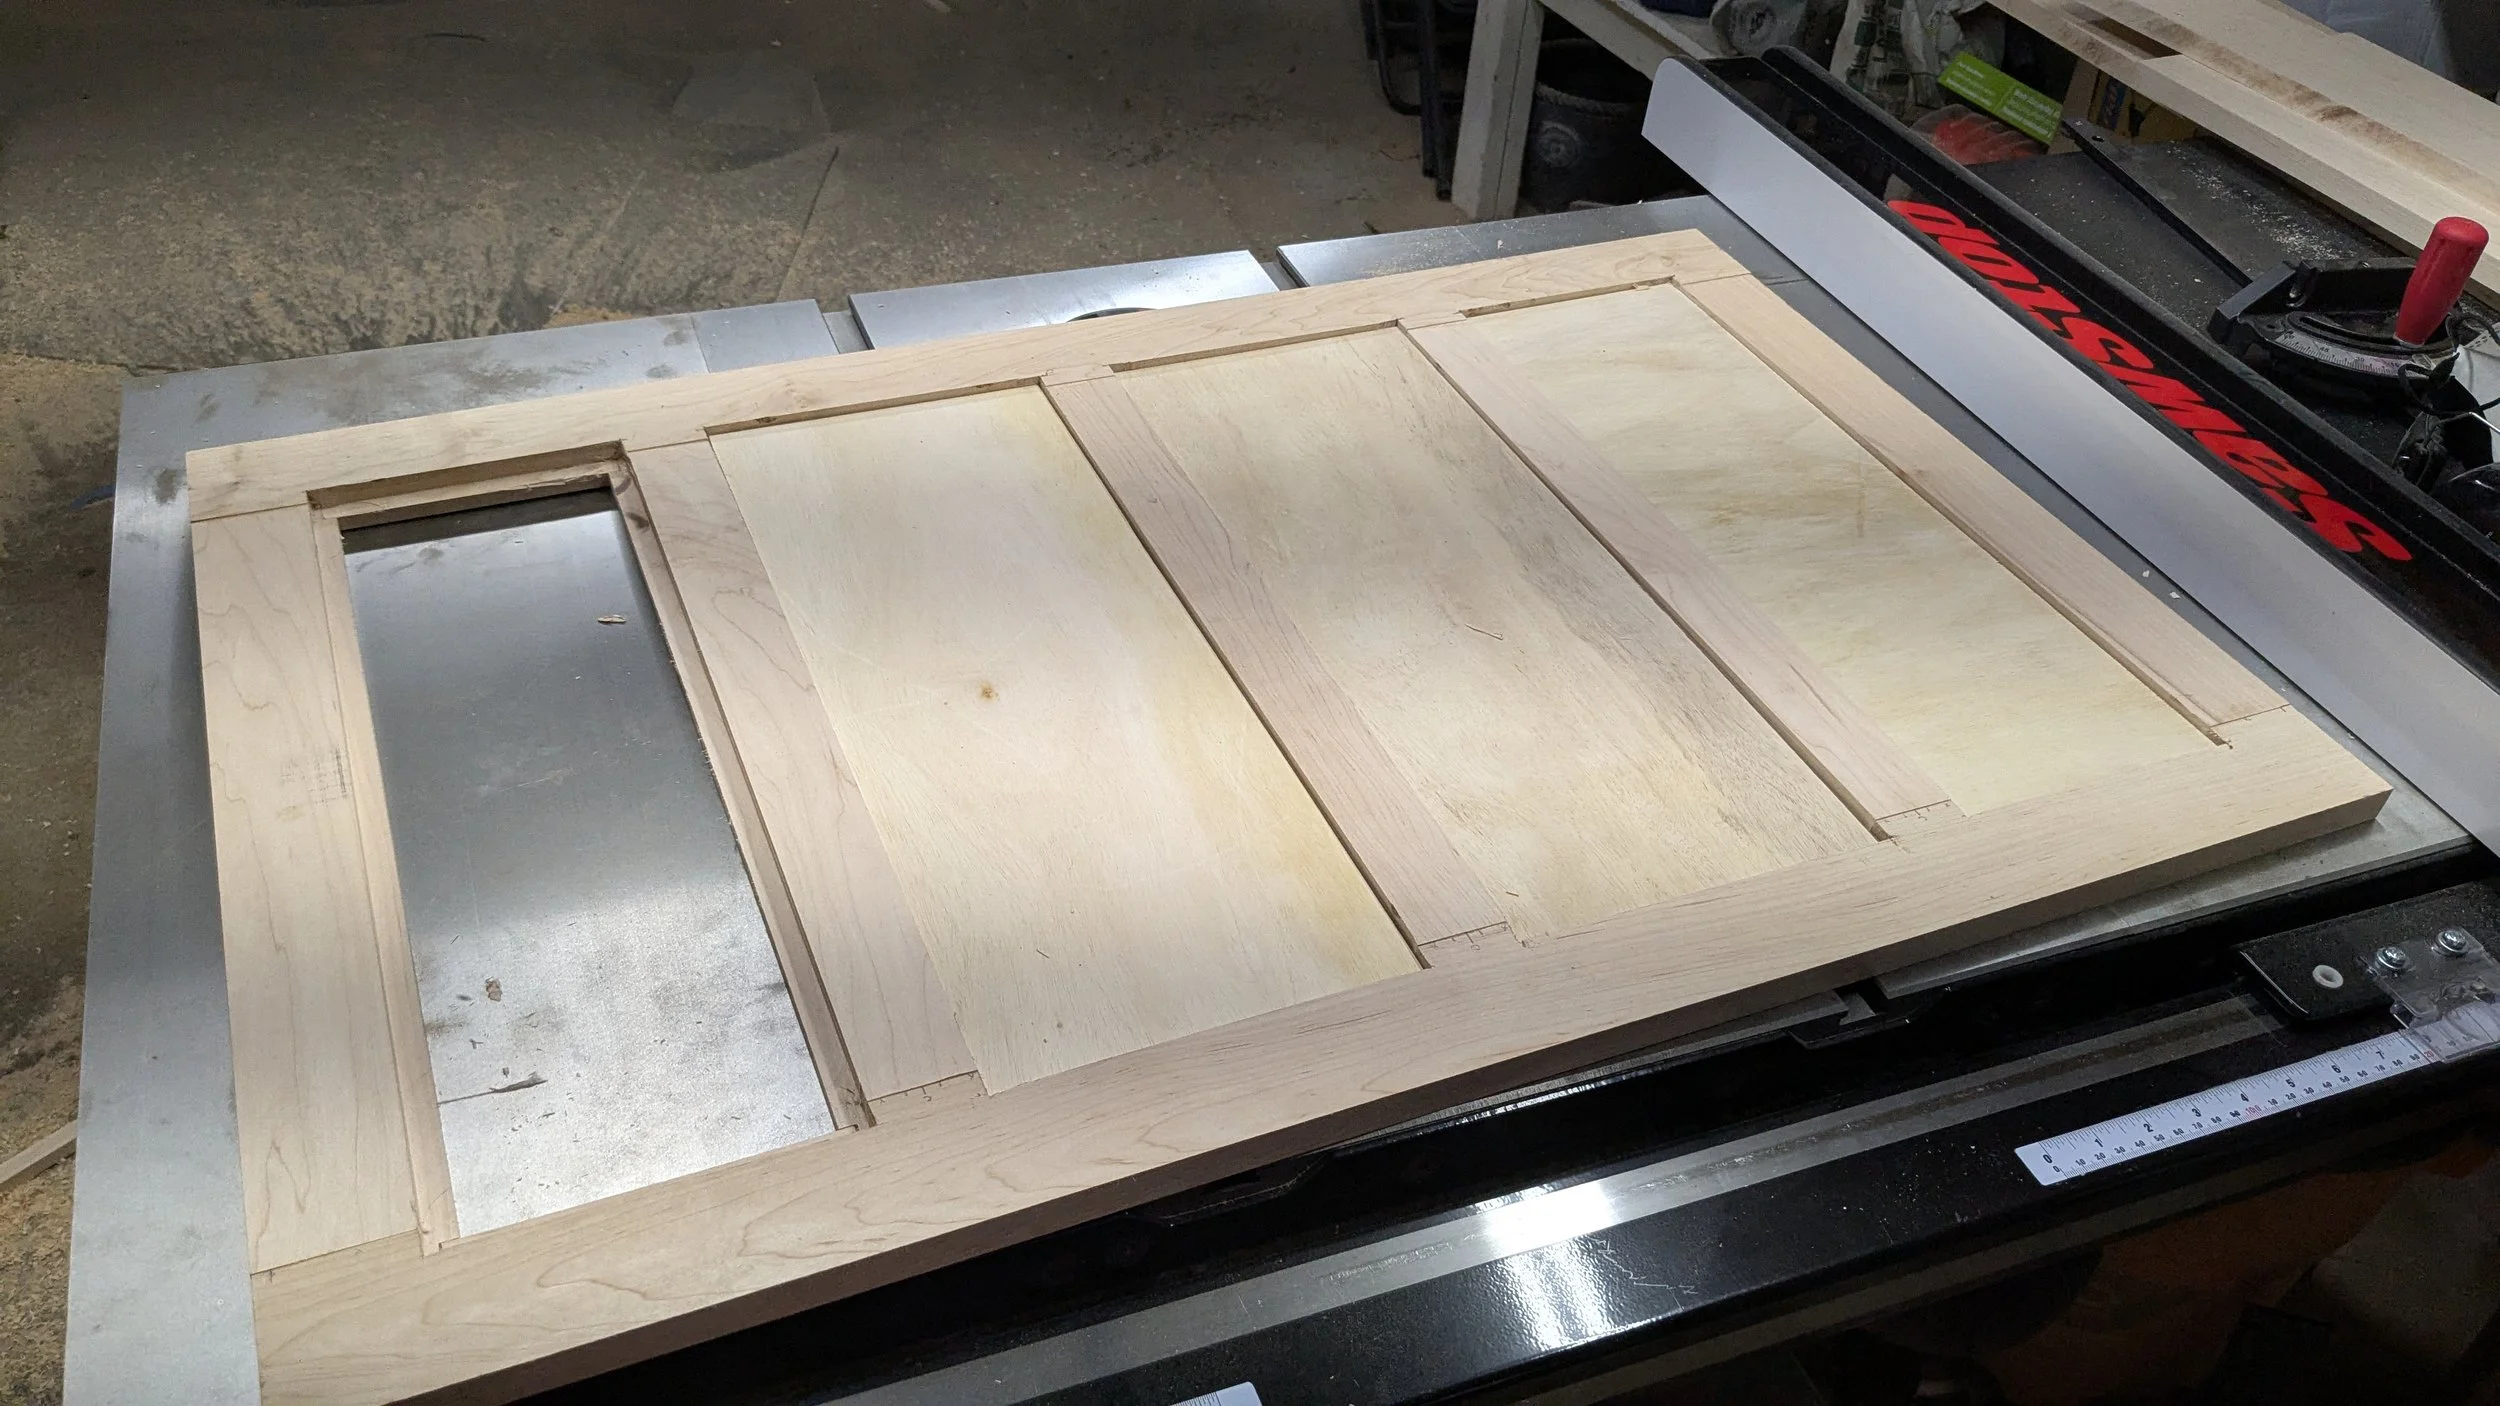
I used the chipboard template to make 1/4” plywood full size templates. I decided to use rift-sawn white oak and I glued up 3/4” x 7 1/4” pieces to make the ends of the sorter and 1/2” x 7 1/4” pieces to make the sides of the sorter bin. I made sure to orient the grain of the panel pieces so it would have a nice flow upward and outward.


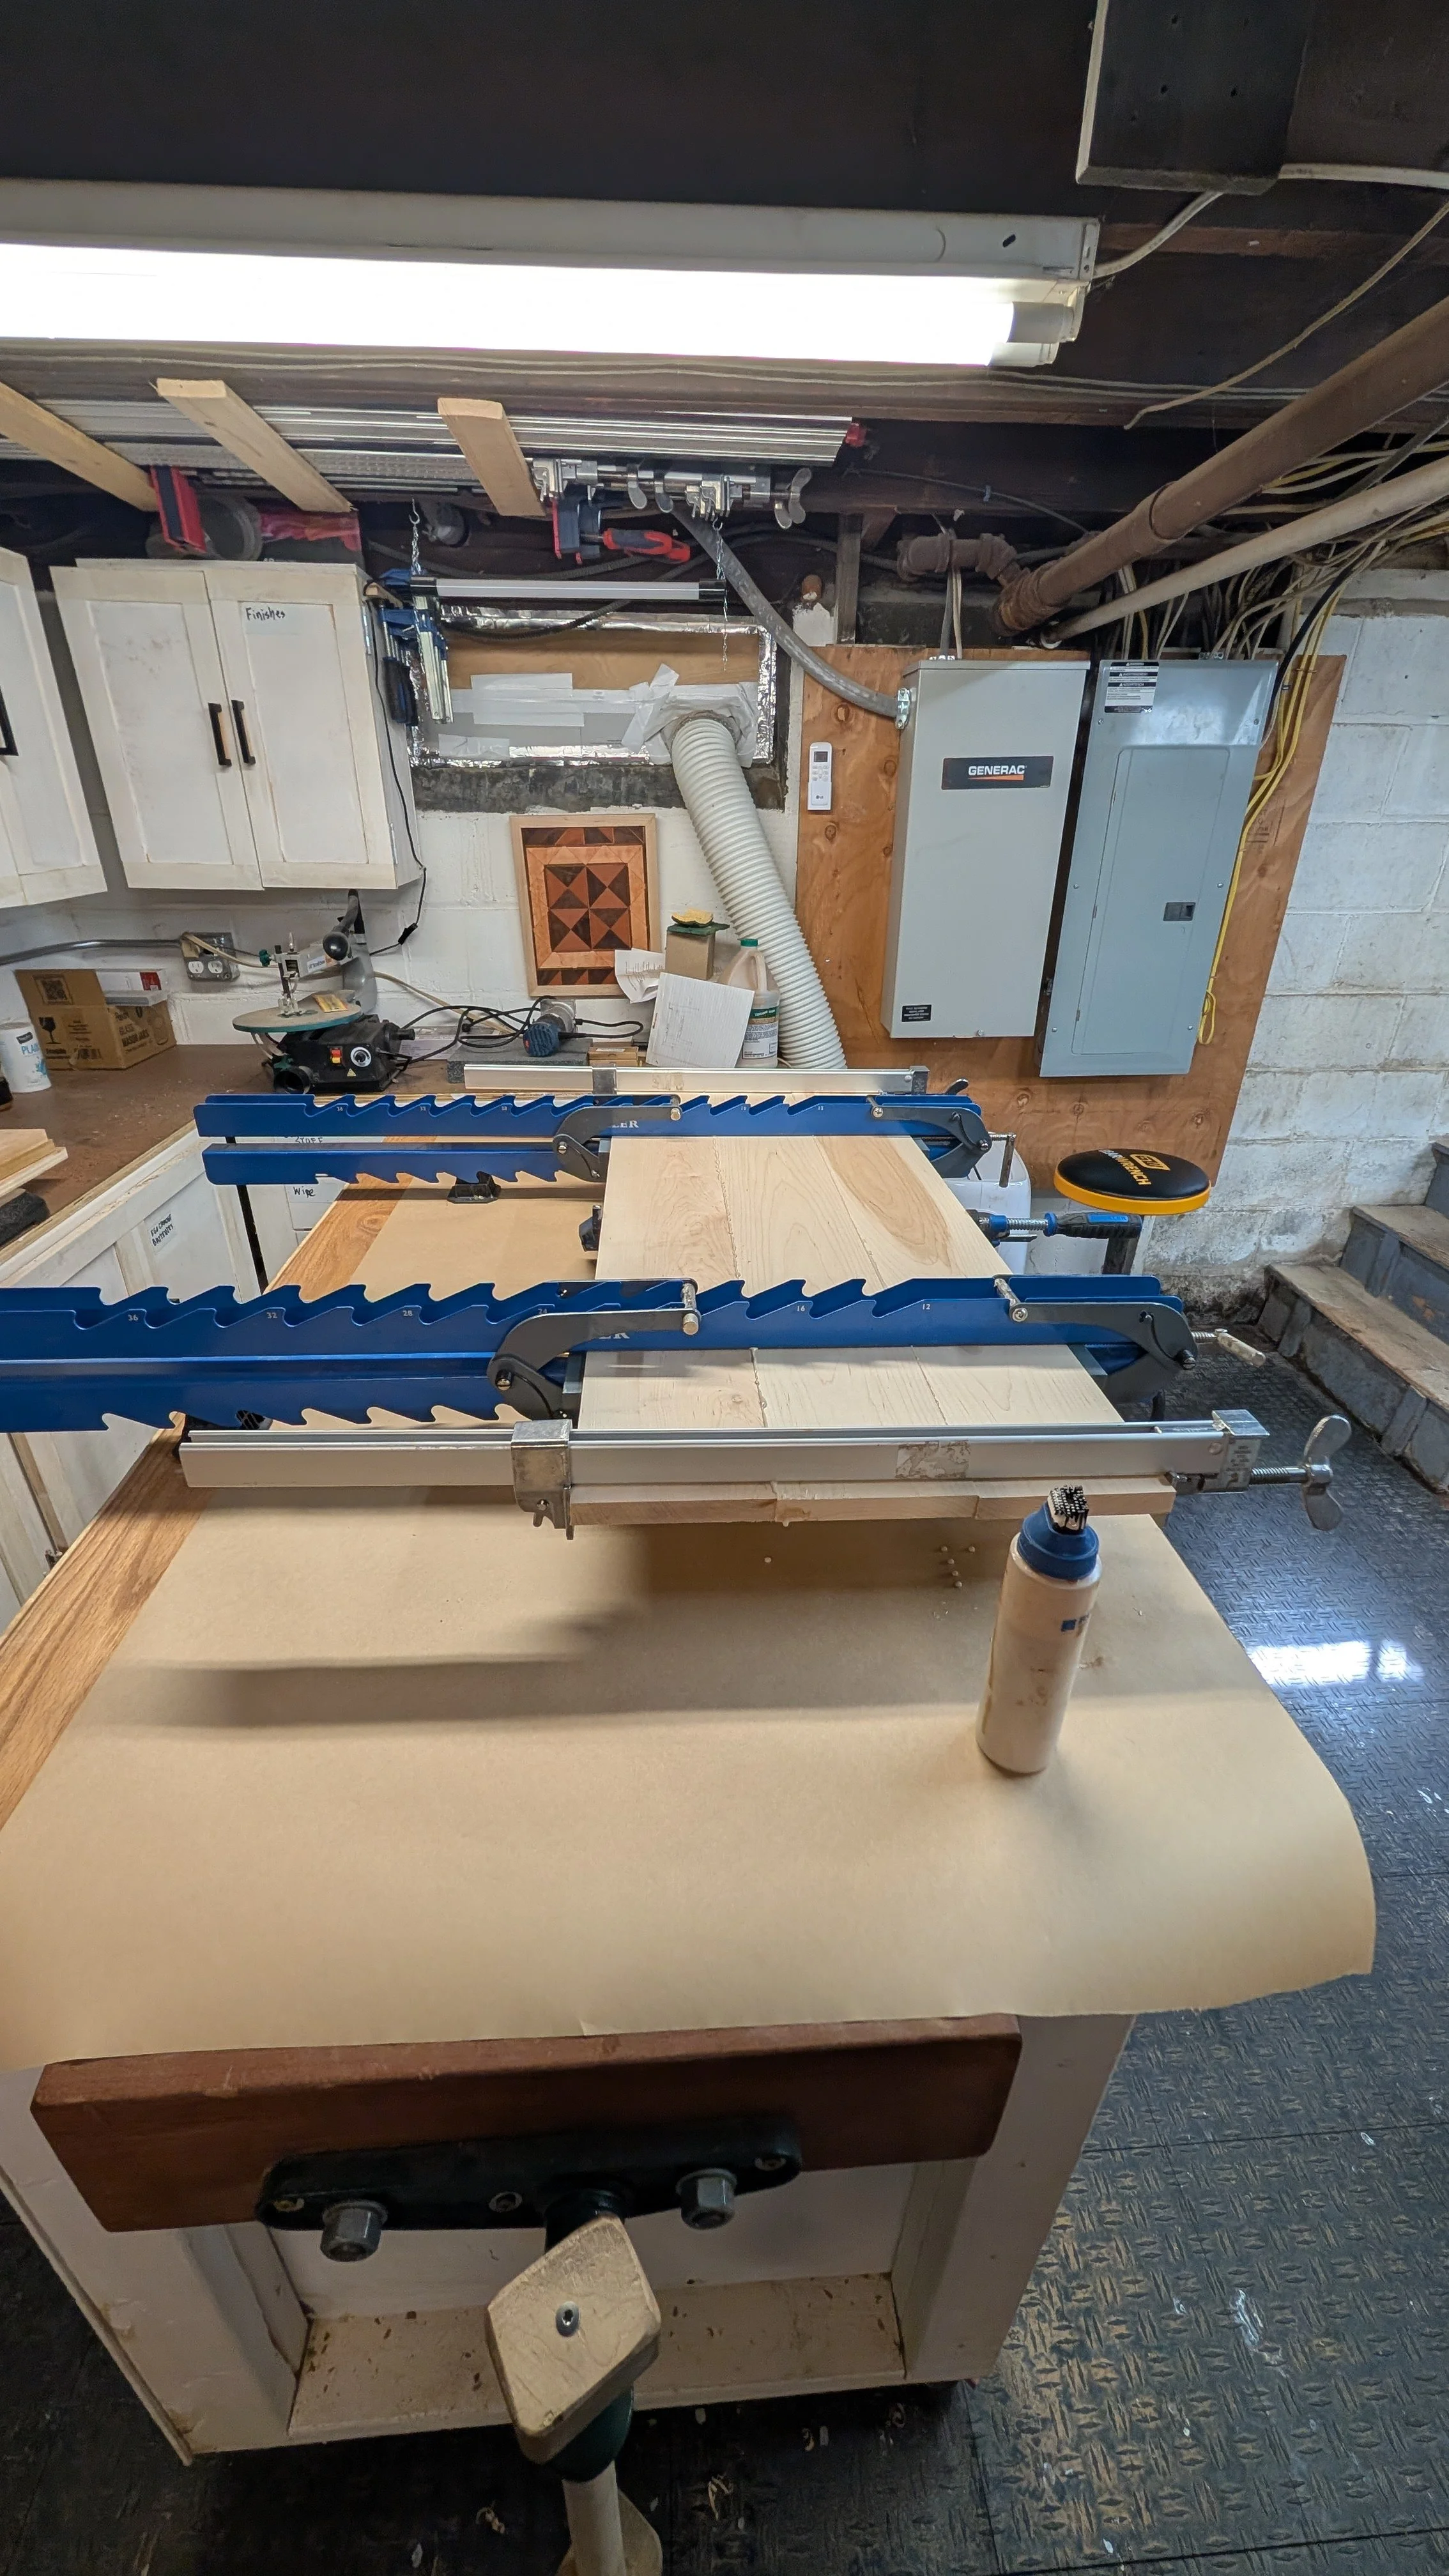
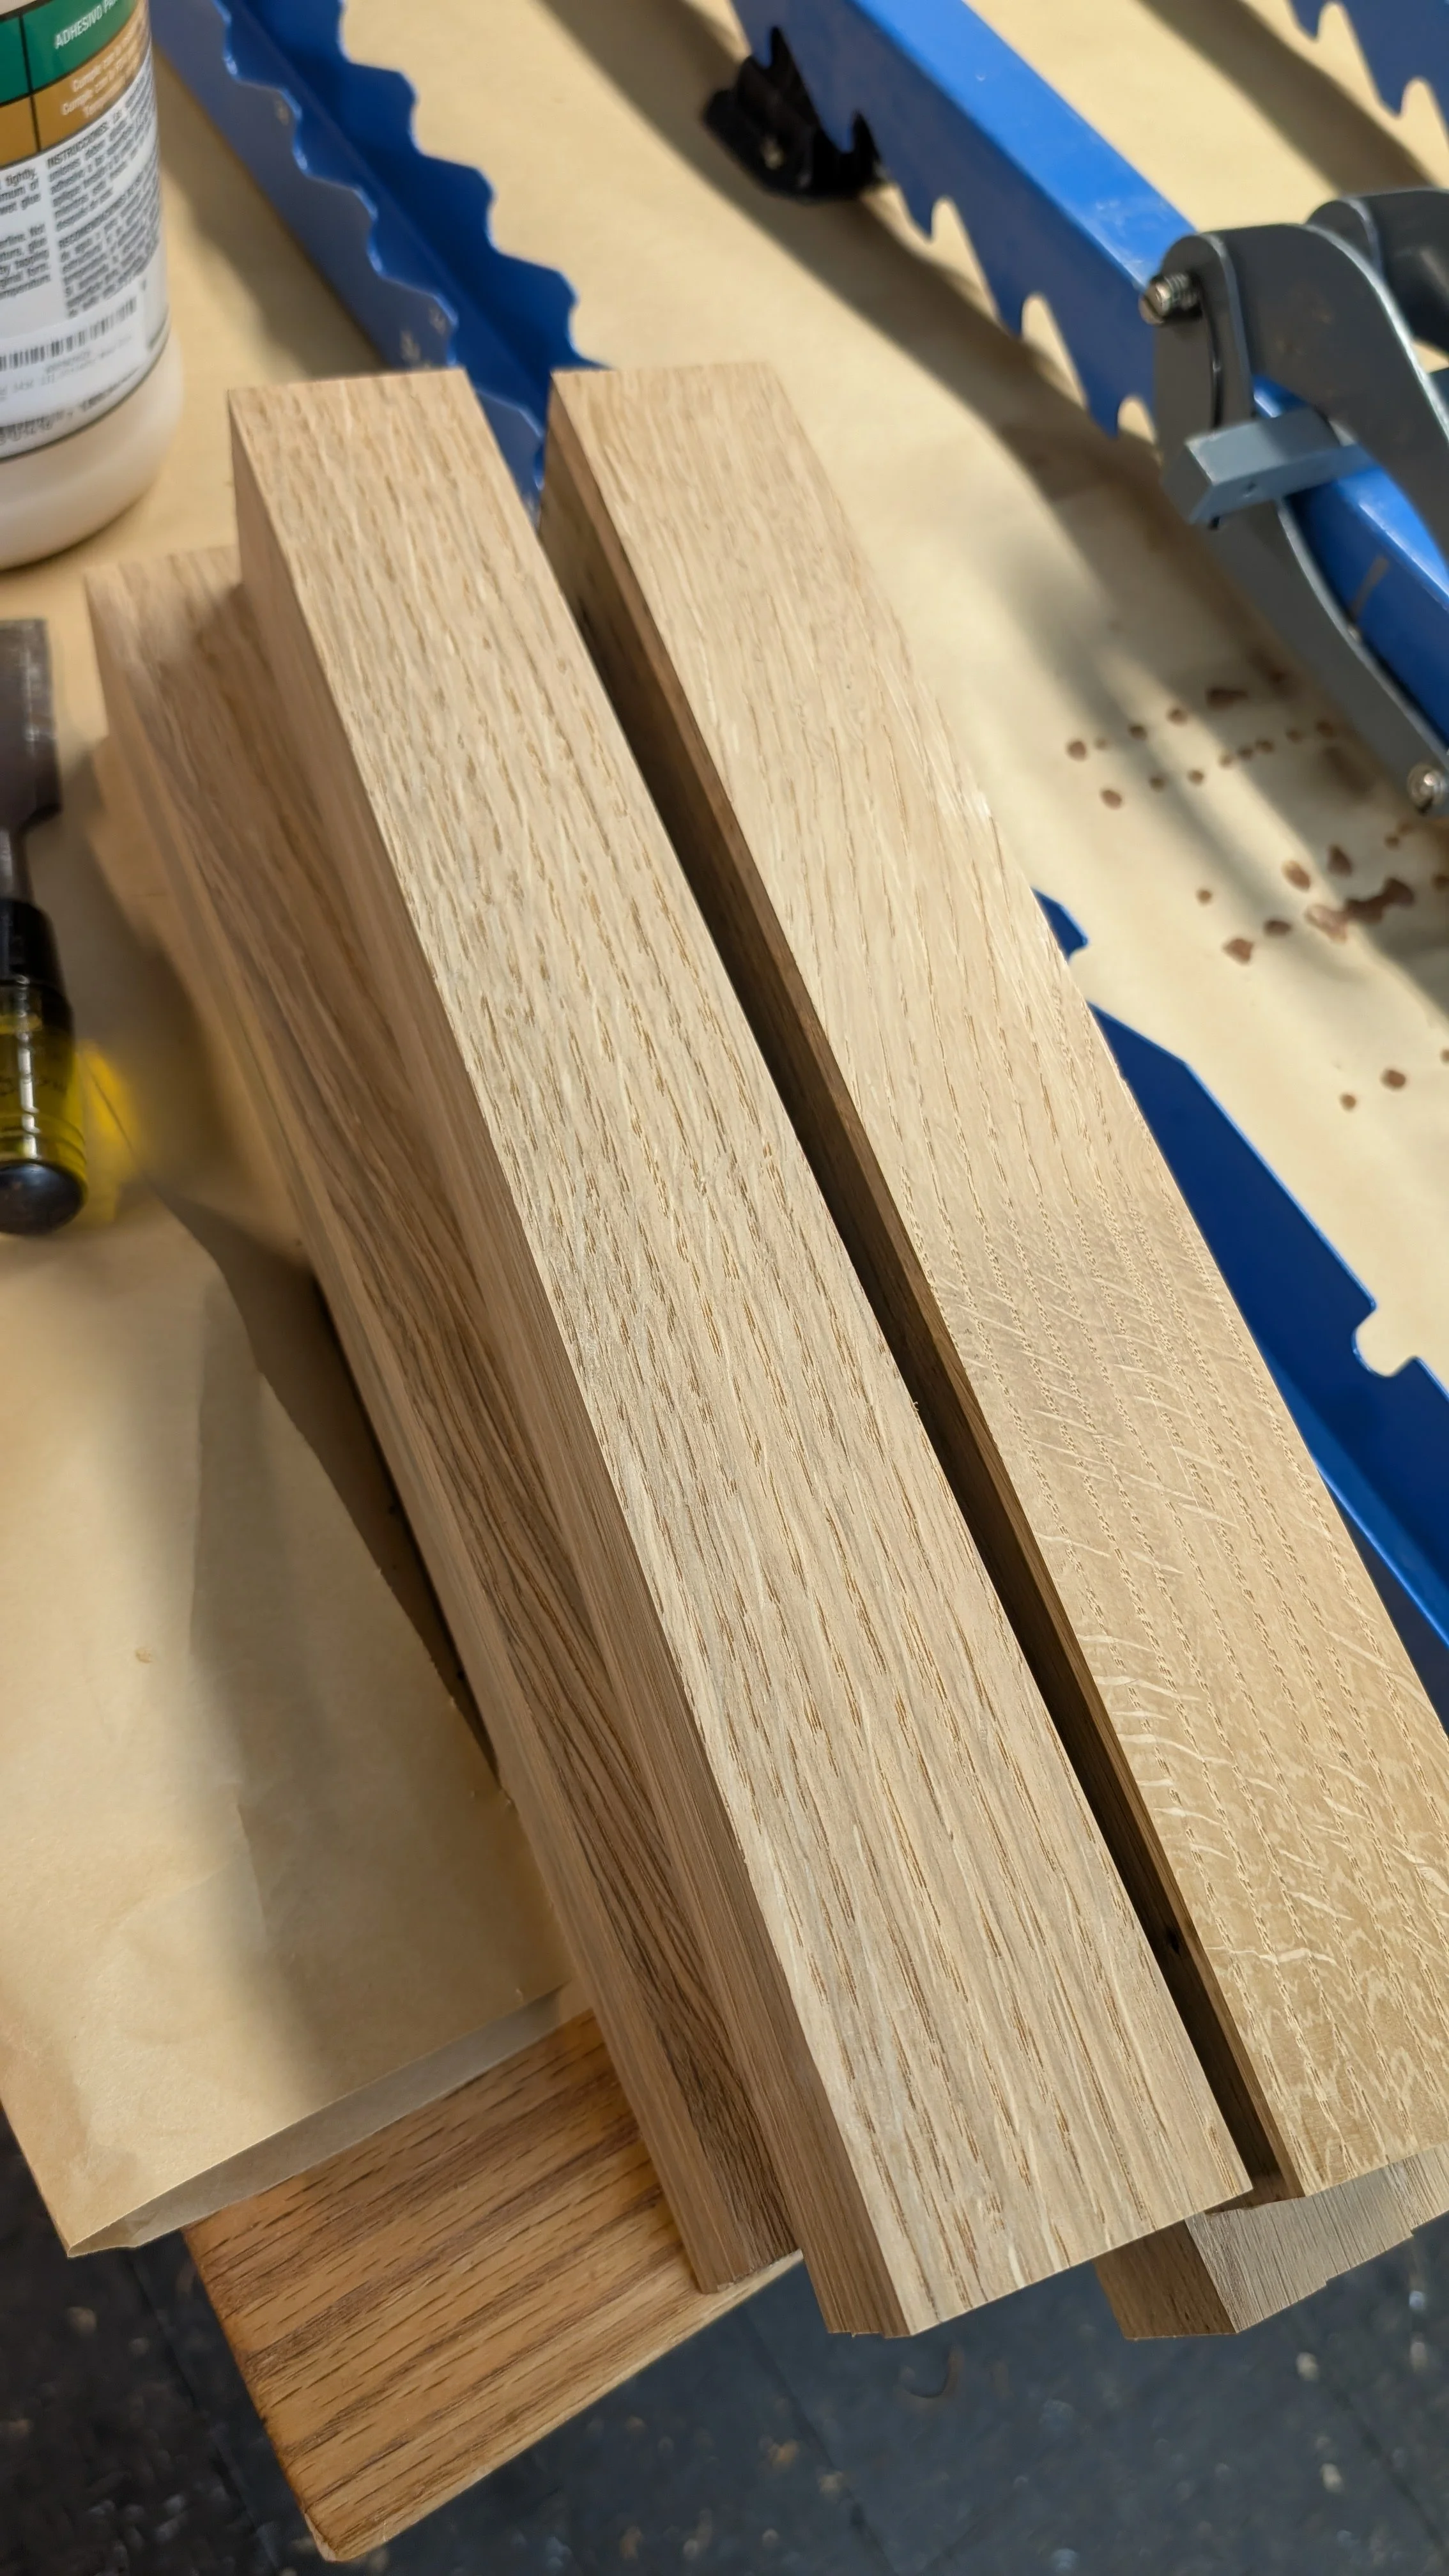
I then used the templates and some double stick tape to cut the grooves in each end panel using a 1/2” x 1/4” pattern bit. I used the other template the band saw and the router table with a flush trimming bit to cut the perimeter.
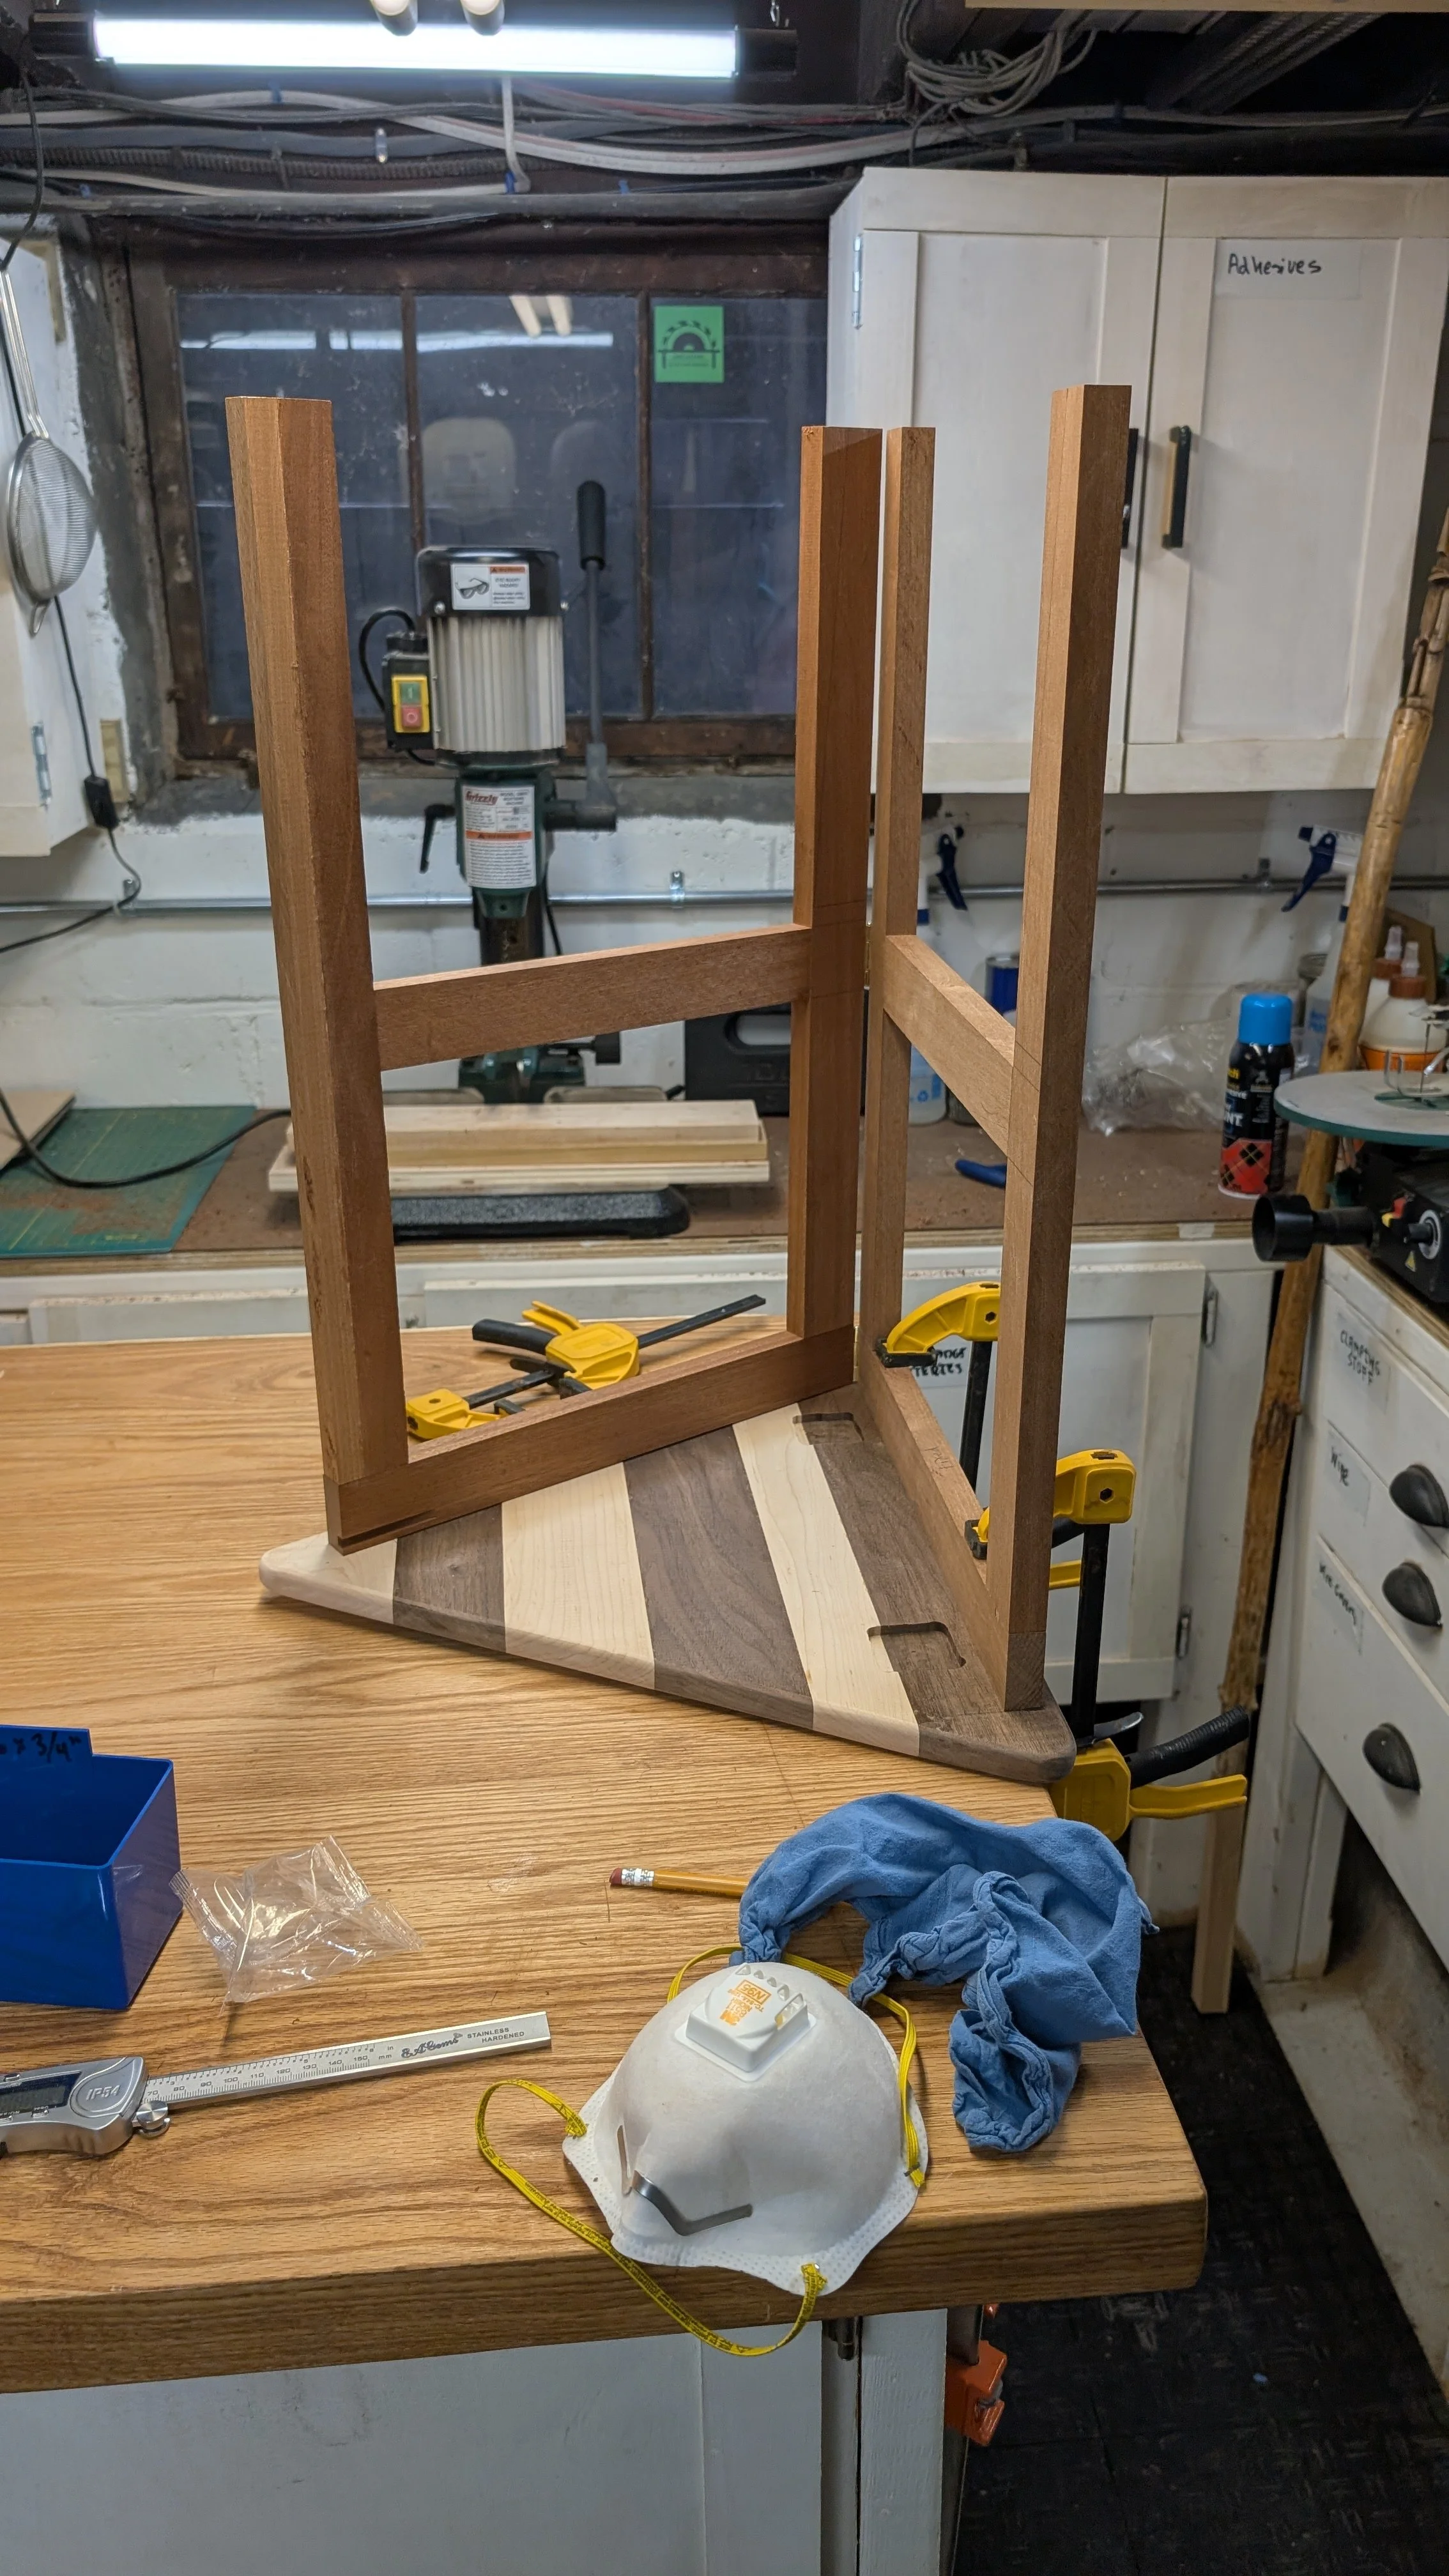
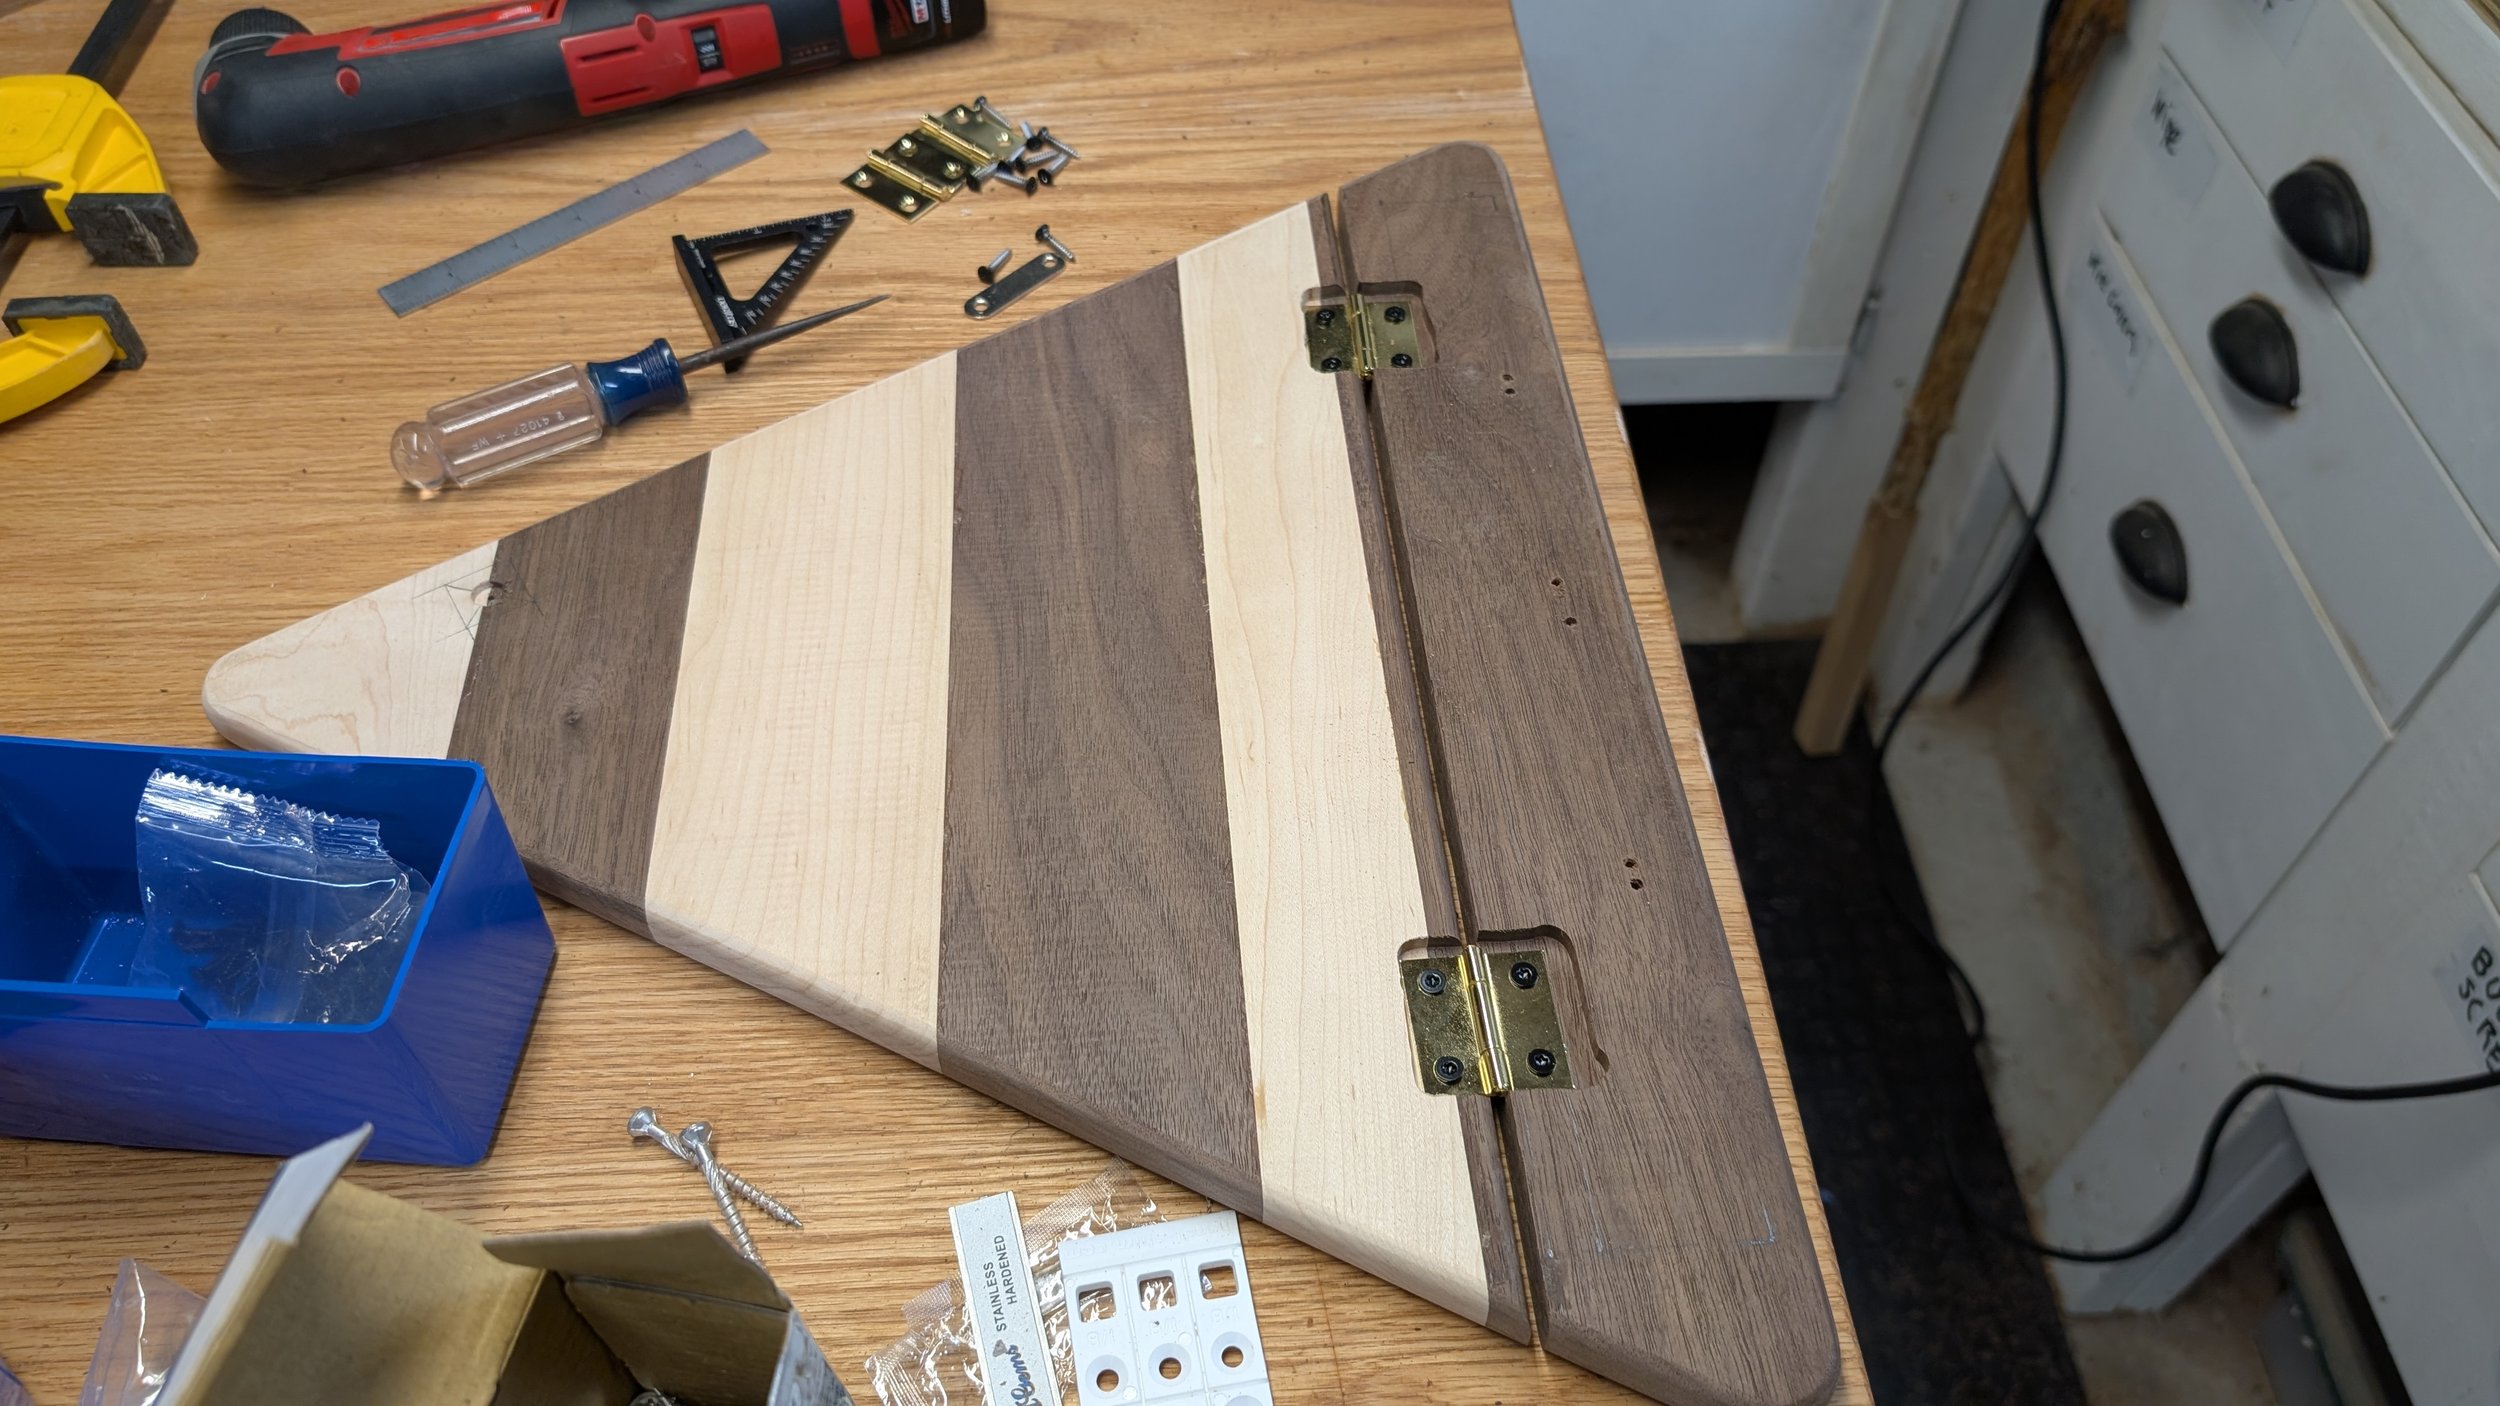
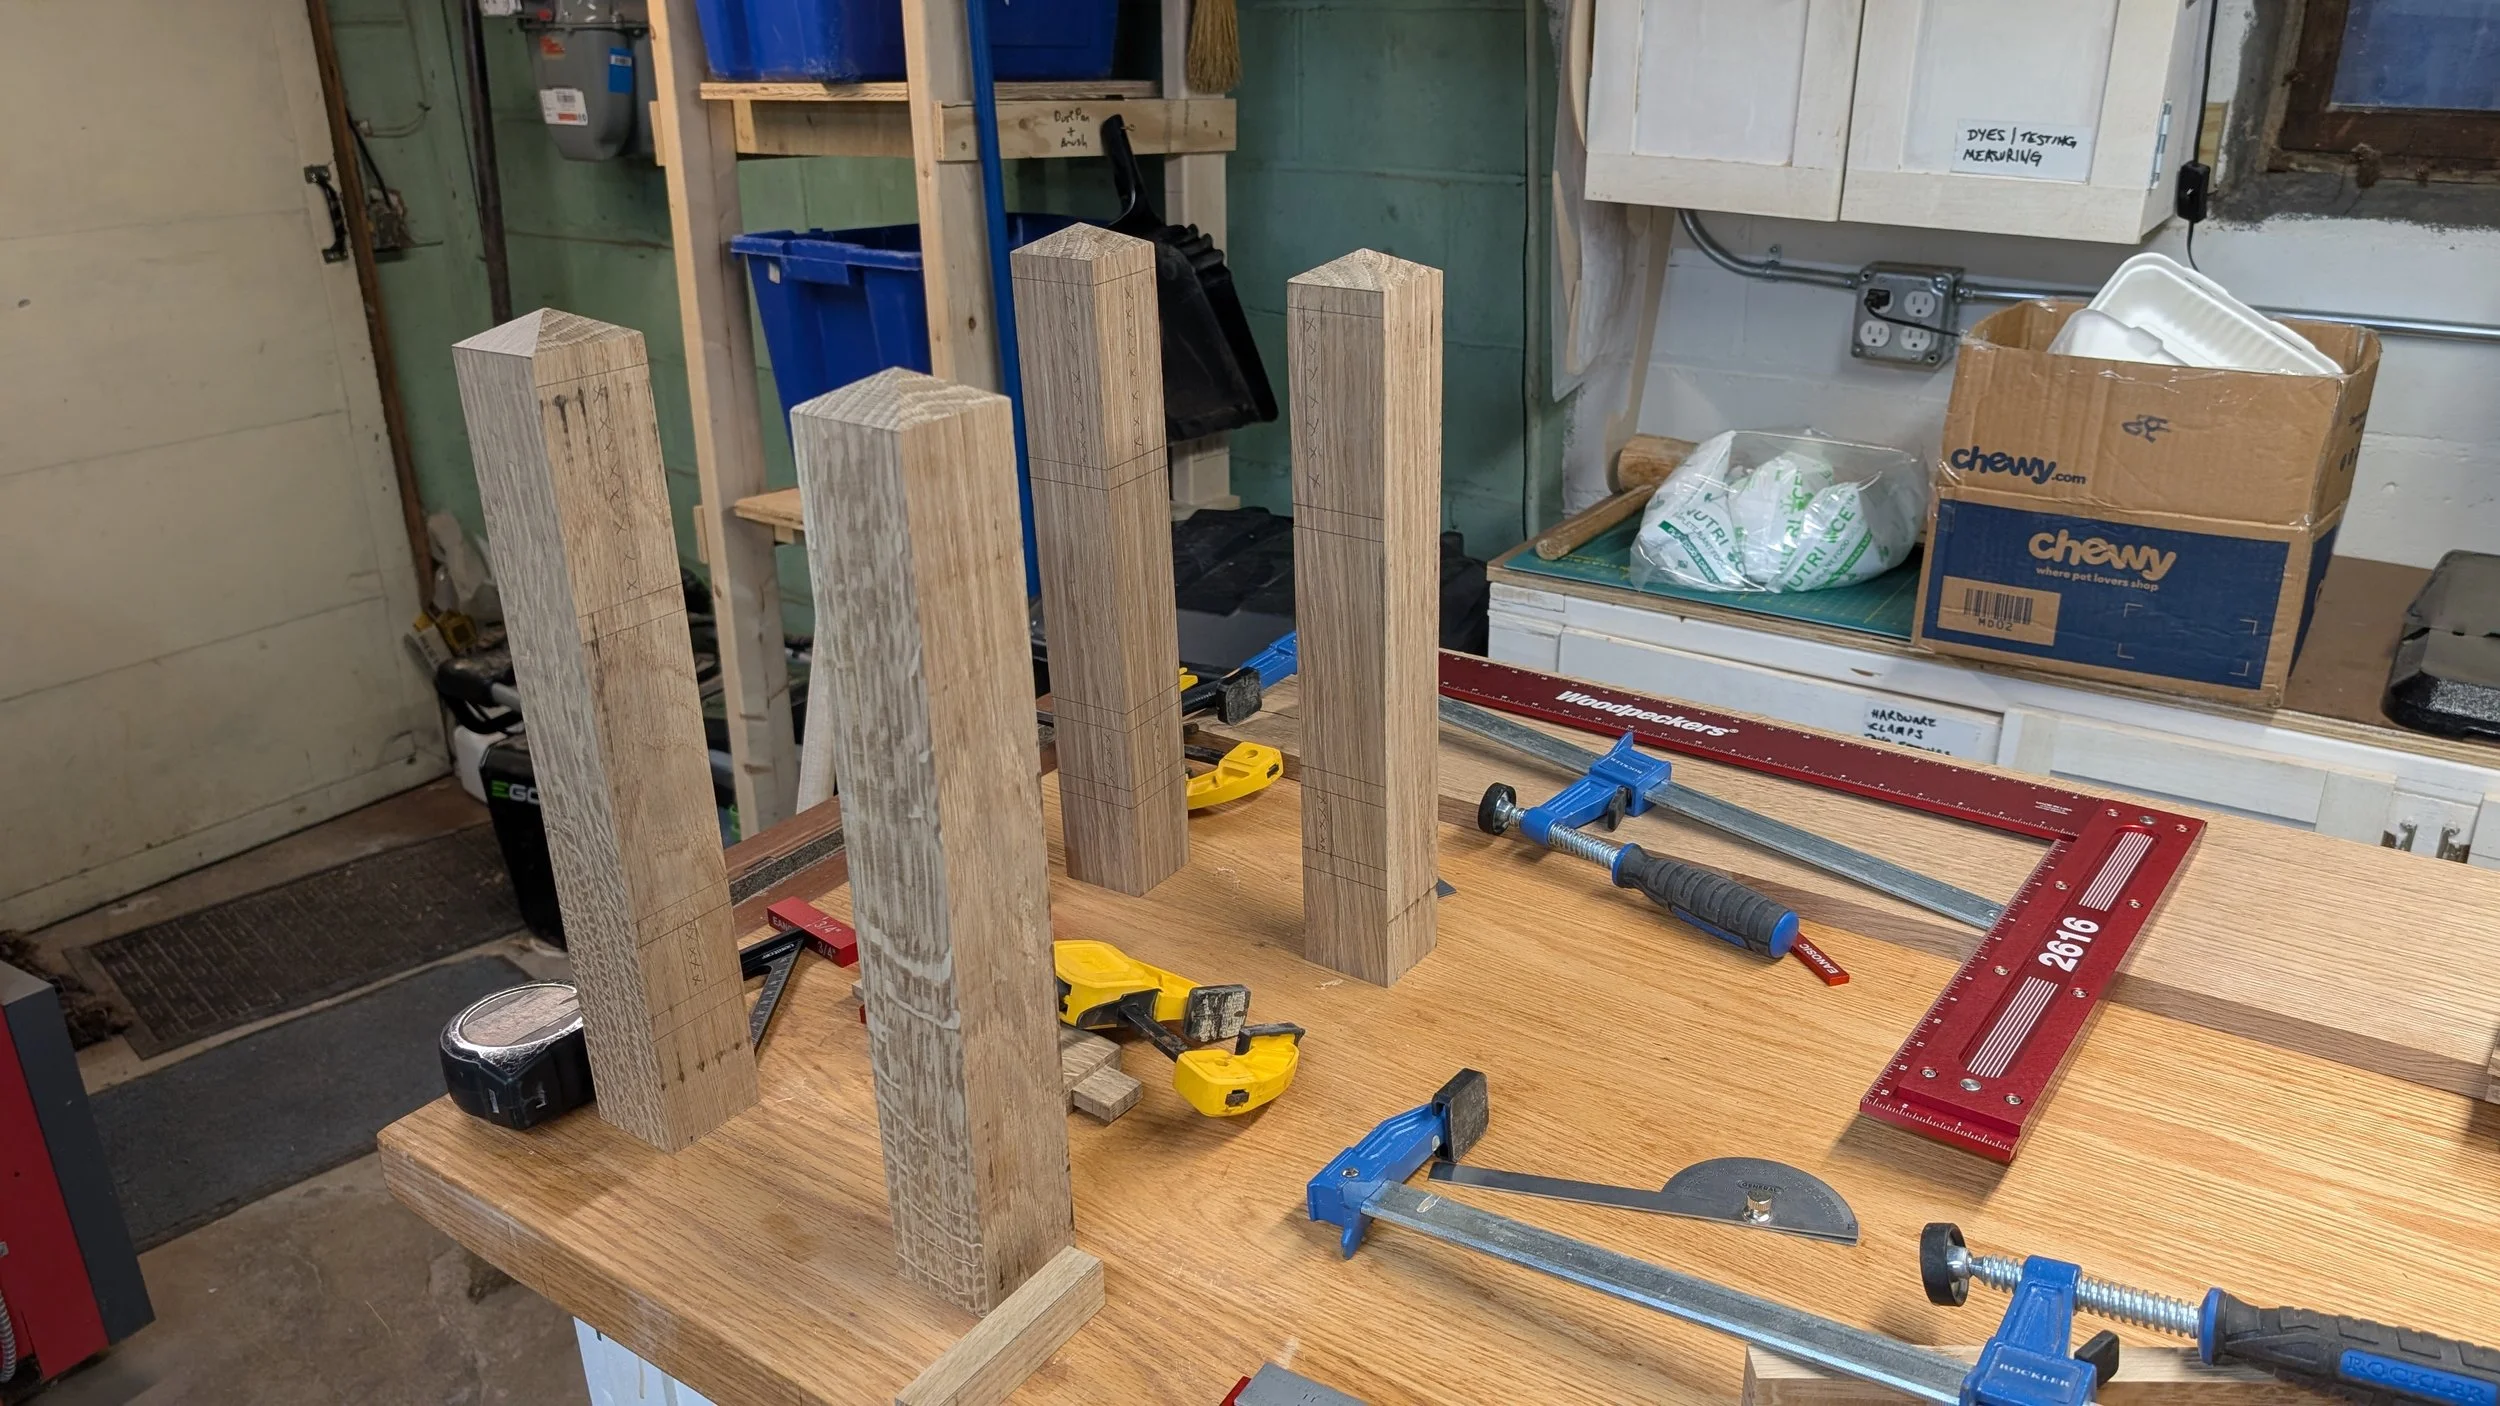
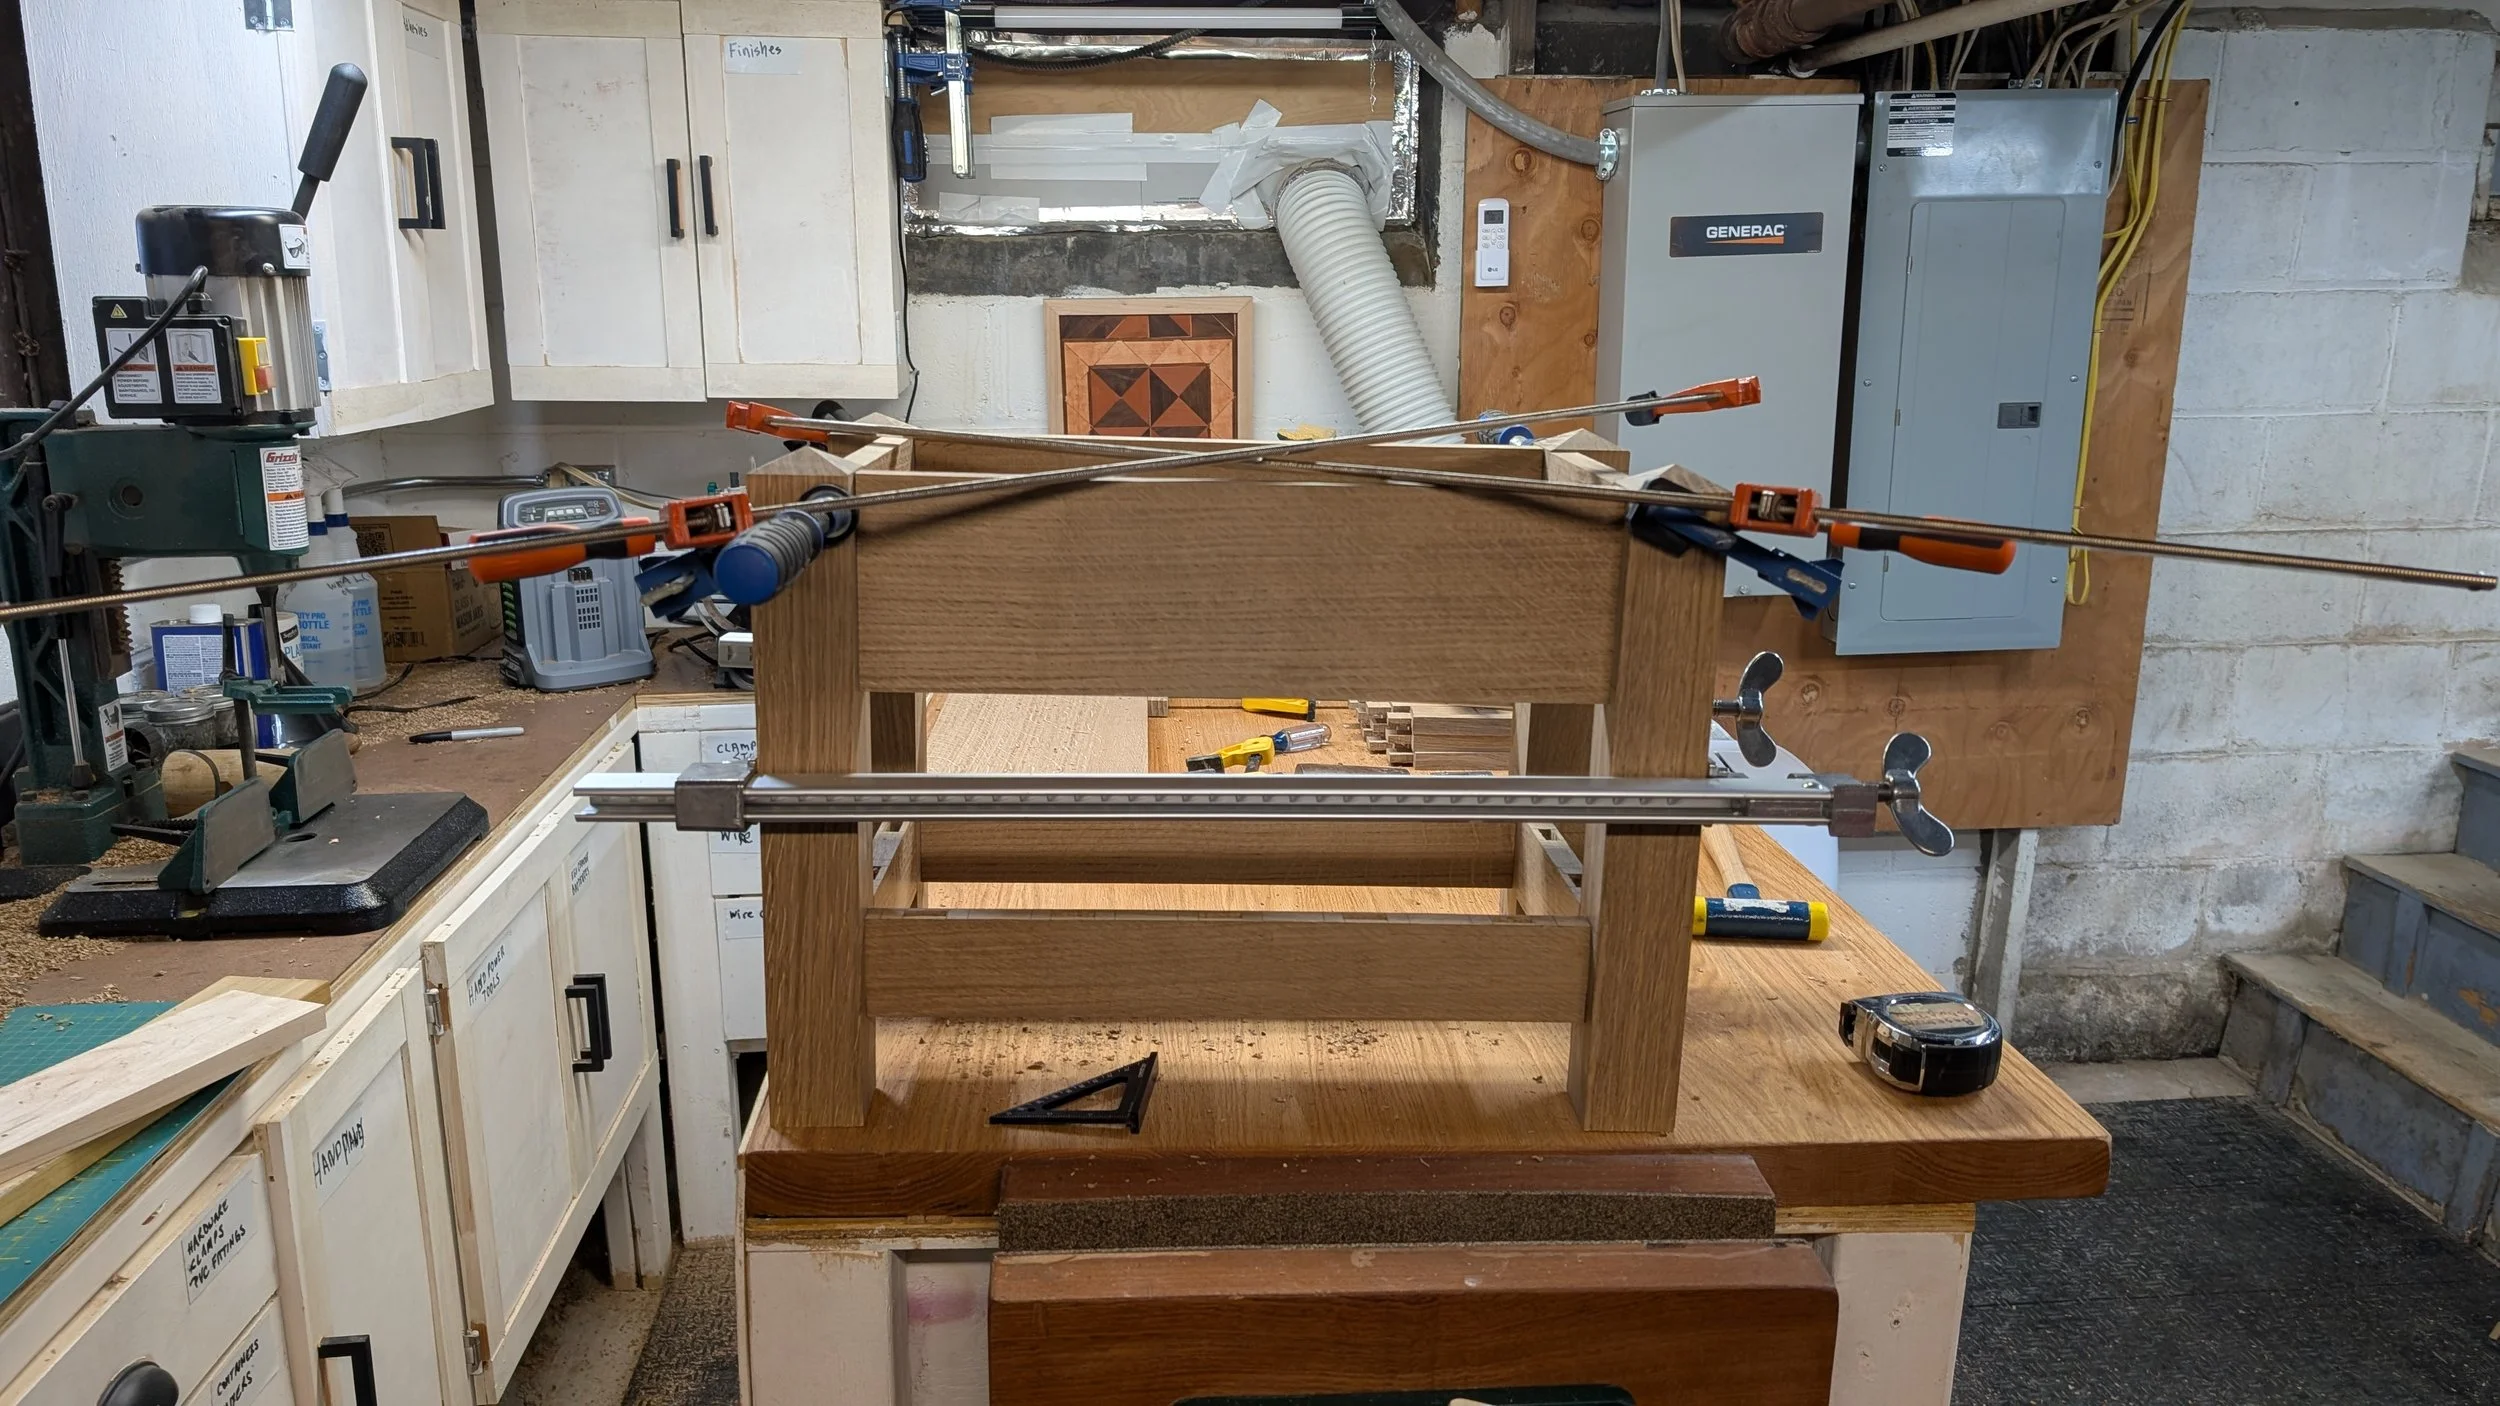
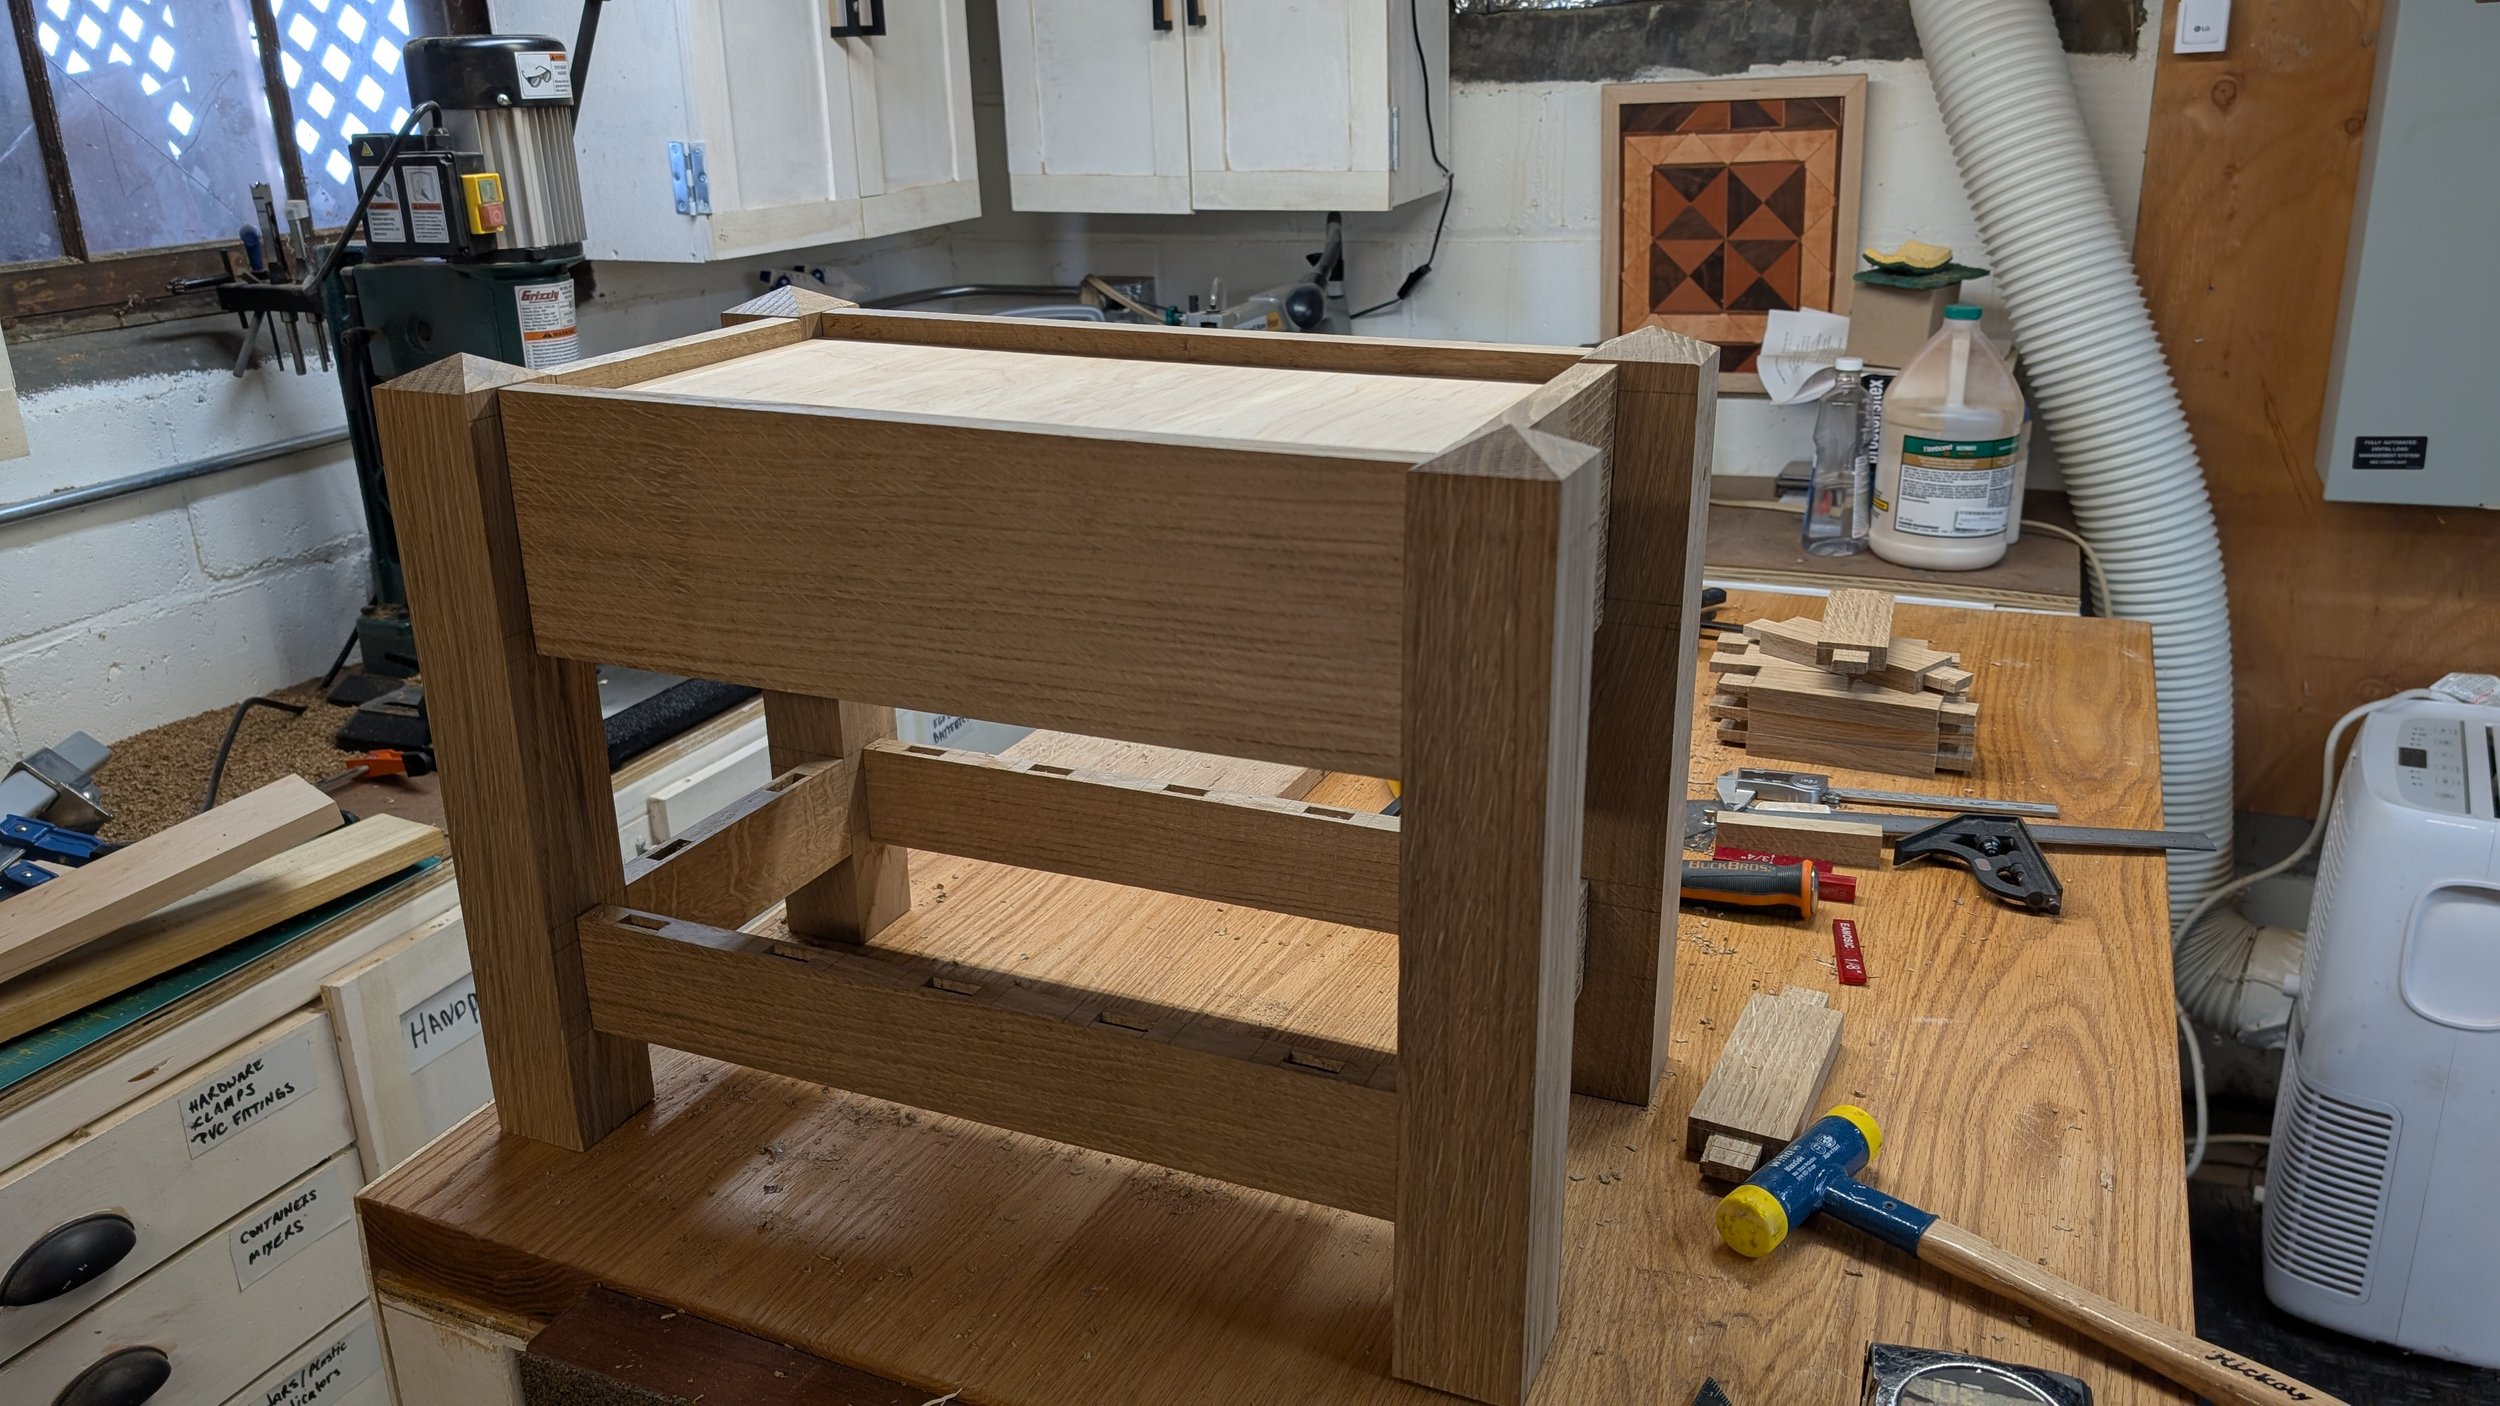
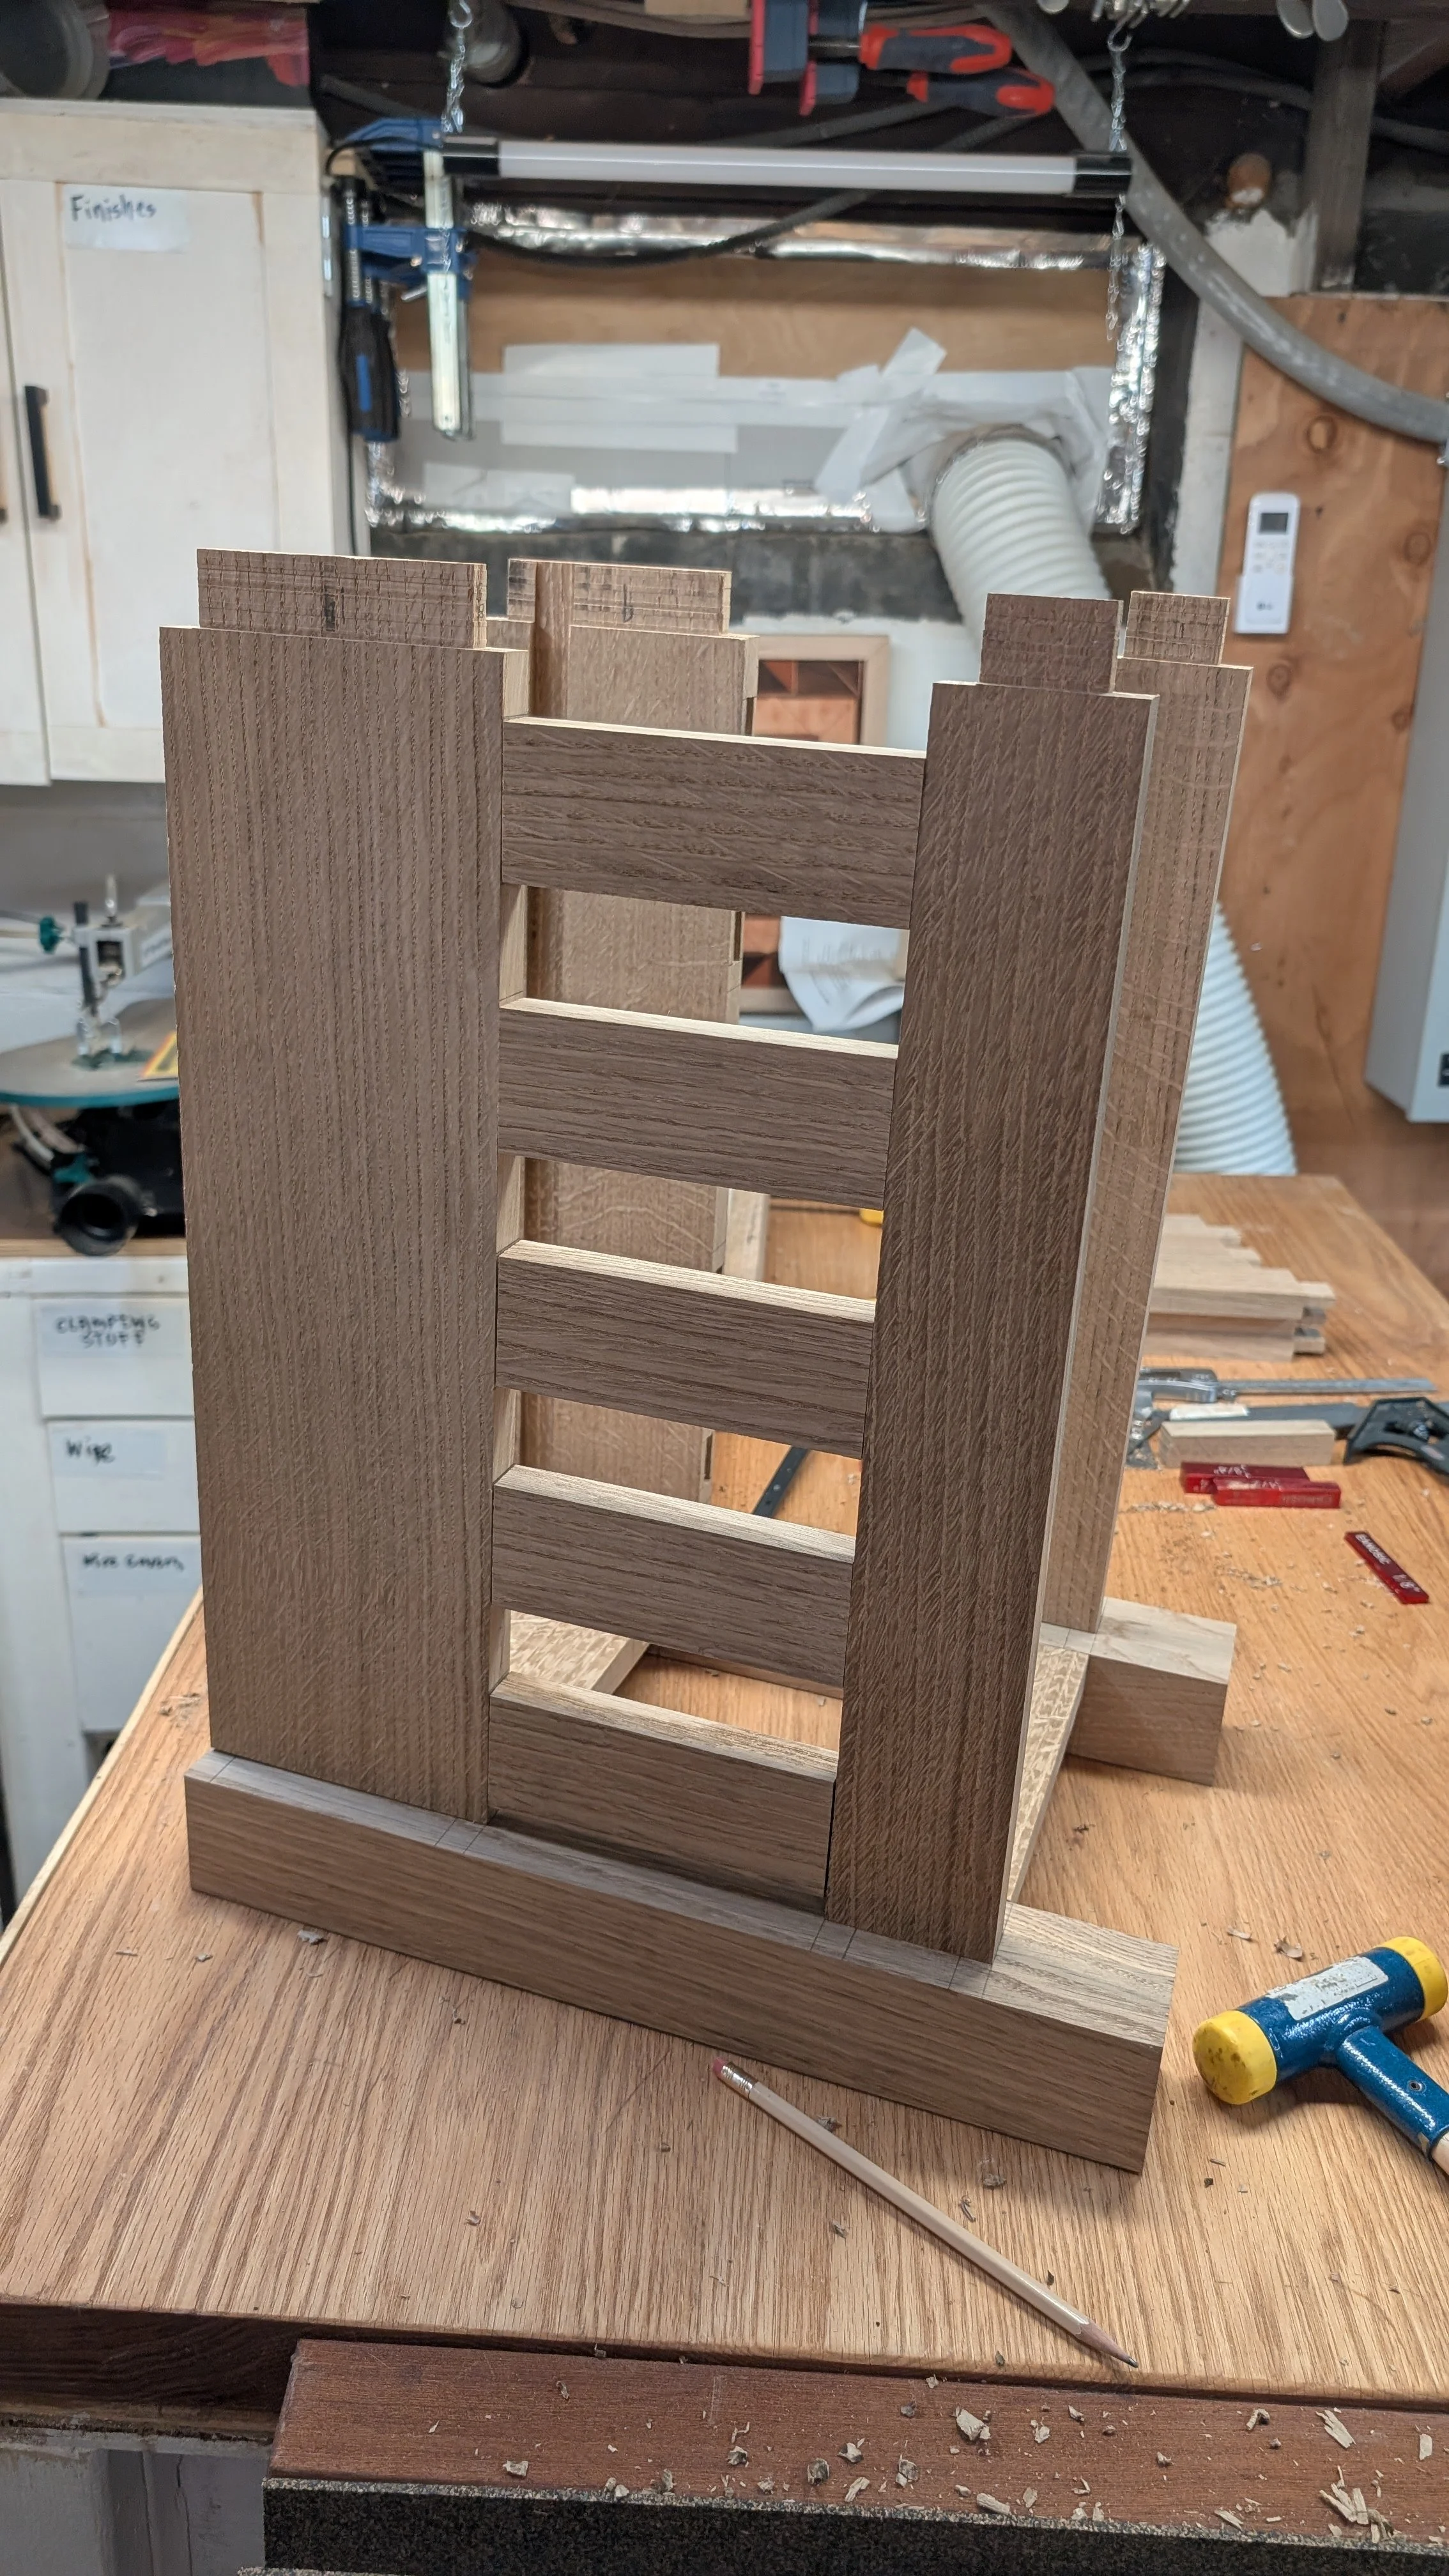
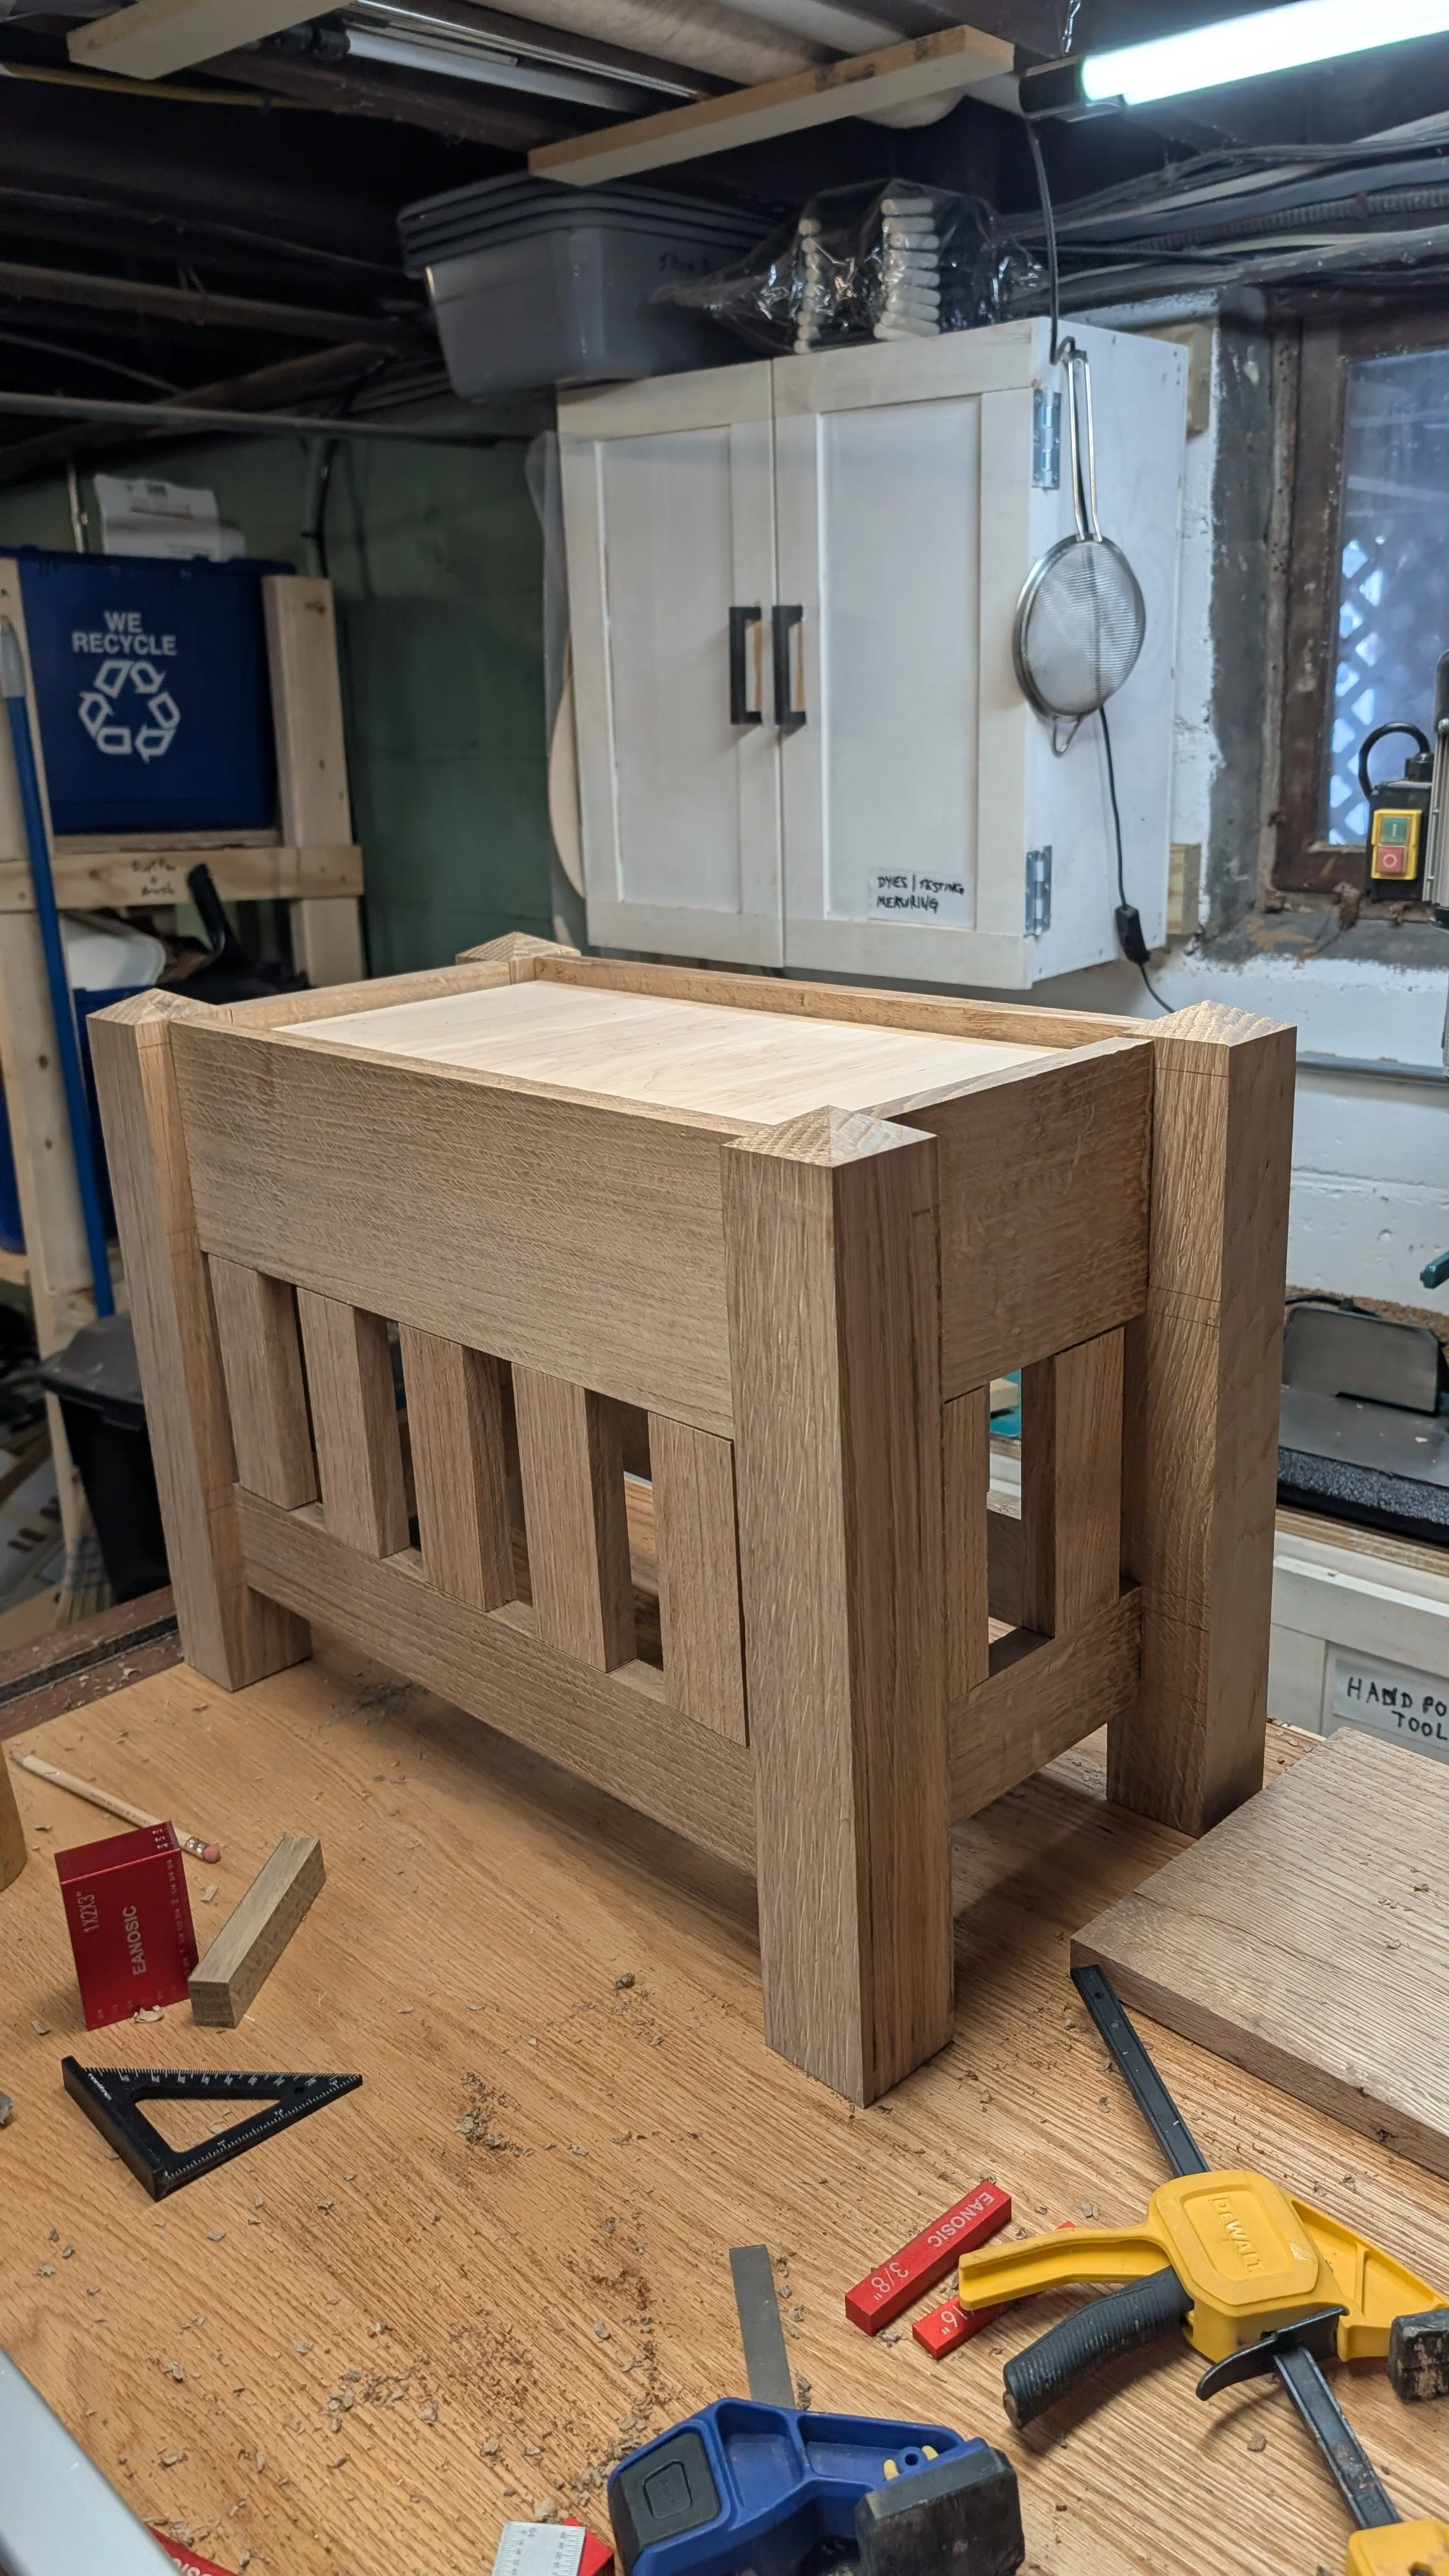
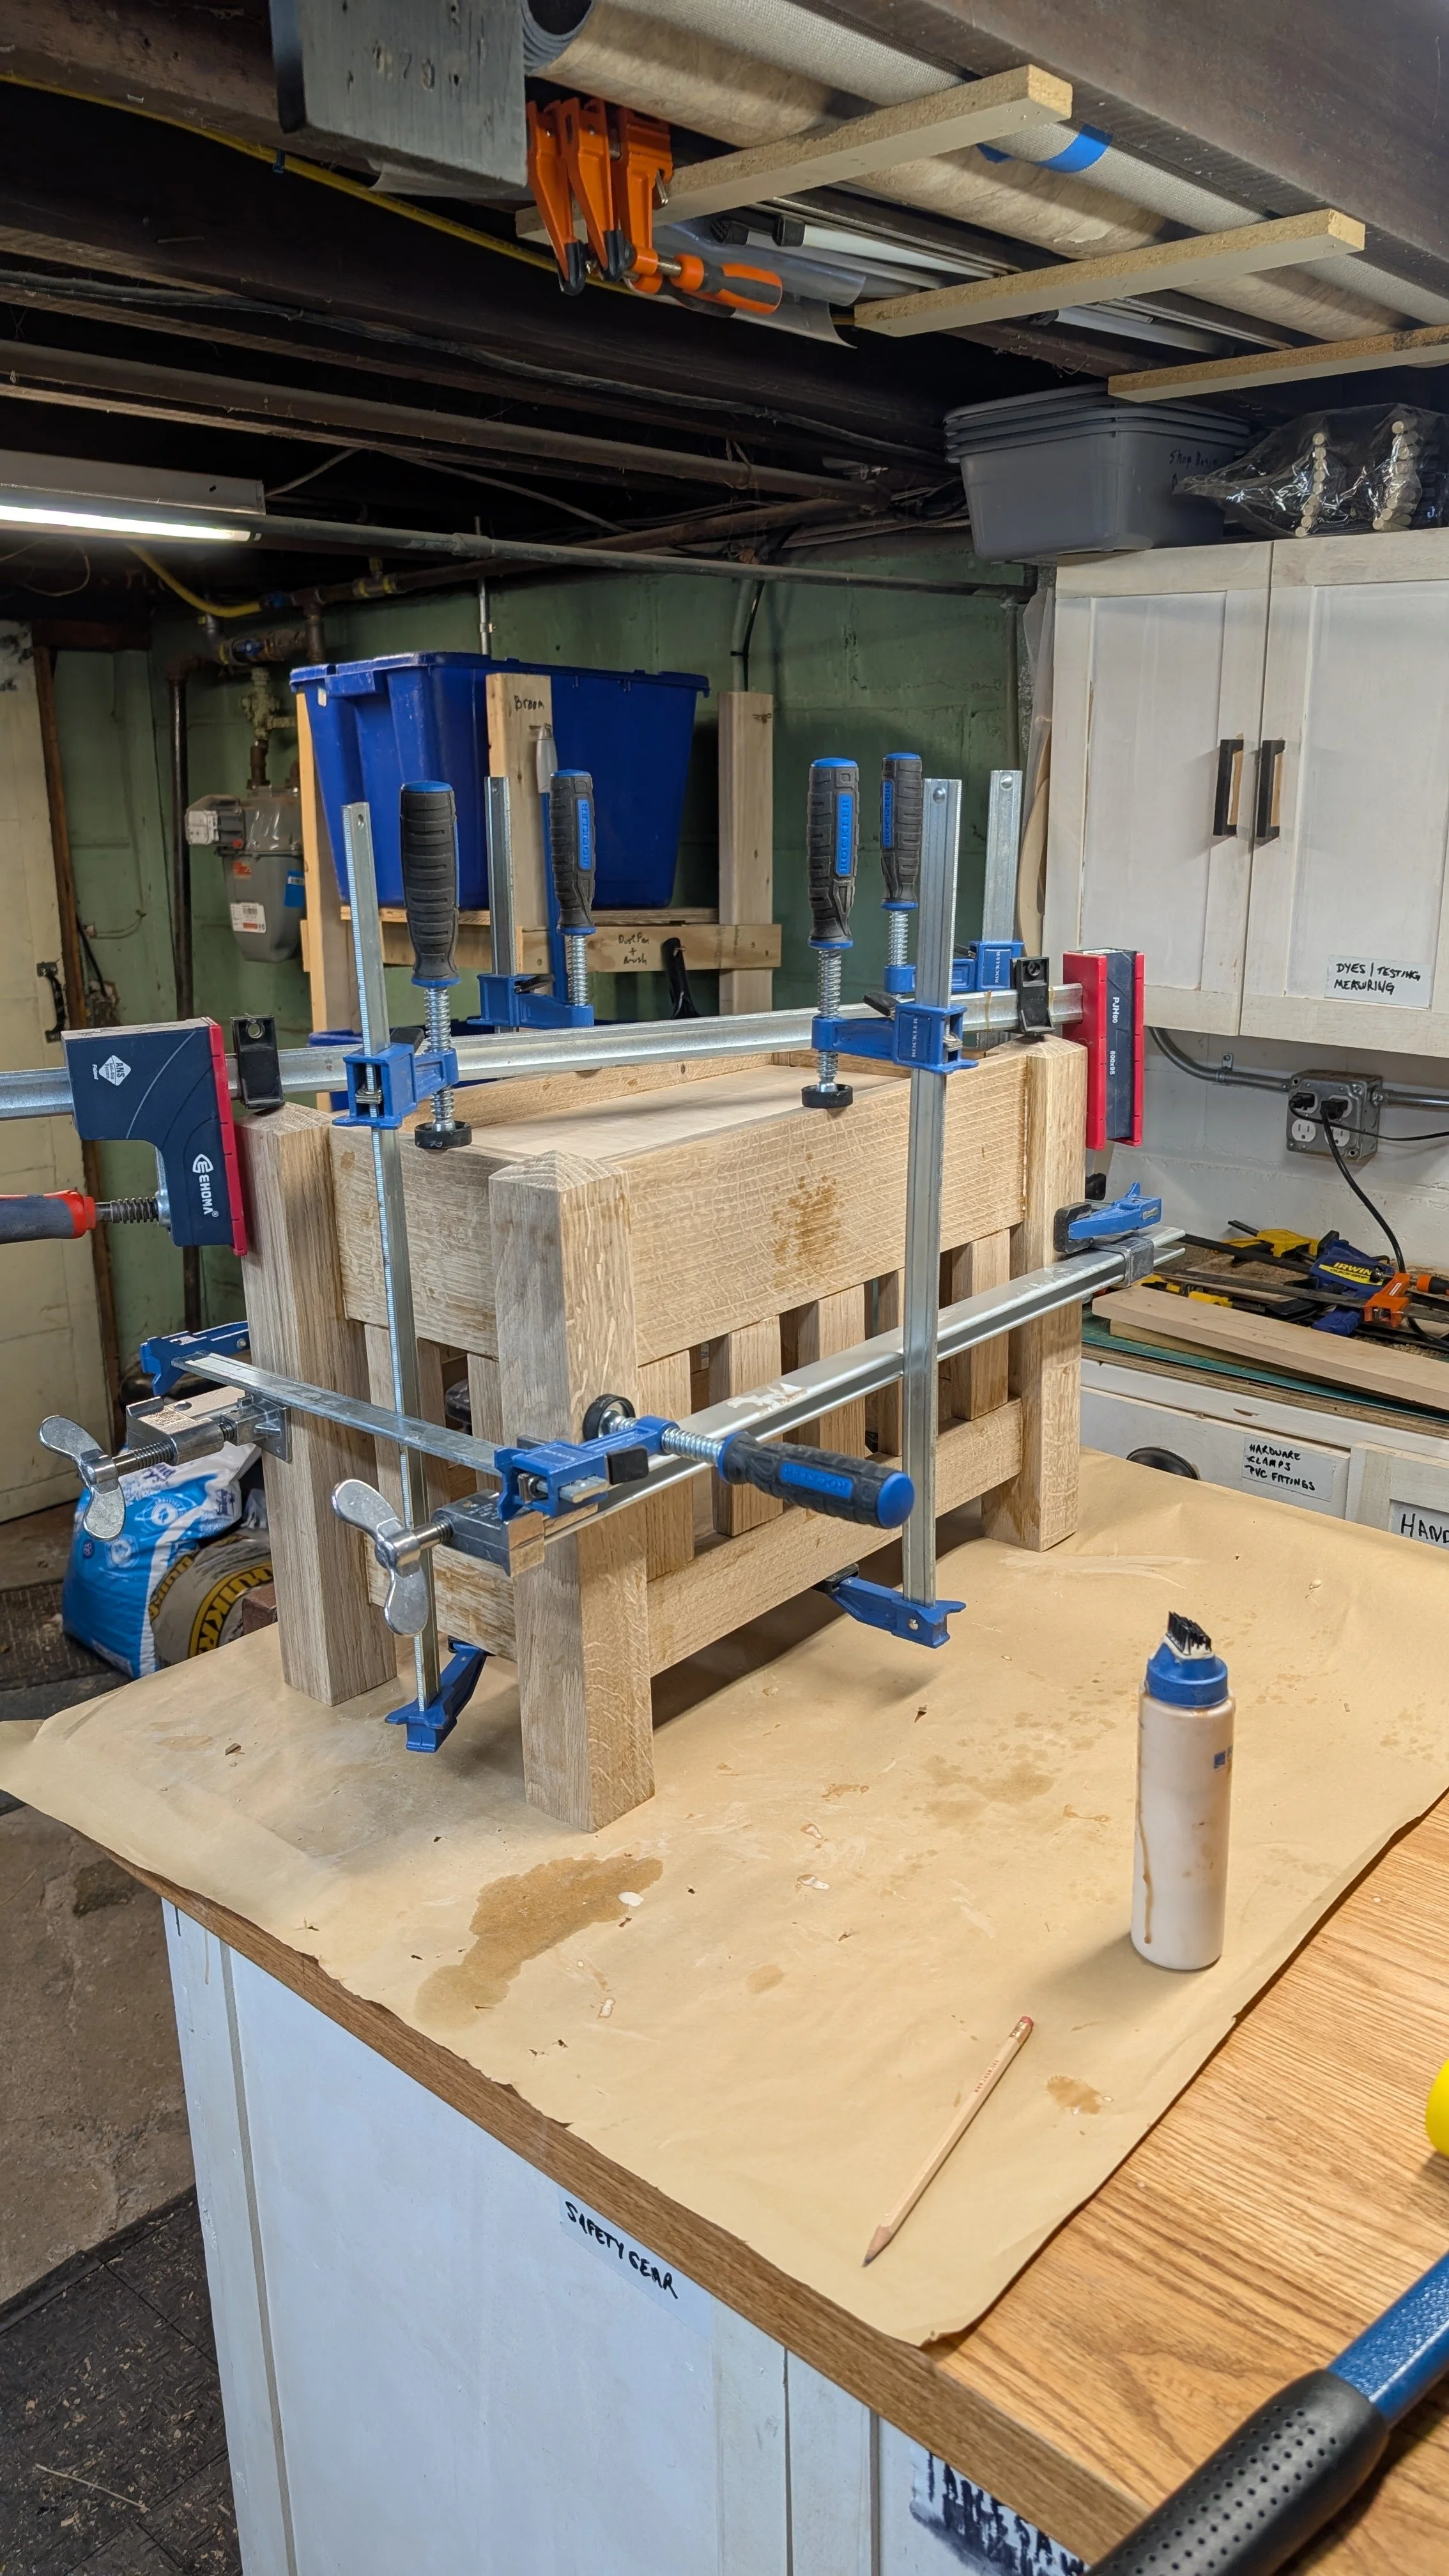
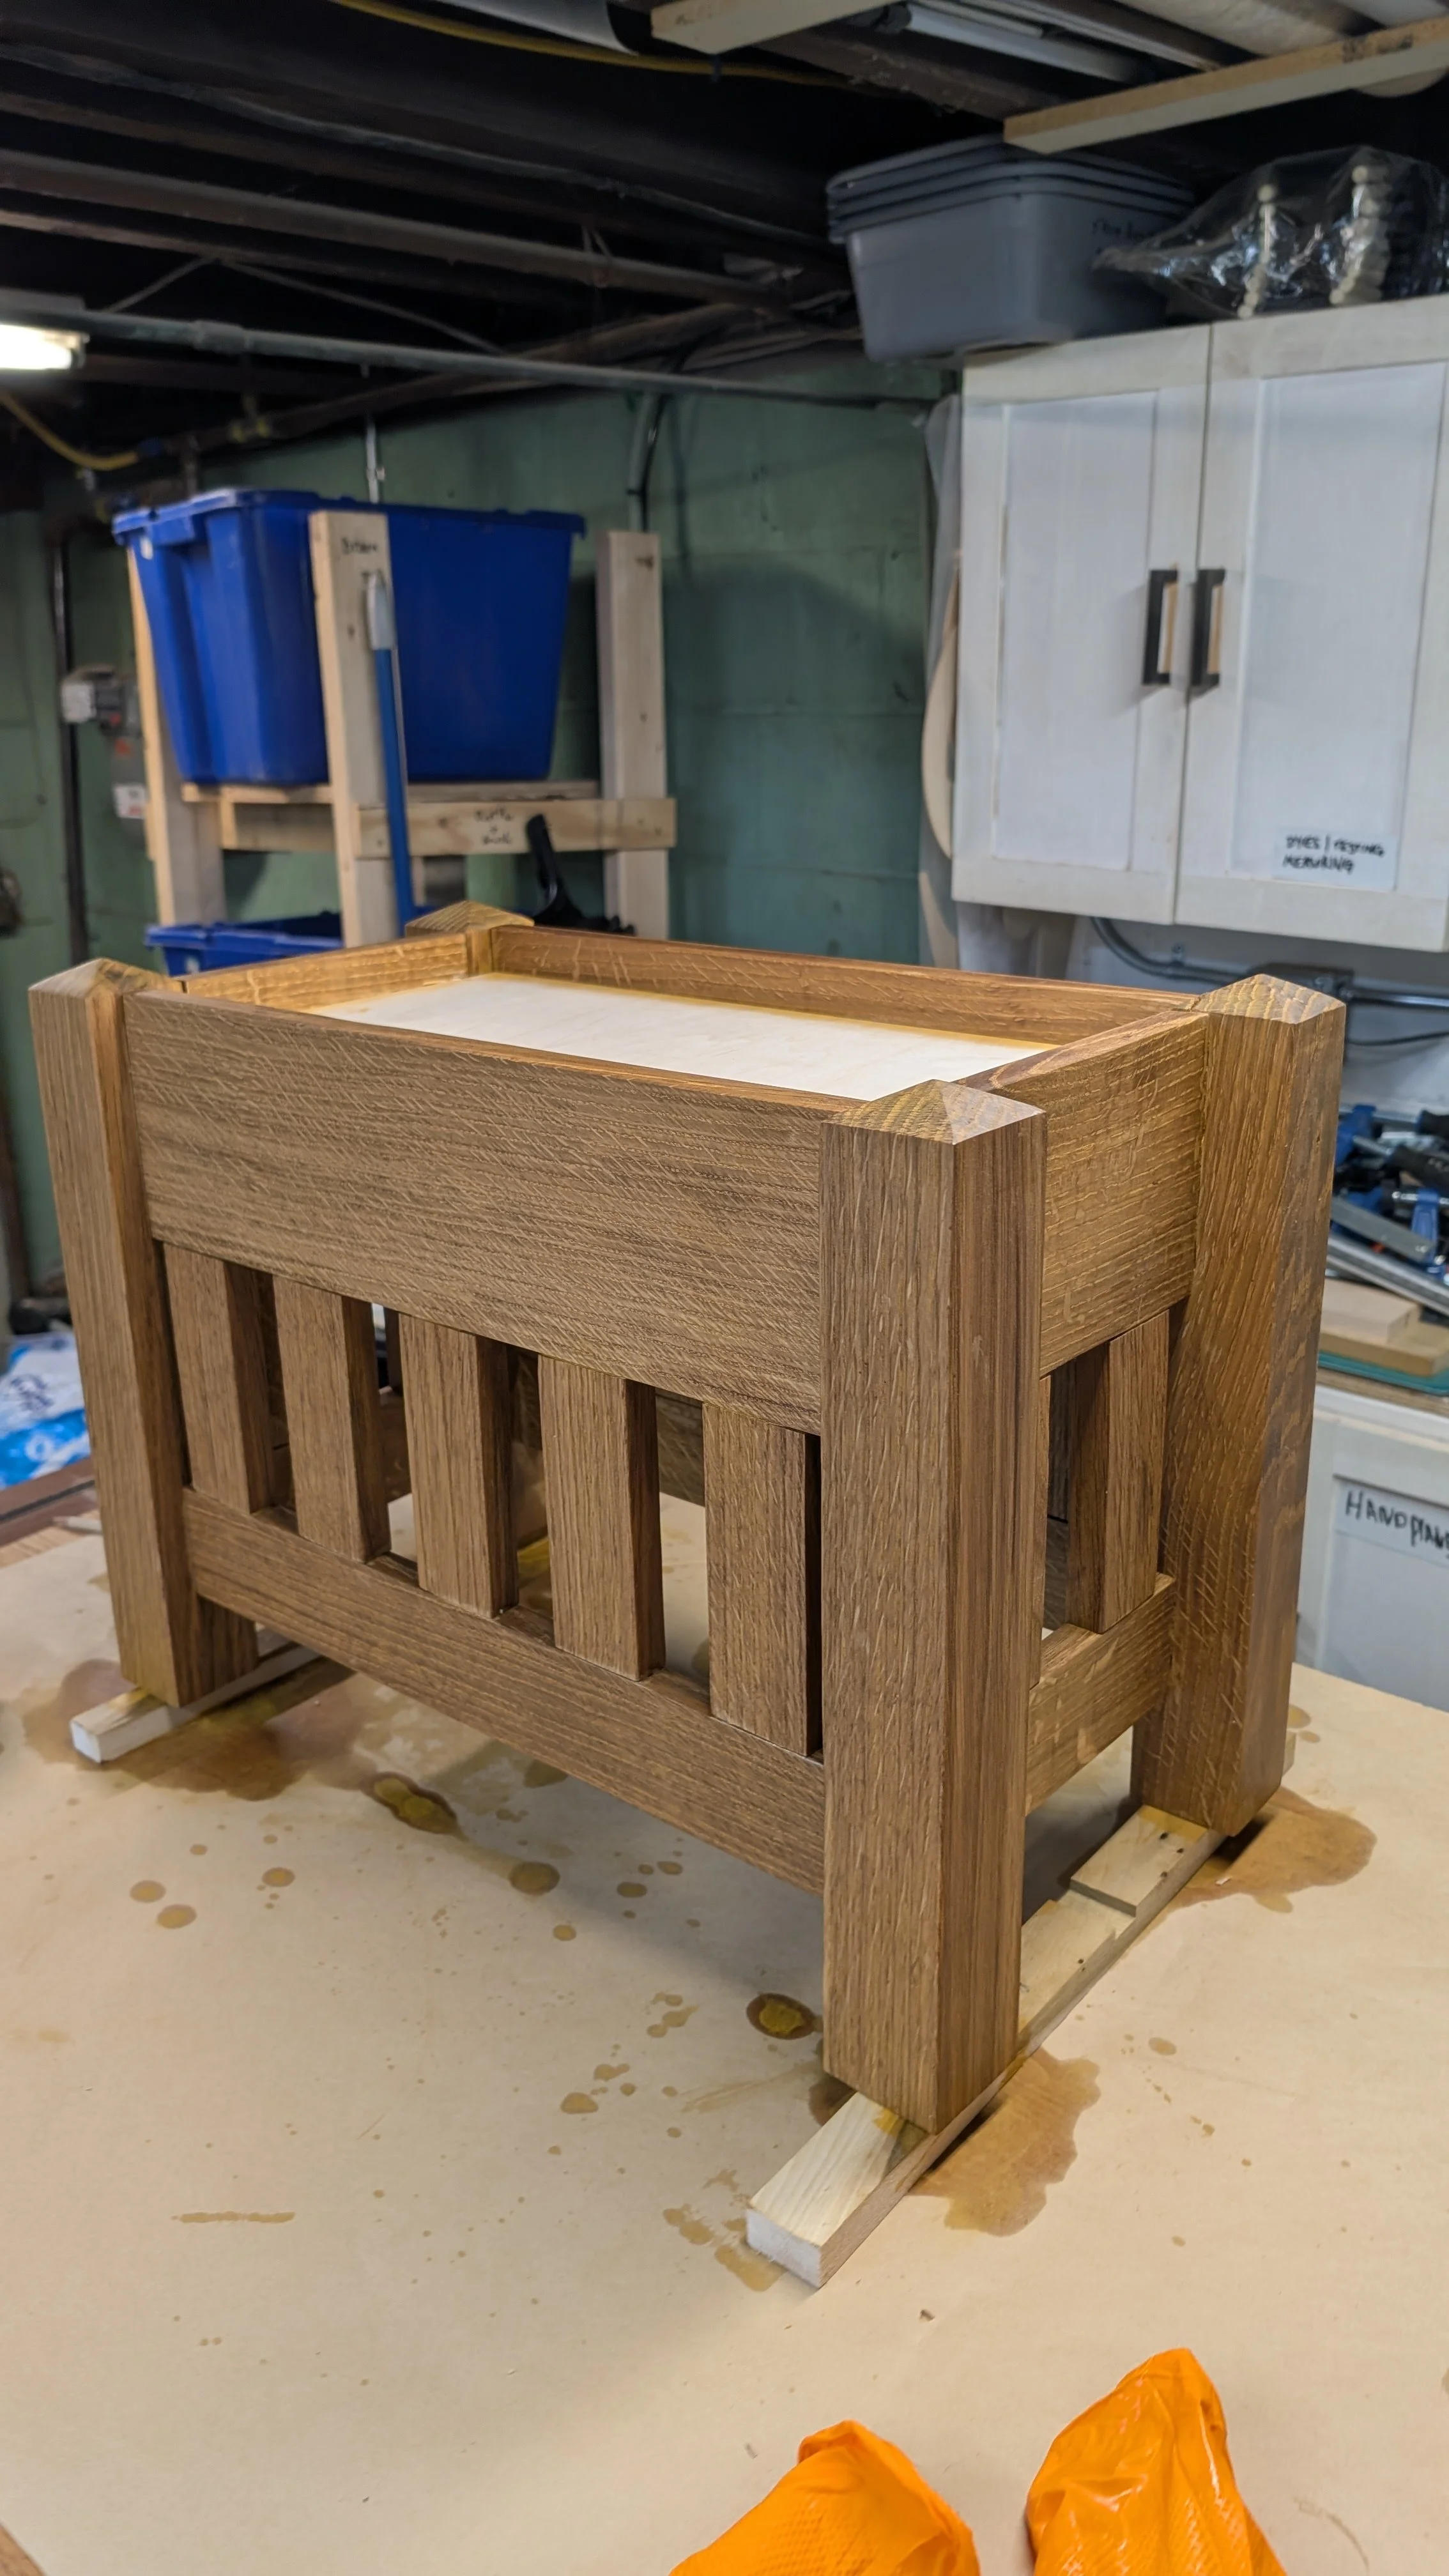
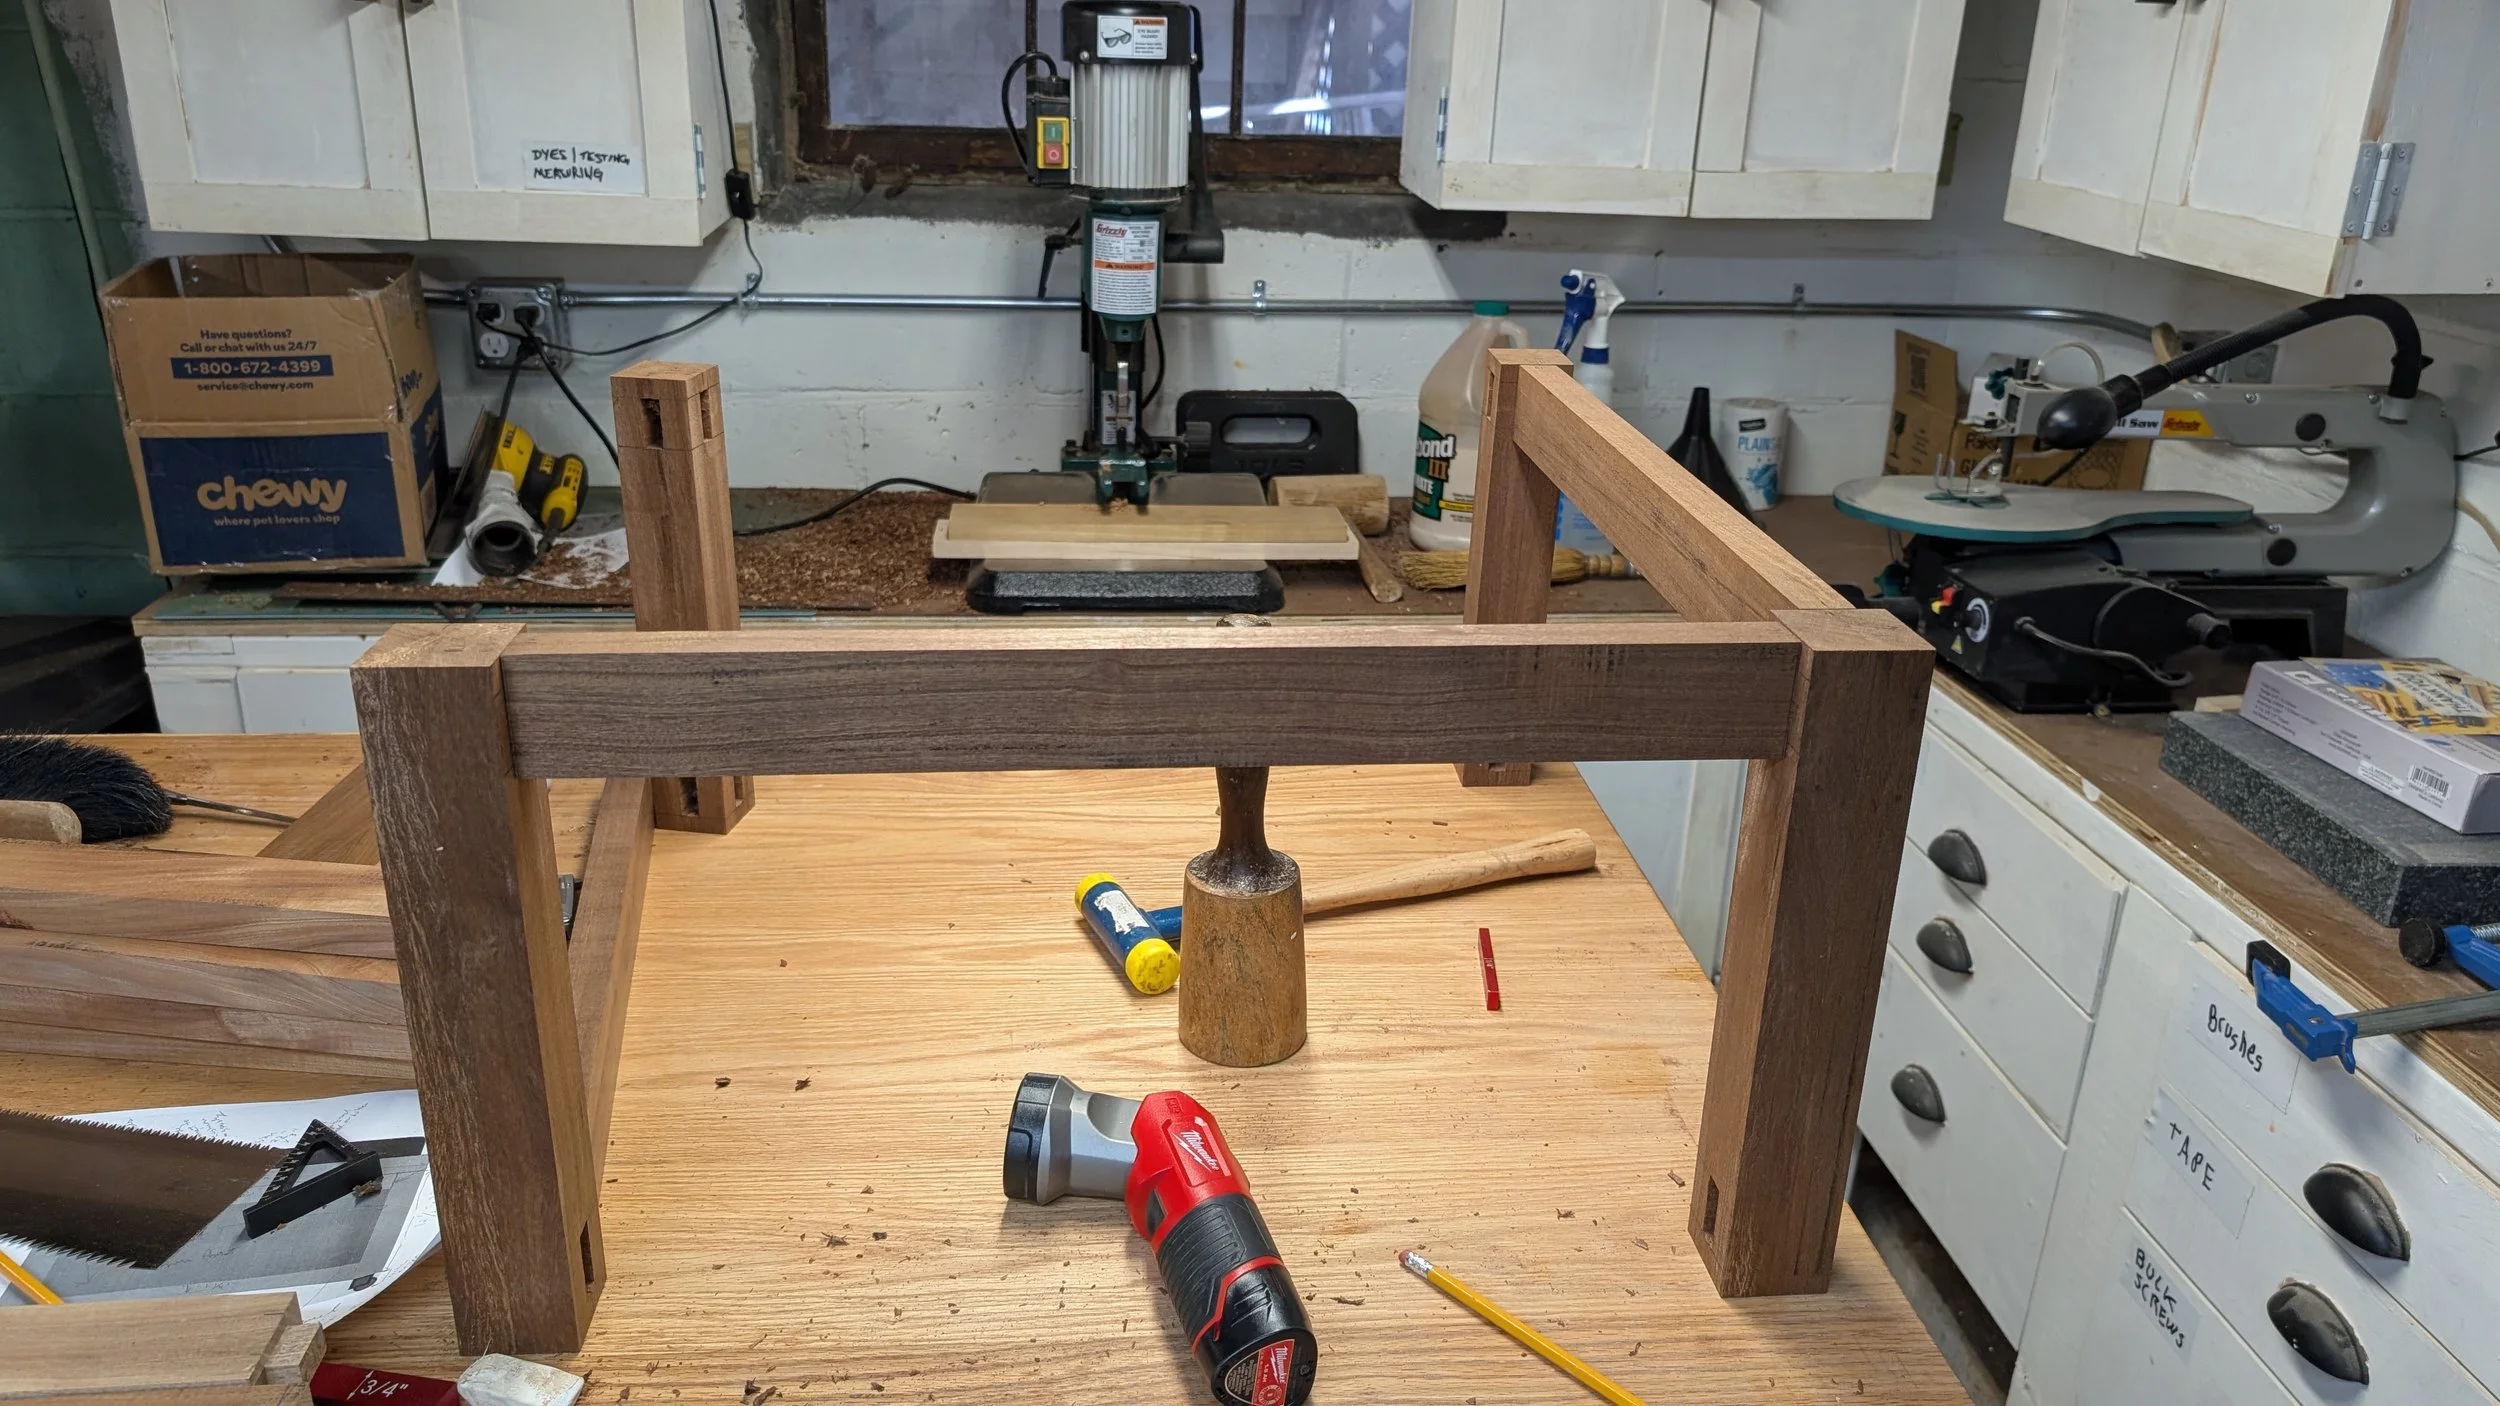
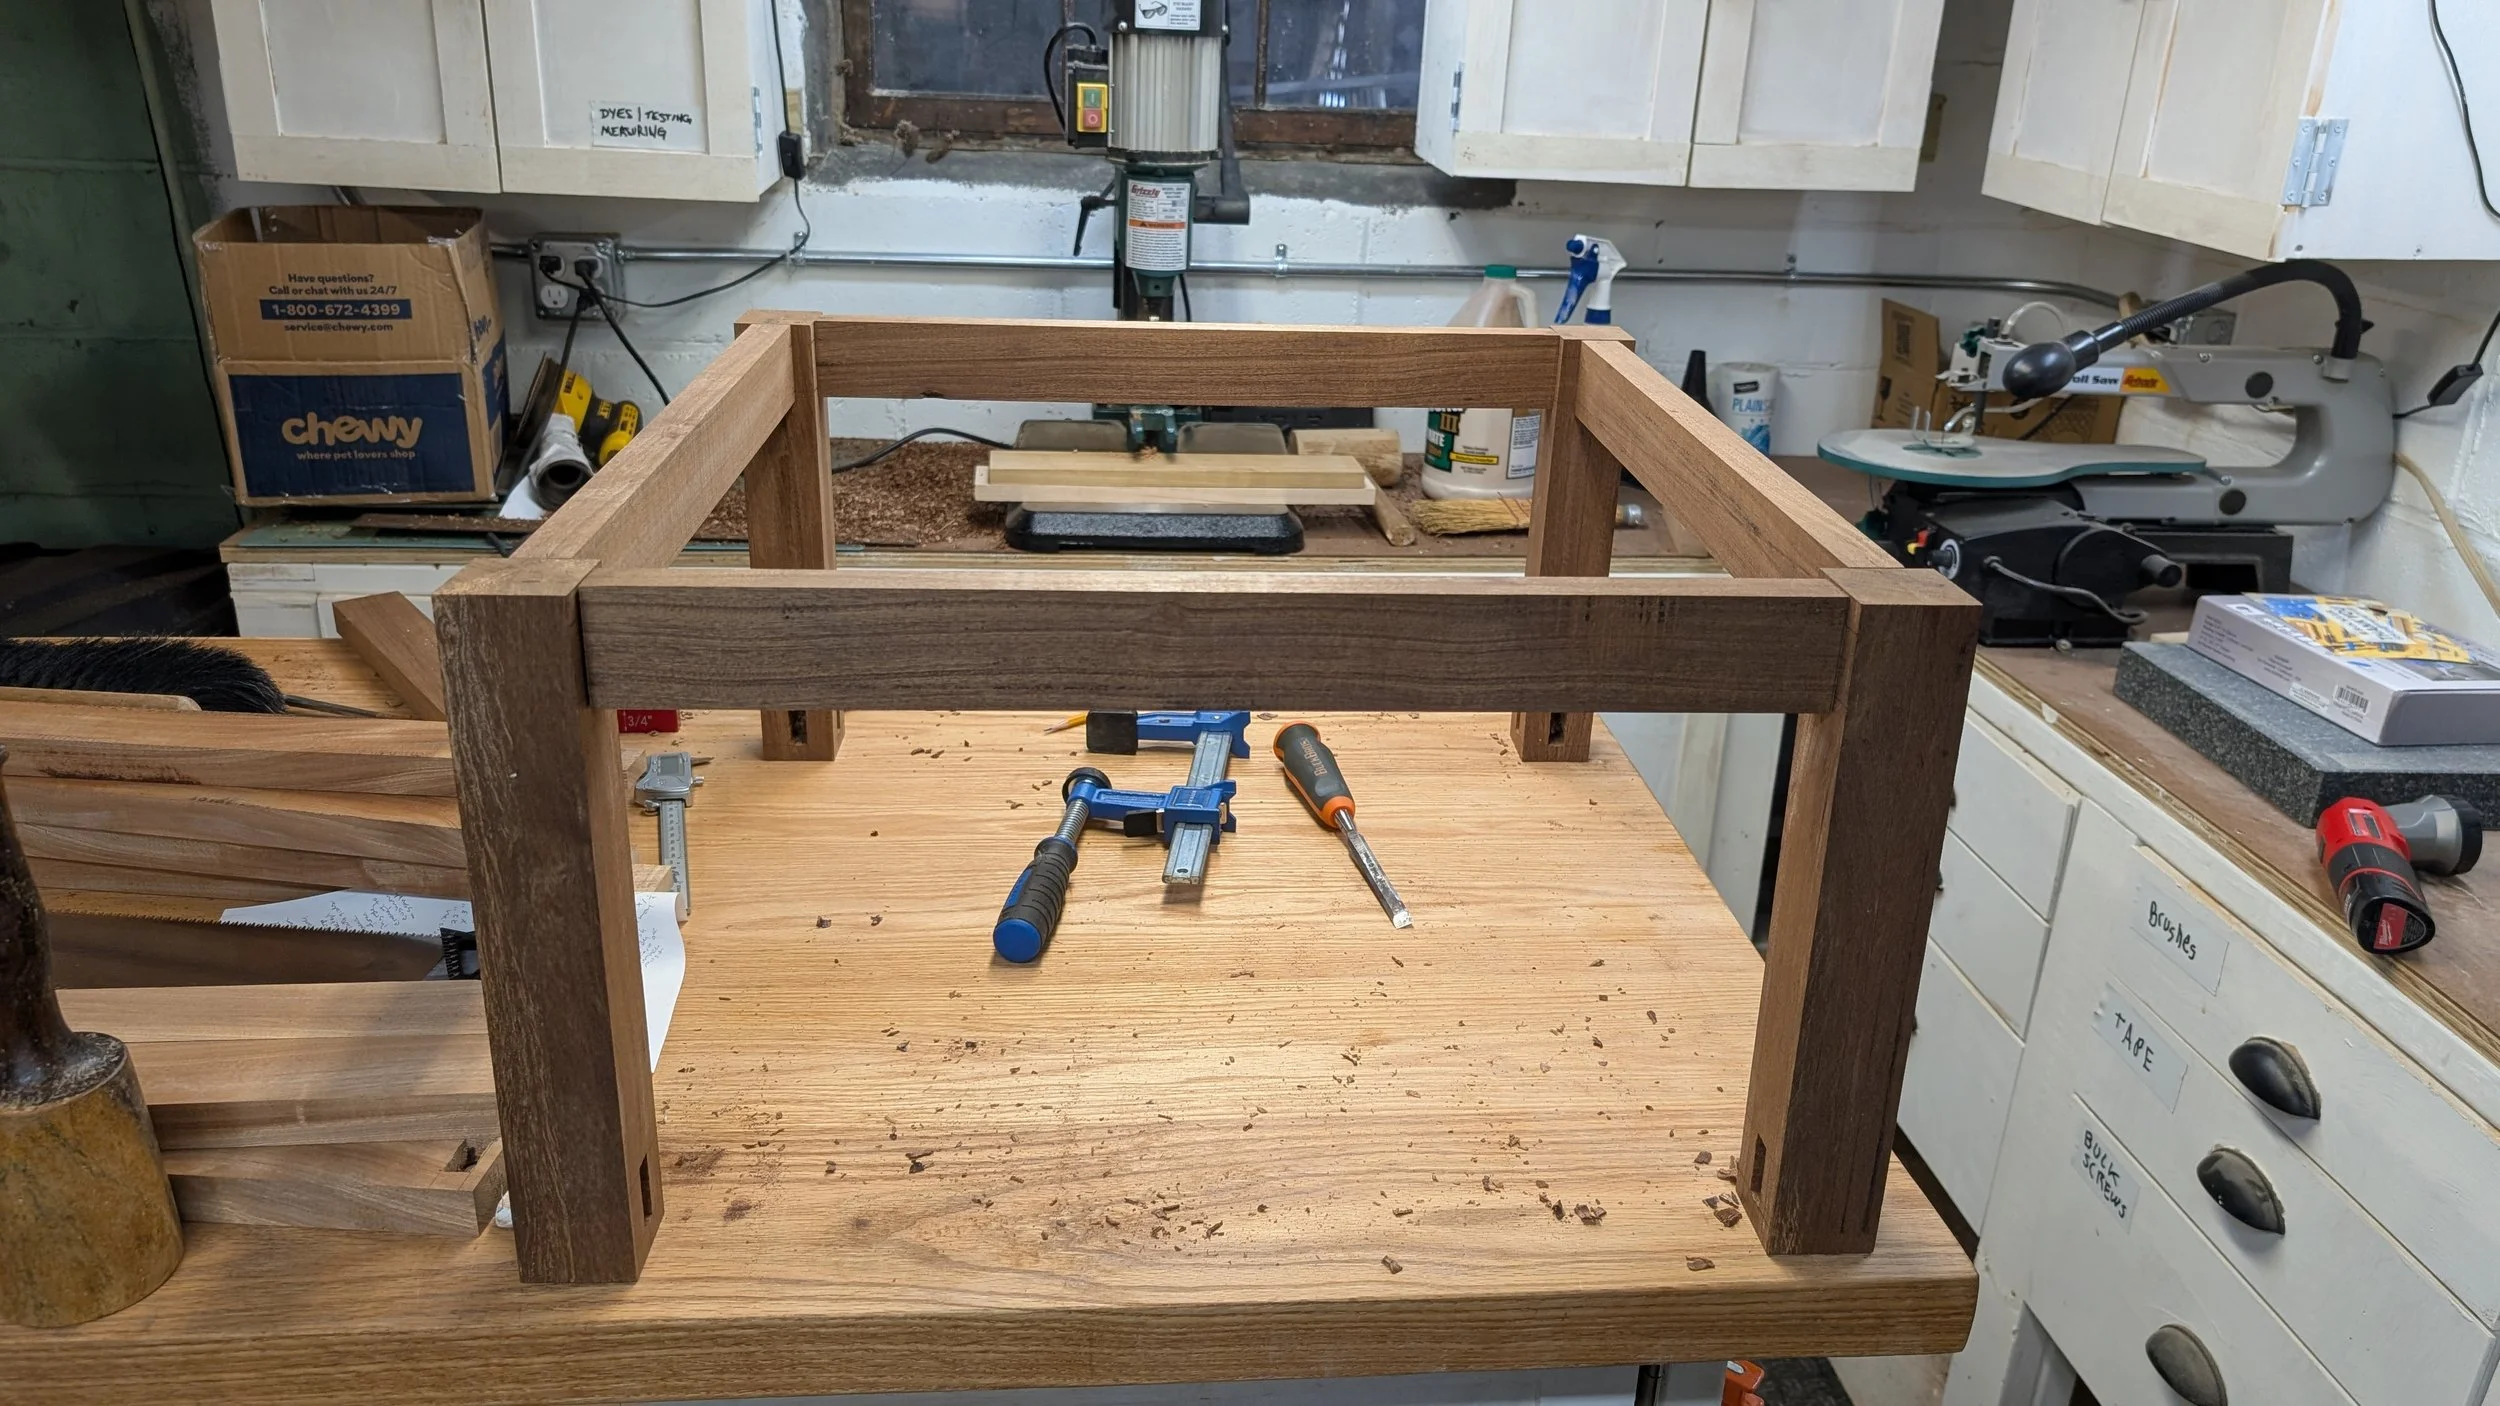
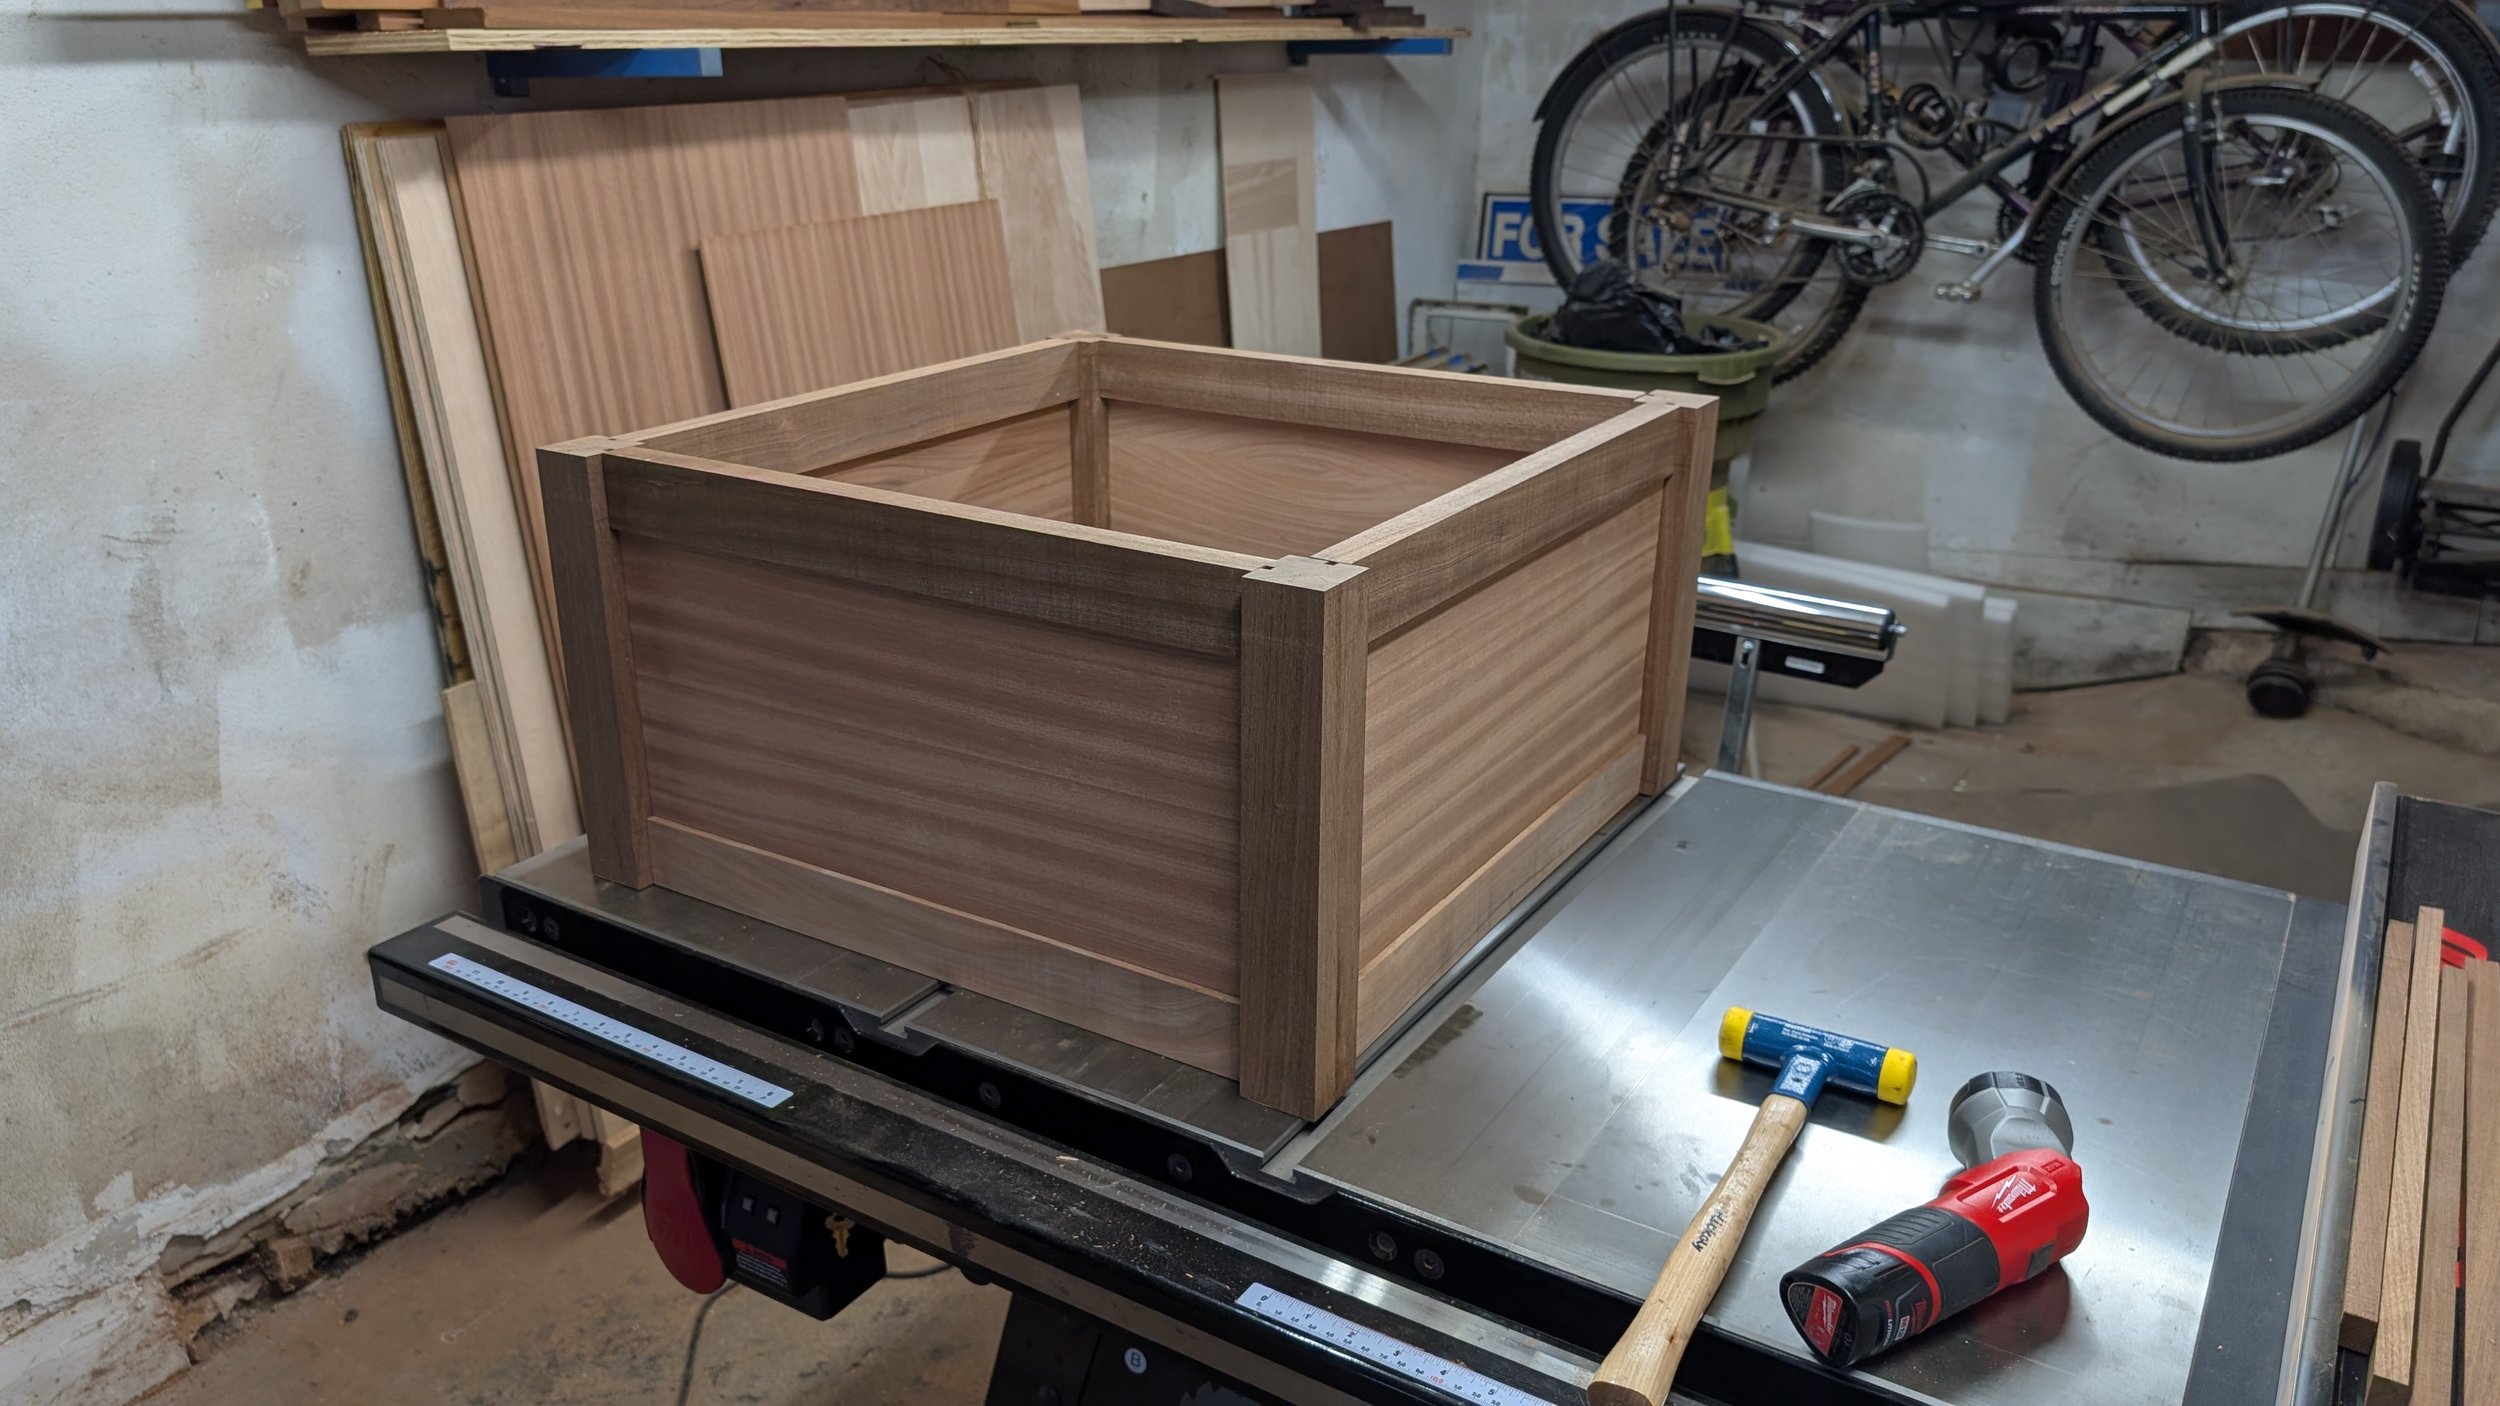
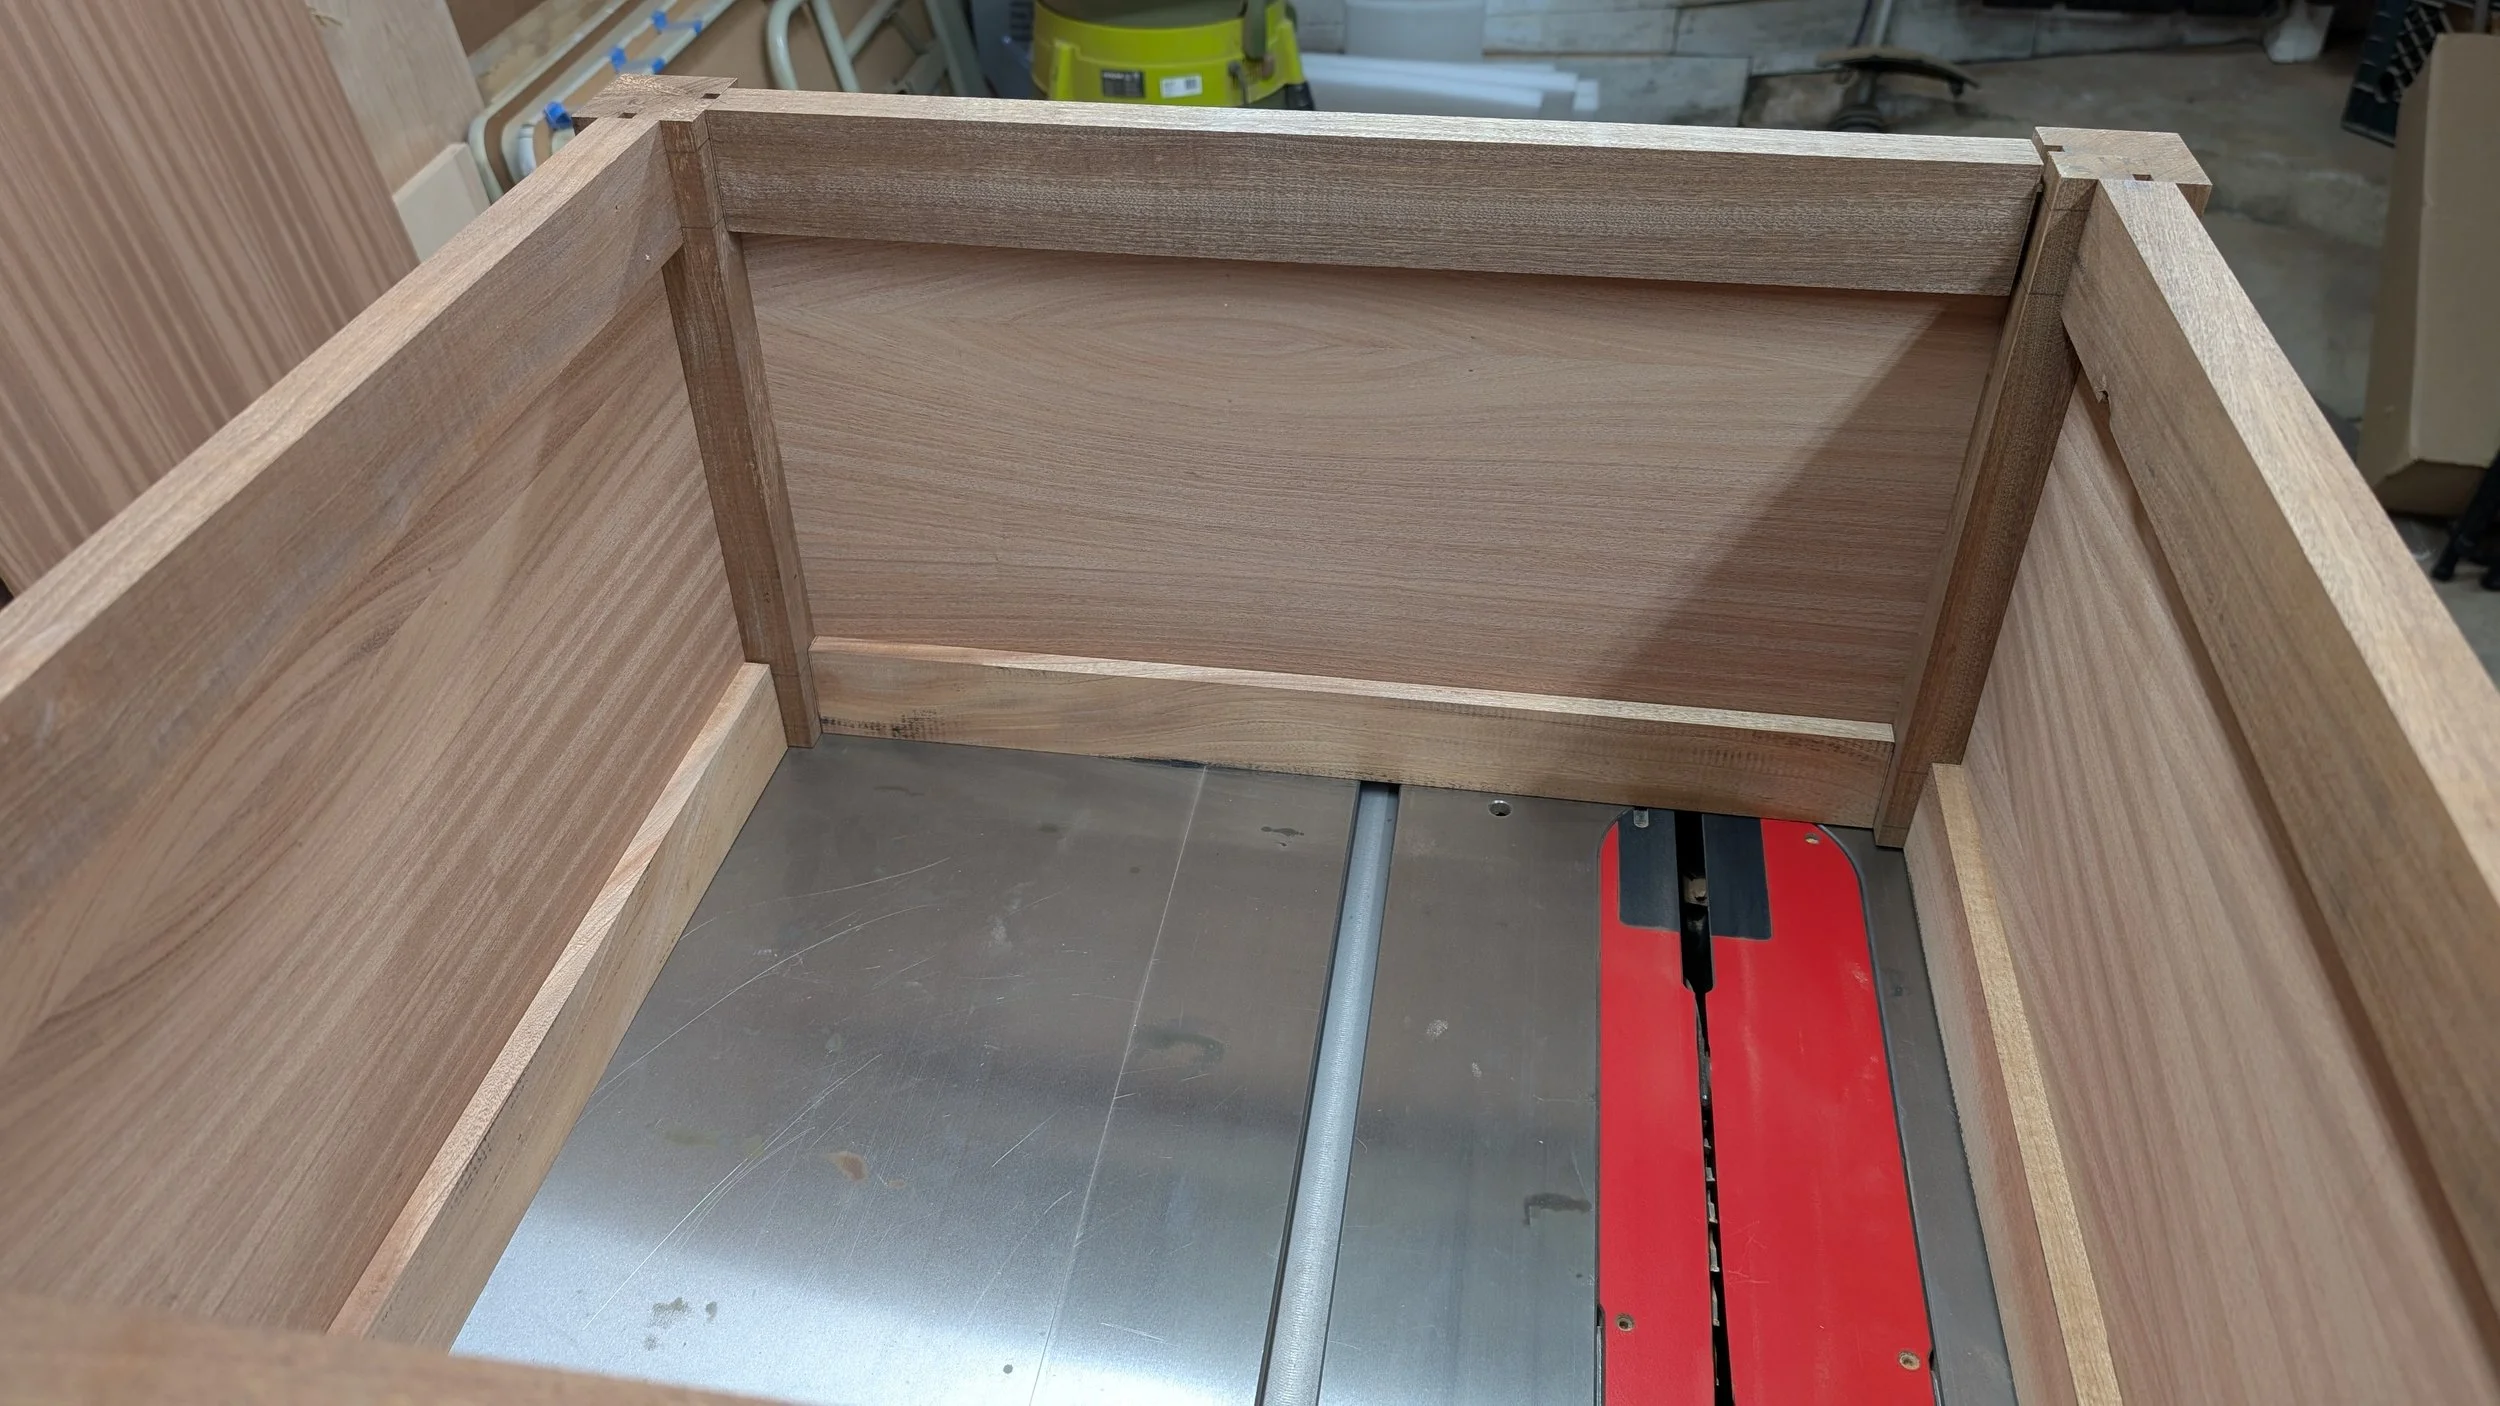
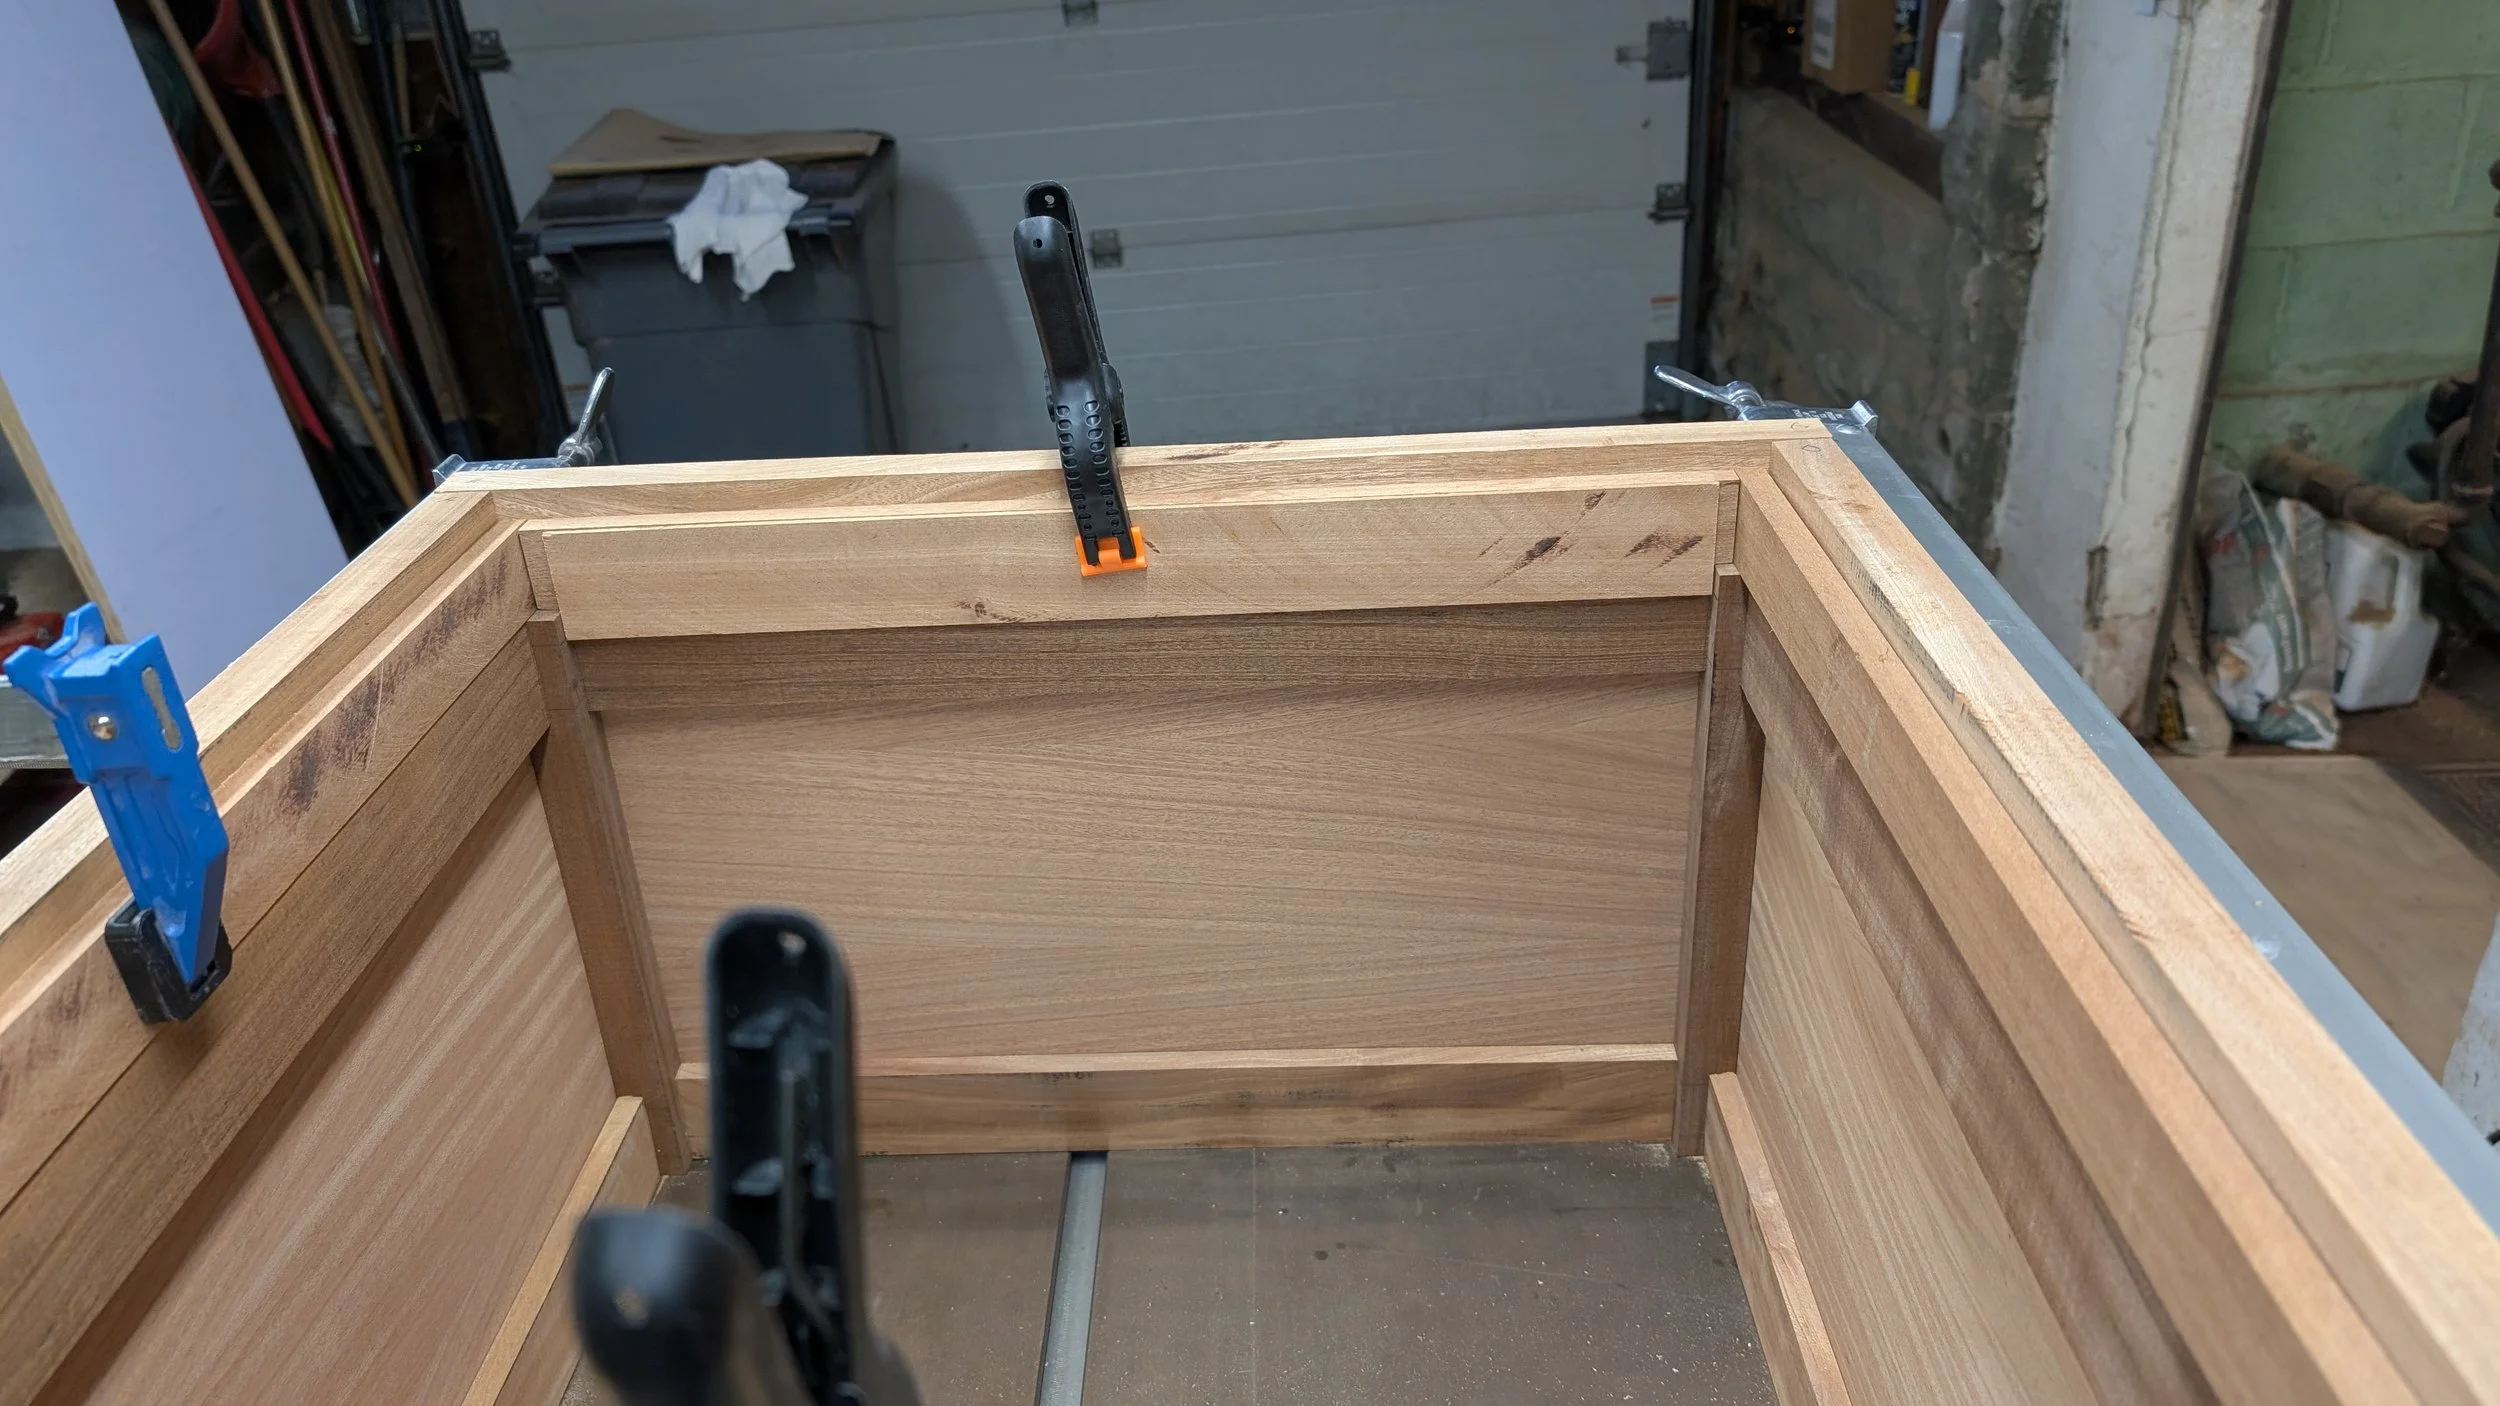
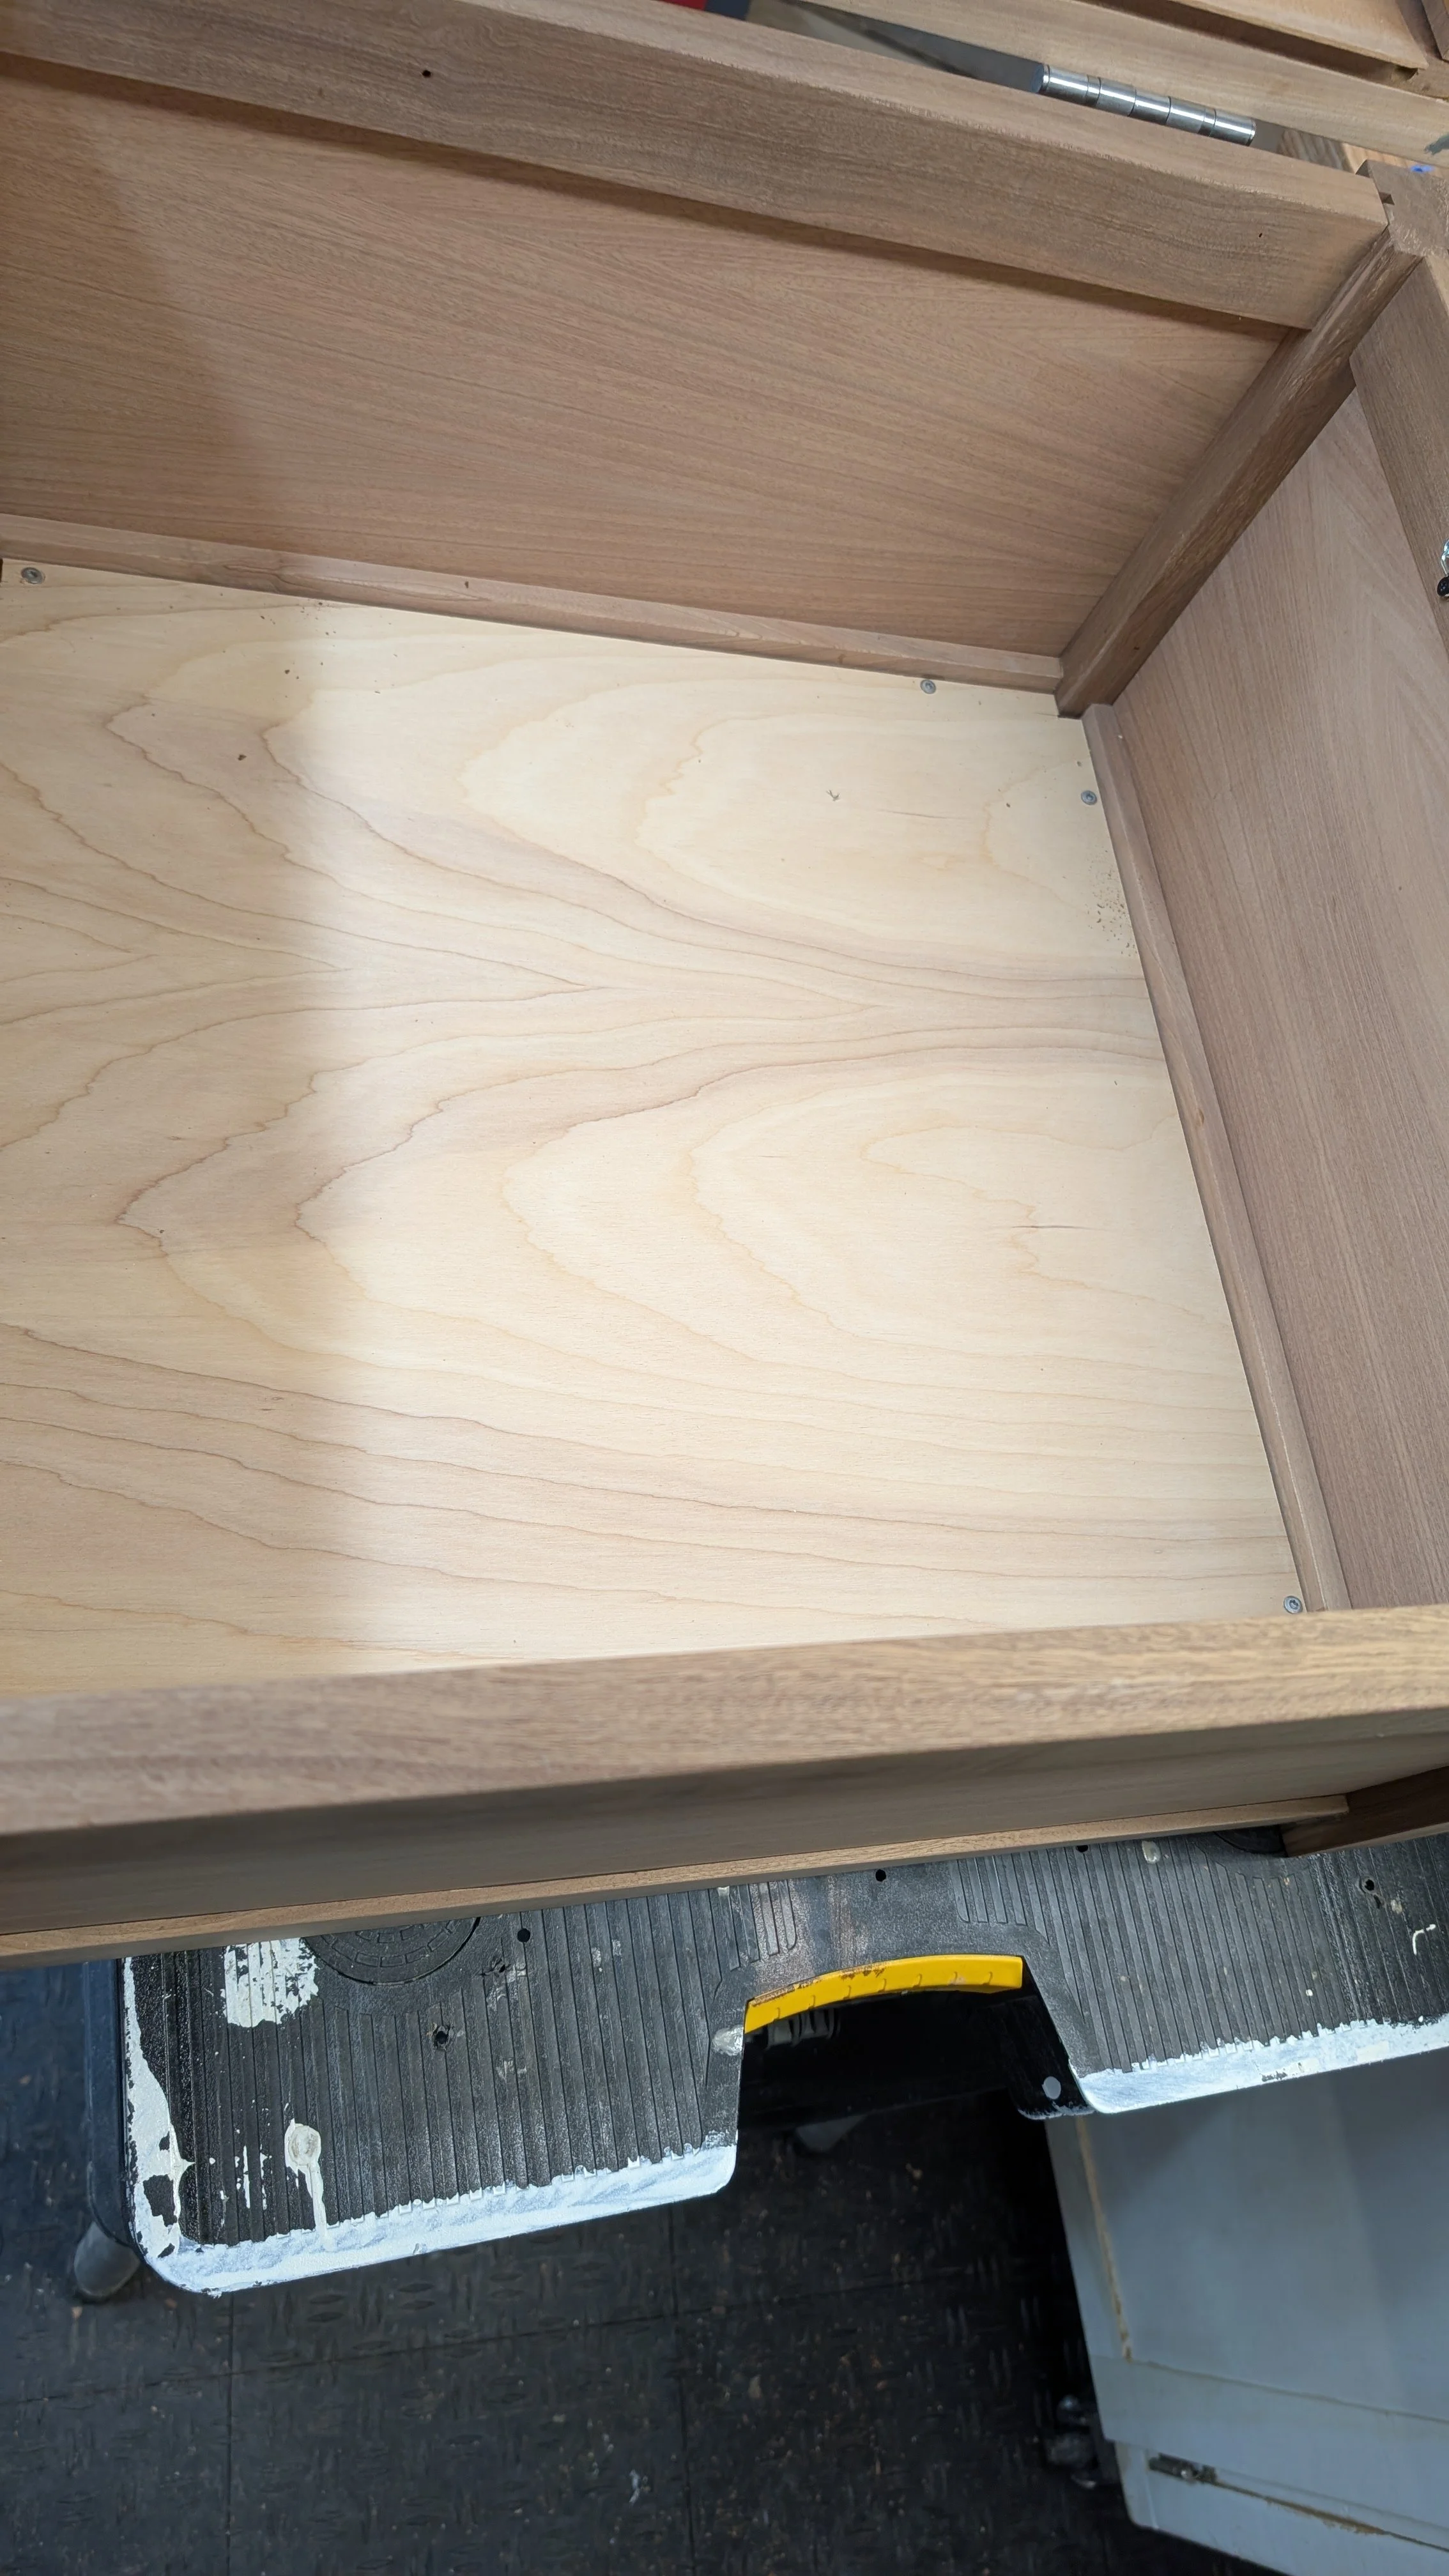
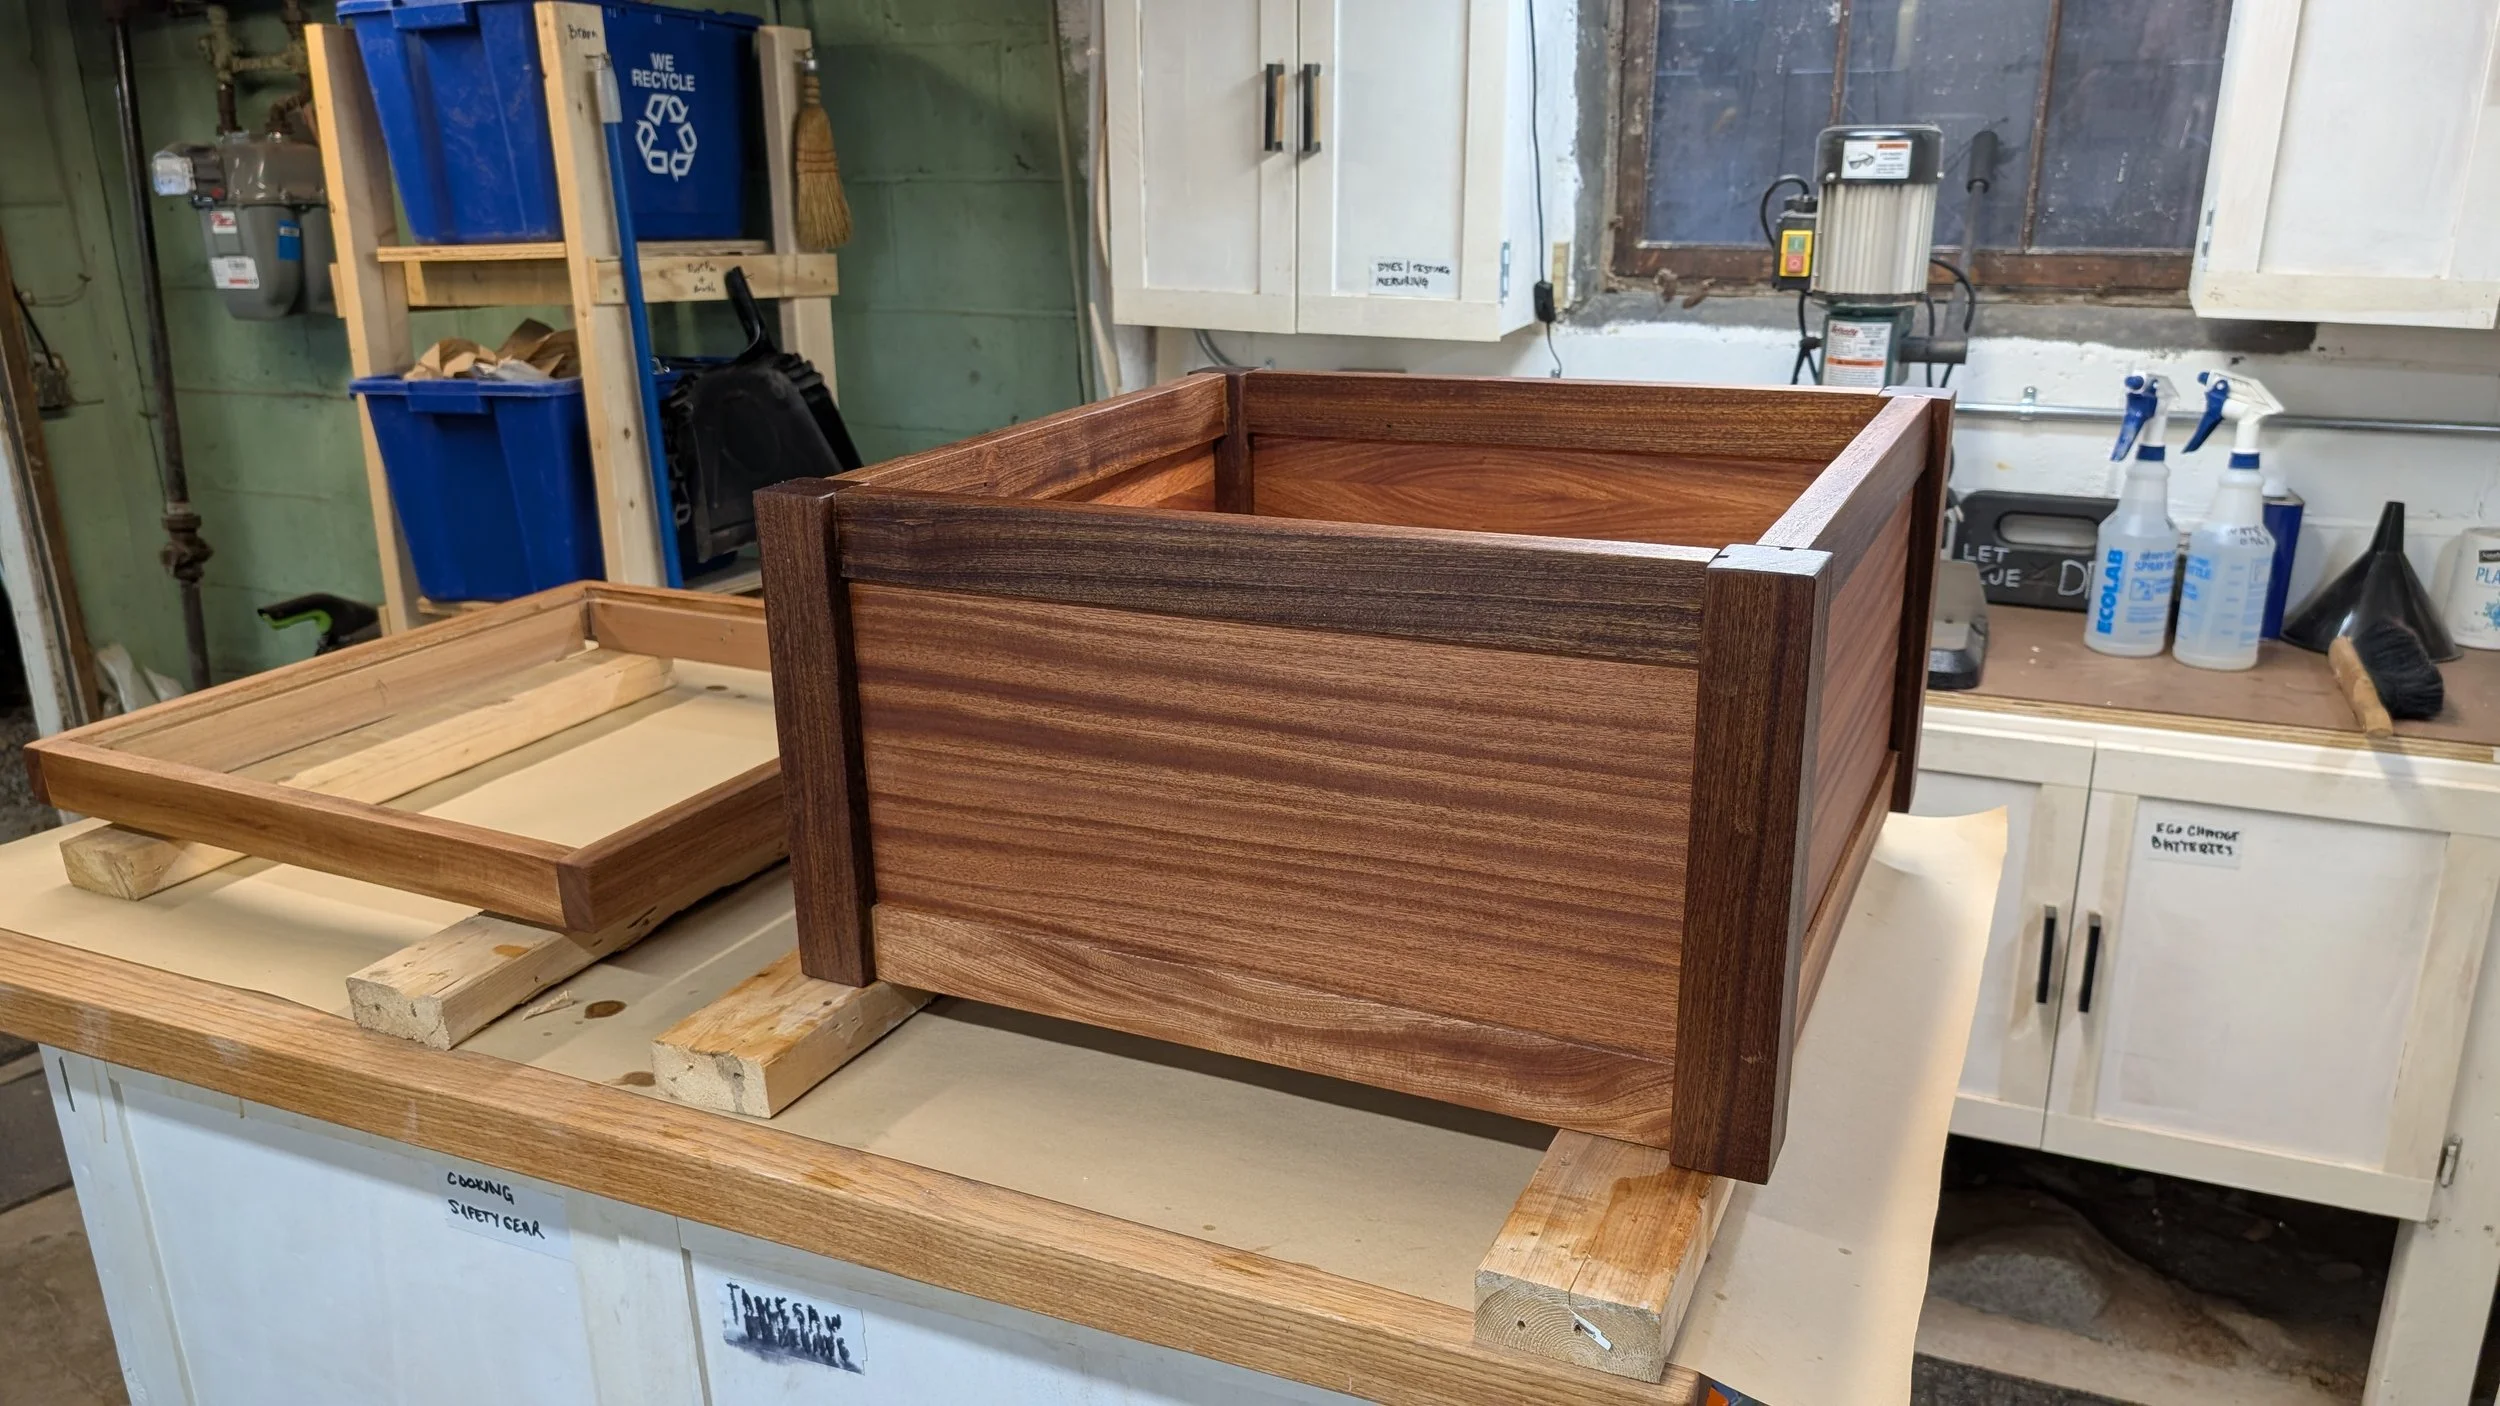
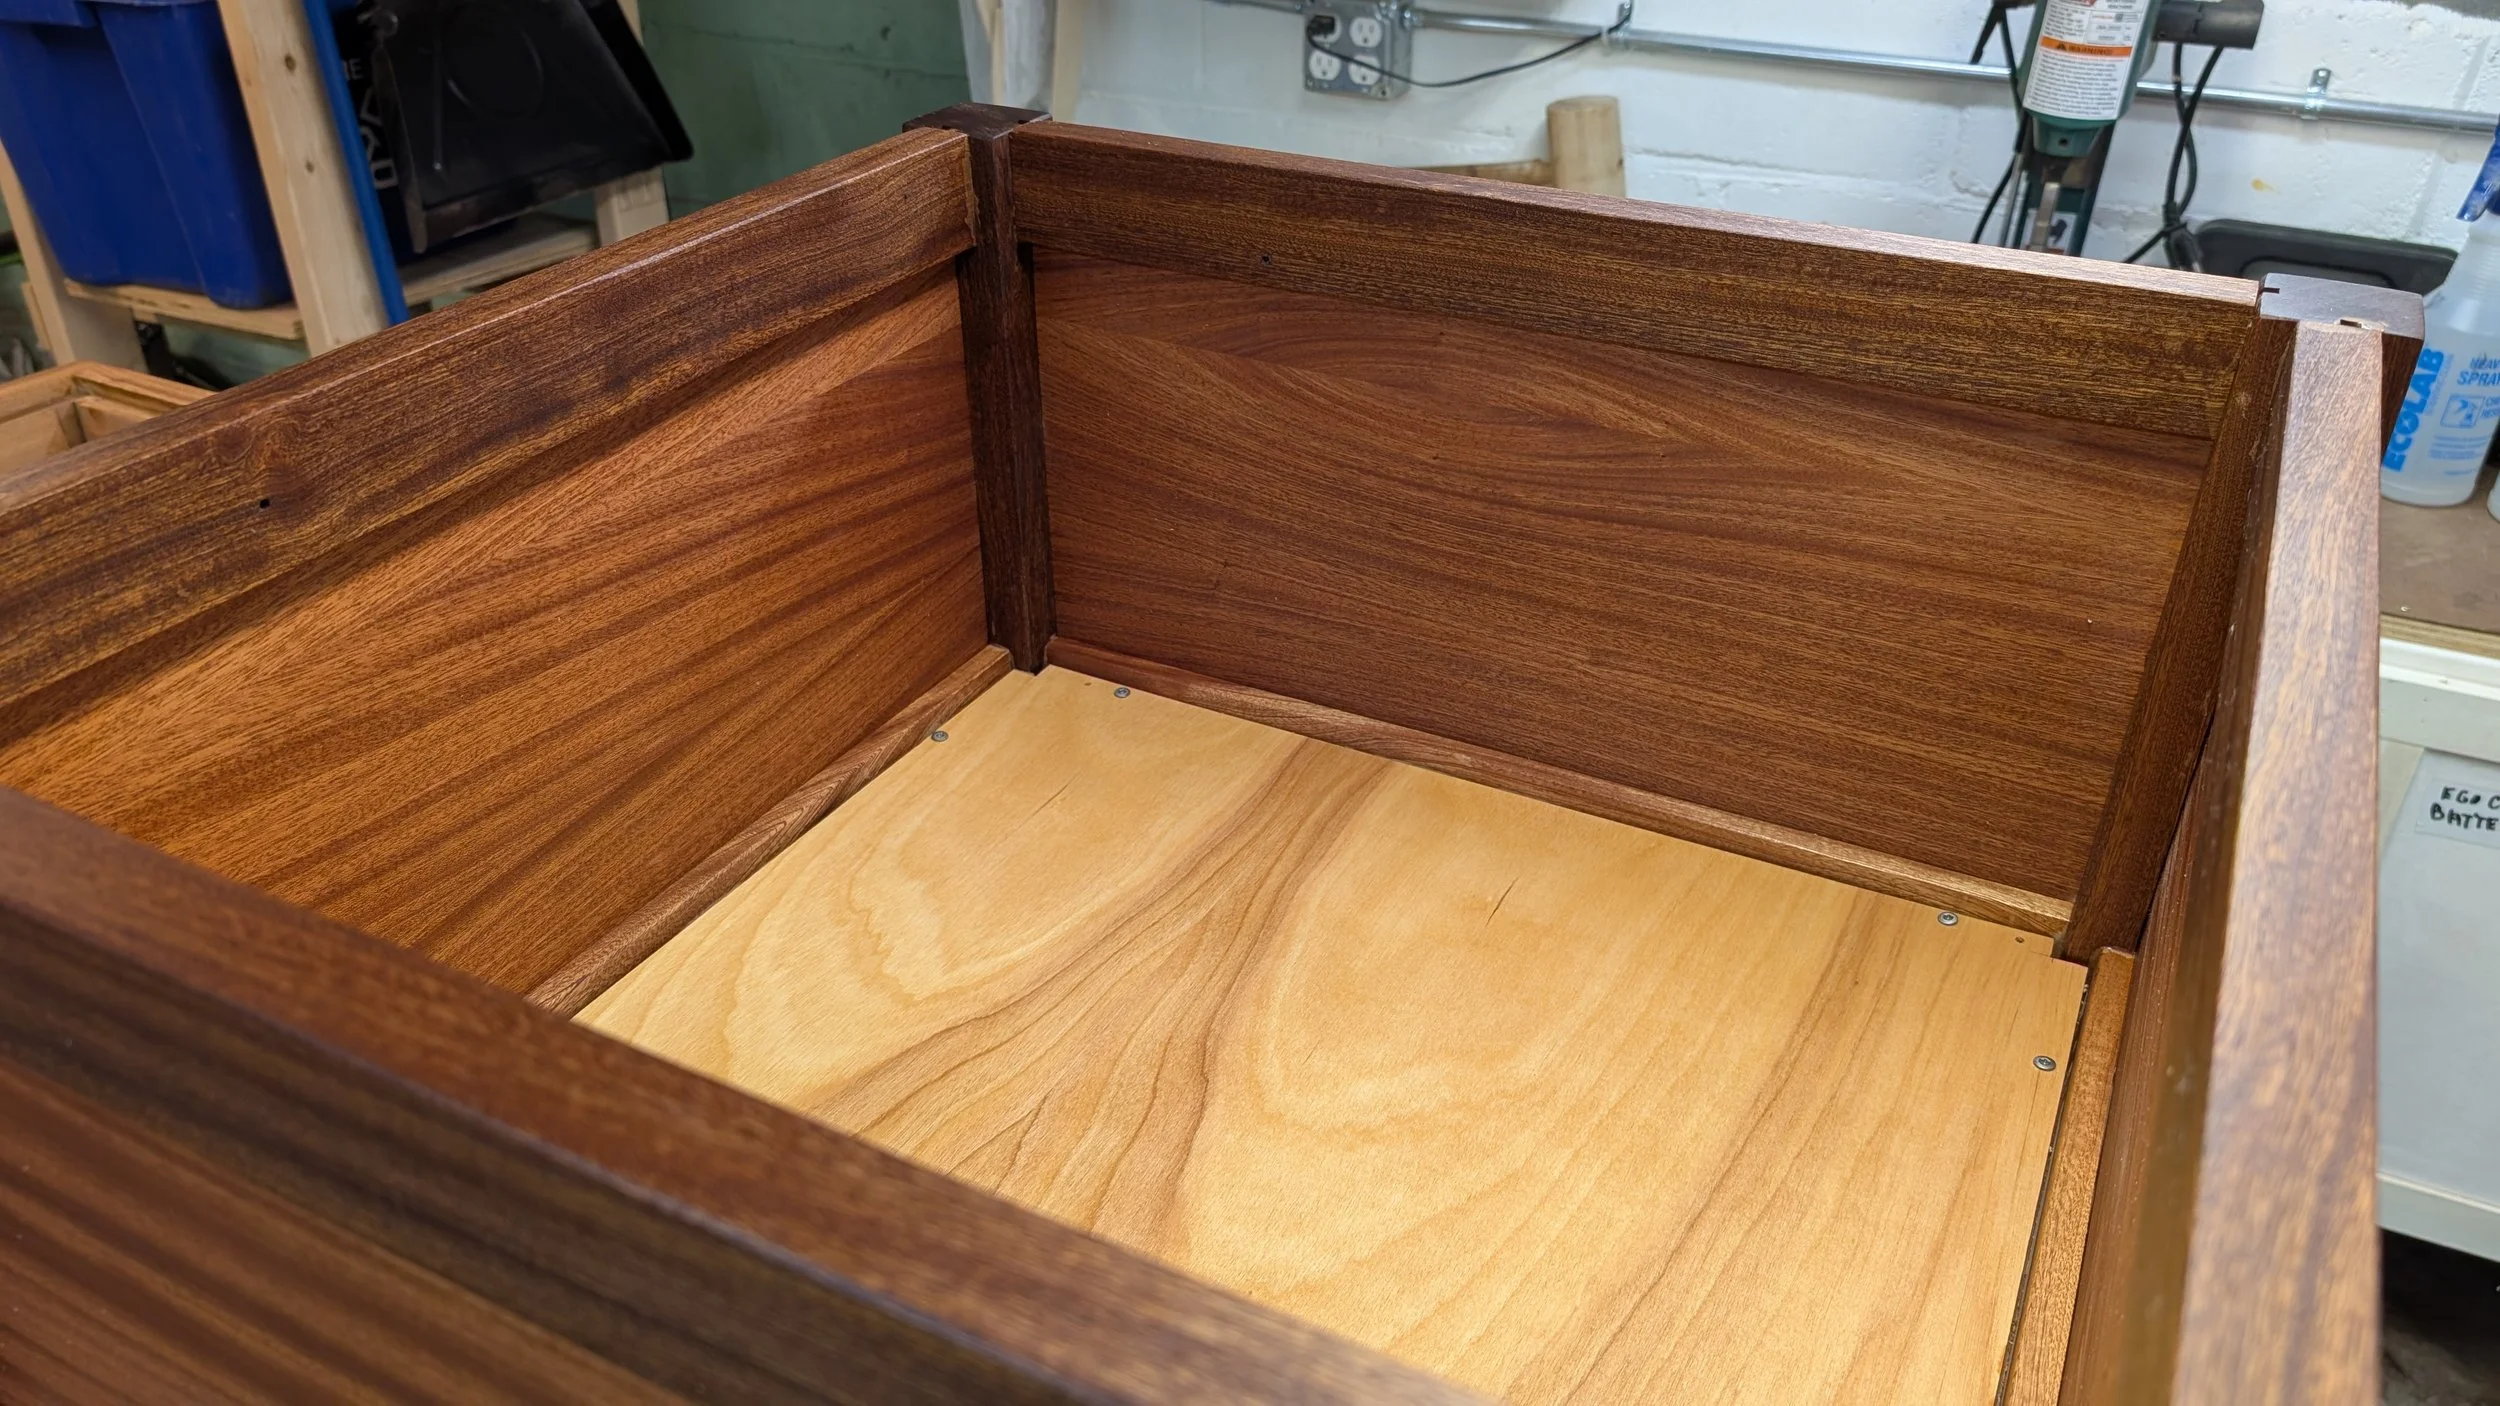
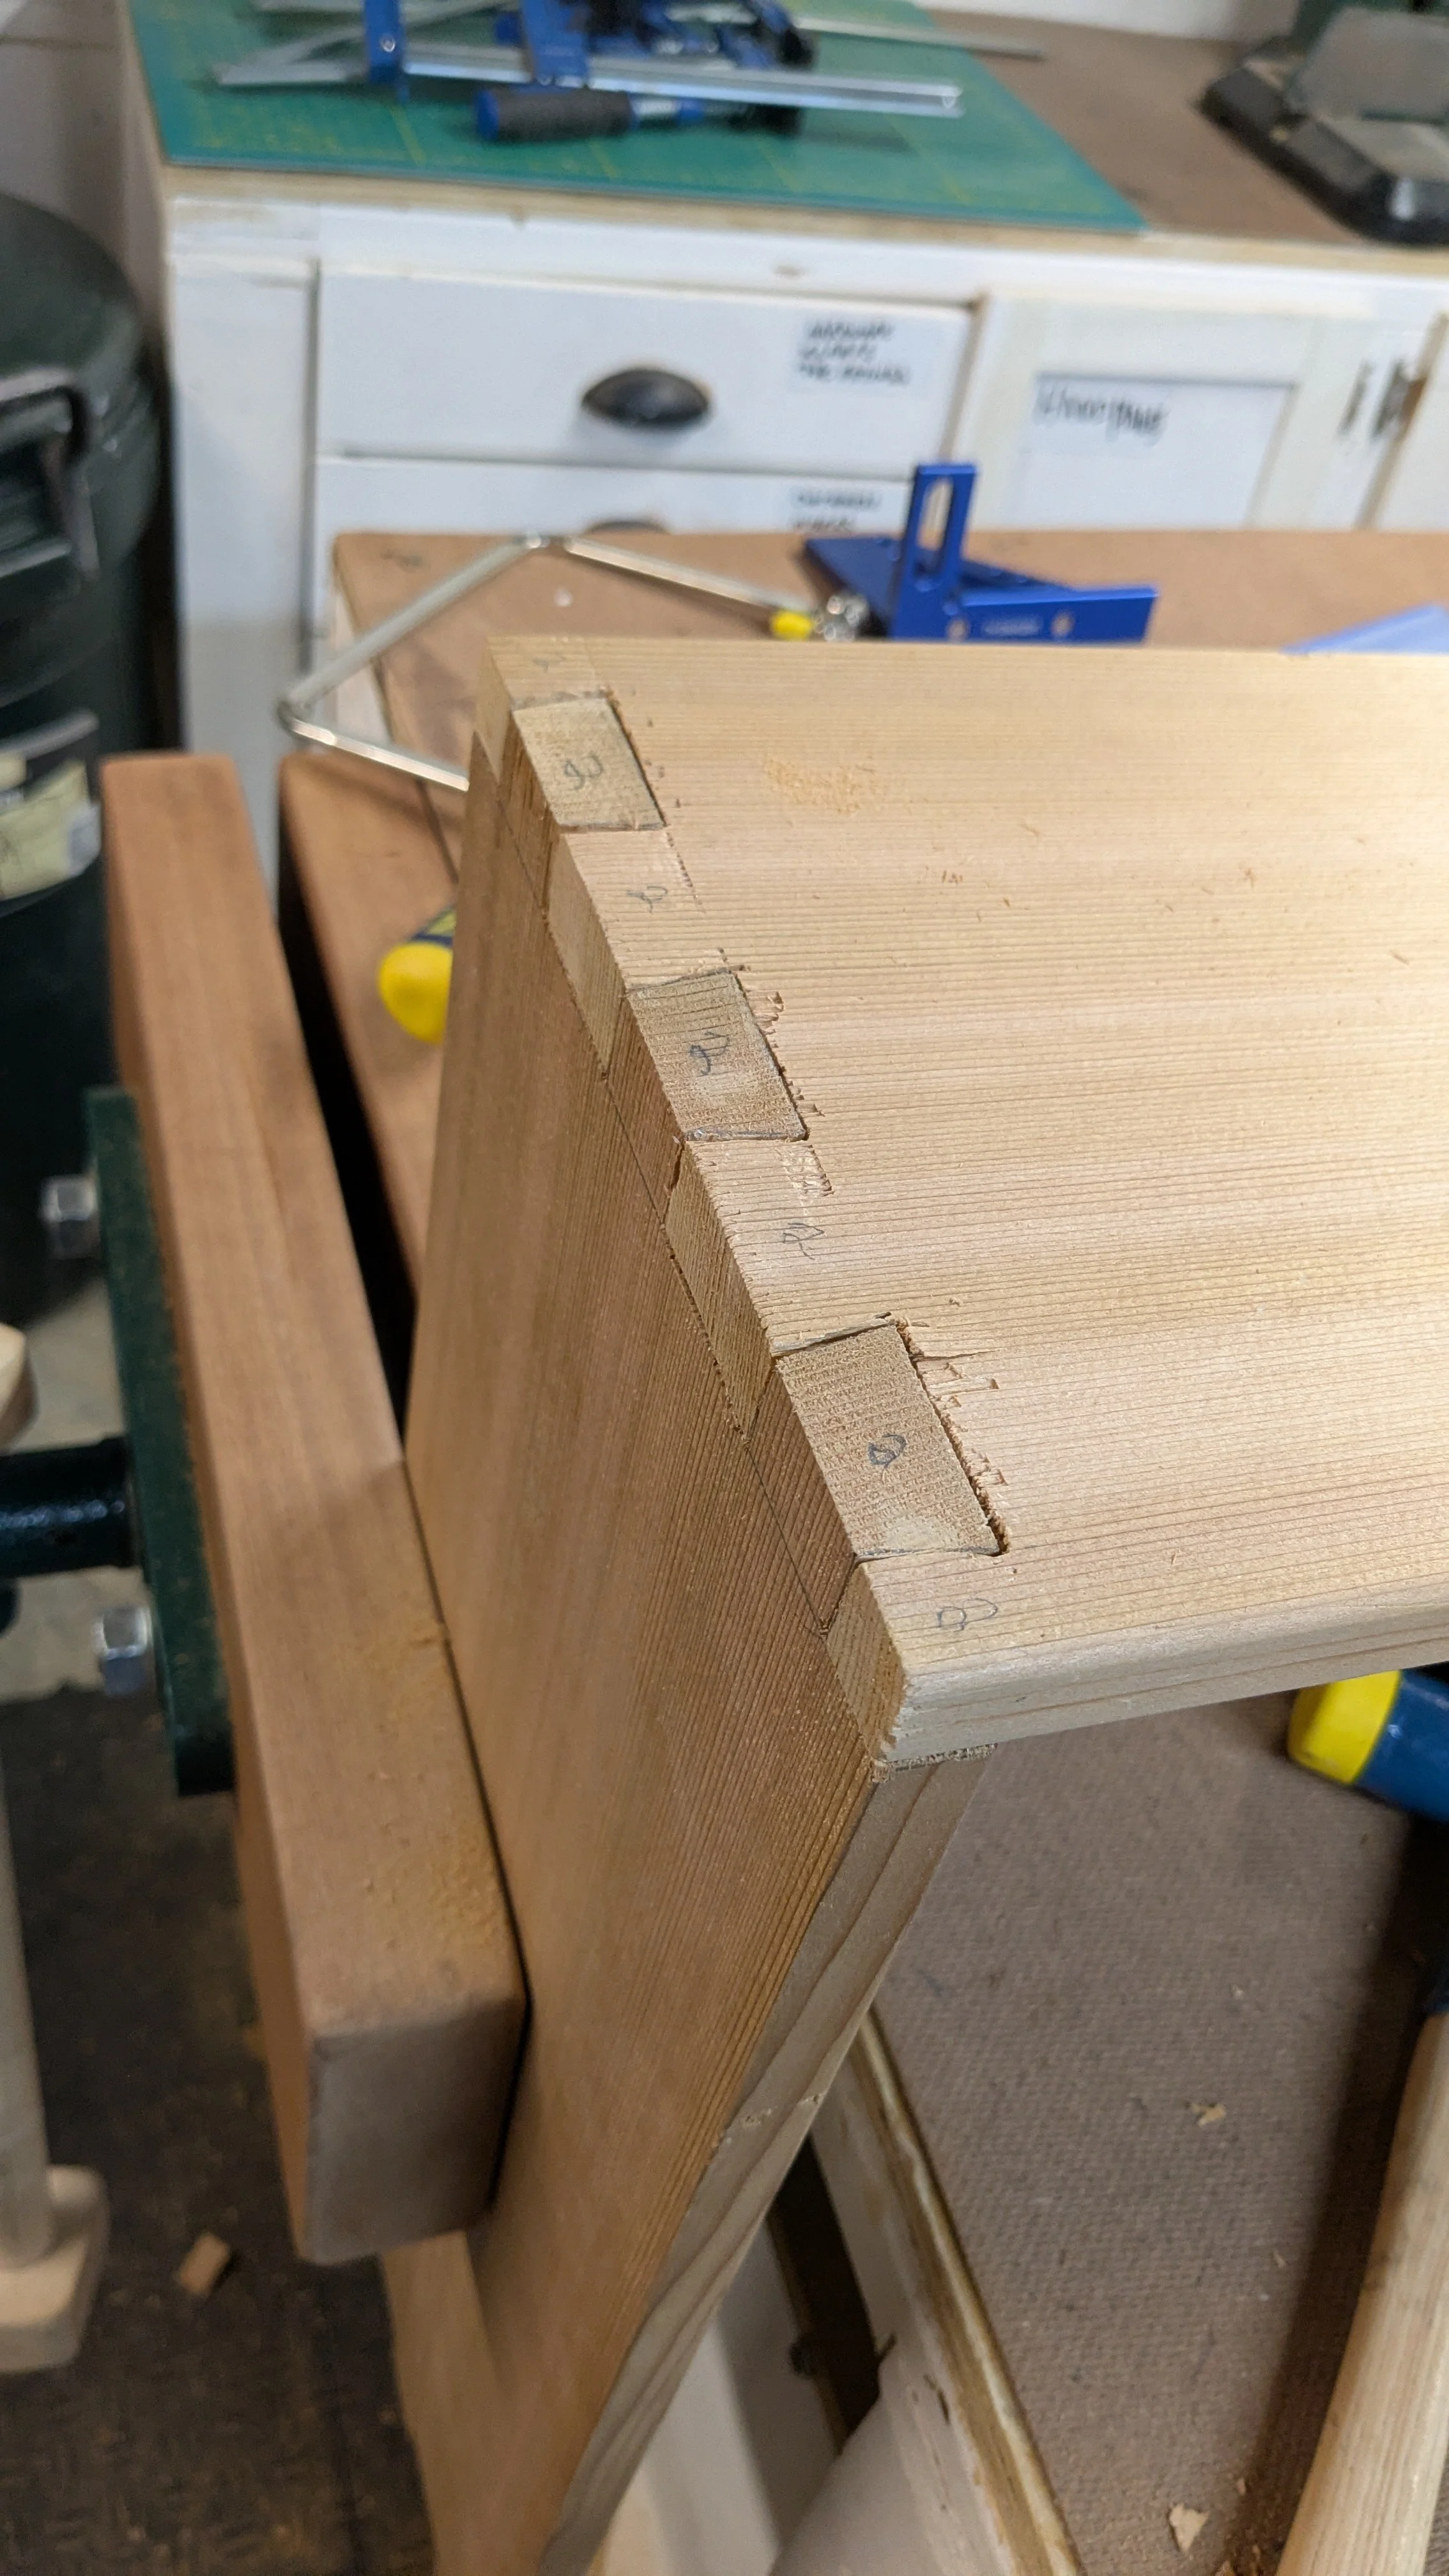
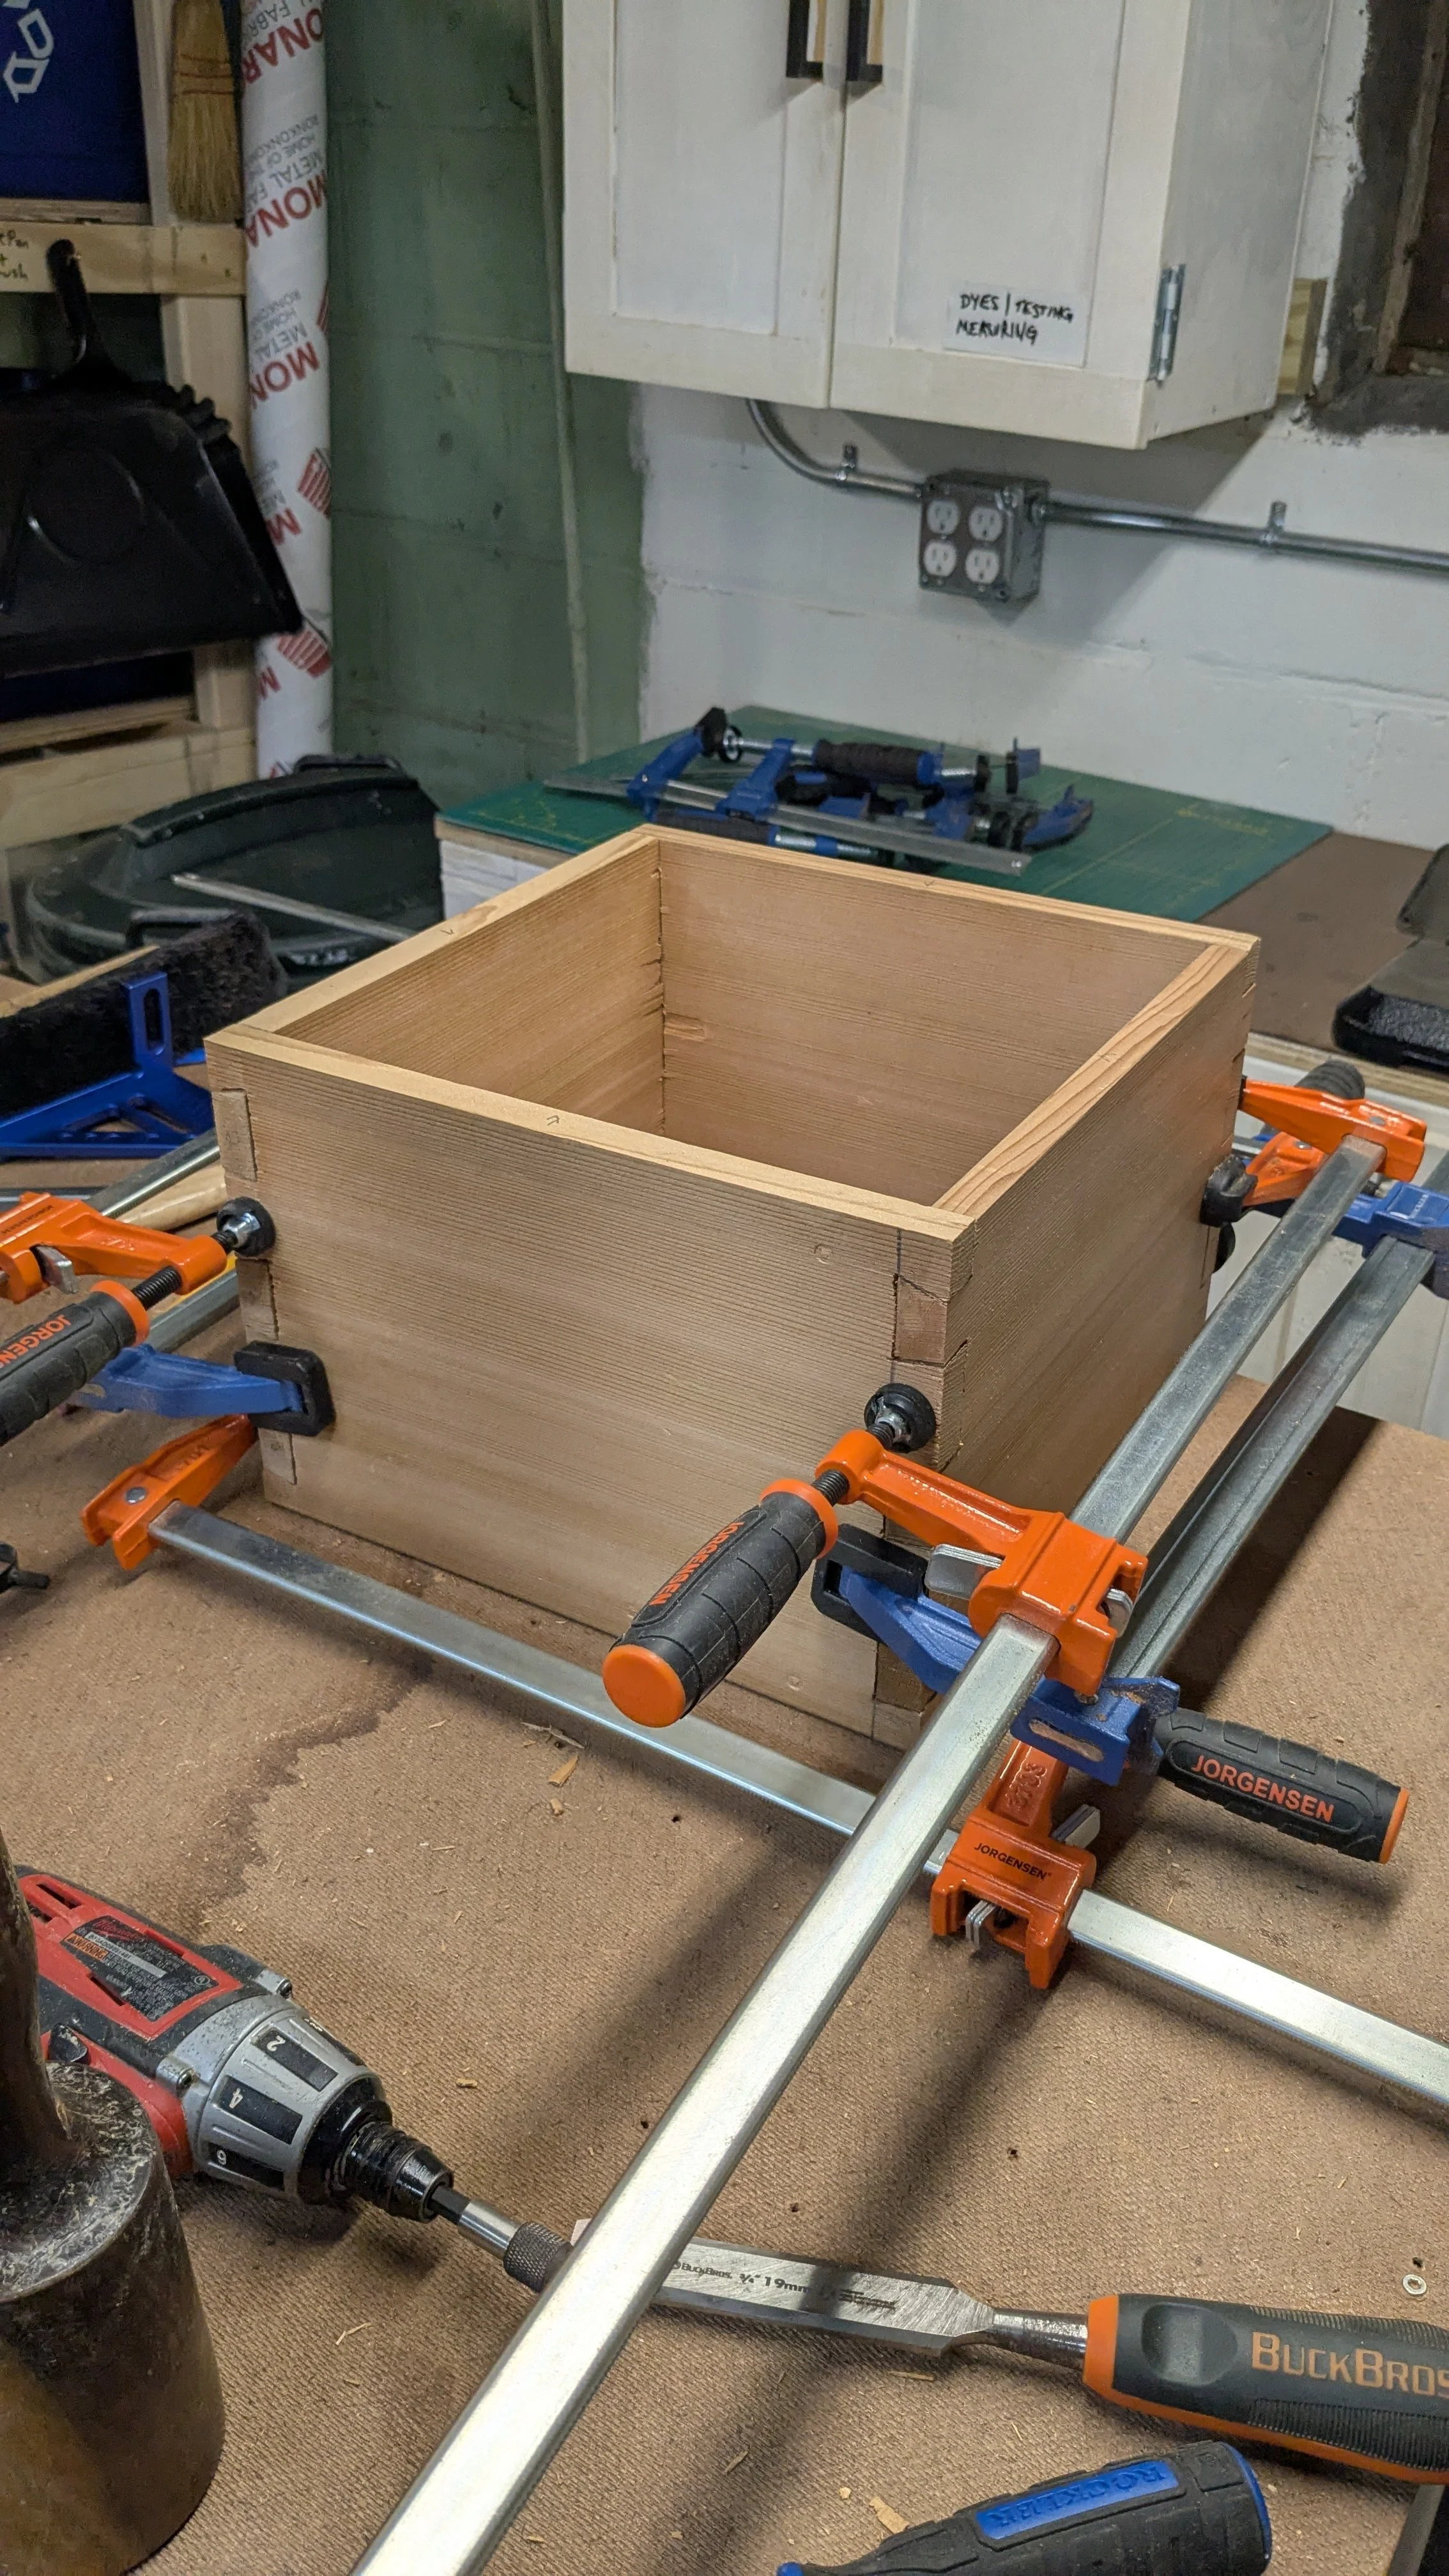
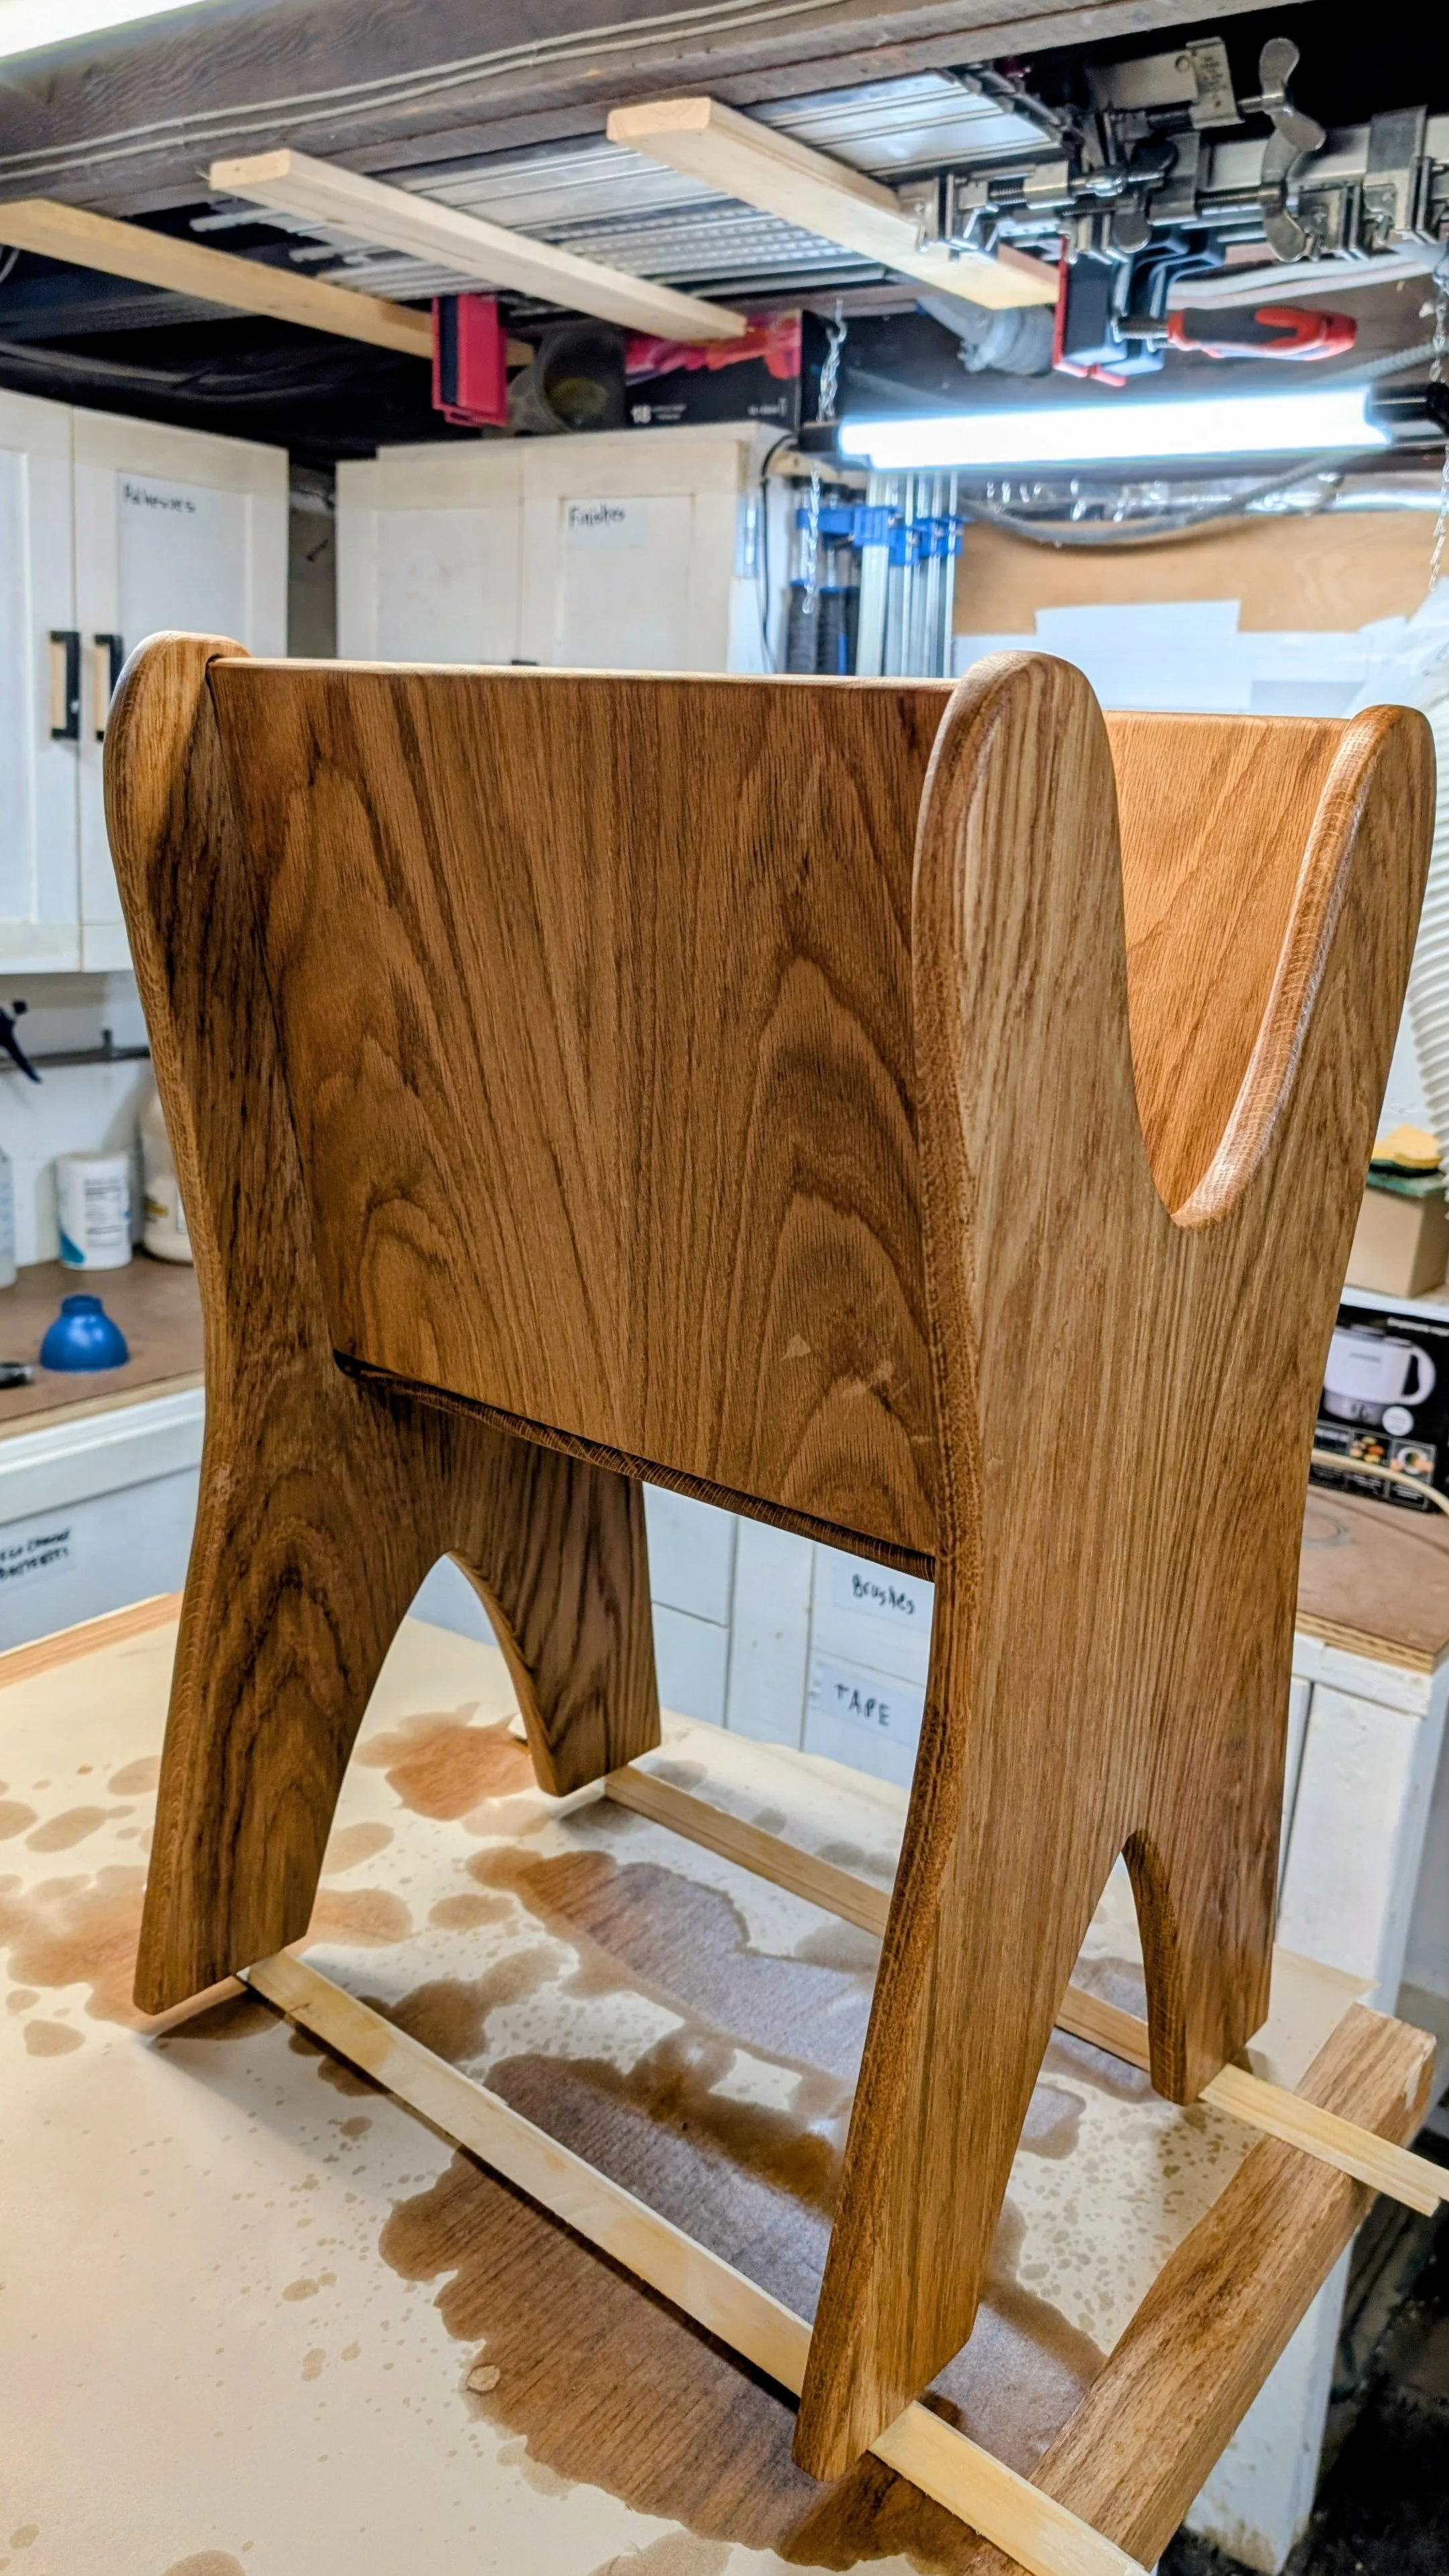
This is the first dry fit…
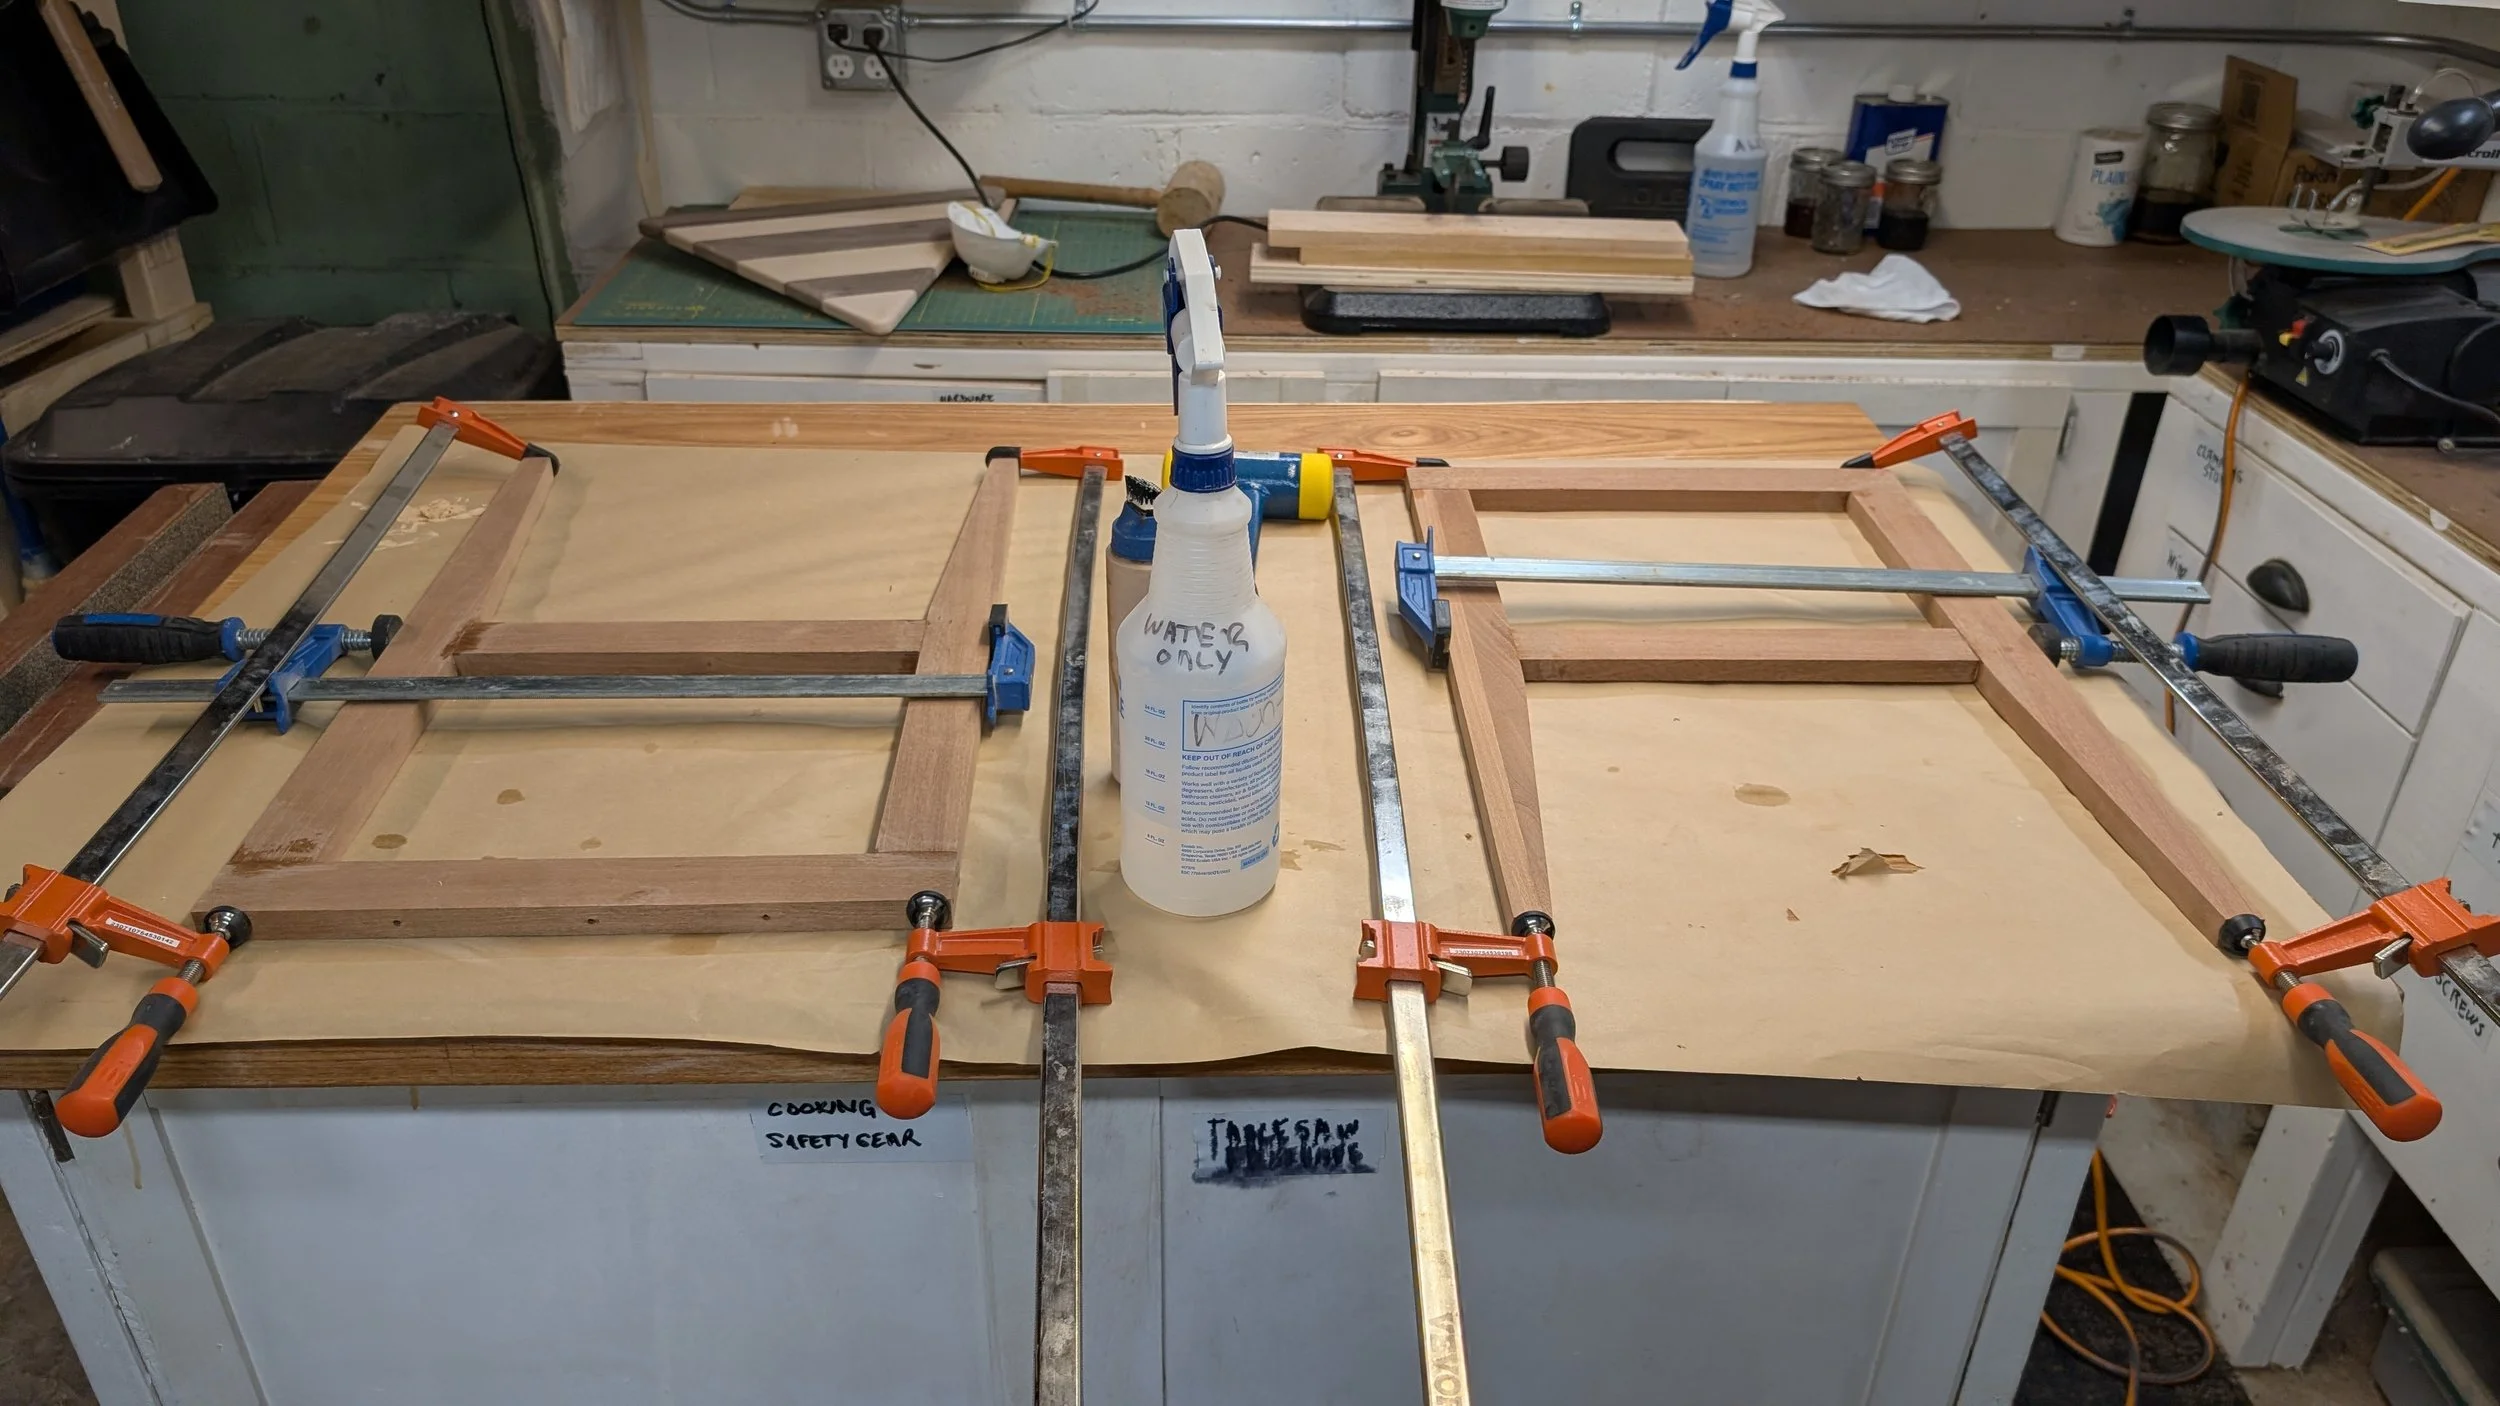
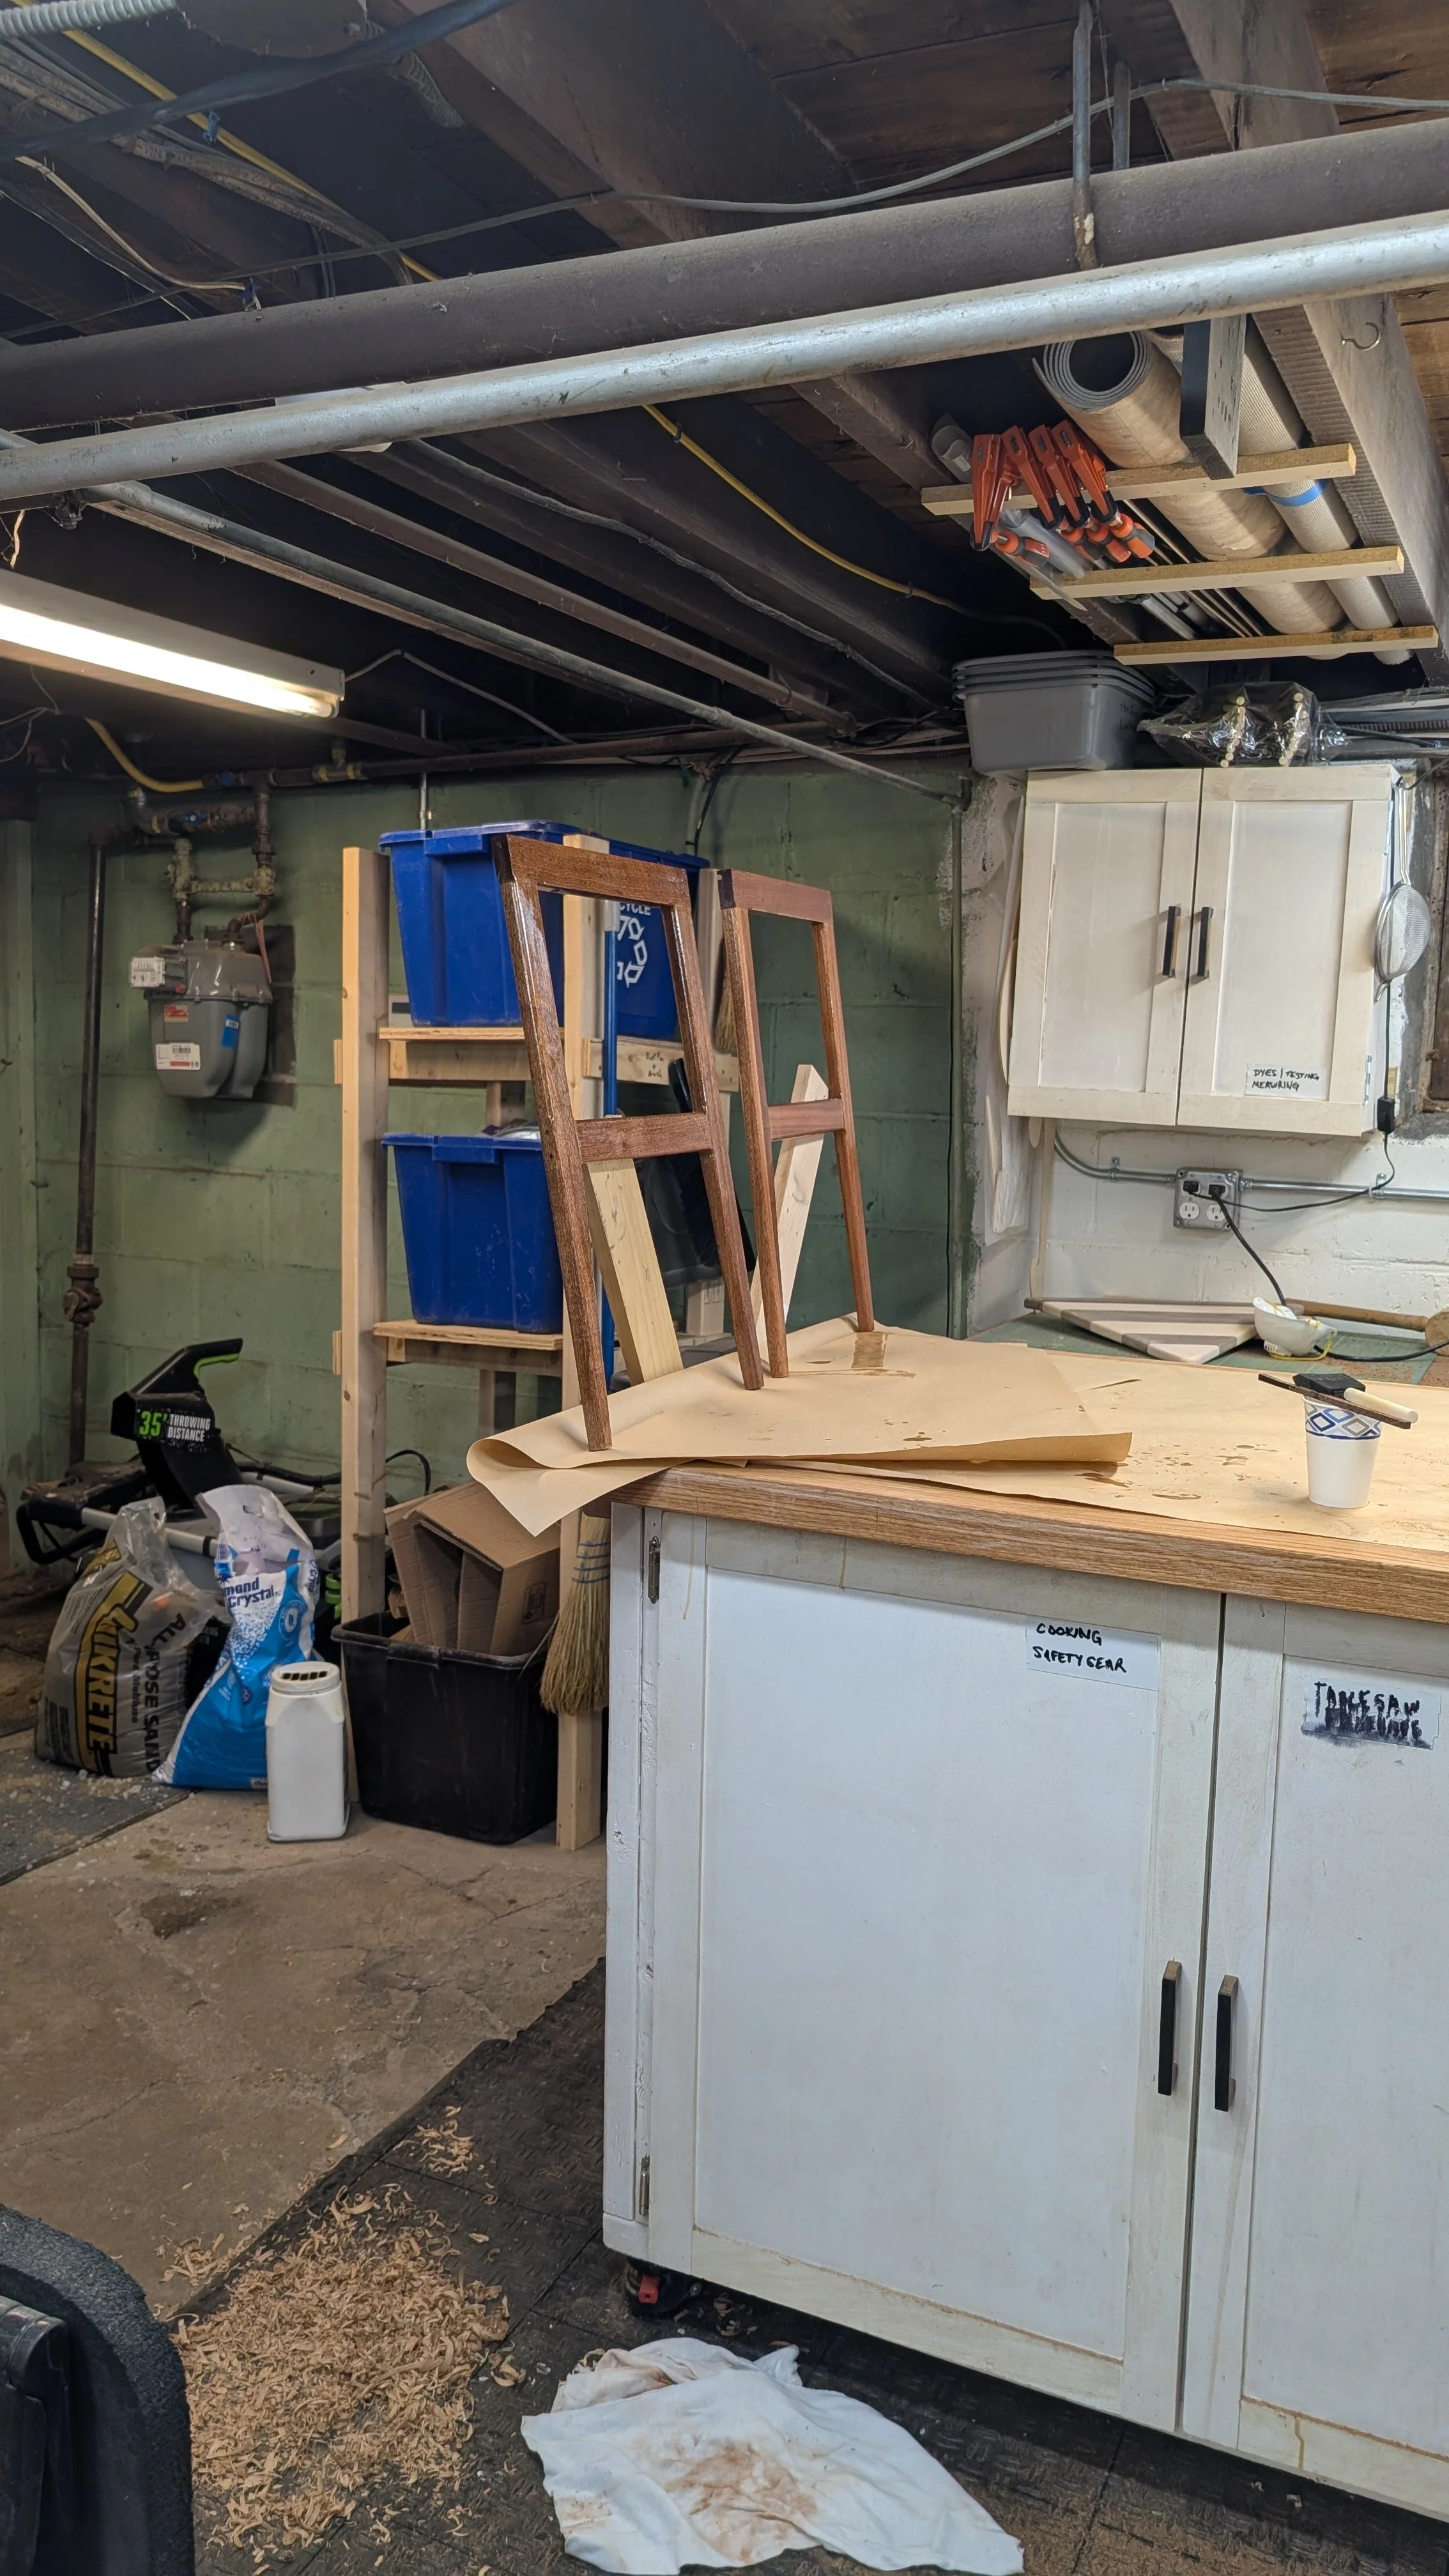
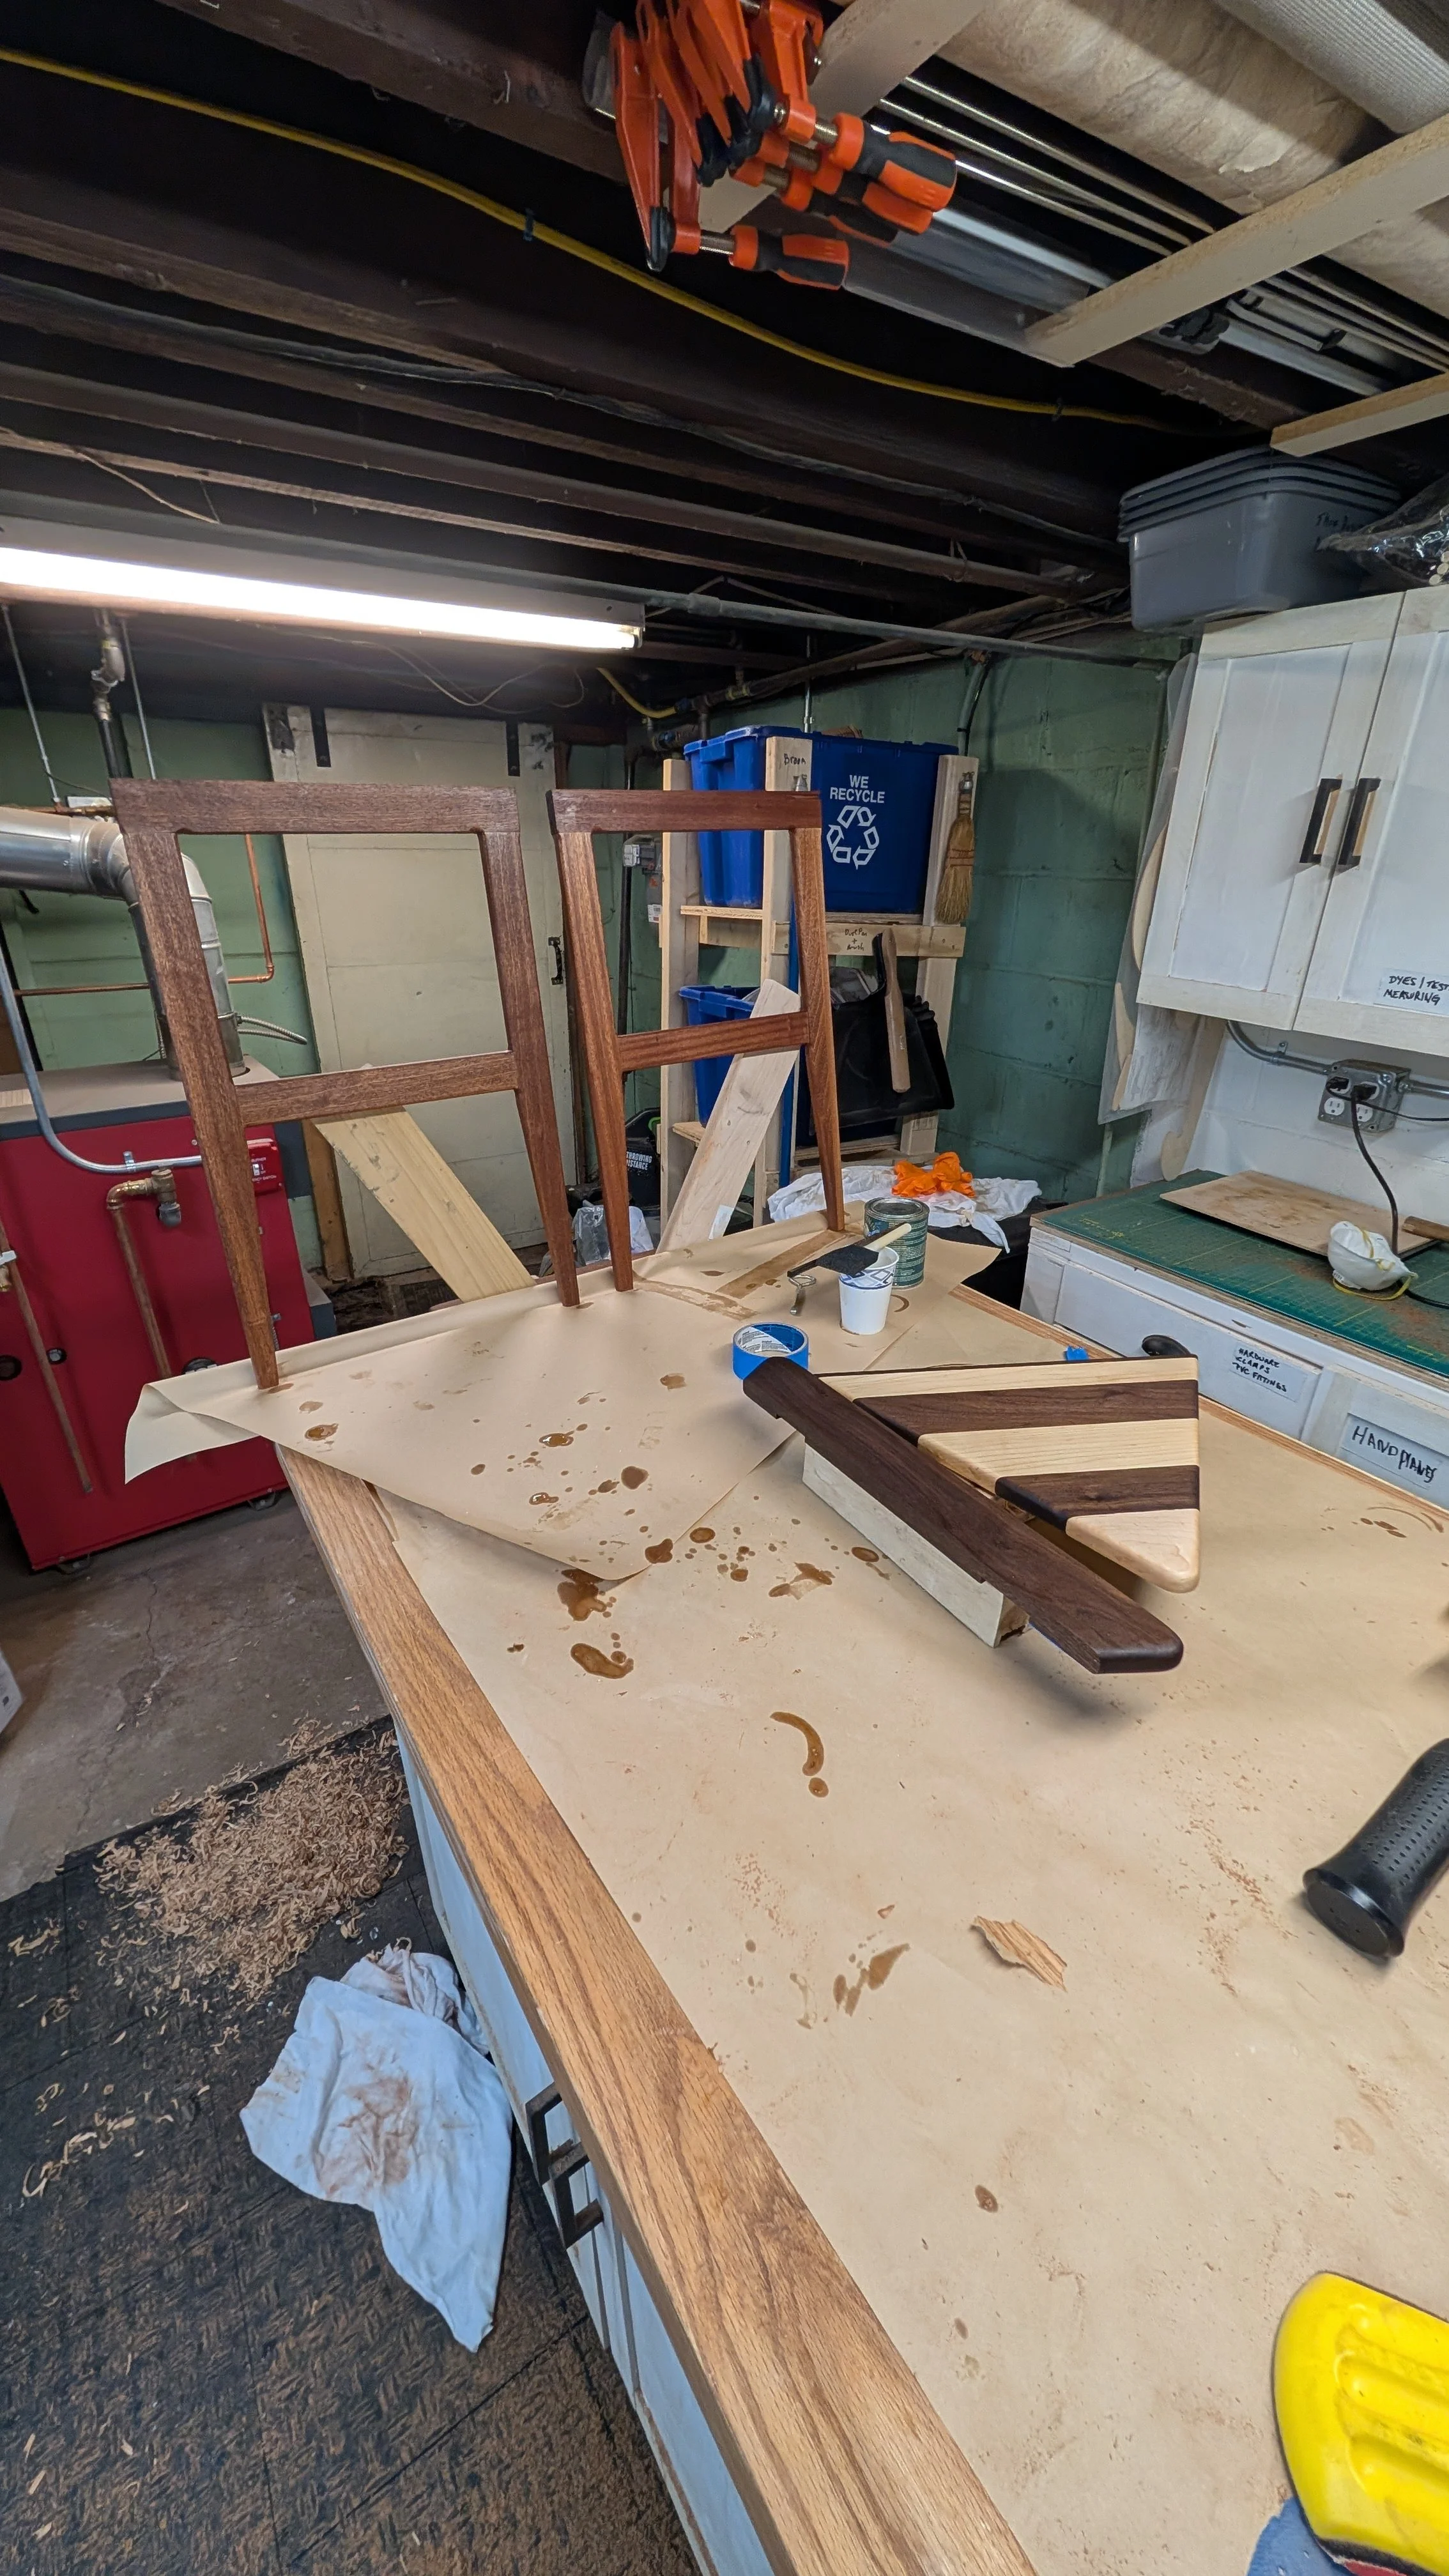
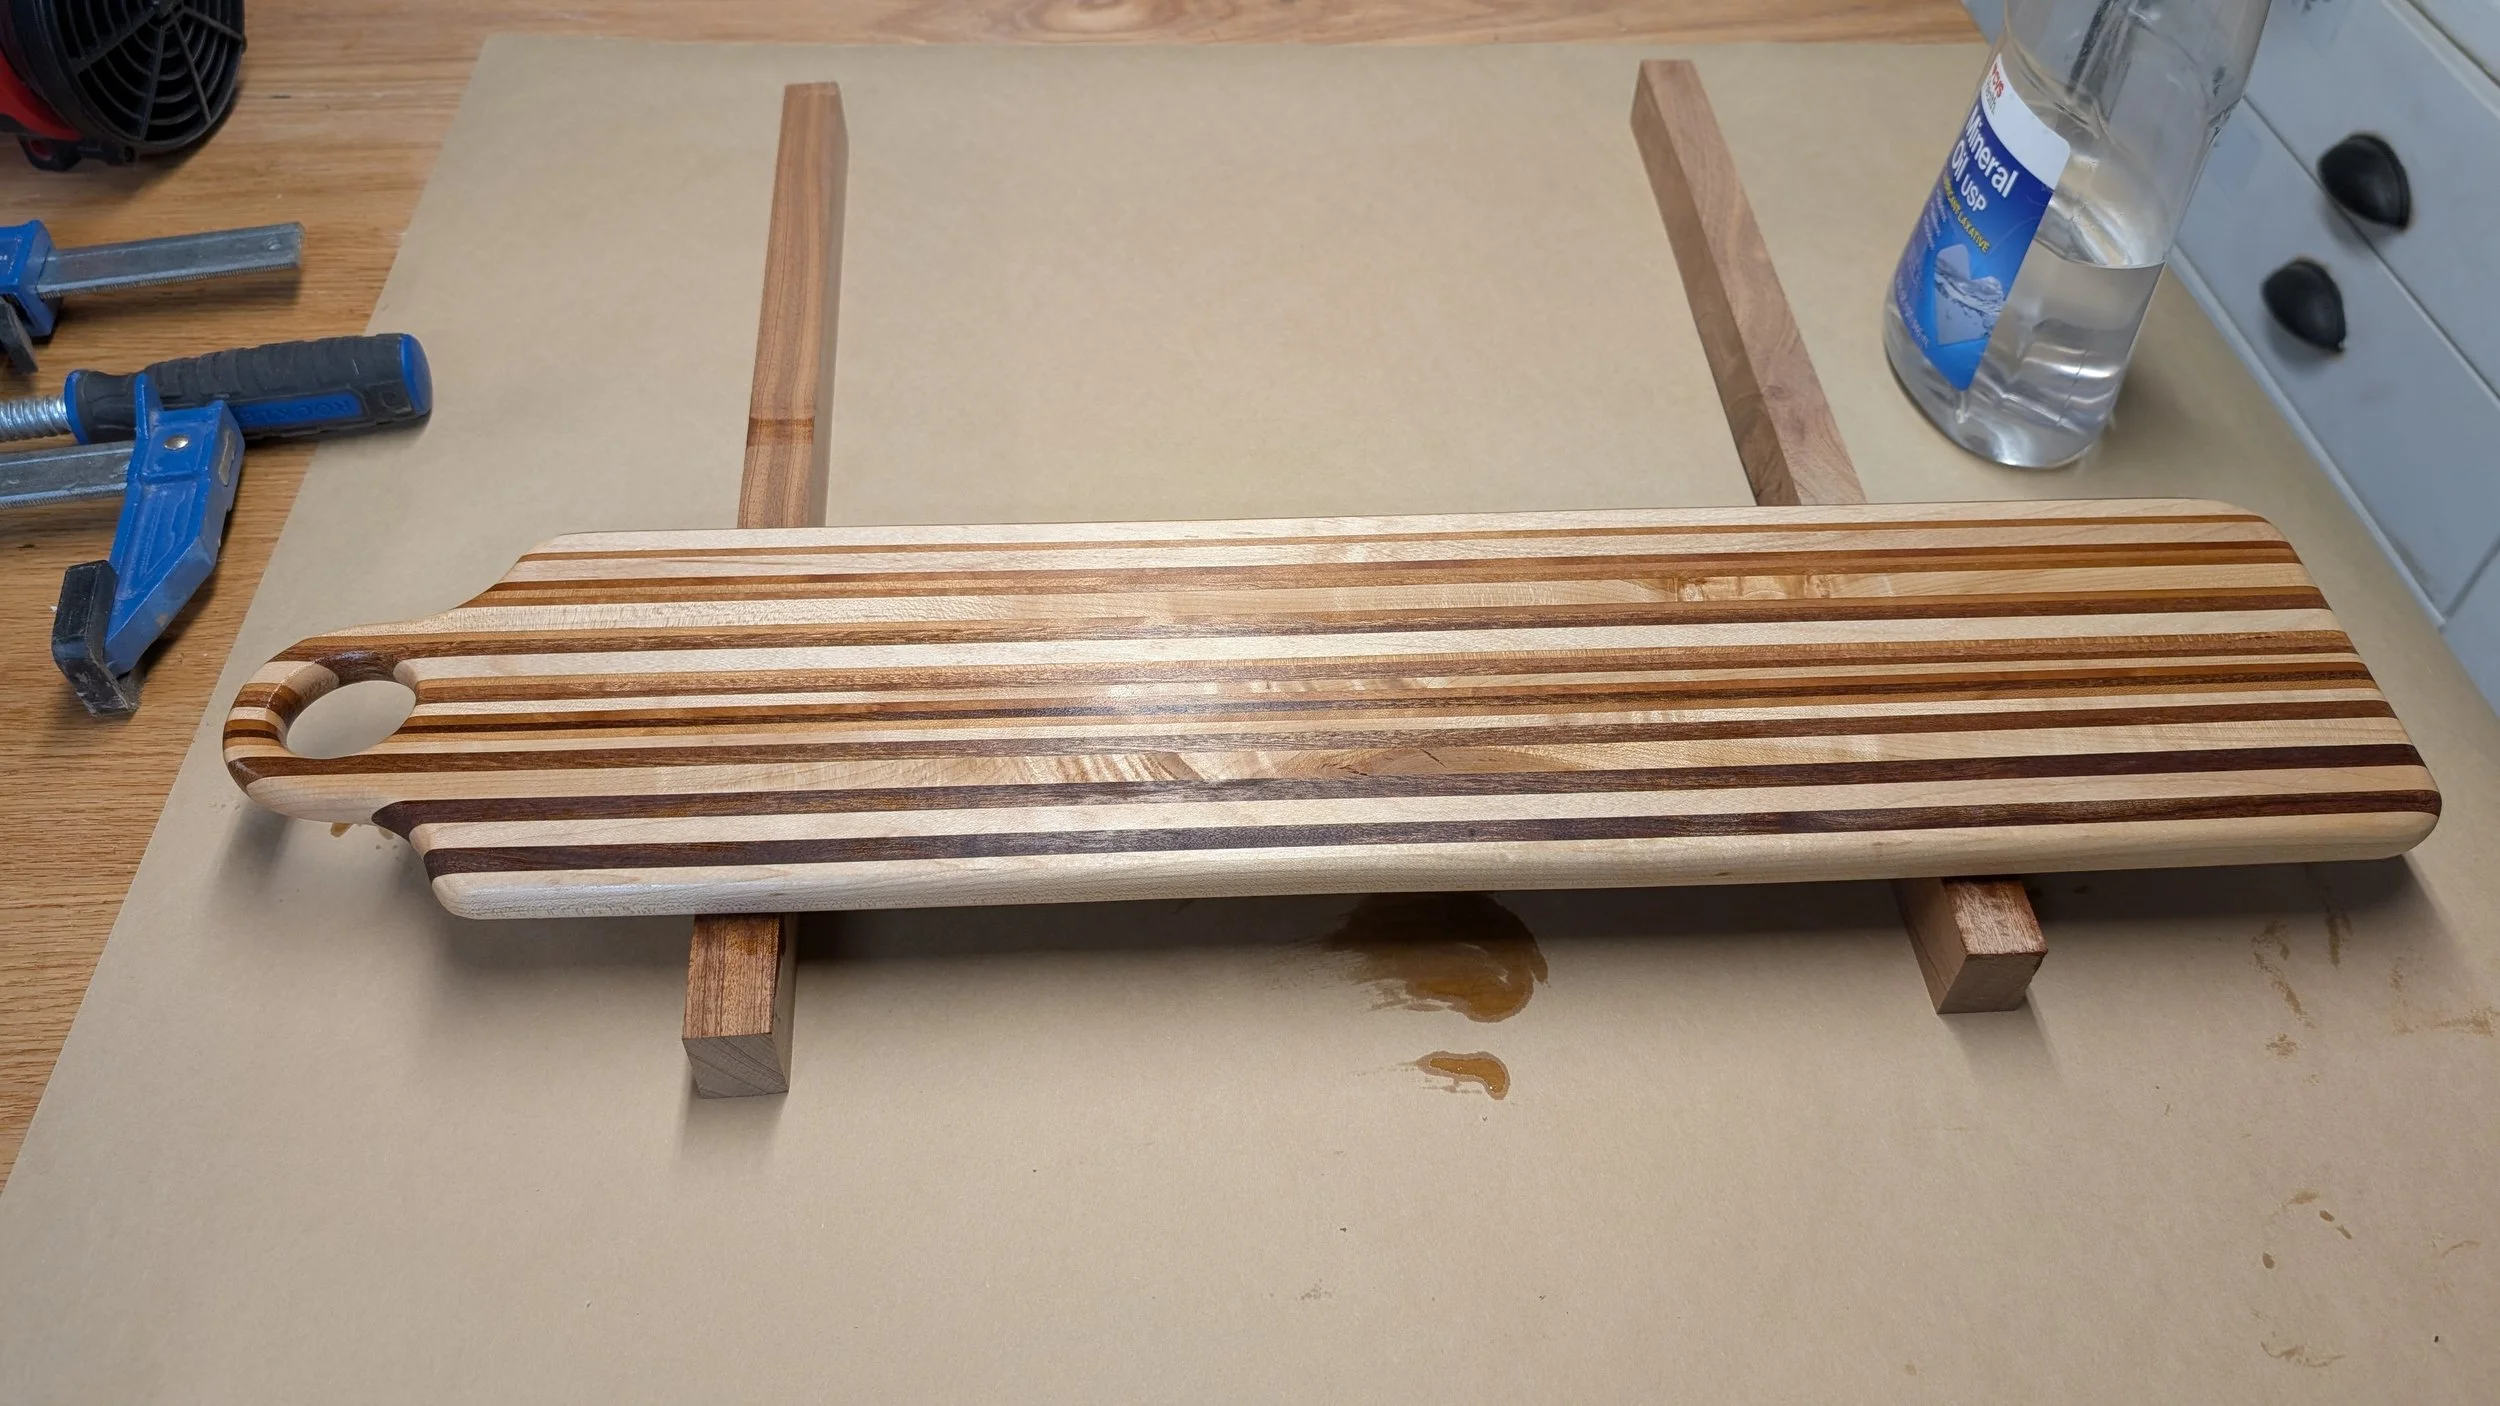
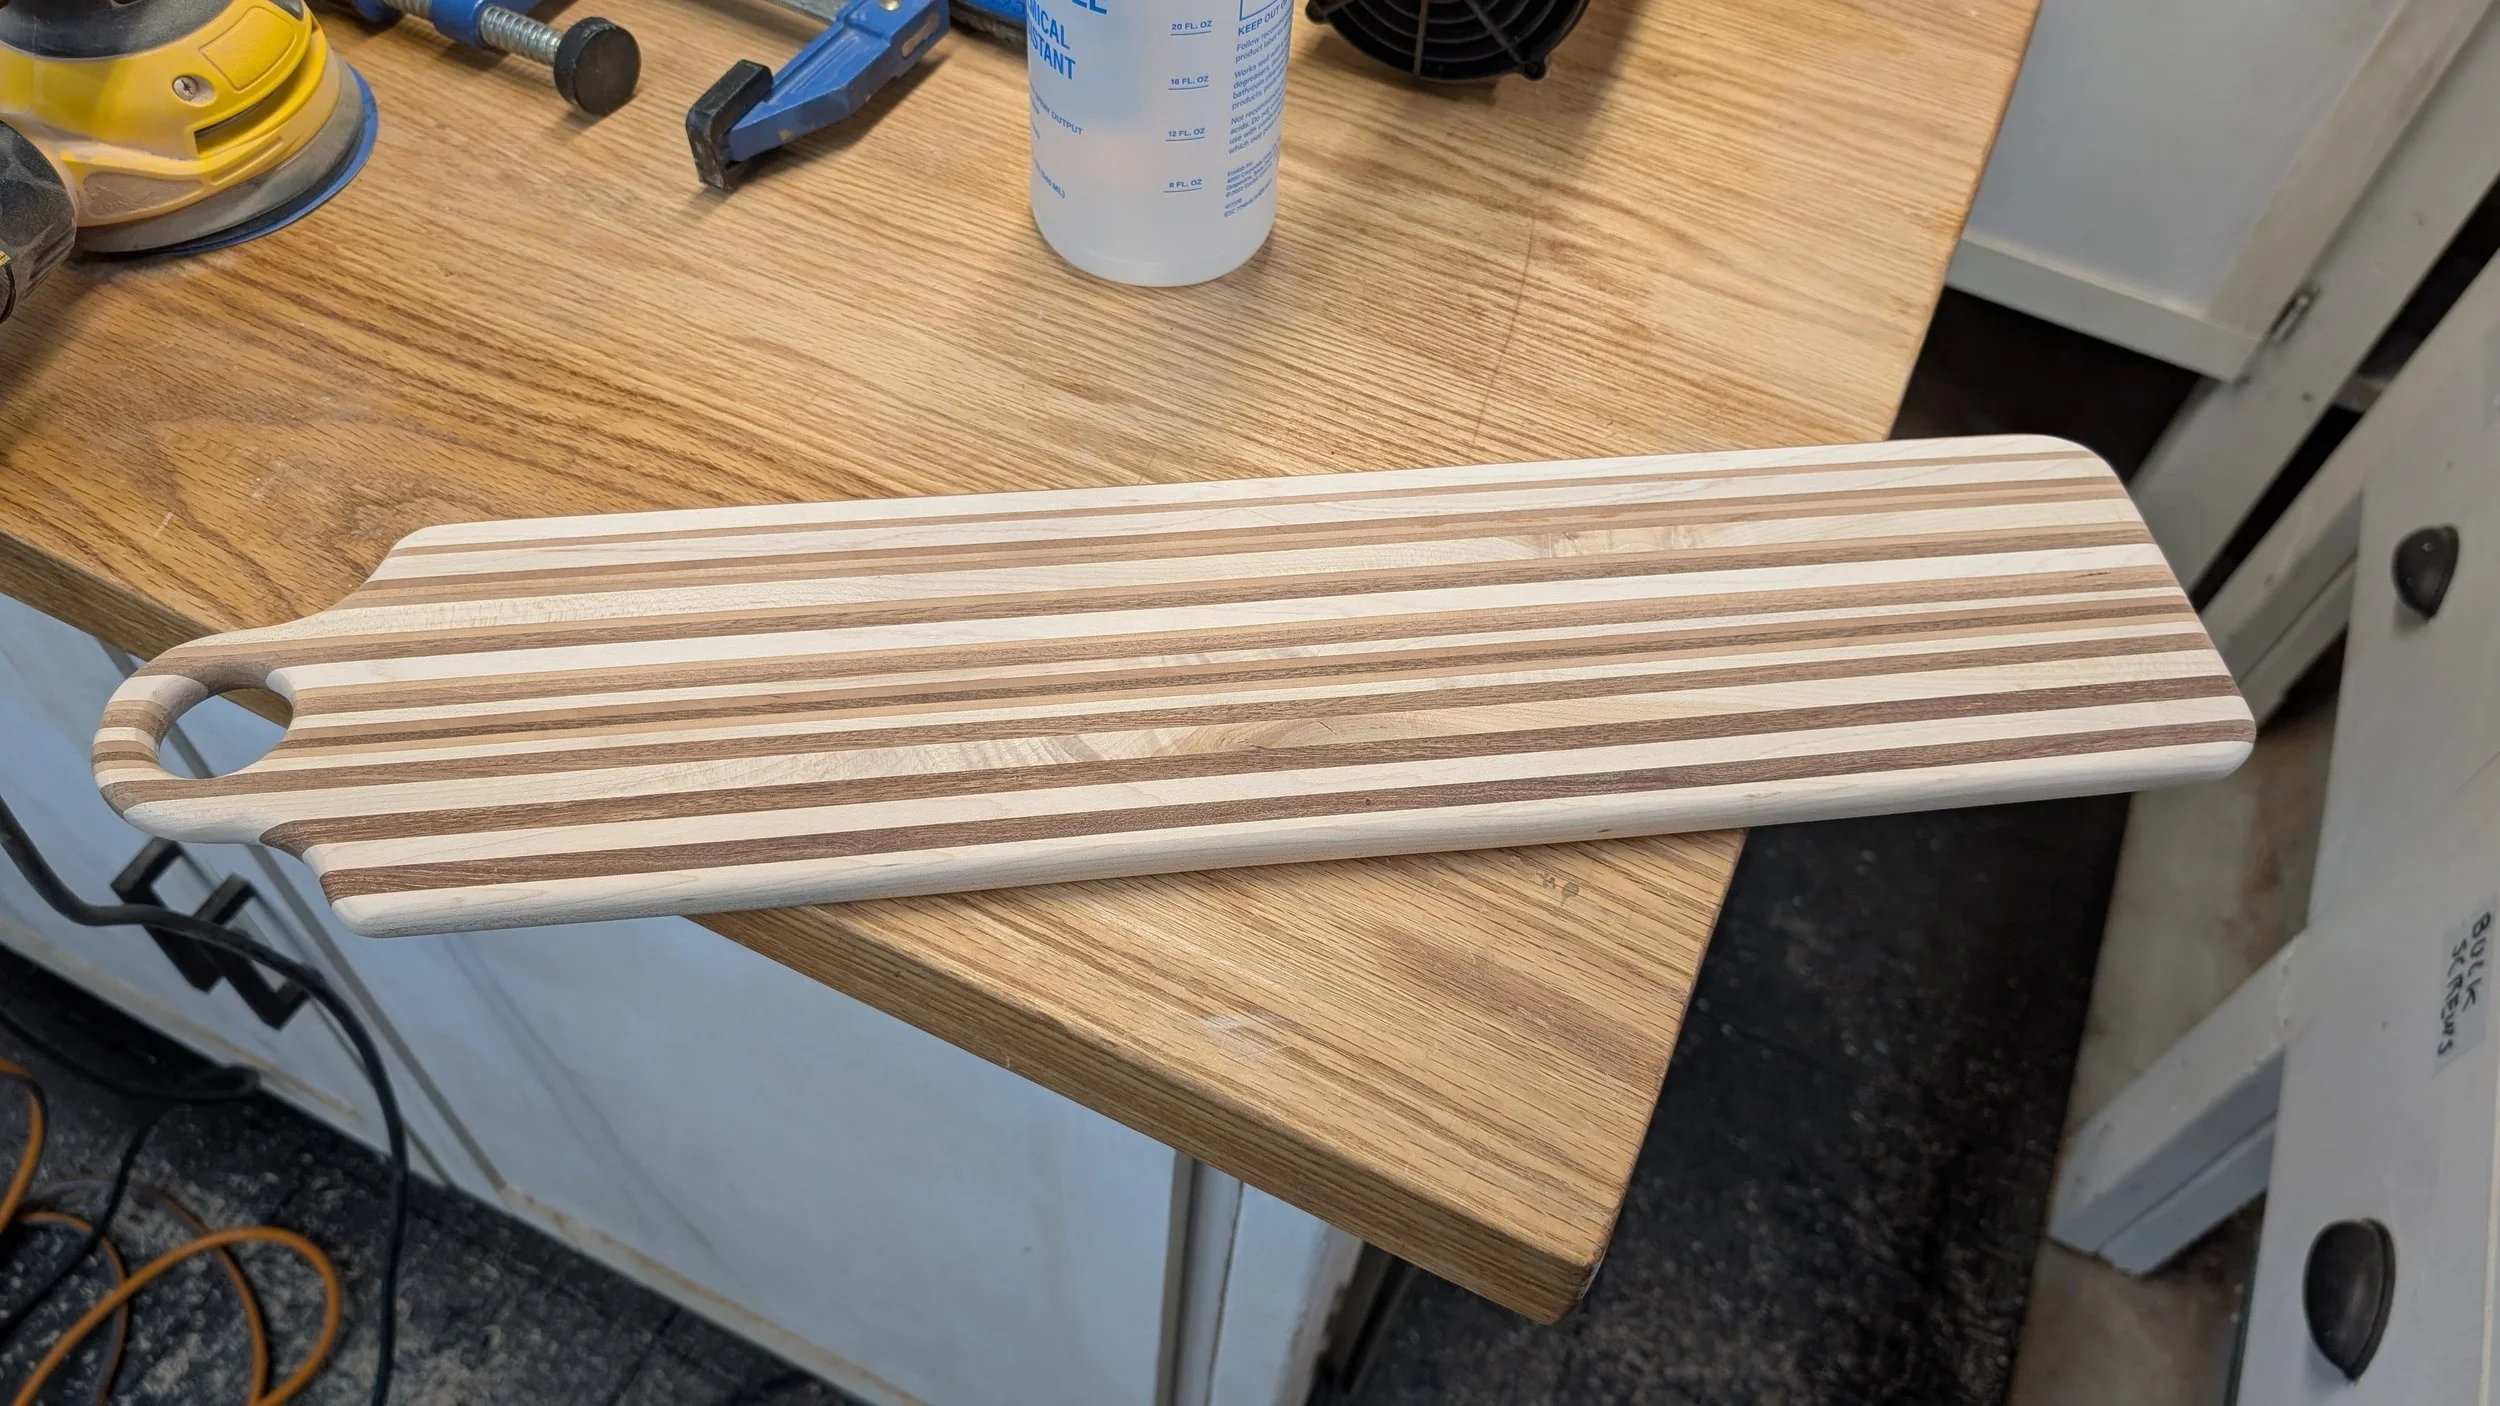
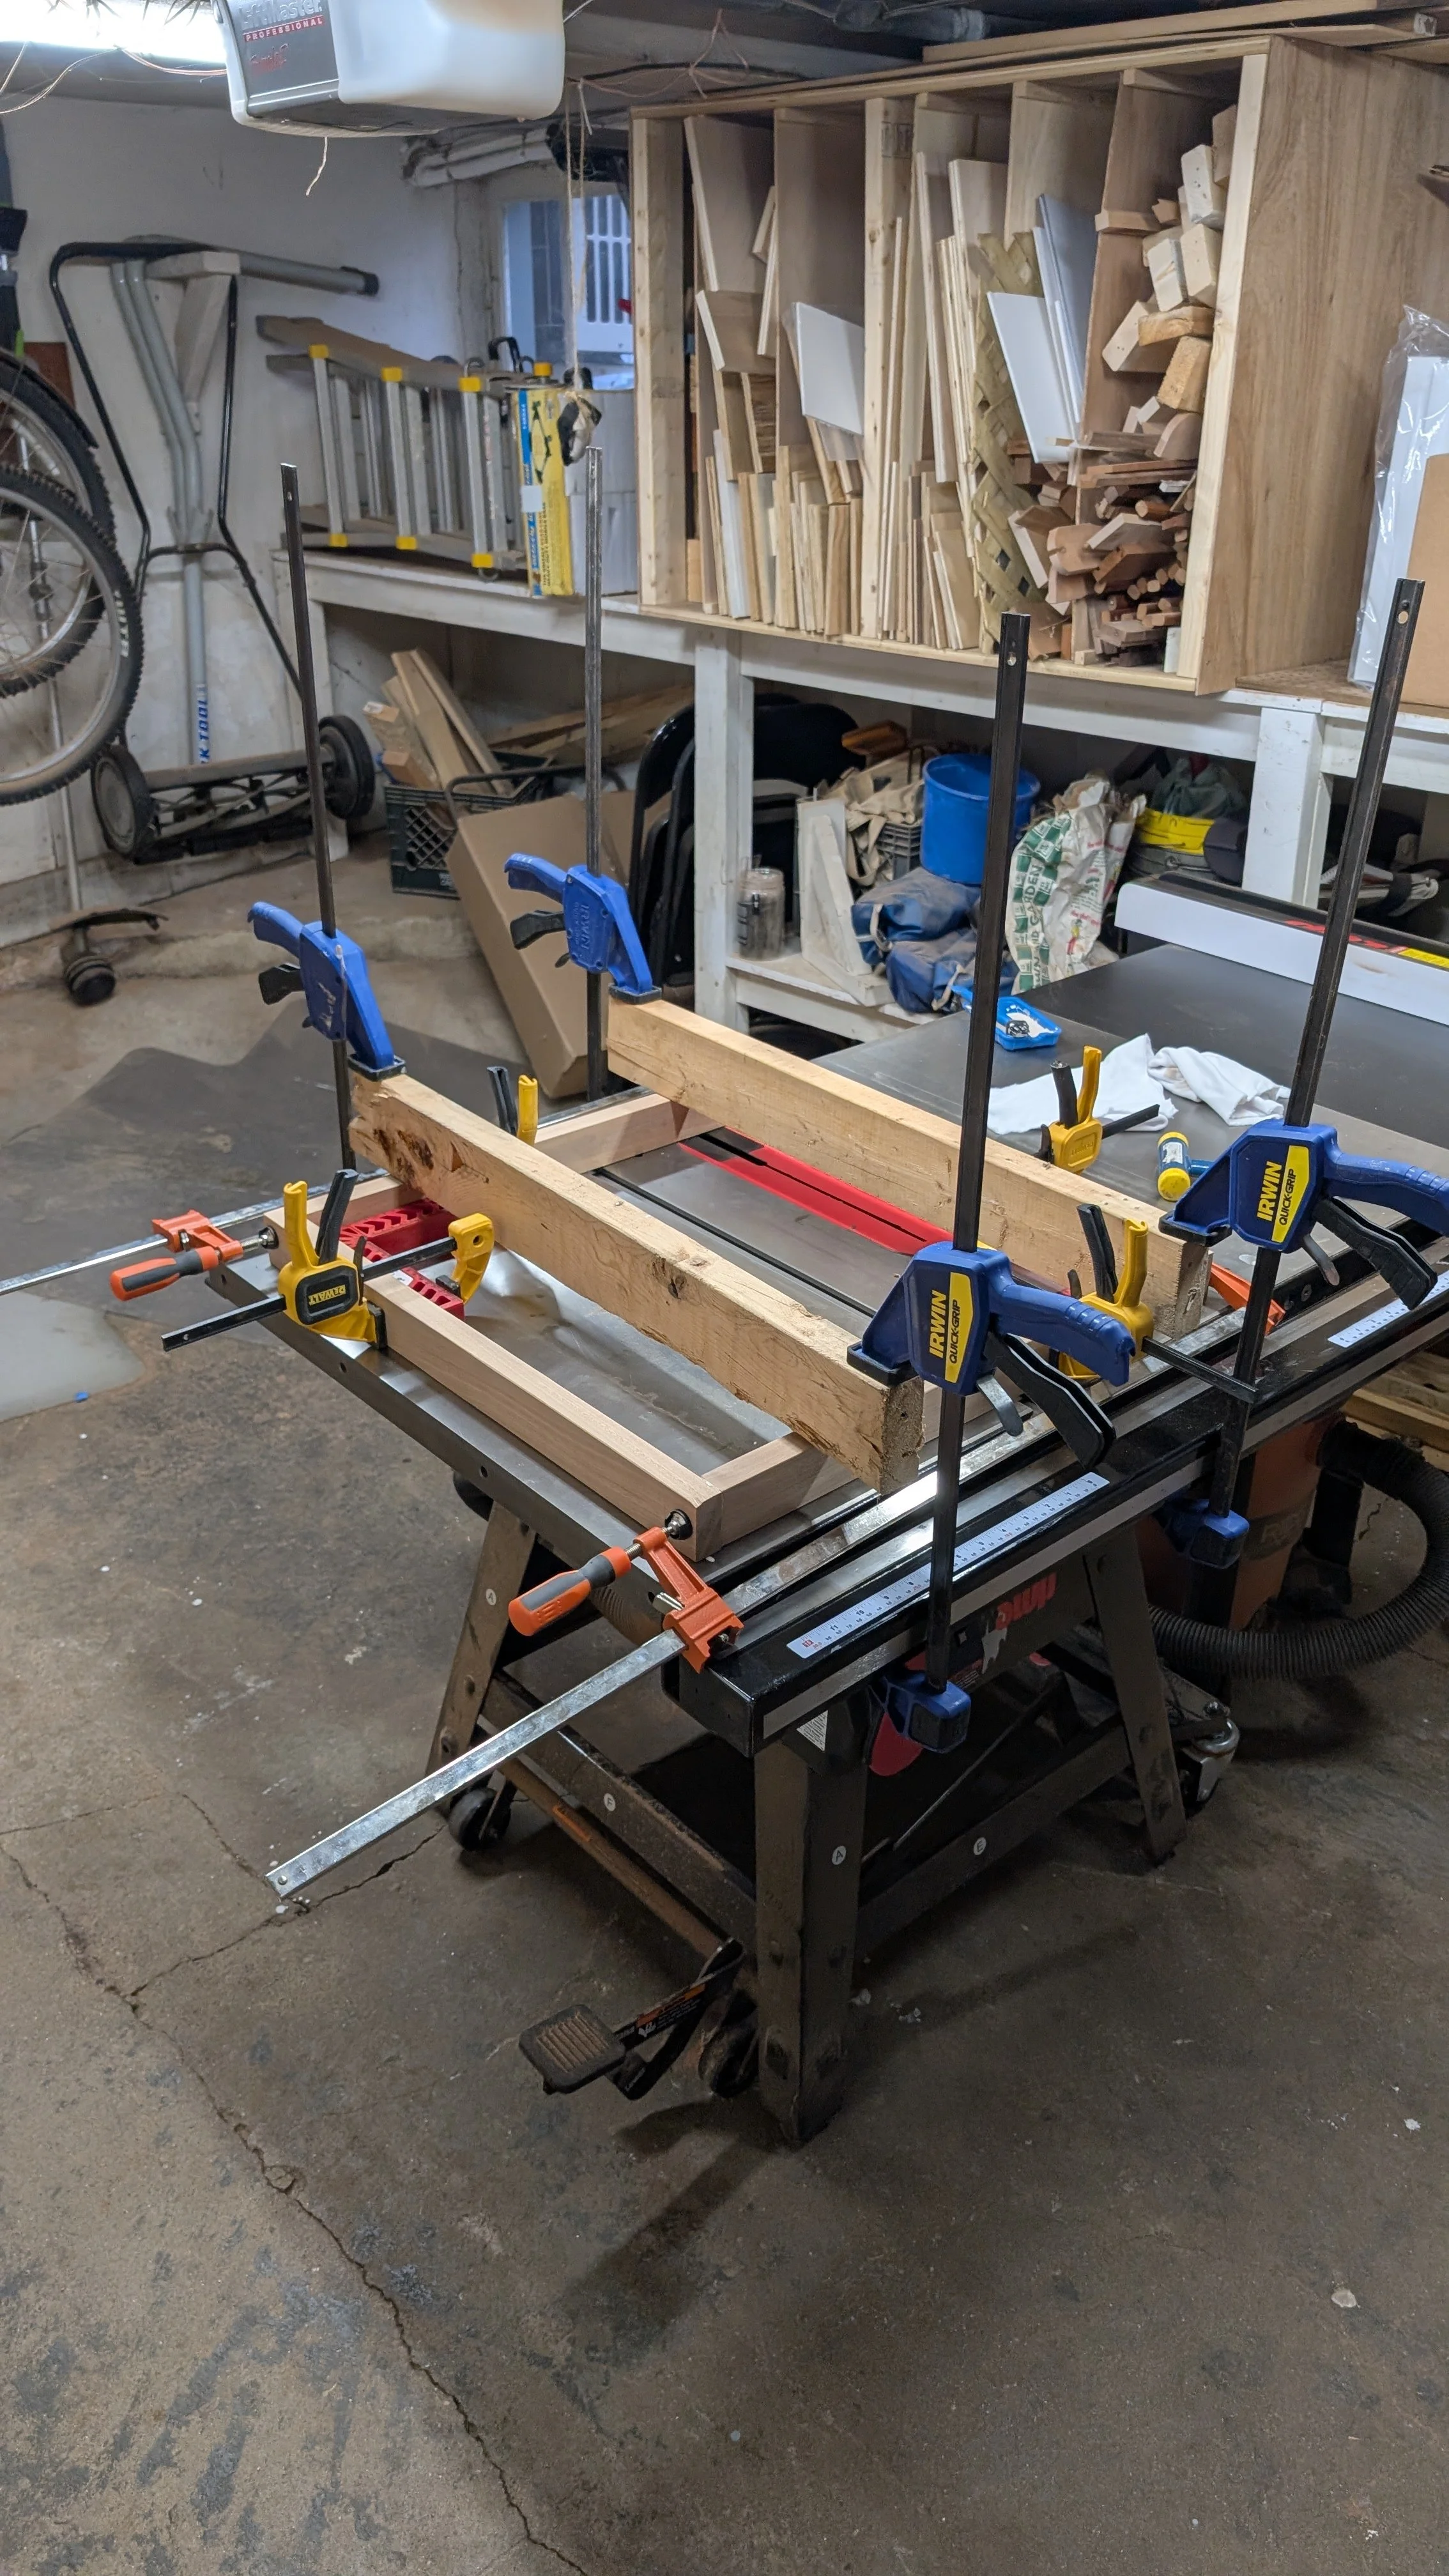
I rounded over all of the panel edges on the router table and then started the sanding/scuplting using a 60 grit sanding disk. I cleaned up the edges and sanded everything to 220 grit. I then glued everything up and after the glue was cured I applied some Natural Danish Oil.


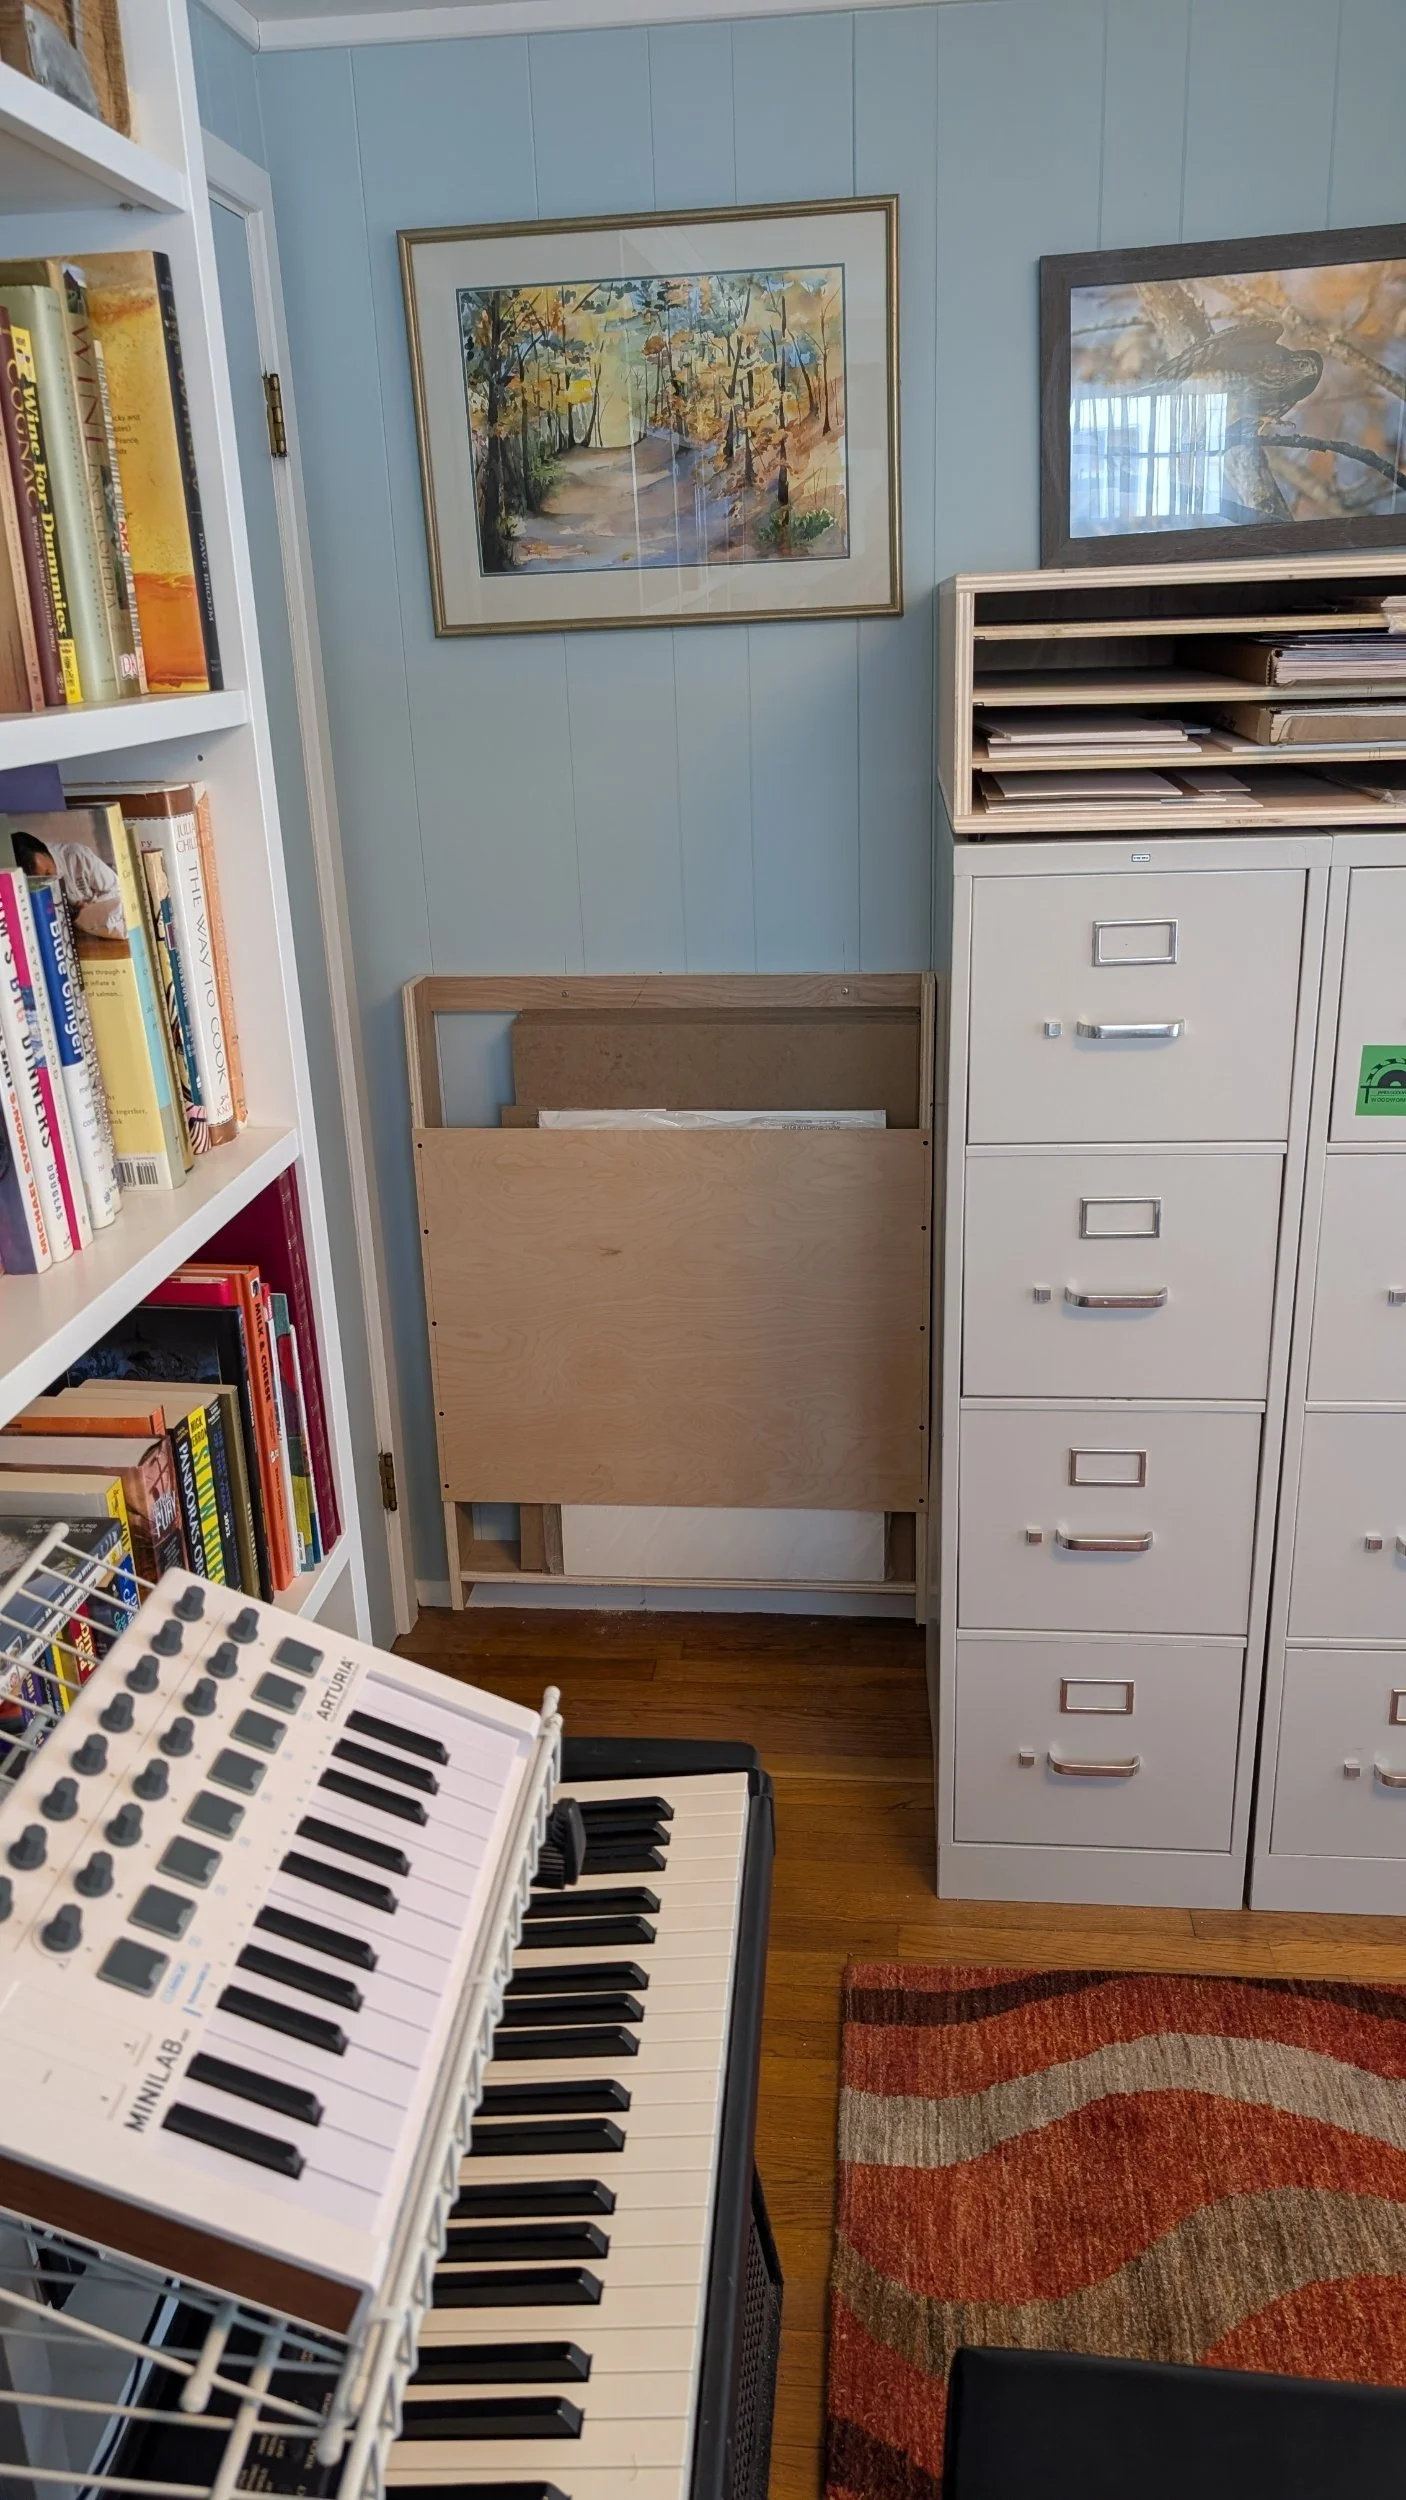
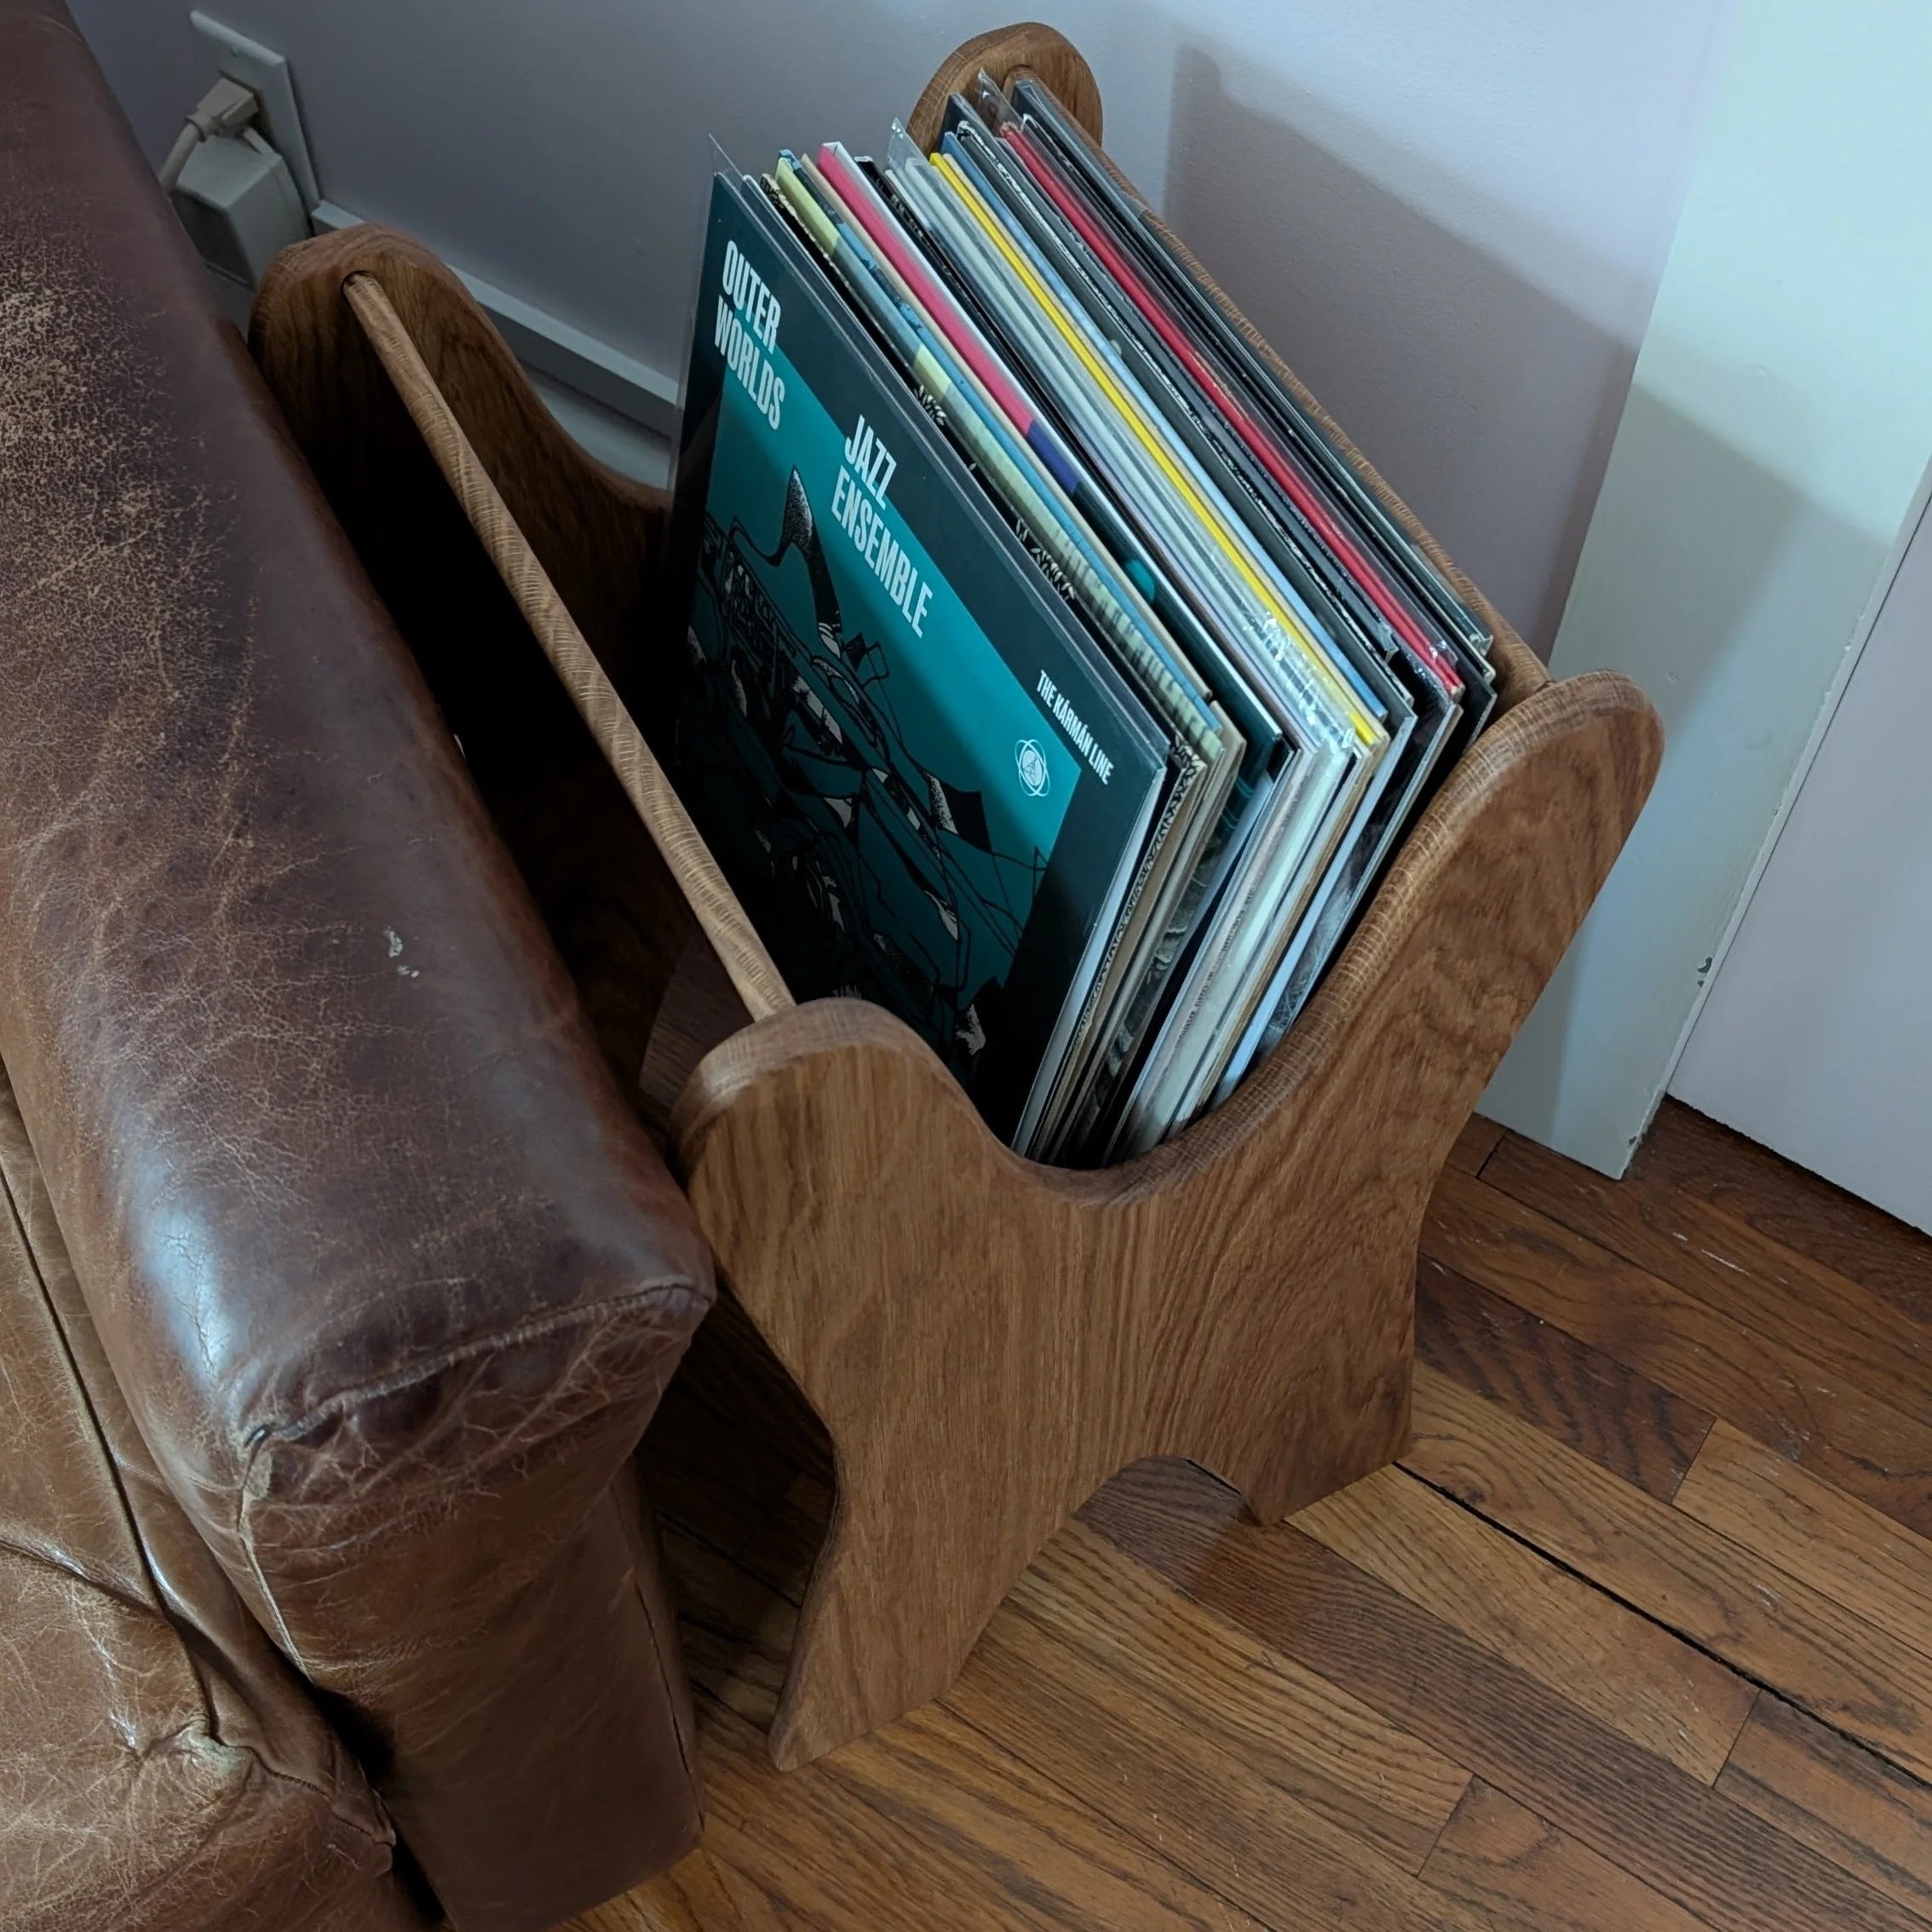
And that was it, the sorter was deployed. I’m really happy with how this came out and the contrasting design and wood really work in the room.