The second part of the TV Lift Case project was to make a side table that matched the TV Lift Case and the rest of the furniture in the room. The table is meant to be a place for guests to set a drink and to have some drawers for storage. I had designed the side table, ordered all the stock, and rough cut the frame parts along with the TV Lift Case. After installing the previous project and cleaning up the shop, I was able to go ahead and finish up construction on the side table.
Like the previous project there was a lot of mortising and fitting tenons and then installation of panels. It was nice to be working on something a lot smaller because all of the work could be done directly on the bench.


Then there was the glue up of the top from the same five and half inch wide Walnut boards. The much smaller top was easy to glue up in my ROCKLER panel clamps, such a great tool.
Then I made the three drawers out of three quarter inch natural birch plywood. I used a new technique that I’d seen on a YouTube channel ( sorry I’m not sure which one ) that used a sort of lock joint at the front, it uses a groove in the front of the drawer and a tenon on the side of the drawer that interlock providing registration and alignment as well as a lot of glue surface. It’s a lot easier to fabricate than more complex box corners like dovetails or finger joints but it provides a lot of the benefits. I found that these were some of the strongest and most square drawers I’ve built to date. I’m definitely going to use this technique going forward.


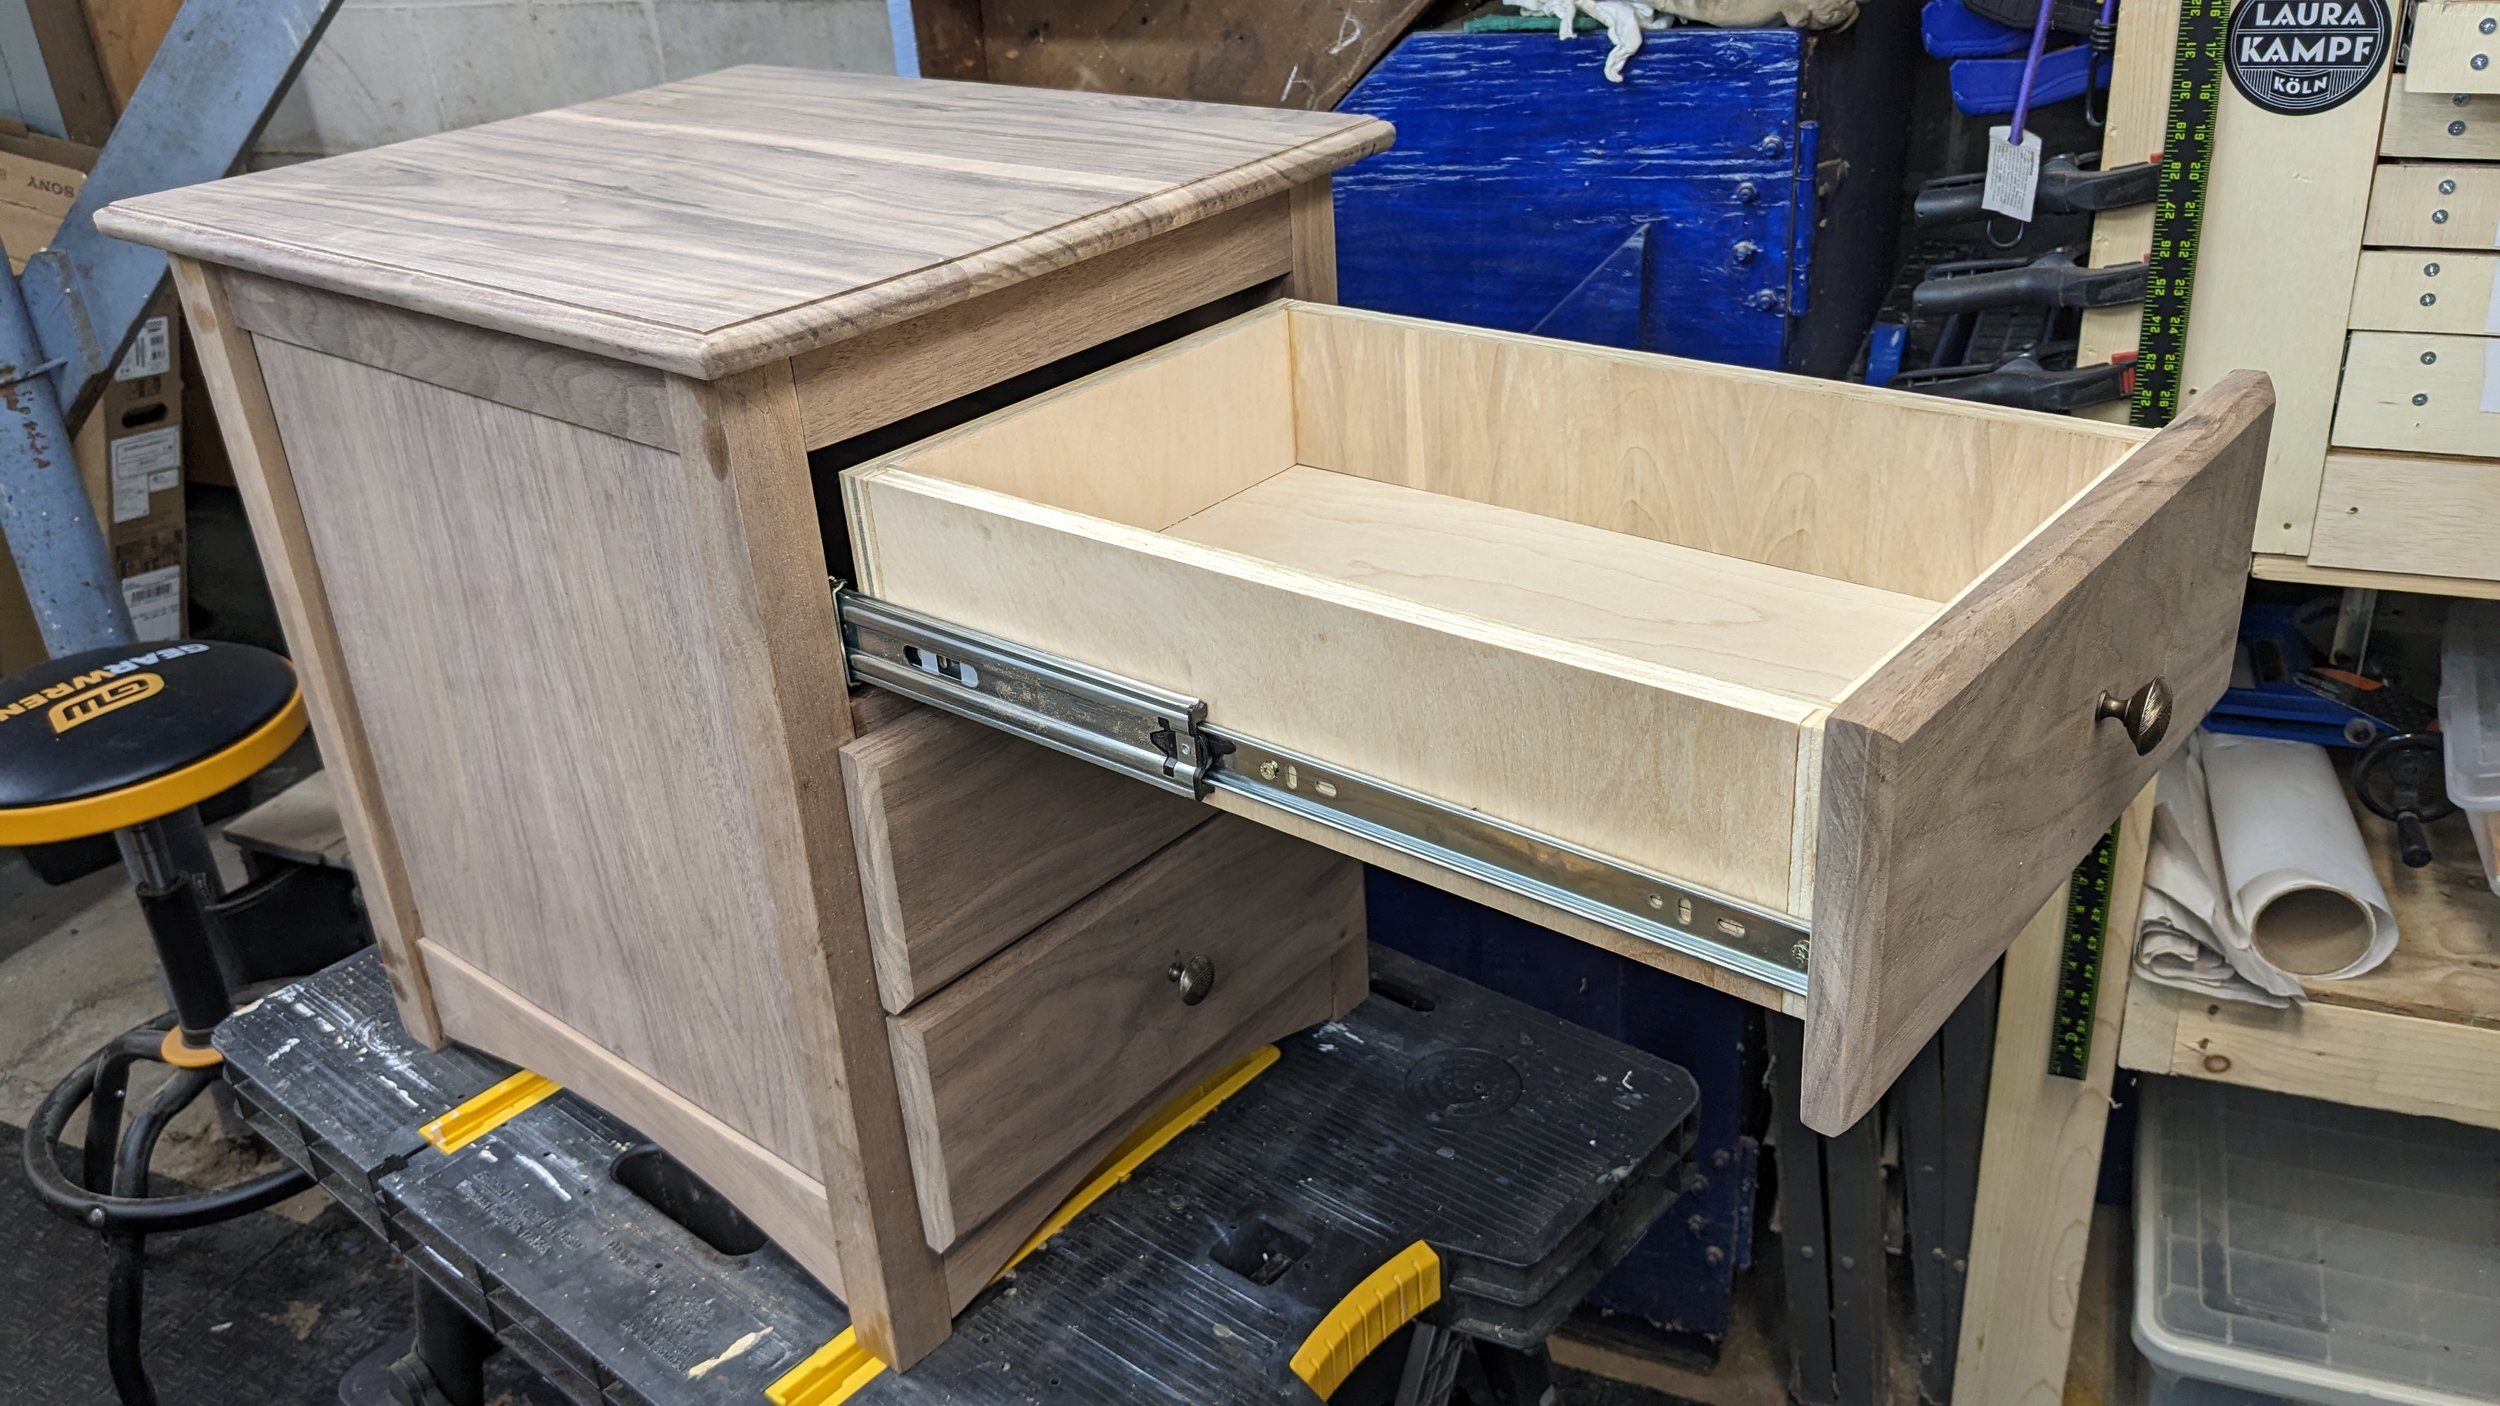
I changed the way that I mounted the drawer slides, in the past I’d mortised in rails to screw the slides to, in this one I realized that I could just cut an eighth inch rabbet along a single piece of half inch plywood on each side and glue it on the inside of the frame to provide a continuous support top to bottom on each side. A lot less fiddly to fabricate and very strong. You can see this detail in the view up from the bottom in the gallery above.
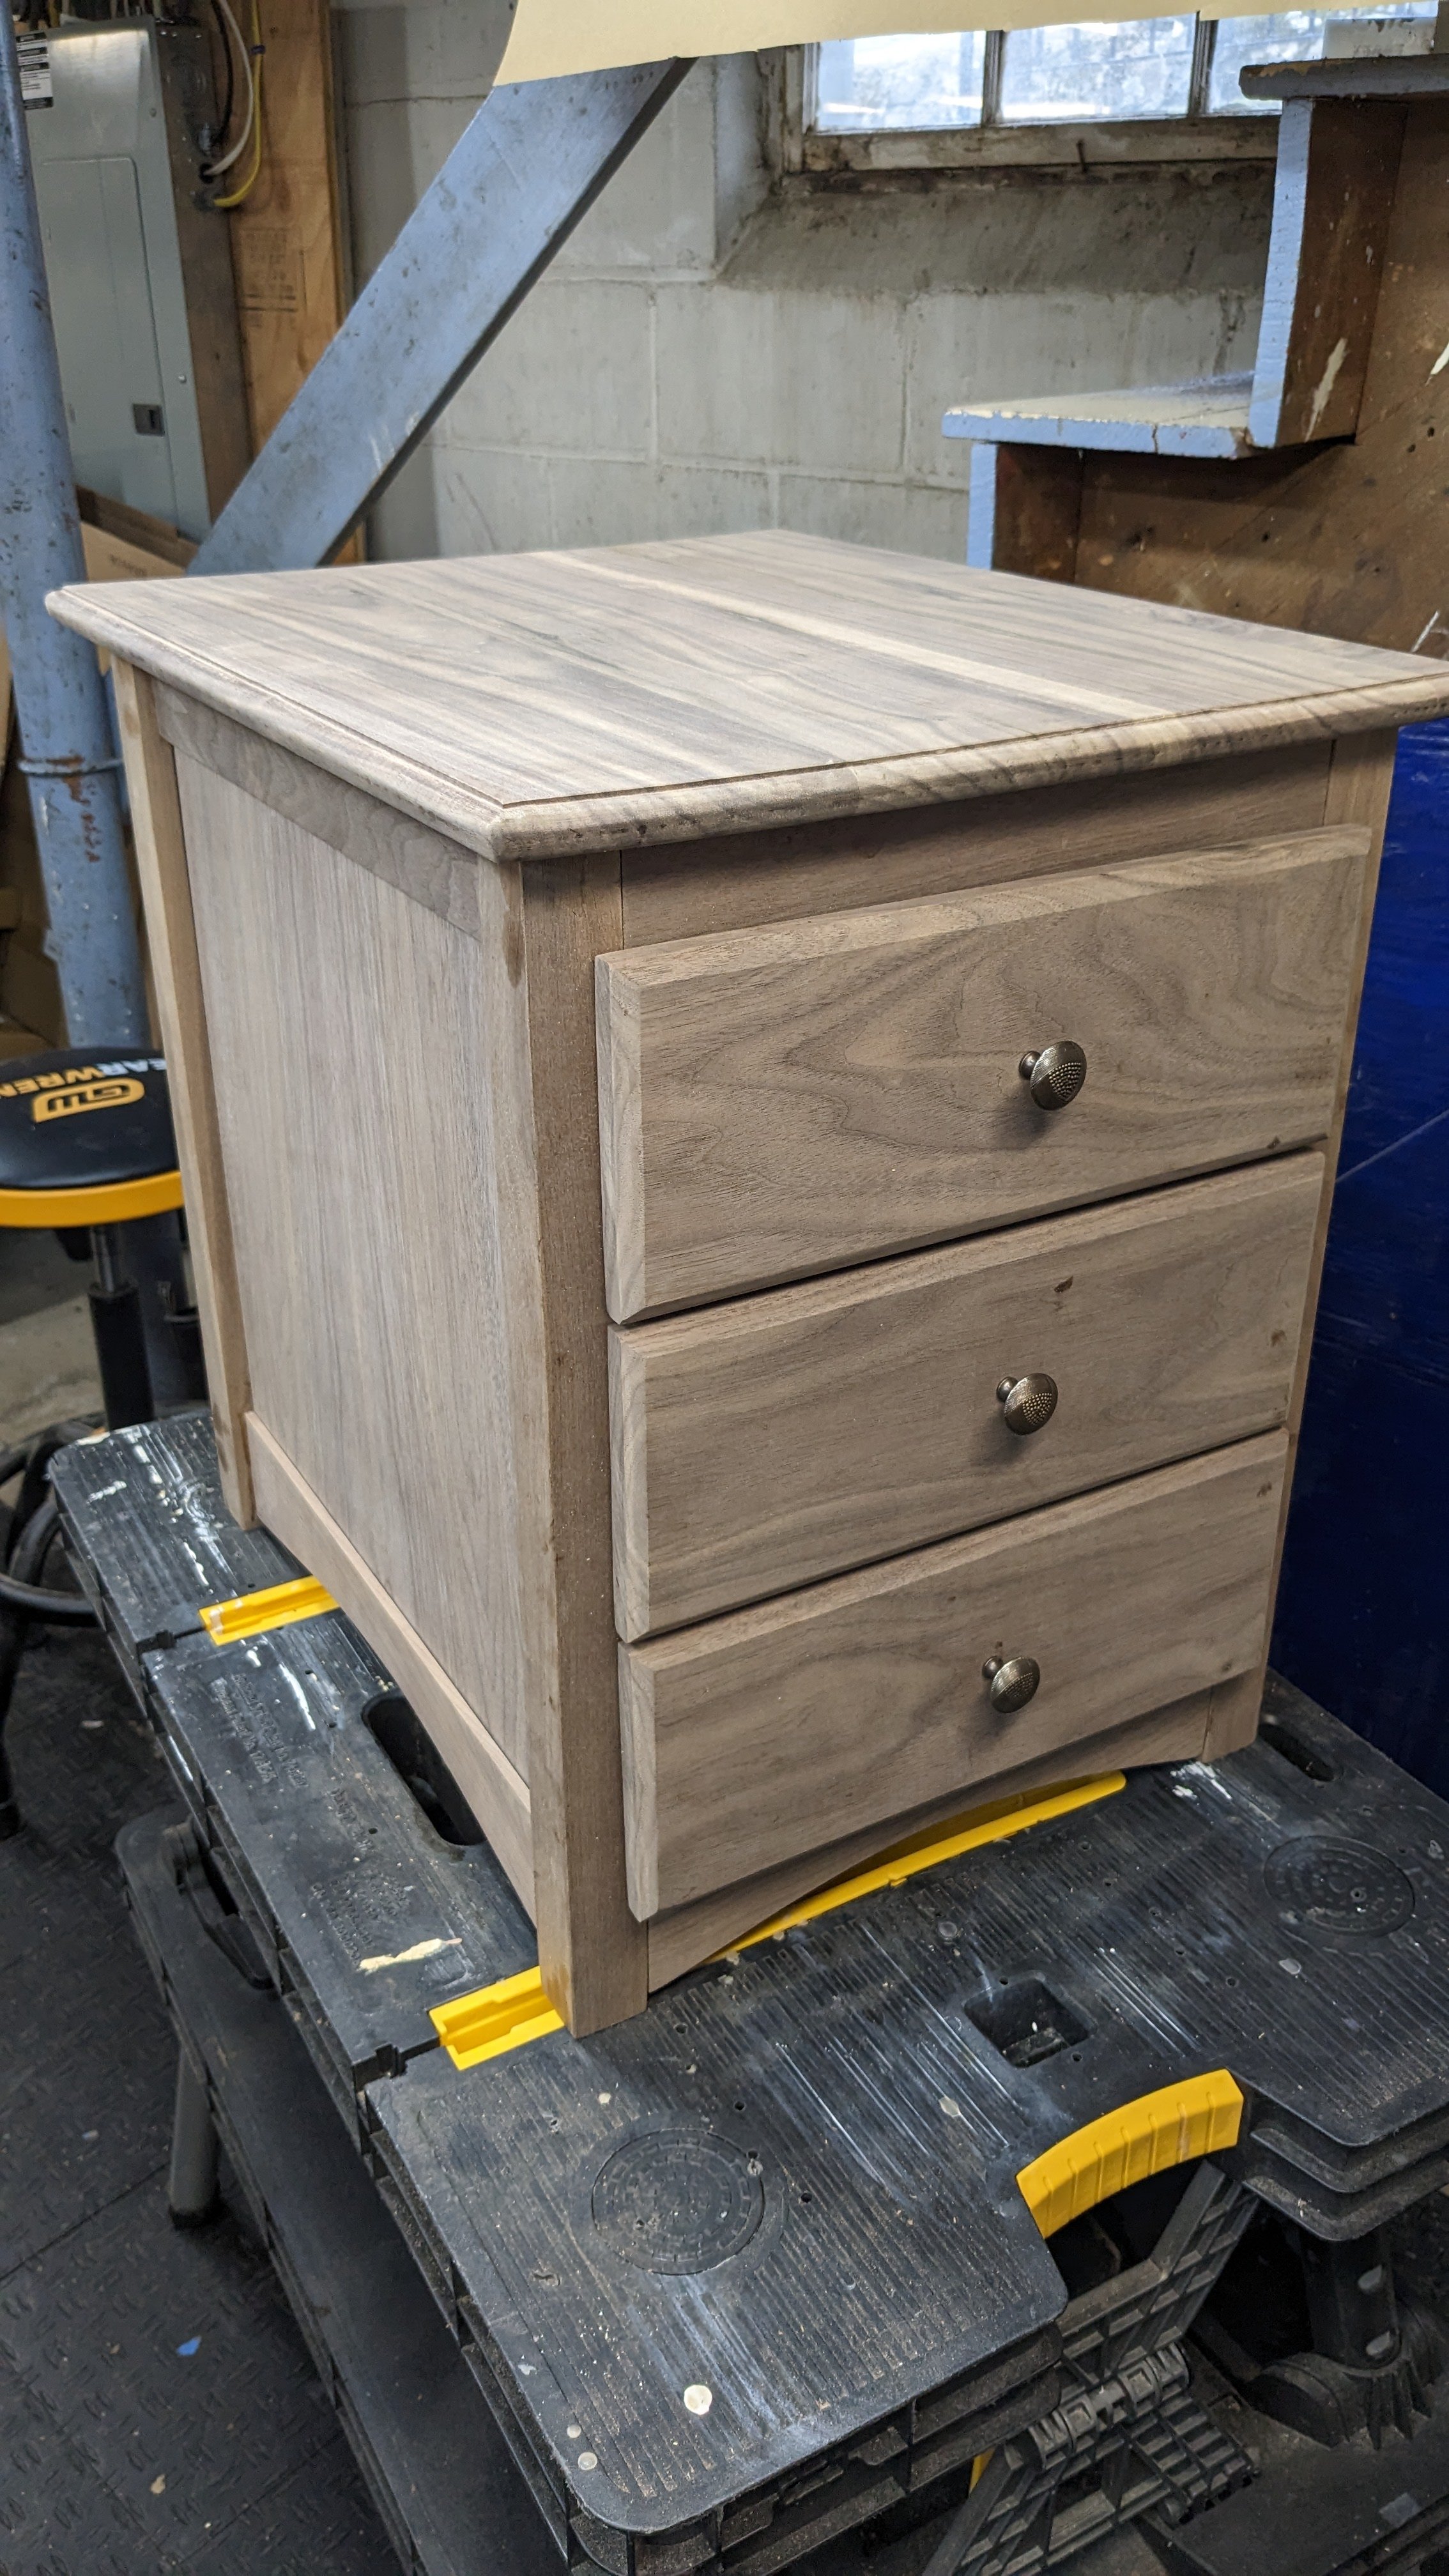
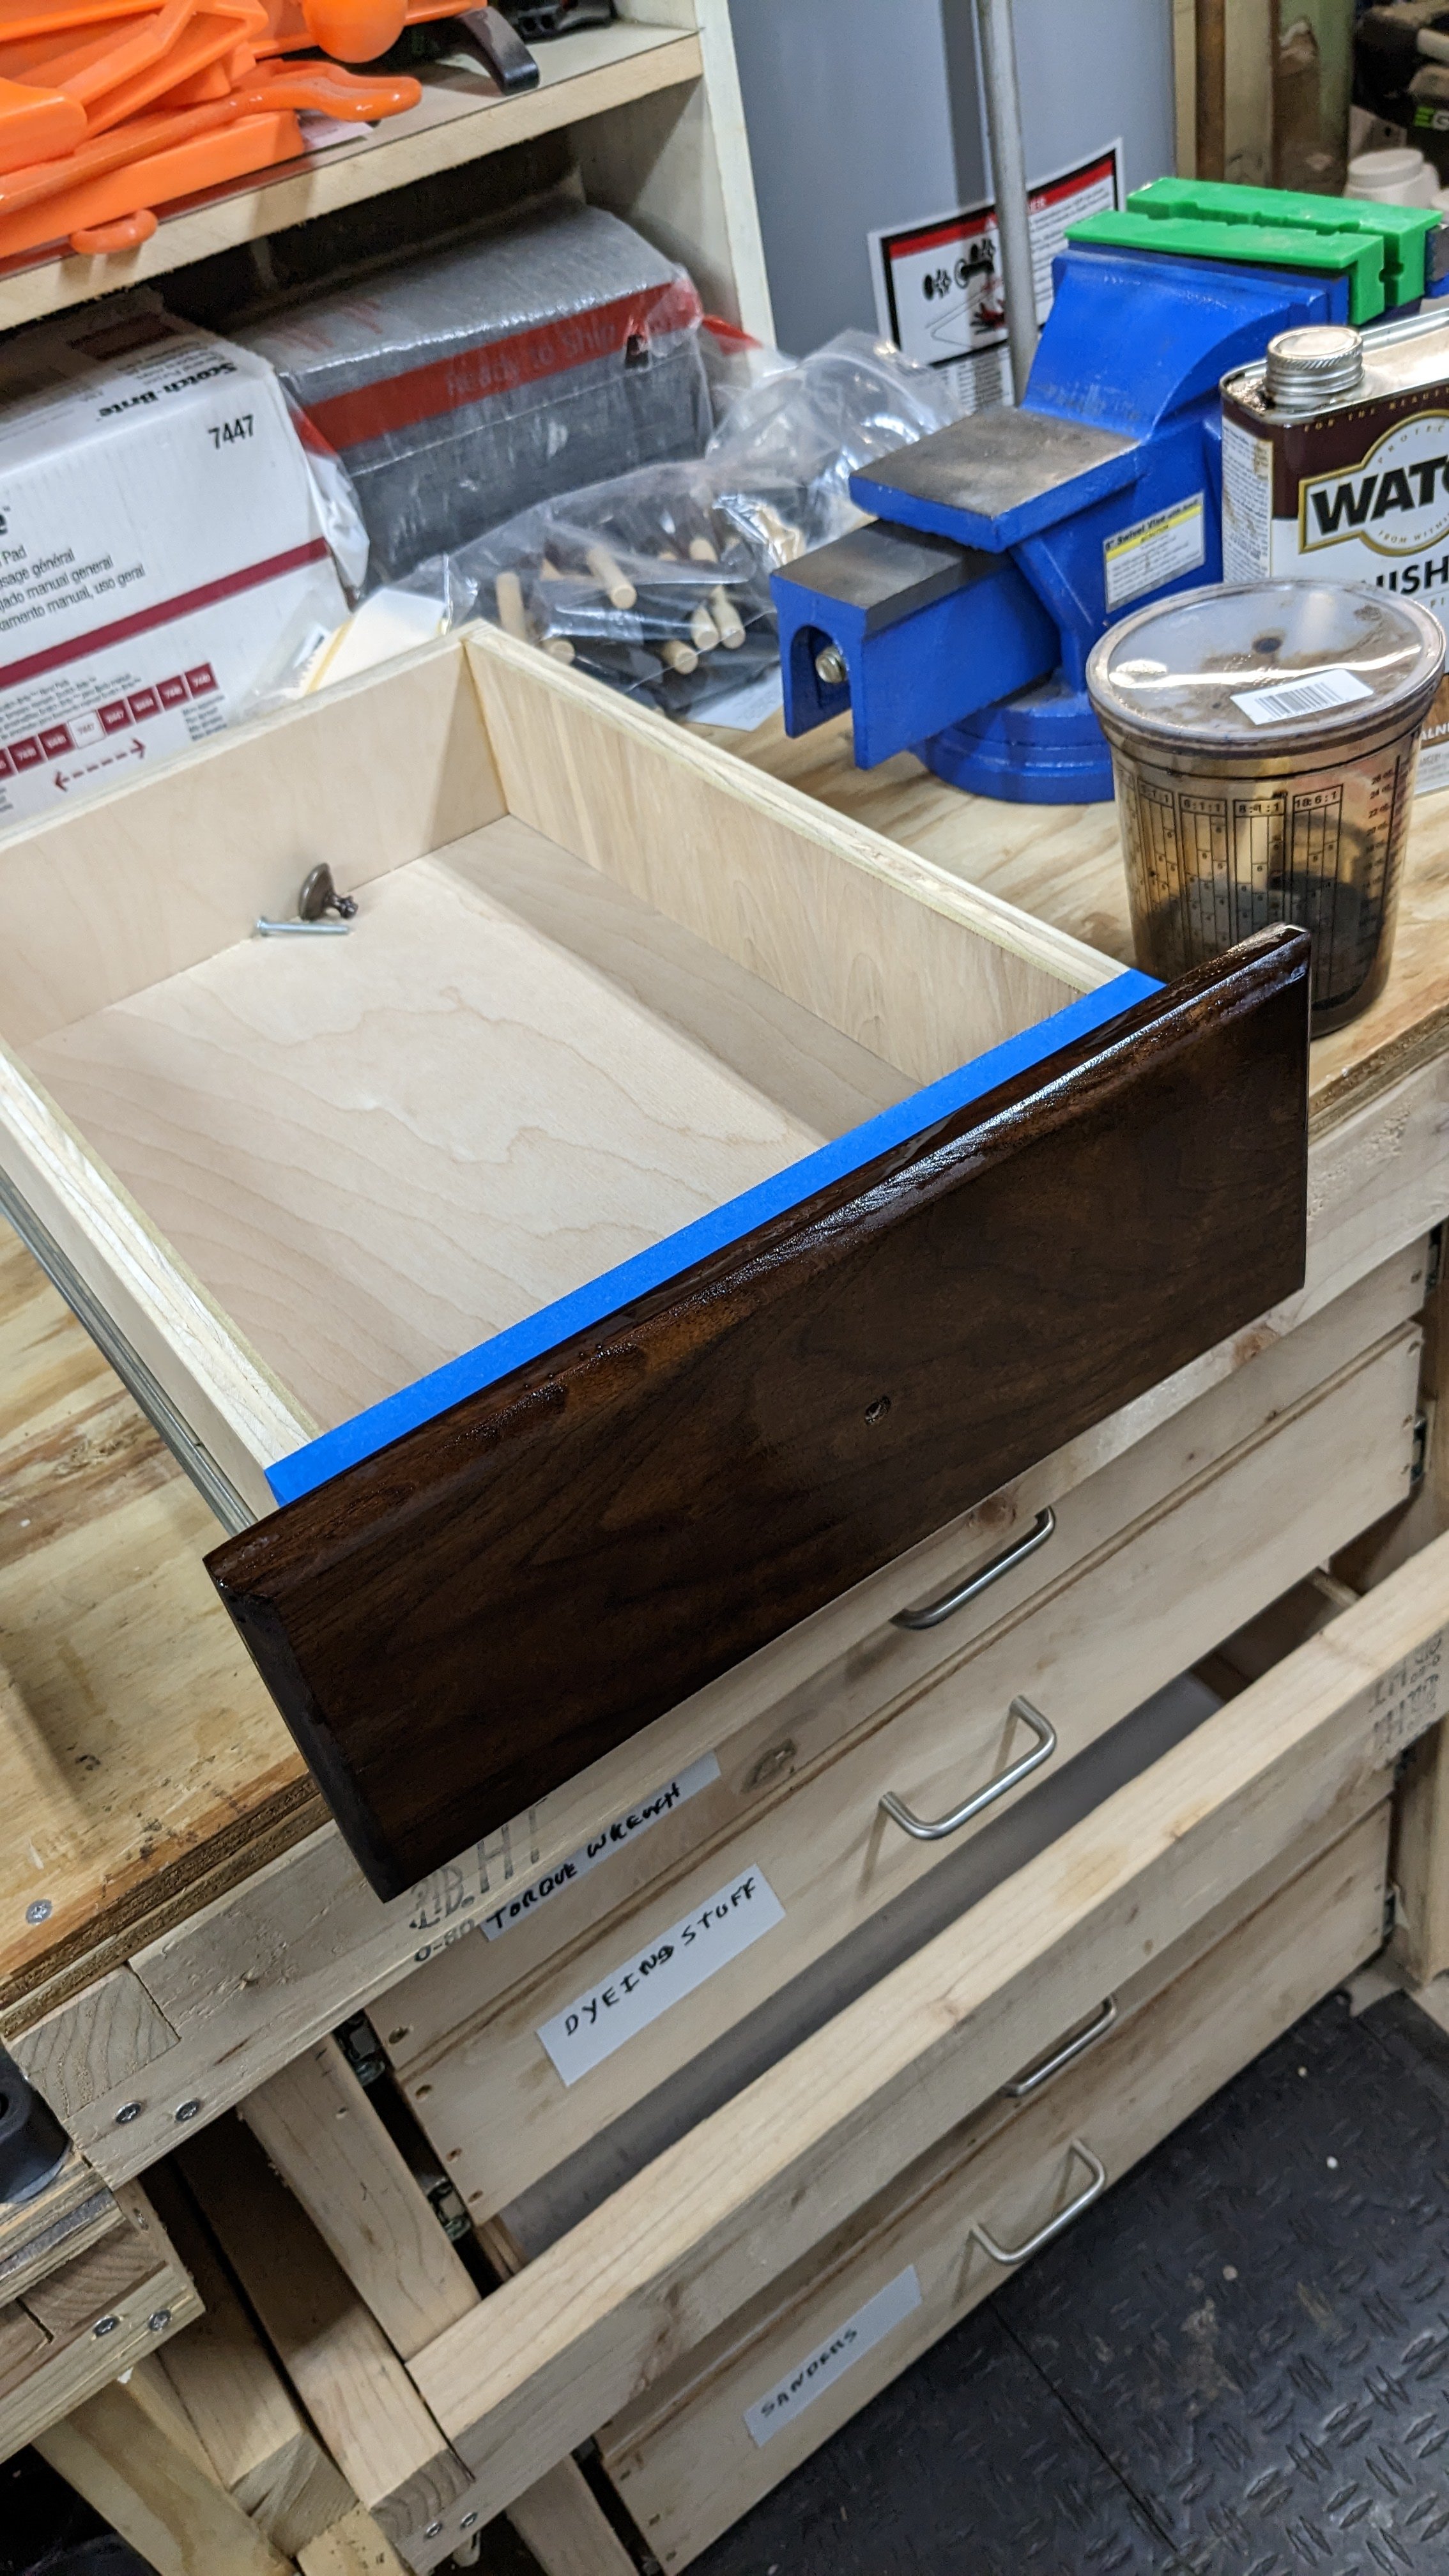
I made the drawer fronts out of the same five and half inch boards as the top. I added a bevel detail to them to make the front less featureless. I was able to buy the same exact pulls that all the other furniture in my living room use from Pompanoosuc Mills the folks that built them. They were nice to sell me a set as a courtesy. If you like beautiful hand made furniture you should check them out, everything they make is stunning and I have owned many pieces for decades now.
I also cut a detail on the edge of the table top to echo the detail on the other furniture. Then it was on to sanding, again made faster and easier by this piece being smaller and working just in the heated part of the shop on the bench. I then glued everything up and installed the drawers and drawer fronts. Finally I finished it all with WATCO Dark Walnut Danish Oil followed three days later with WATCO Wipe on Polyurethane.


Finally I reinstalled all the hardware and we put the side table where it will live between the guest chairs in the living room.

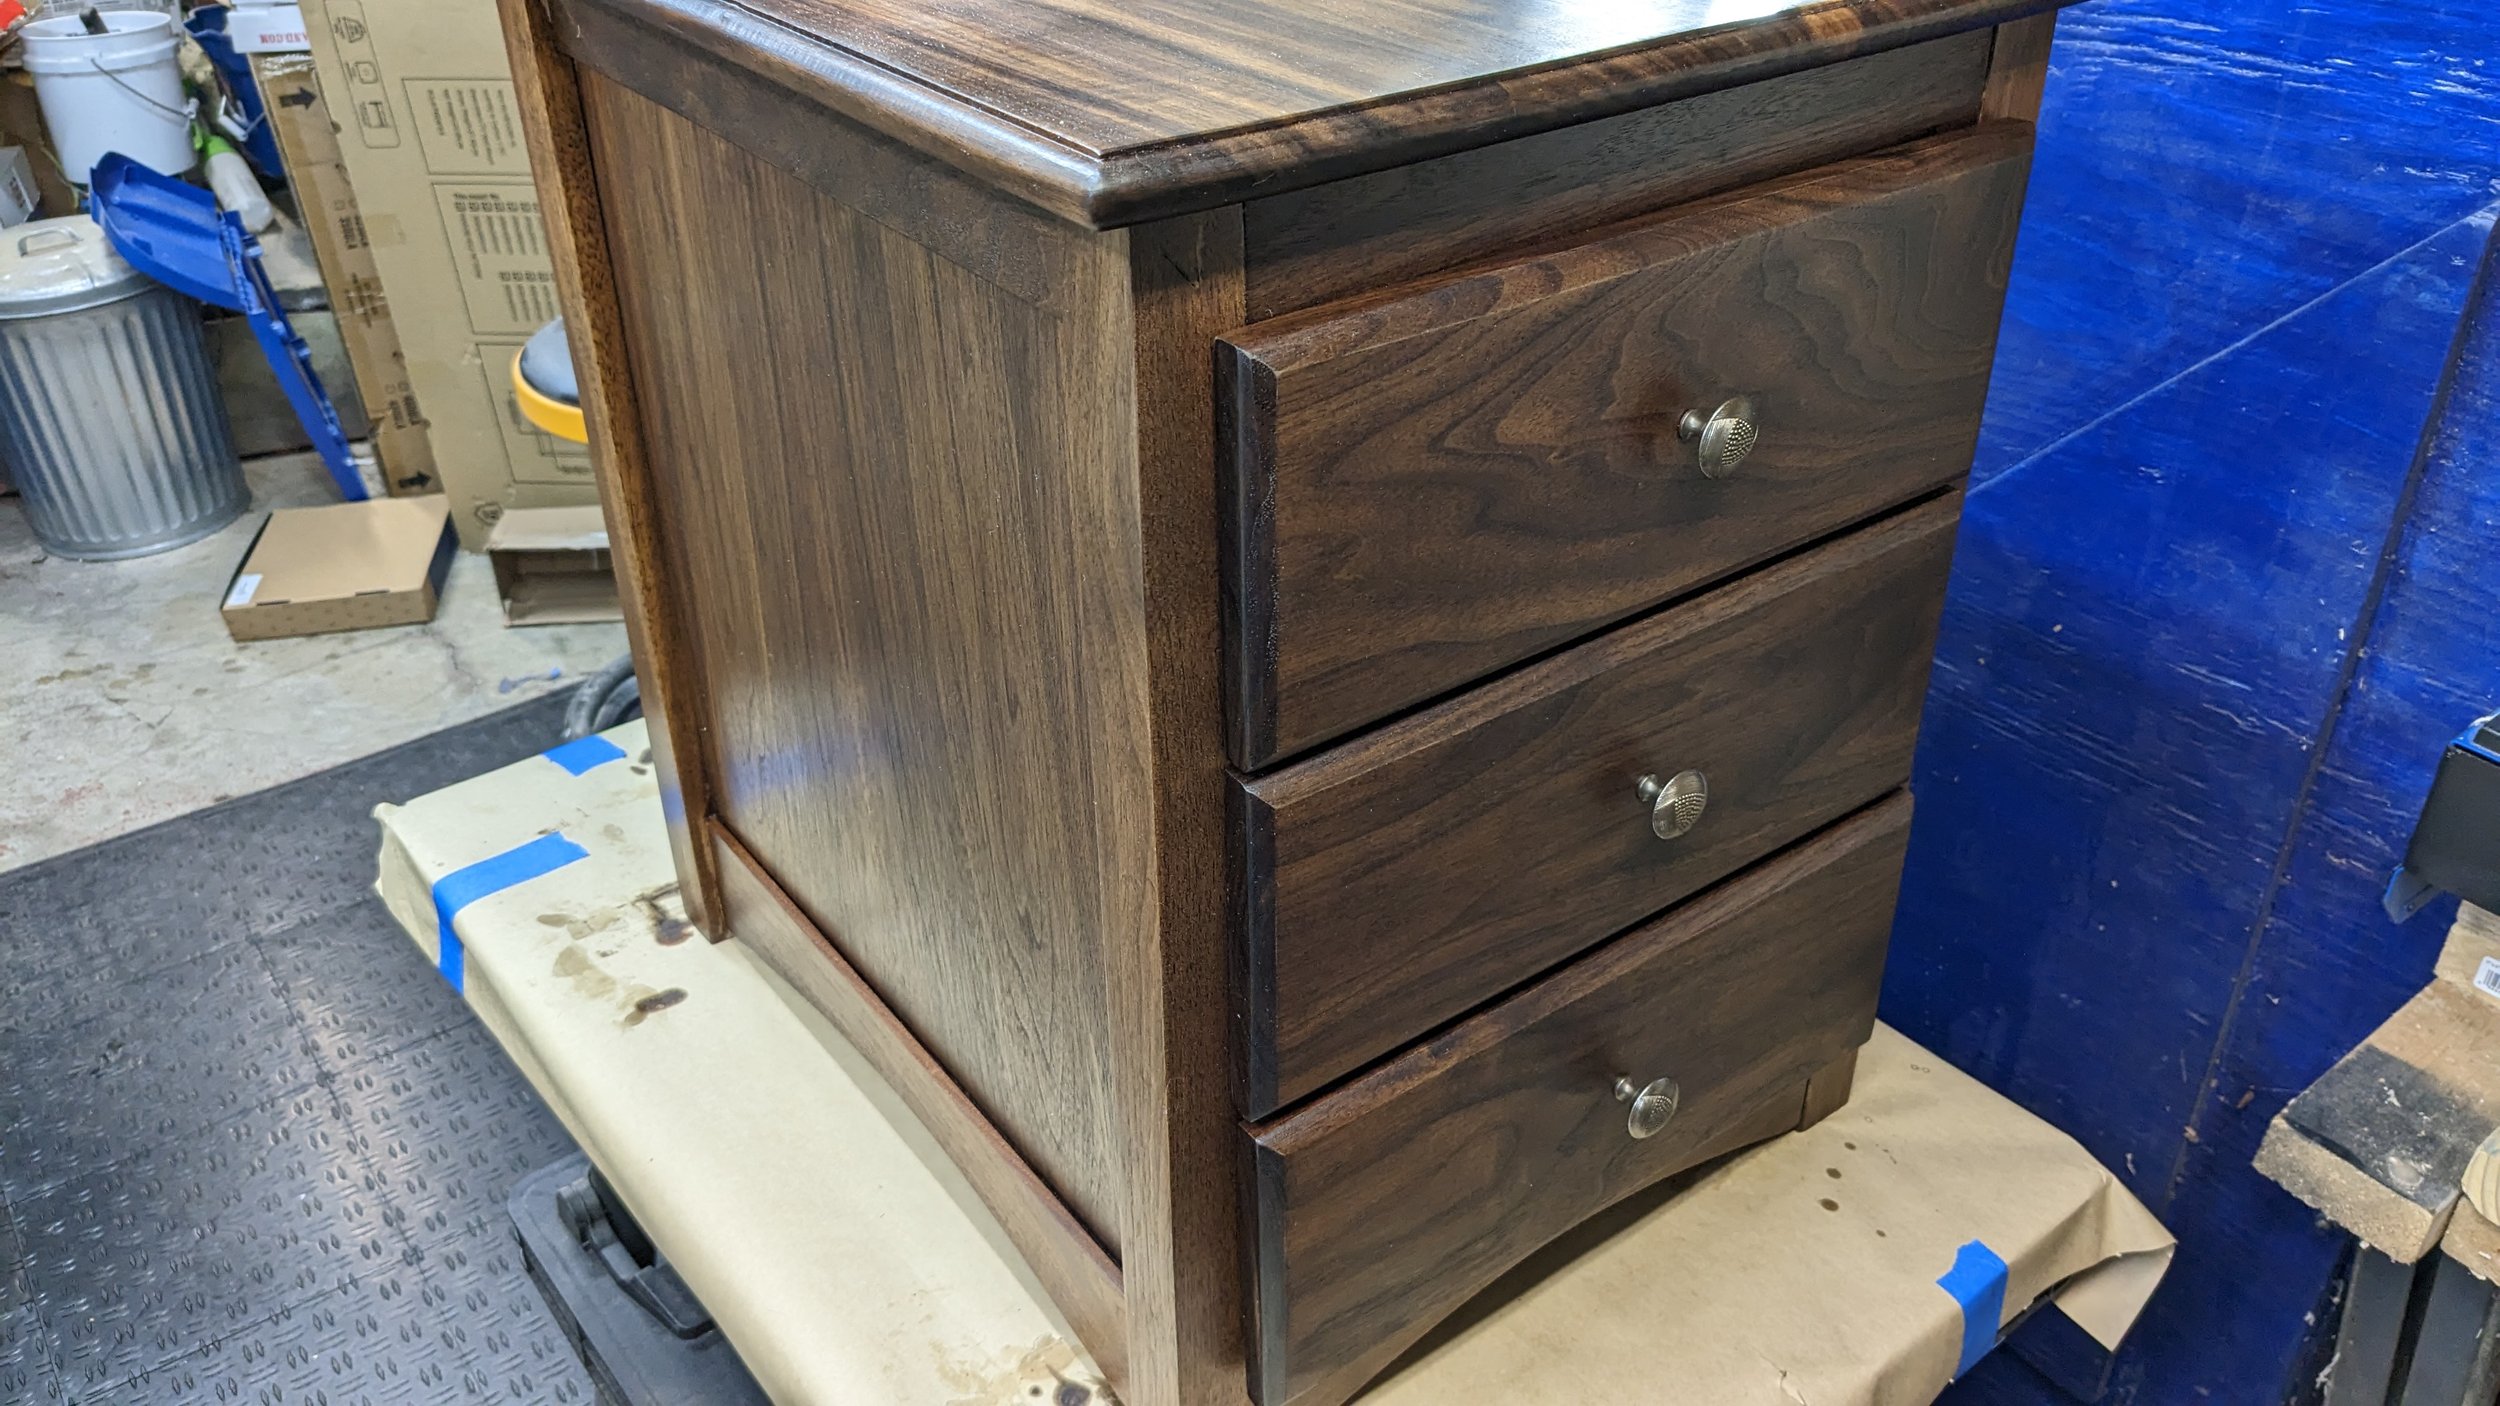

I’m very happy with how it came out, I learned some new stuff and I think improved some technique on this project.
I think the next few projects will be much smaller and less “ambitious.”