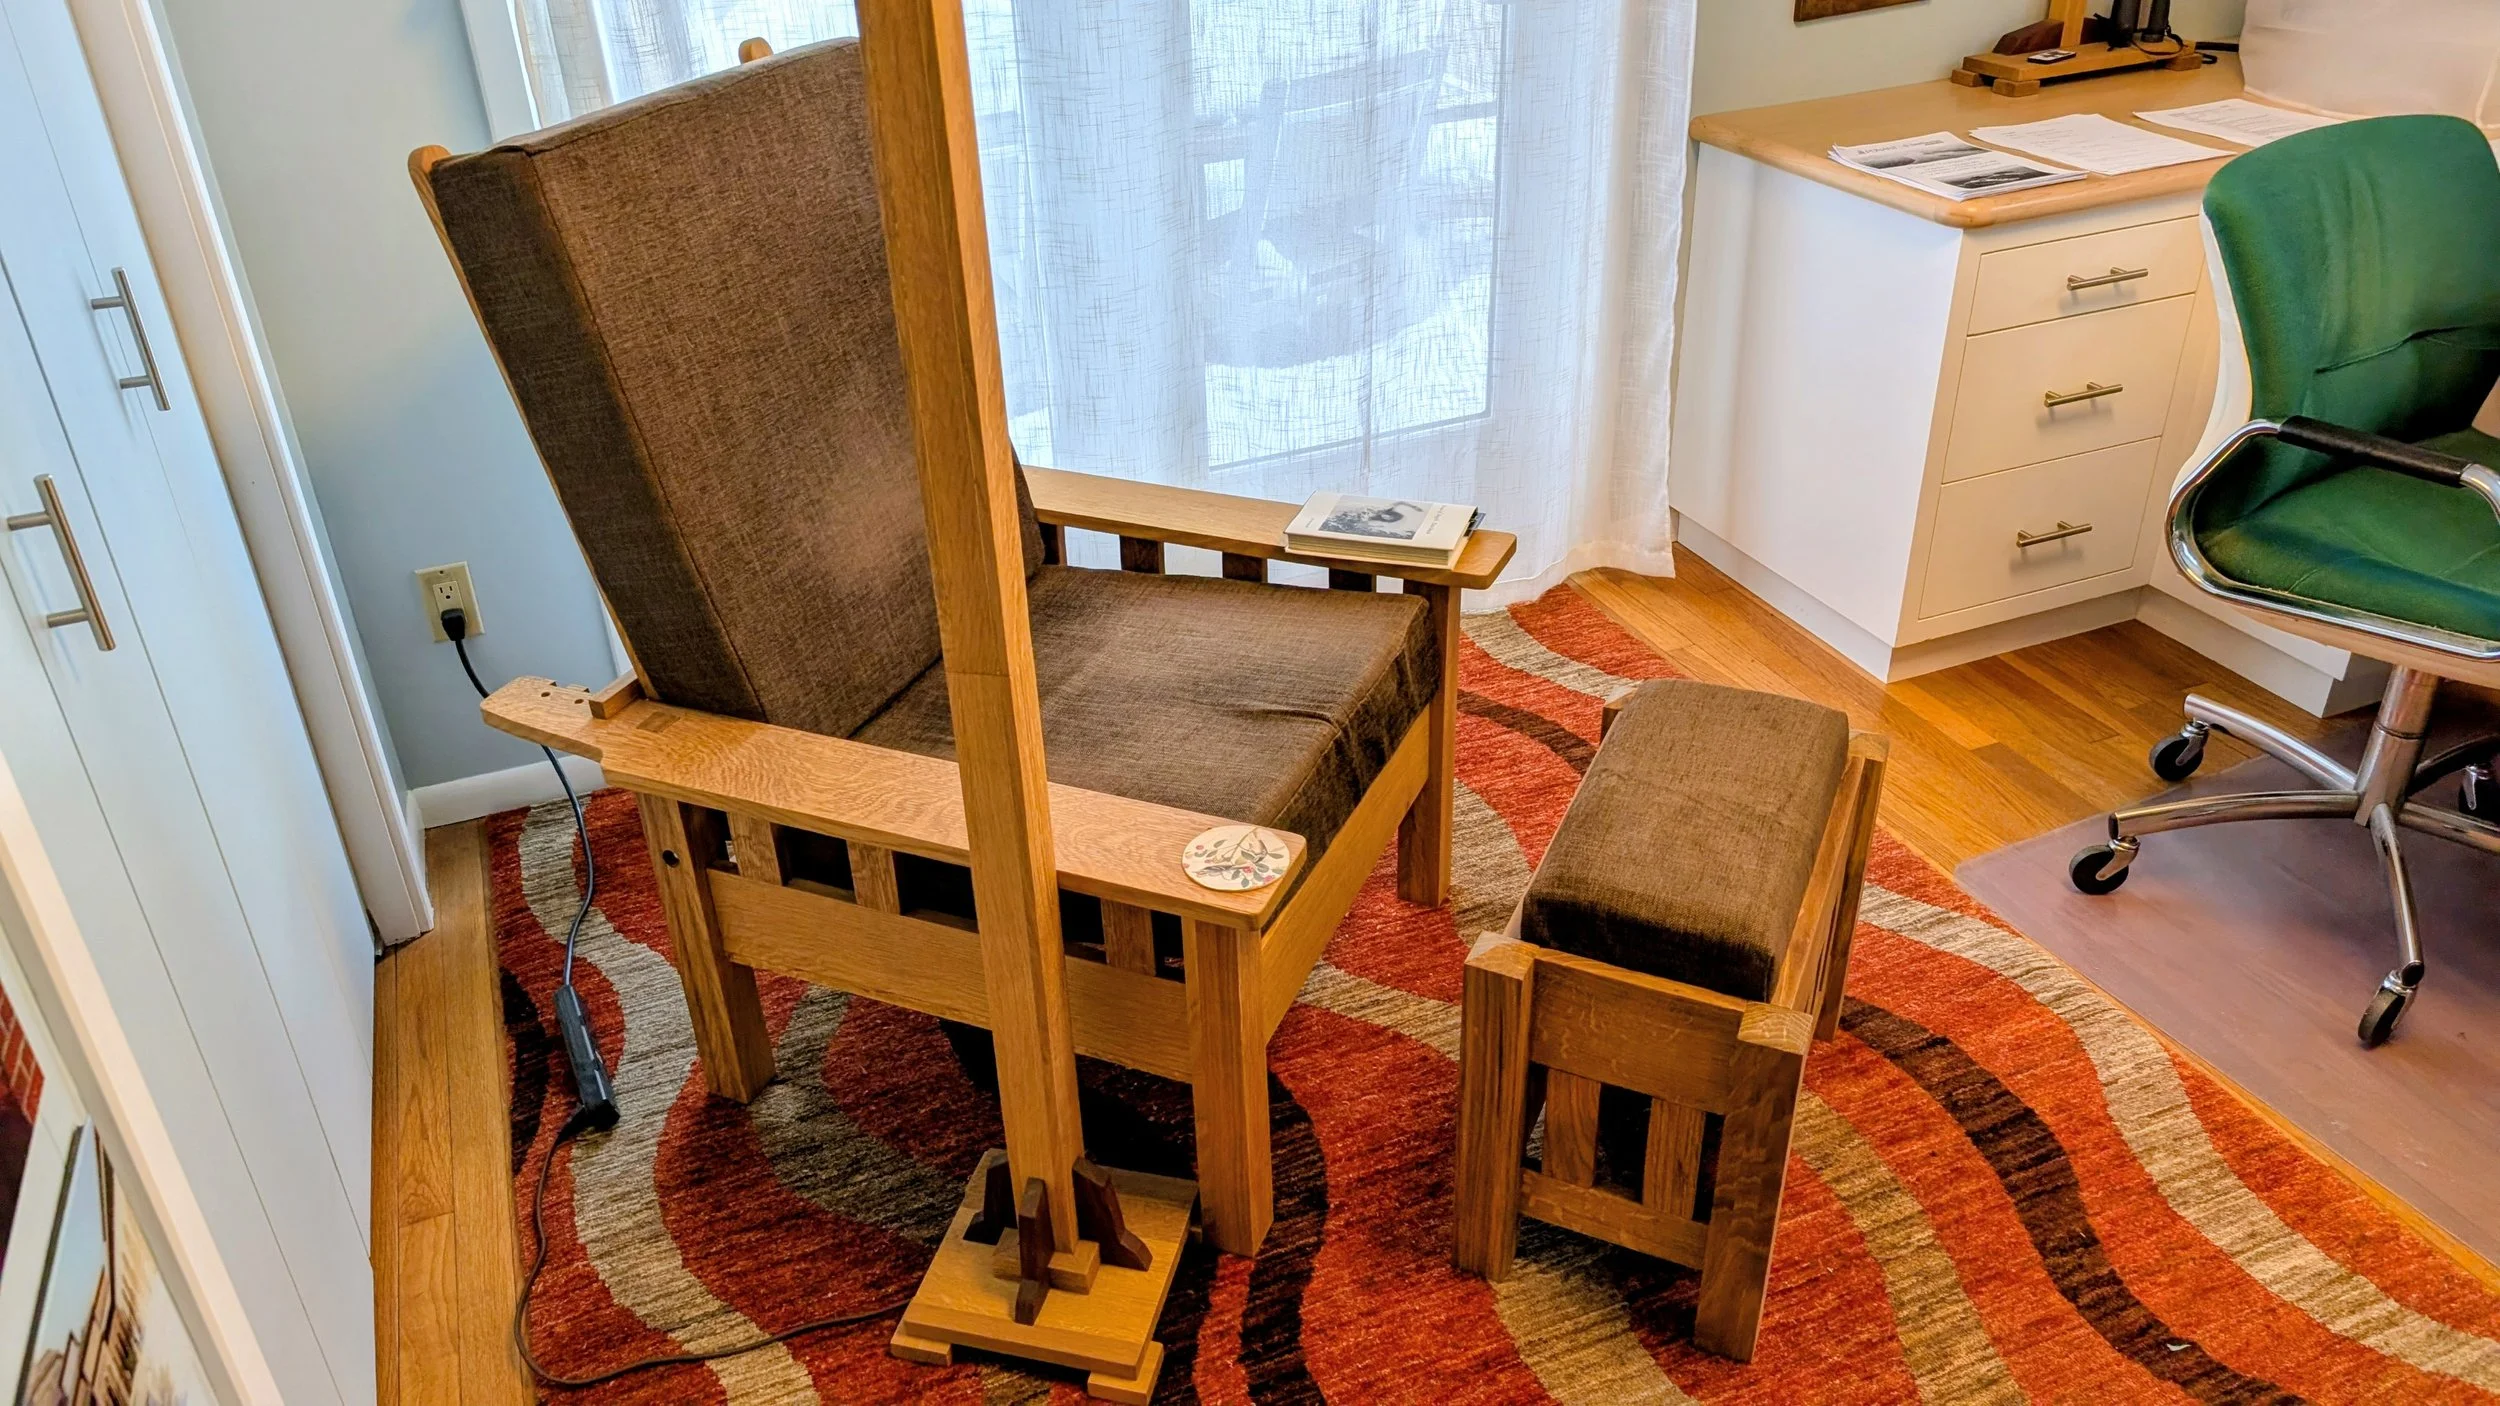
Five years ago I built a Stickley inspired Morris Chair and I’ve really enjoyed having it in my office since then. My one regret was not making an Ottoman to go with it. I have now fixed that regret and built my version of a Craftsman-ish Ottoman to go with my chair.
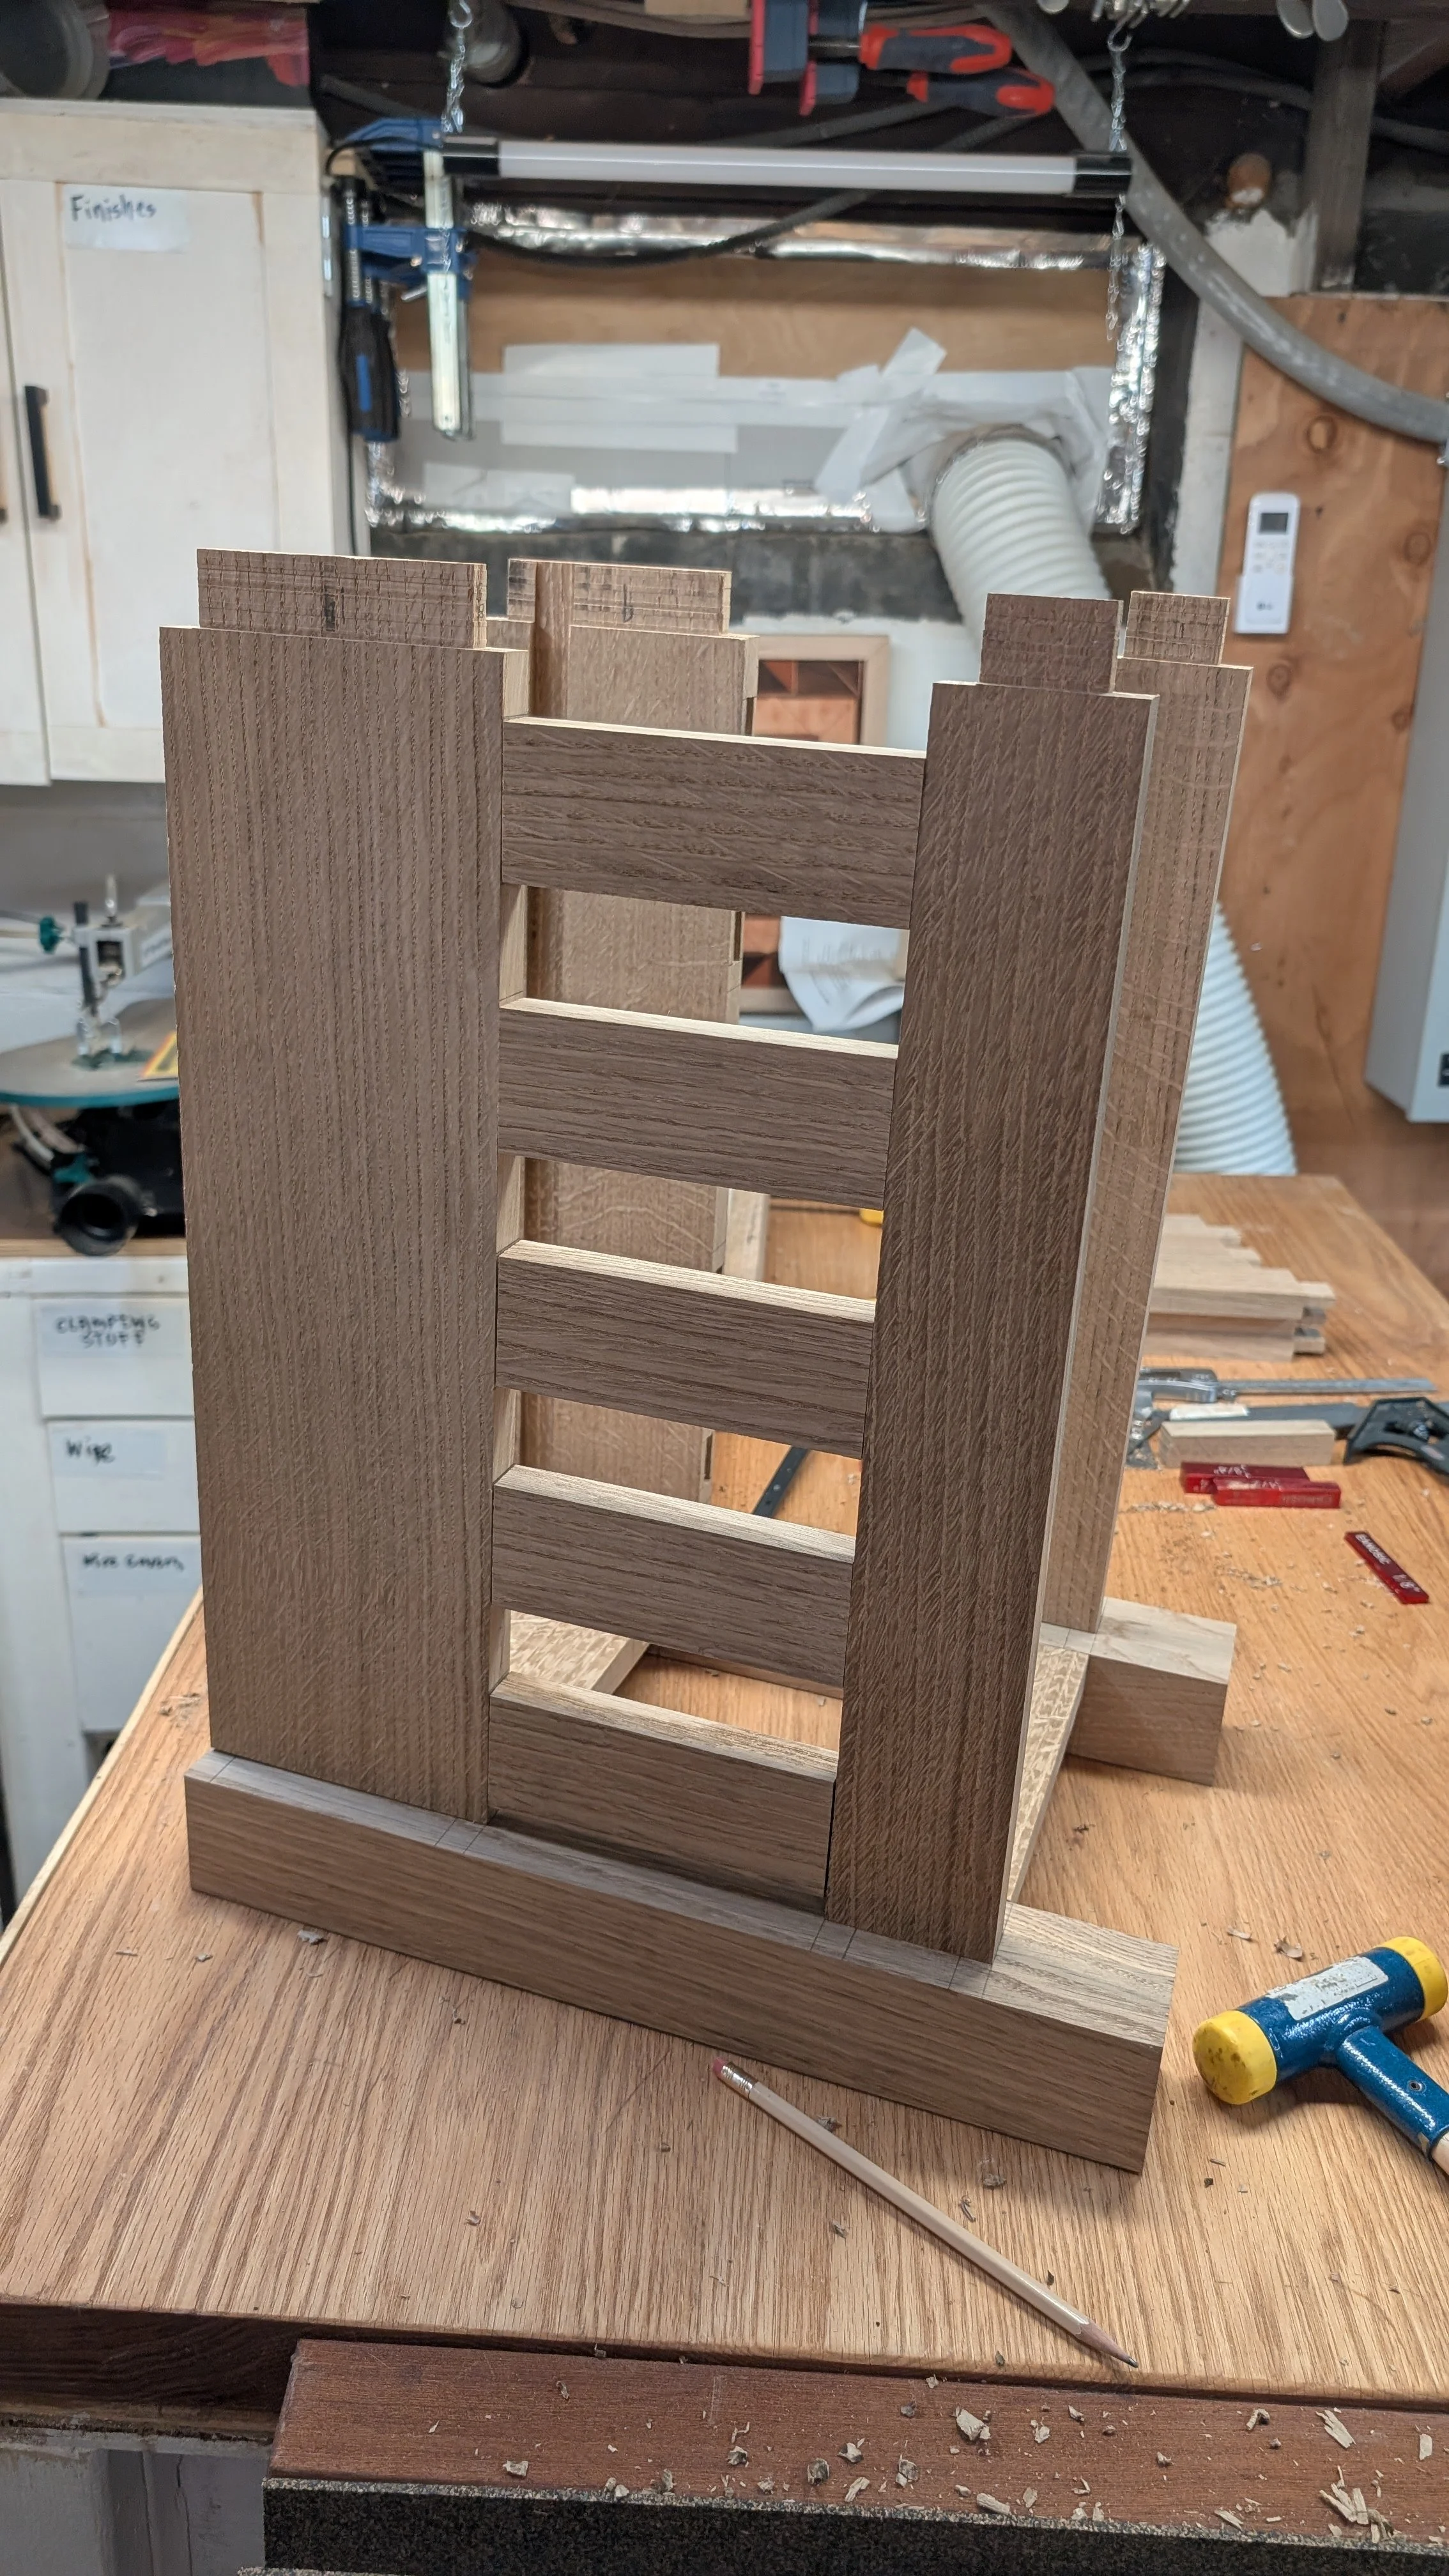
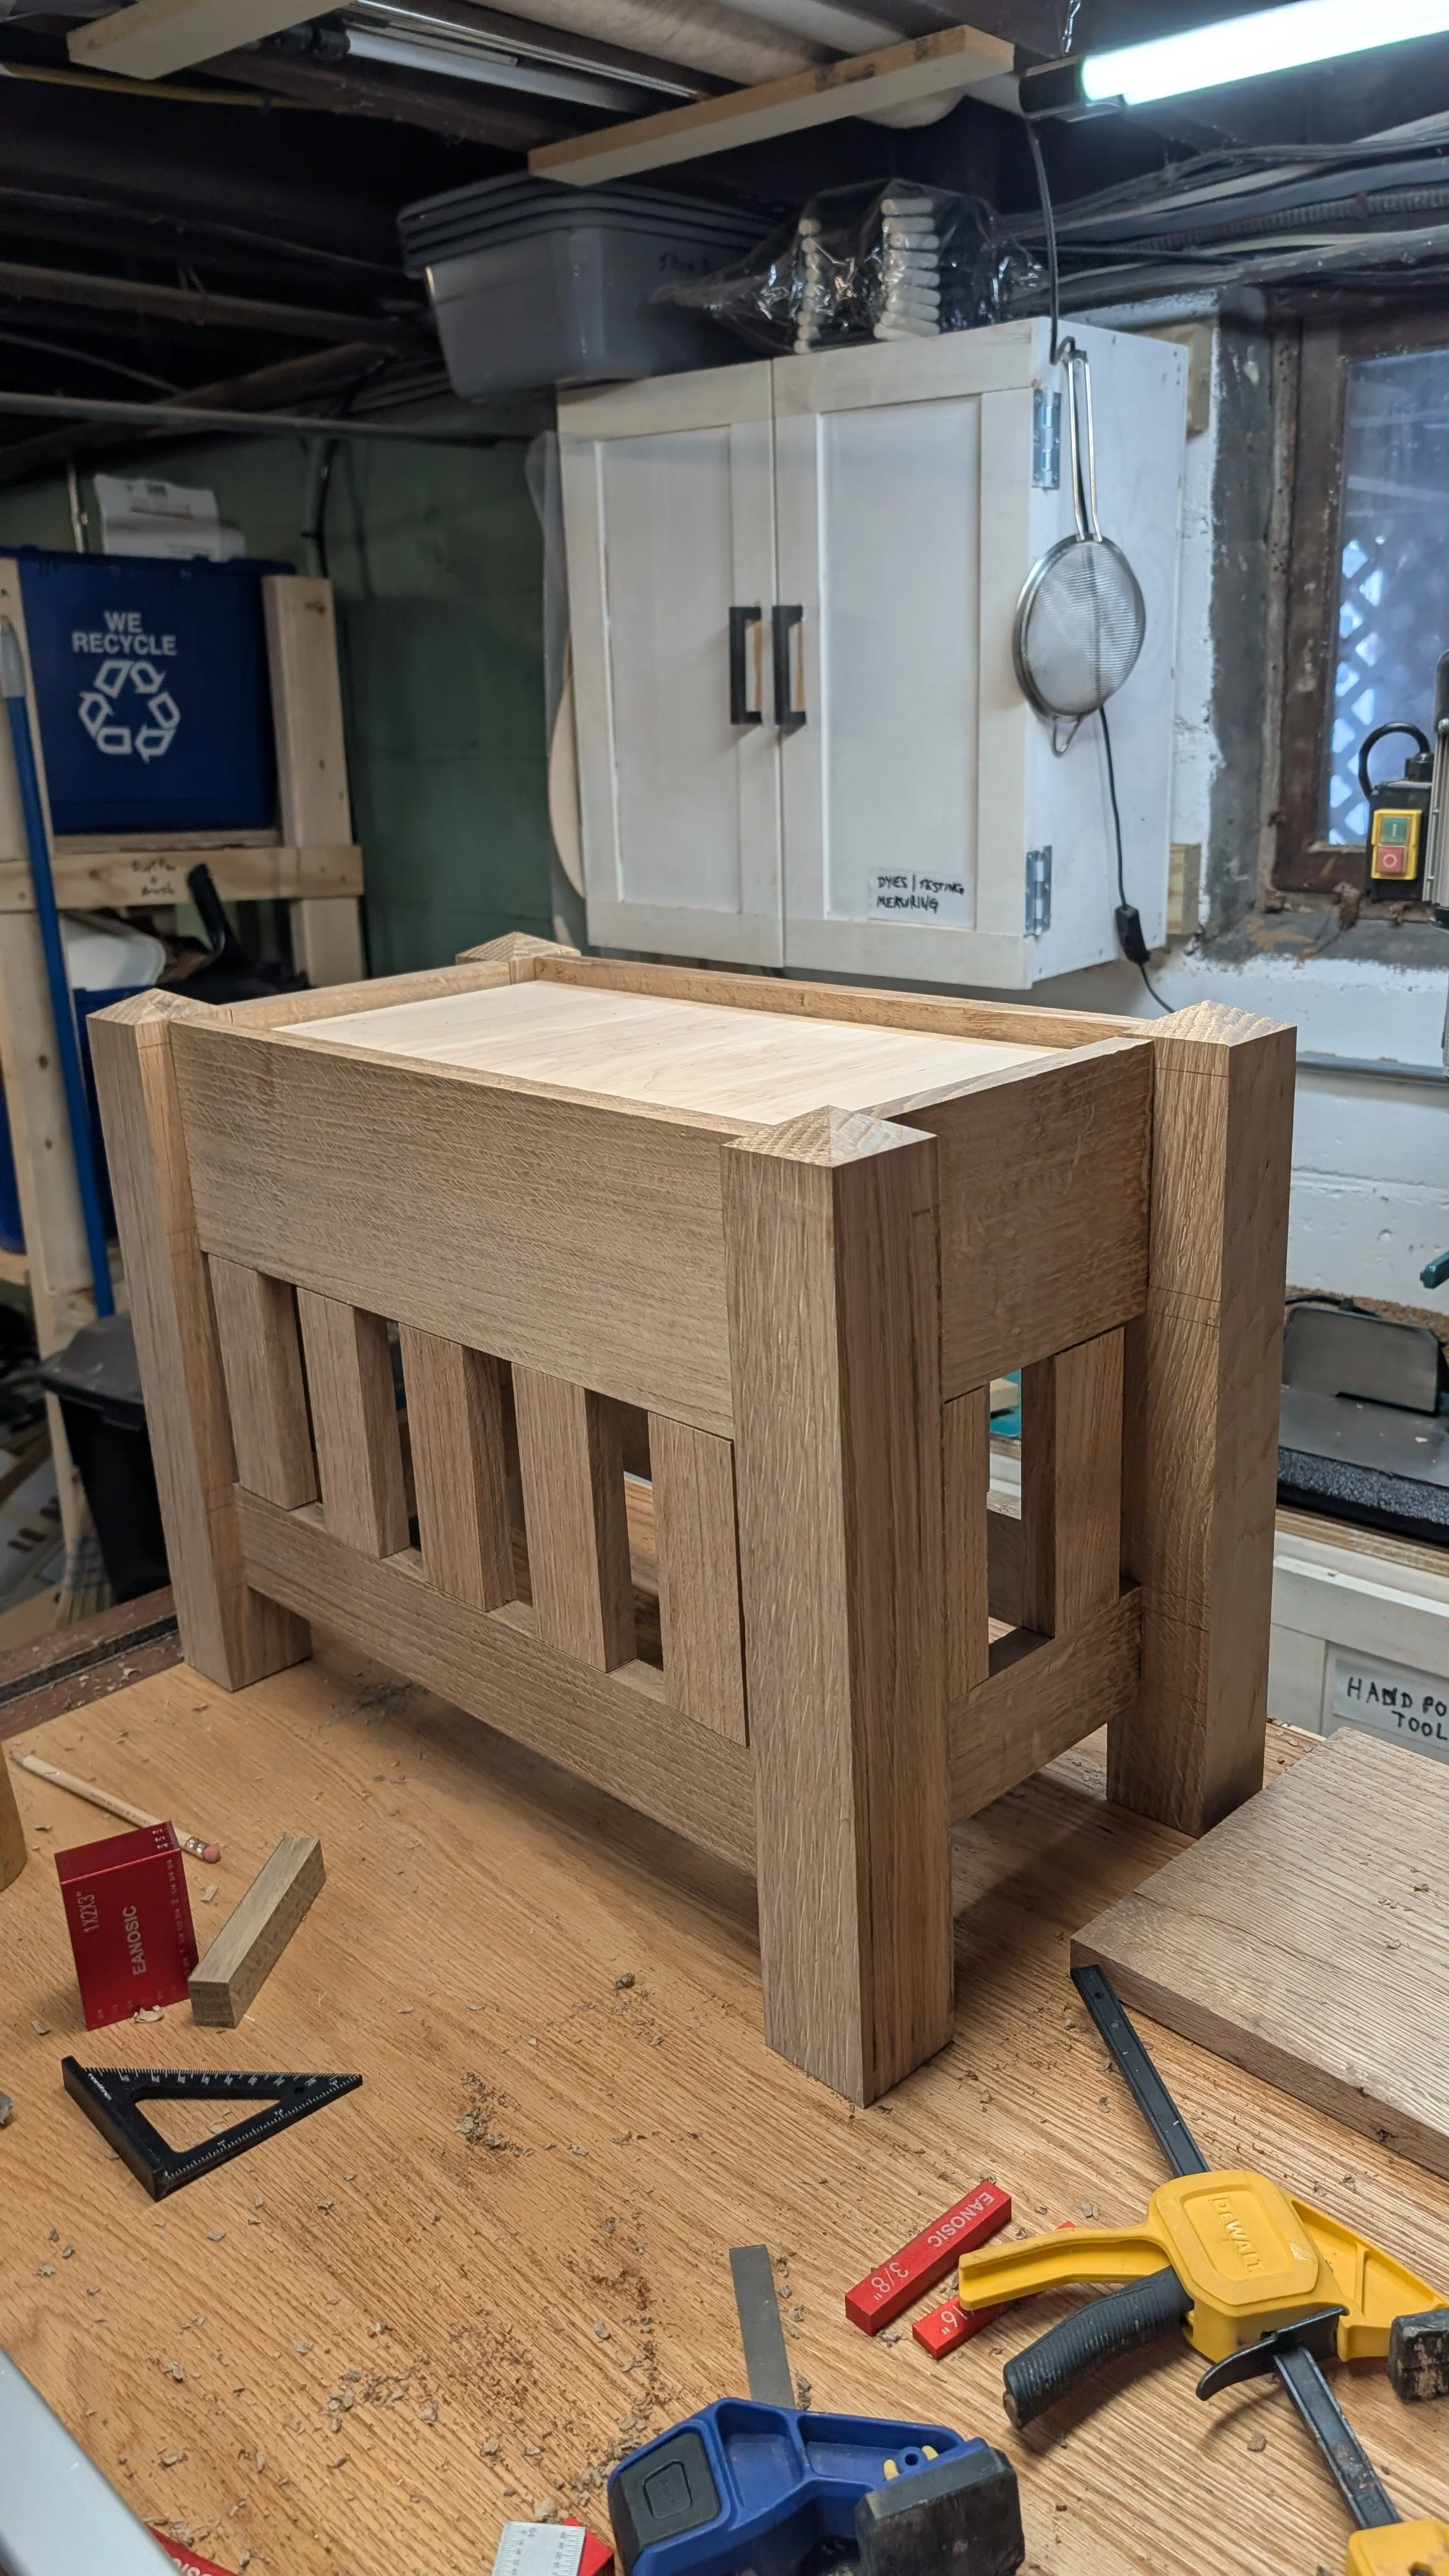
I designed it to be 22” wide and 18” tall to the top of the cushion to match the chair cushion height. I made the legs 2 1/4” square to match the chair and added a pyramid detail on the top to give them some interest. The top rail of the Ottoman is 5 inches wide and the bottom rail is 2 1/2” wide with five 2” stiles spaced evenly on the long side and two stiles on the short side.
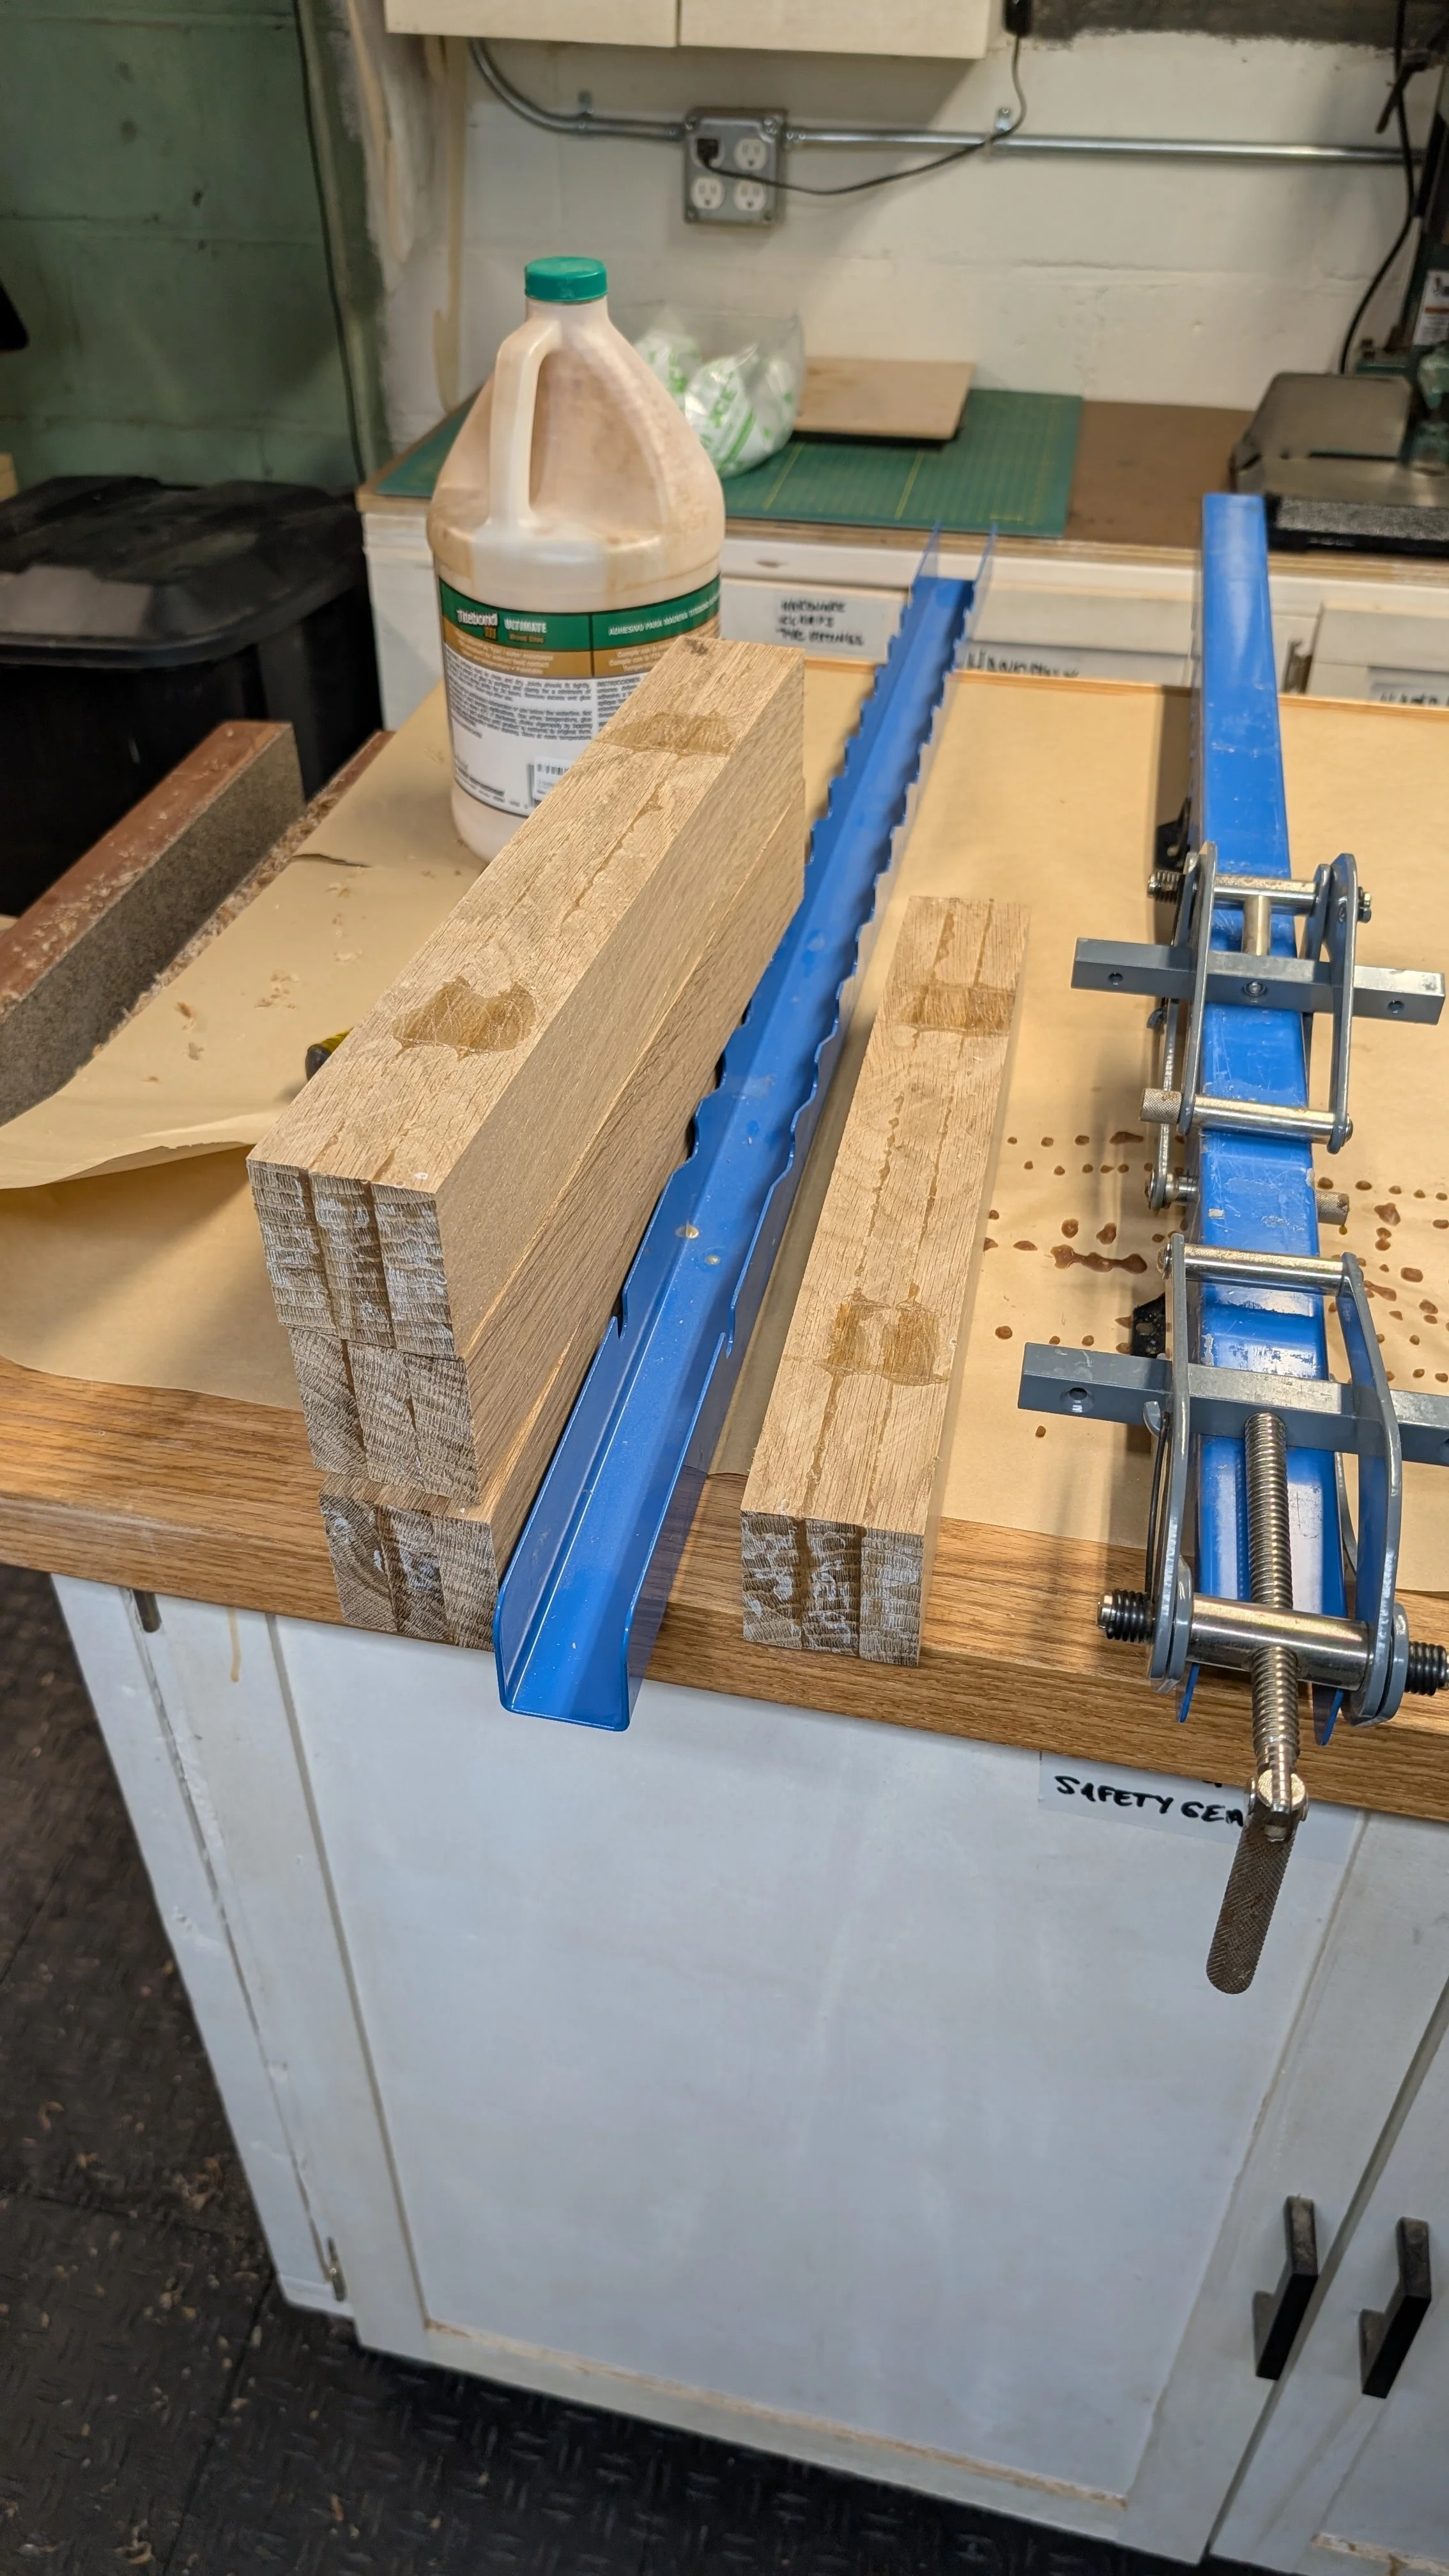
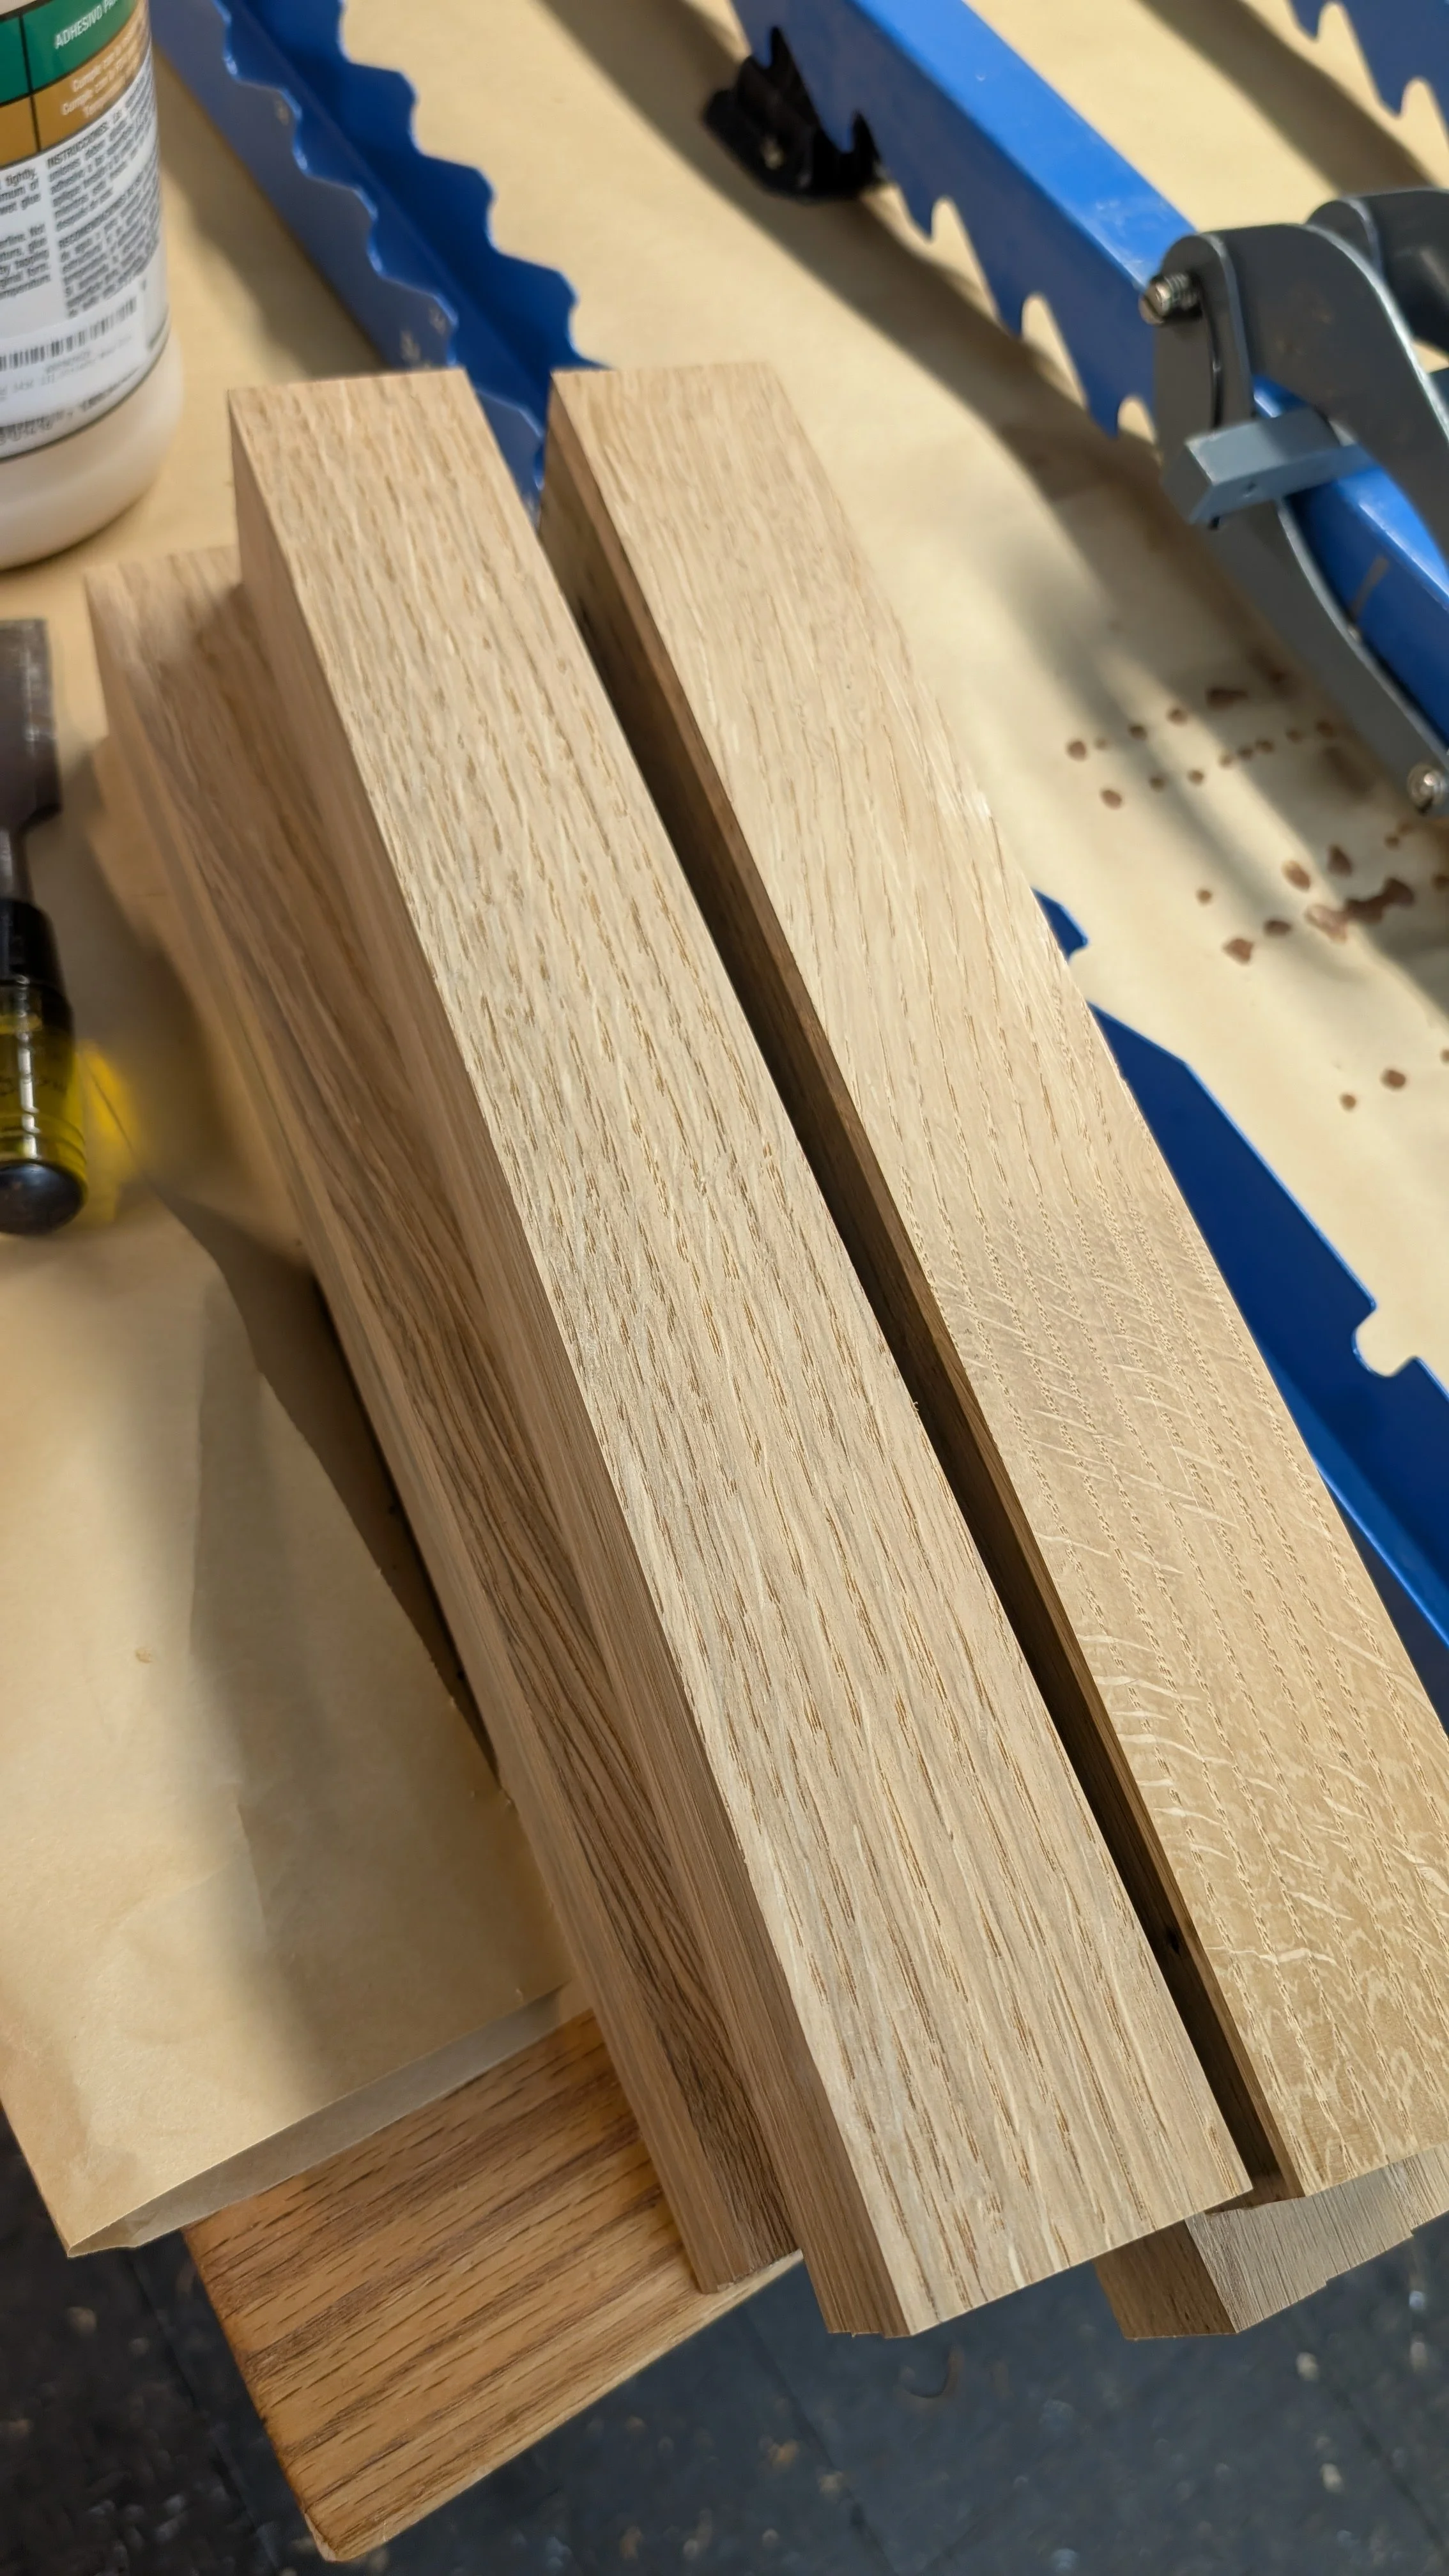
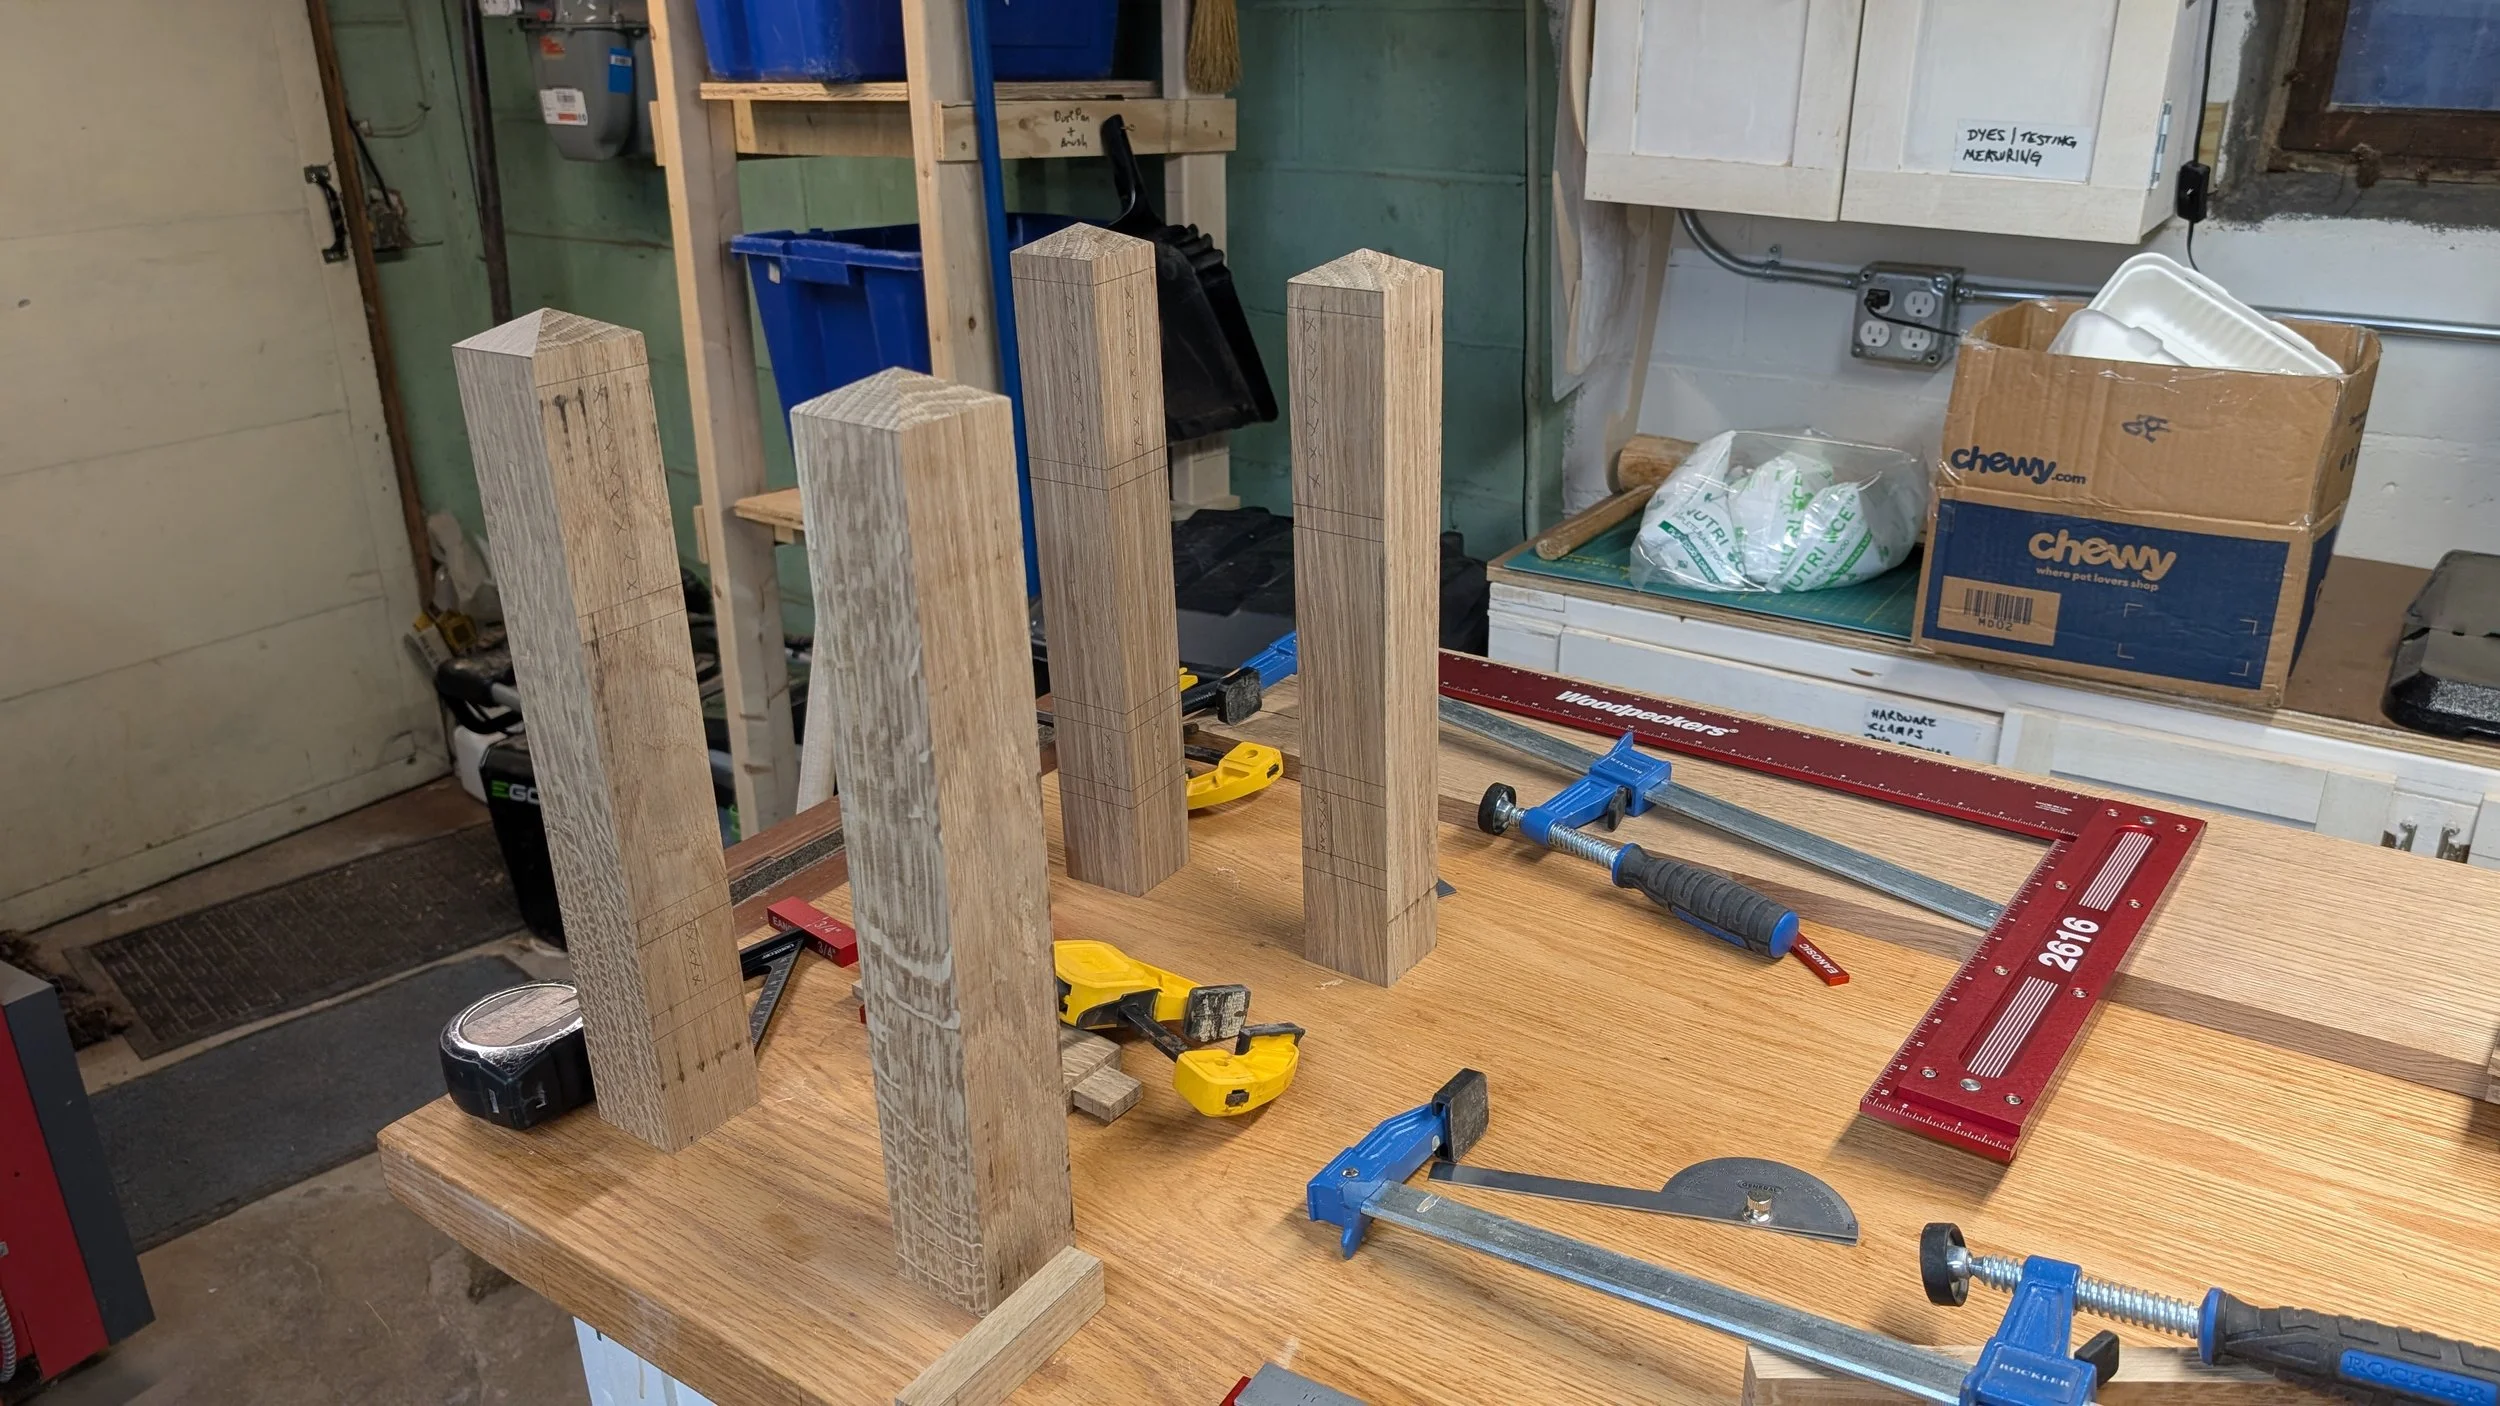
All of the stock was cut from two pieces of 8 foot x 9 1/4 inch x 3/4 thick quarter-sawn white oak. I glued up the leg blanks with a little allowance for glue creep and I jointed and thickness planed them to a nice smooth and square blank. I trimmed the ends and then I marked up all of the mortises and the pyramid on the top and cut the pyramid detail. I was careful to mock them up in the orientation that they would have to each other to make sure I had the quarter-sawn sides facing forward and backward and the laminated sides facing to the sides and also to make sure all my markup made sense.
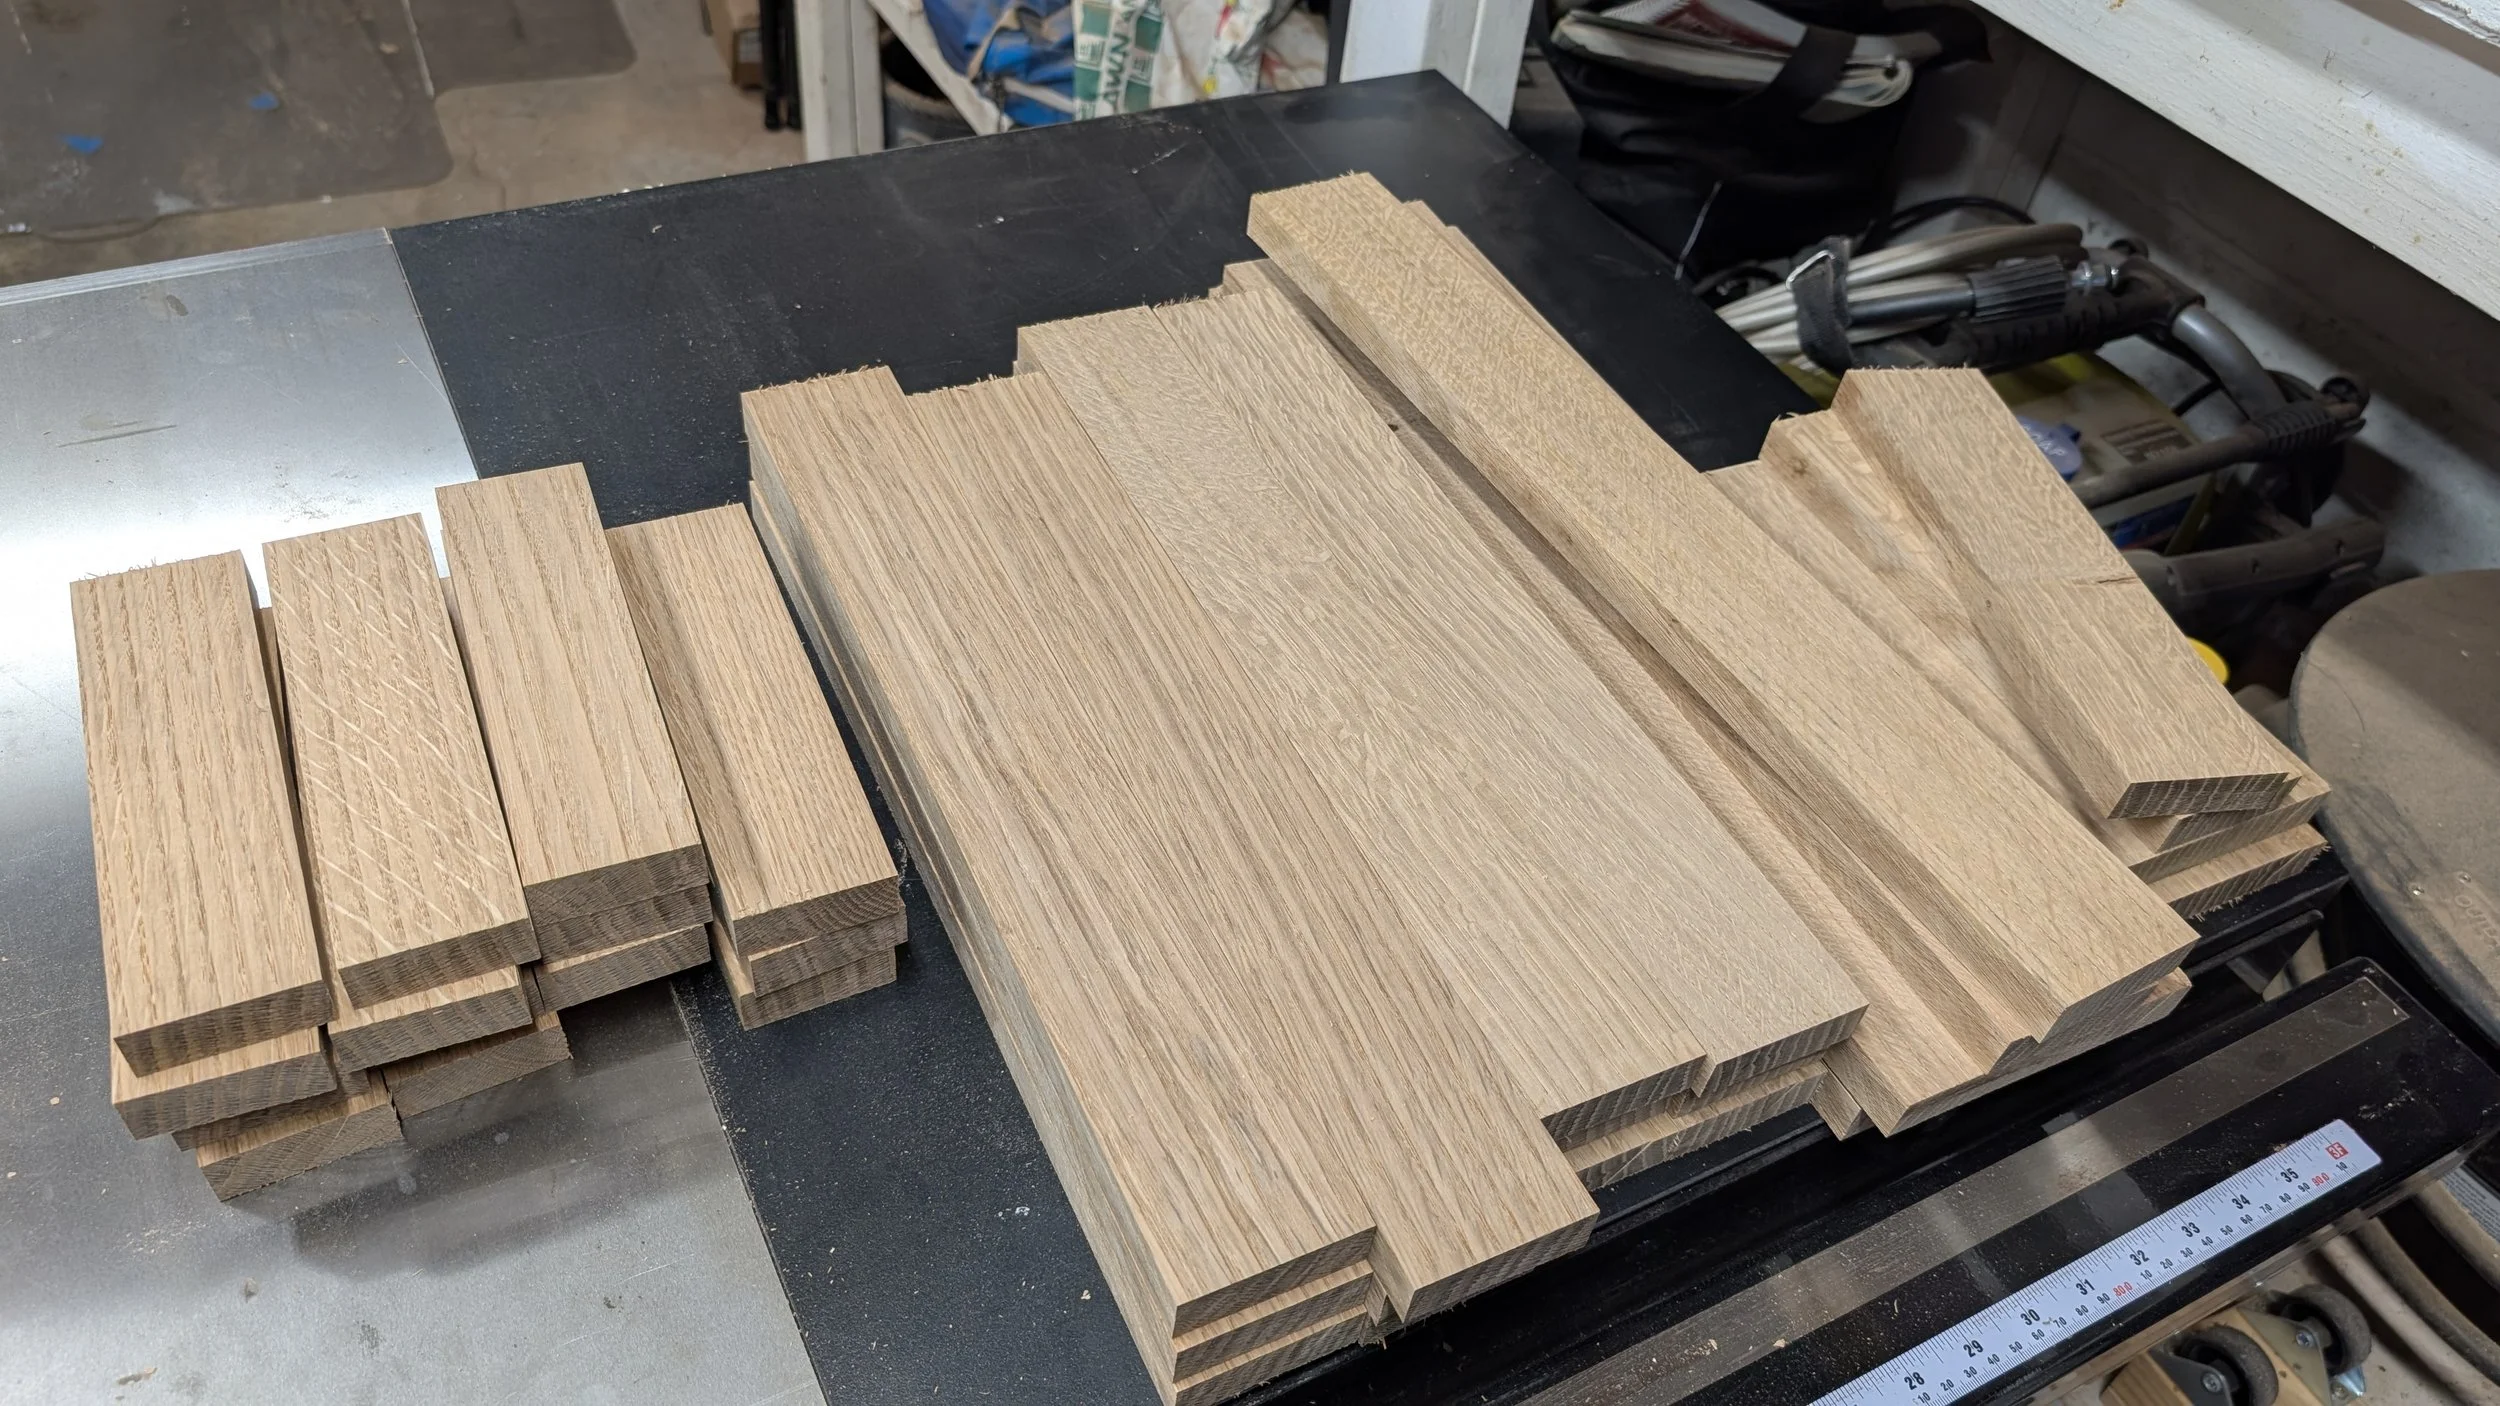
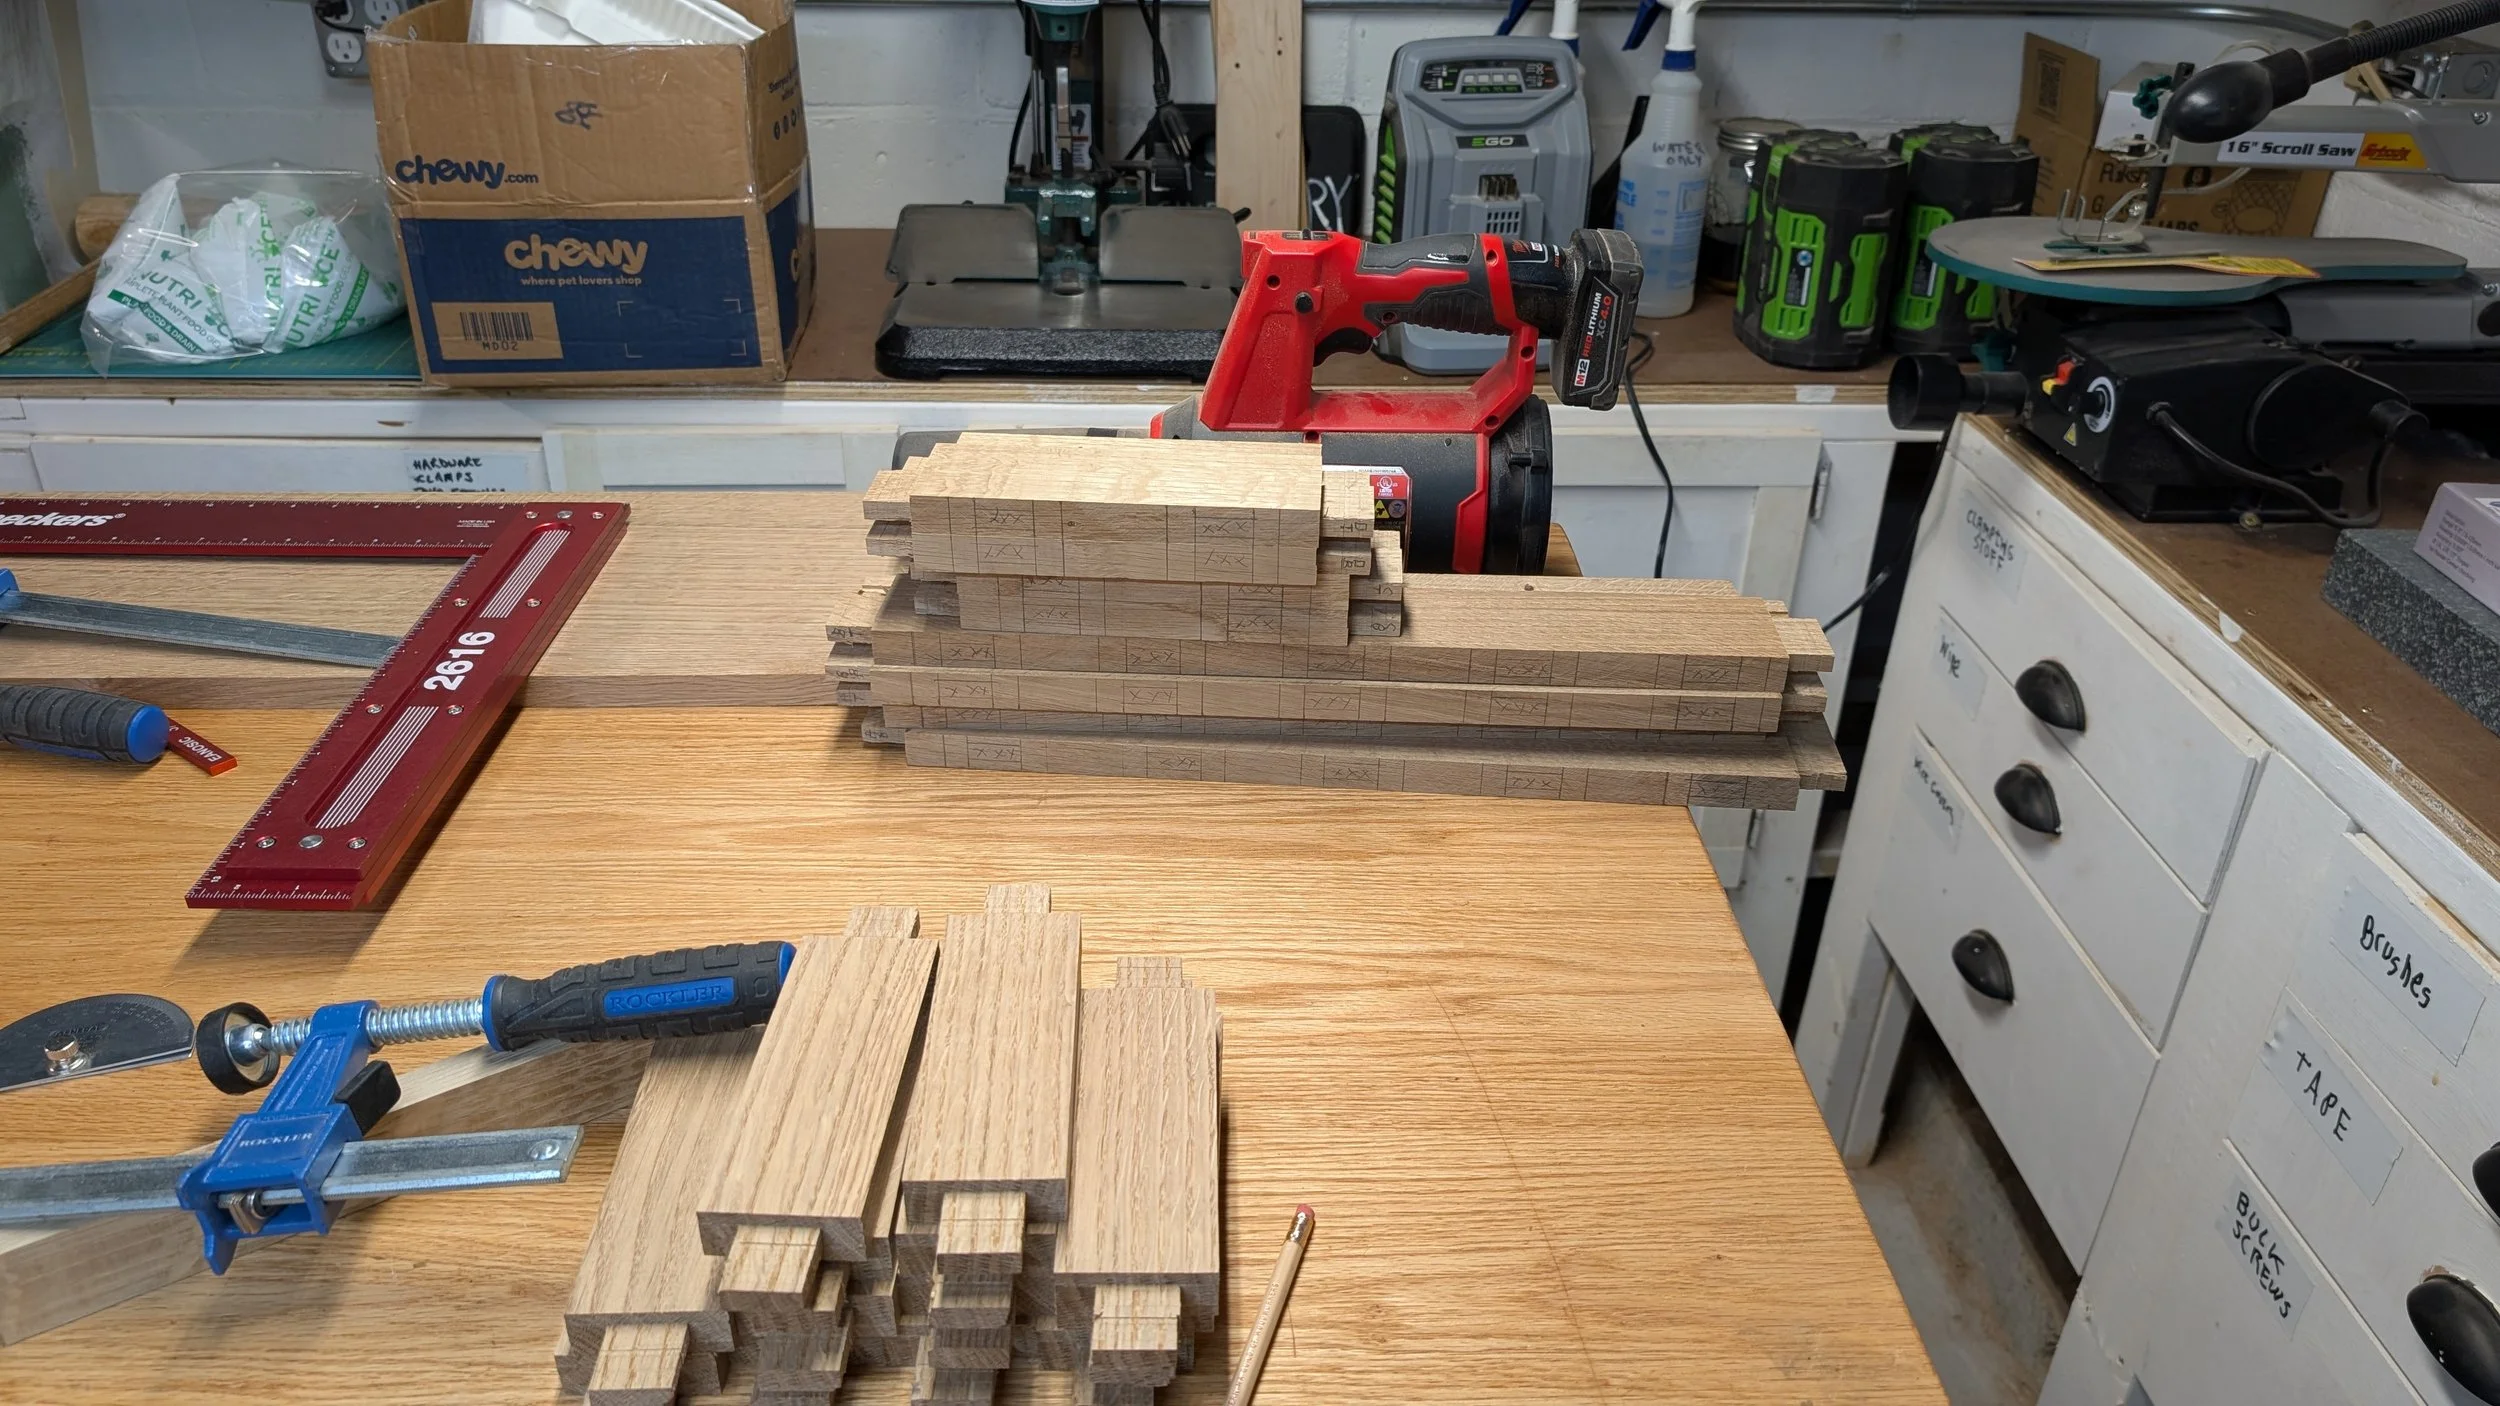
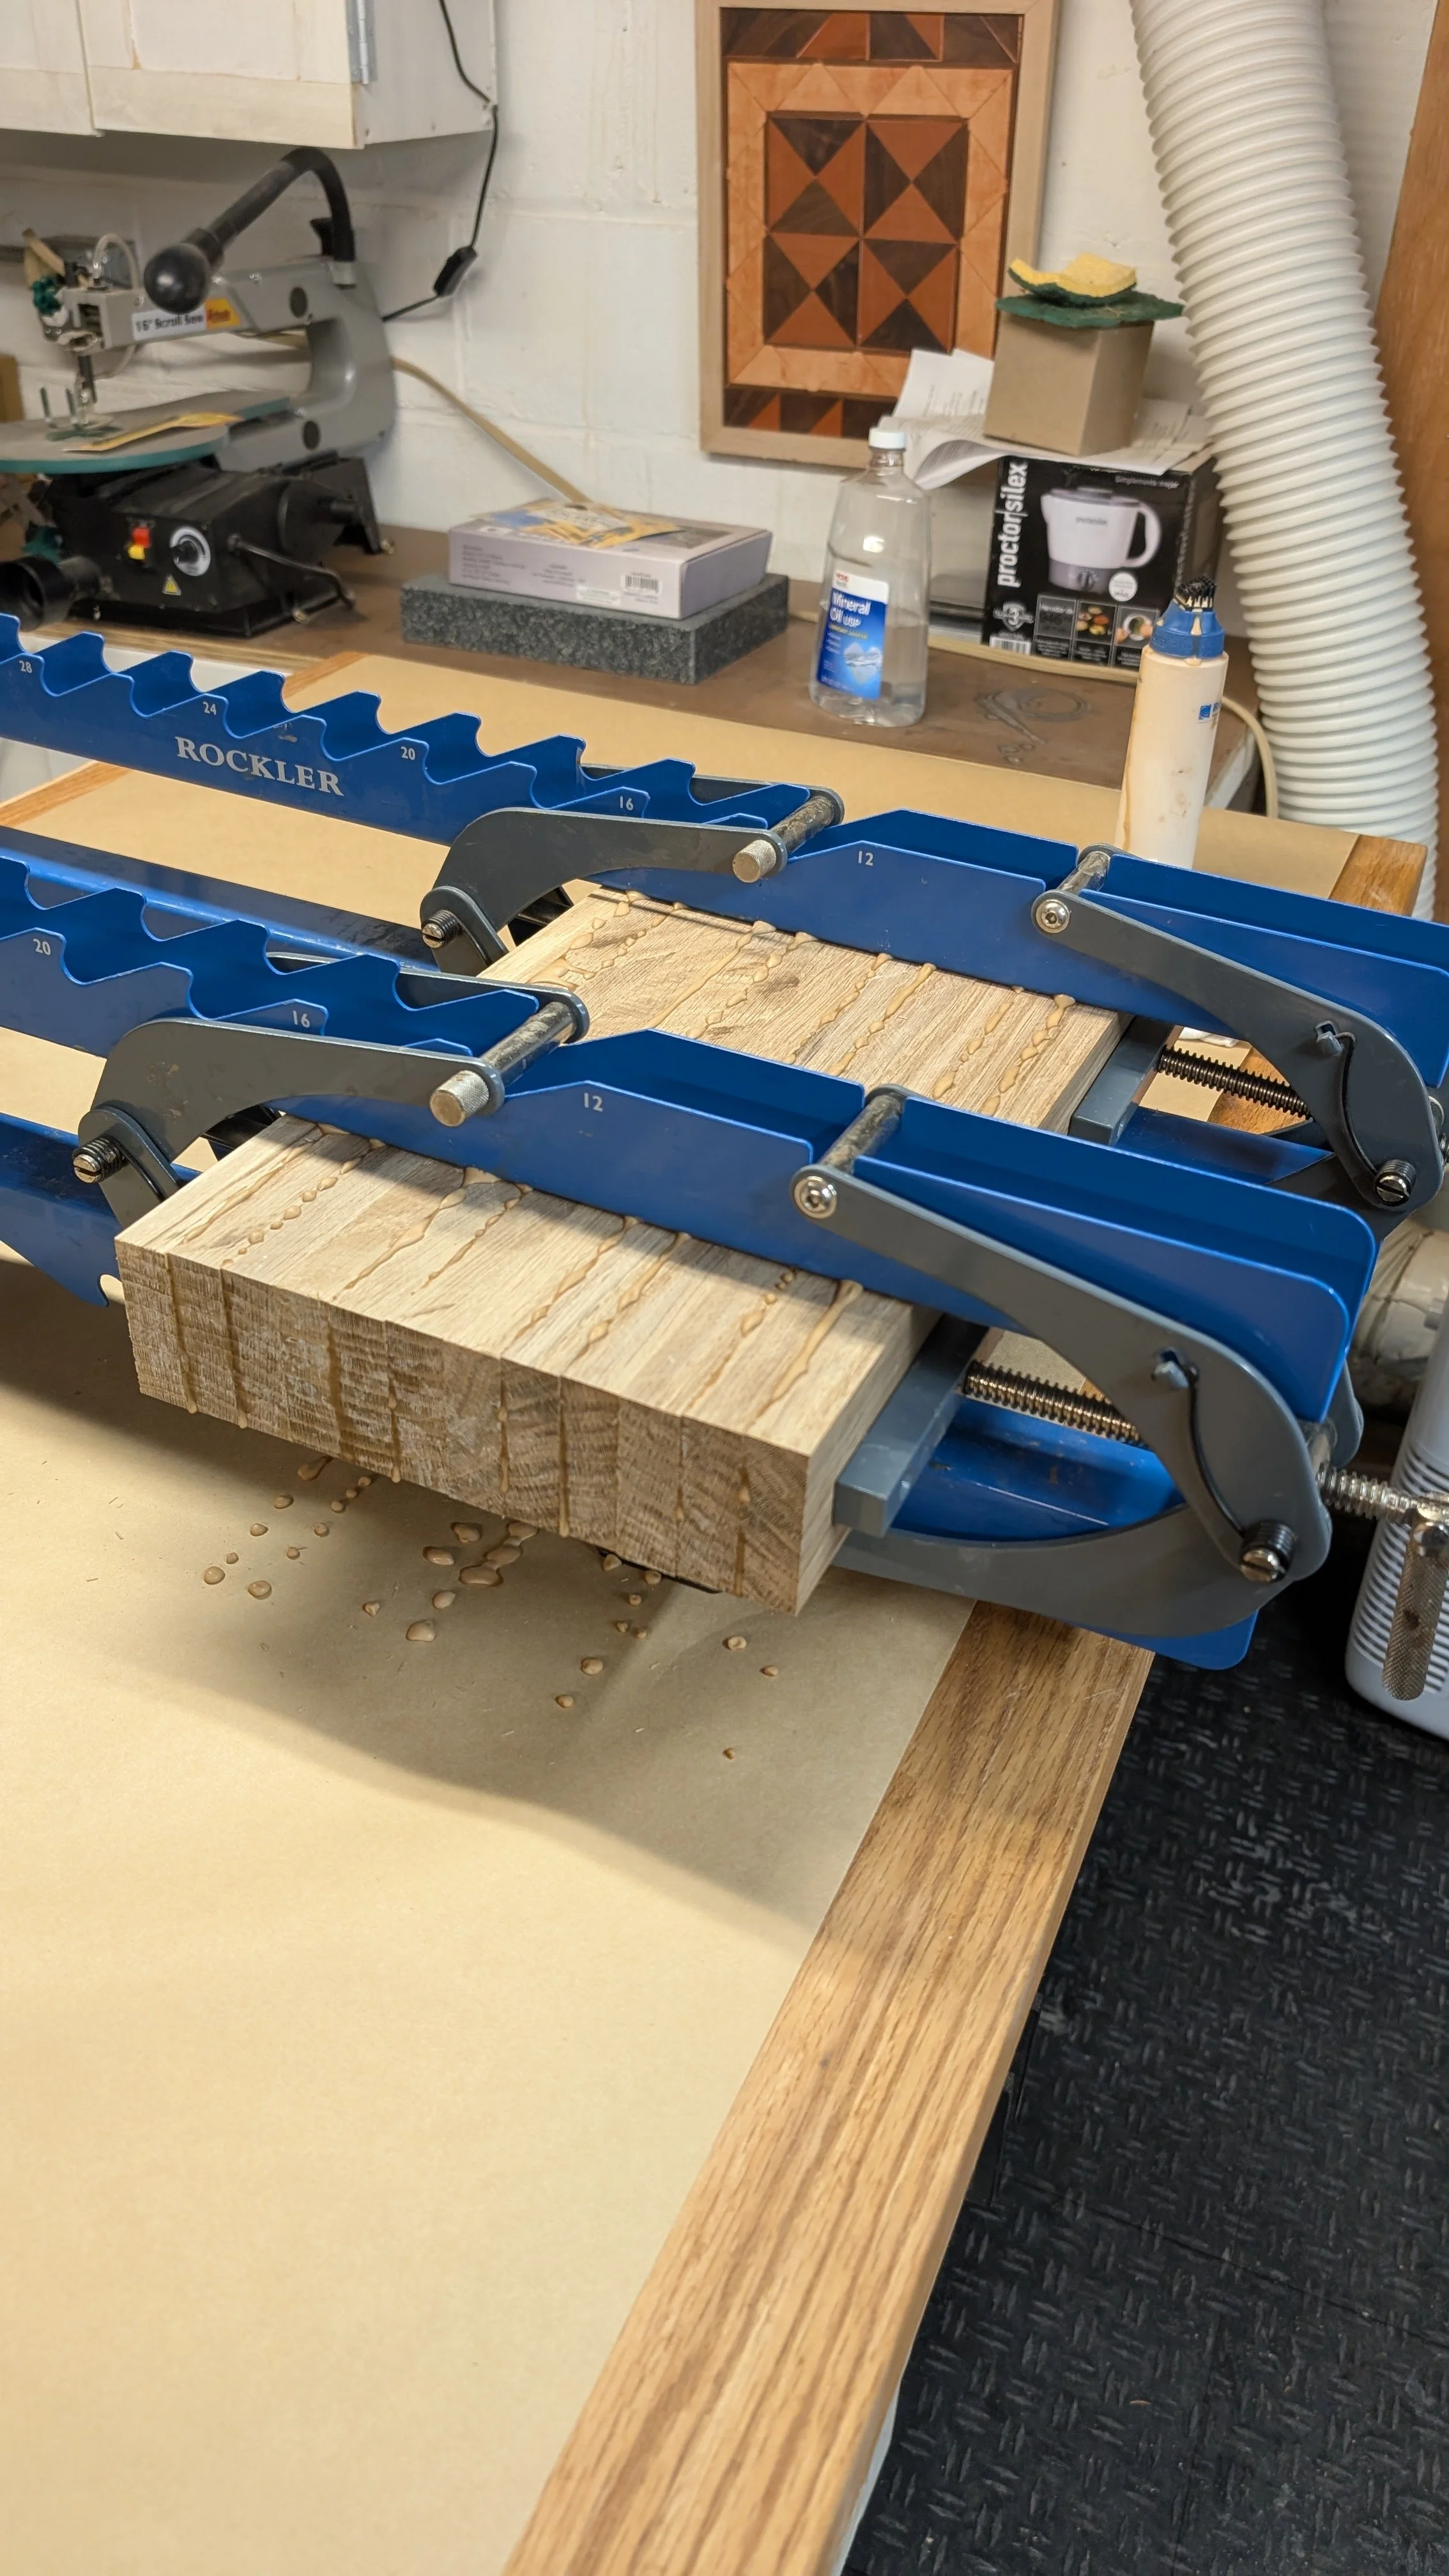
I cut all the rest of the material to size and then using my crosscut sled and the 3/4” wide dado stack I cut all of the tenons on the frame parts. All of the tenons are 3/8” wide and 1” long. I wanted the short sides of the frame to be flush with the inside of the legs so that there would be a rectangular interior at the top to set the upholstered top in. I offset those tenons to the left by 3/8” to allow more material between the tenon and the side of the leg. All of the rest of the tenons were centered.
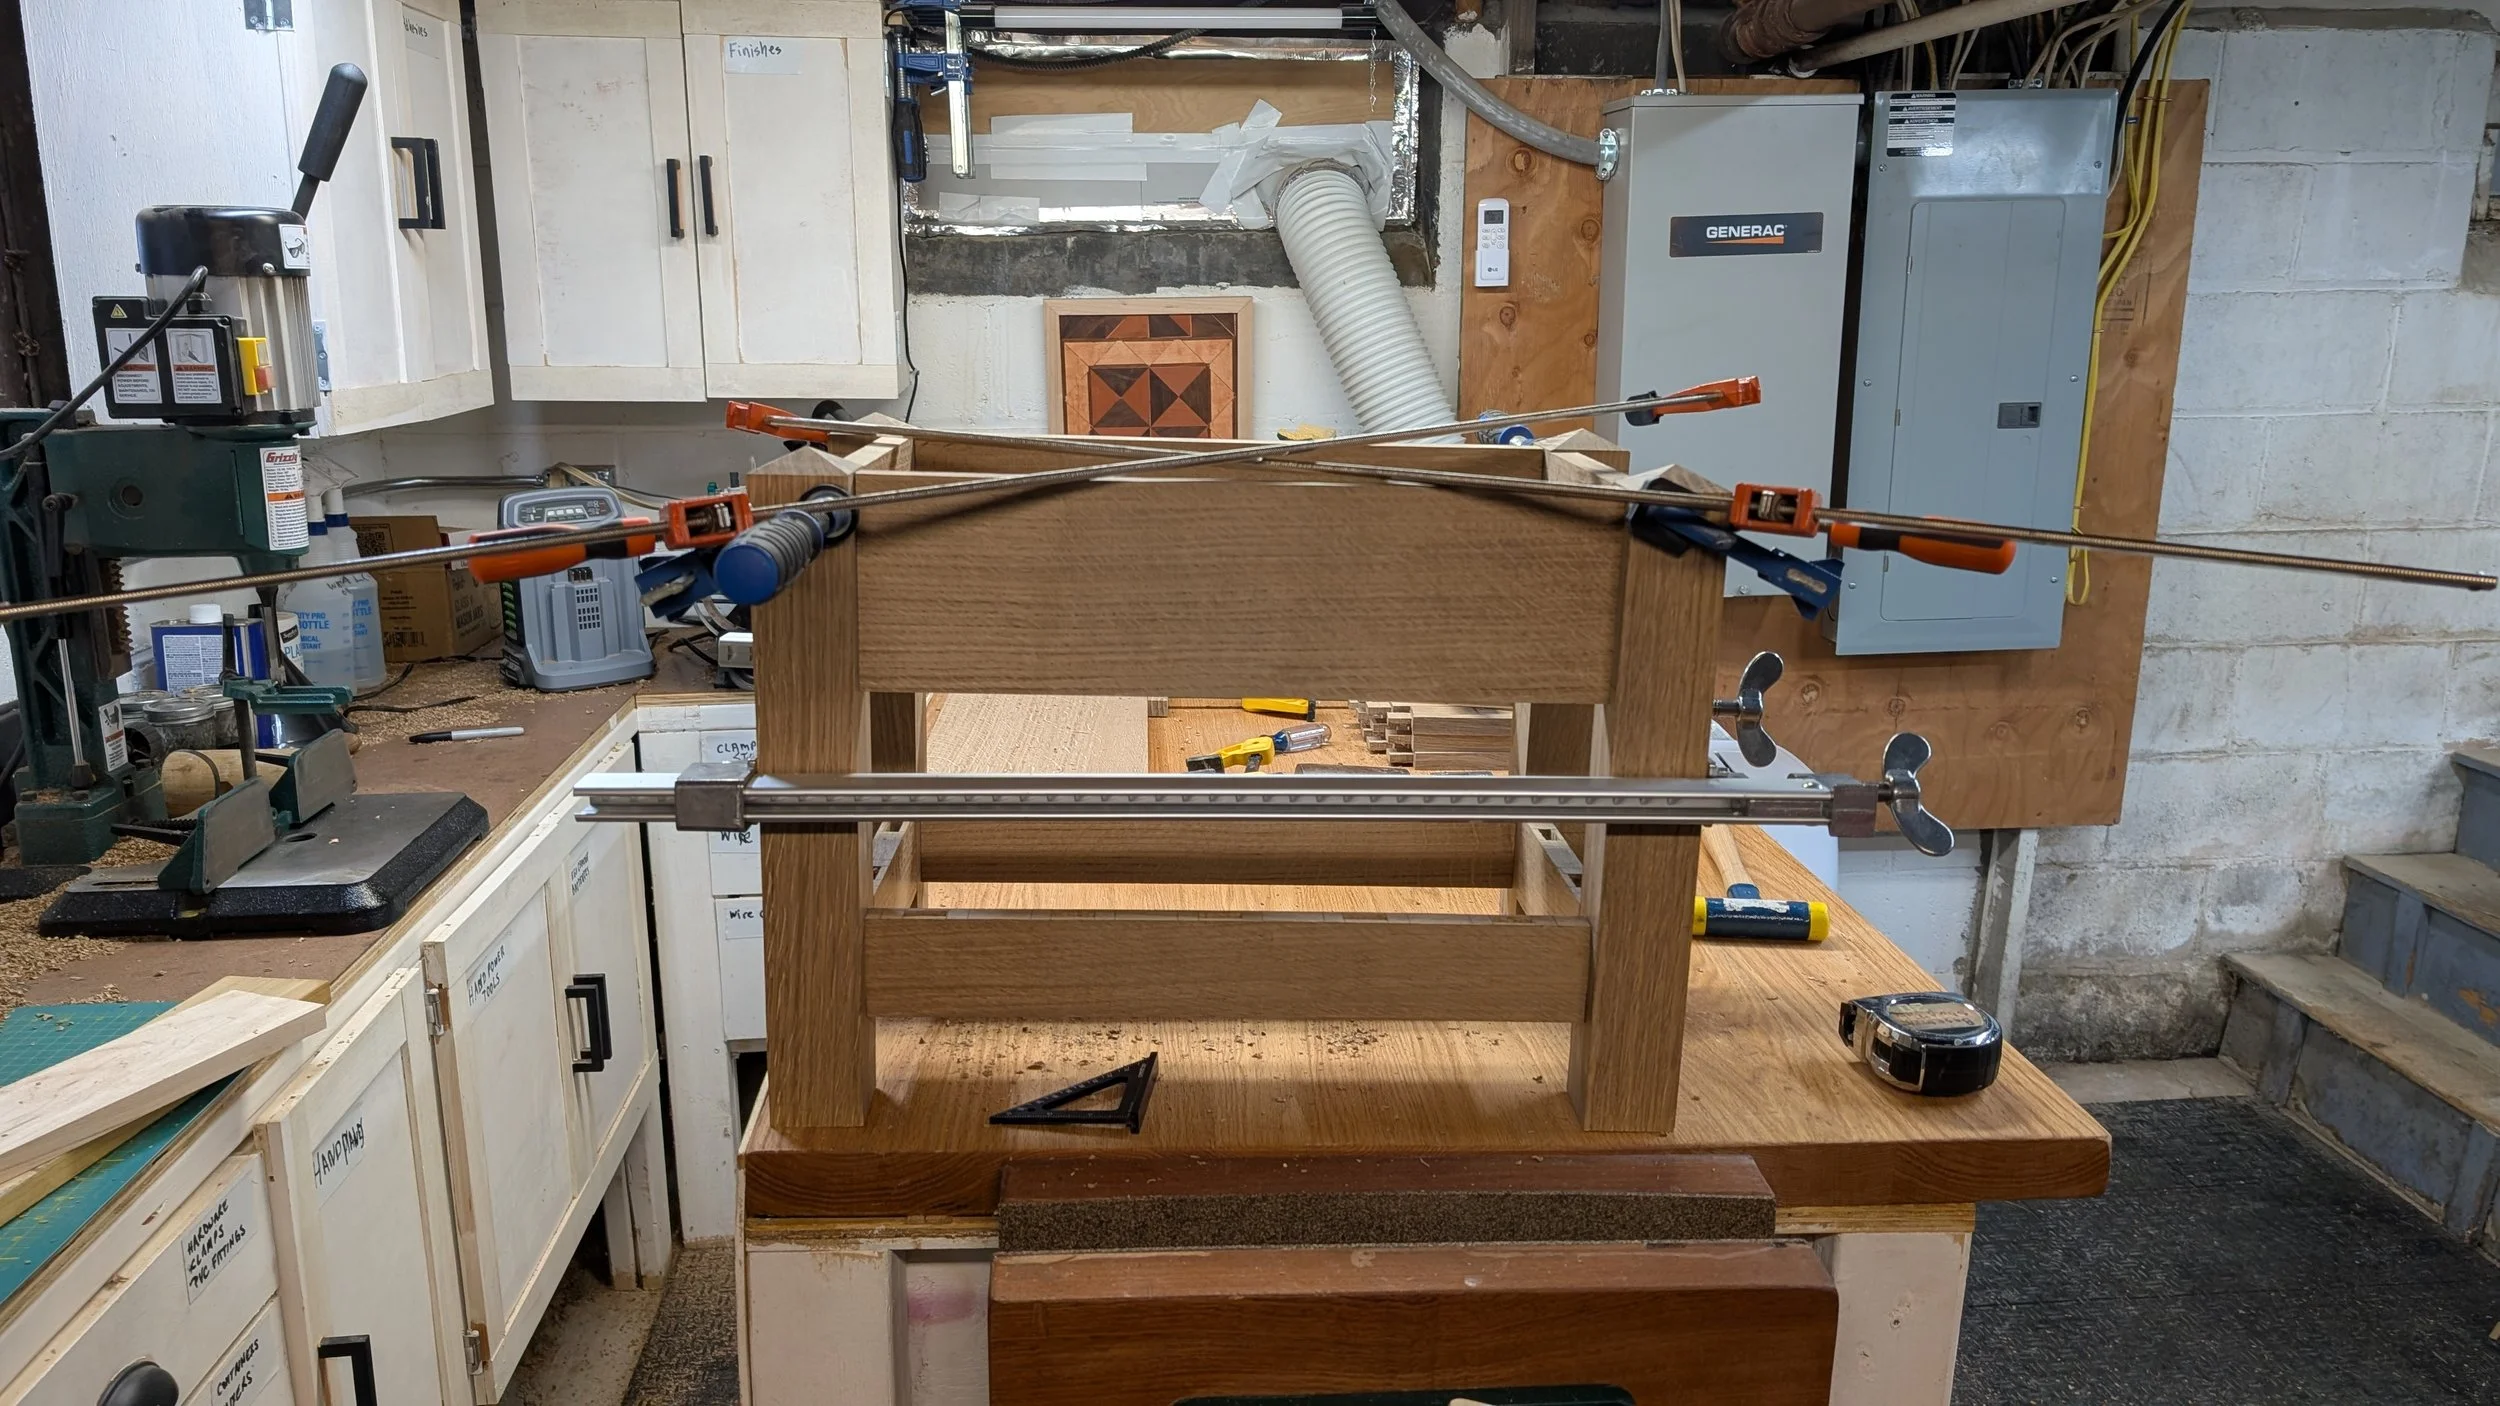
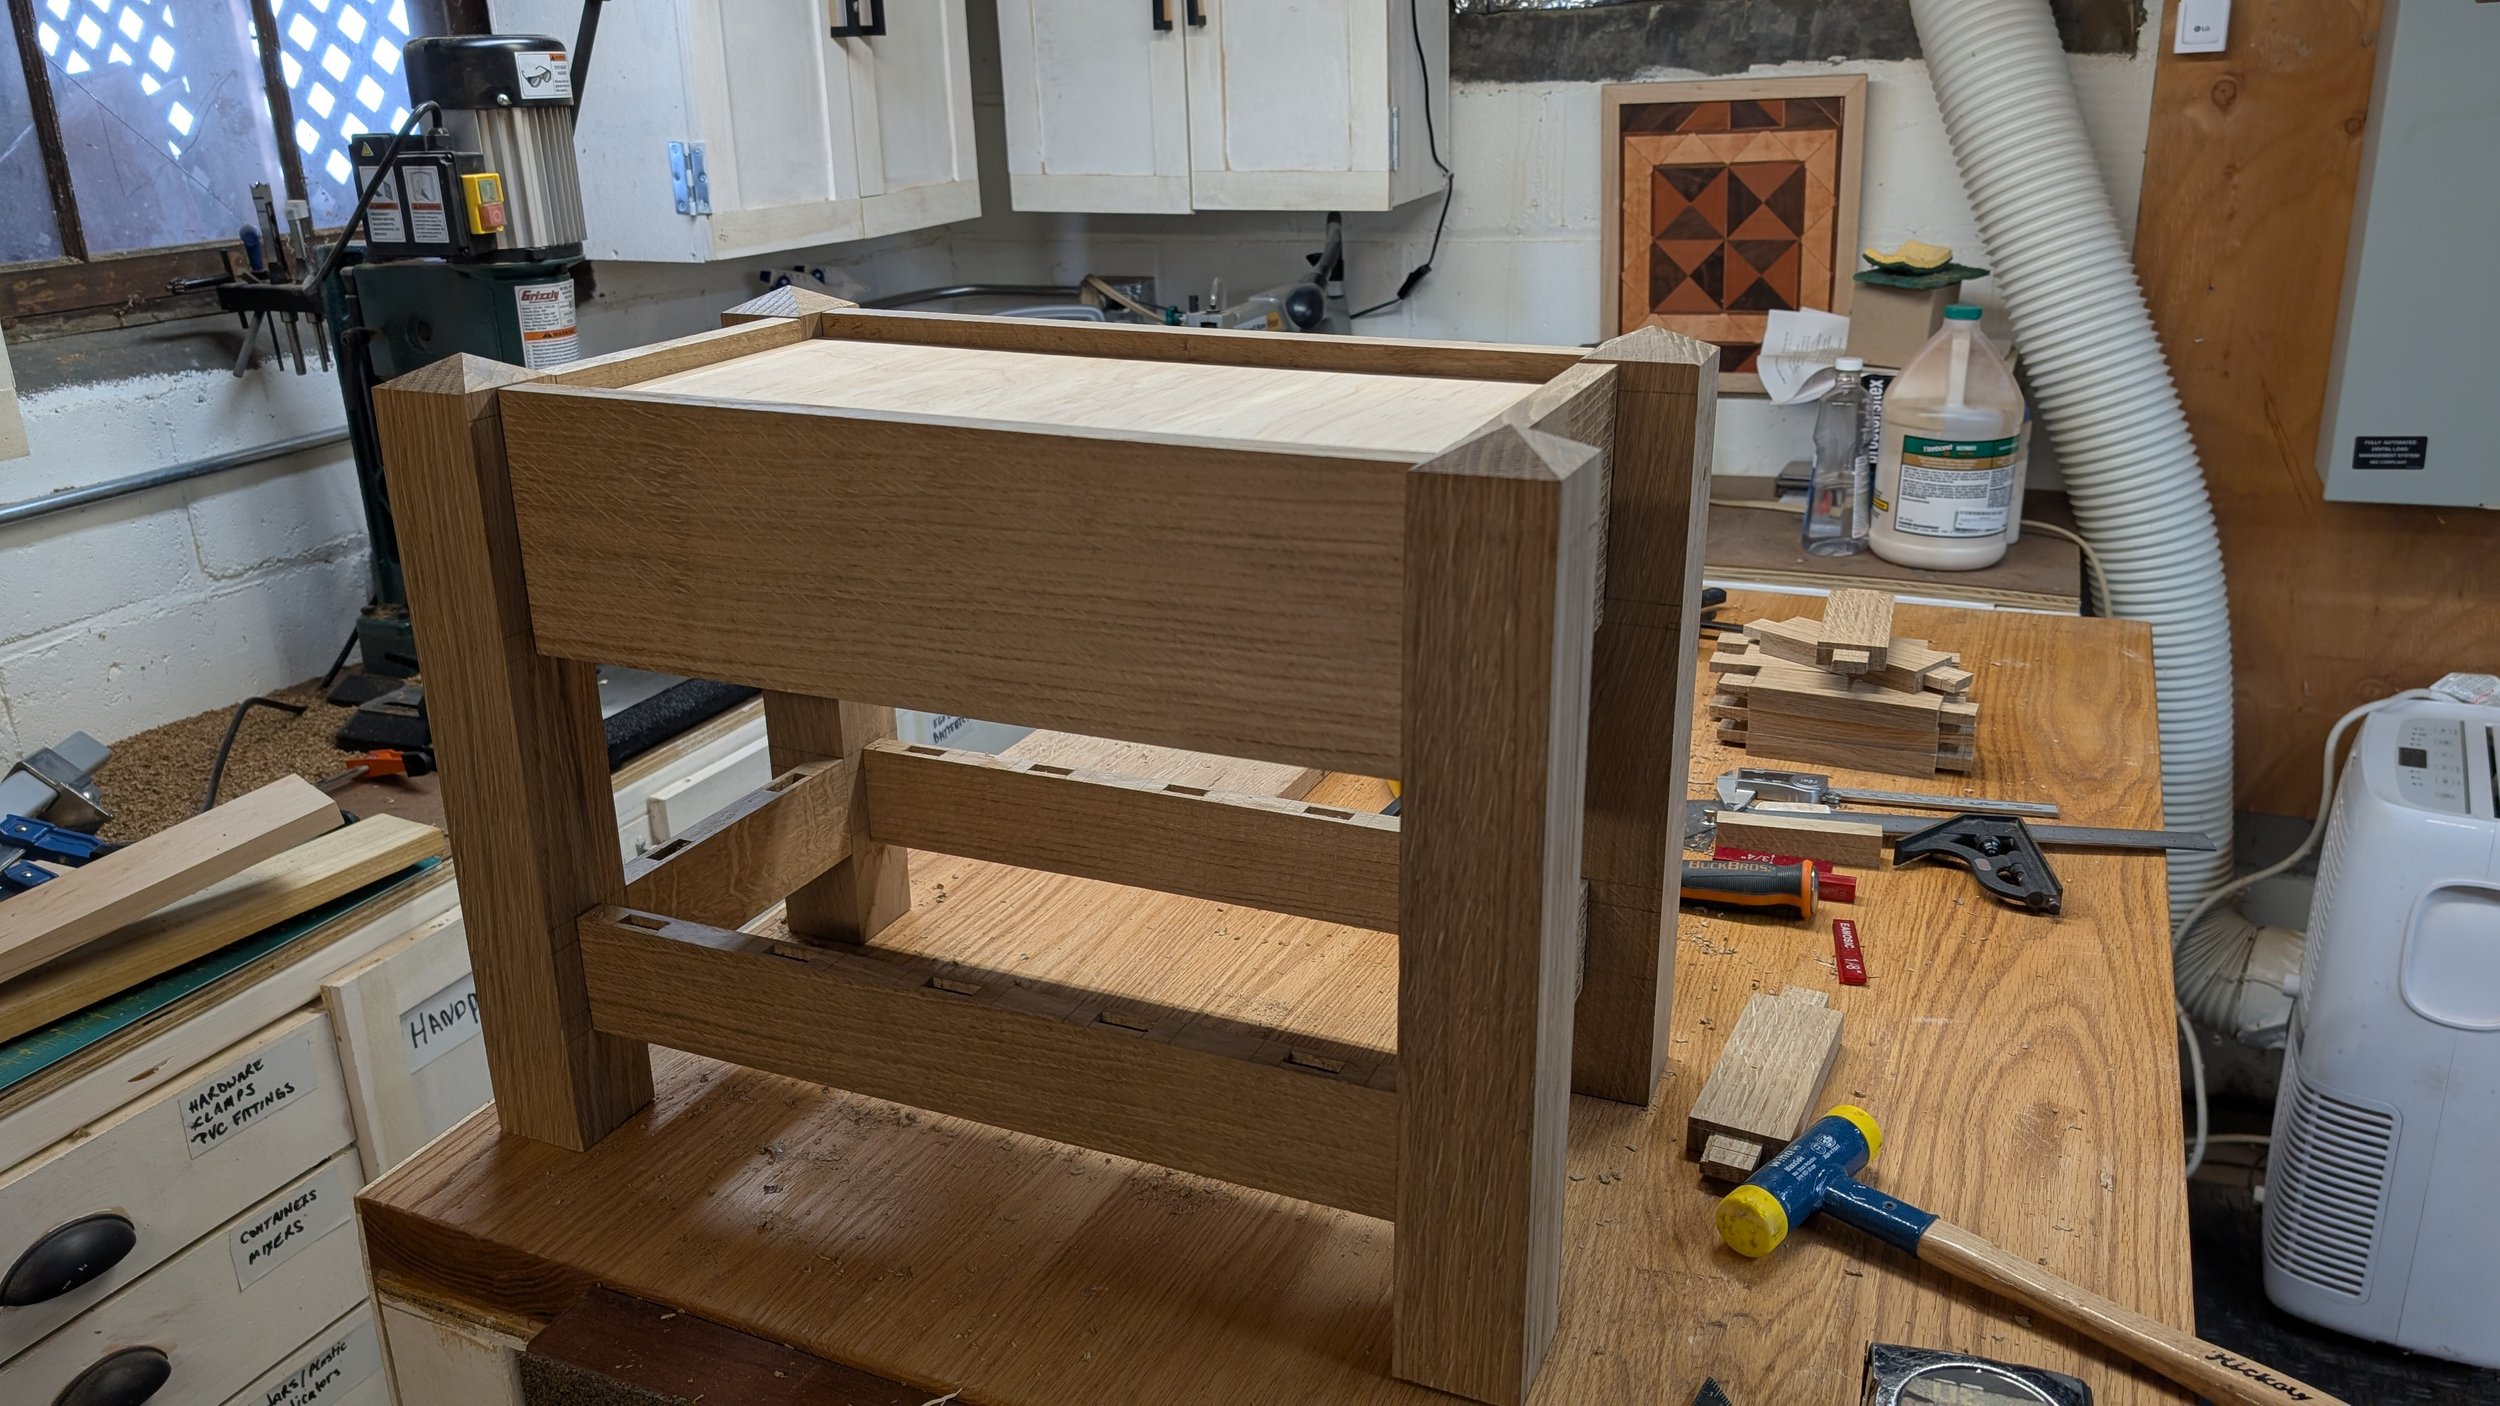
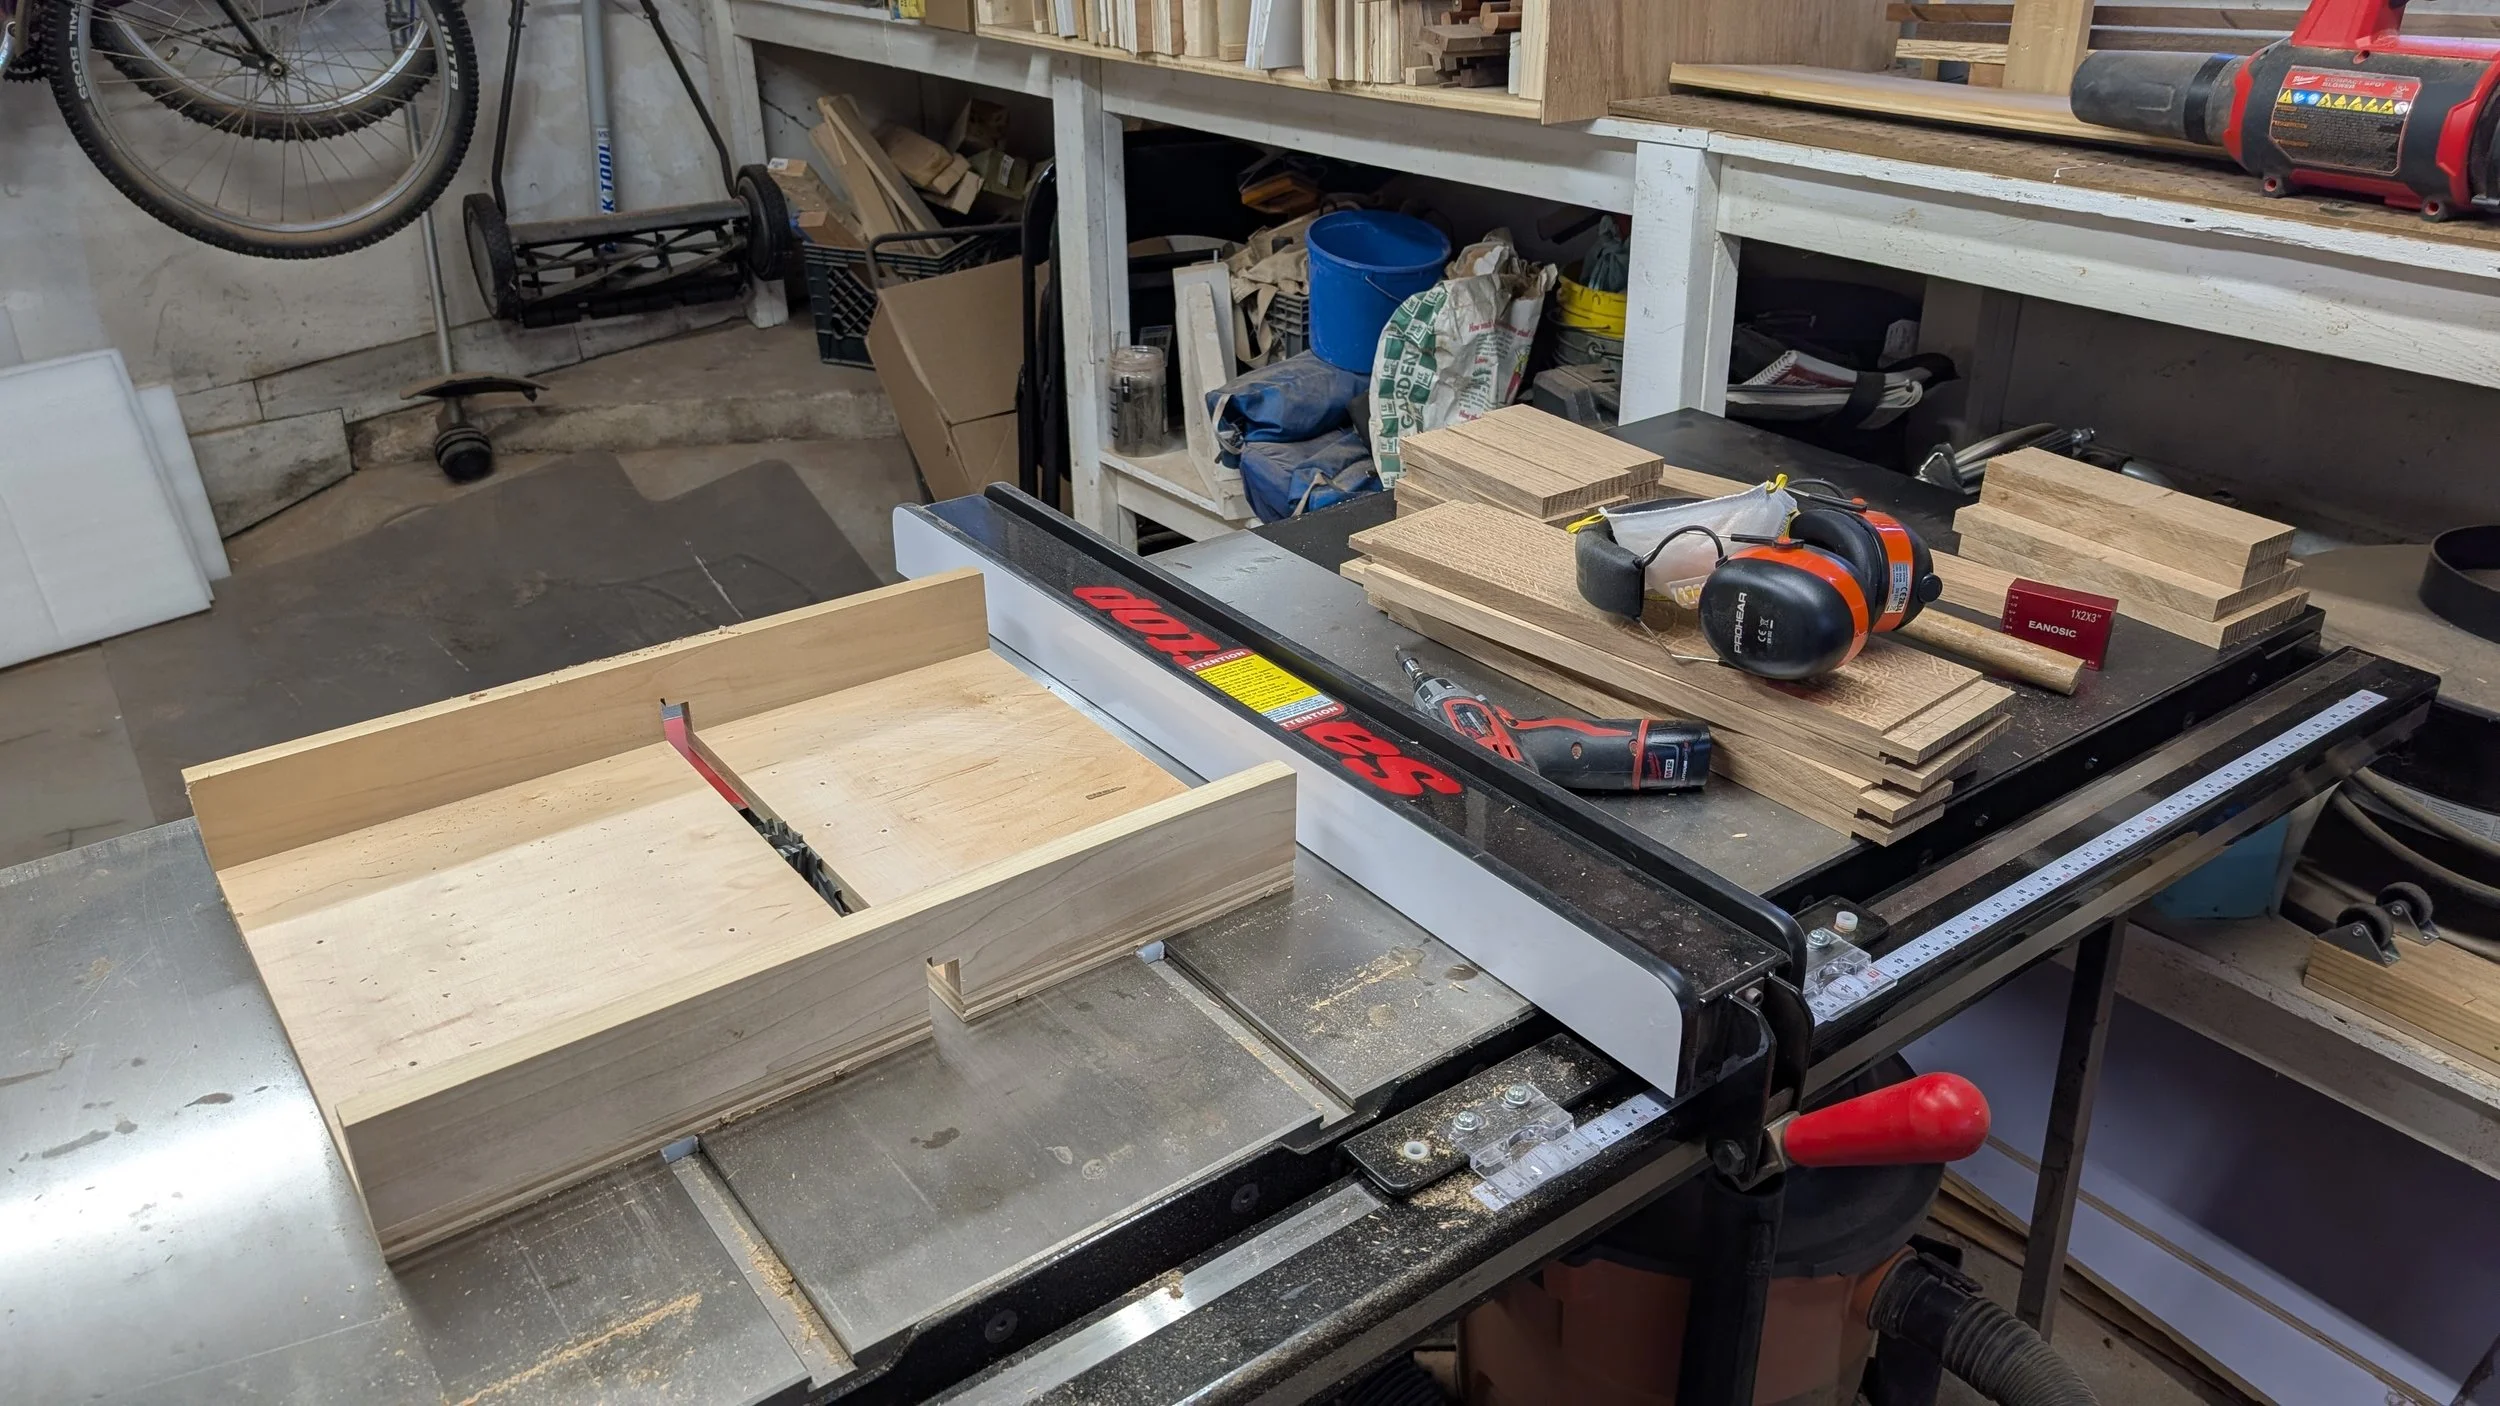
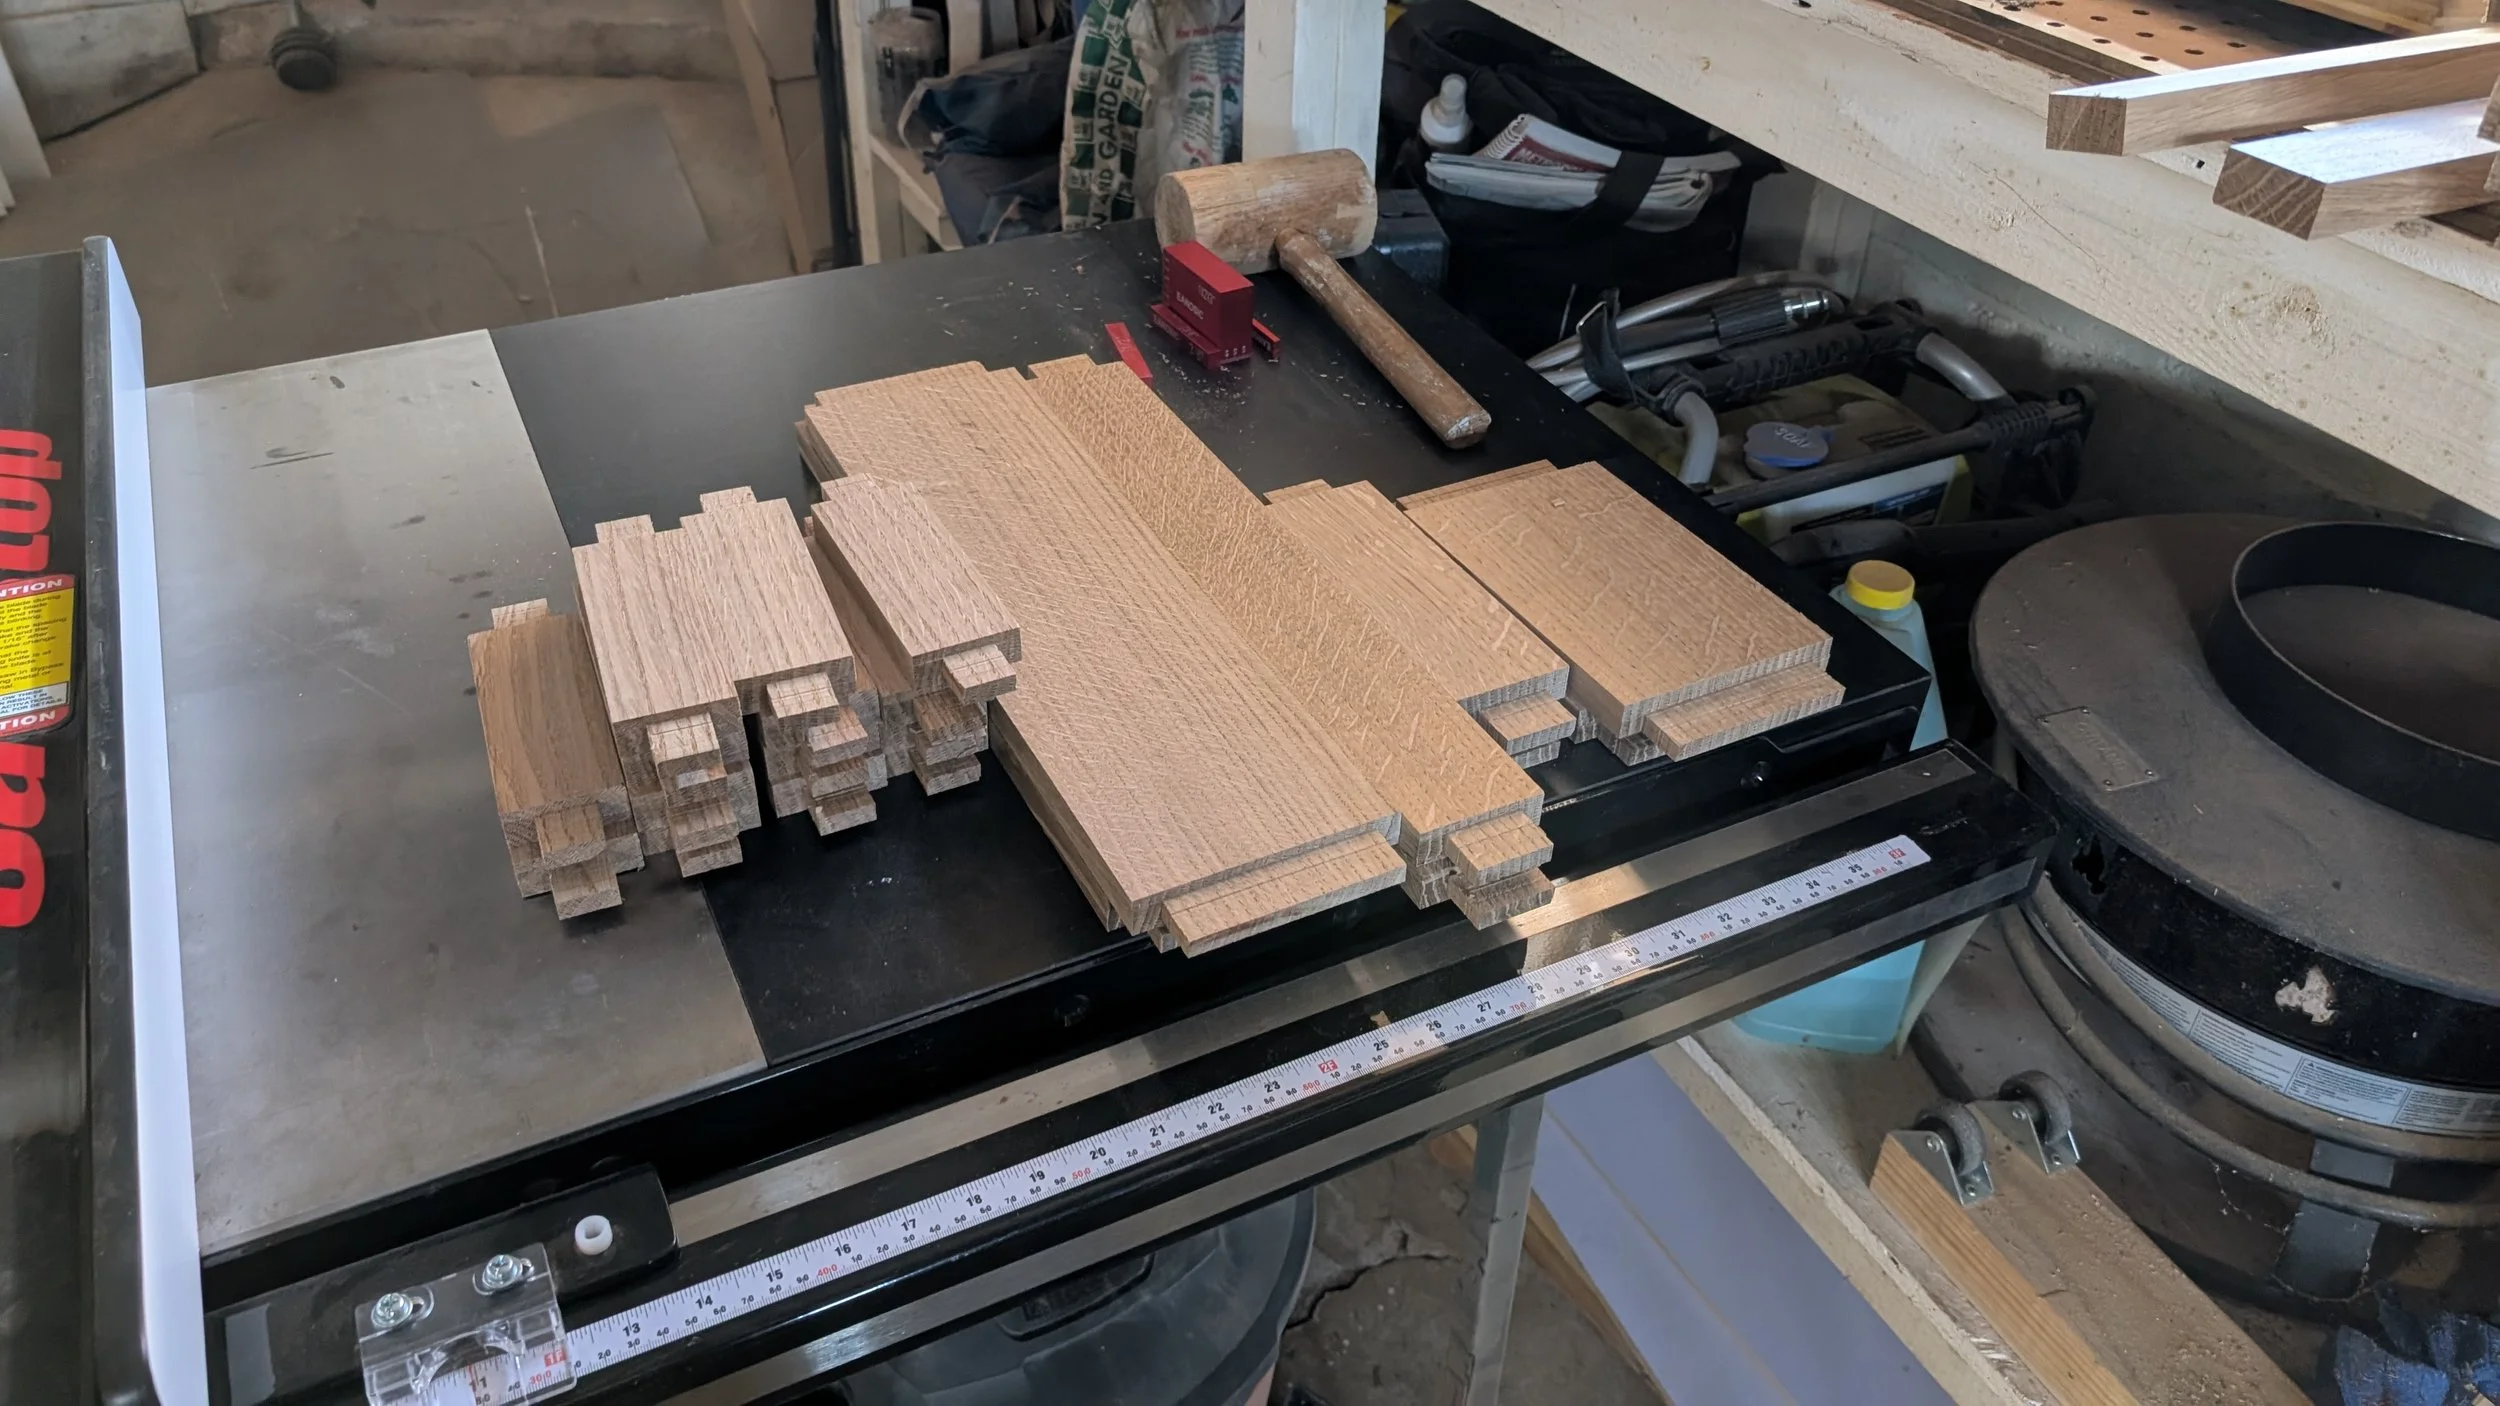
I also cut a 3/4” x 1/4” deep dado 1” from the top on the inside of the top frame rails. This was to support a piece of 3/4” plywood that would support the cushion and also to give lateral stability to the whole piece. I cut the mortises for the main frame parts and dry fit it to be sure of the size of the 3/4” plywood support panel and the 1/2” plywood base for the cushion to be built on which needs to be 1/8” smaller than the opening on each side so it will fit with the upholstery on it.
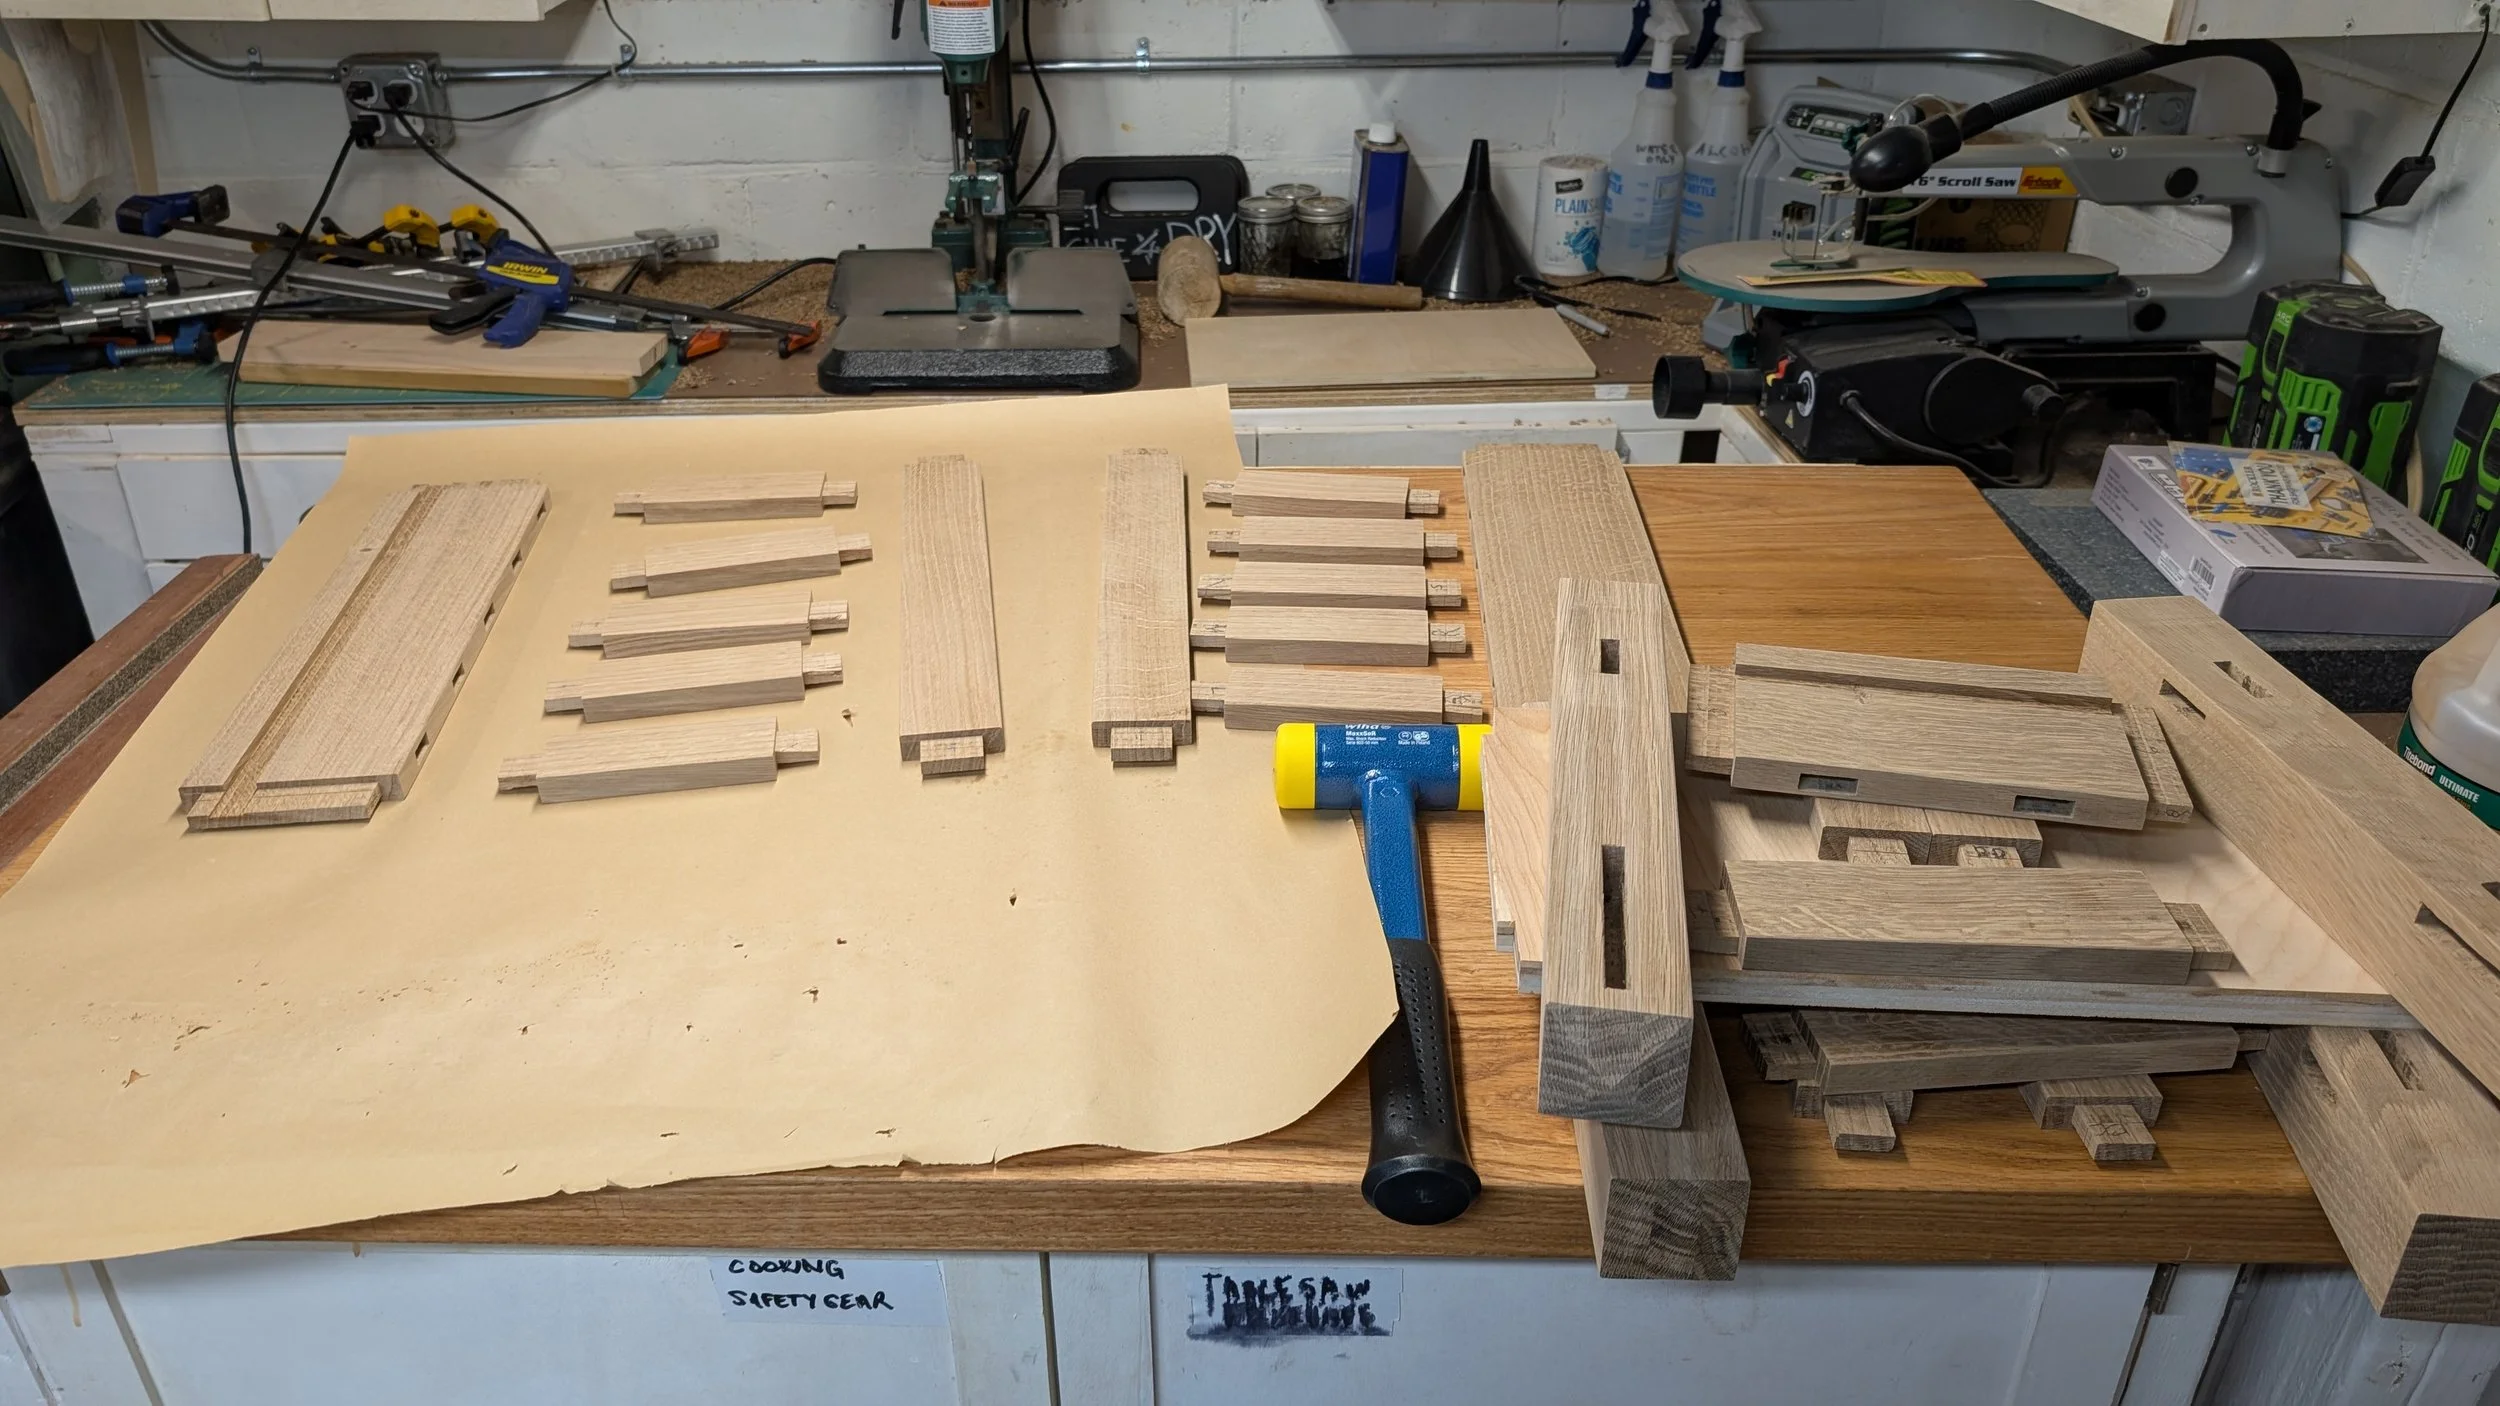
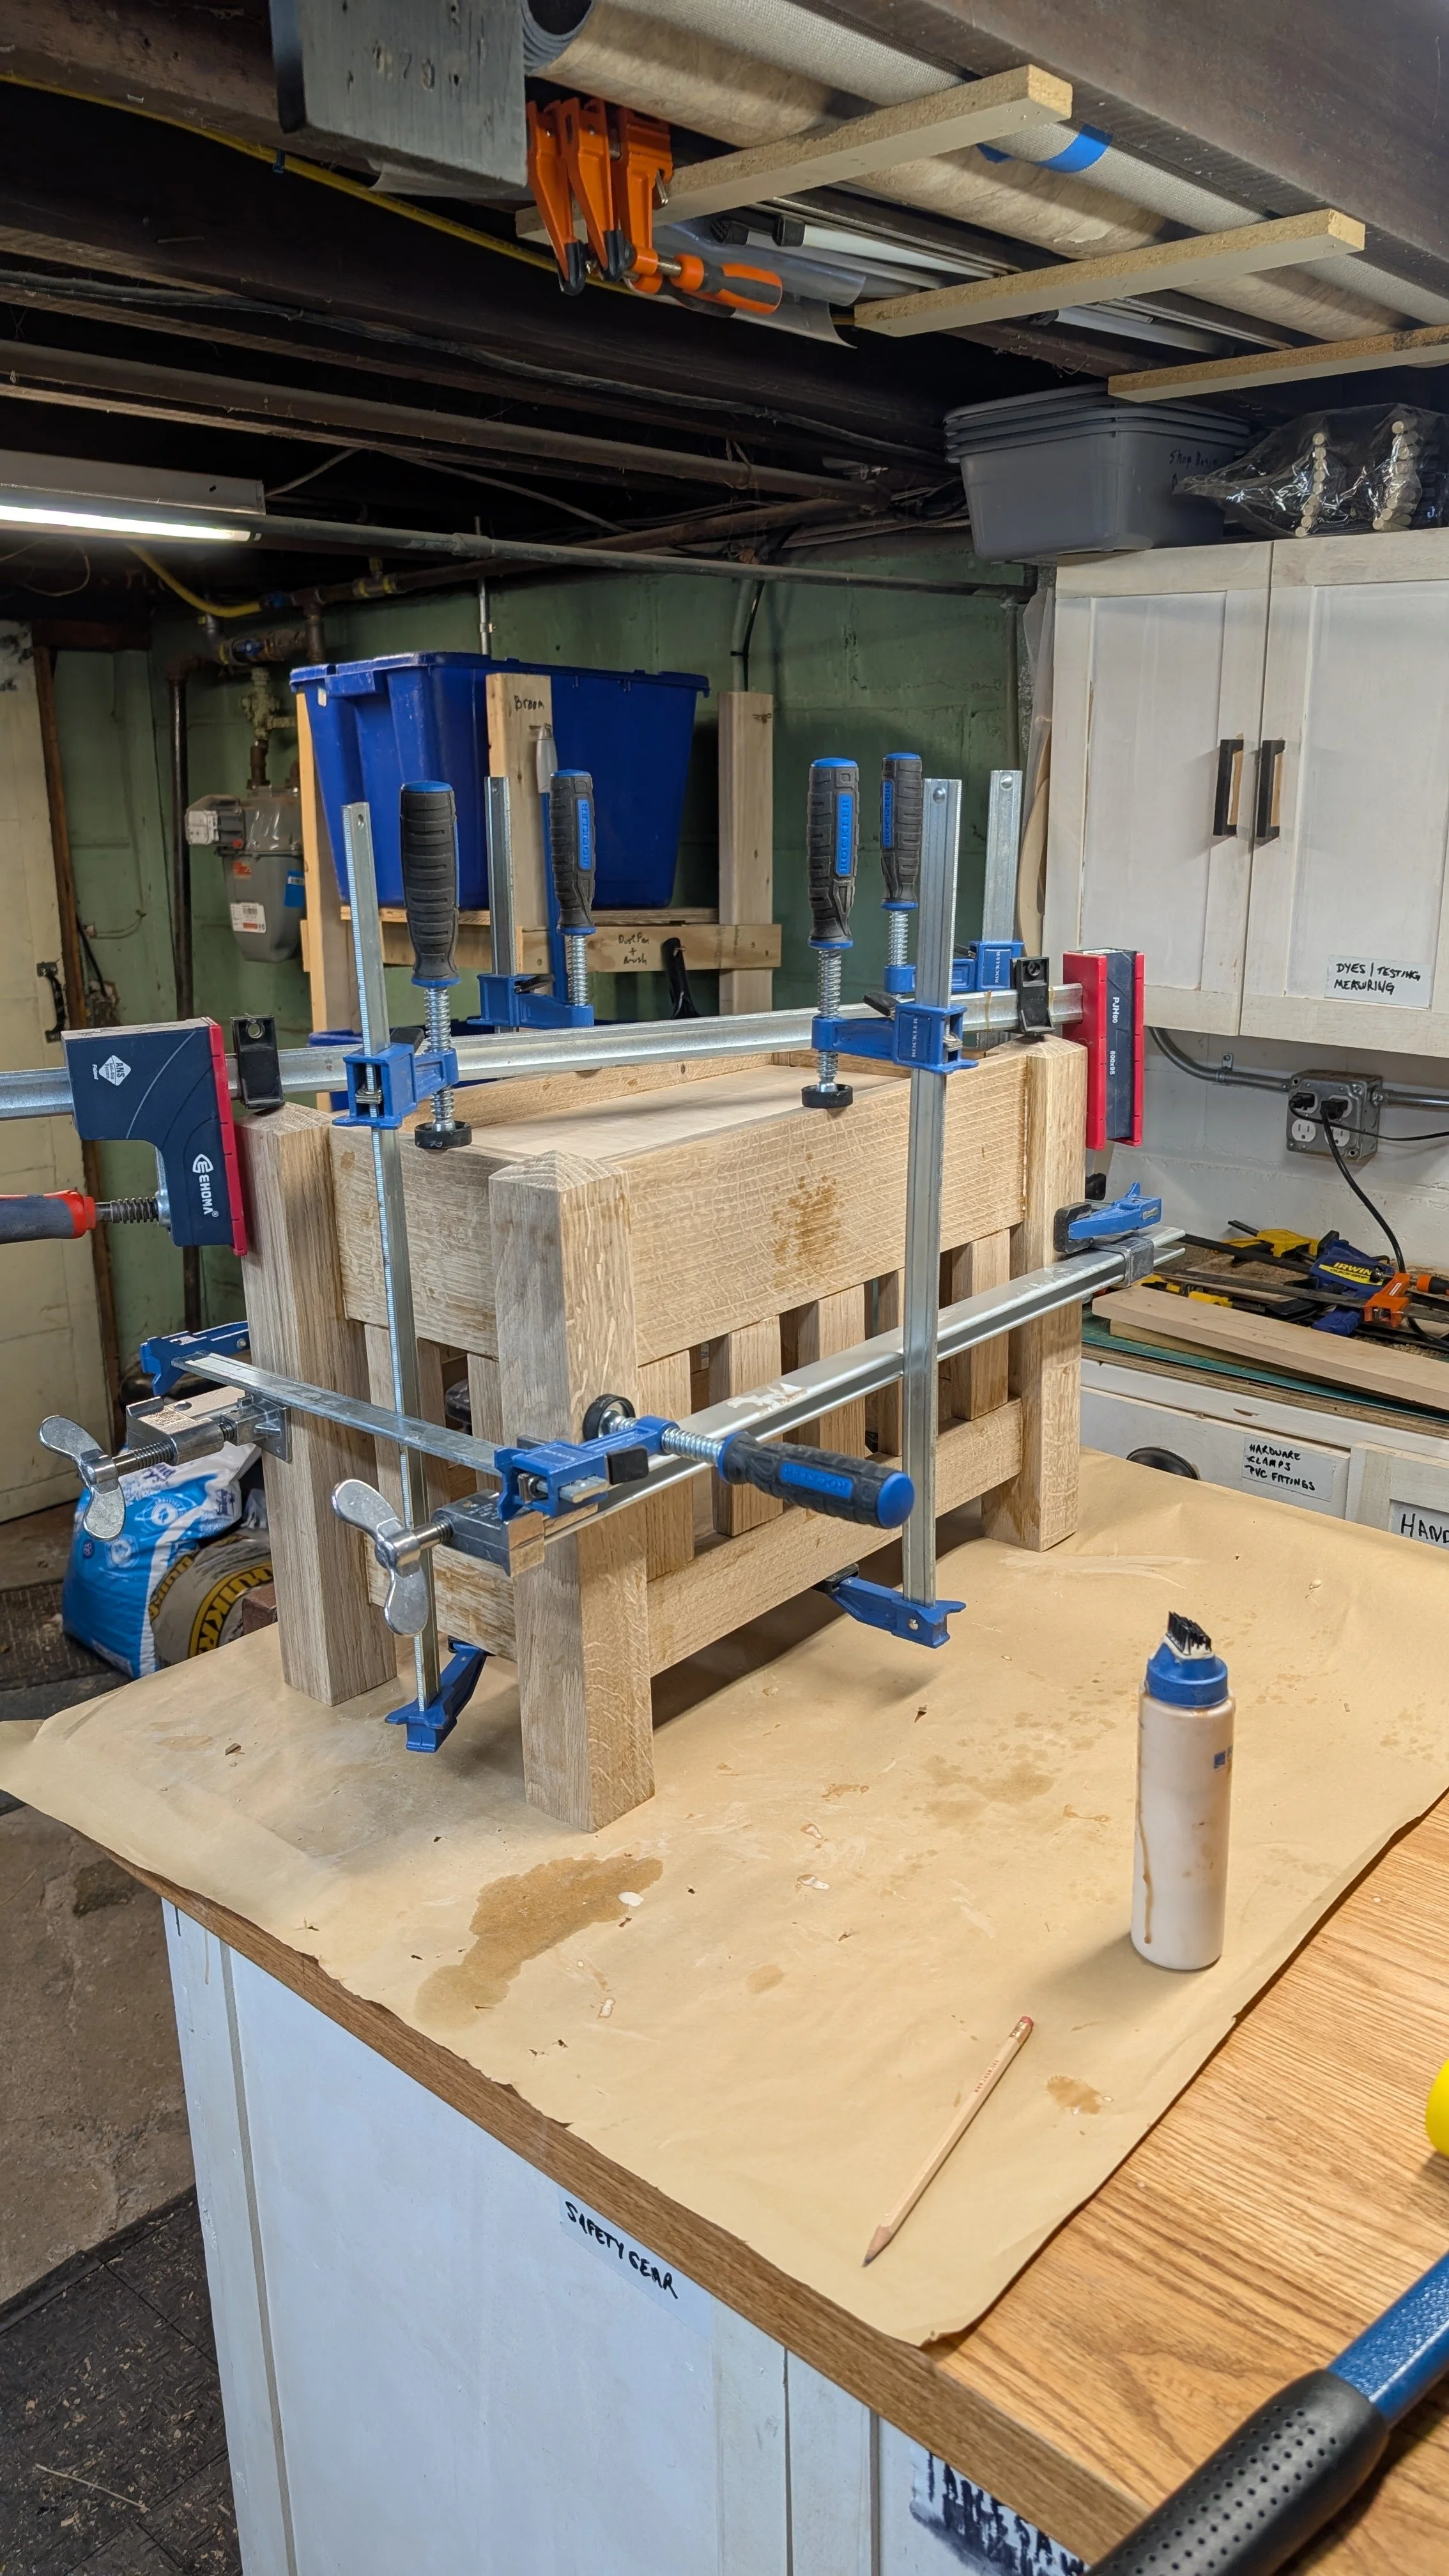
I then cut all of the rest of the mortises and dry fit the whole ottoman with the stiles. Twenty-two mortises all together. Then I disassembled it again and sanded all the parts up to 220 grit. Finally, I glued it up.
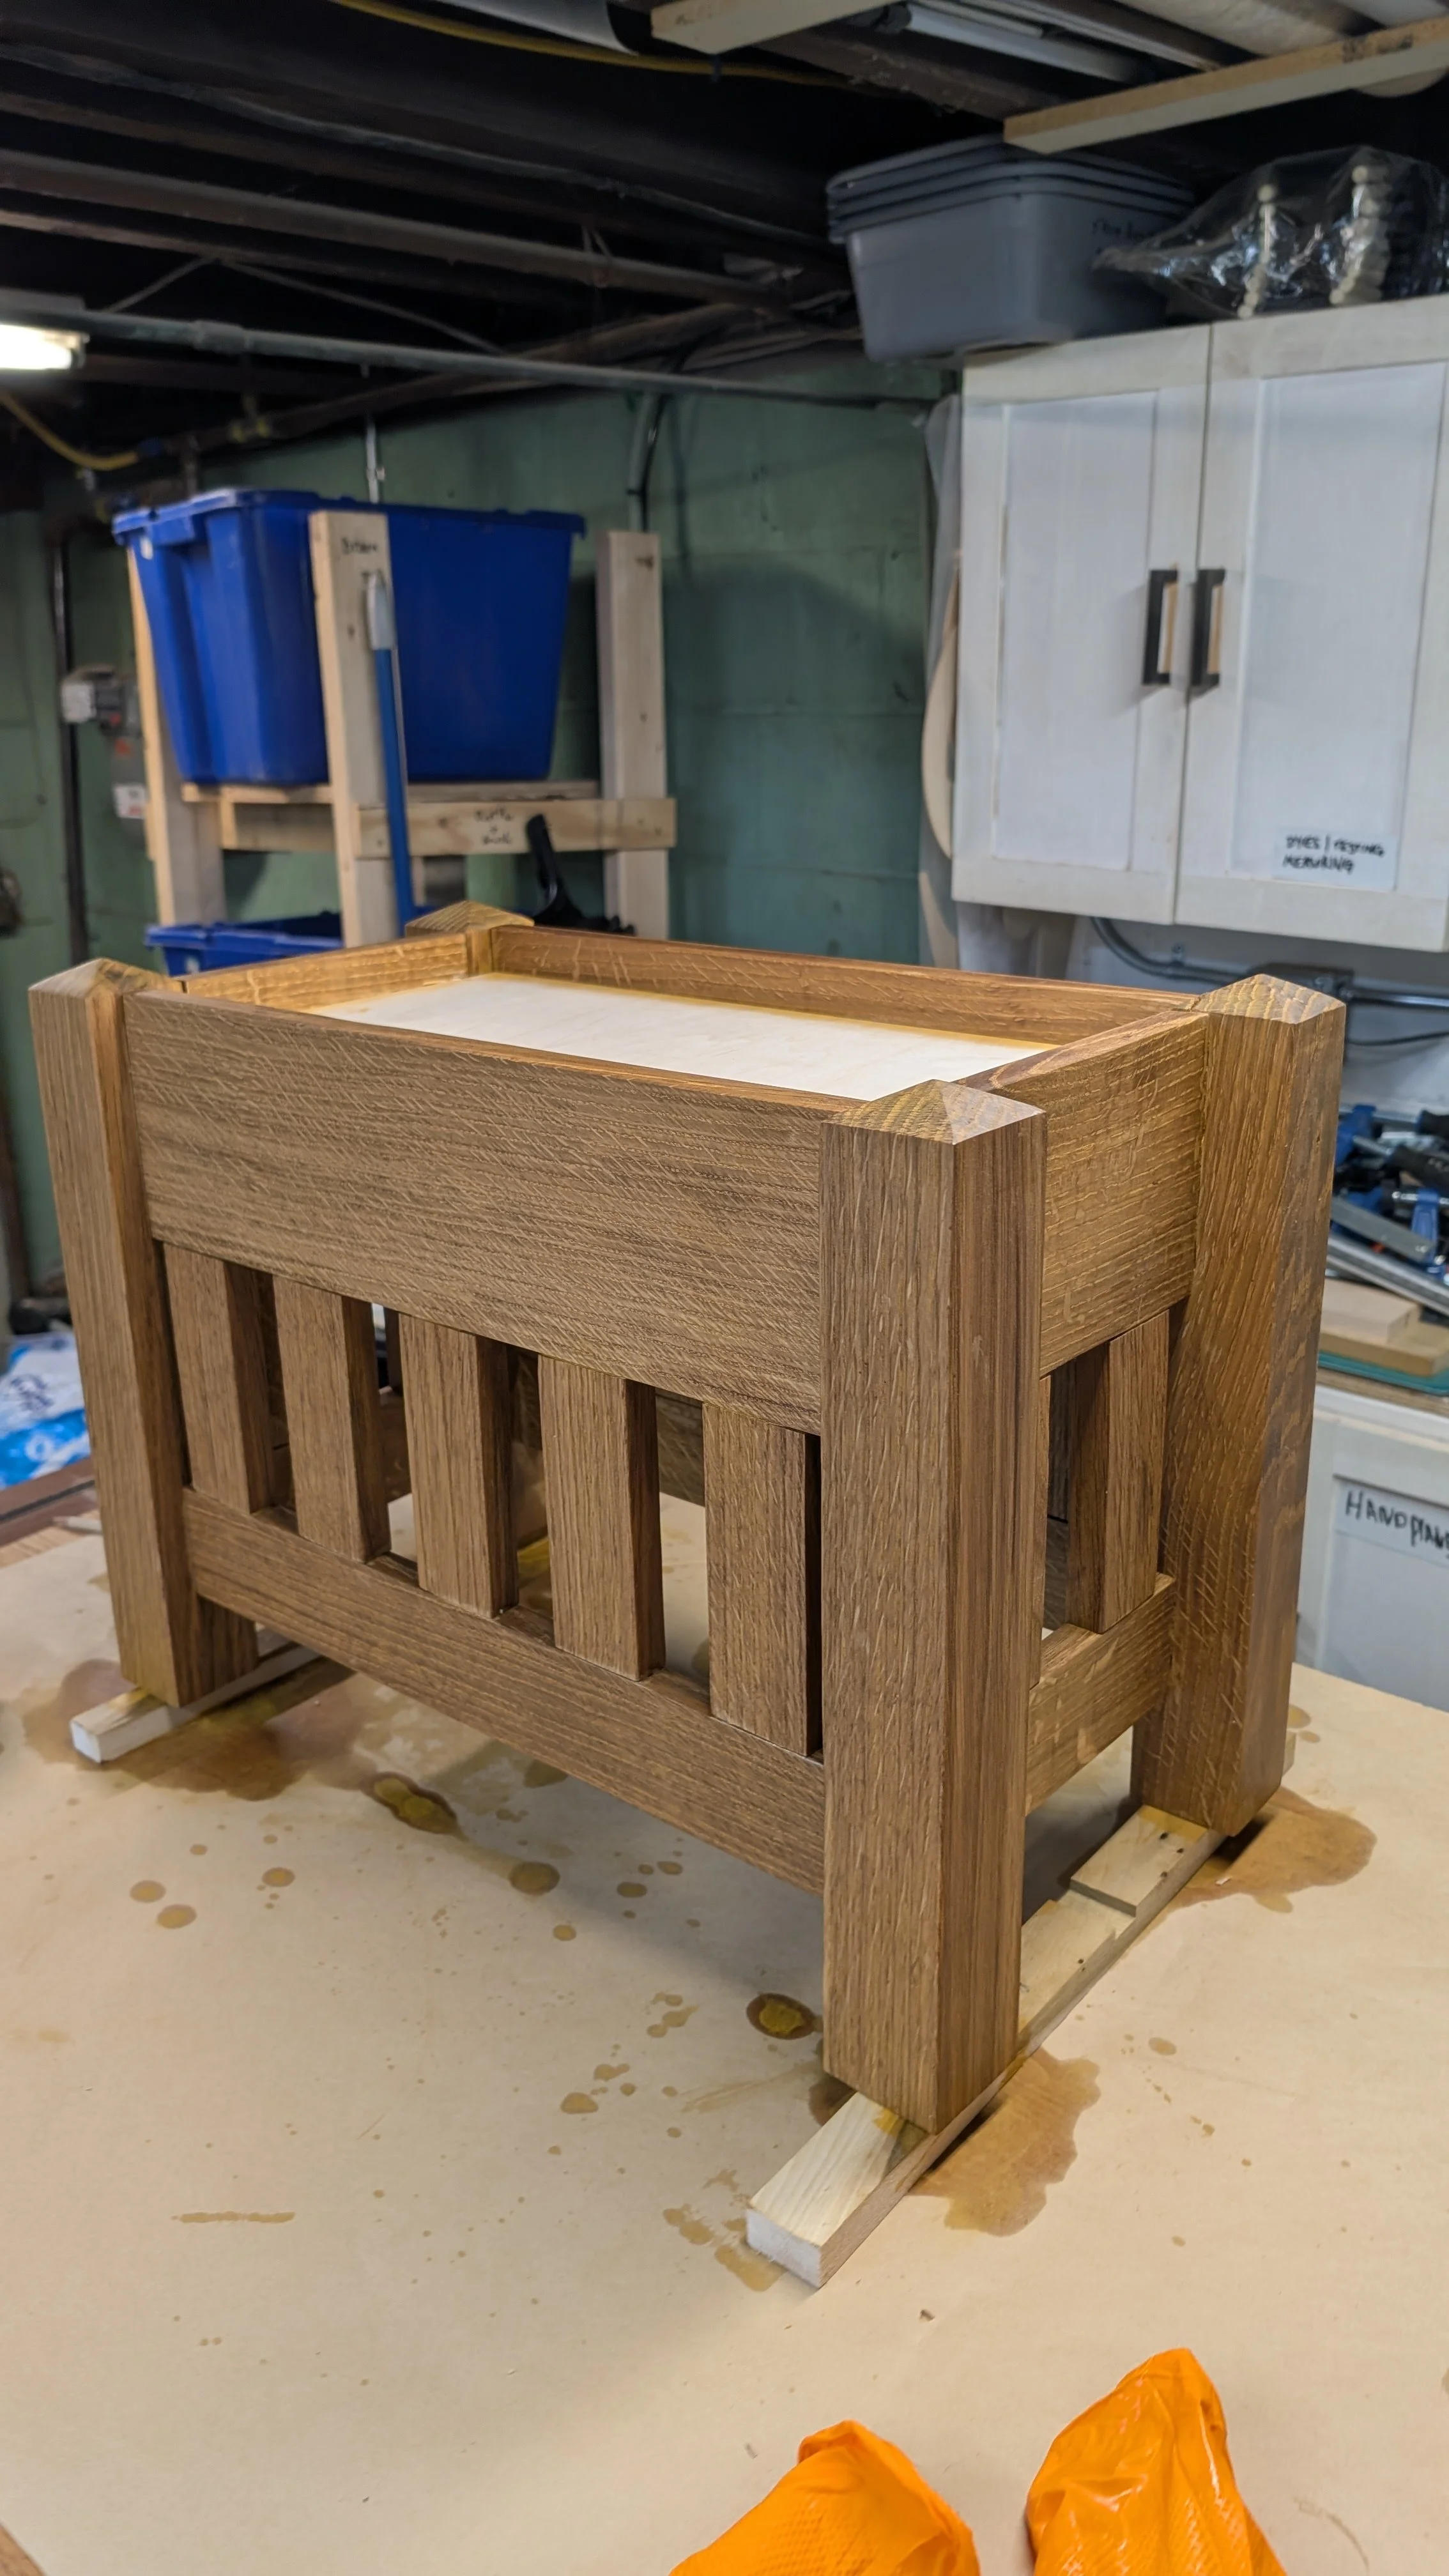
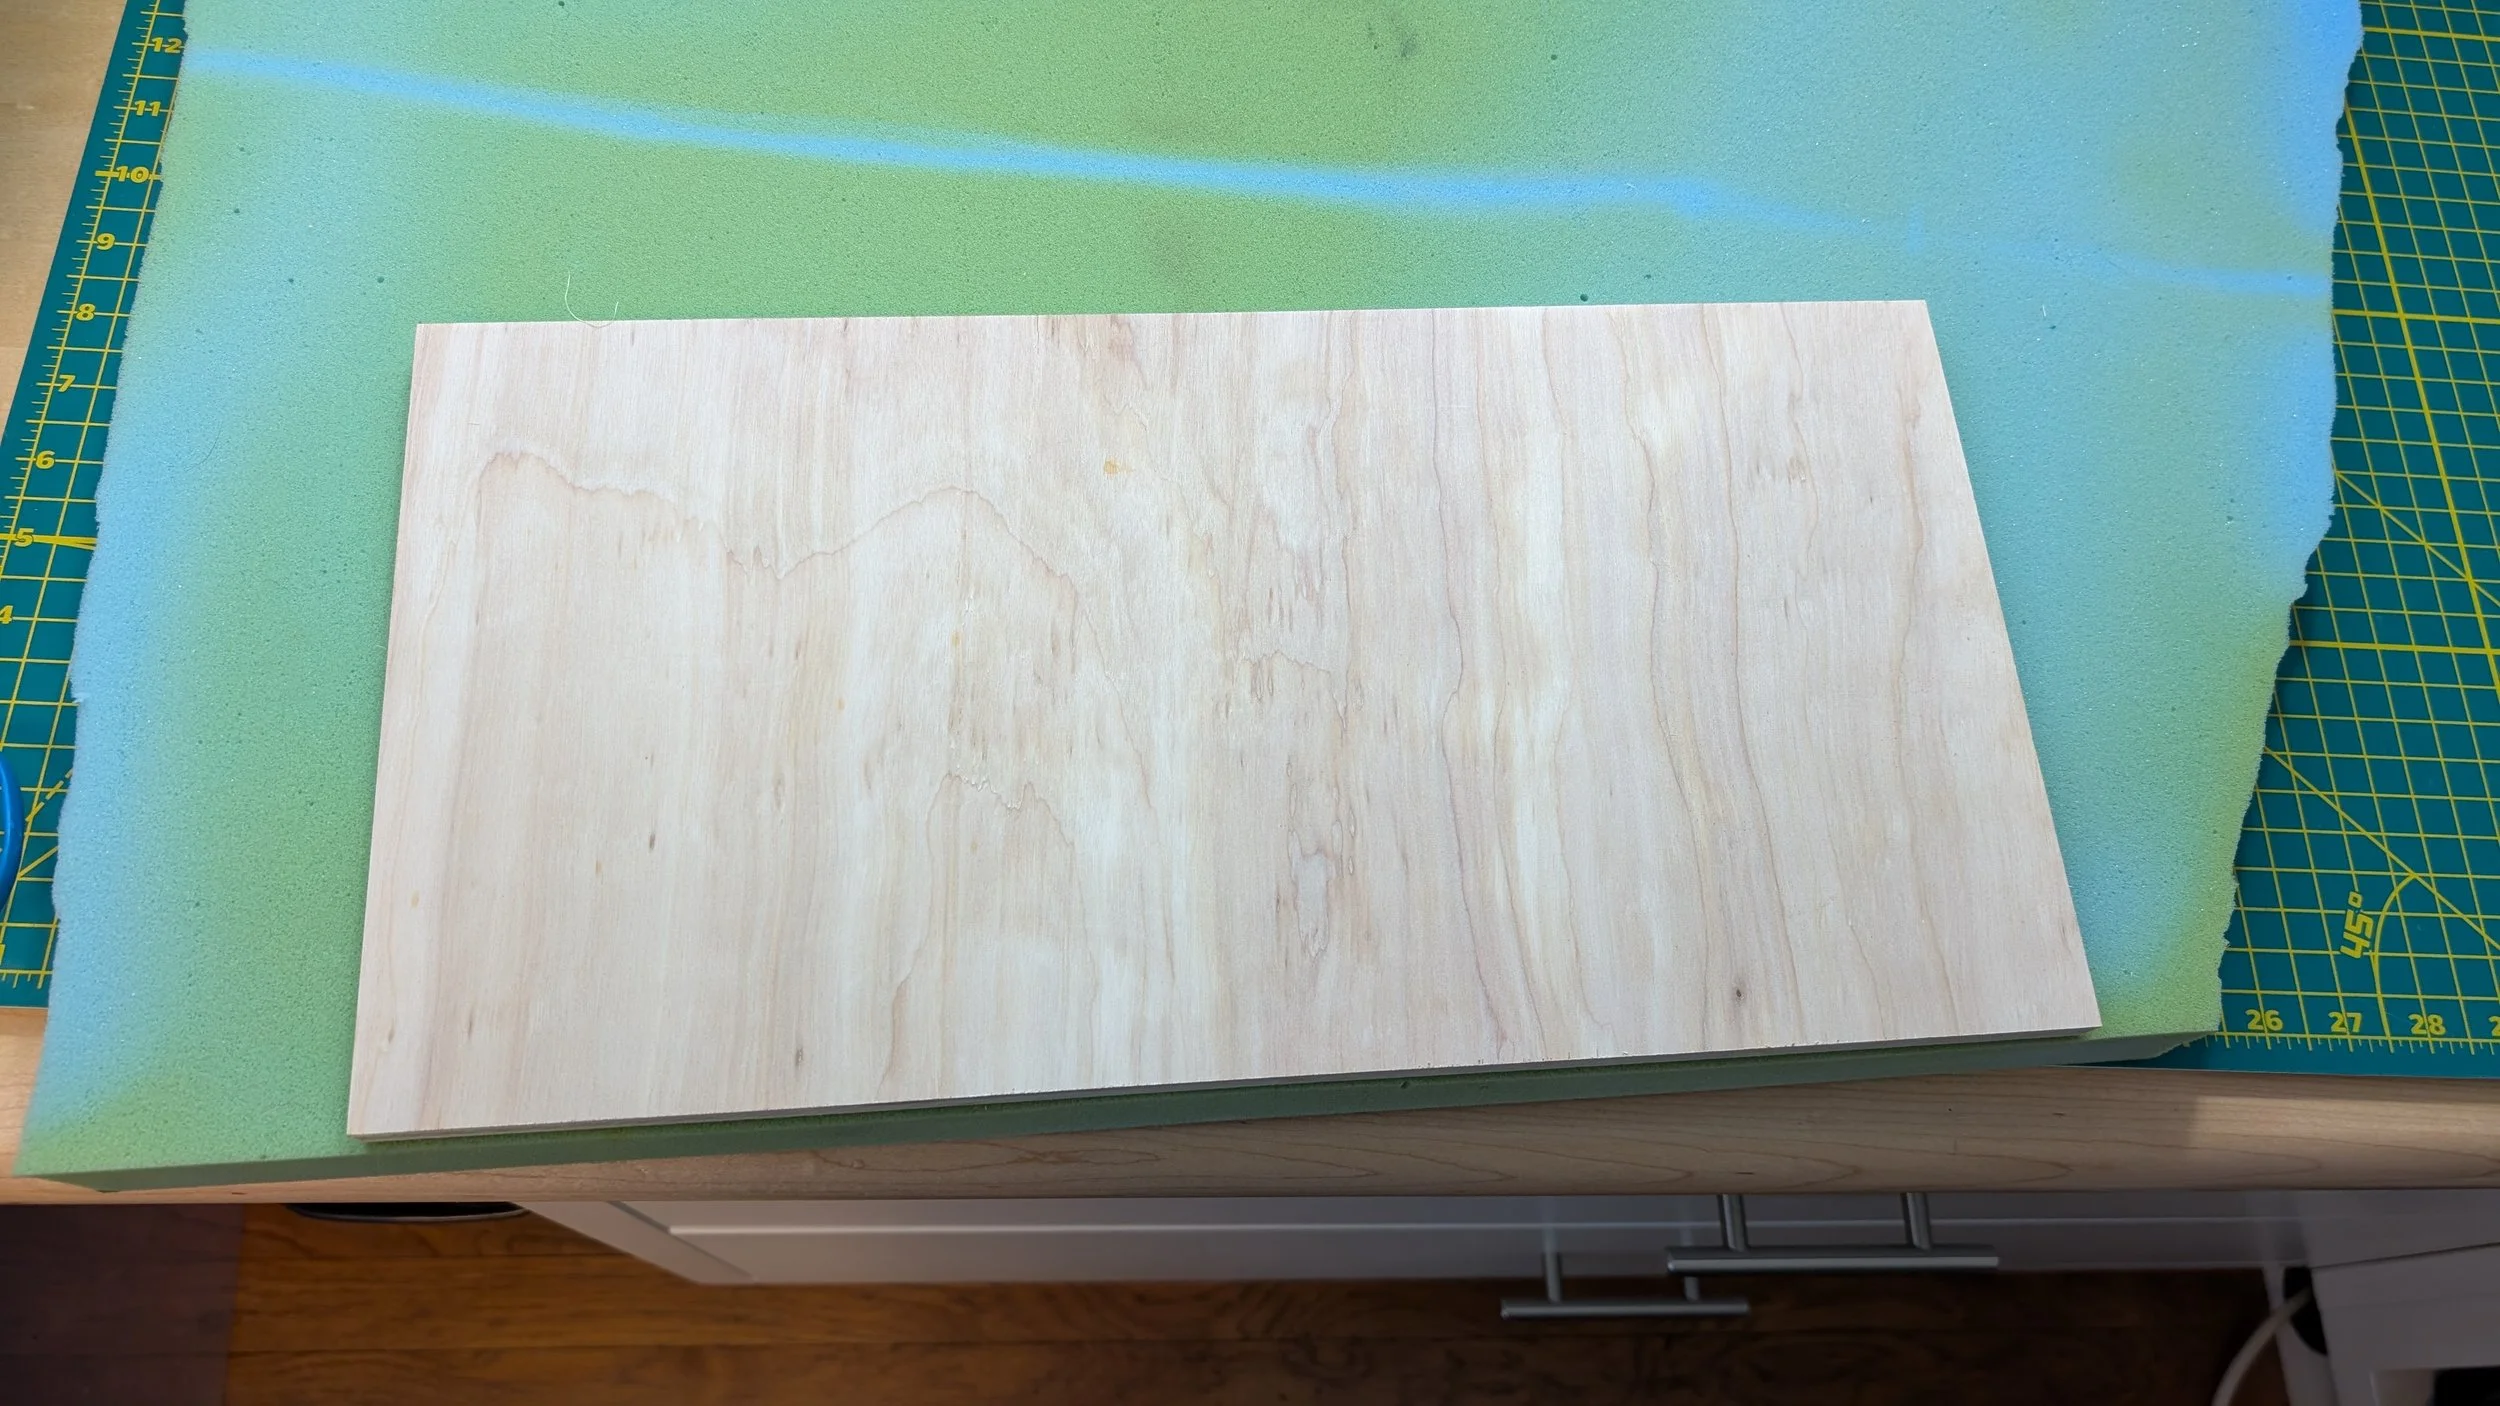

I cleaned up the glue squeeze out and did some touch up sanding and then applied the same finish that I used on the original chair which was WATCO Danish Oil in the Golden Oak color. While the finish was curing, I used the plywood base of the top cushion to cut two layers of 1 1/2” high quality ( deluxe ) foam. I glued one piece to the plywood base and then the other piece on top of that to make a full thickness of 3 1/2” inches. I got a Hamilton Beech Electric Carving Knife for cutting the foam it it works great producing nice clean straight edges. I had some of the same fabric that I had covered the chair with so I was able to wrap the cushion with that stapling it on the back to the plywood base.
I inserted the cushion into the top of the ottoman and it was done. I’m very happy with how it came out.