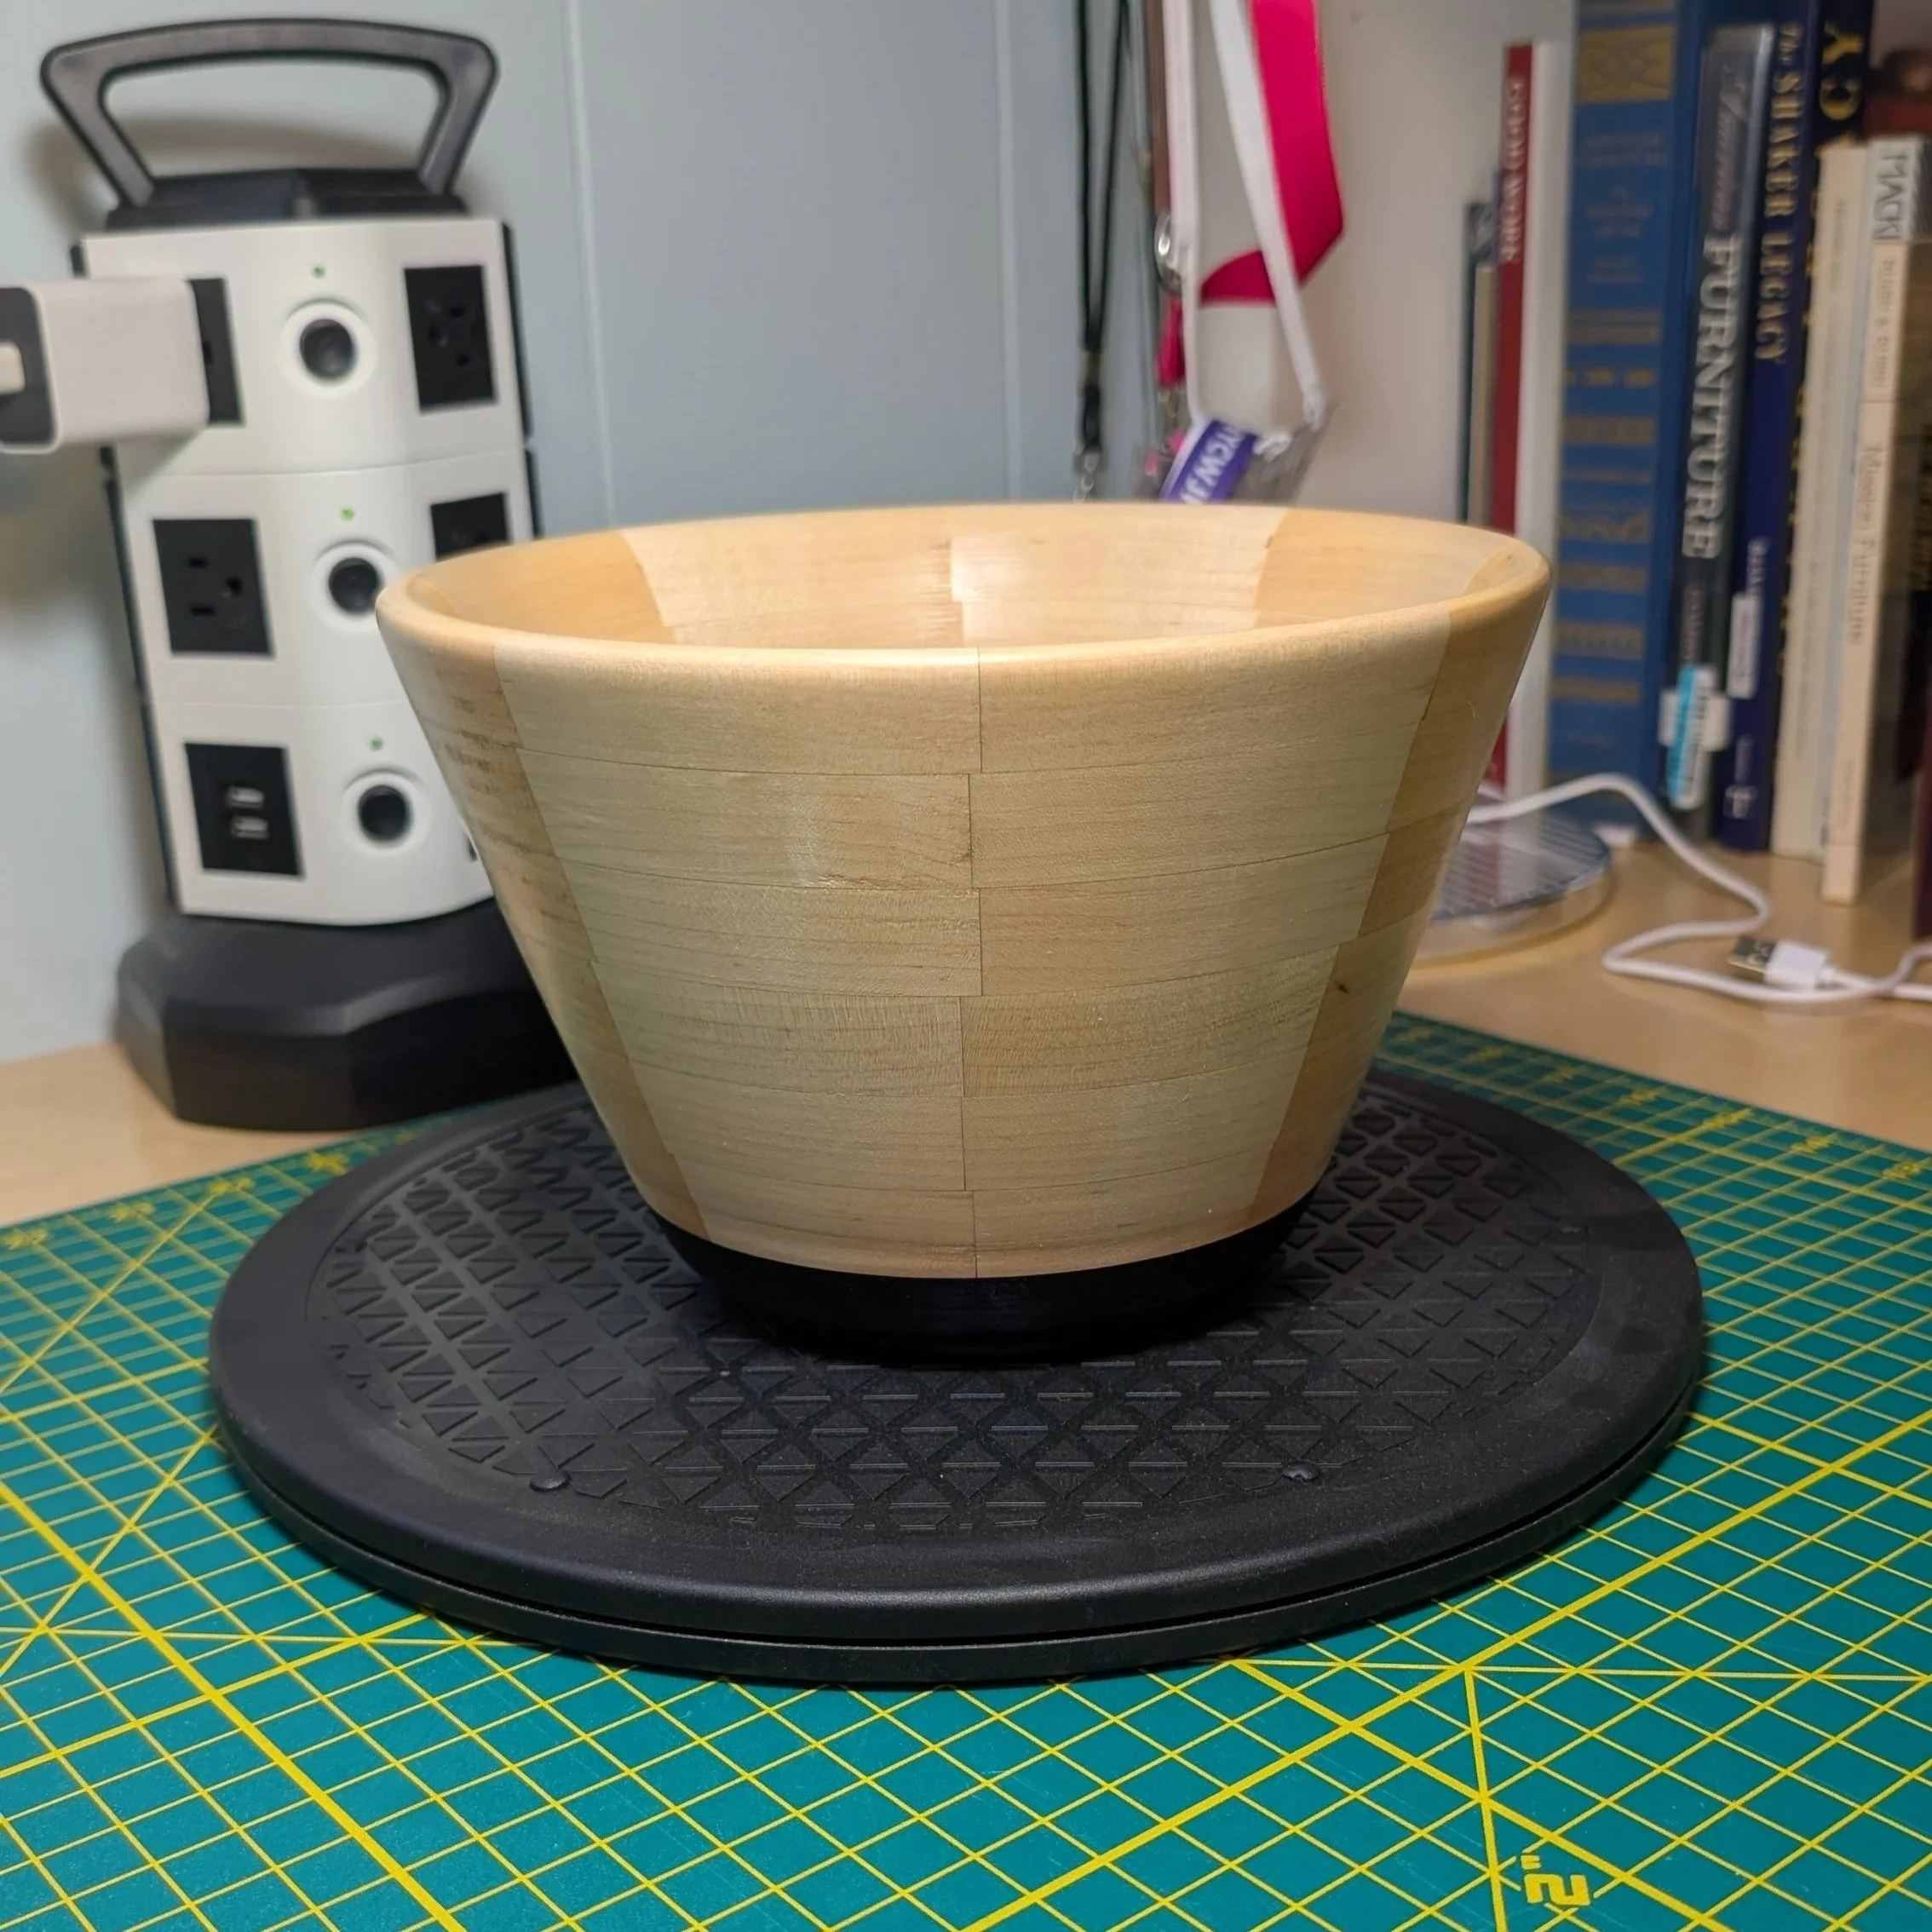
I’ve been continuing my exploration of wood turning and I wanted to try an alternative method of constructing a turned bowl or other hollow object. The technique is called making a Segmented Turning and you build up the rough structure of the object out of rings of wedge shaped pieces of wood using 8, 10, 12 or more segments to create the ring.
There are handy sites on the web that help you calculate the size of the wedges and the angle of the sides of each of the wedges based on the diameter of each ring and how much margin you want to leave to allow for variations in your construction or your turning design. I used this one, I’m sure there are many others. The site produces nice drawings of the rings and the individual segment. Here’s an example:
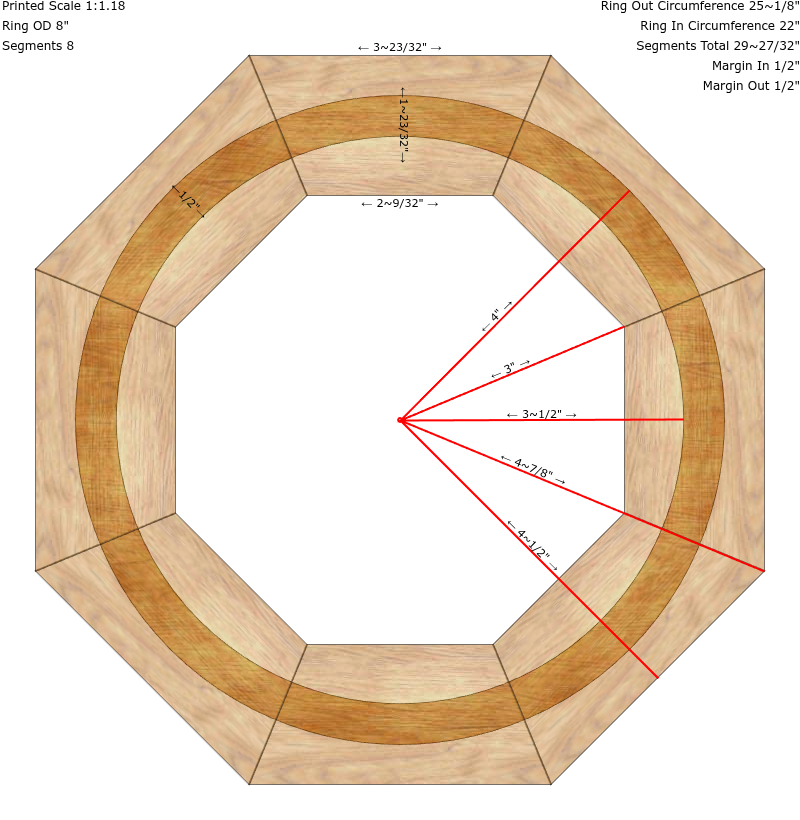
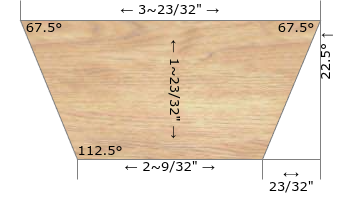
I made a series of these that would produce a sequence of six rings starting at 9” at the top and going down to 5 1/2” at the bottom. I cheated slightly and made all of the wedges the same height by computing the average height of all of the wedges and the variance wasn’t significant so it allowed me to cut all of the wedges out of the same width stock which ended up being 1 11/16” x 3/4” maple.
All of my rings have the same number of segments which was eight, so the angle of the cuts were all the same angle 22 1/2 degrees. The only critical difference per ring was the length of the long side of the wedge. That had to be pretty precise so that the ring would be the right diameter. Most people use a fixture on a table saw sled to cut their segments but I chose to use my 12” DeWalt chop saw instead. I set up a stop measuring from the stop to the inside edge of the saw blade tooth. I found that marking the stock on the long side and then placing one tooth right at the mark and then sliding the stop up to the other end of the stock worked very well. I double checked each first cut and adjusted the stop if it was even 1/64” off.
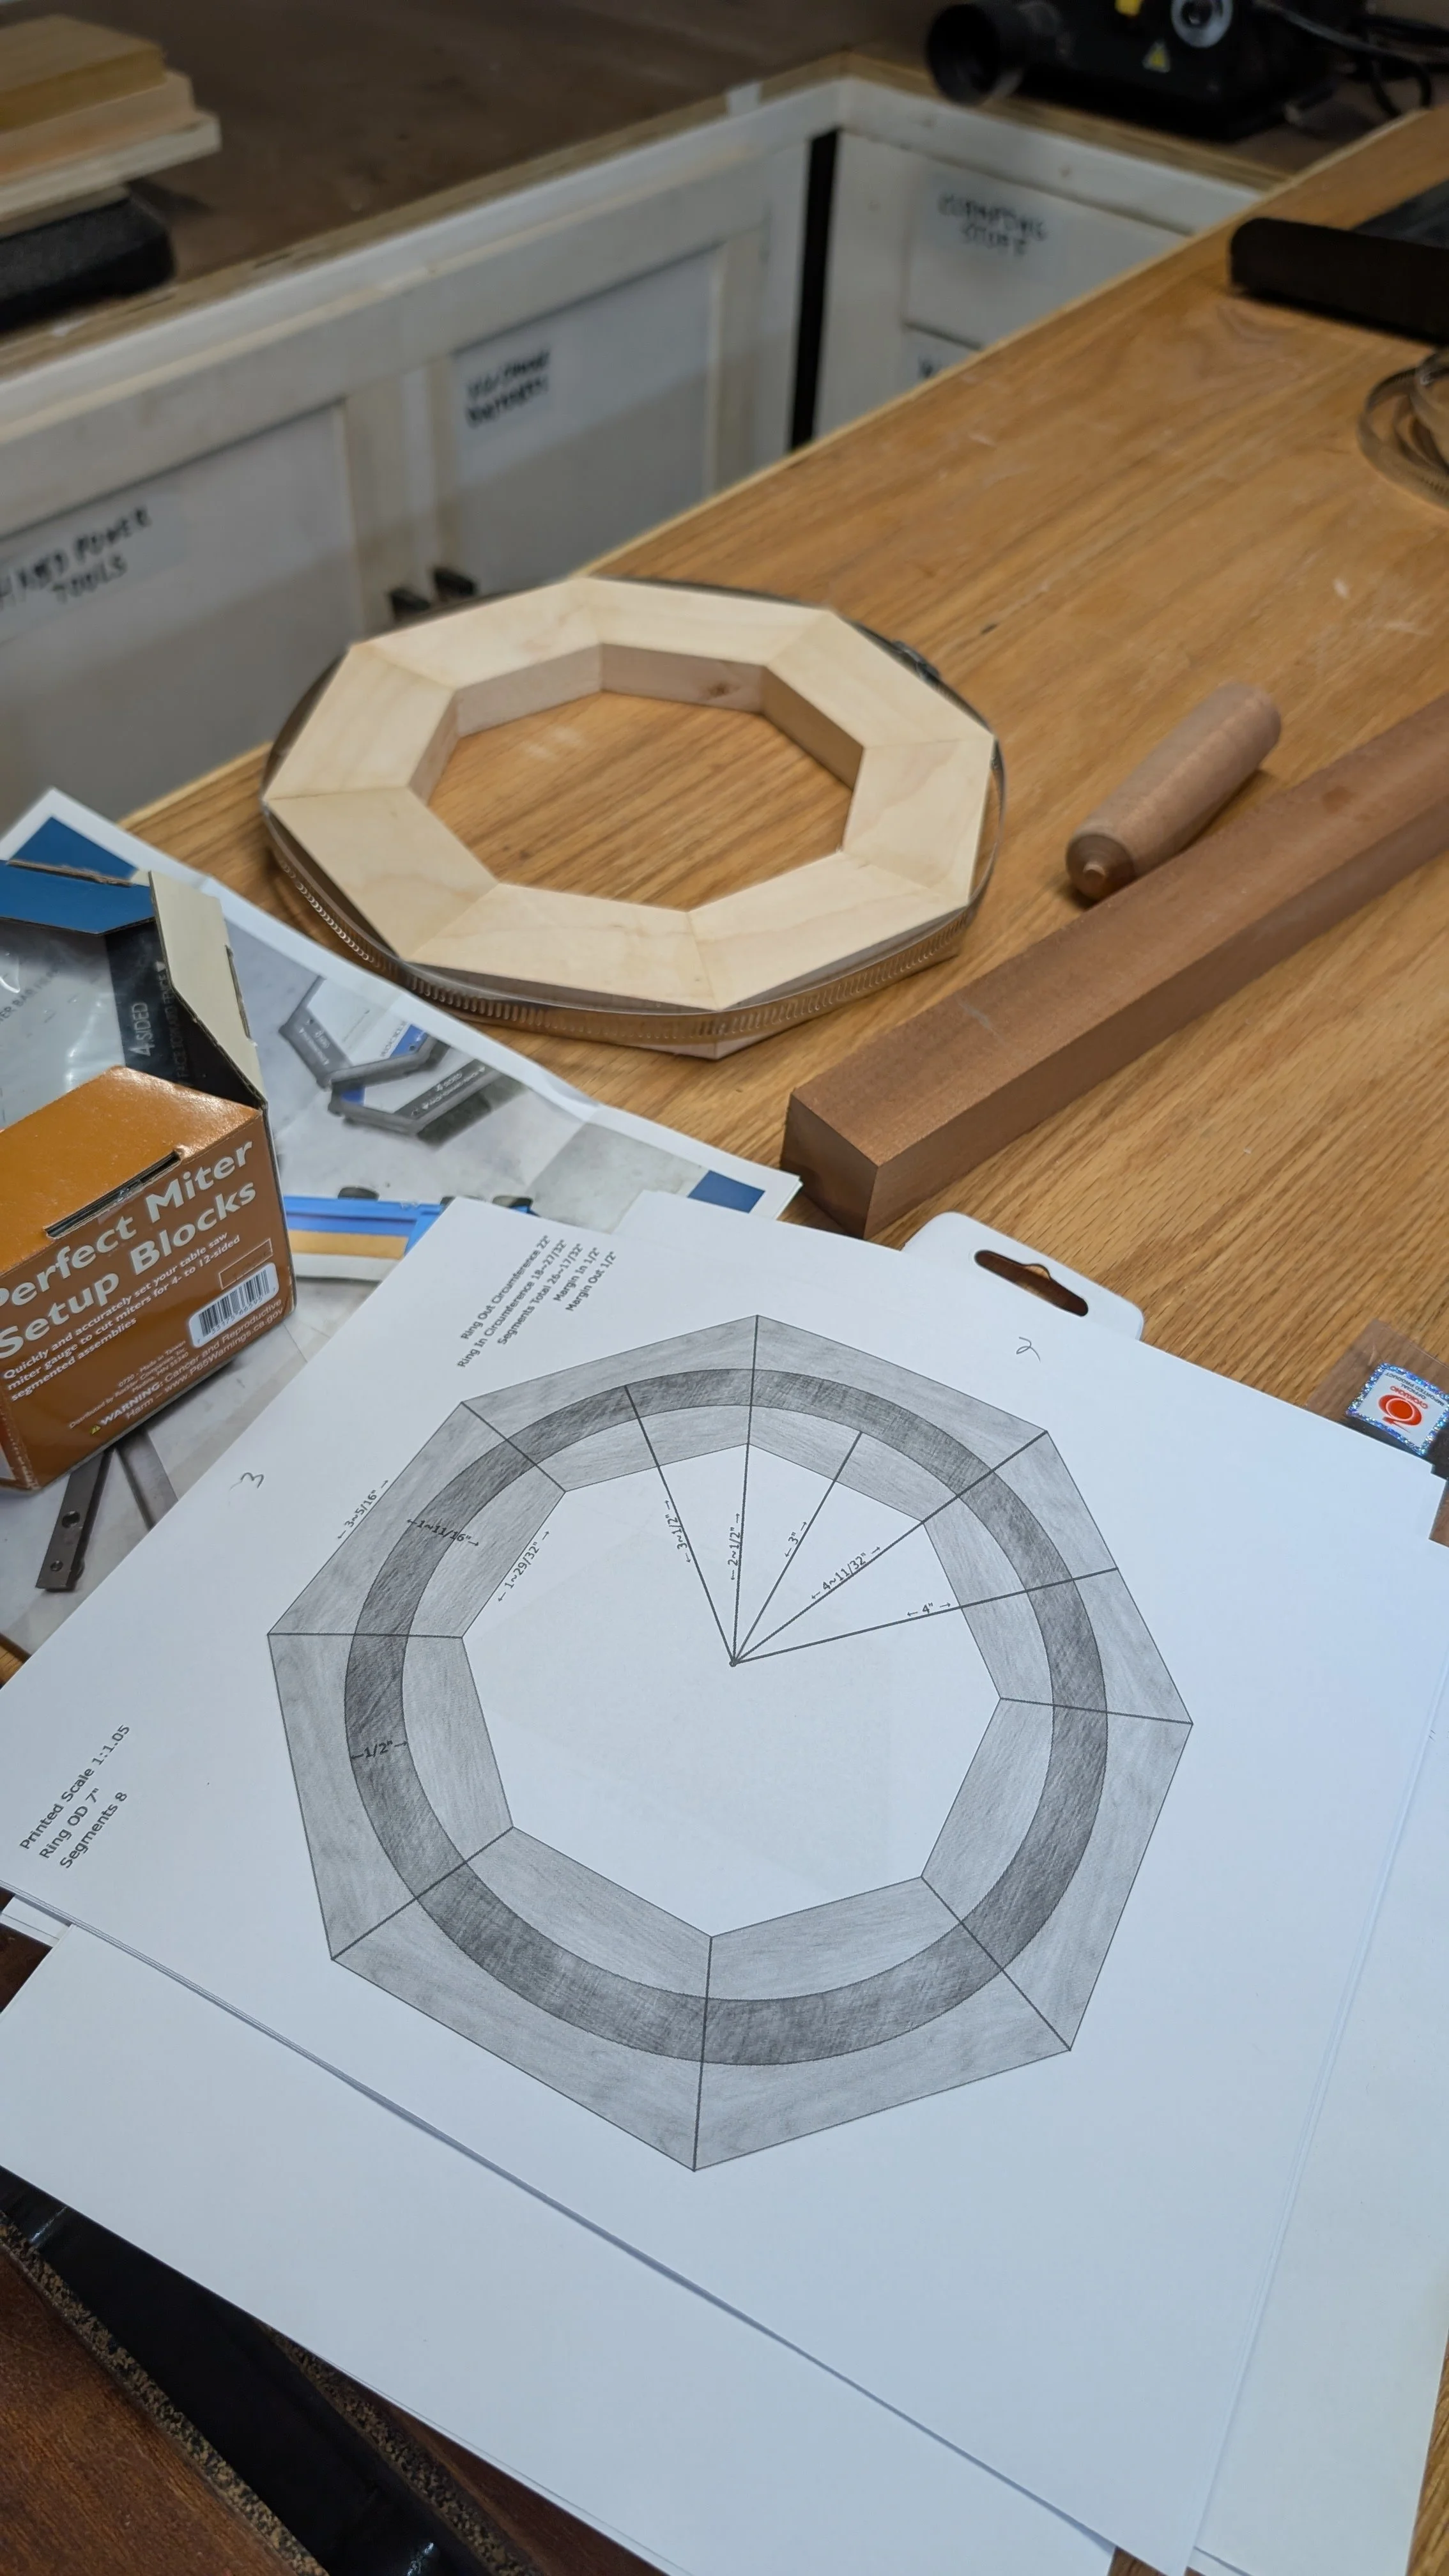
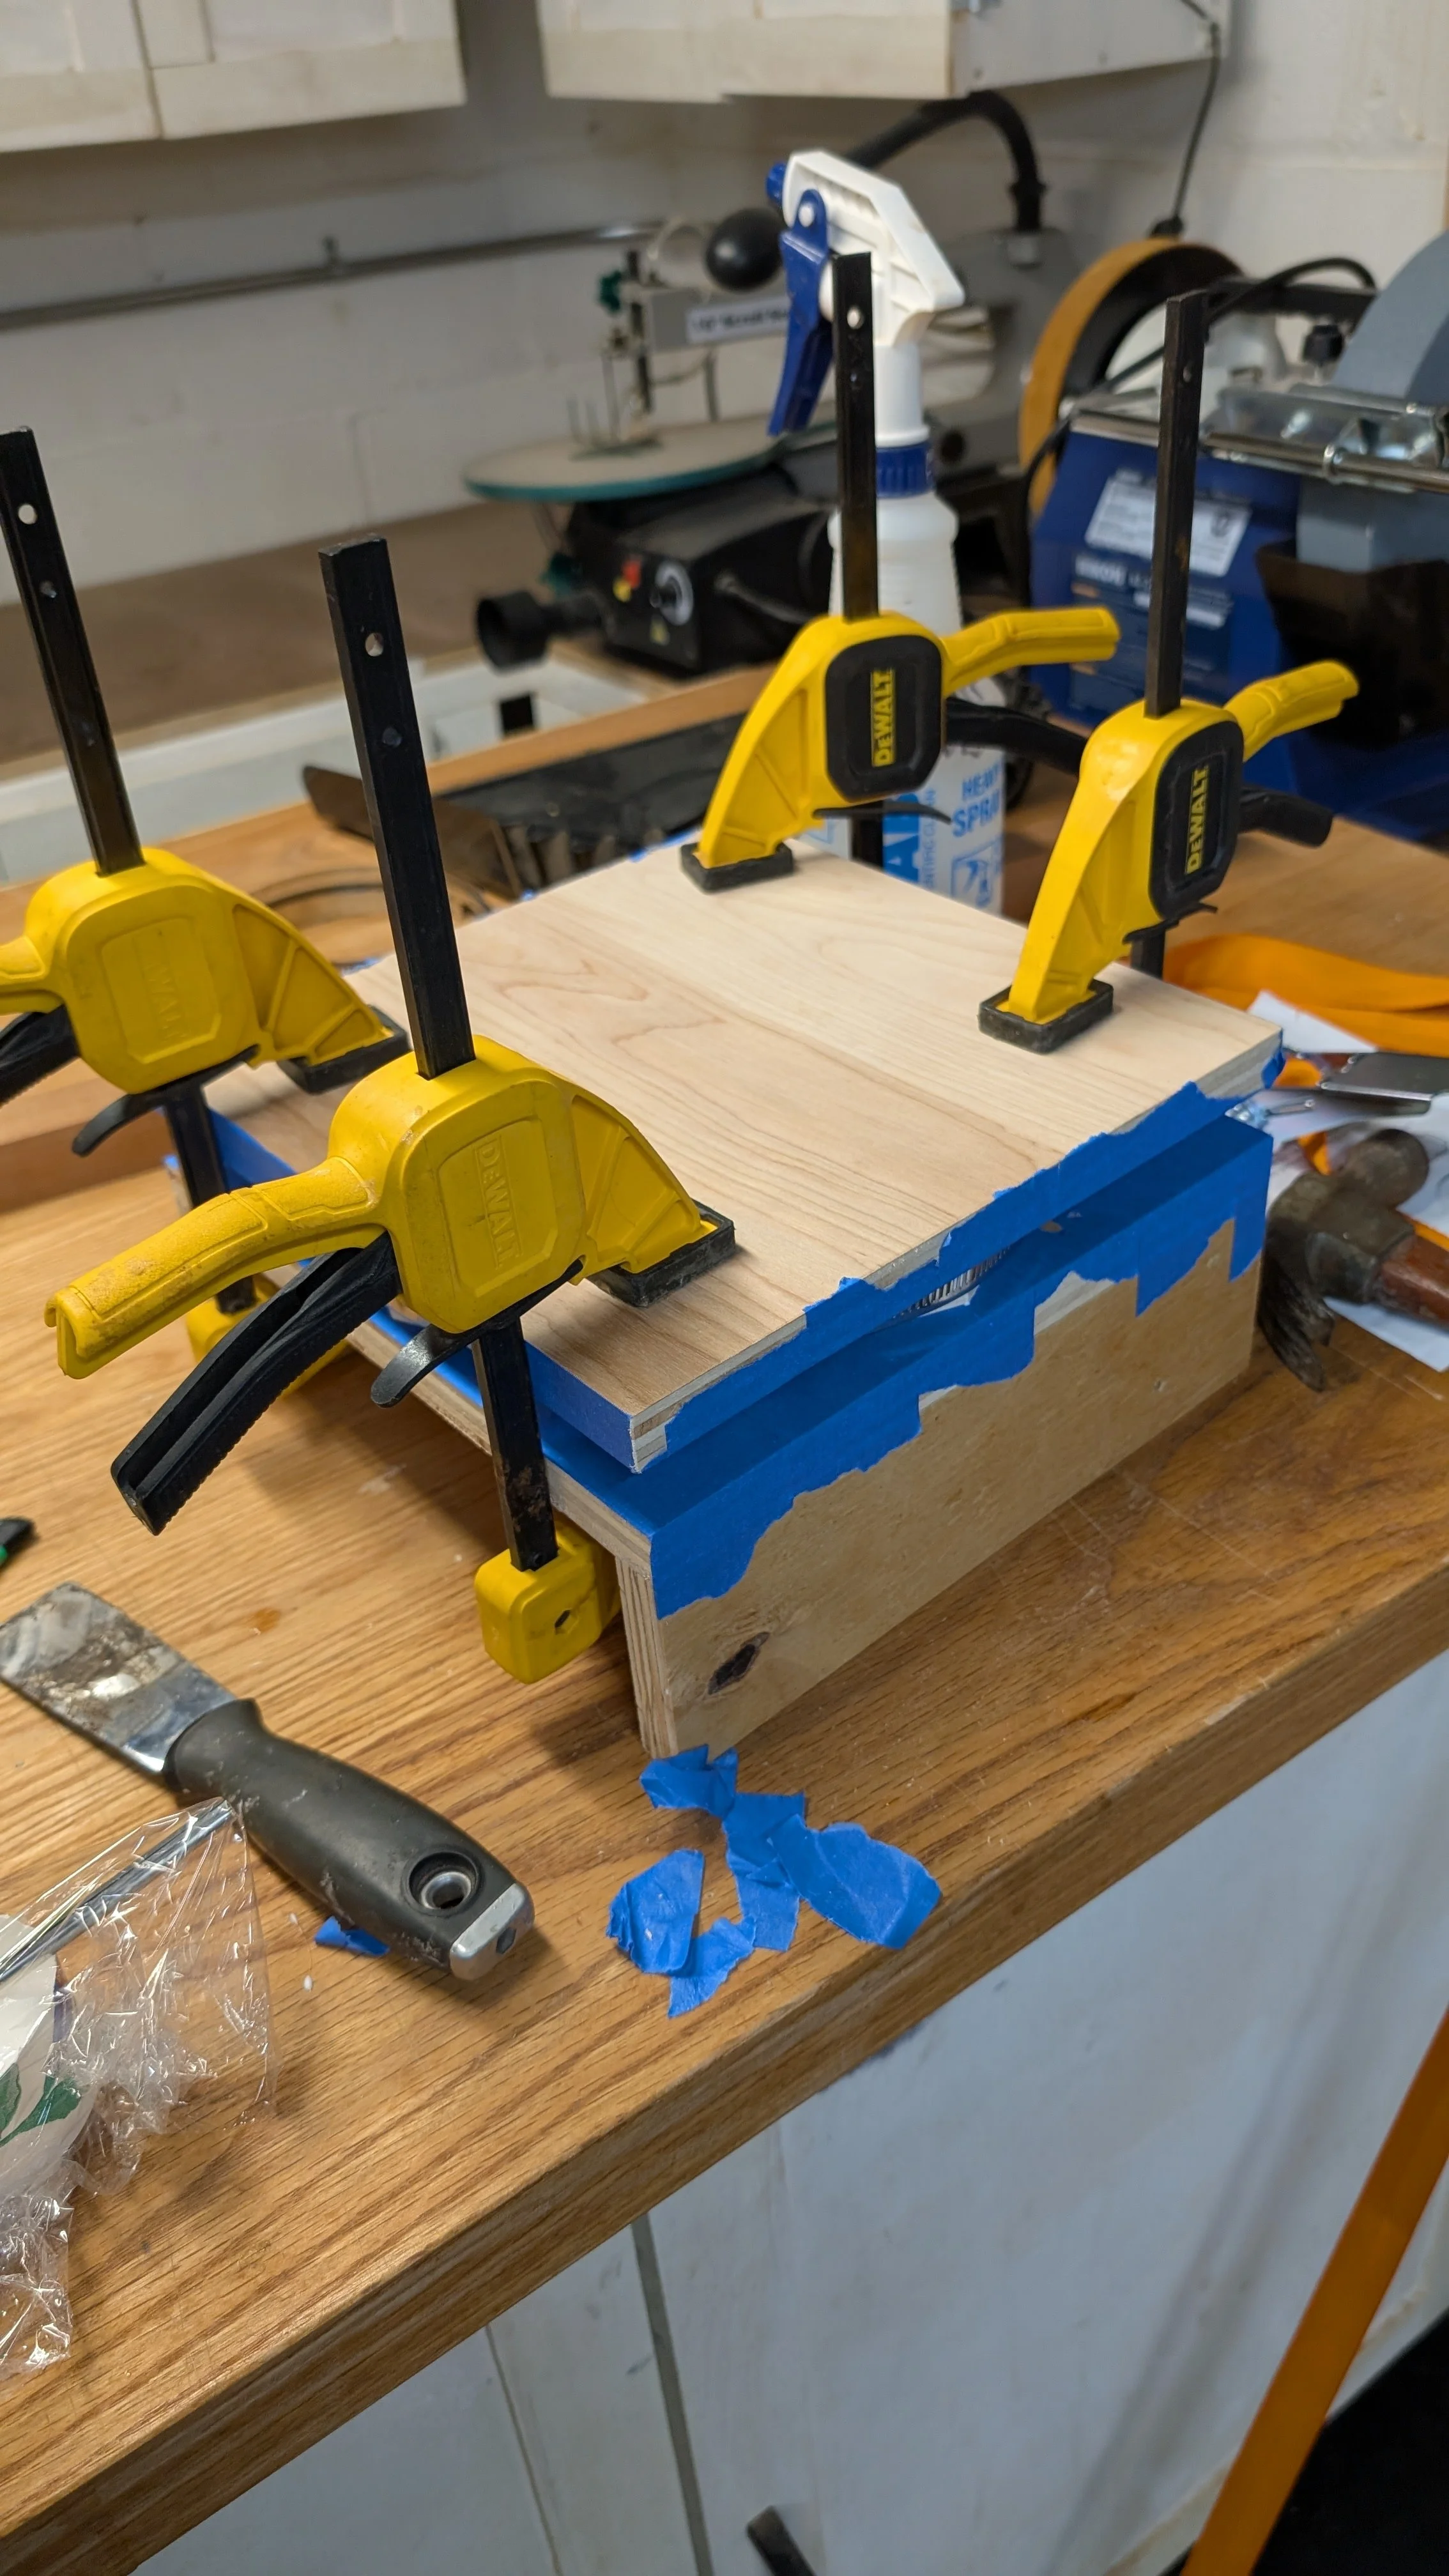
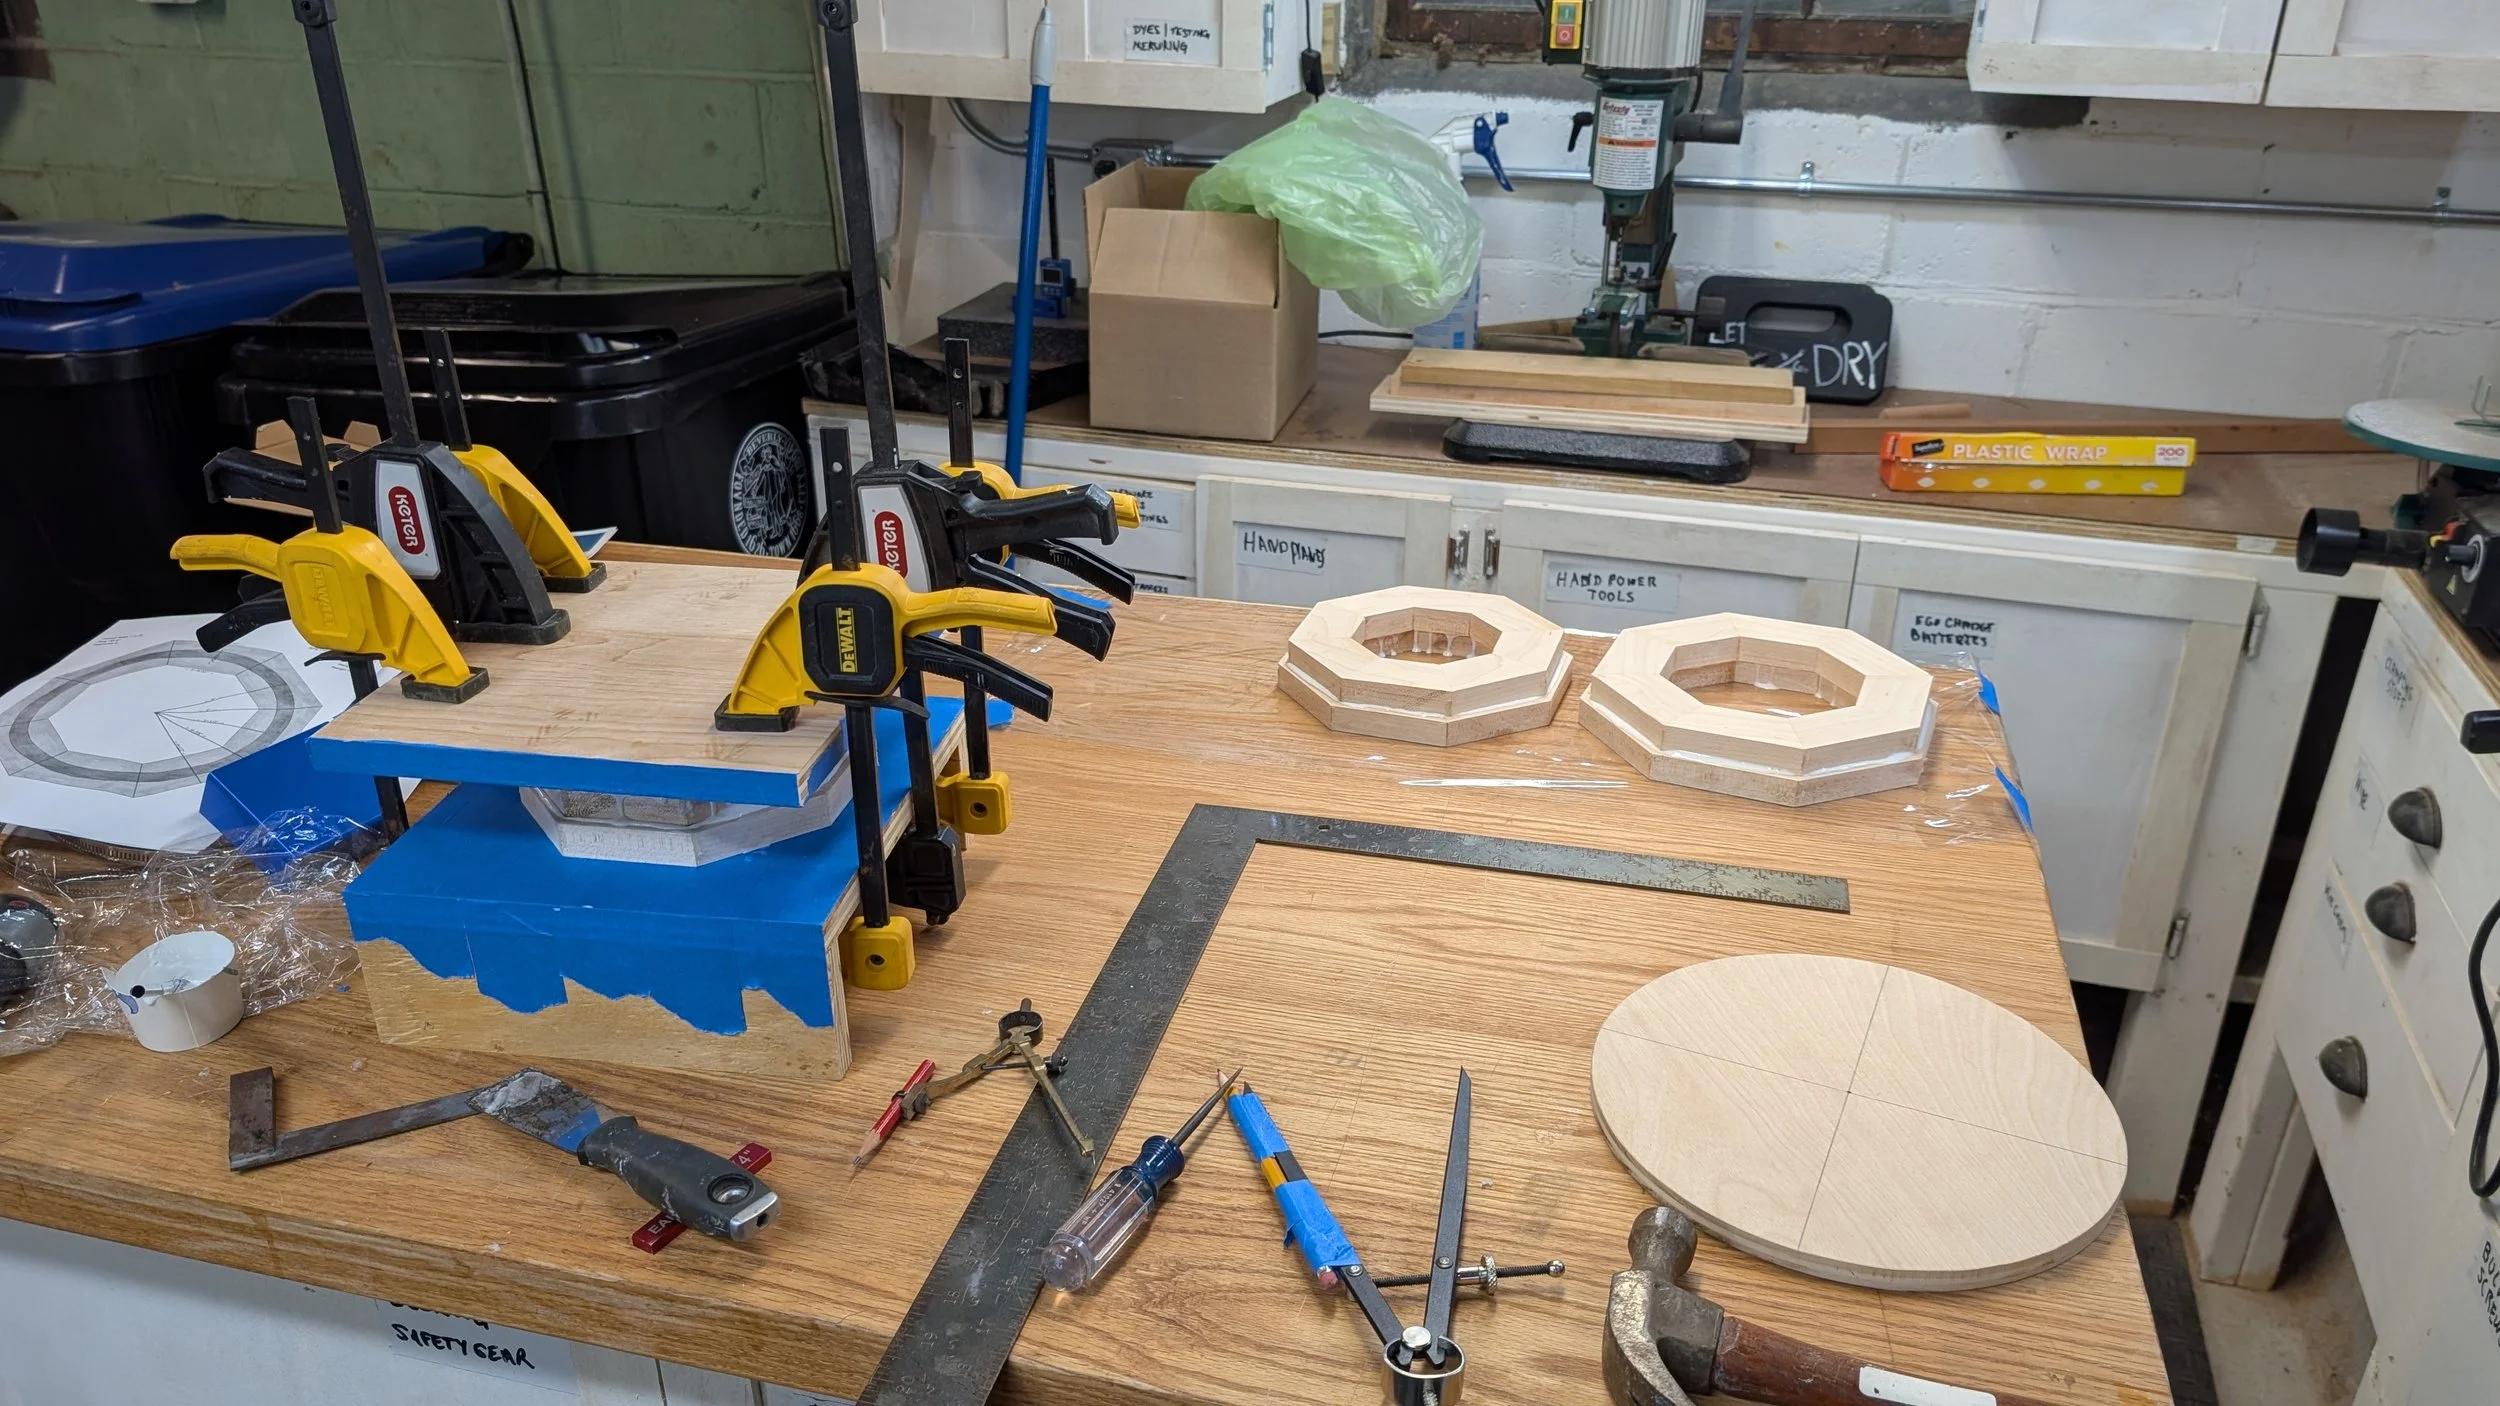
I sanded off any fuzzy bits from the saw cut on each wedge. The other important thing about these rings is that they need to be very flat. There are lots of techniques that folks use to make them flat. You can glue them up and then after the ring is cured you can chuck it in the lathe and turn the face flat and then use a flat board wrapped in sand paper to flatten them. Or if you have a drum sander you can send them through until the sides clean up.
I chose neither of these, I built a clamping fixture out of 3/4” birch plywood that would allow me to clamp each ring between two very flat faces while the glue joints were curing. I used spiral duct clamps to clamp the rings and that worked great pulling them right into alignment and not slipping up or down. I was very careful to wipe all of the glue squeeze out off of the ring faces and then I clamped them in the fixture for 45 minutes. I used Gorilla Dries Clear Wood Glue which is food safe and hides the joint lines better than other glues that dry darker. They came out very flat. I used a big piece of sand paper on a flat piece of 3/4” plywood to sand each face with a figure eight pattern. That did a great job on all of the rings.
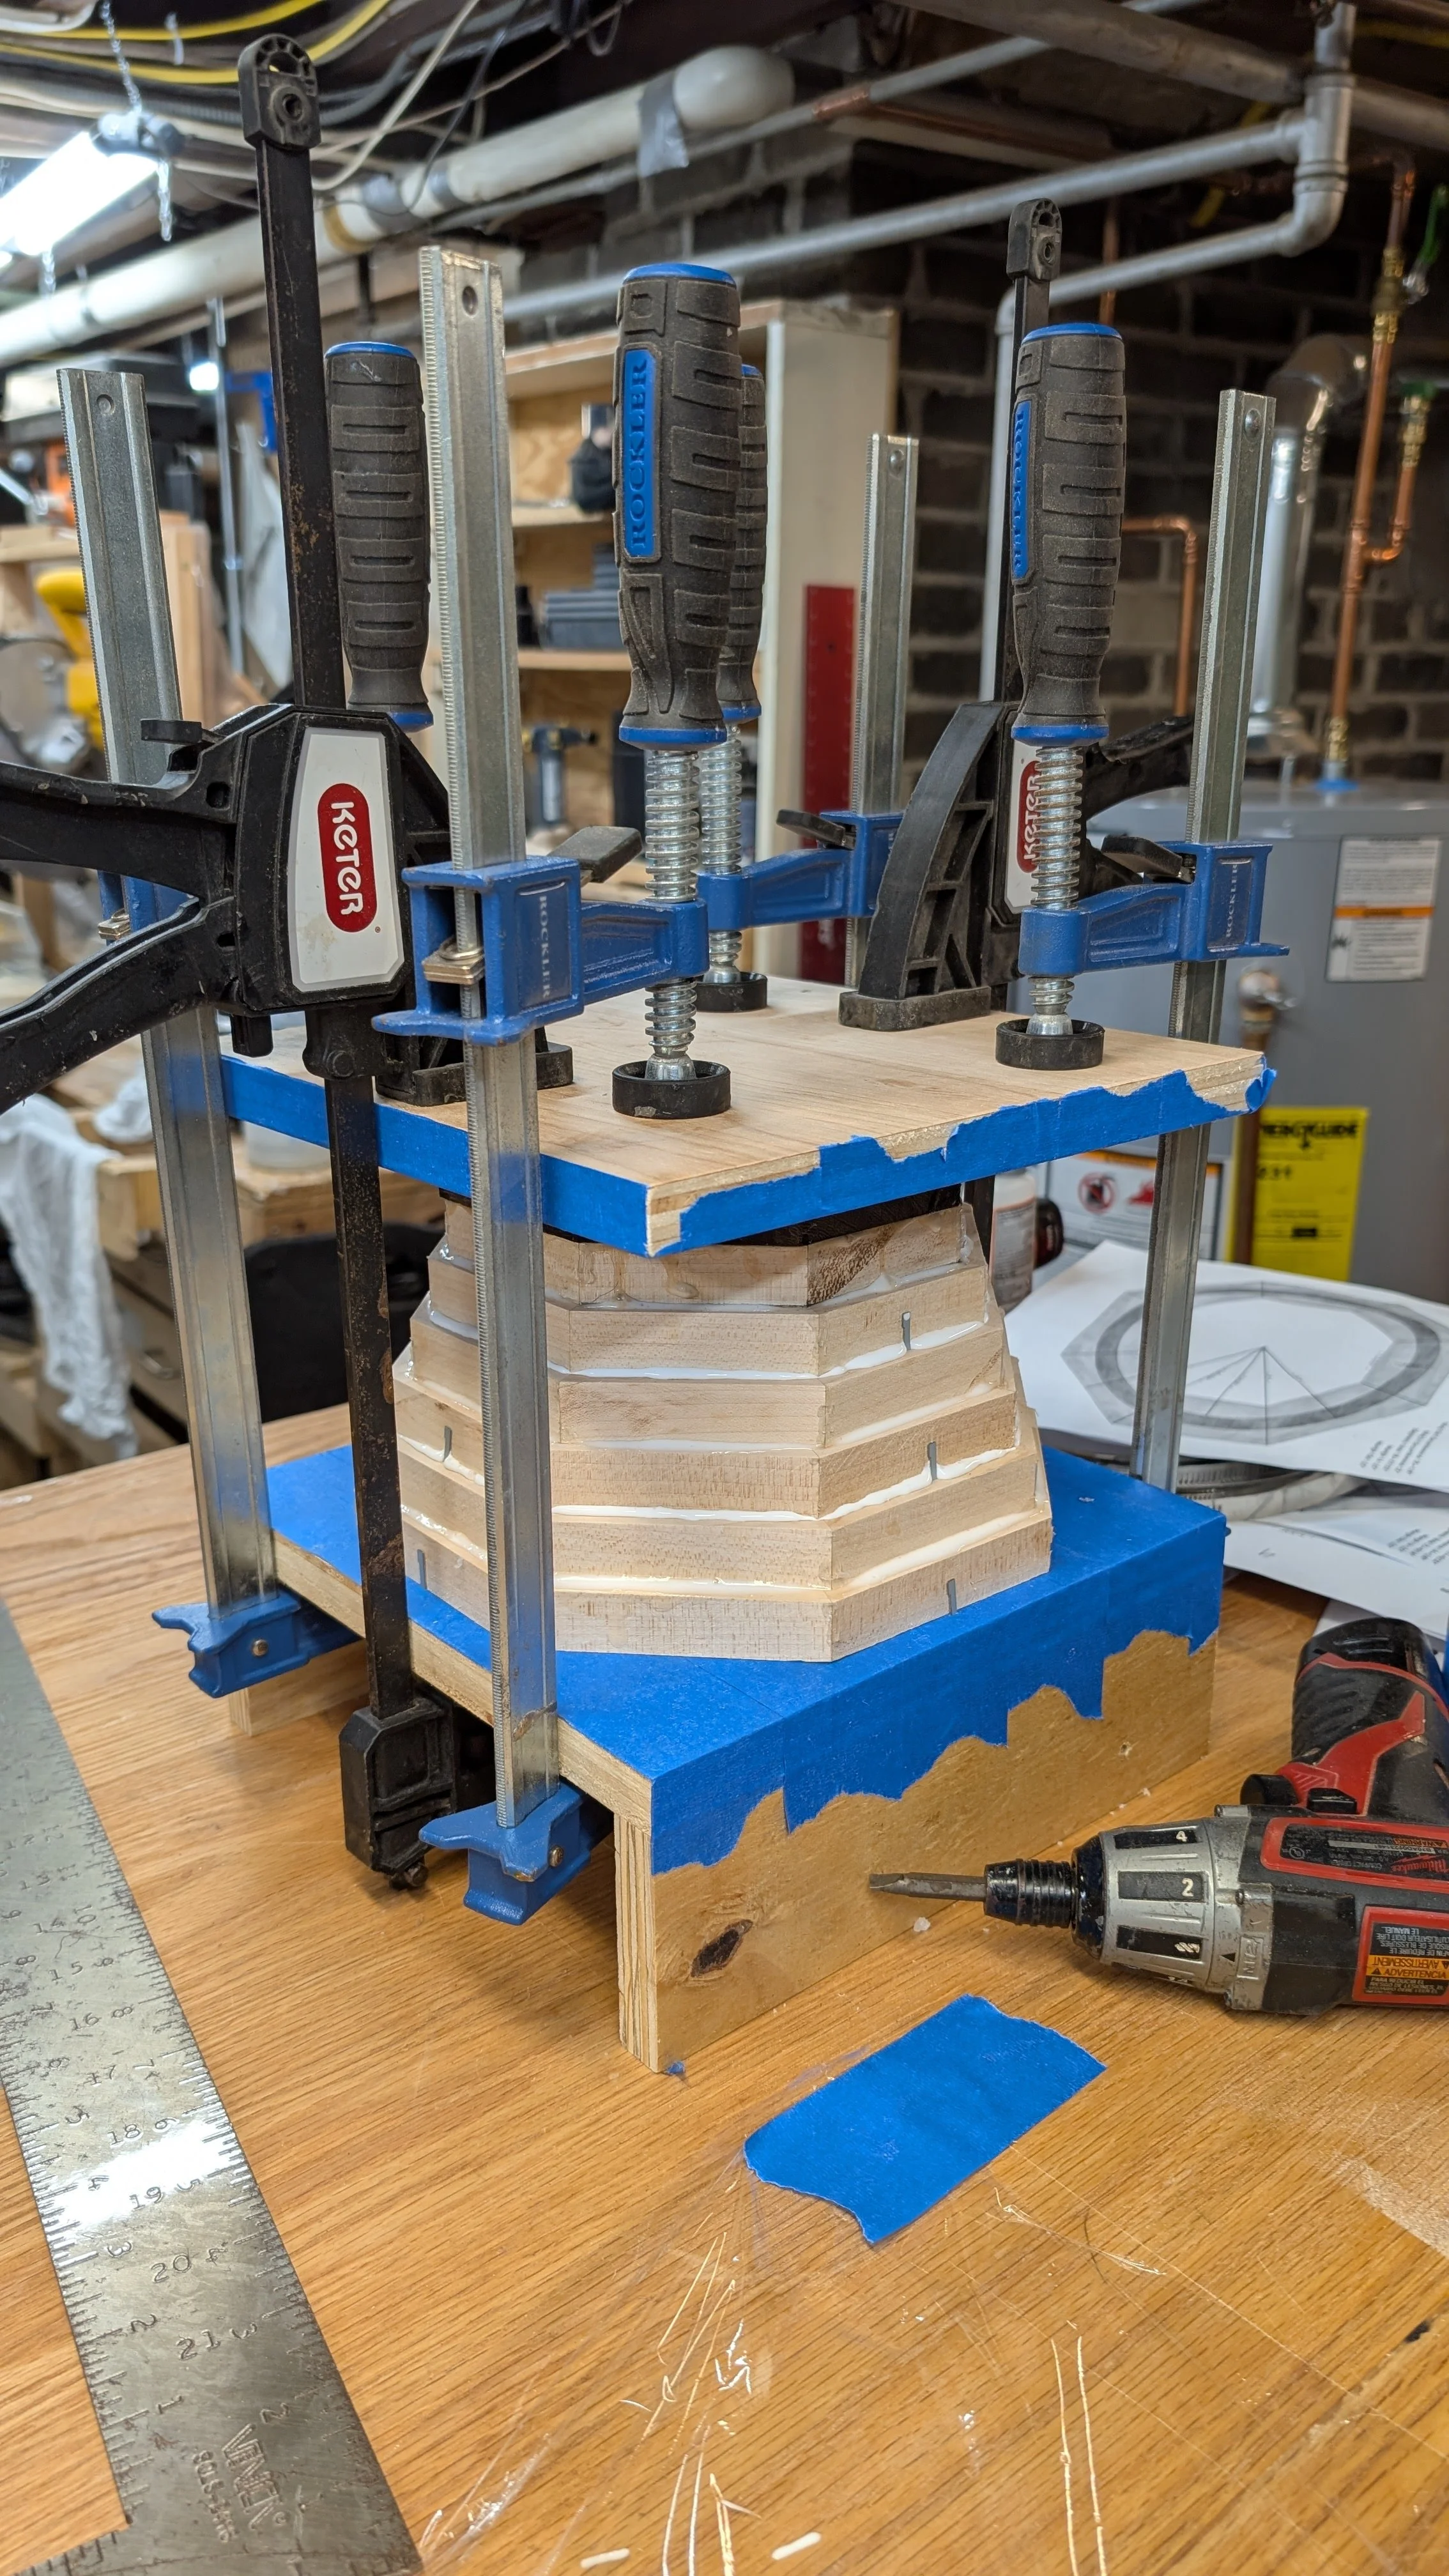
I then glued the rings to each other centering them on each other and using the clamping fixture to keep them in place. I also made a solid seventh hexagon out of 1” Wenge and then I glued the entire stack up in the fixture using longer clamps. I also came up with a great idea to use my framing point gun to put in framing points on four sides of each pair of rings during the dry fit to keep them centered. The points completely prevented any glue creep and I was able to just pluck them out with pliers when the entire structure was done.
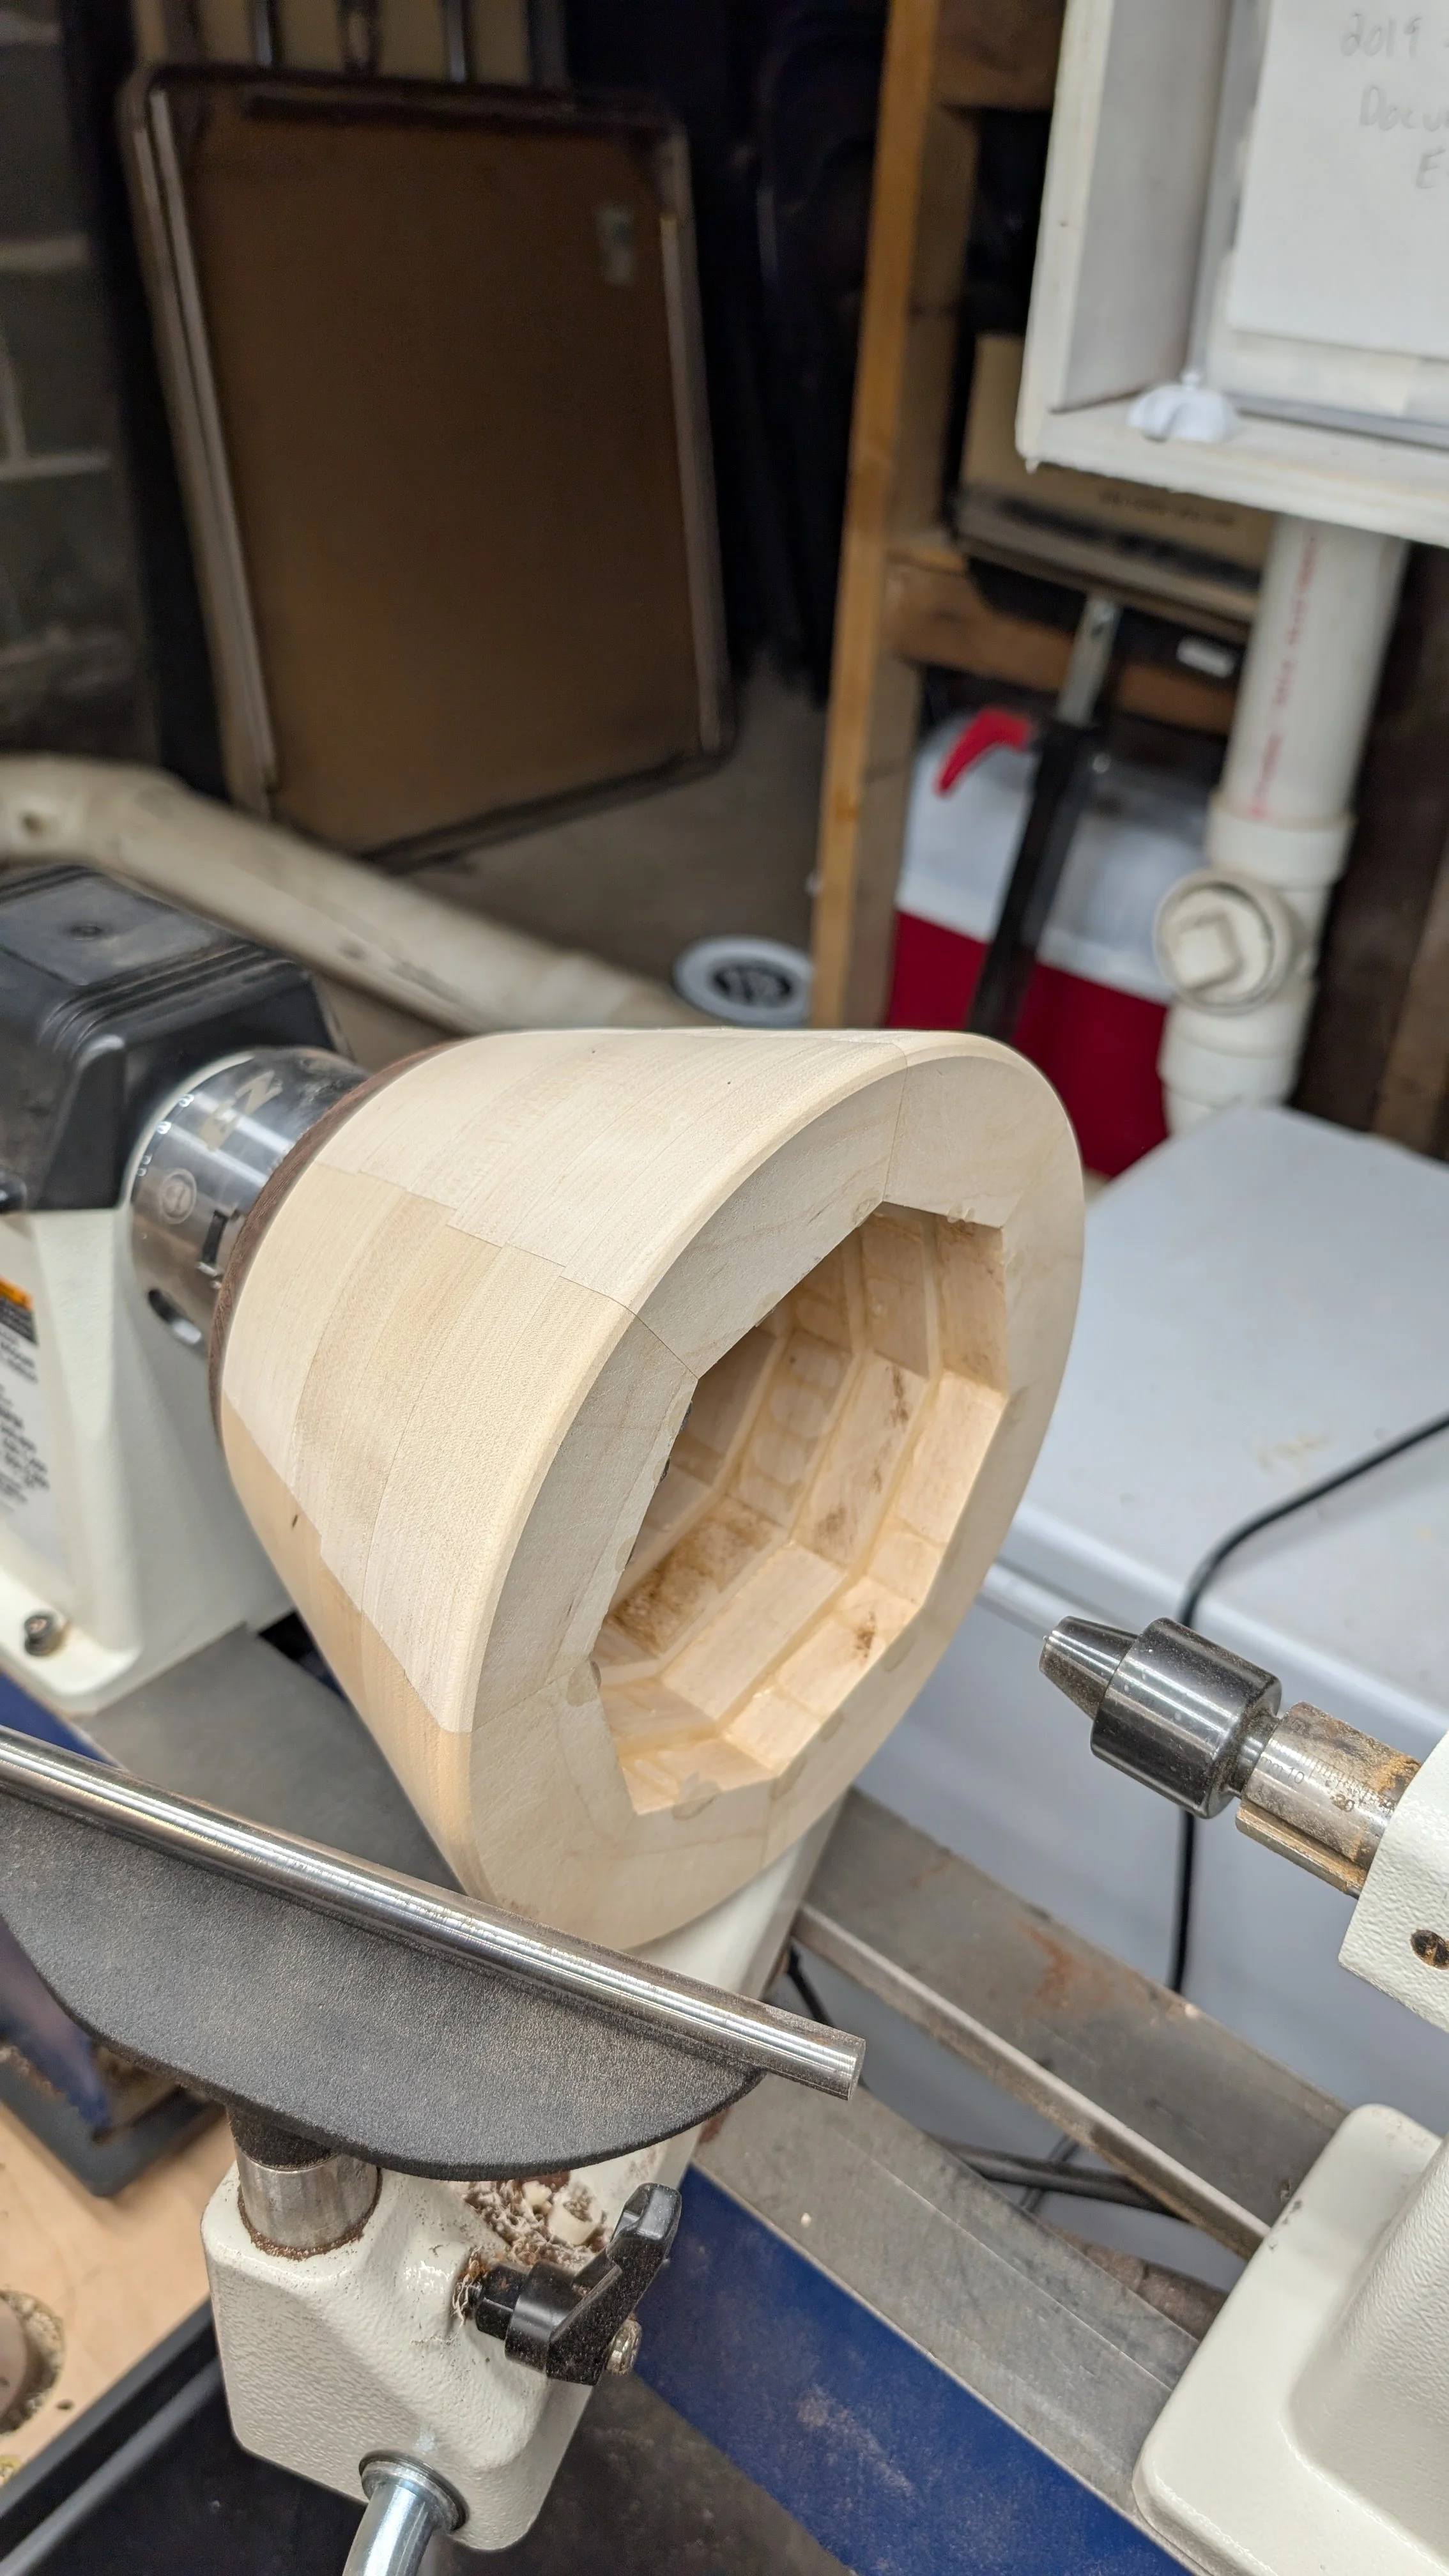
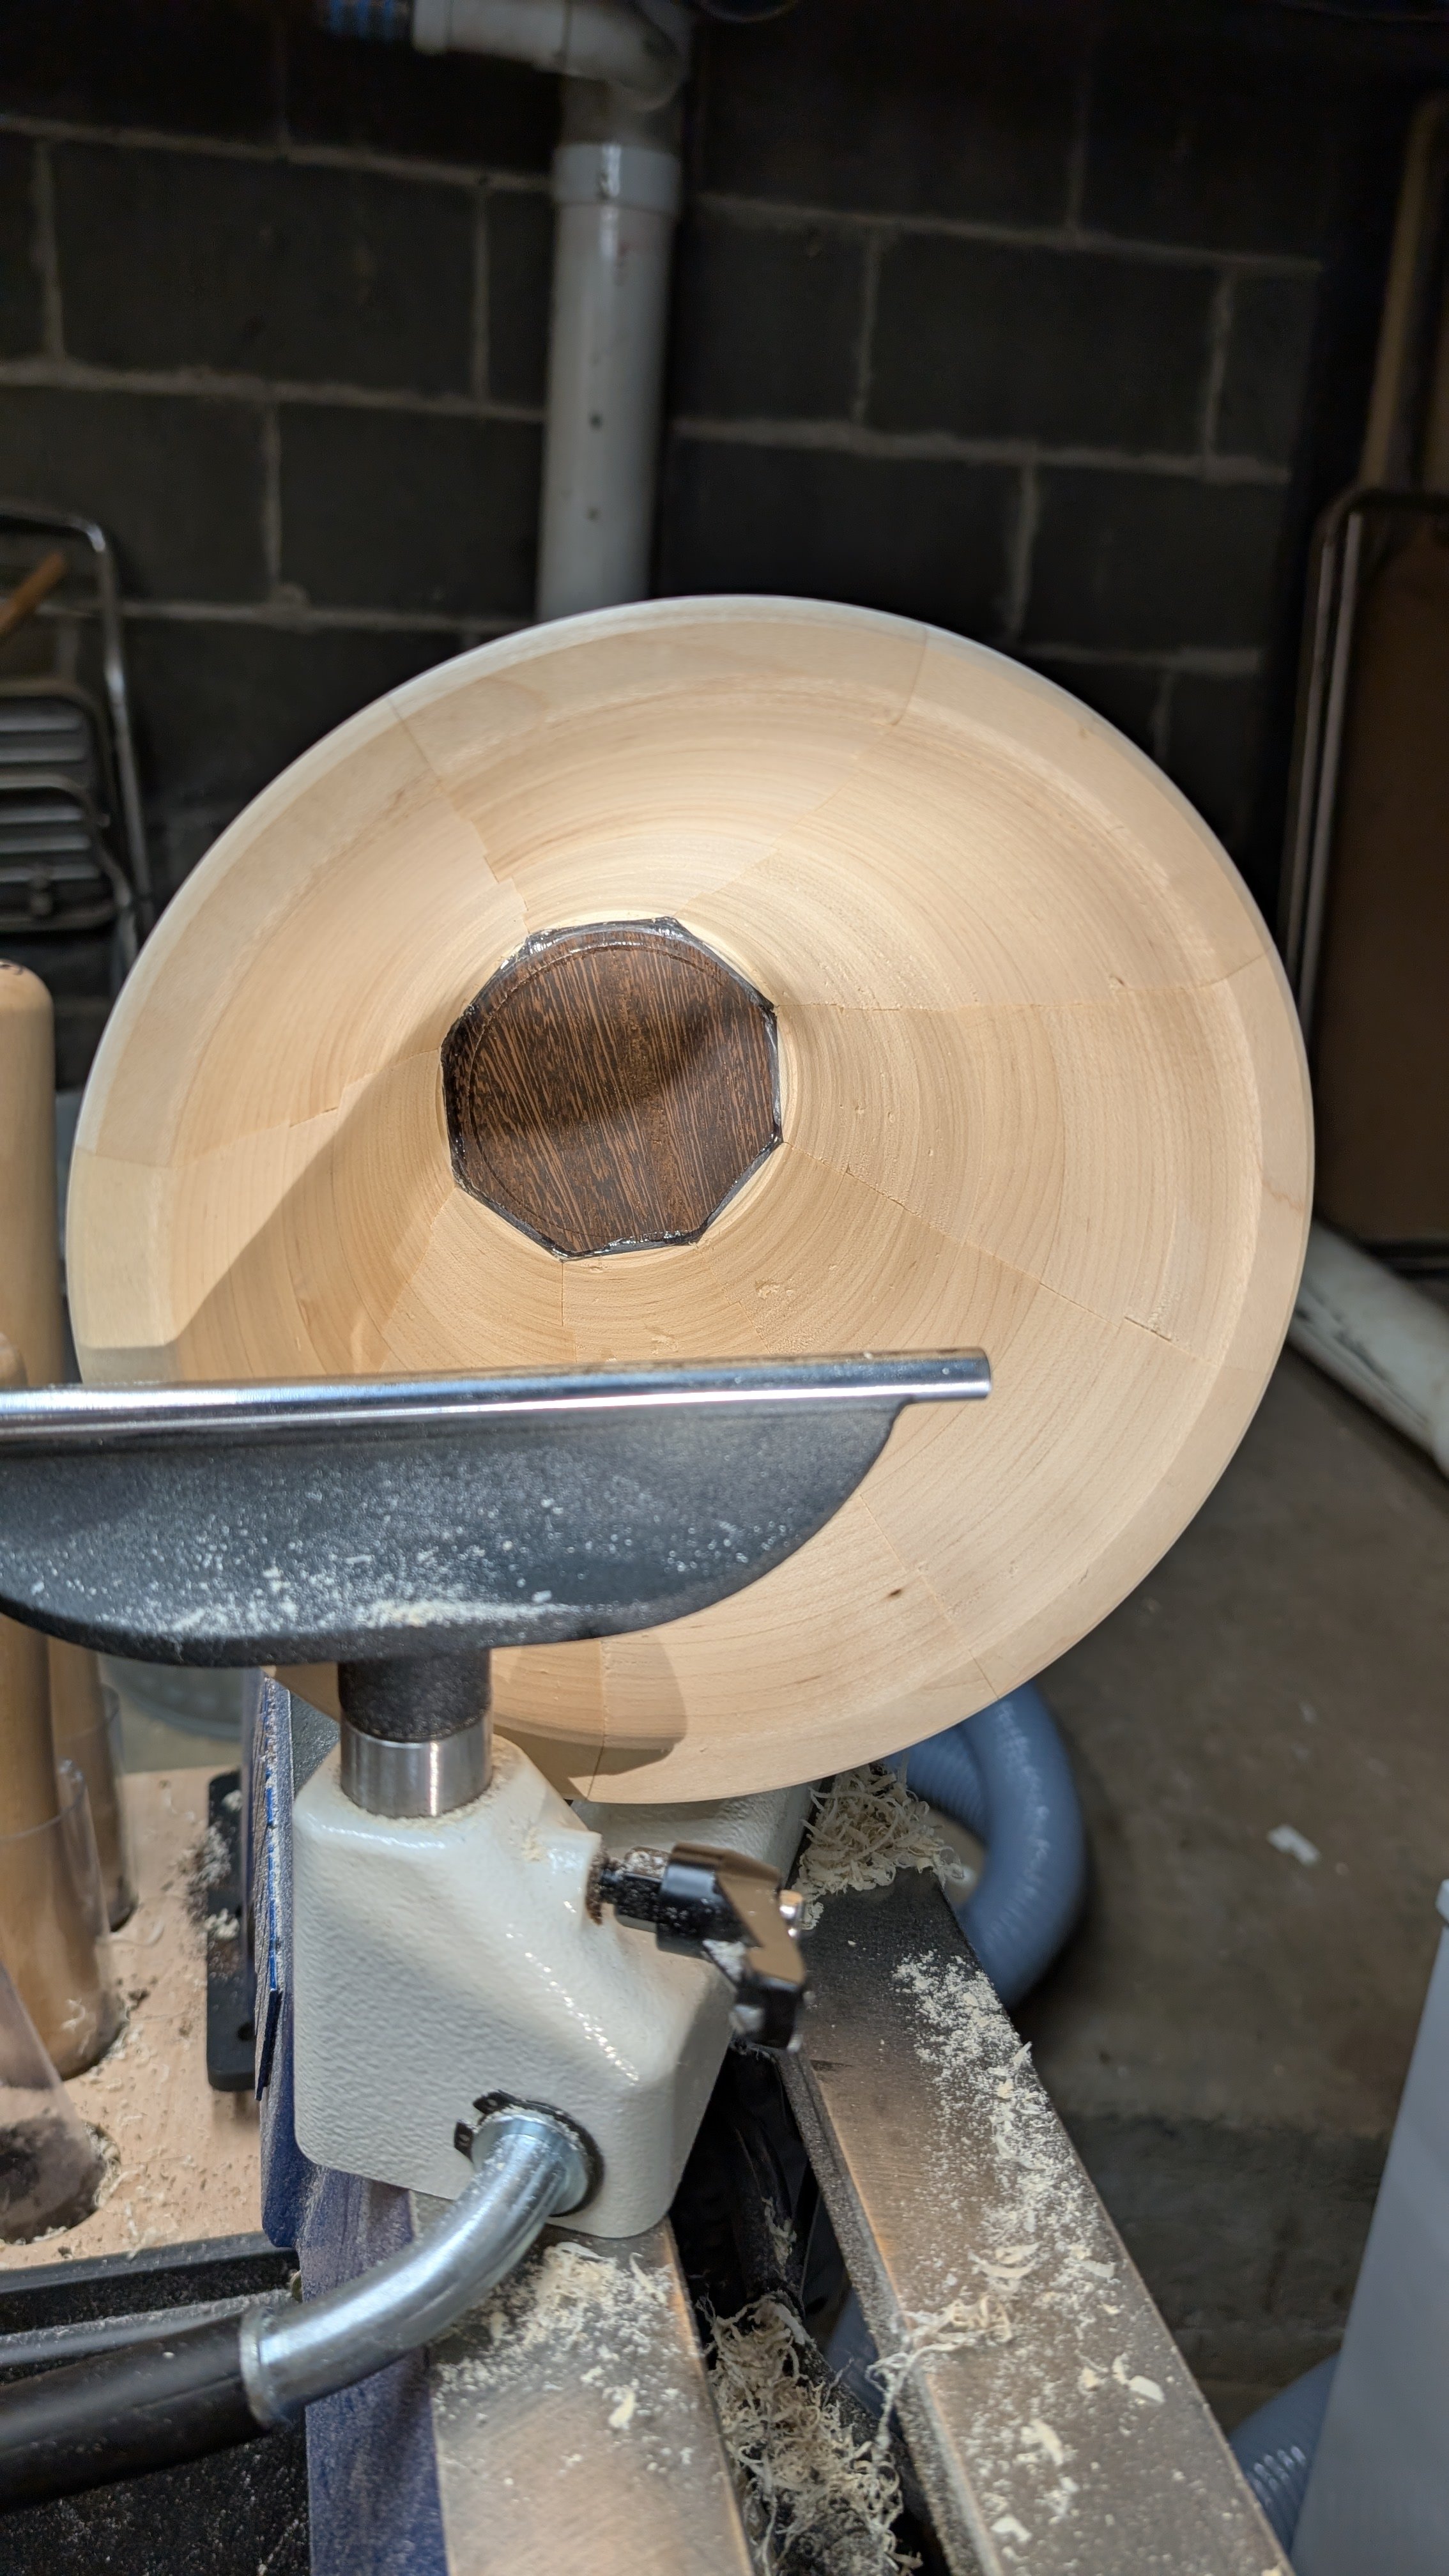
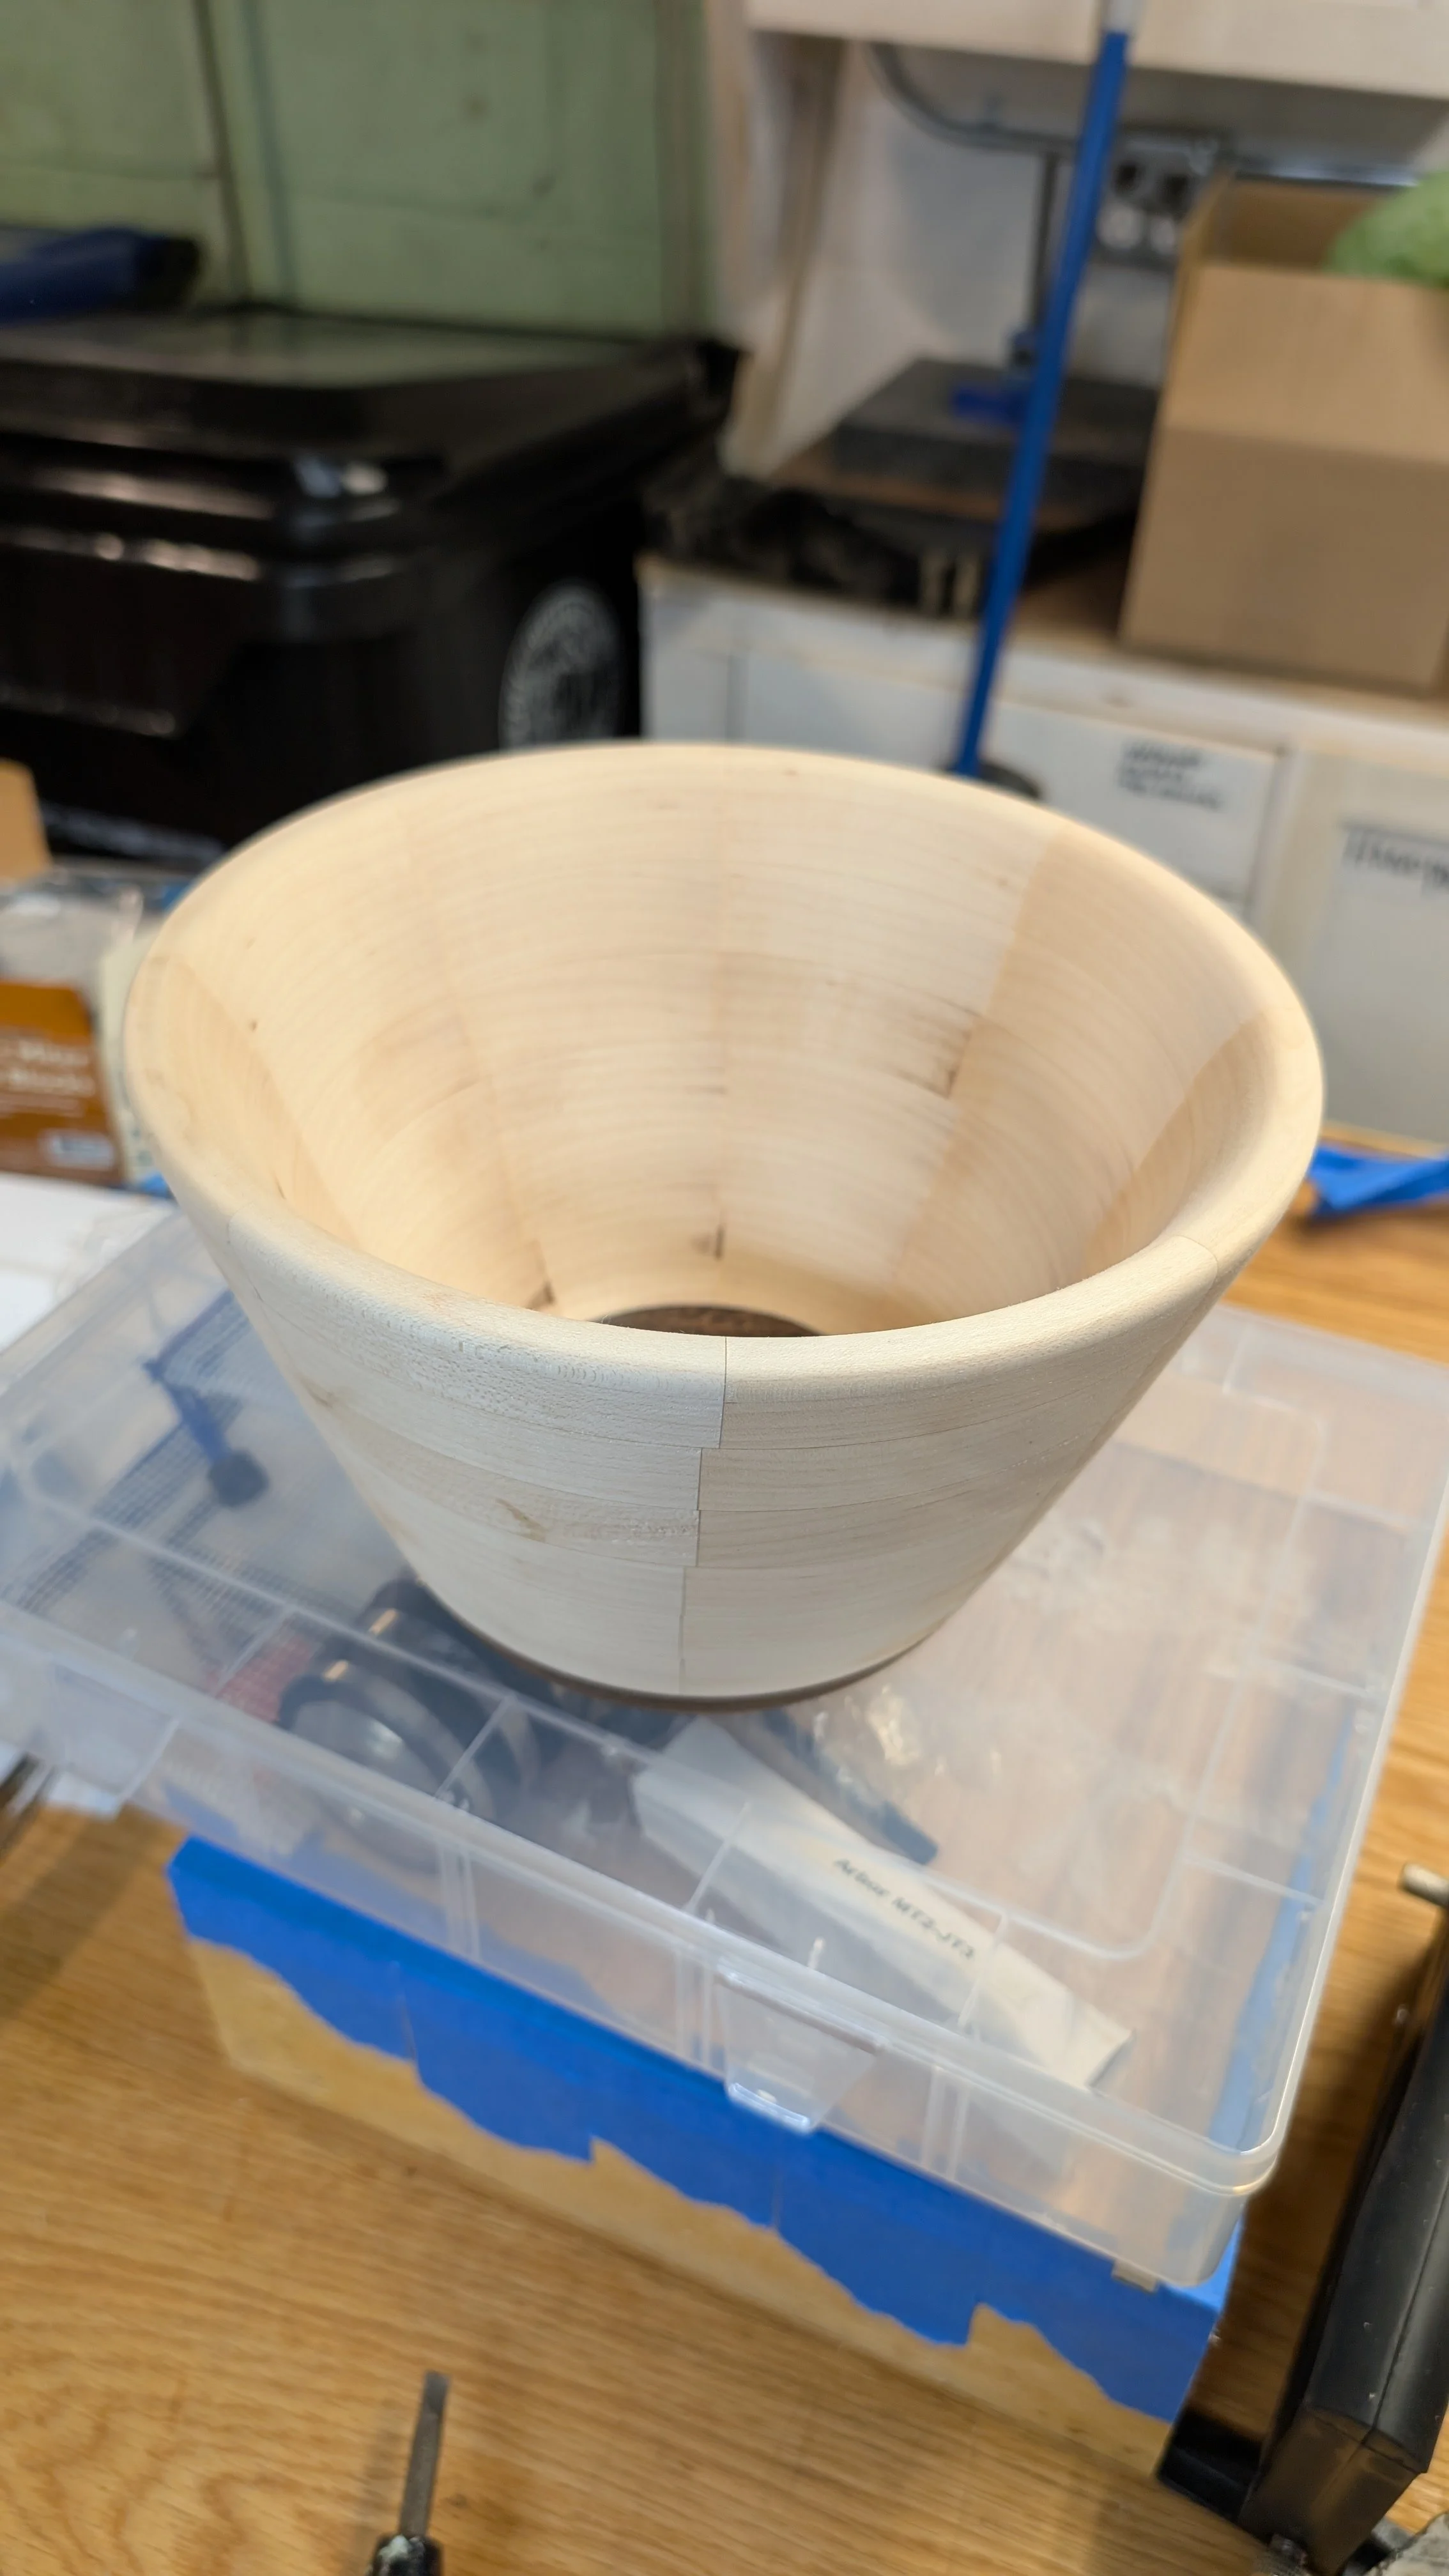
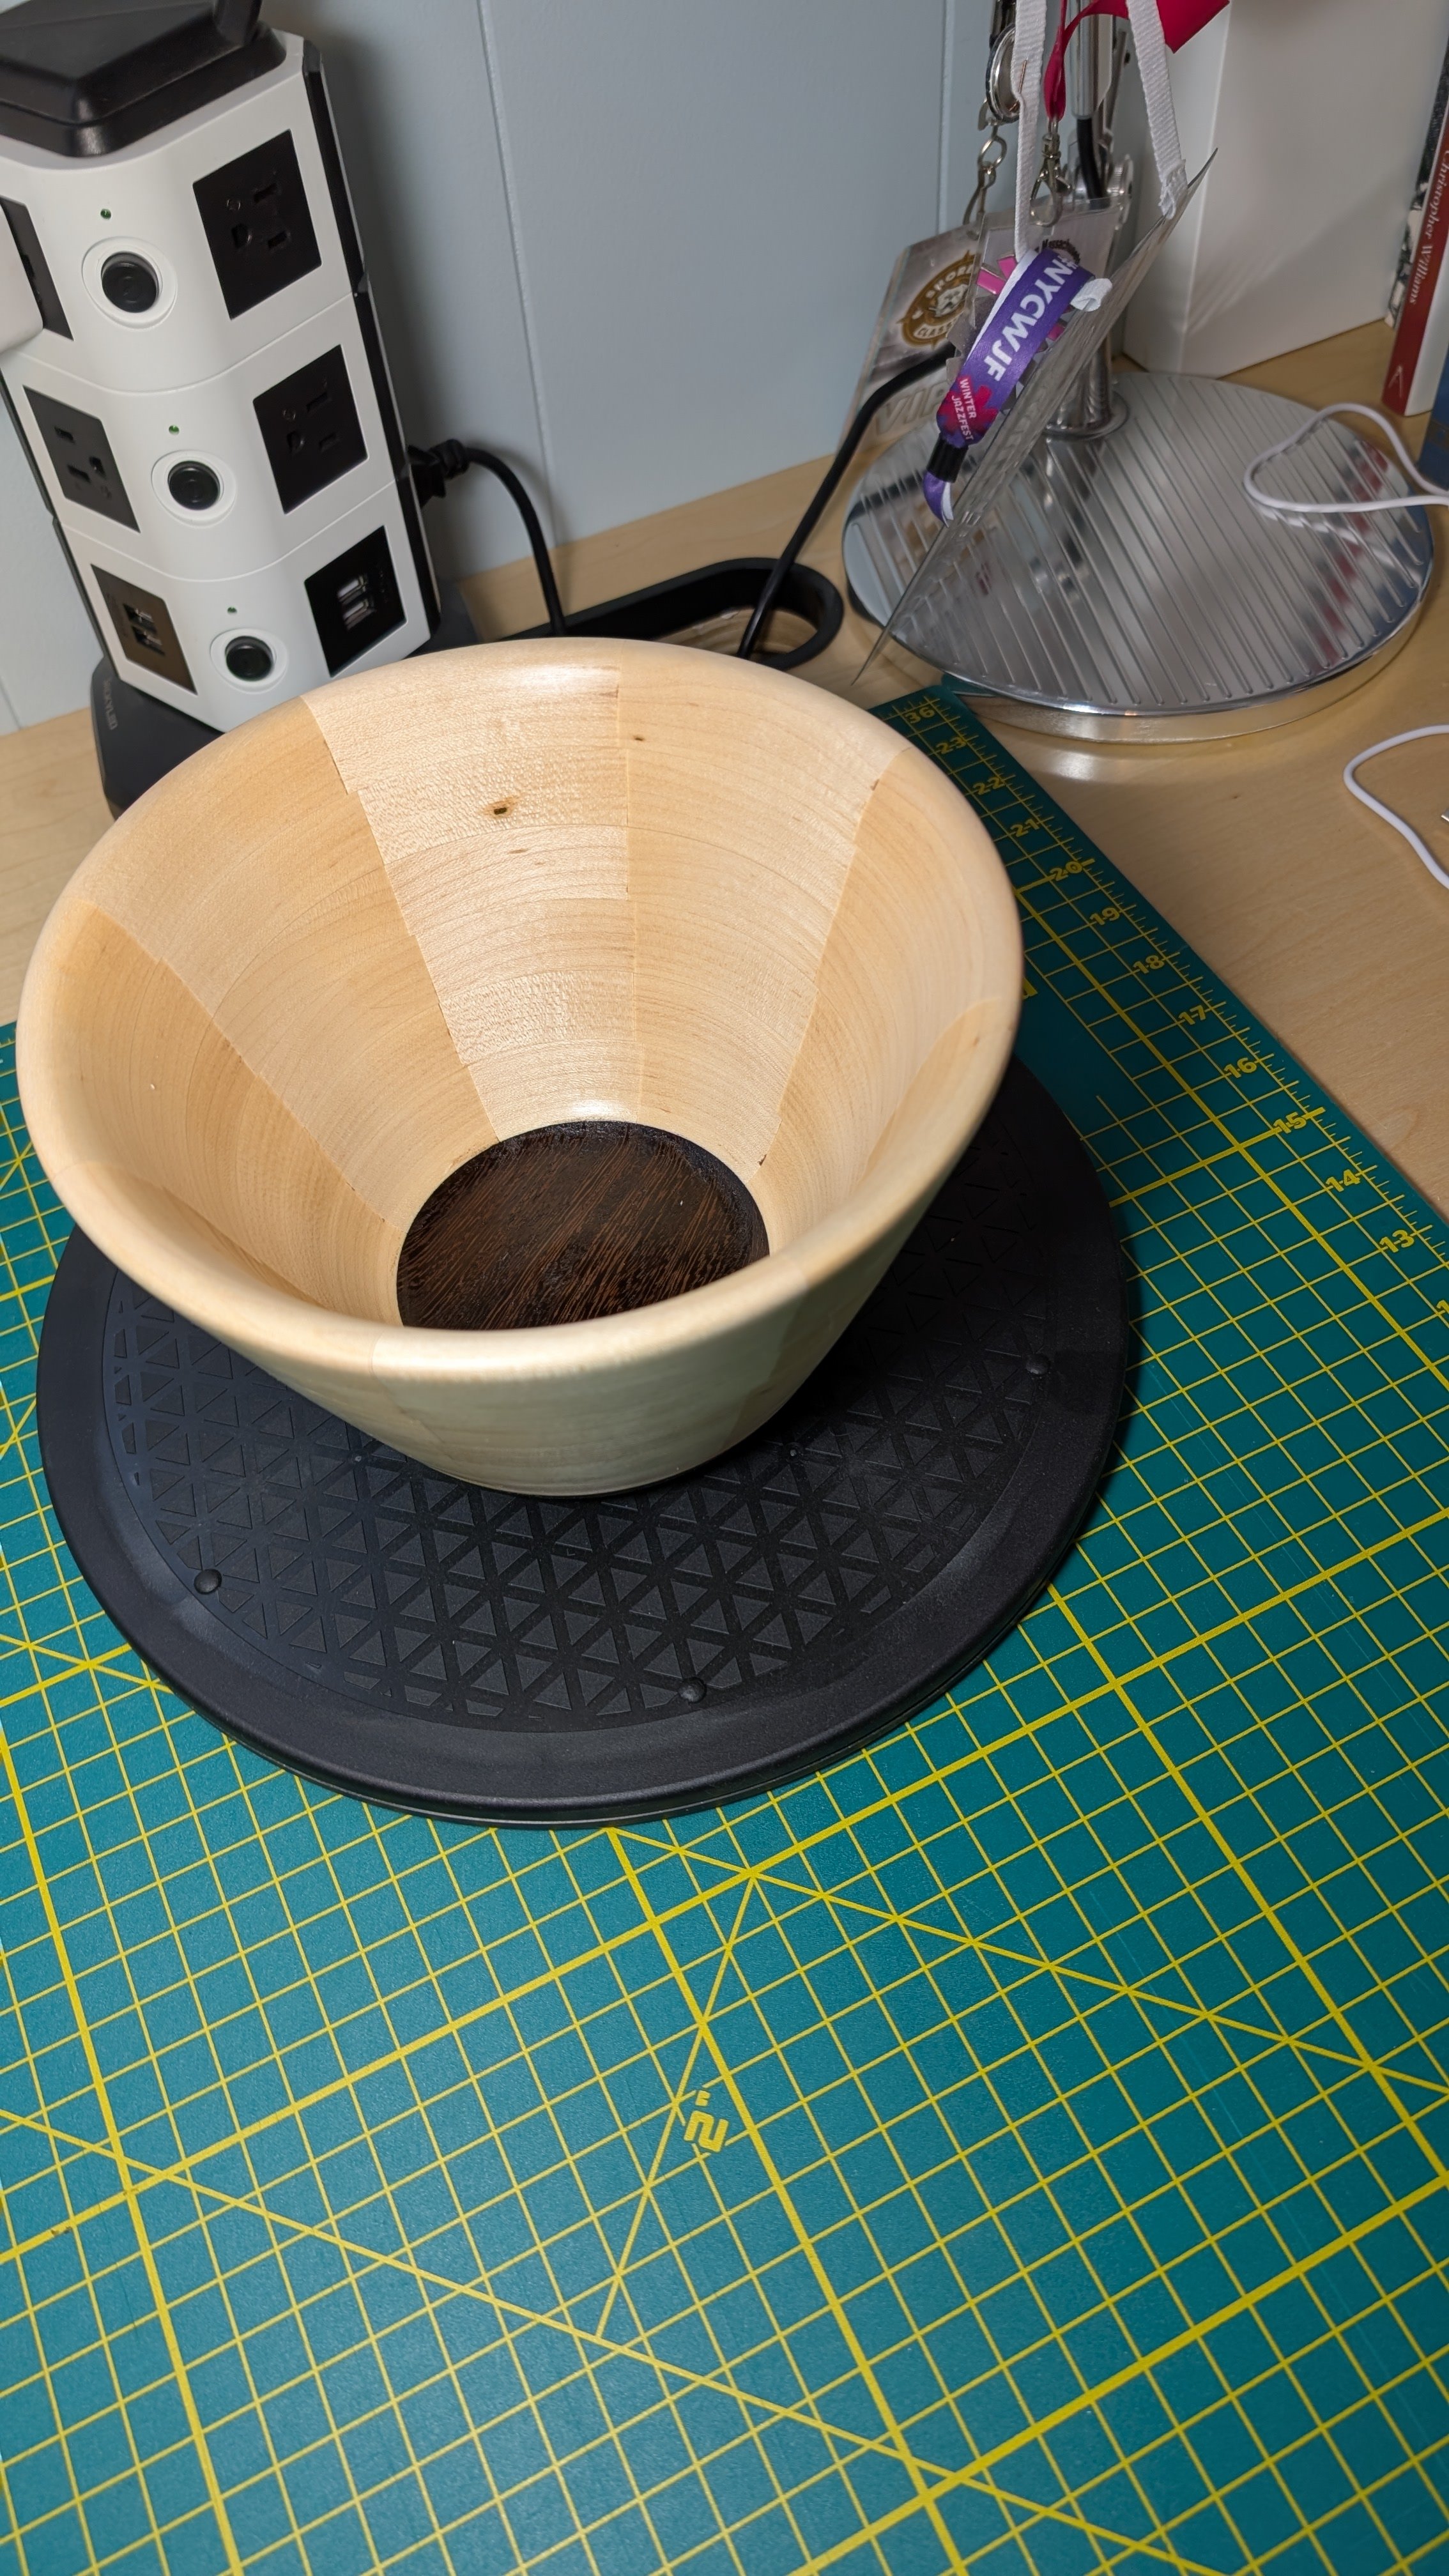
I drilled a 3/8” deep by 2 1/4” wide recess in the base using a Forstner bit and mounted it on my lathe chuck. Initially I used a 9” disk of 1/2” plywood to press on the open side with the tail stock while I did the rough turning of the outside. I used a full size carbide roughing tool to make the outside circular and tapered. On the inside I used a combination of the full size carbide roughing tool and the full side carbide finishing tool to turn the inside to also be circular and tapered.
I turned the wall thickness to approximately 1/2” and then I changed chuck jaws to my Cole jaws and turned the bowl around and turned the base. I have to say the Wenge was very hard to turn being super dense and also prone to splintering. Also, the Wenge produced an ultra-fine dust that got into the pores of the maple which couldn’t be sanded out, it had to be turned away.
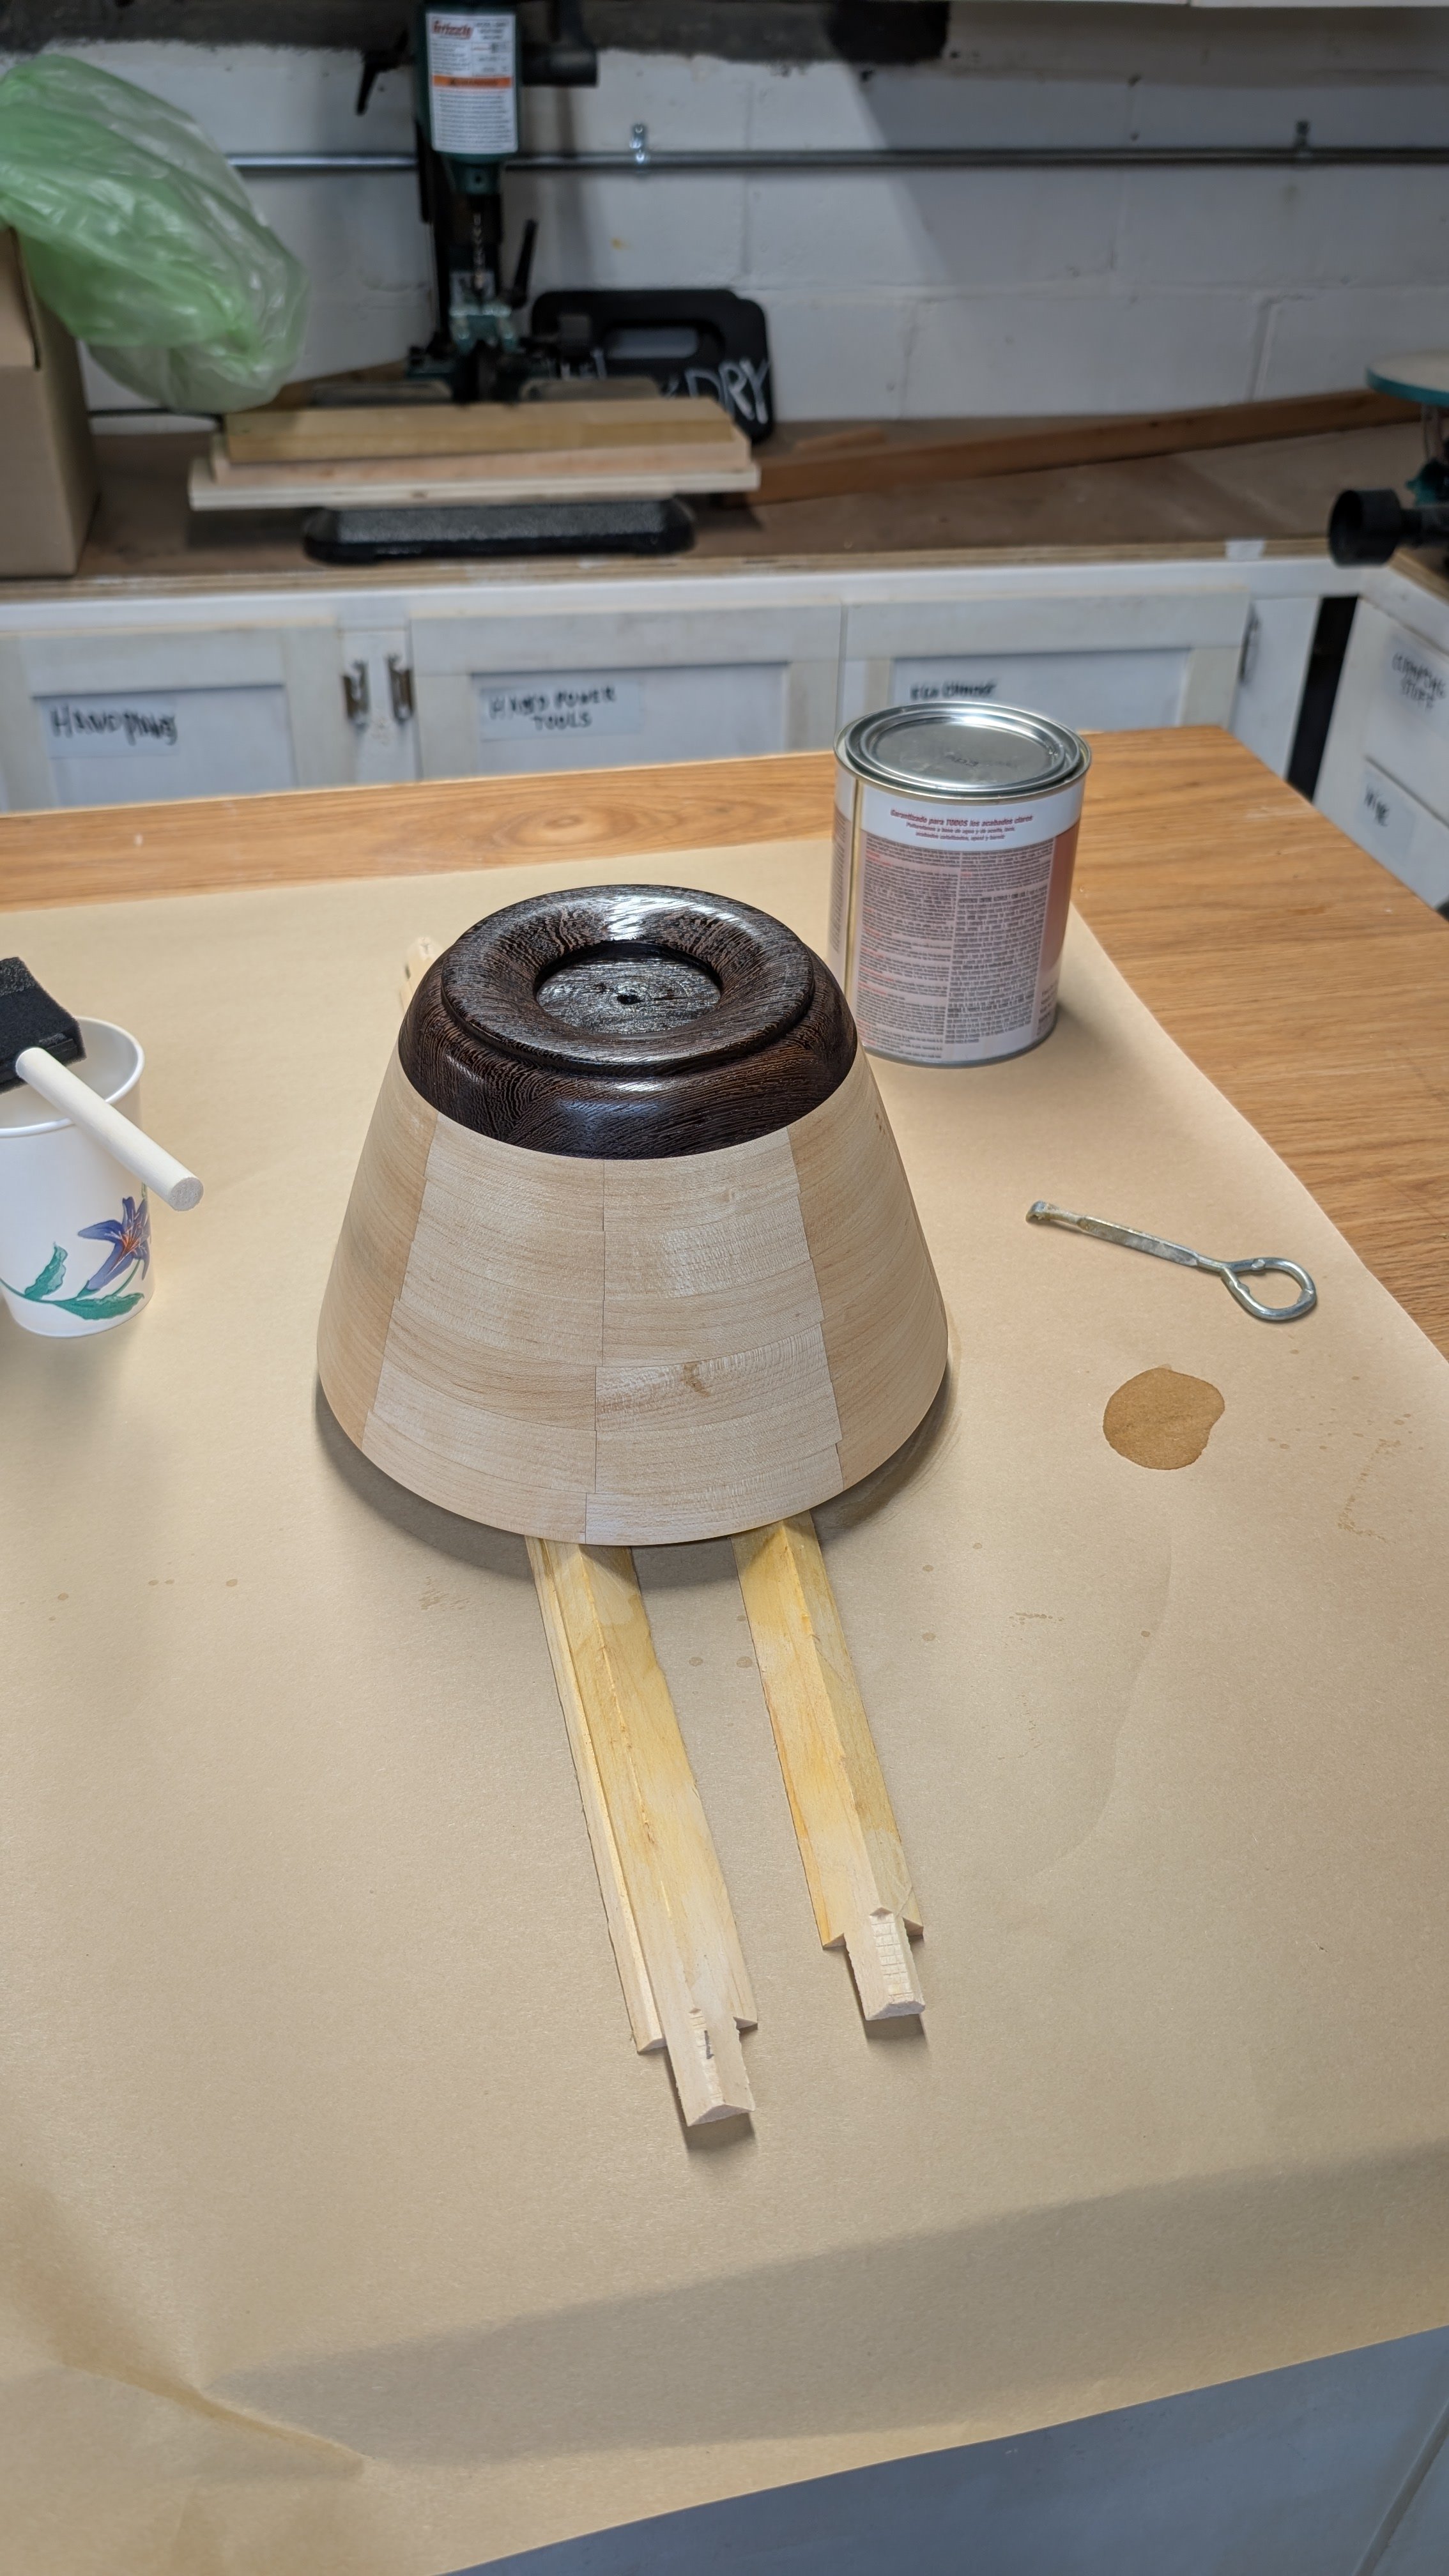
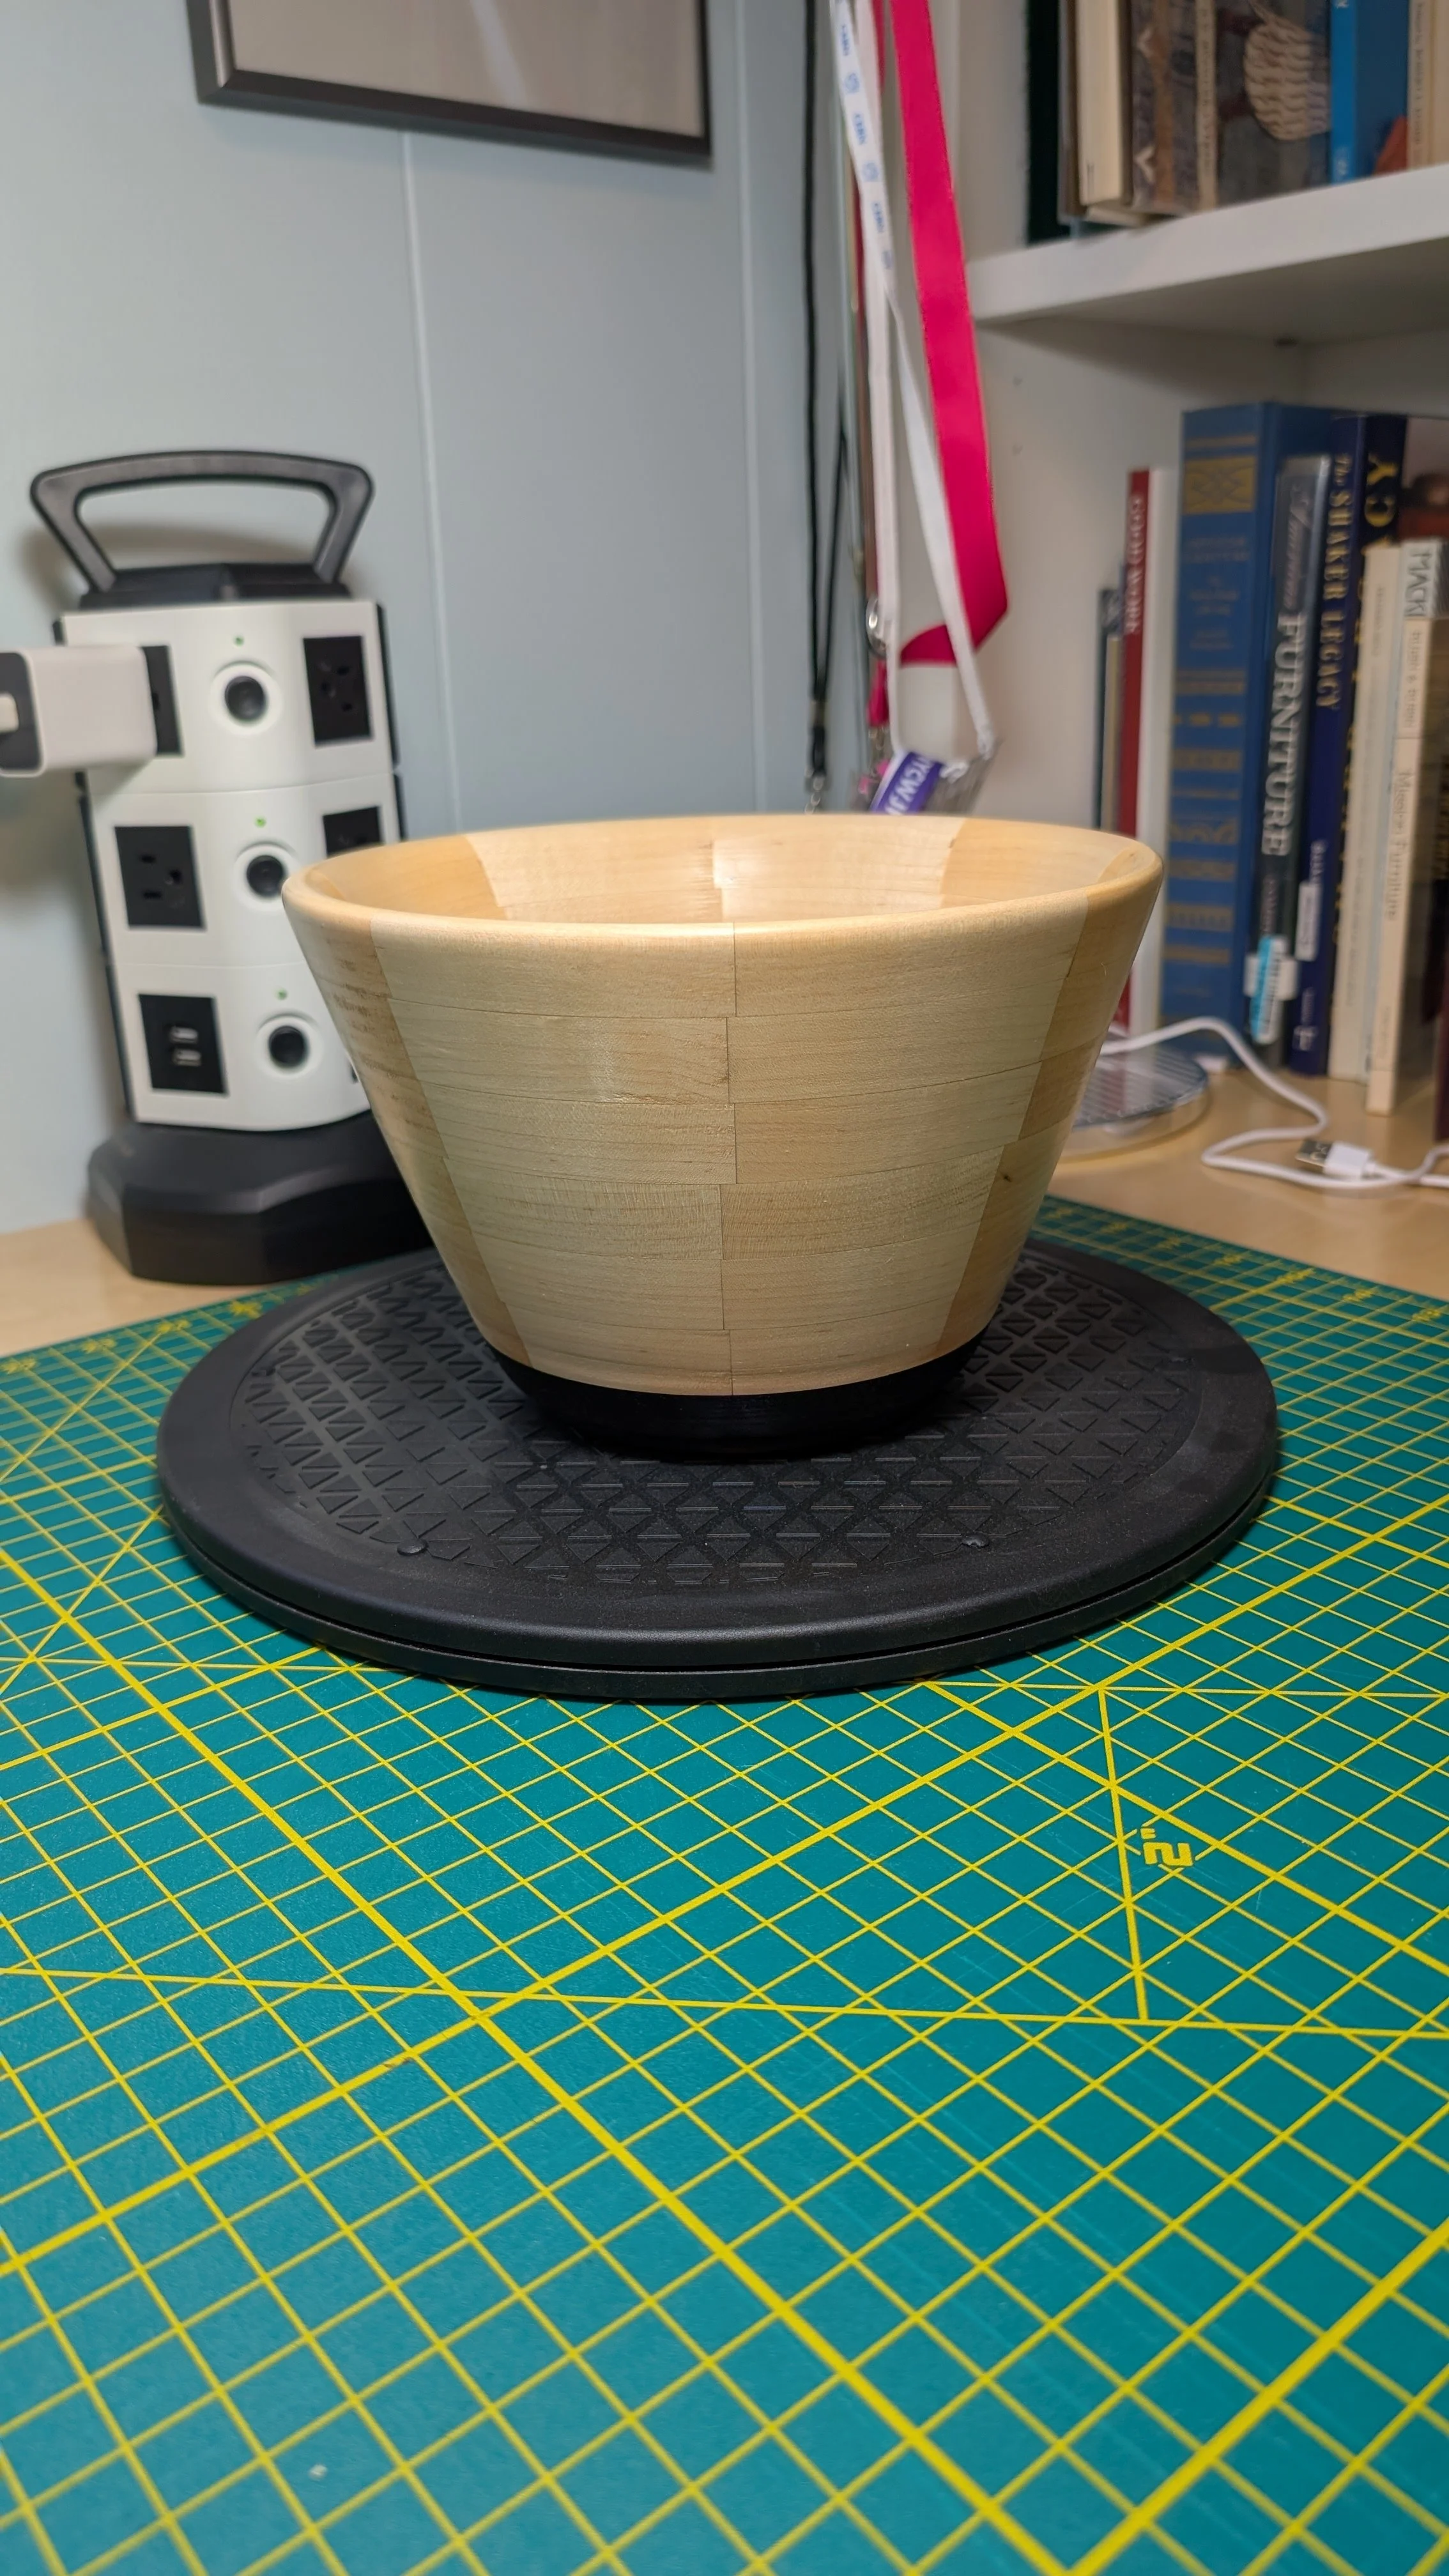
I ended up actually sanding, sealing and finishing the base and the body of the bowl separately just so I could keep the maple in a clean state.
I used Zinzer Shelac Sanding Sealer sanded up to 2000 grit followed by a coat of Howard Butcher Block Conditioner buffed into the surface. It produced a nice shiny and hard finish that is also food safe. I’m really happy with the overall process and I will definitely do another segmented turning project.