As I mentioned at the end of my previous post about folding side tables, I needed to build three more of these side tables to complete a set of four. This was the project of the last couple of weeks. They are very similar to the prototype with a few small improvements which I will mention as we go through the project.
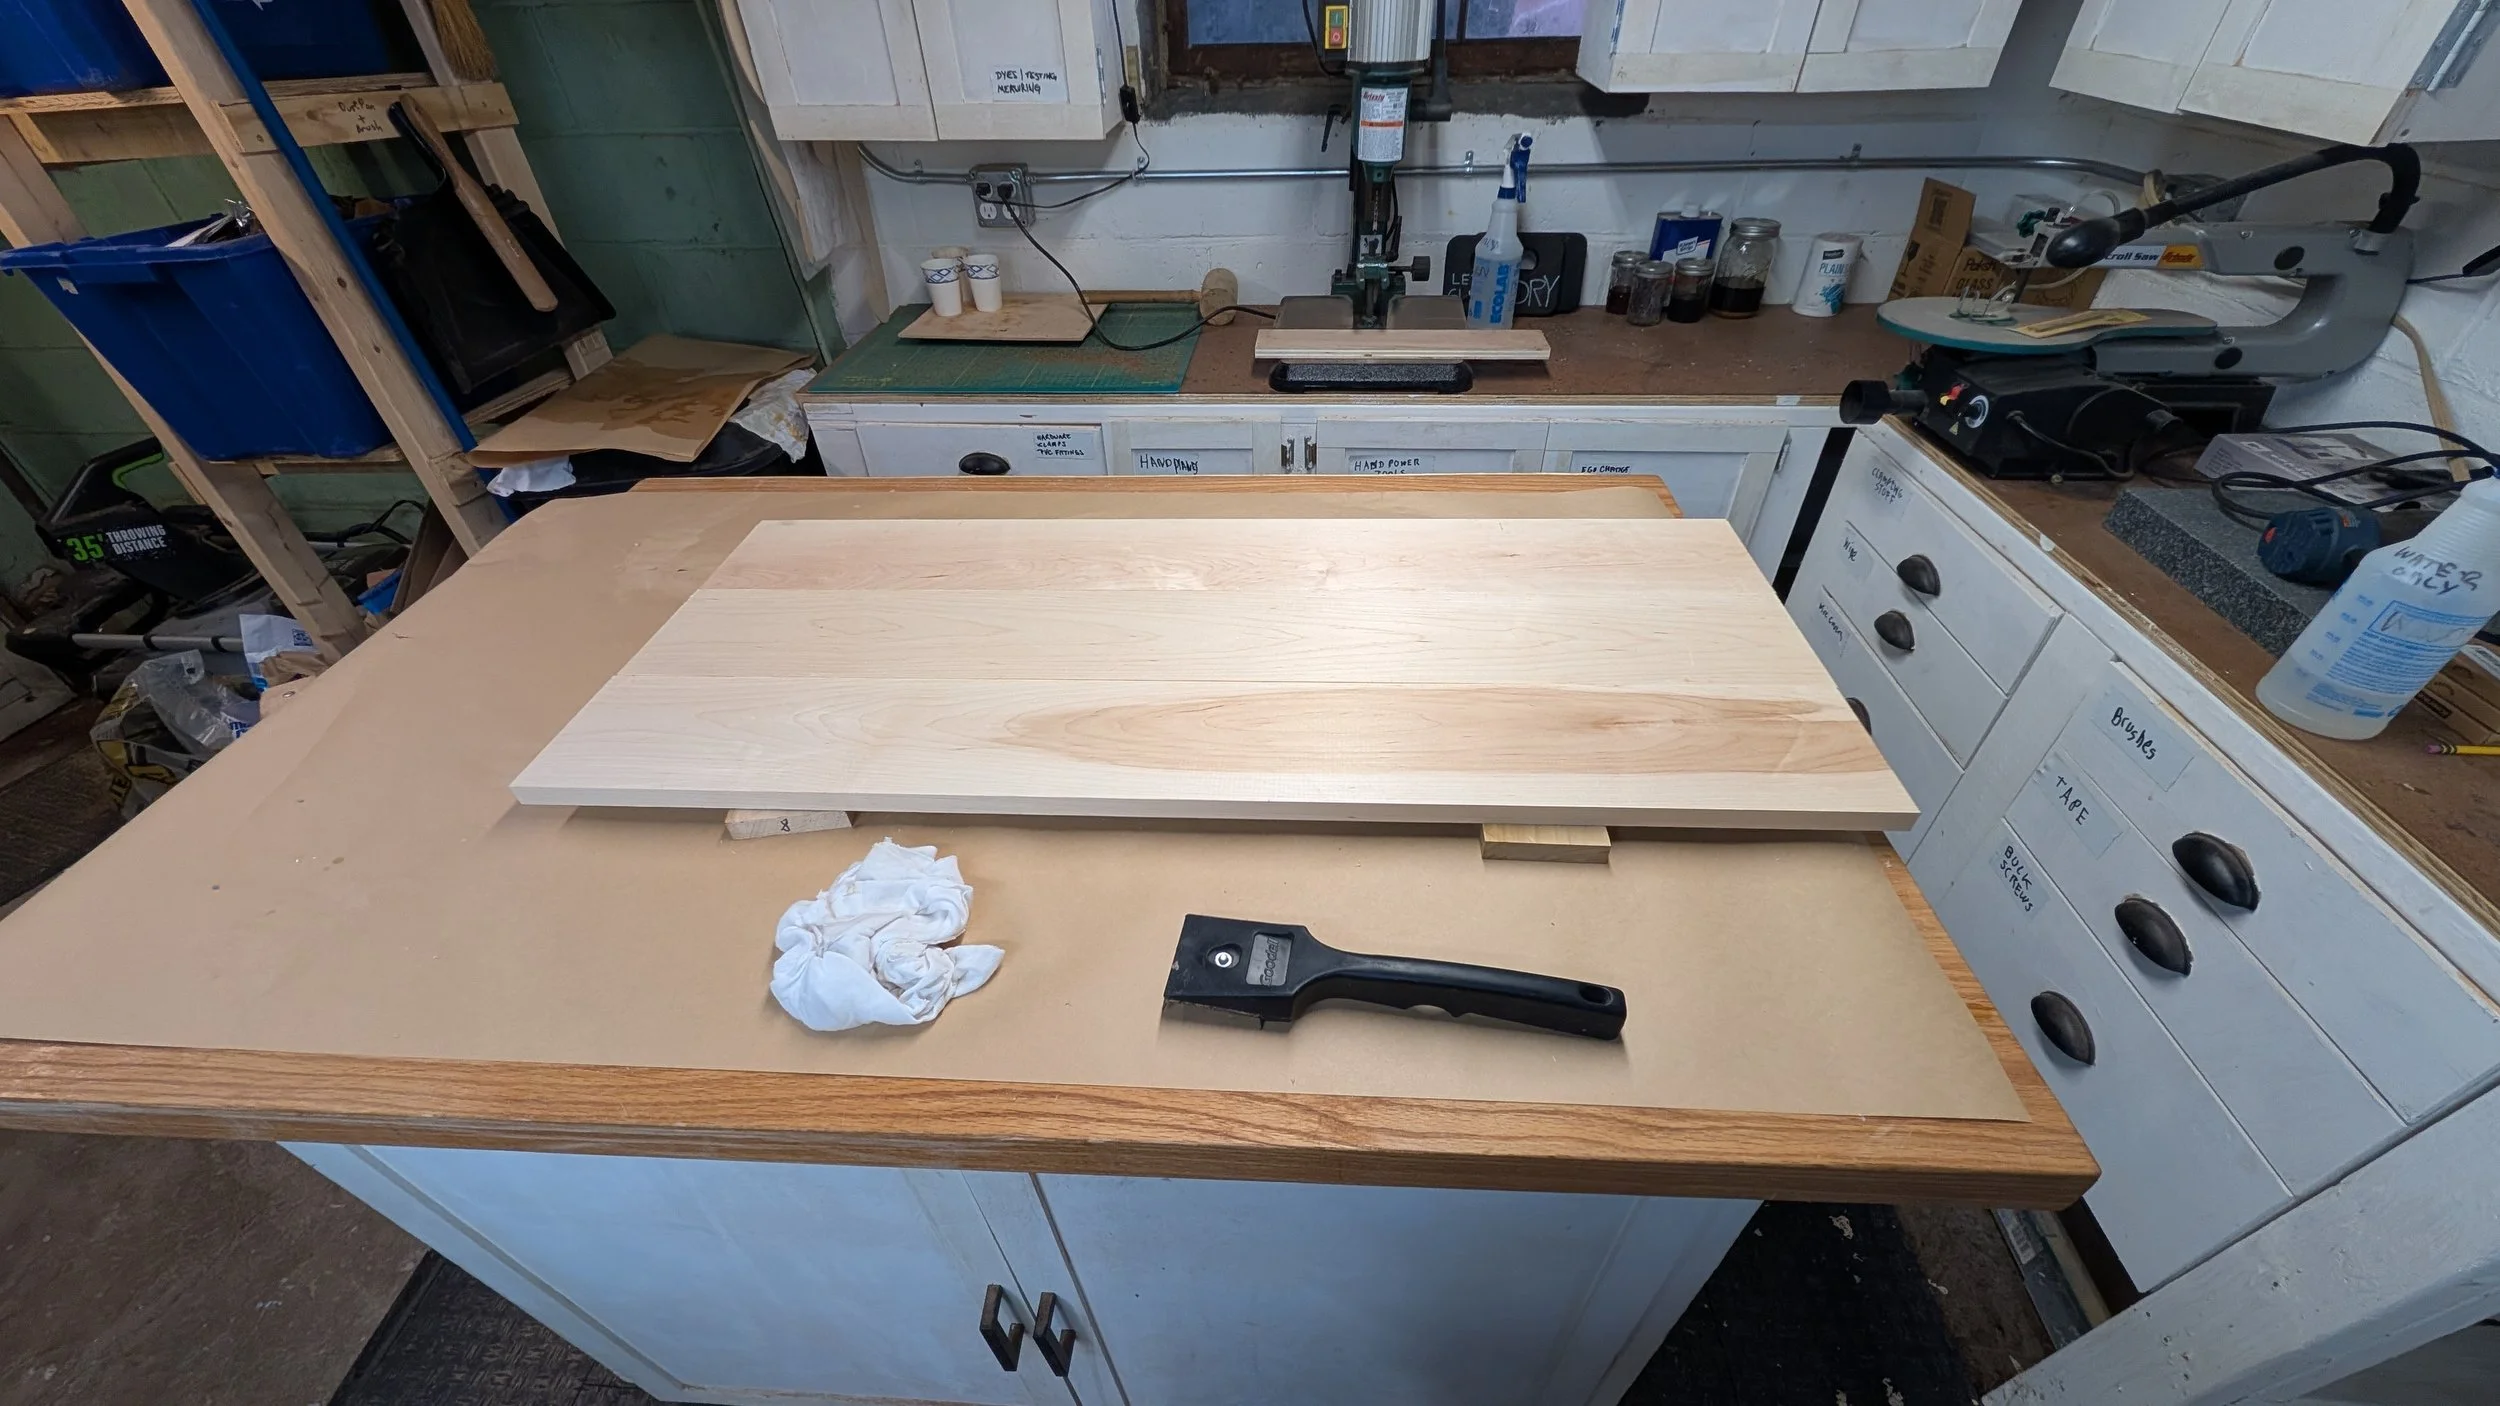
I went over to Boulter Plywood Corp in Medford, MA and got four straight, flat, clean, 8’ x 5 1/2” x 3/4” Maple S4S boards. I cut three pieces of 41” from the flattest boards and glued them up to form the blank for the tops of the tables. Handily I had designed this table with 1 3/4” wide stock for every other part of the frame which divides 5 1/2” into three including the 1/8” saw kerf. I ripped the rest of the stock into 1 3/4” widths.
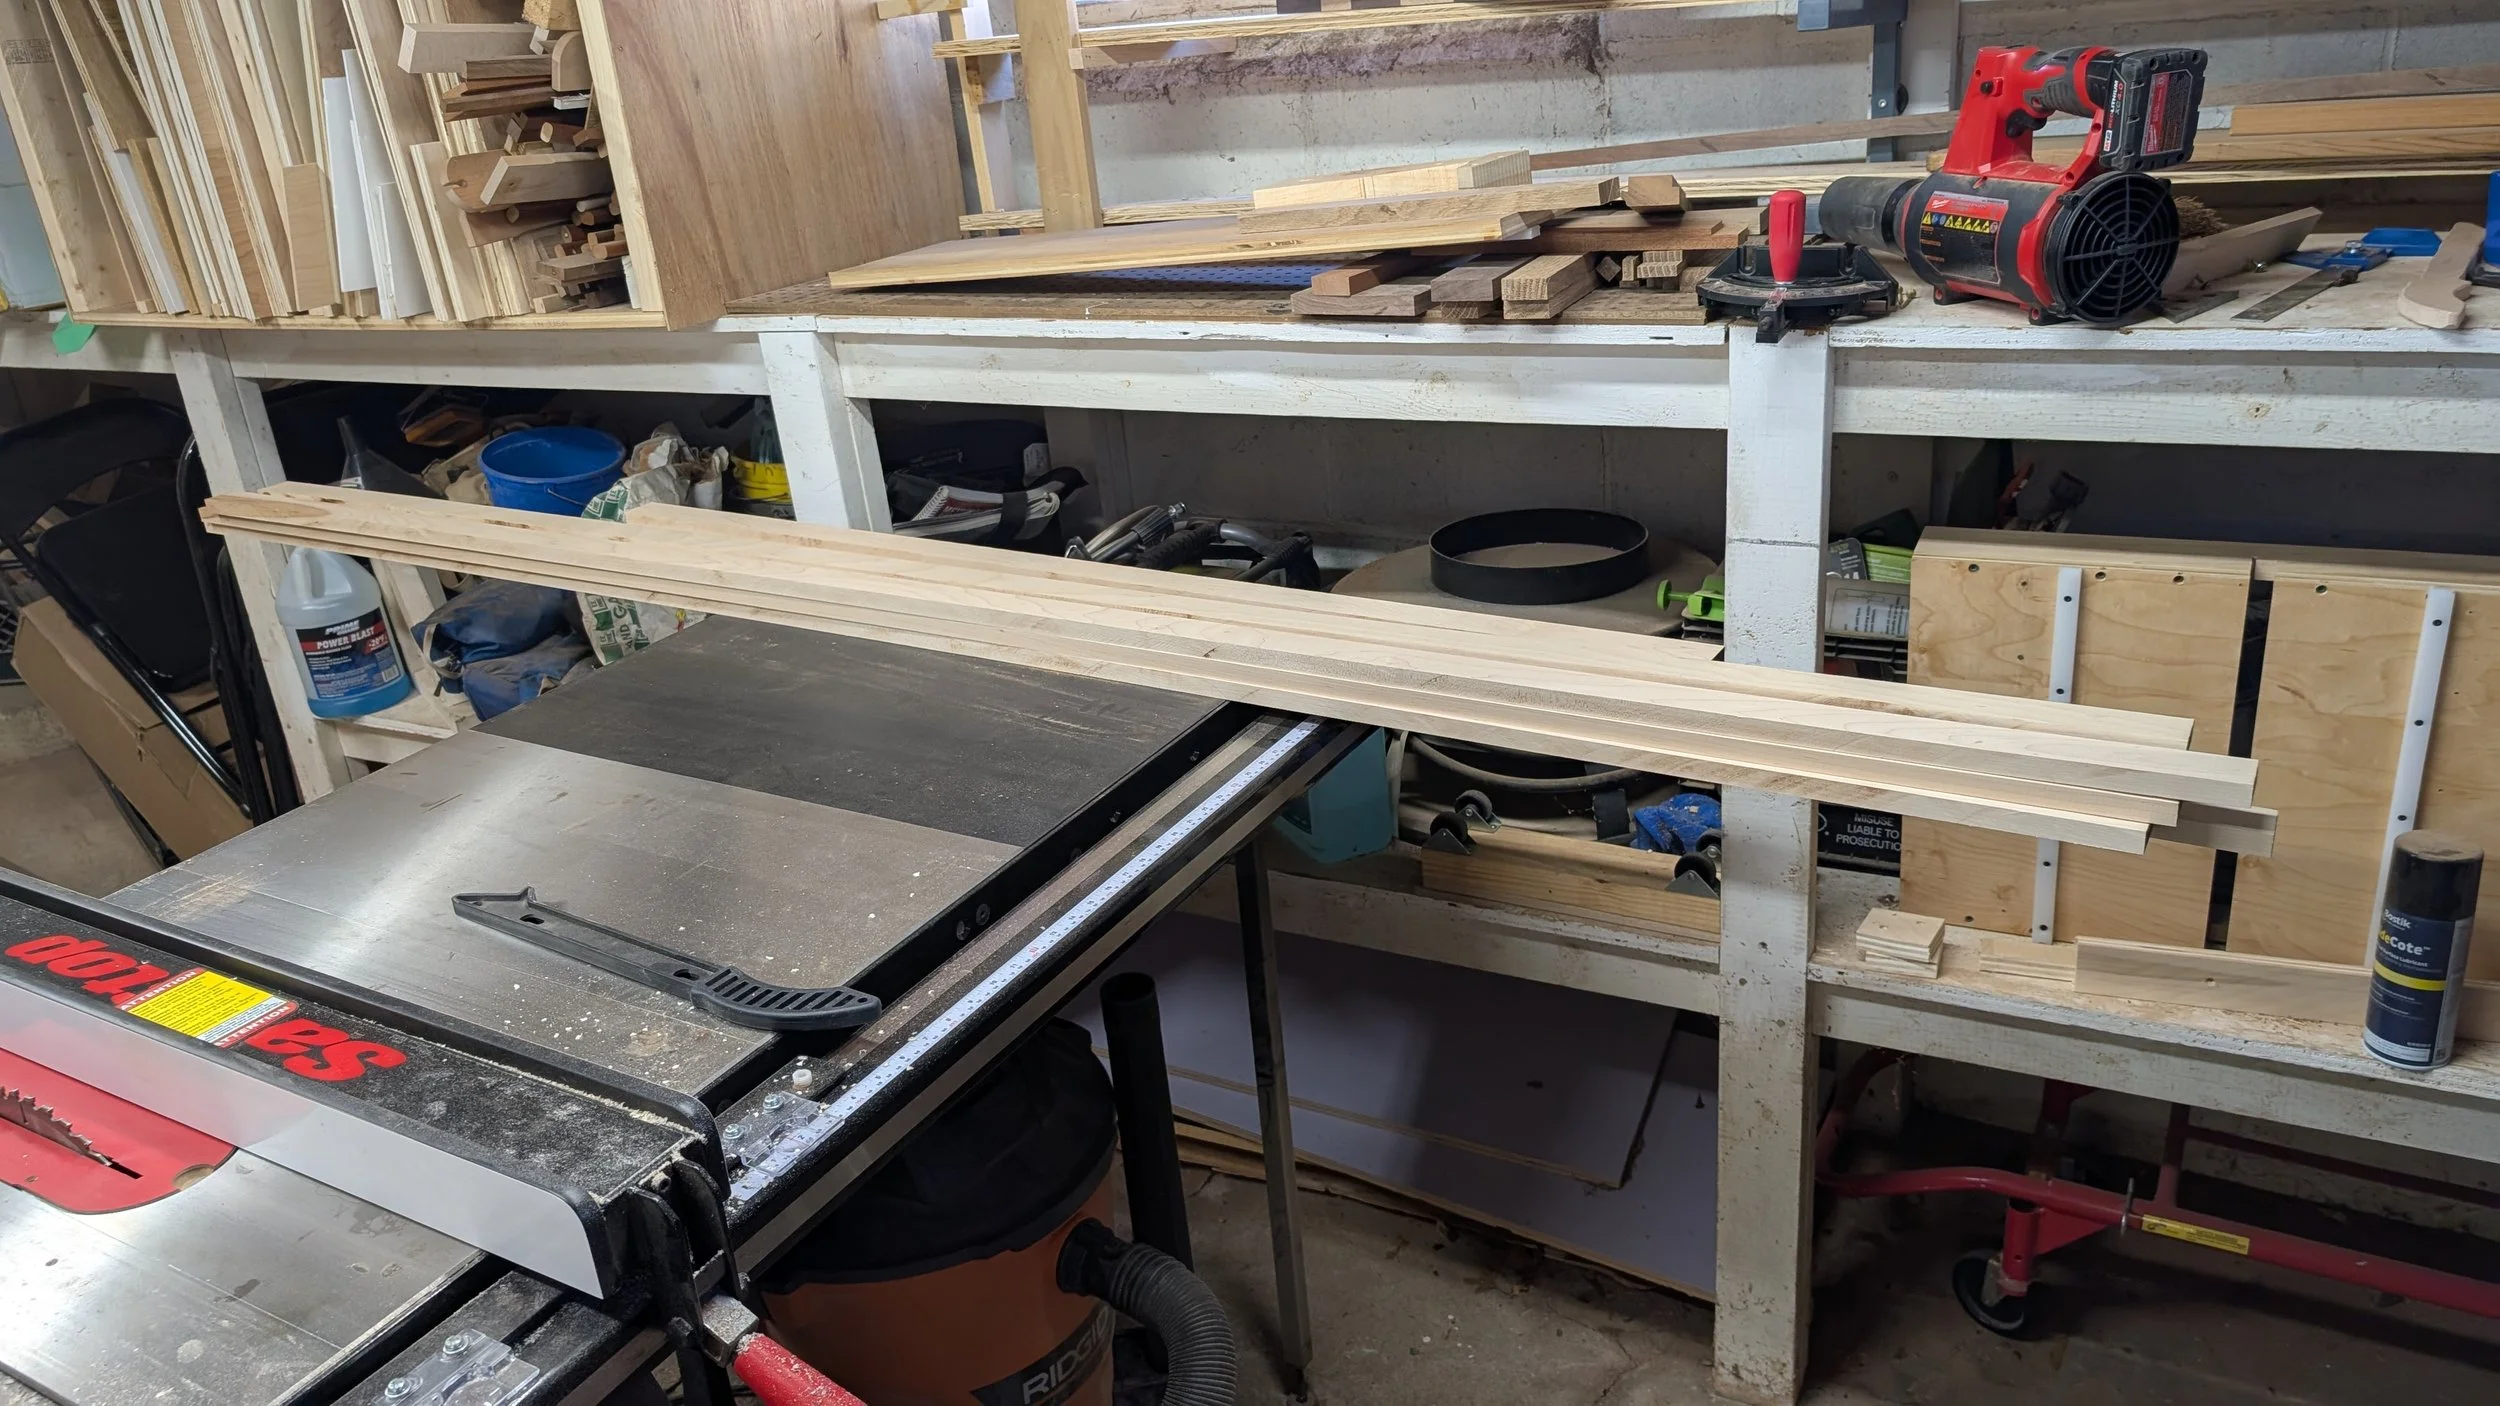
Then using my chop saw I cut all of the rest of the stock to rough length.
Using my Milescraft TrackSawGuide and after flattening both sides of the glued up table top blank and marking the triangles for the table tops 19 1/2” on a side… I cut them with my circular saw.
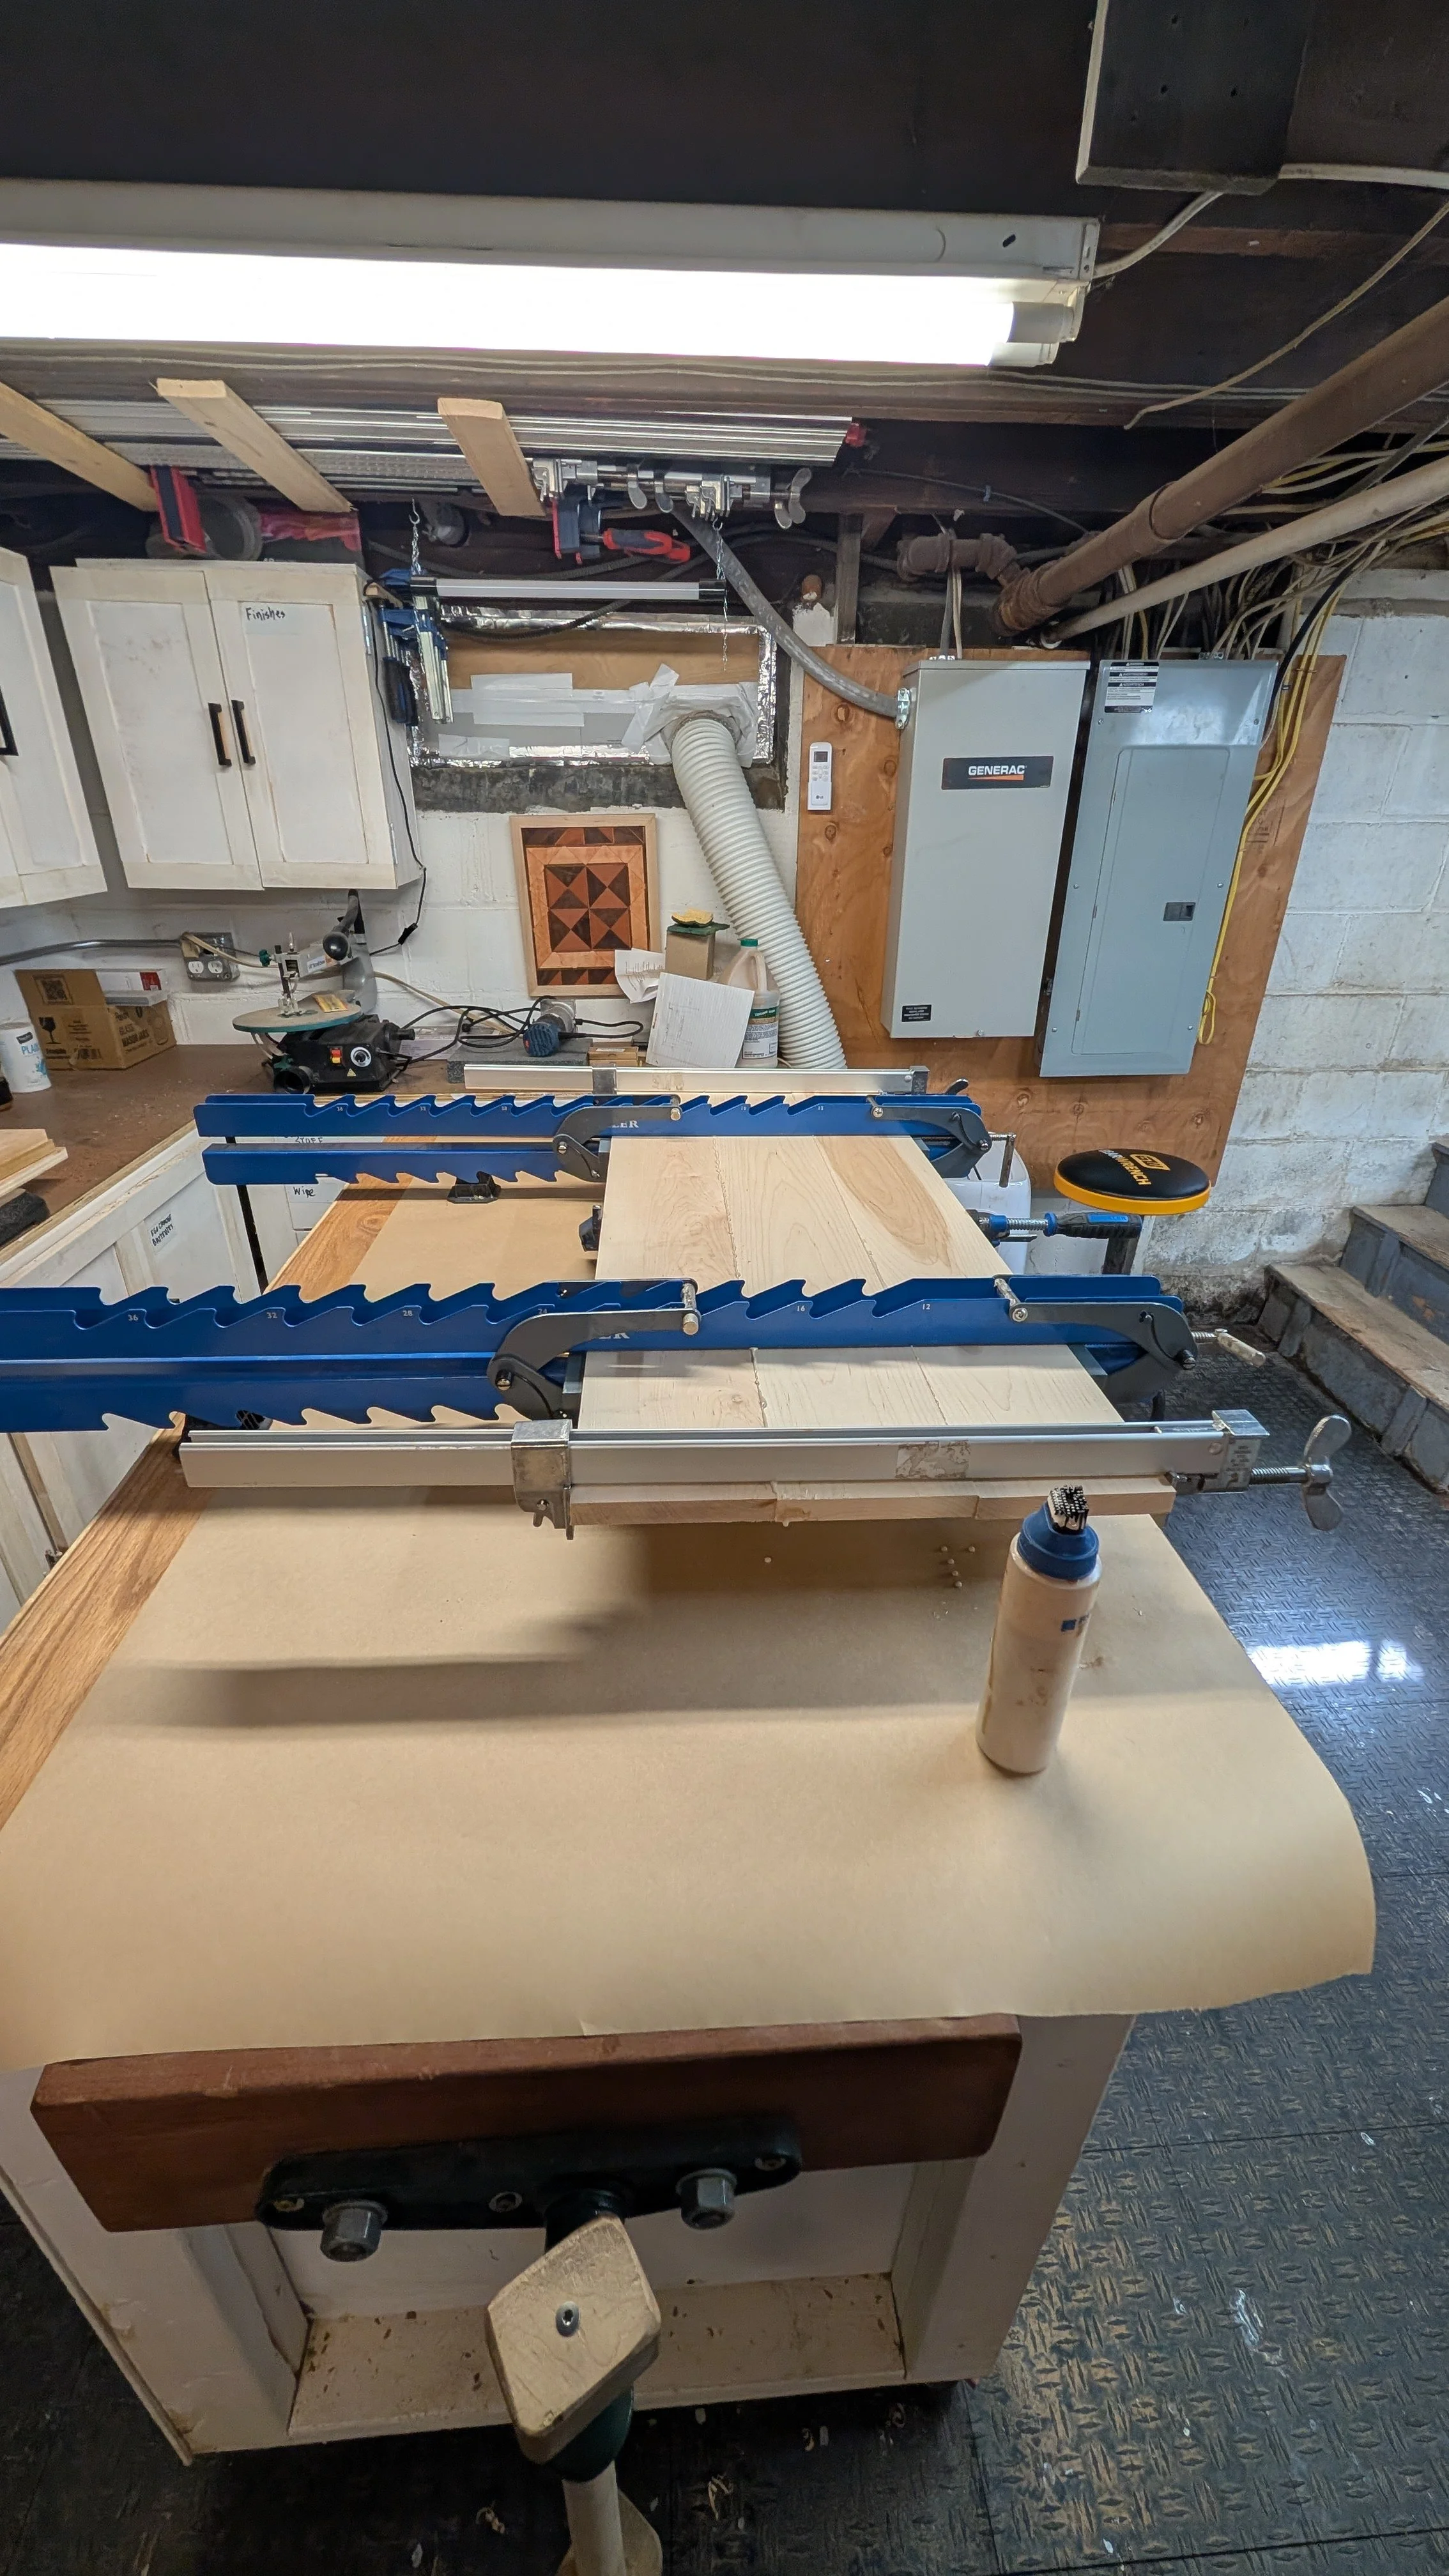
I switched the table saw over to dado mode and put in my 3/4” x 8” stacked dado set and using my crosscut sled and a stop, I cut all the tenons which were all 1” x 1/4” x 1 1/4”.
After that I marked up all of the mortises and used my hollow chisel mortising machine to cut all of the mortises.
I rounded all the corners of the table tops on the band saw and the sanding station. Then I pre-drilled and added a 3/8” deep 3/8” wide countersink for all the screw holes for the fixed leg which will get screwed and glued at assembly time.
For these tables I got new hinges with narrower leaves and three screws inline and rounded corners made from solid brass. I located the hinges on the leg uprights away from the mortise and tenon joints so that I wouldn’t be screwing into the mortises. I also used my router table to create mortises for each hinge on the legs and for the hinges in the underside of the table top after rounding over the edges on the router table and cutting the top into two pieces for the fixed part and the leaf.
I also drilled the recesses to receive the rare earth magnets that would help locate the gate leg when it was opened. One in the bottom of the table leaf and one in the top of the gate leg frame.
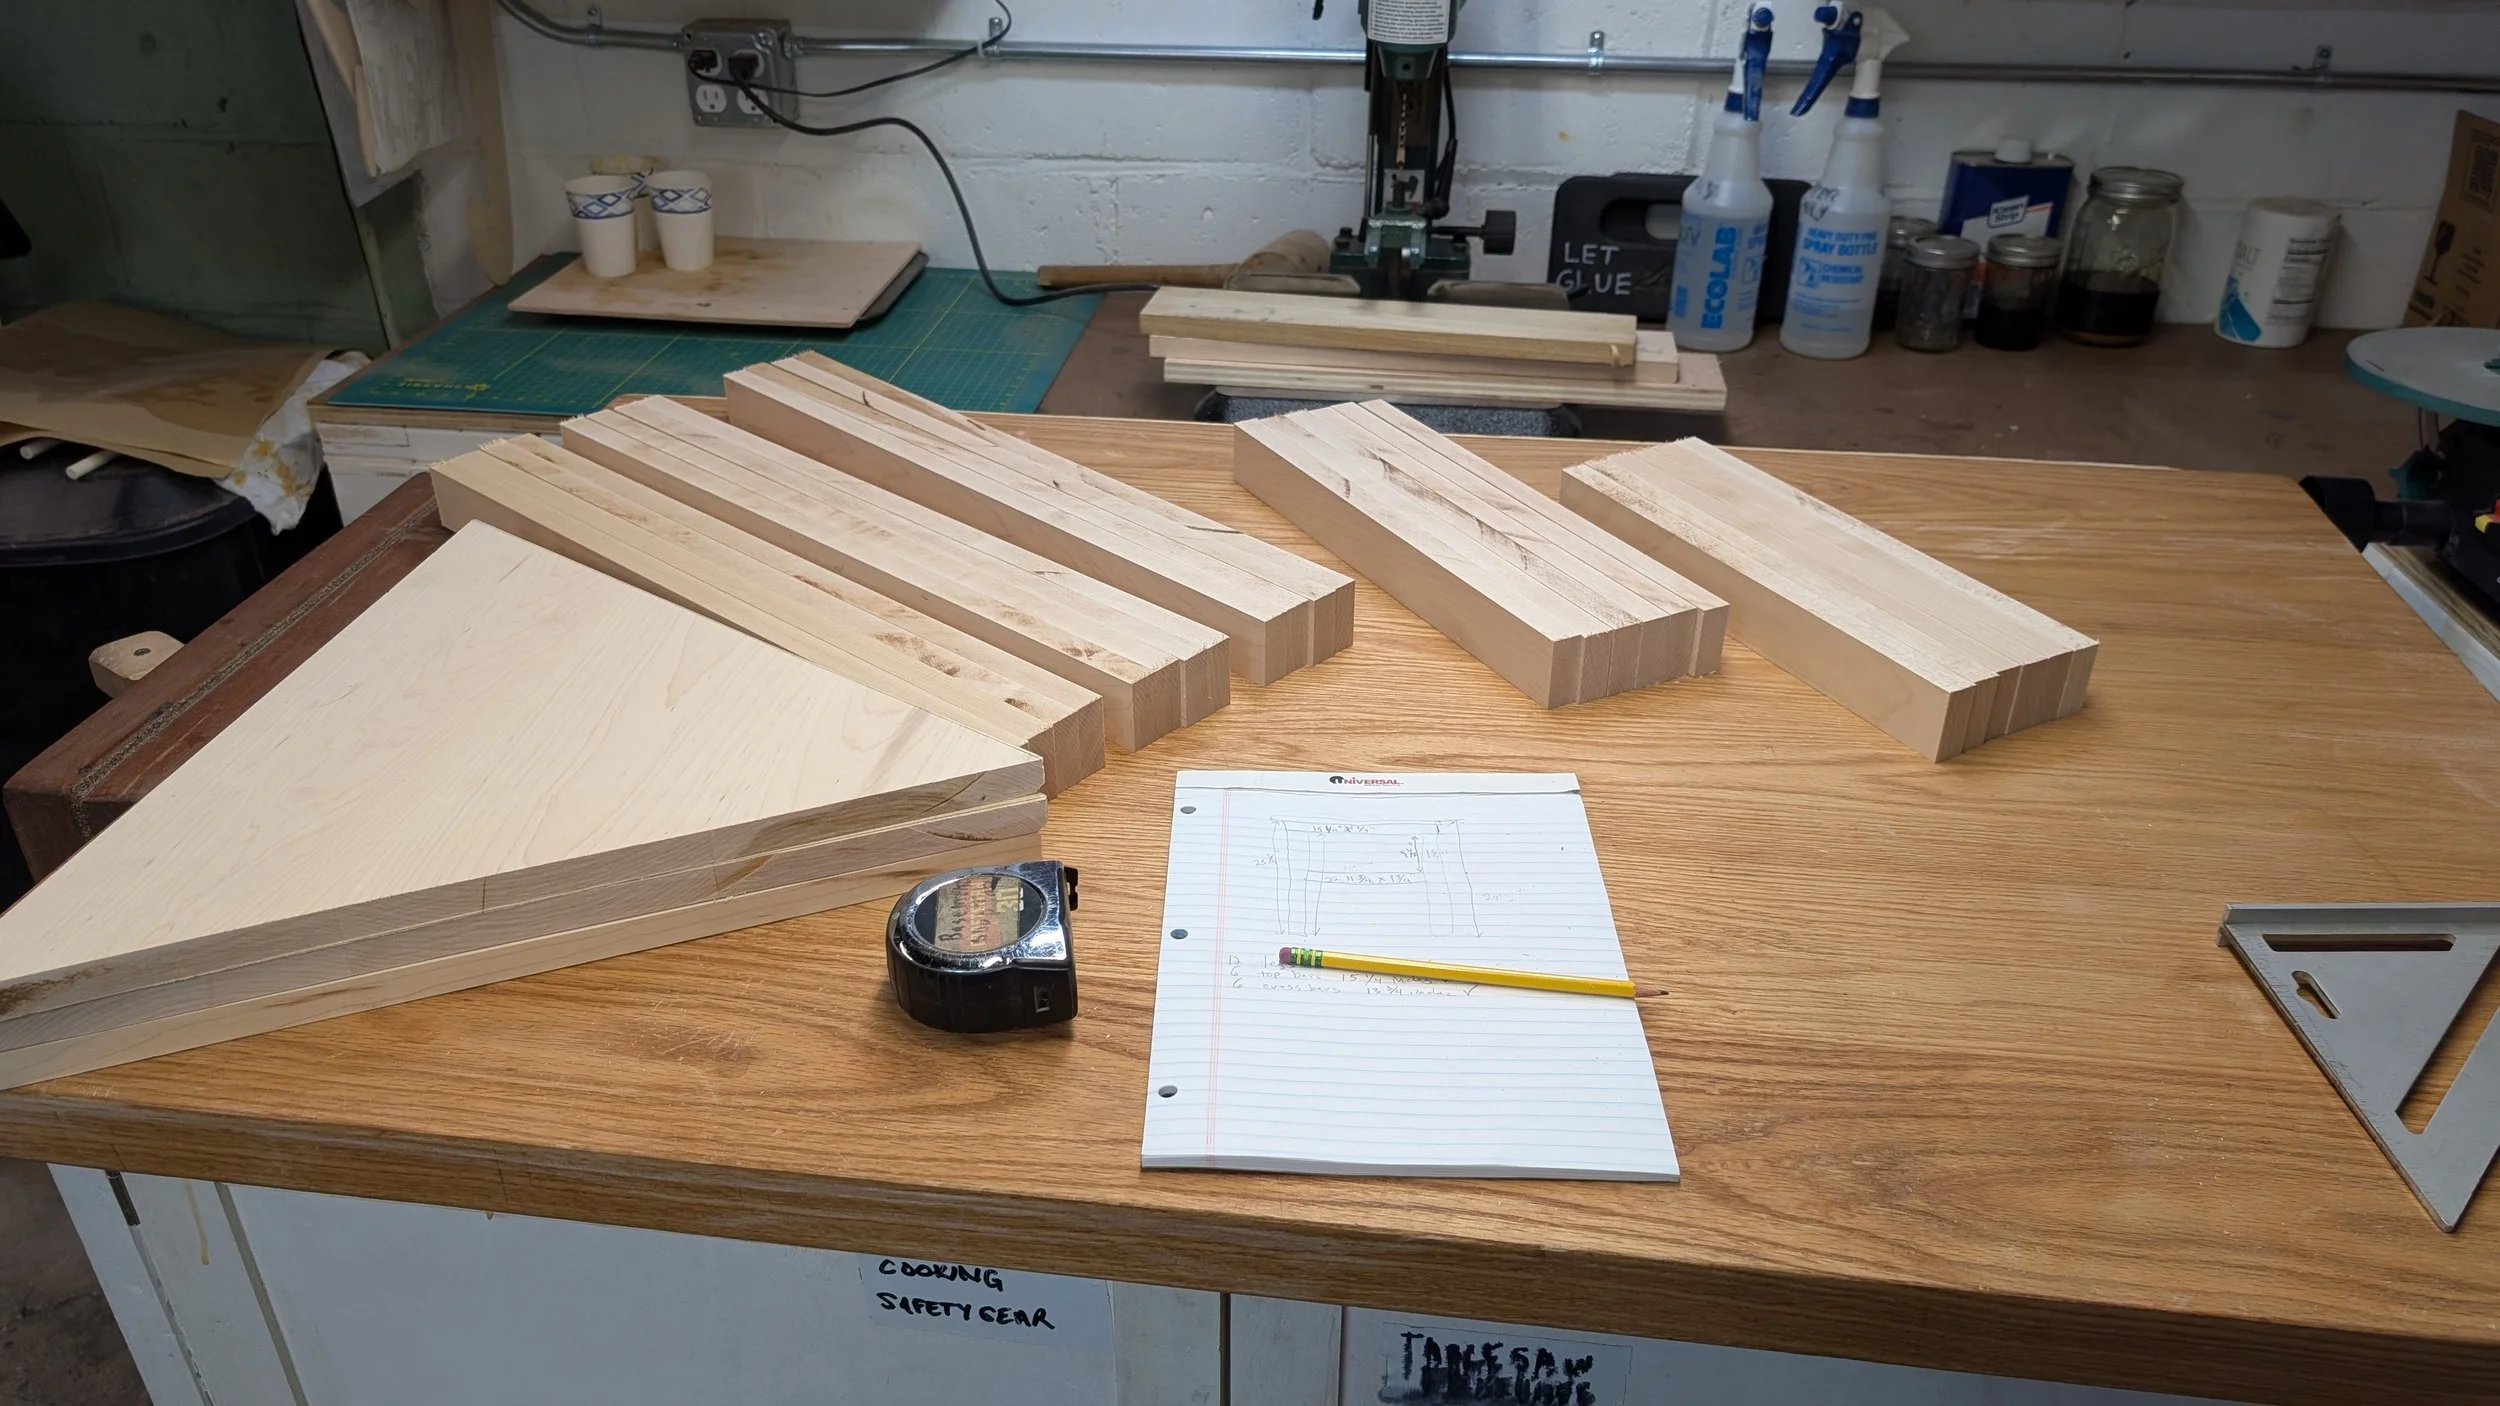
I cut a taper on the inside of all of the legs using a tapering sled on my table saw.
I then rounded over all of the edges of the legs and frame members as appropriate. I avoided the hinge and tenon mortises in this process.
I also rounded over the back edge of the leaf to clearance for the hinge to operate correctly.
I sanded all of the parts 80, 120 and finally 220 grit. At the 80 grit stage I blended the transitions from the router round over to the area near the mortises.
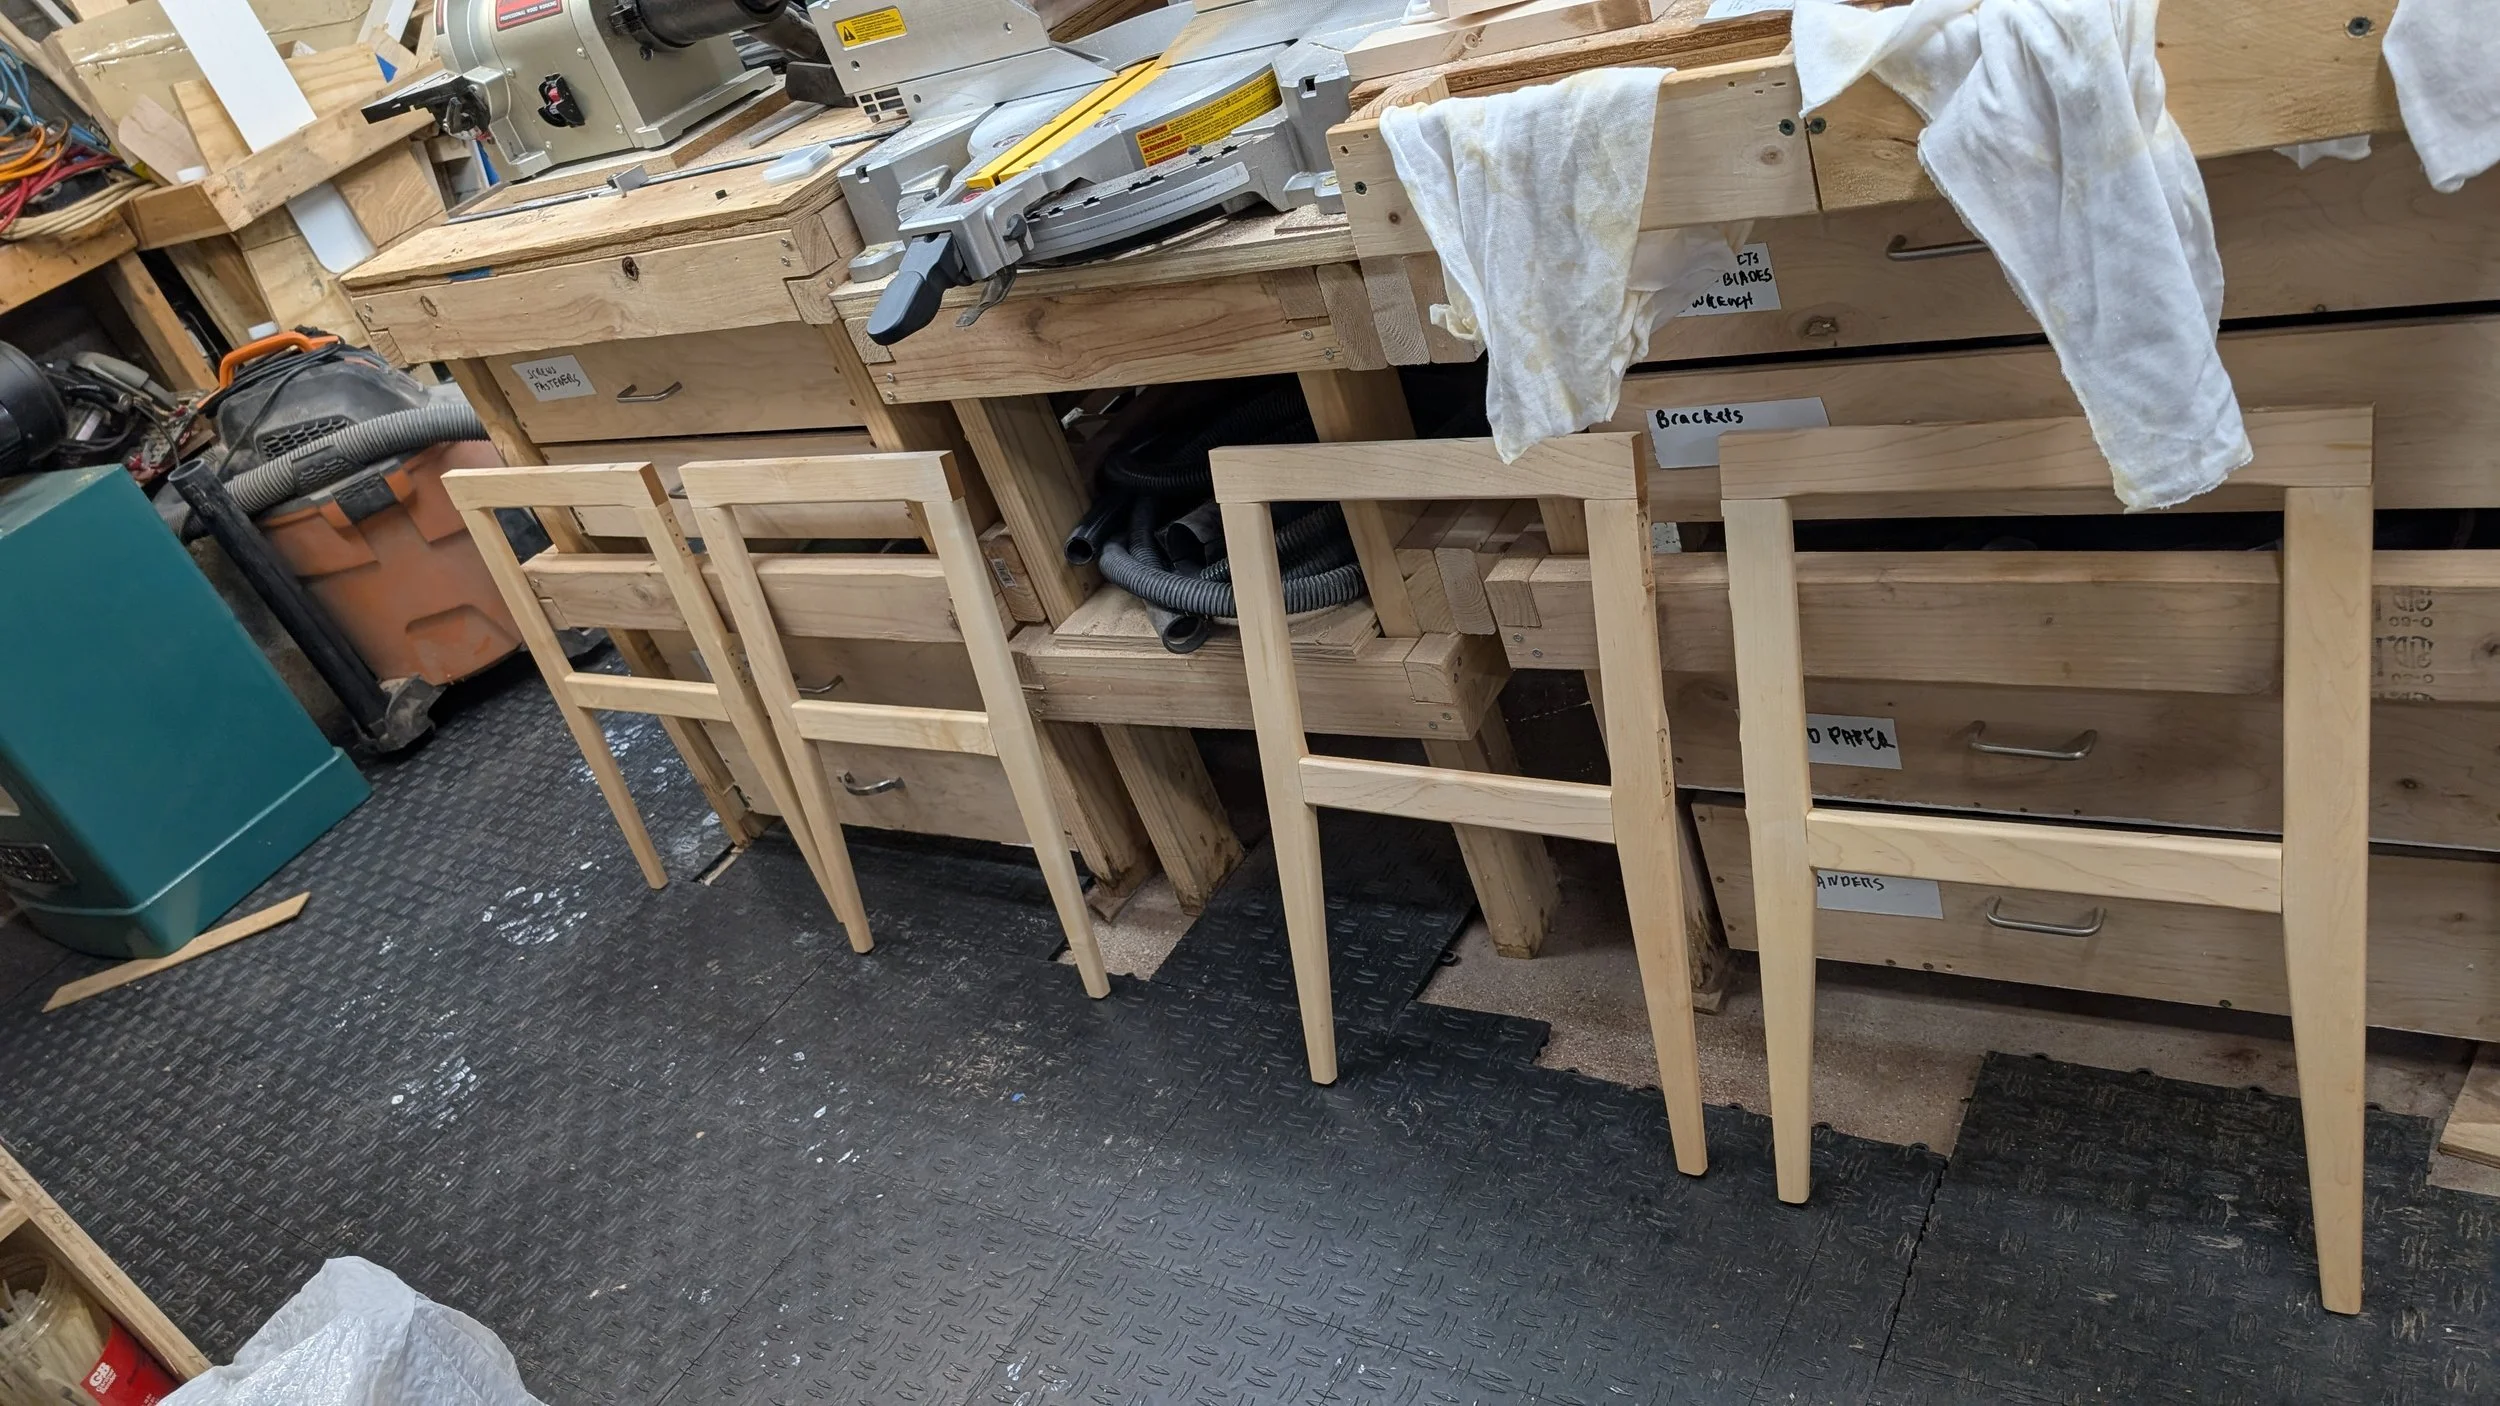
Finally I assembled and glued up the leg frames.
When those were dry and I’d cleaned up any glue squeeze out I cleaned all the dust off all the parts and applied a coat of General Finishes Hard Wax Oil.
Once that had dried sufficiently I assembled each table. I used CA glue and accelerator to secure the magnets in position. I glued and screwed the fixed leg assembly to the matching table top section after attaching the table top hinges. Finally I secured the hinges between the gate leg and the fixed leg. I repeated this process three times and they were all assembled.

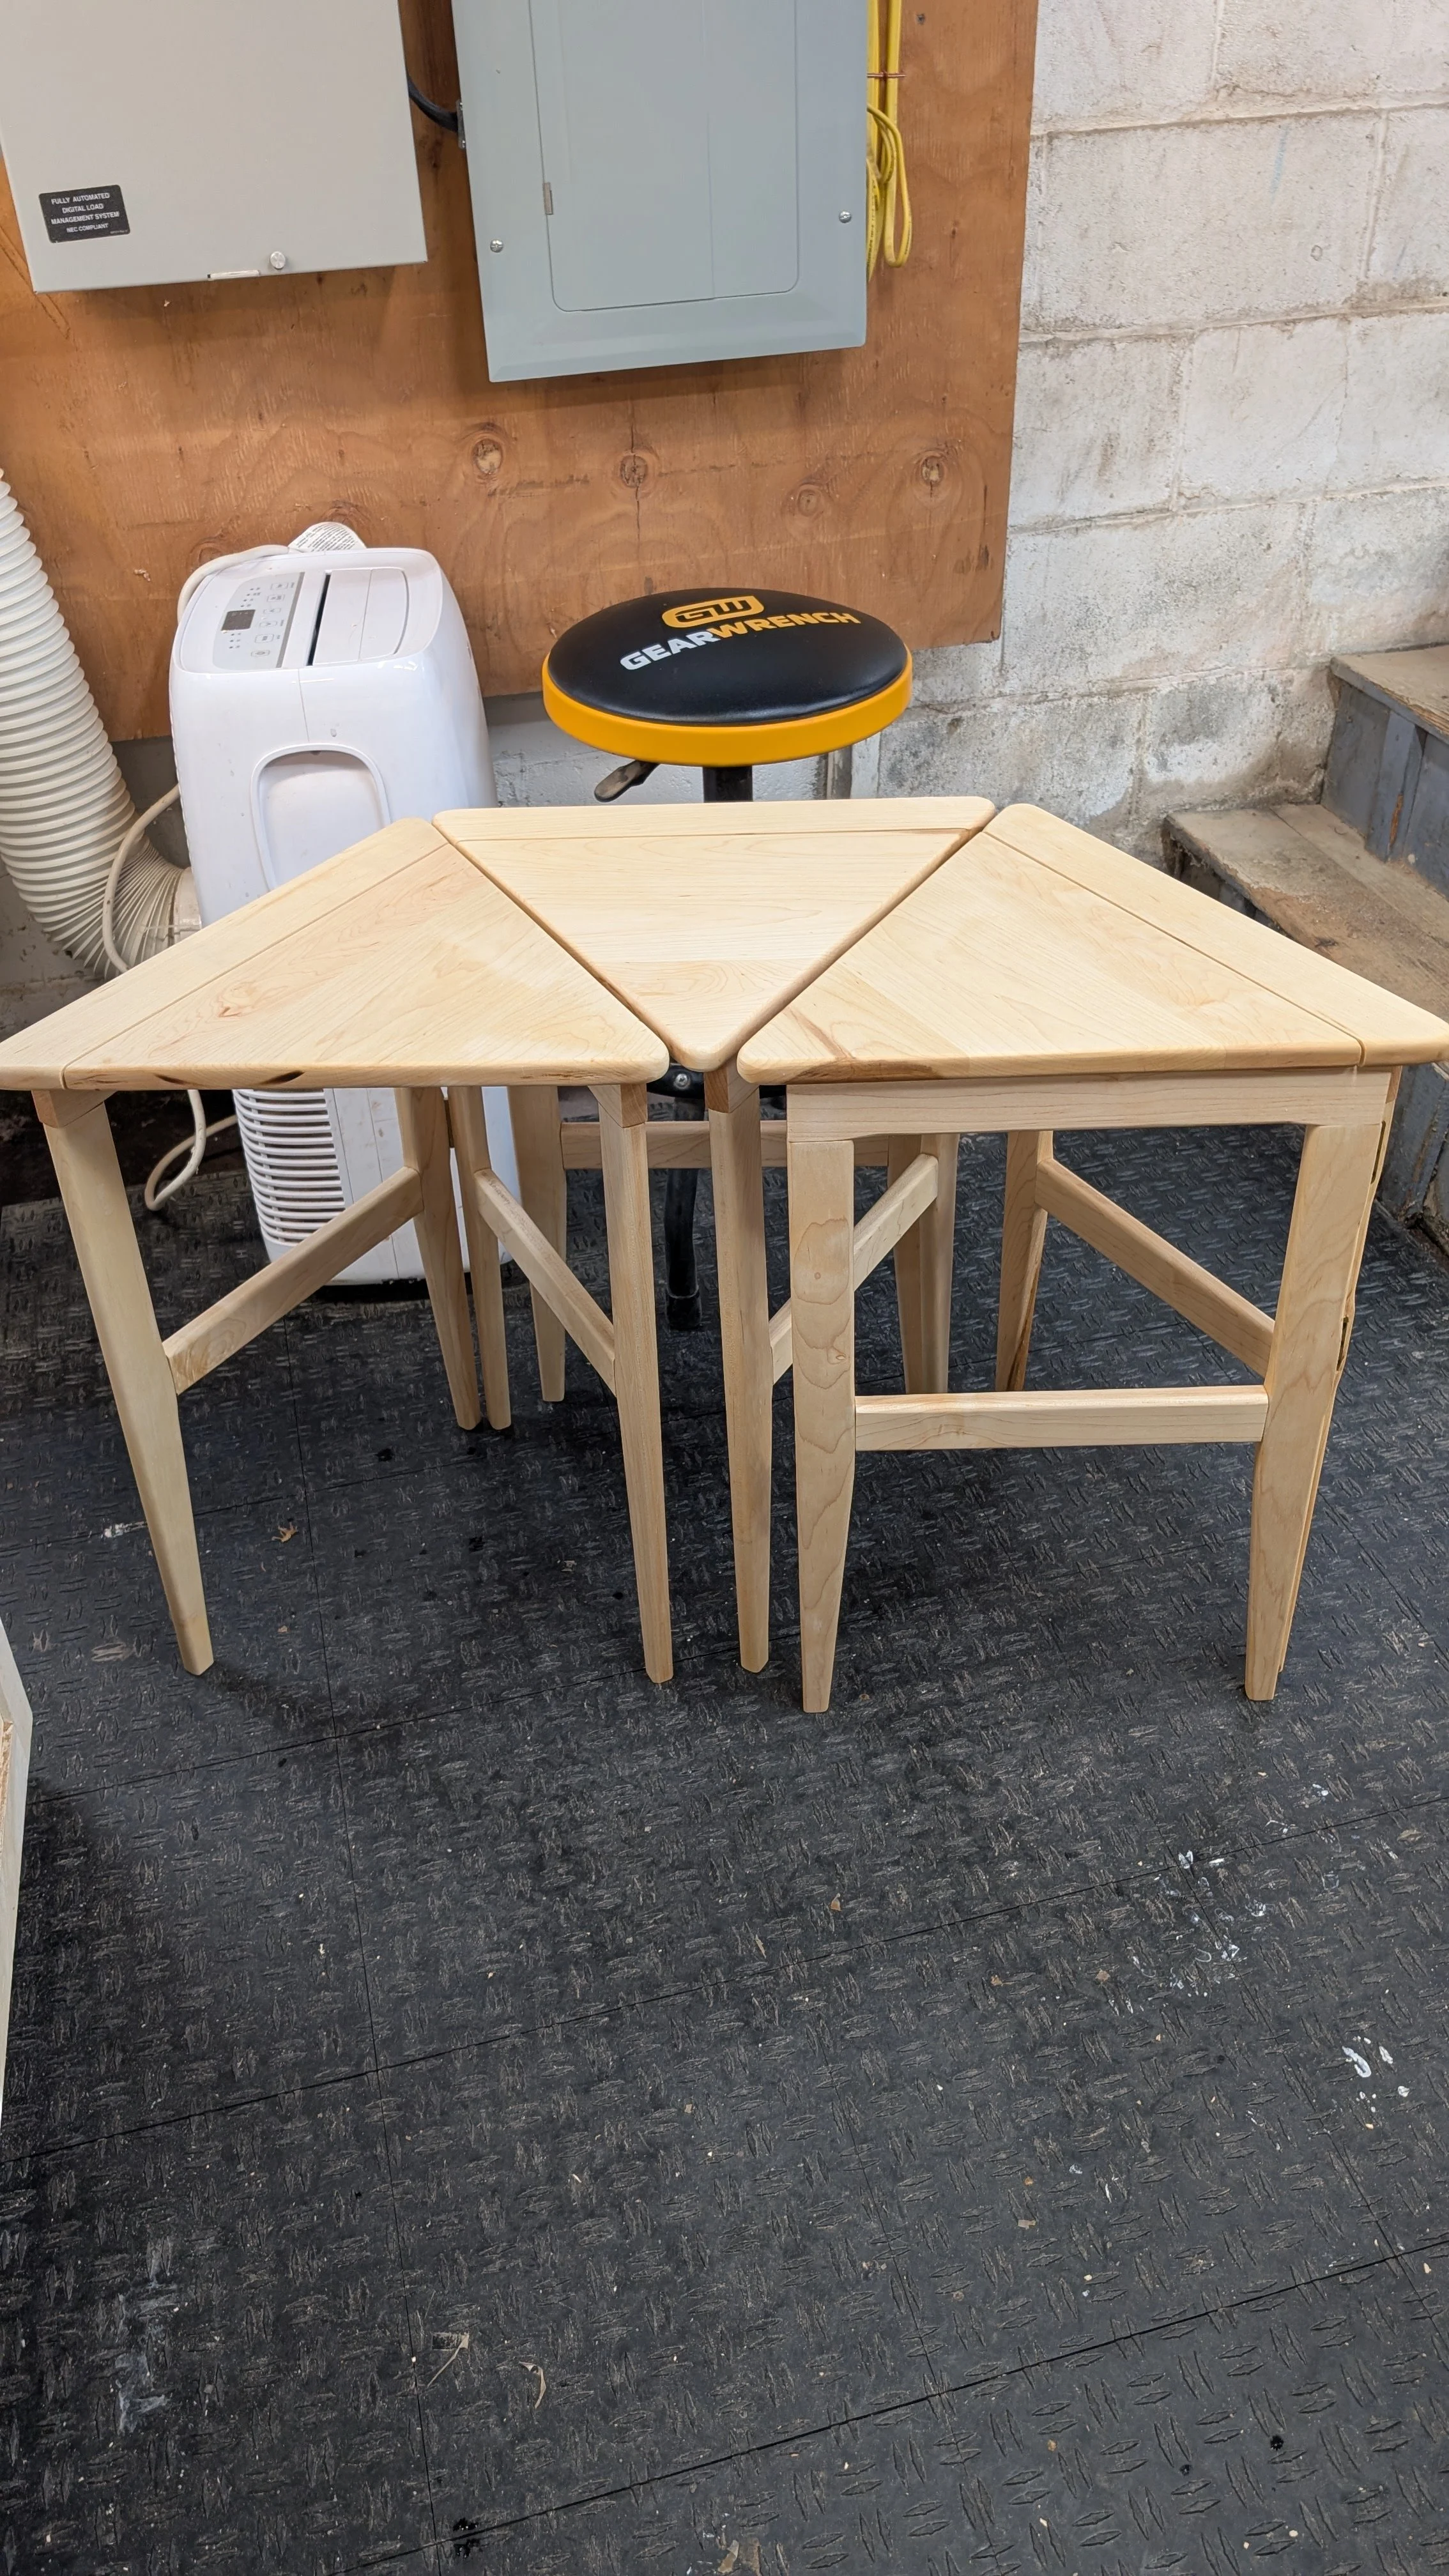
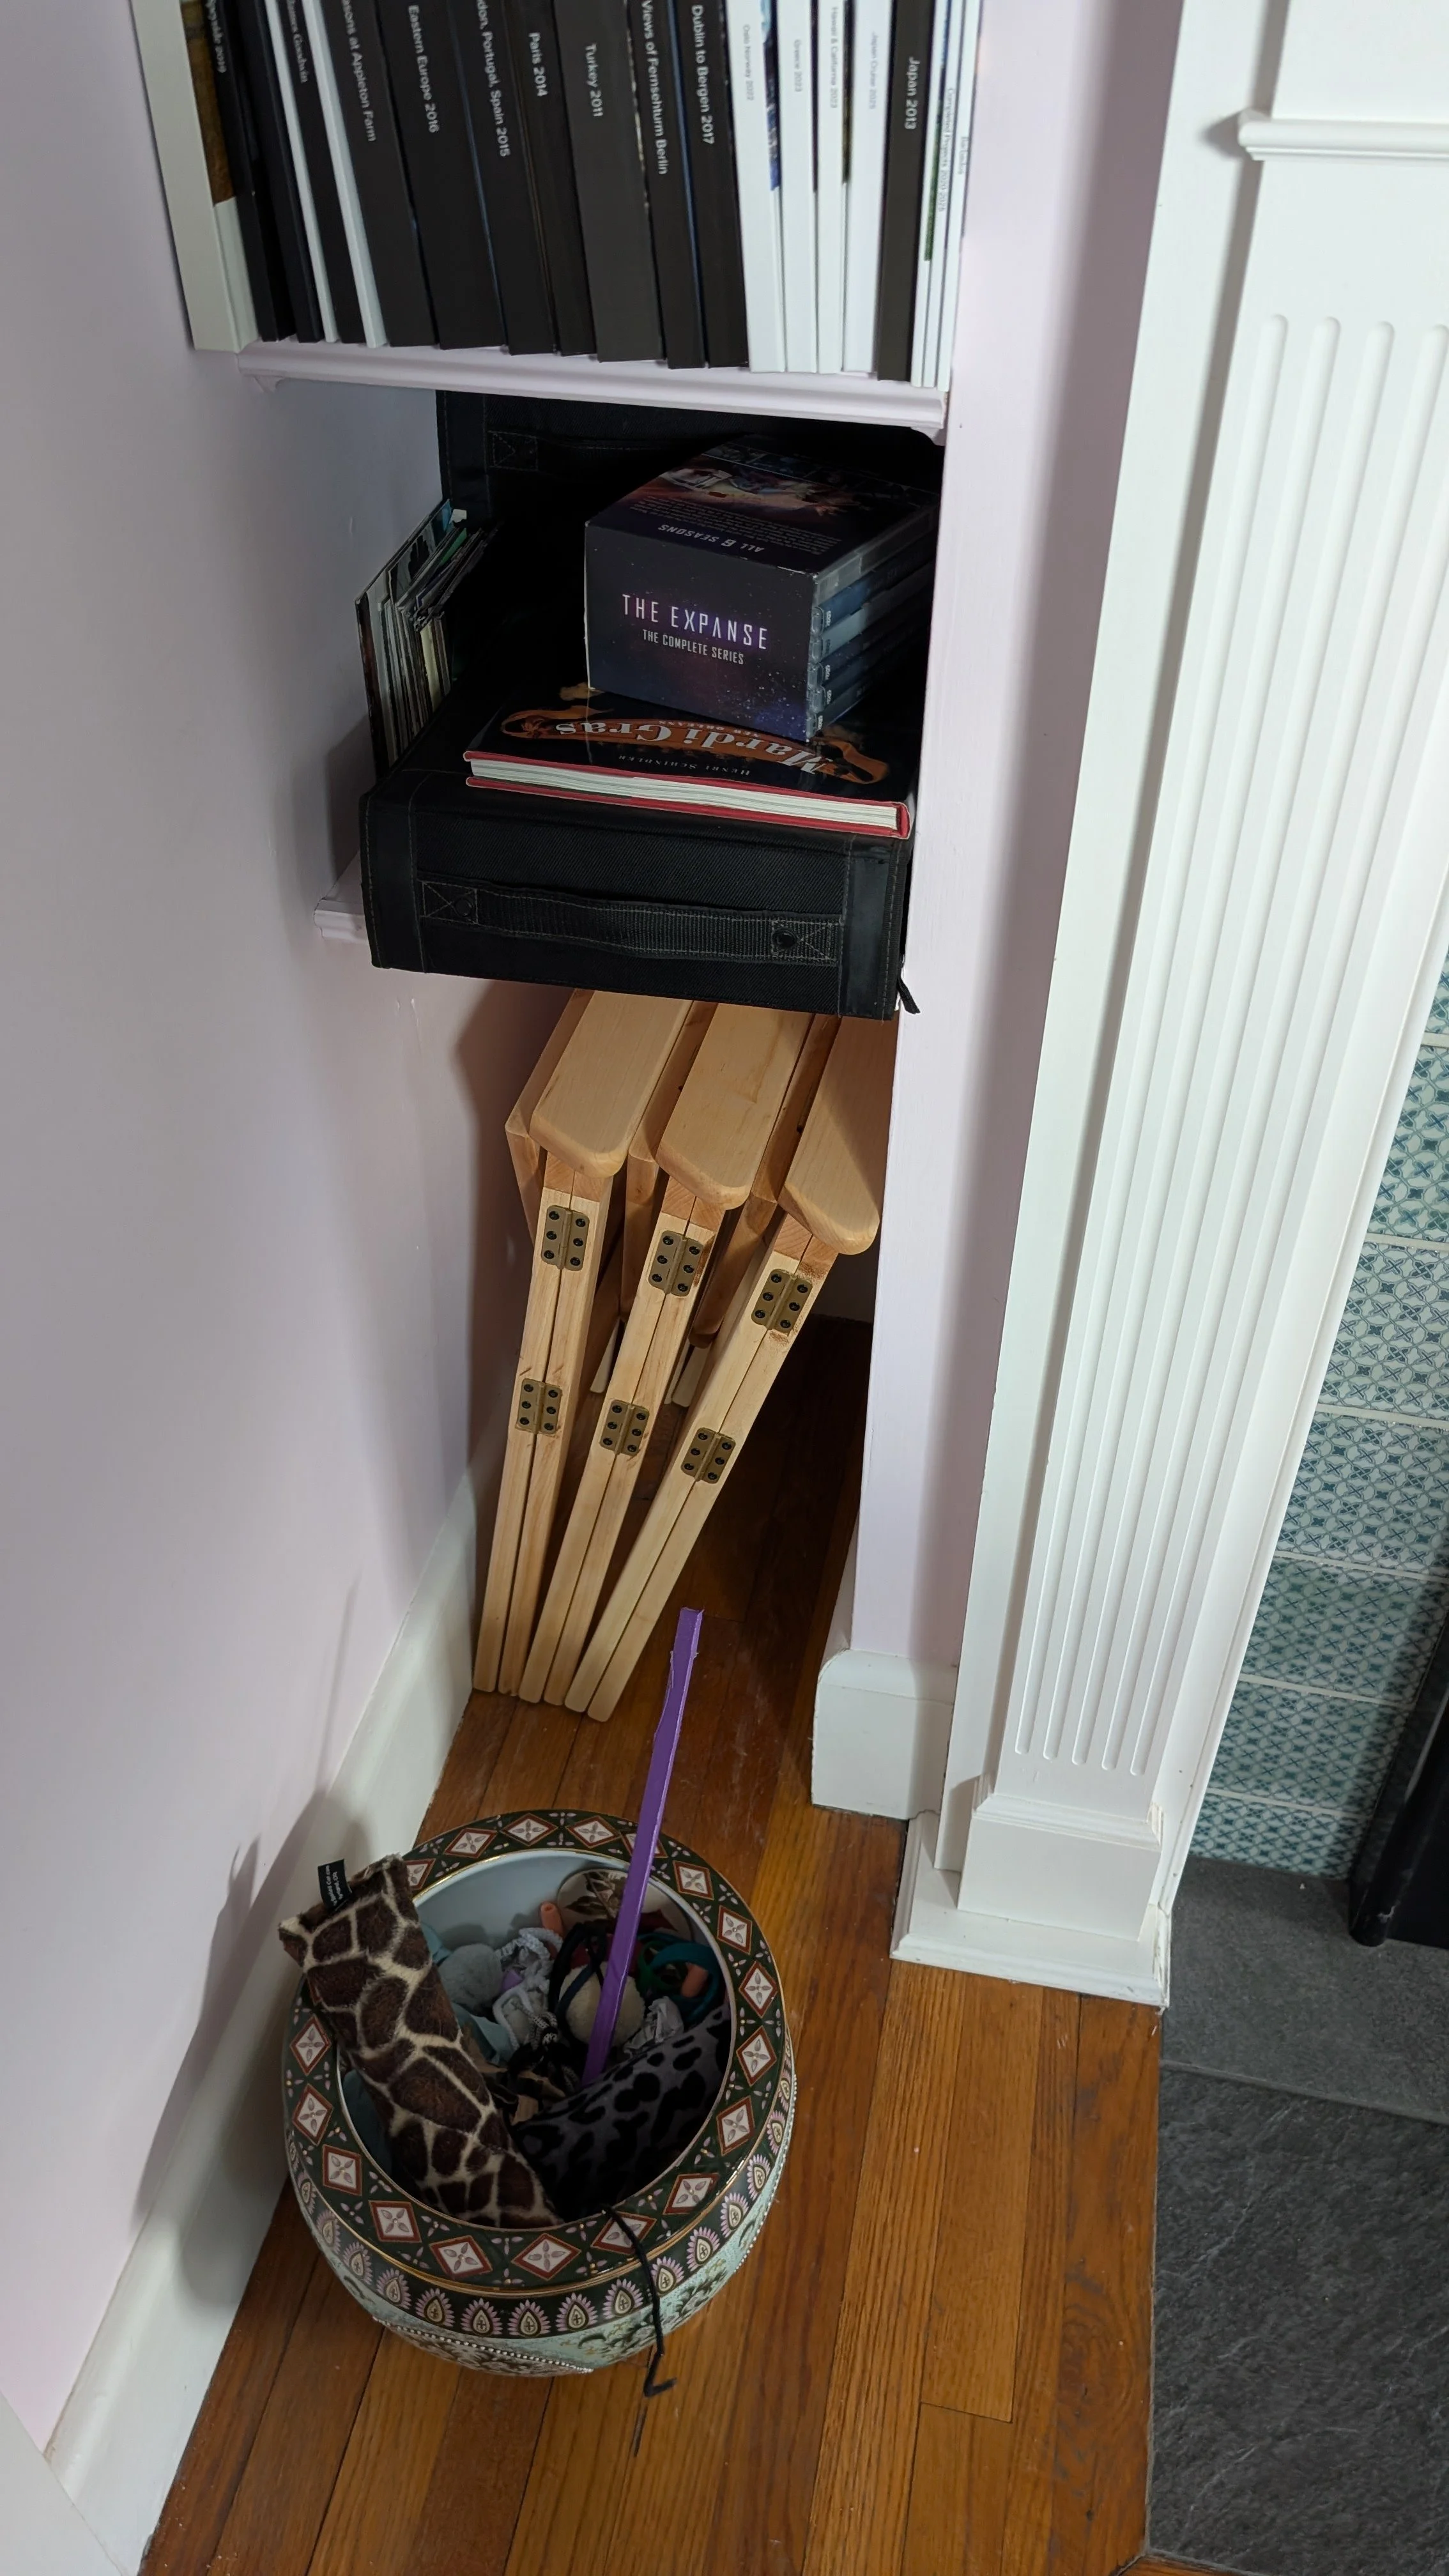
I’m very happy with how these look and function, they store neatly in the space where we used to store the old tables. On to the next project!