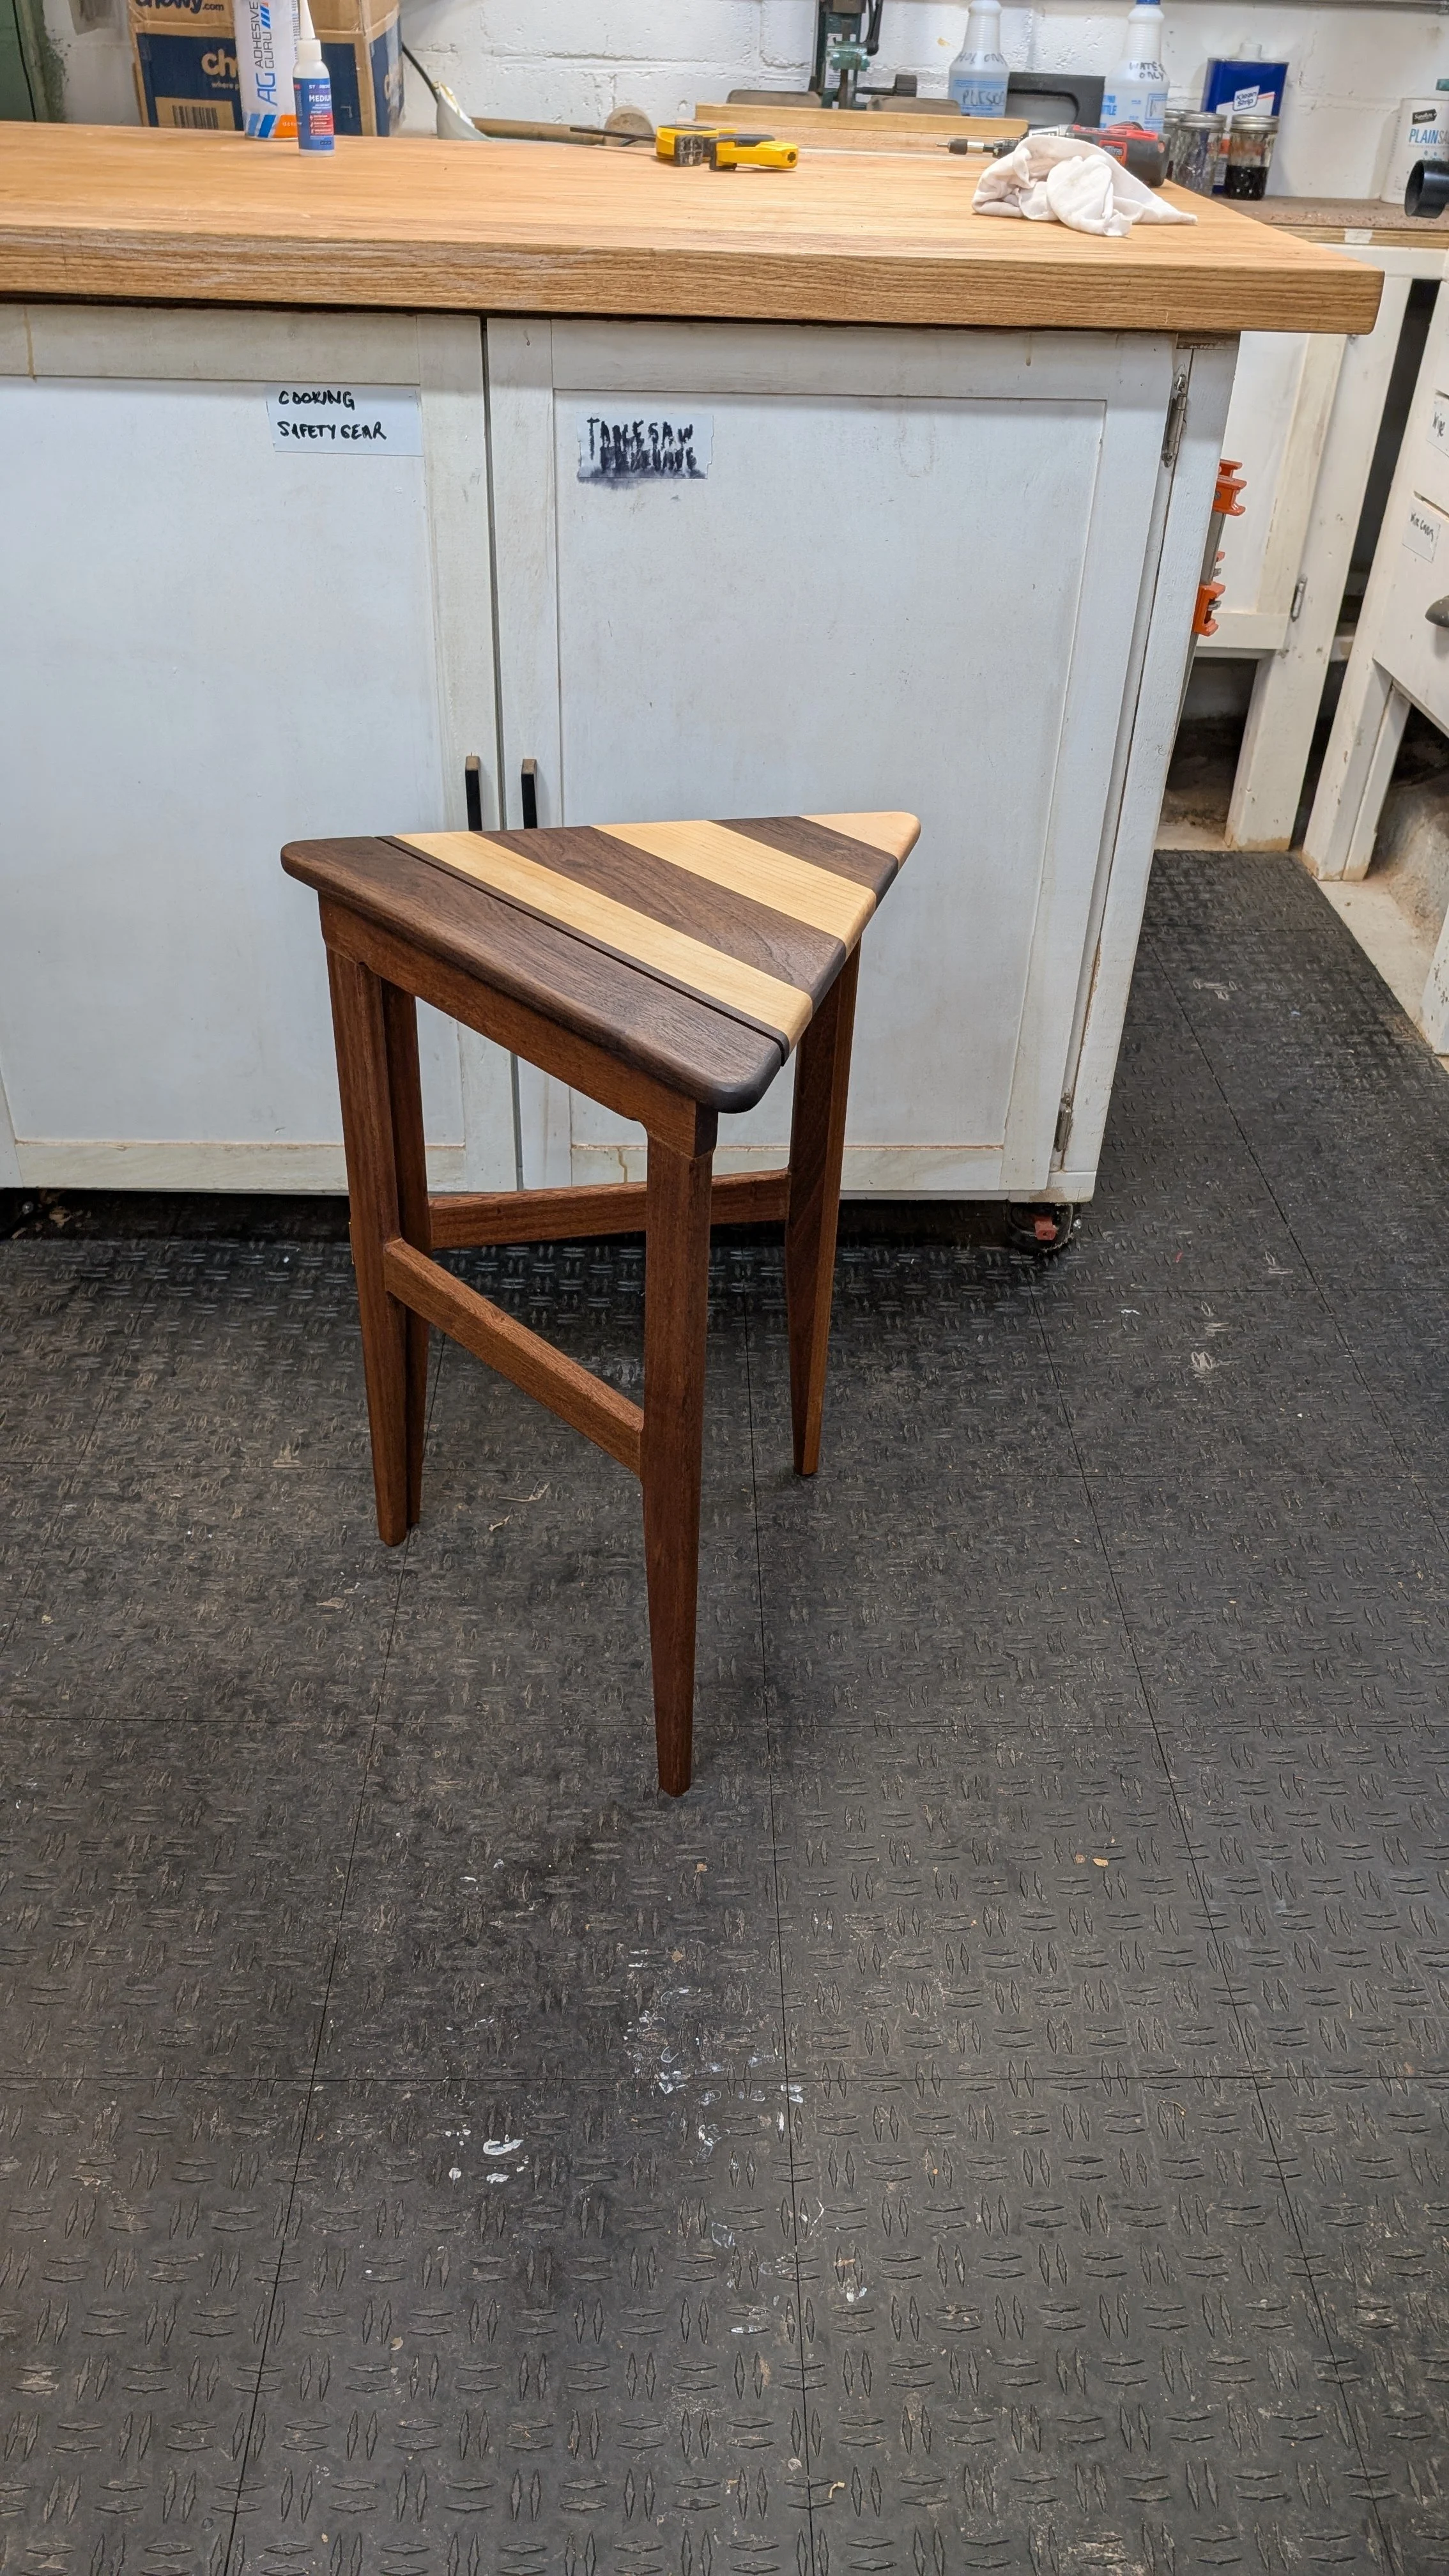
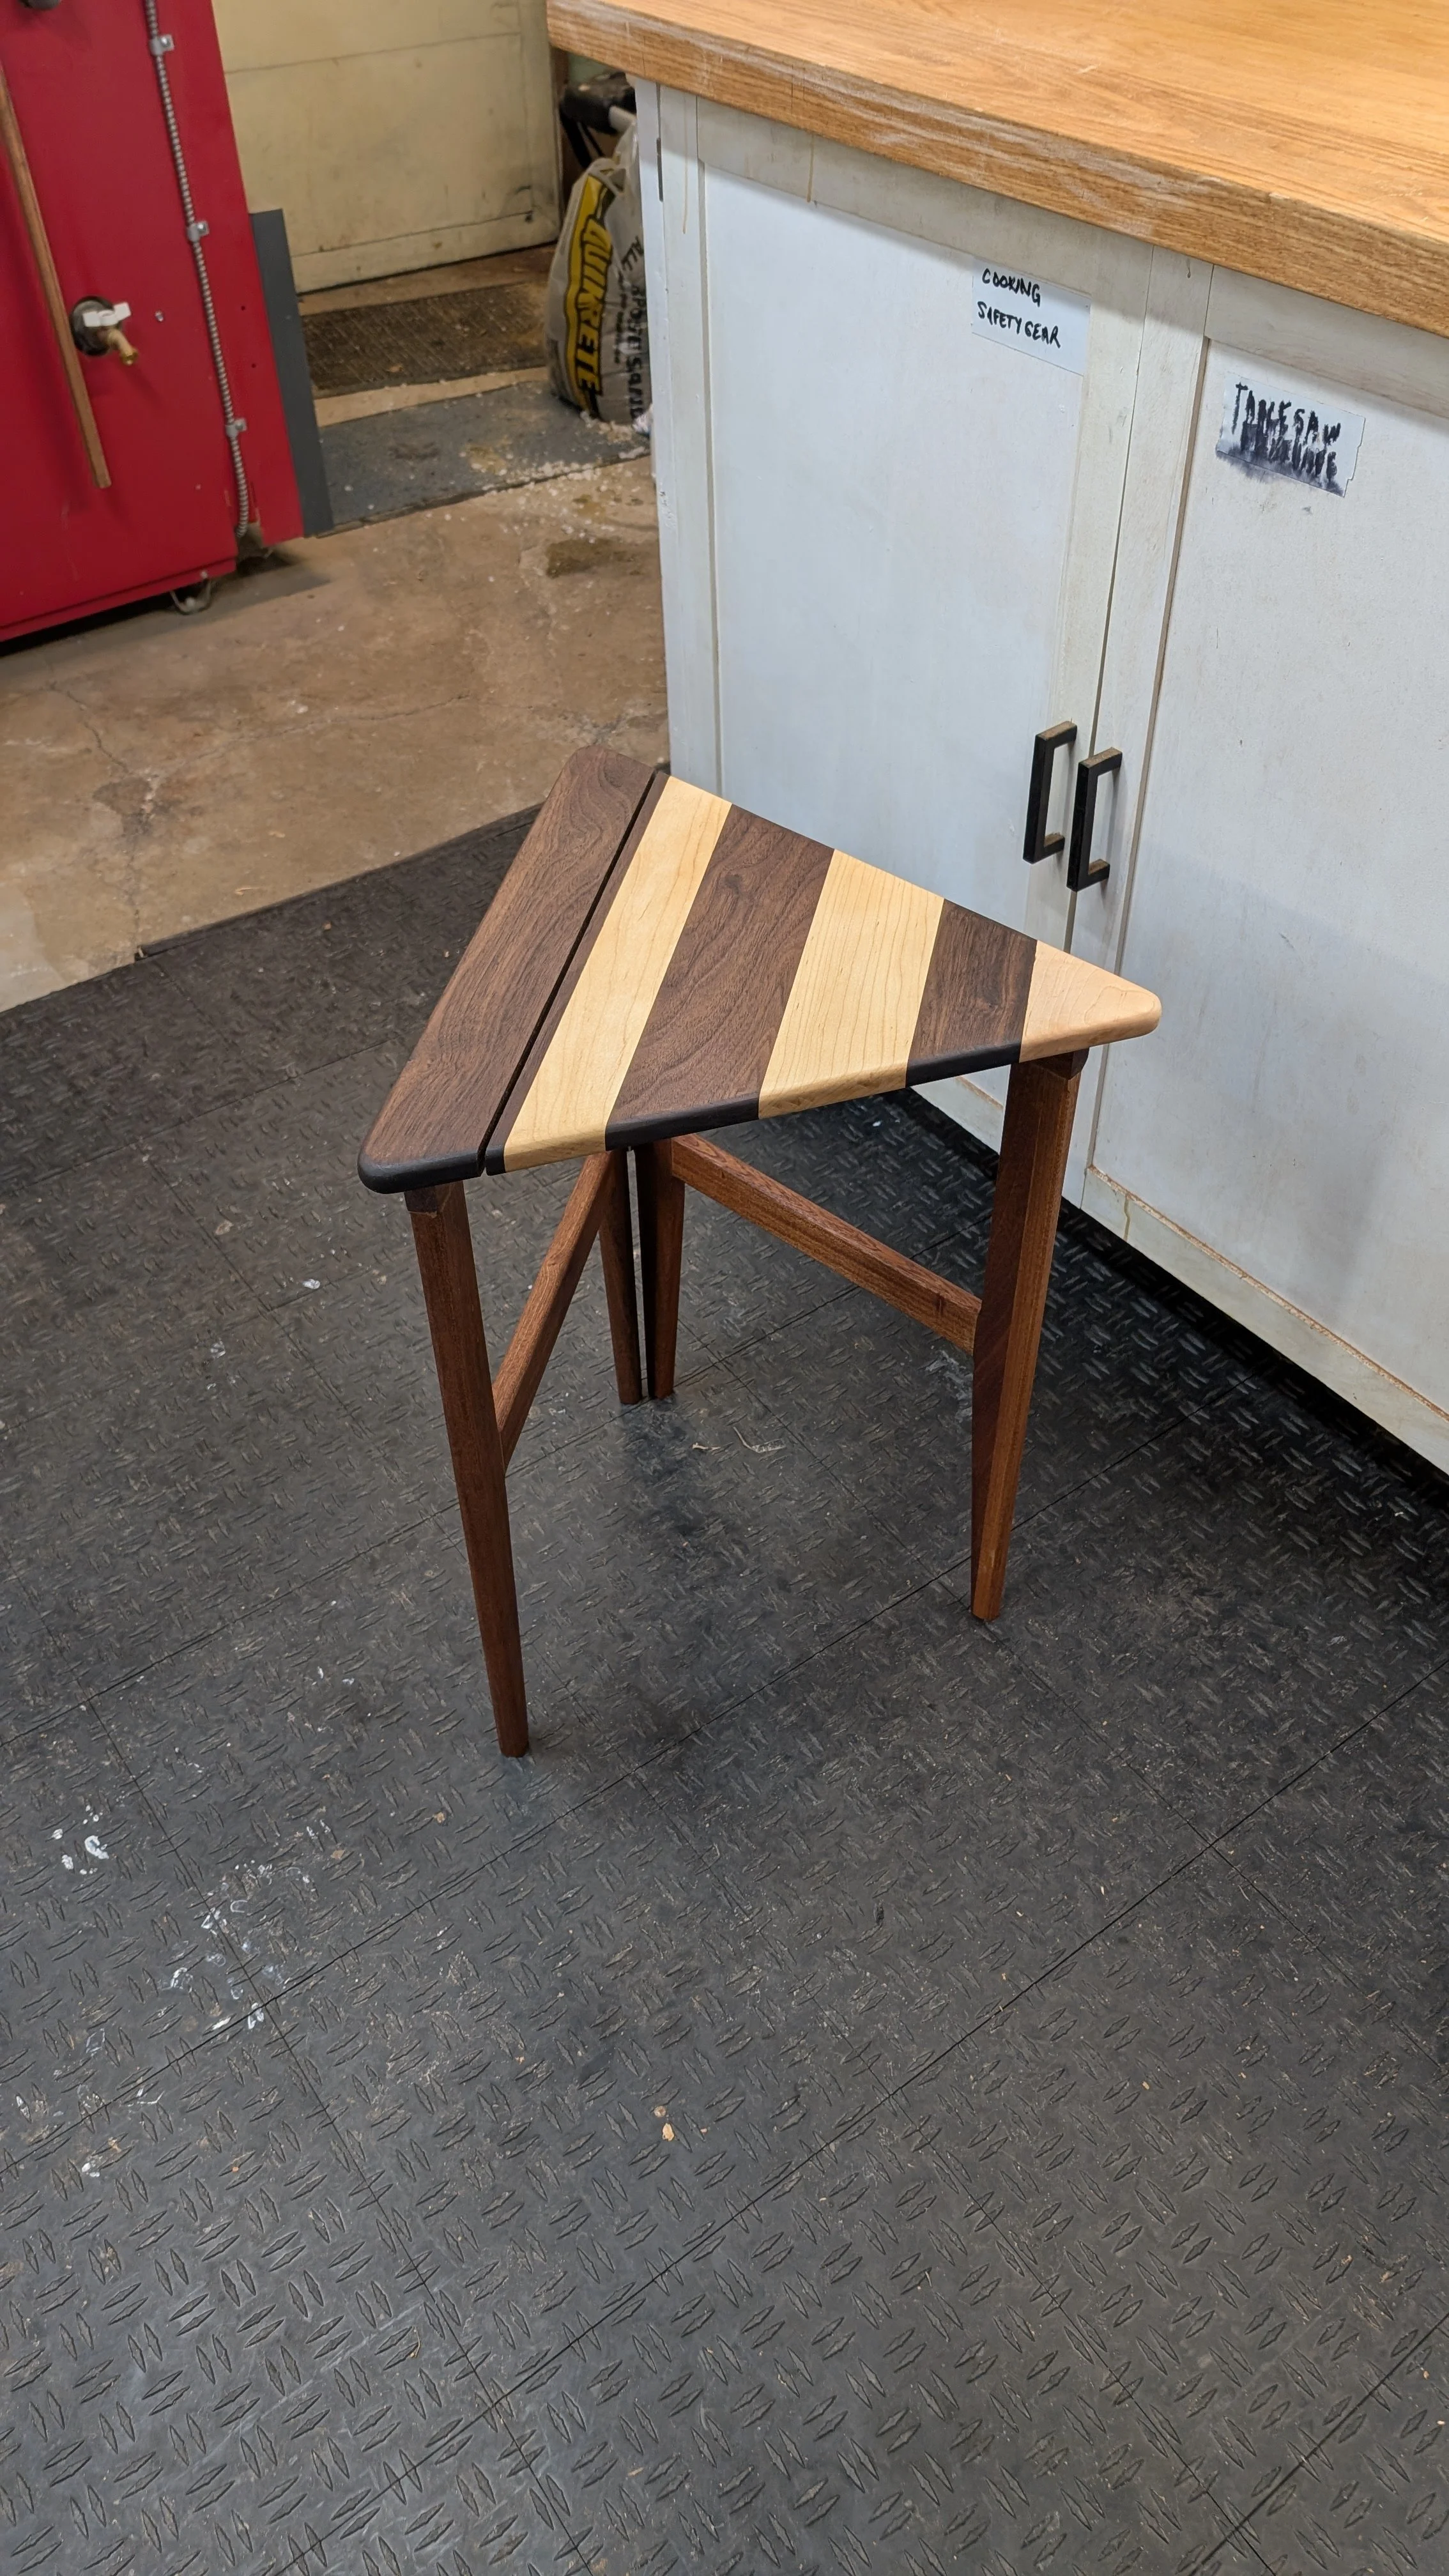
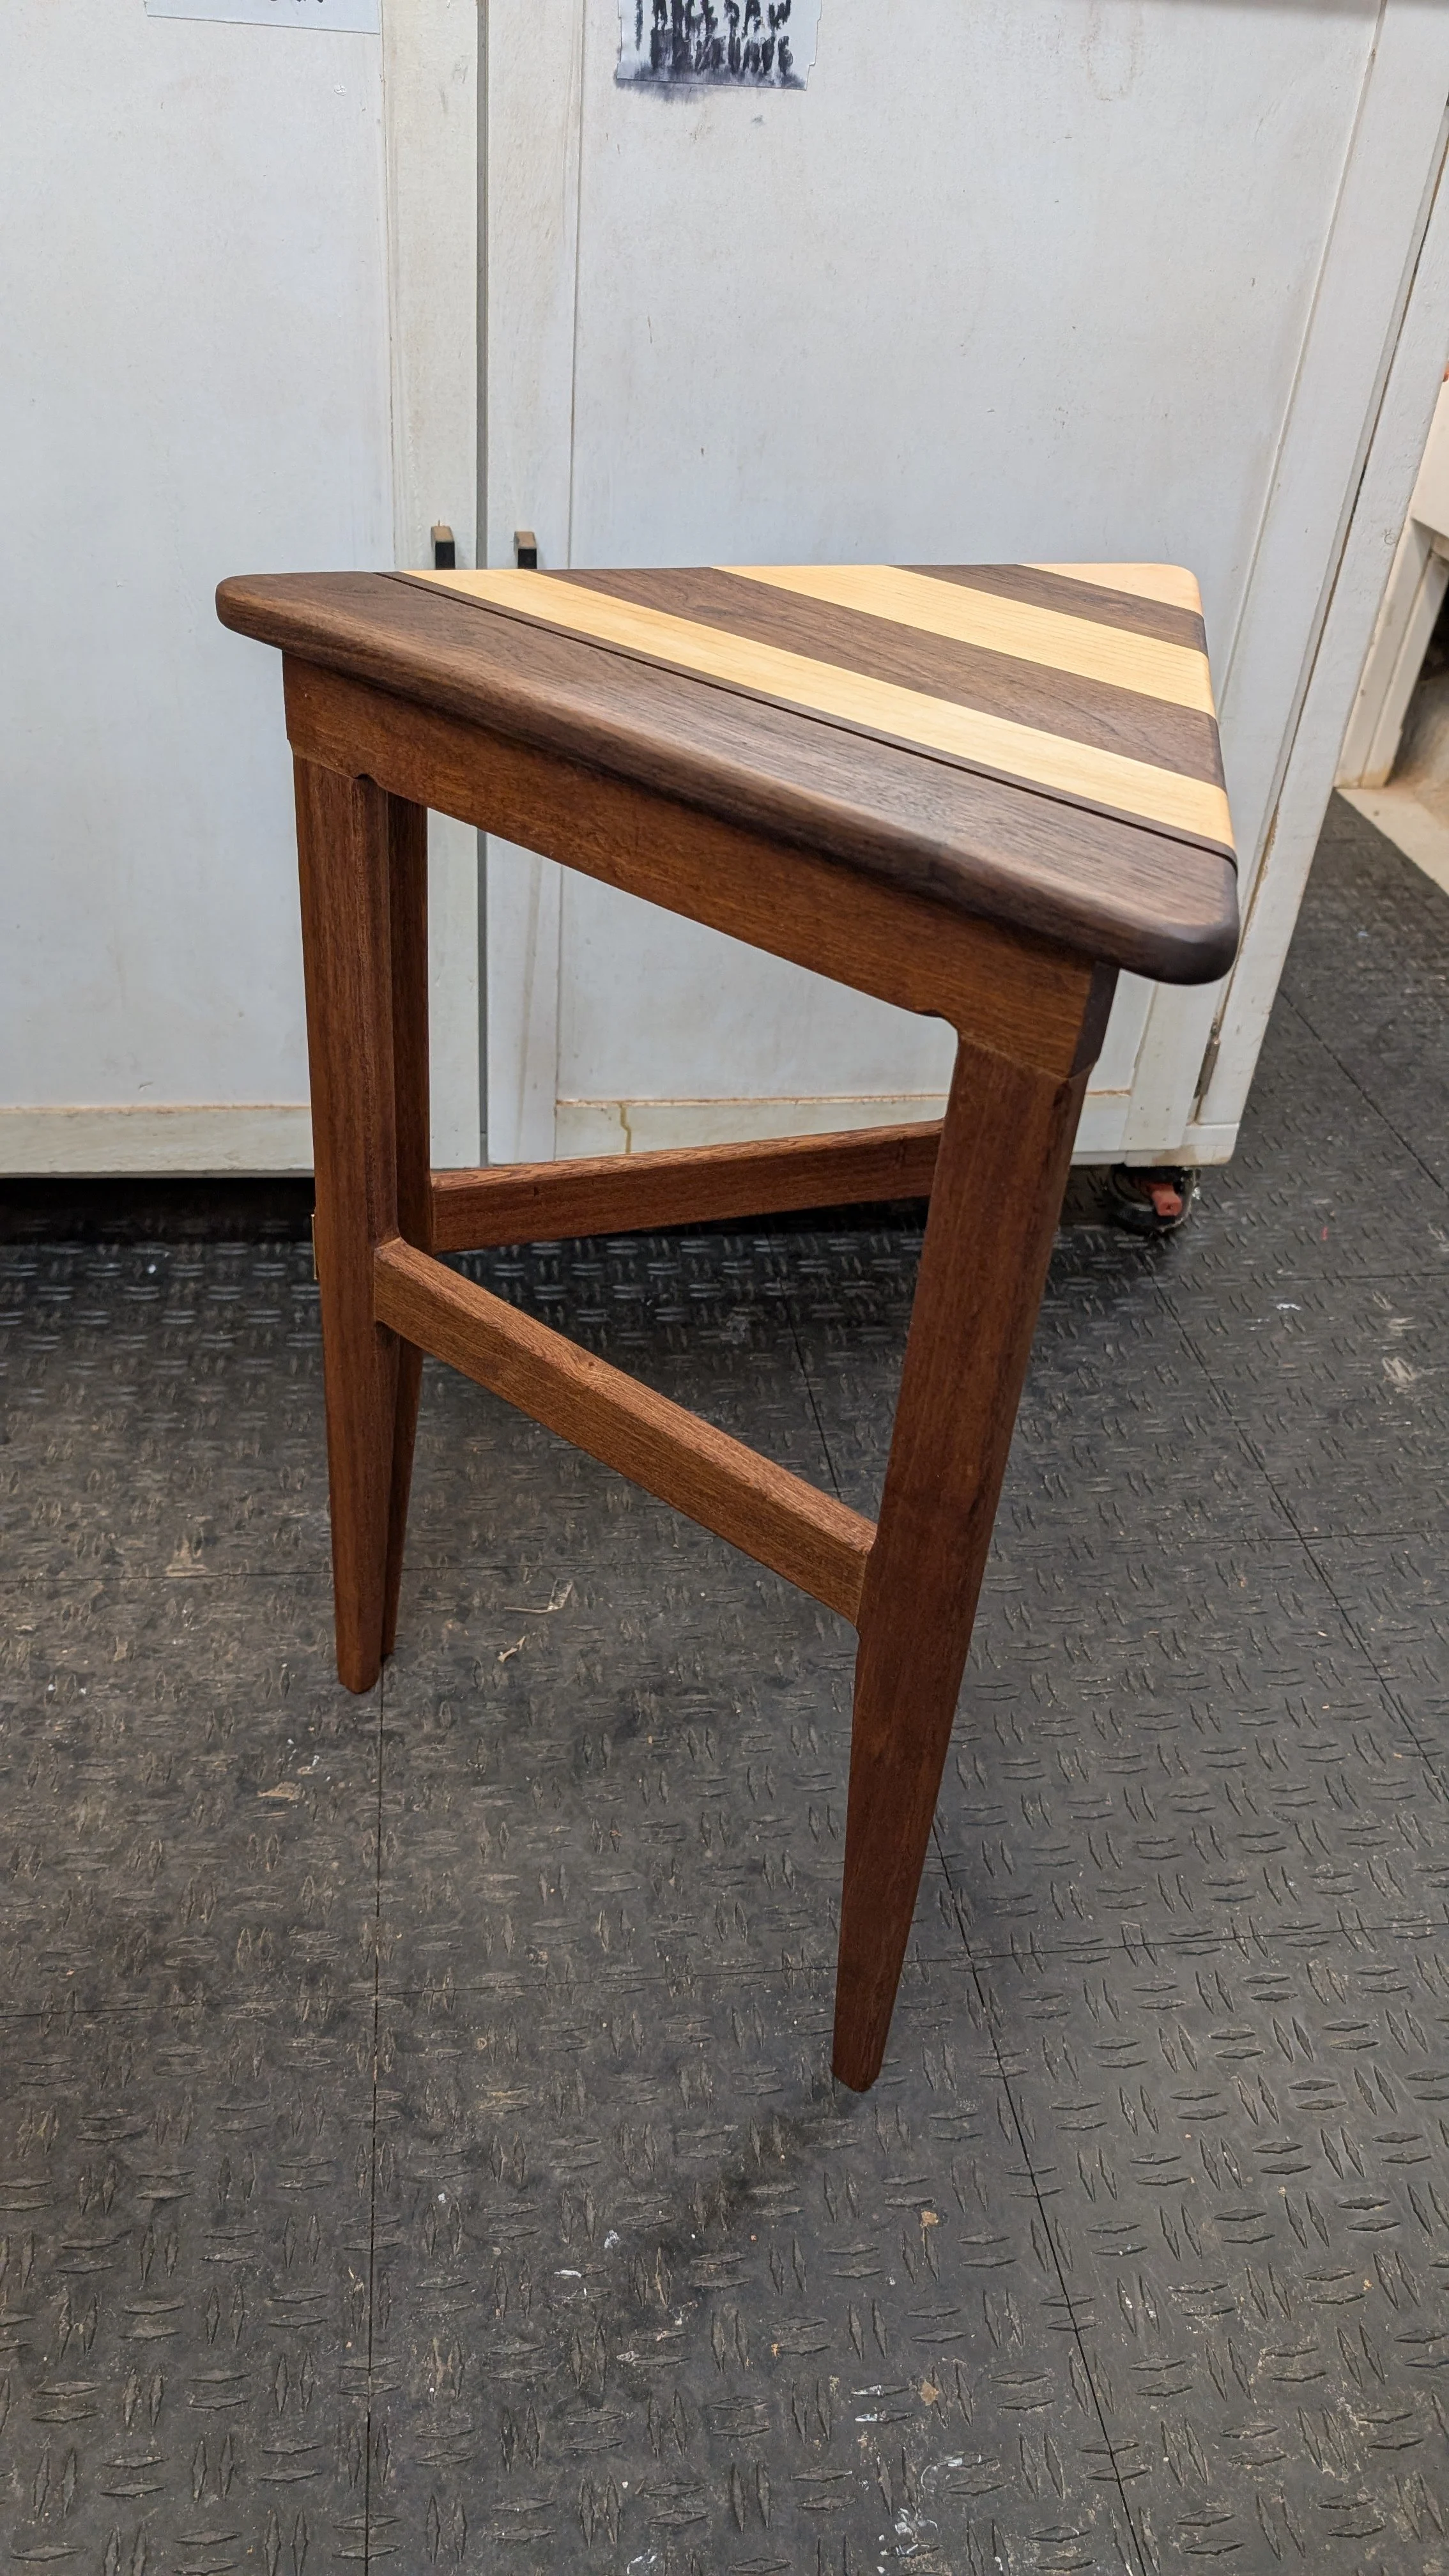
We have a set of folding tables that we got thirty plus years ago and the hardware on them is failing, my beautiful and talented wife asked if I could replace them. I proposed an initial design for some triangular stacking tables but we decided we didn’t want to give up the floor space for the stack of tables so I modified the design to be a triangular folding table that uses a gate leg and a folding top.
I decided to build a prototype using scrap wood that I had around the shop so this first table contains Walnut and Maple in the top and Sapele in the legs. I barely had enough 3/4” material to make this table and had to glue up the blank for one of the legs from two narrow off cuts of Sapele.
I glued up the panel for the top and after some flattening I was able to mark up the nineteen inch equilateral triangle for the top and cut the angles using a panel cutting sled on my table saw.
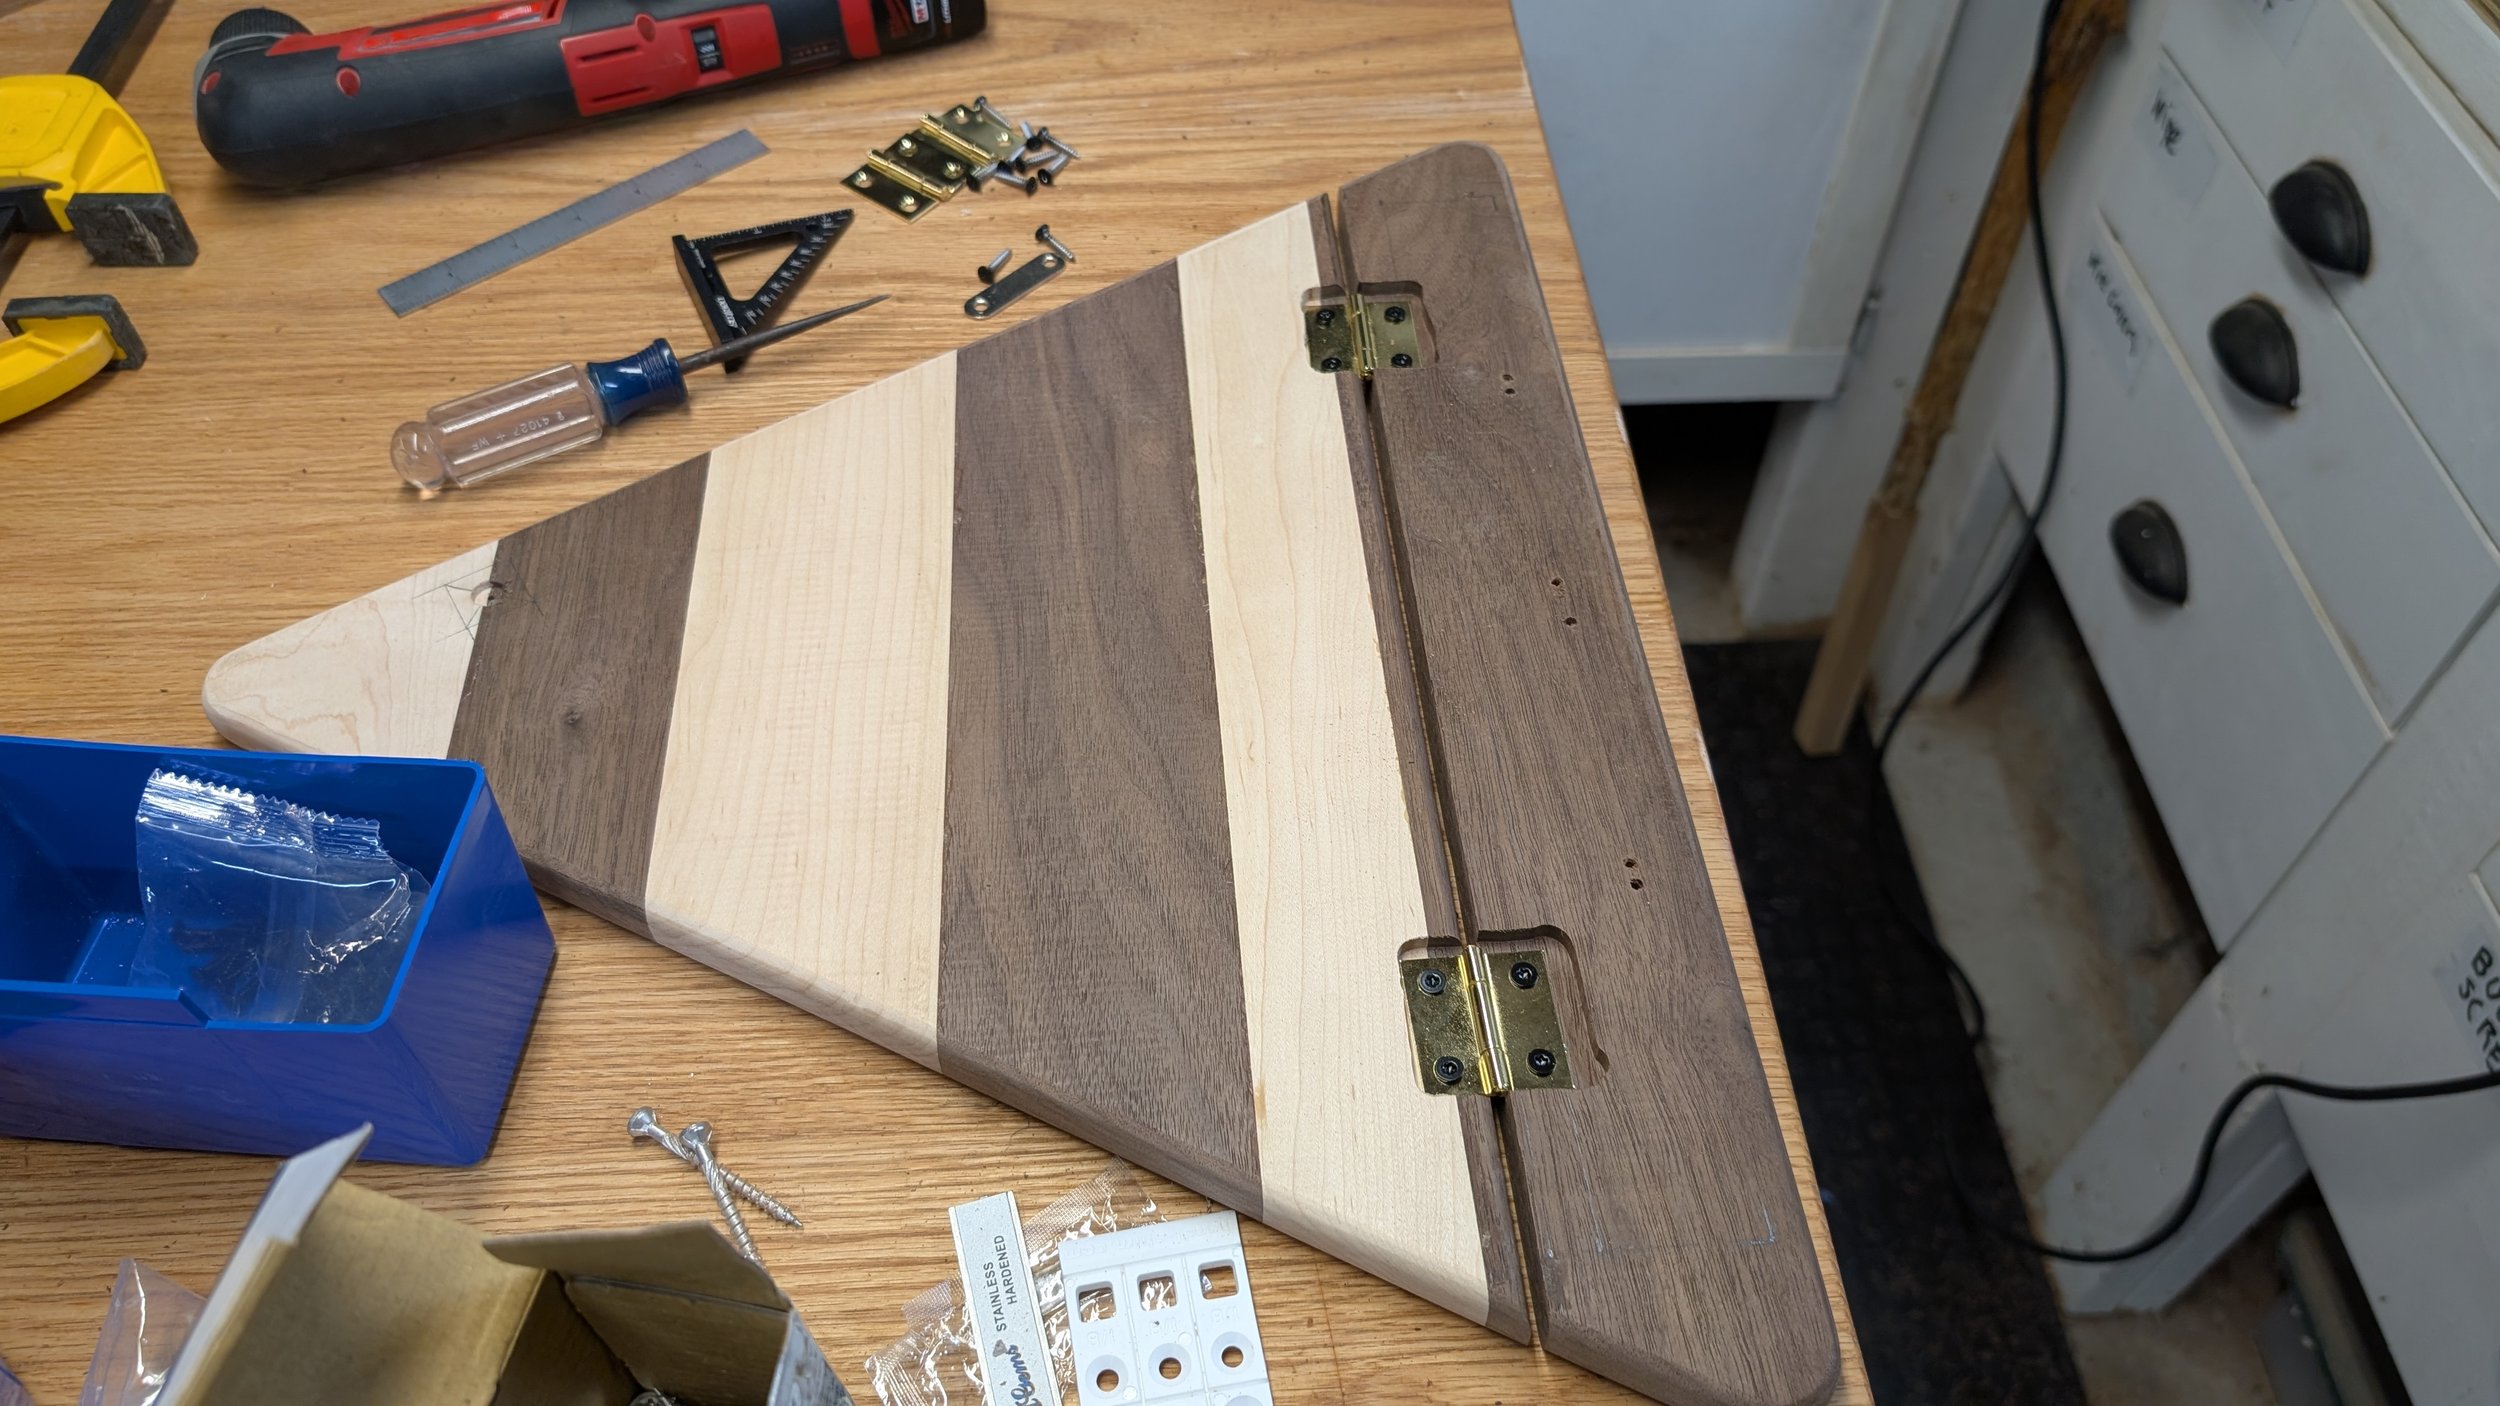
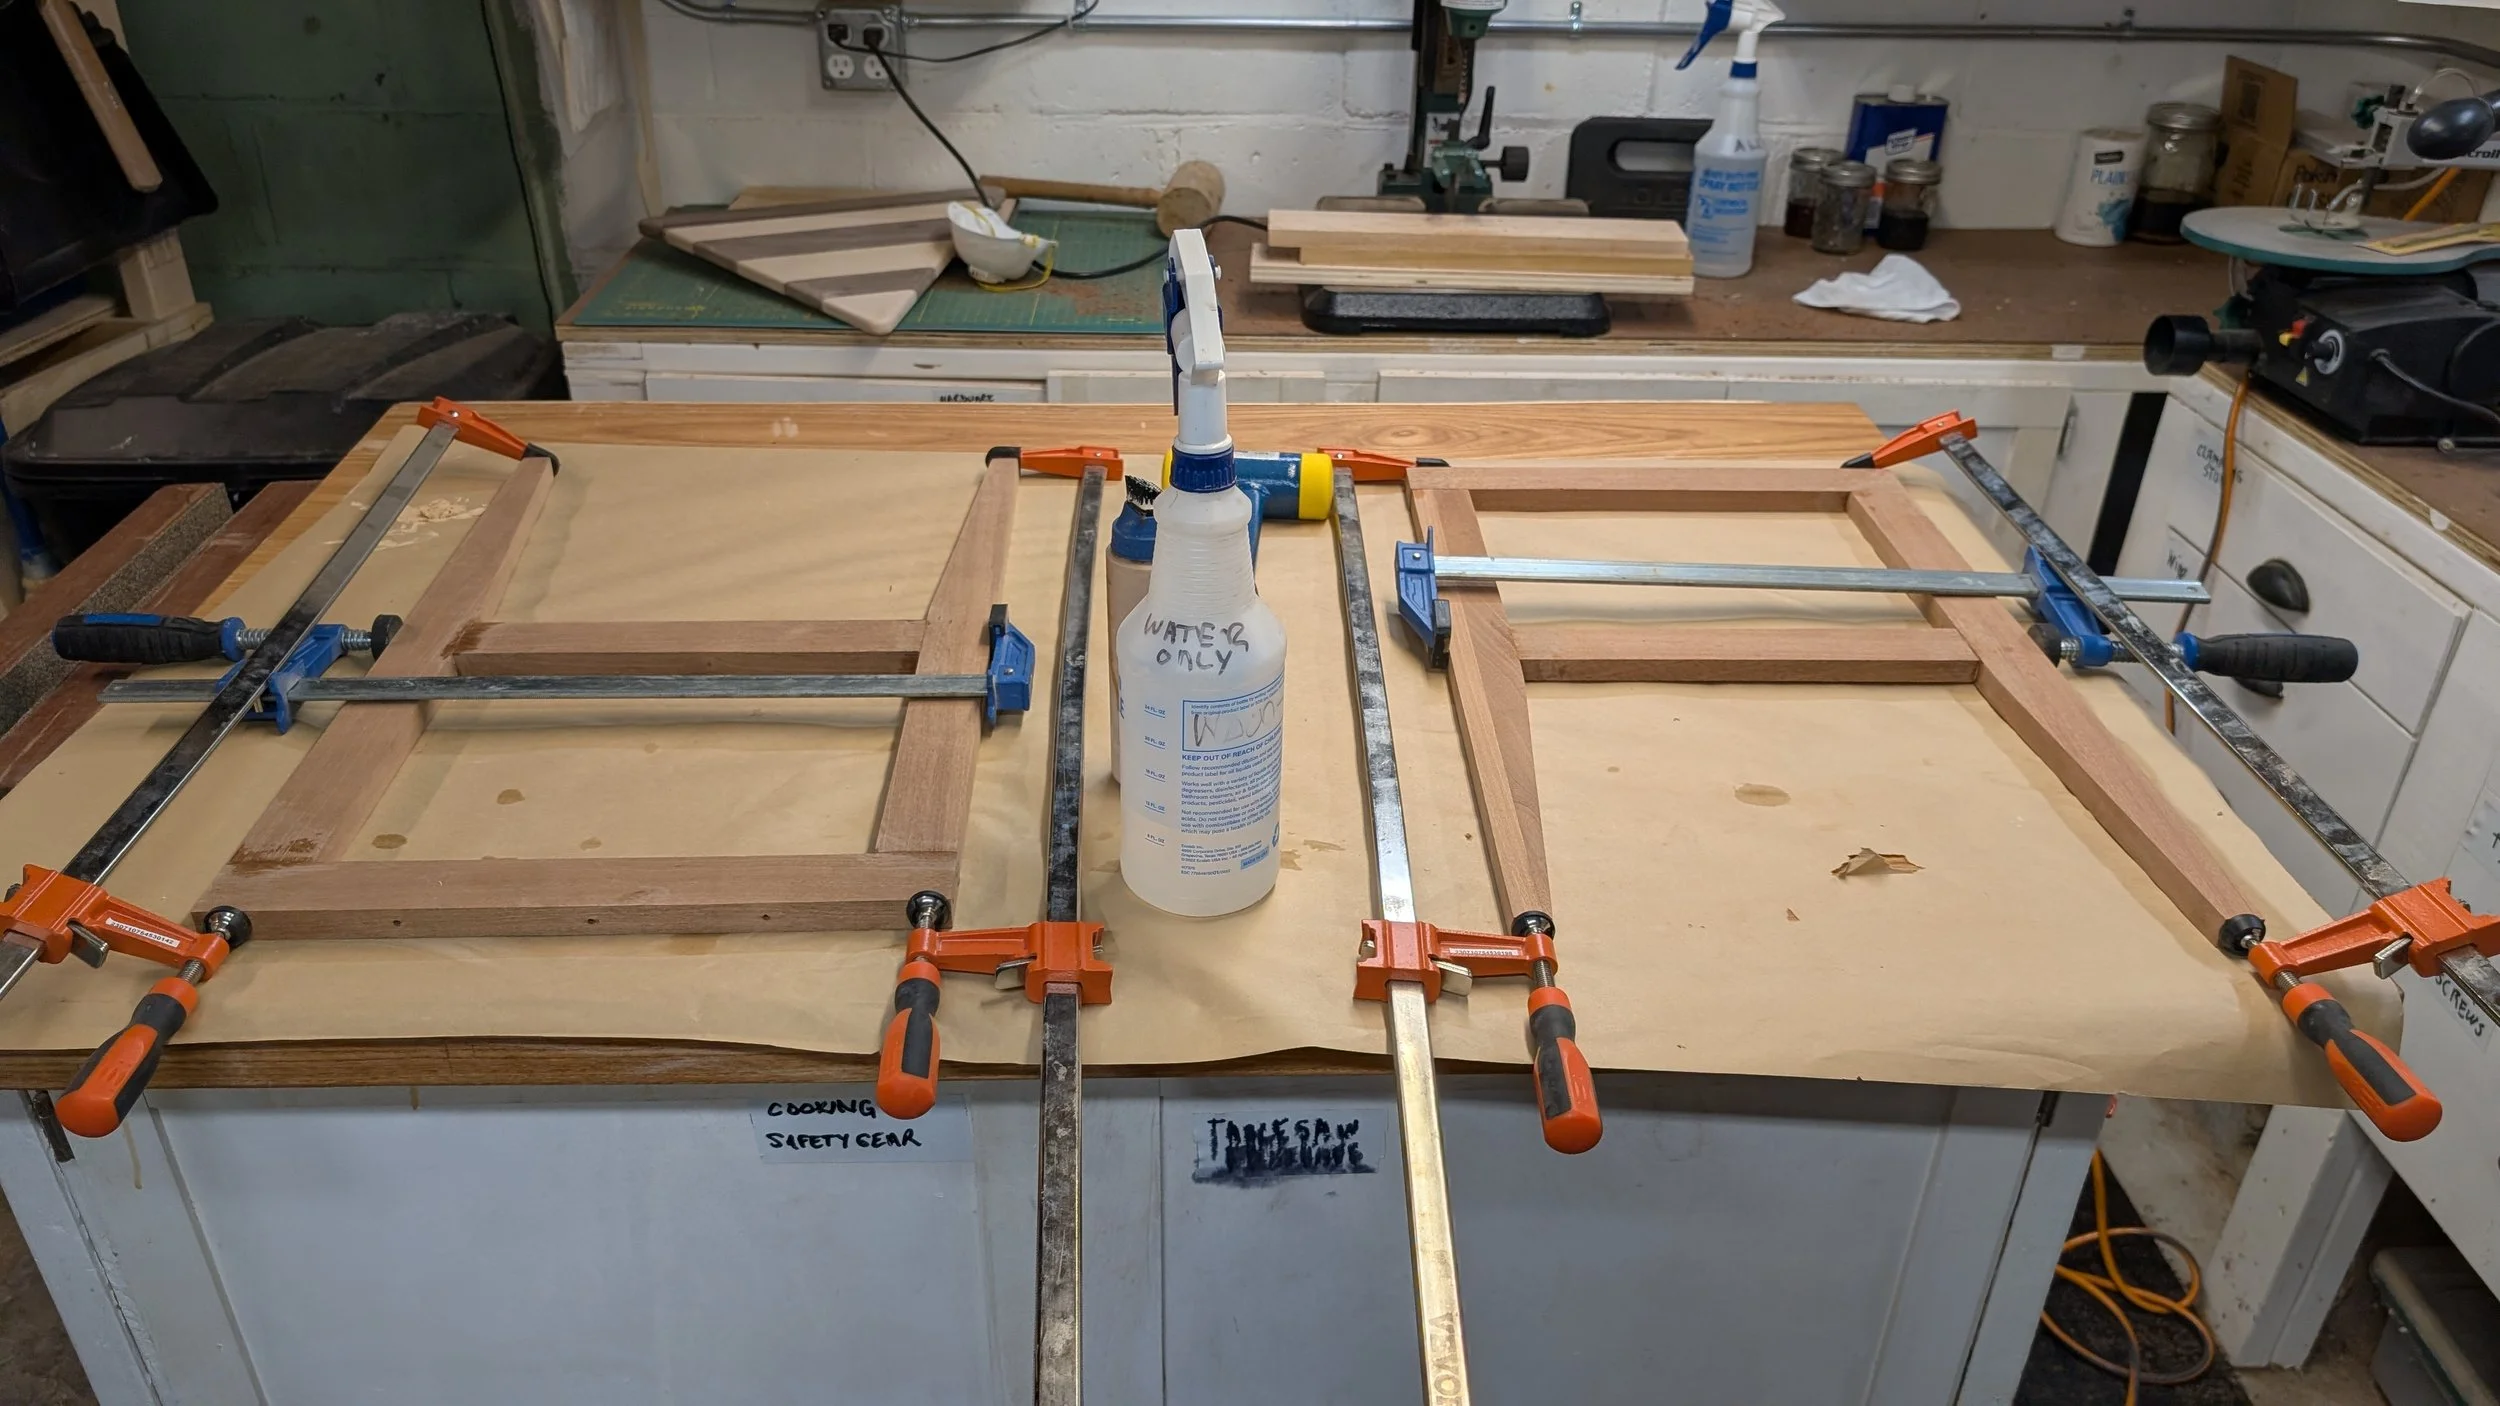
I then cut all the material for the leg frames from 1 3/4” x 3/4” Sapele. I joined the frames using 1” x 1 1/4” x 1/4” tenons and mortises. I used the dry fit frames to figure out where the fixed leg frame of the table would be and where the hinged leg of the frame would swing to. I decided where I was going to place the hinges for the table top and mortised the underside of the table top for the hinges.

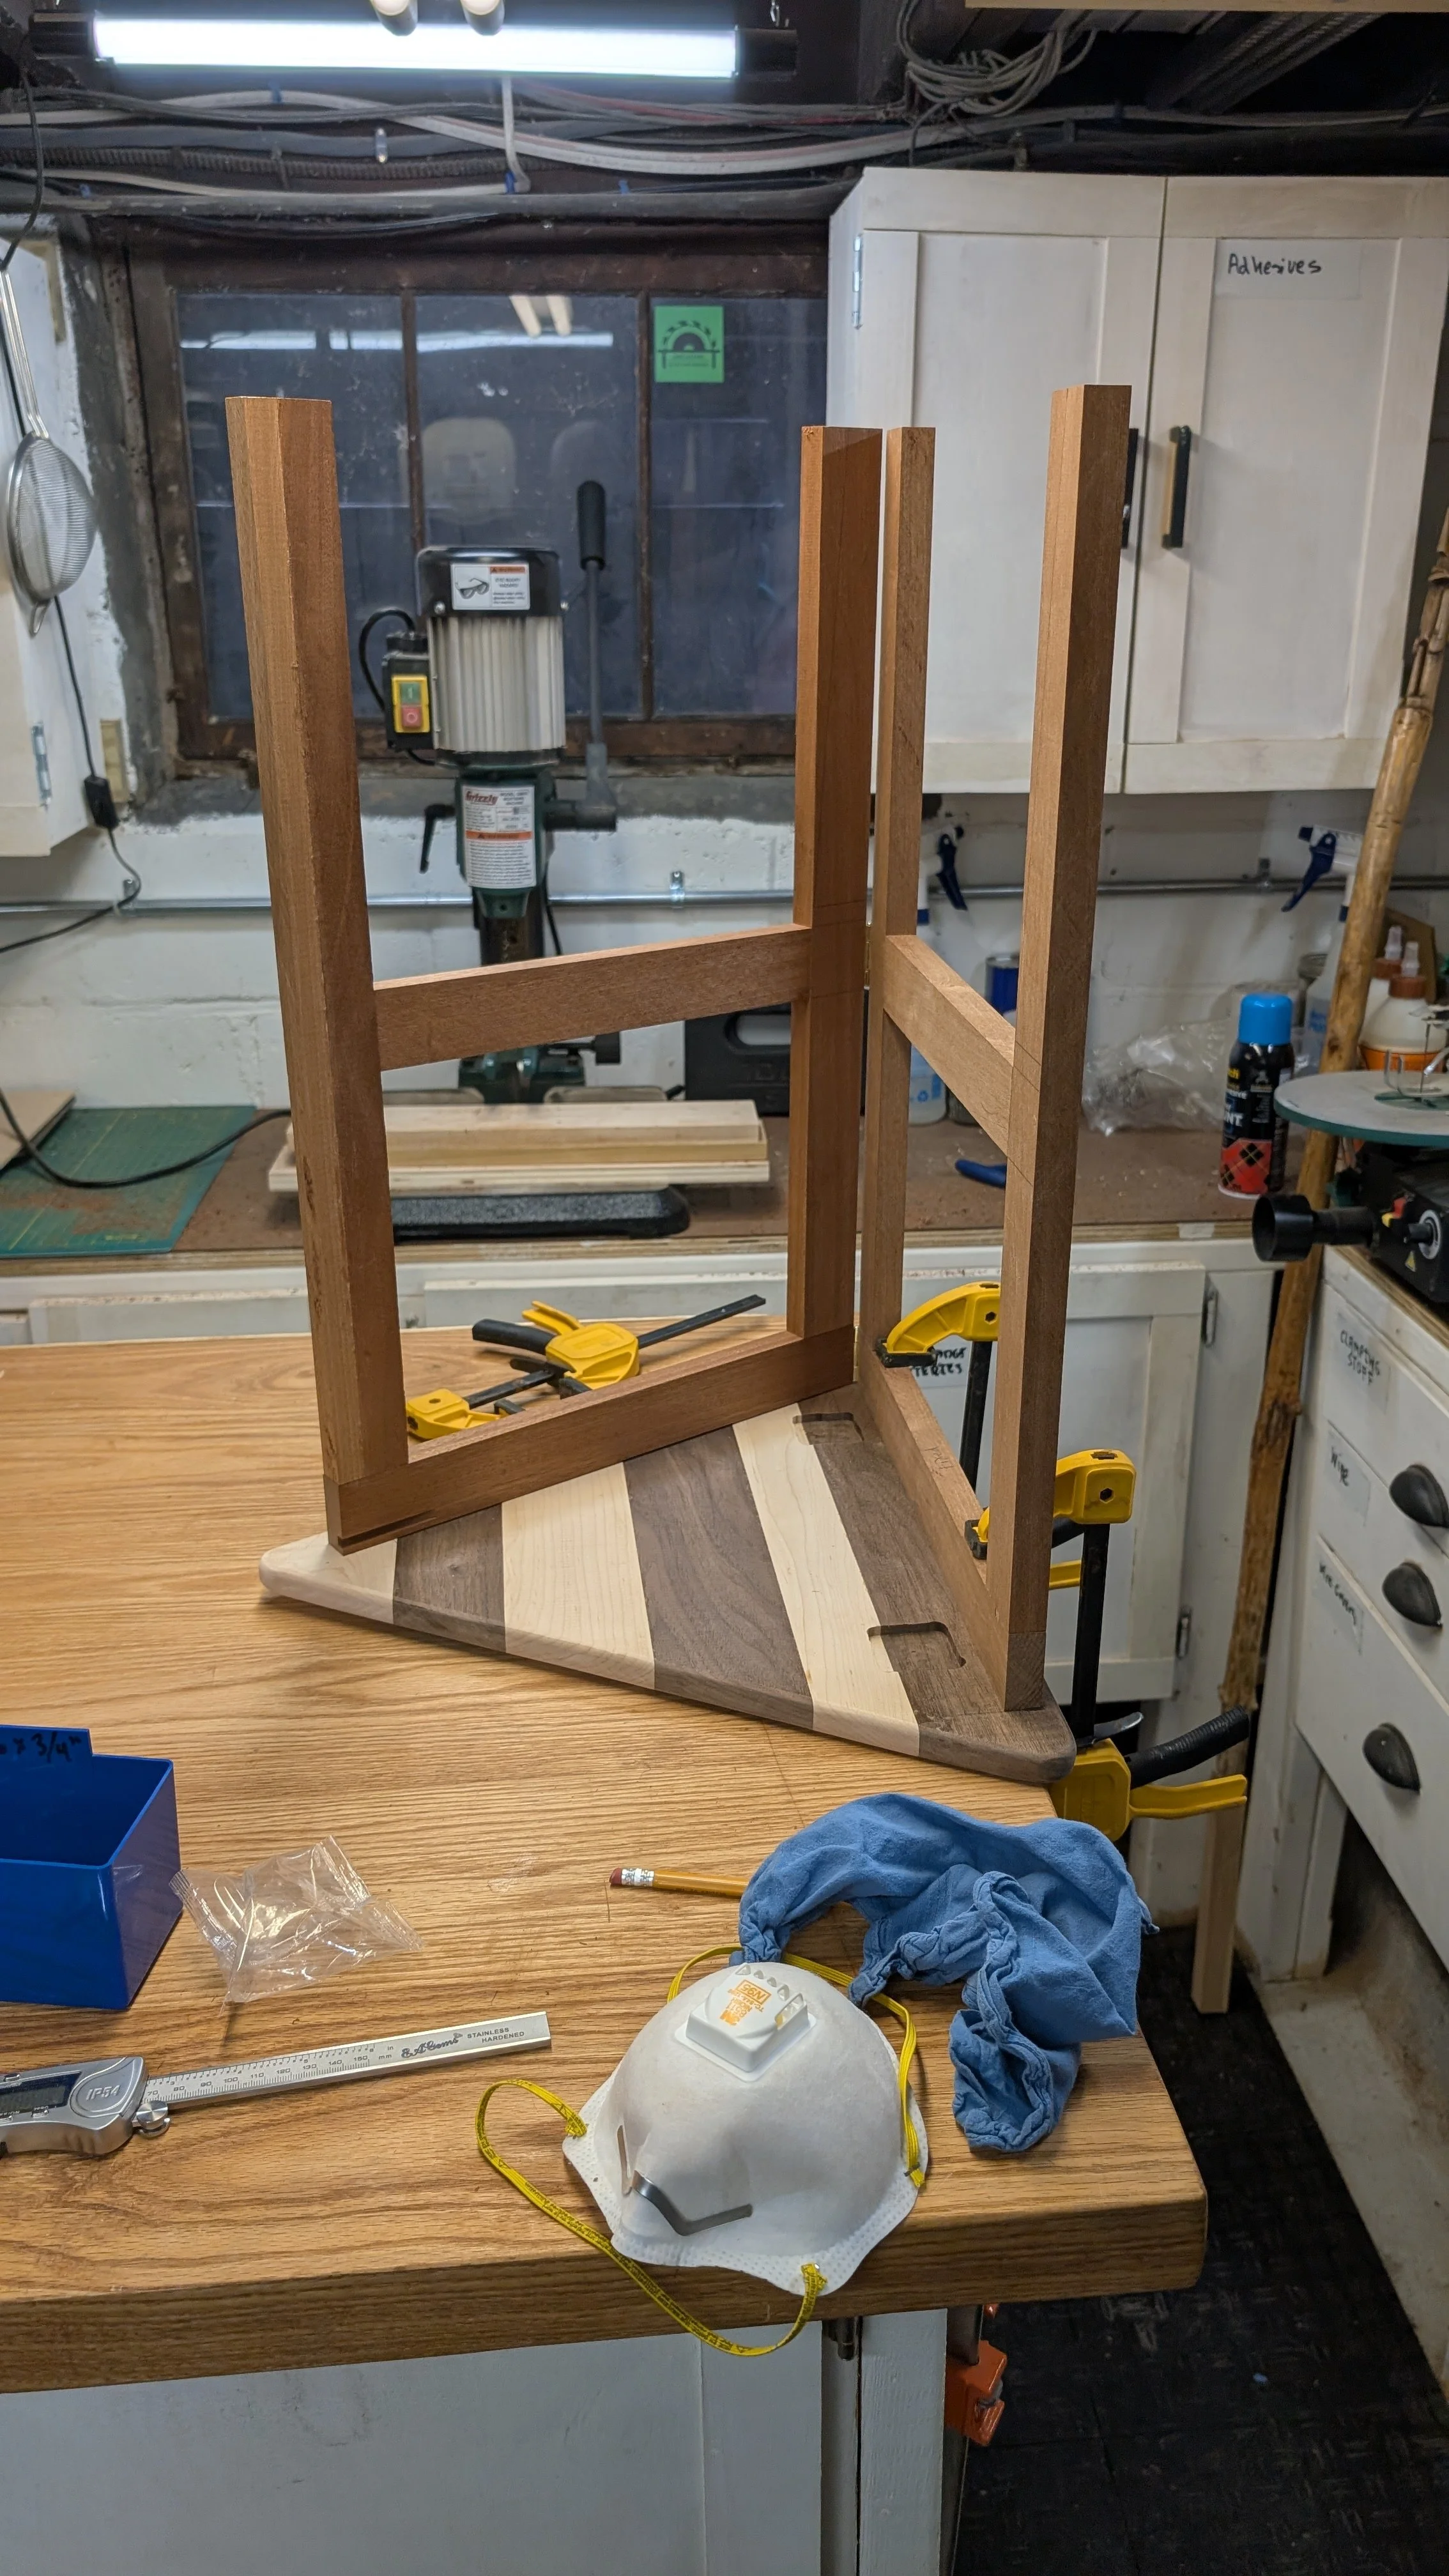
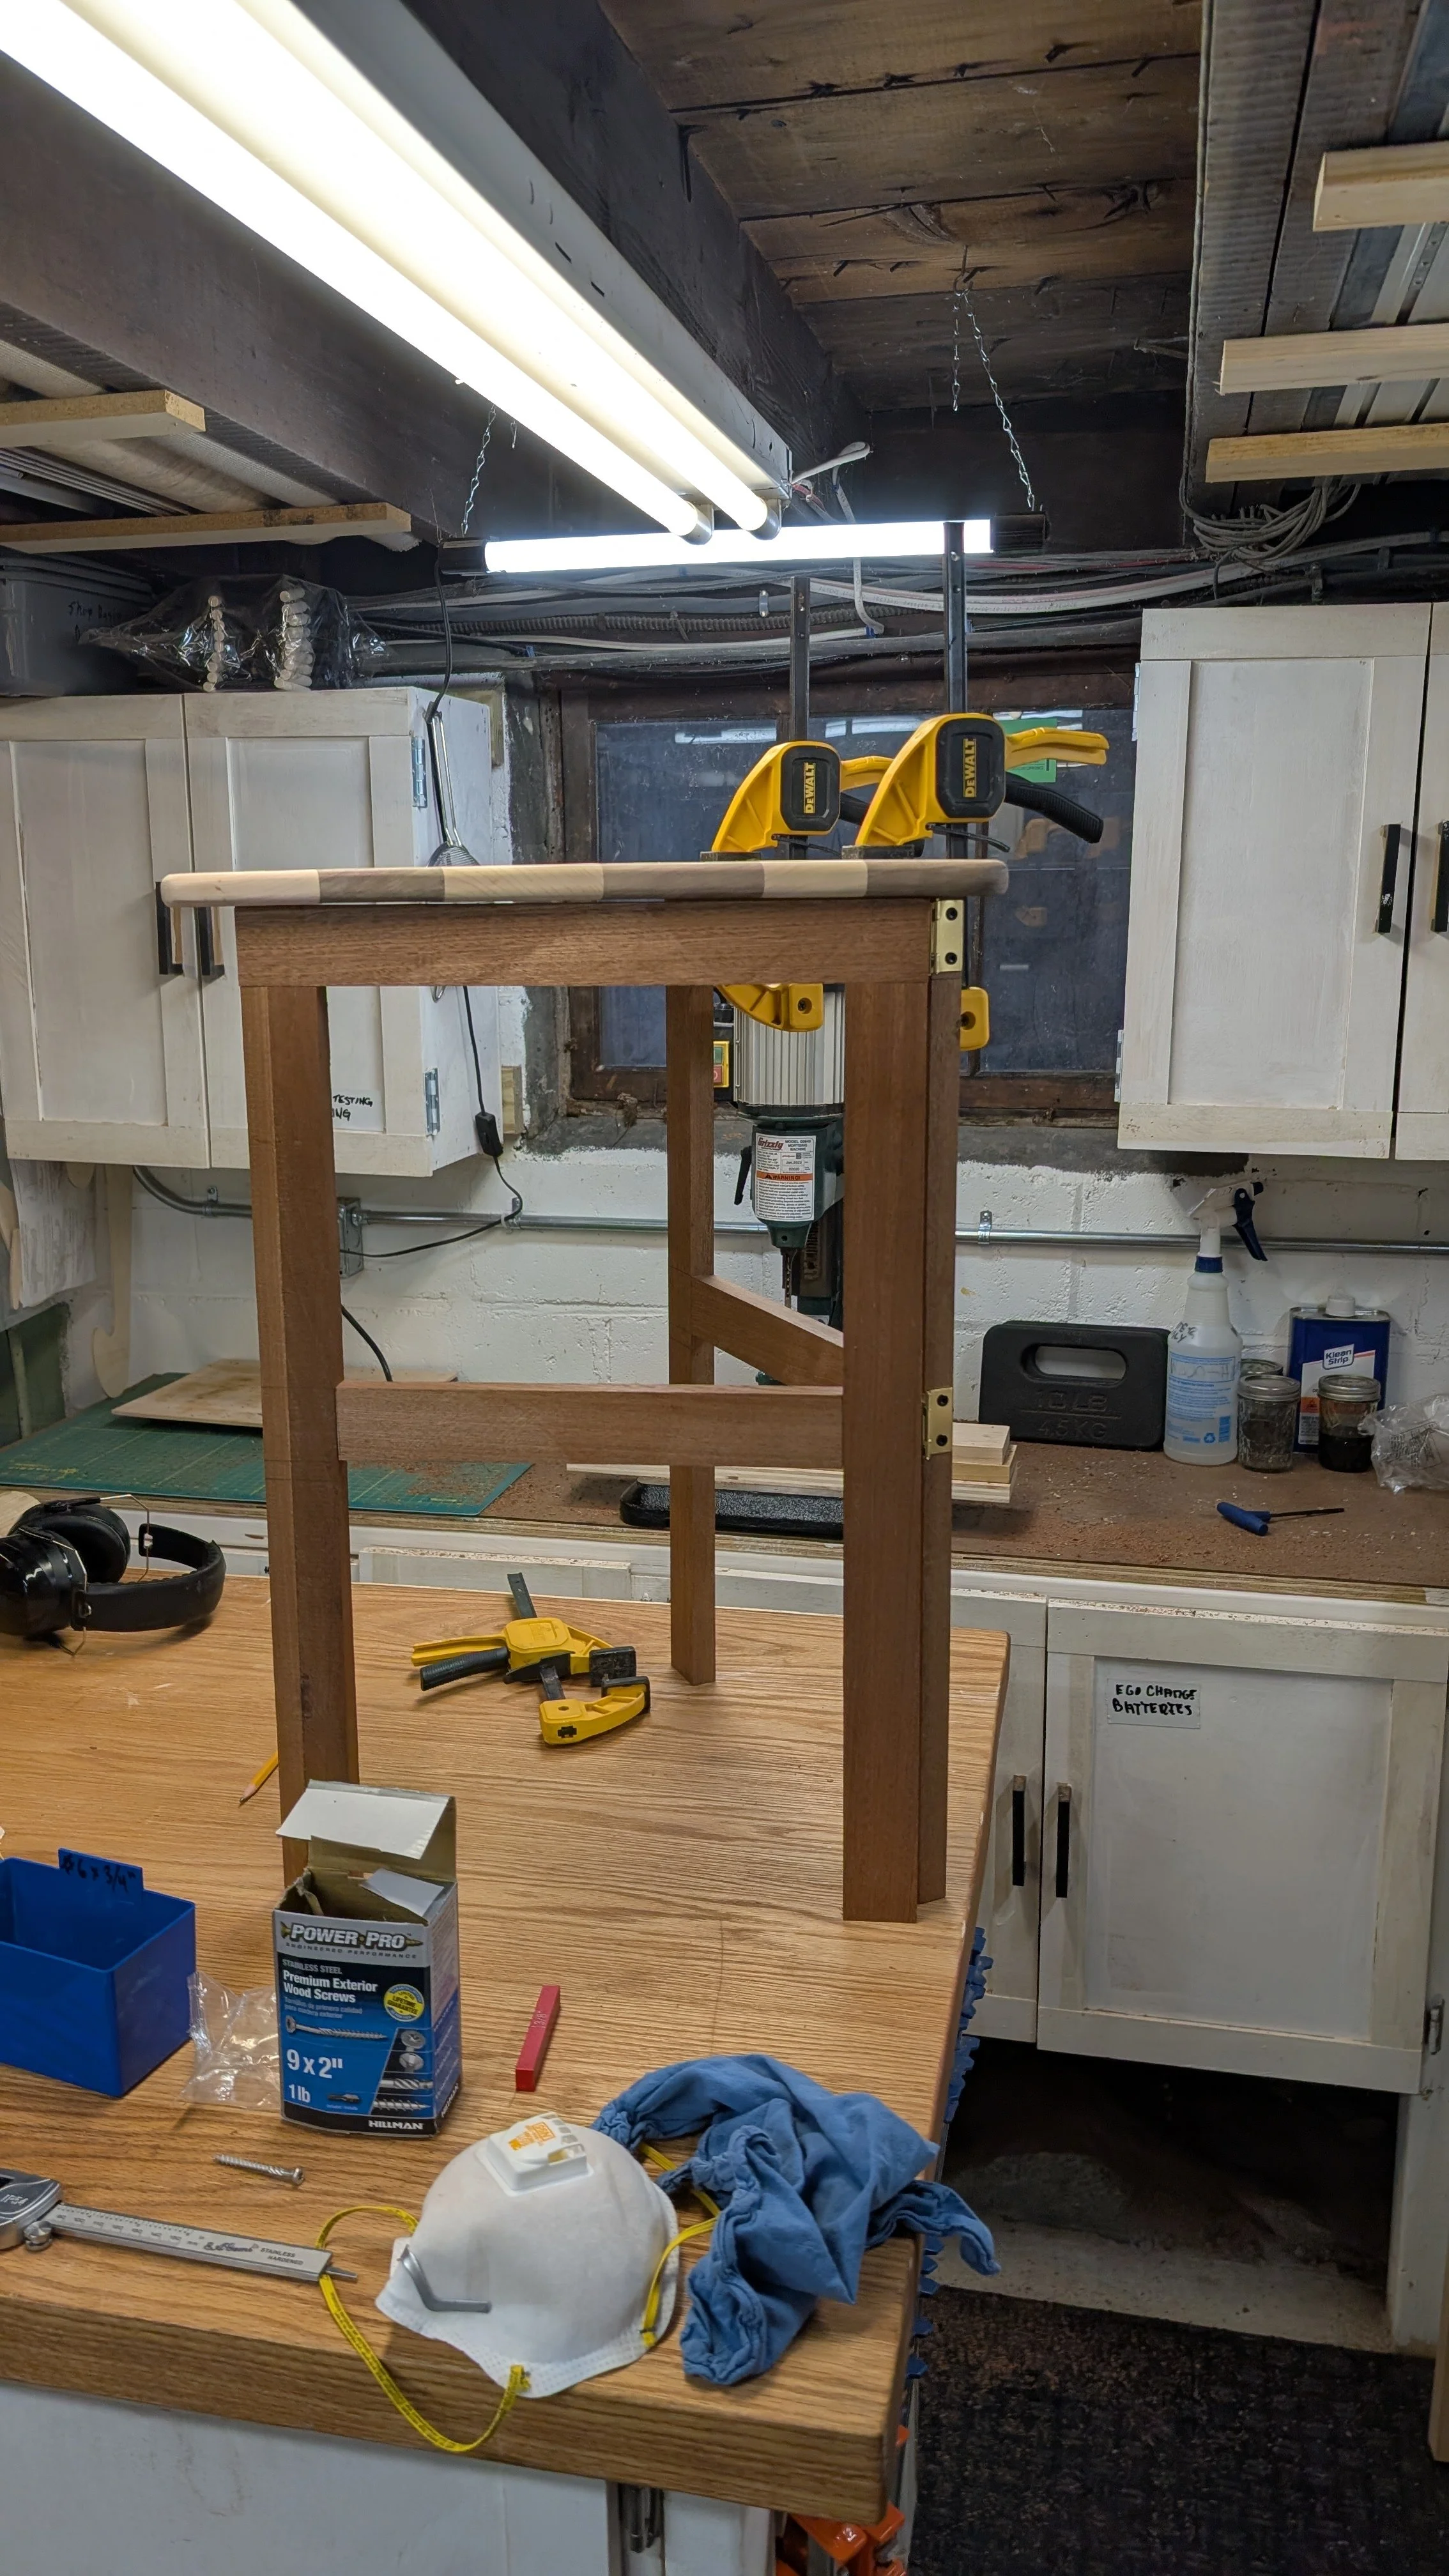
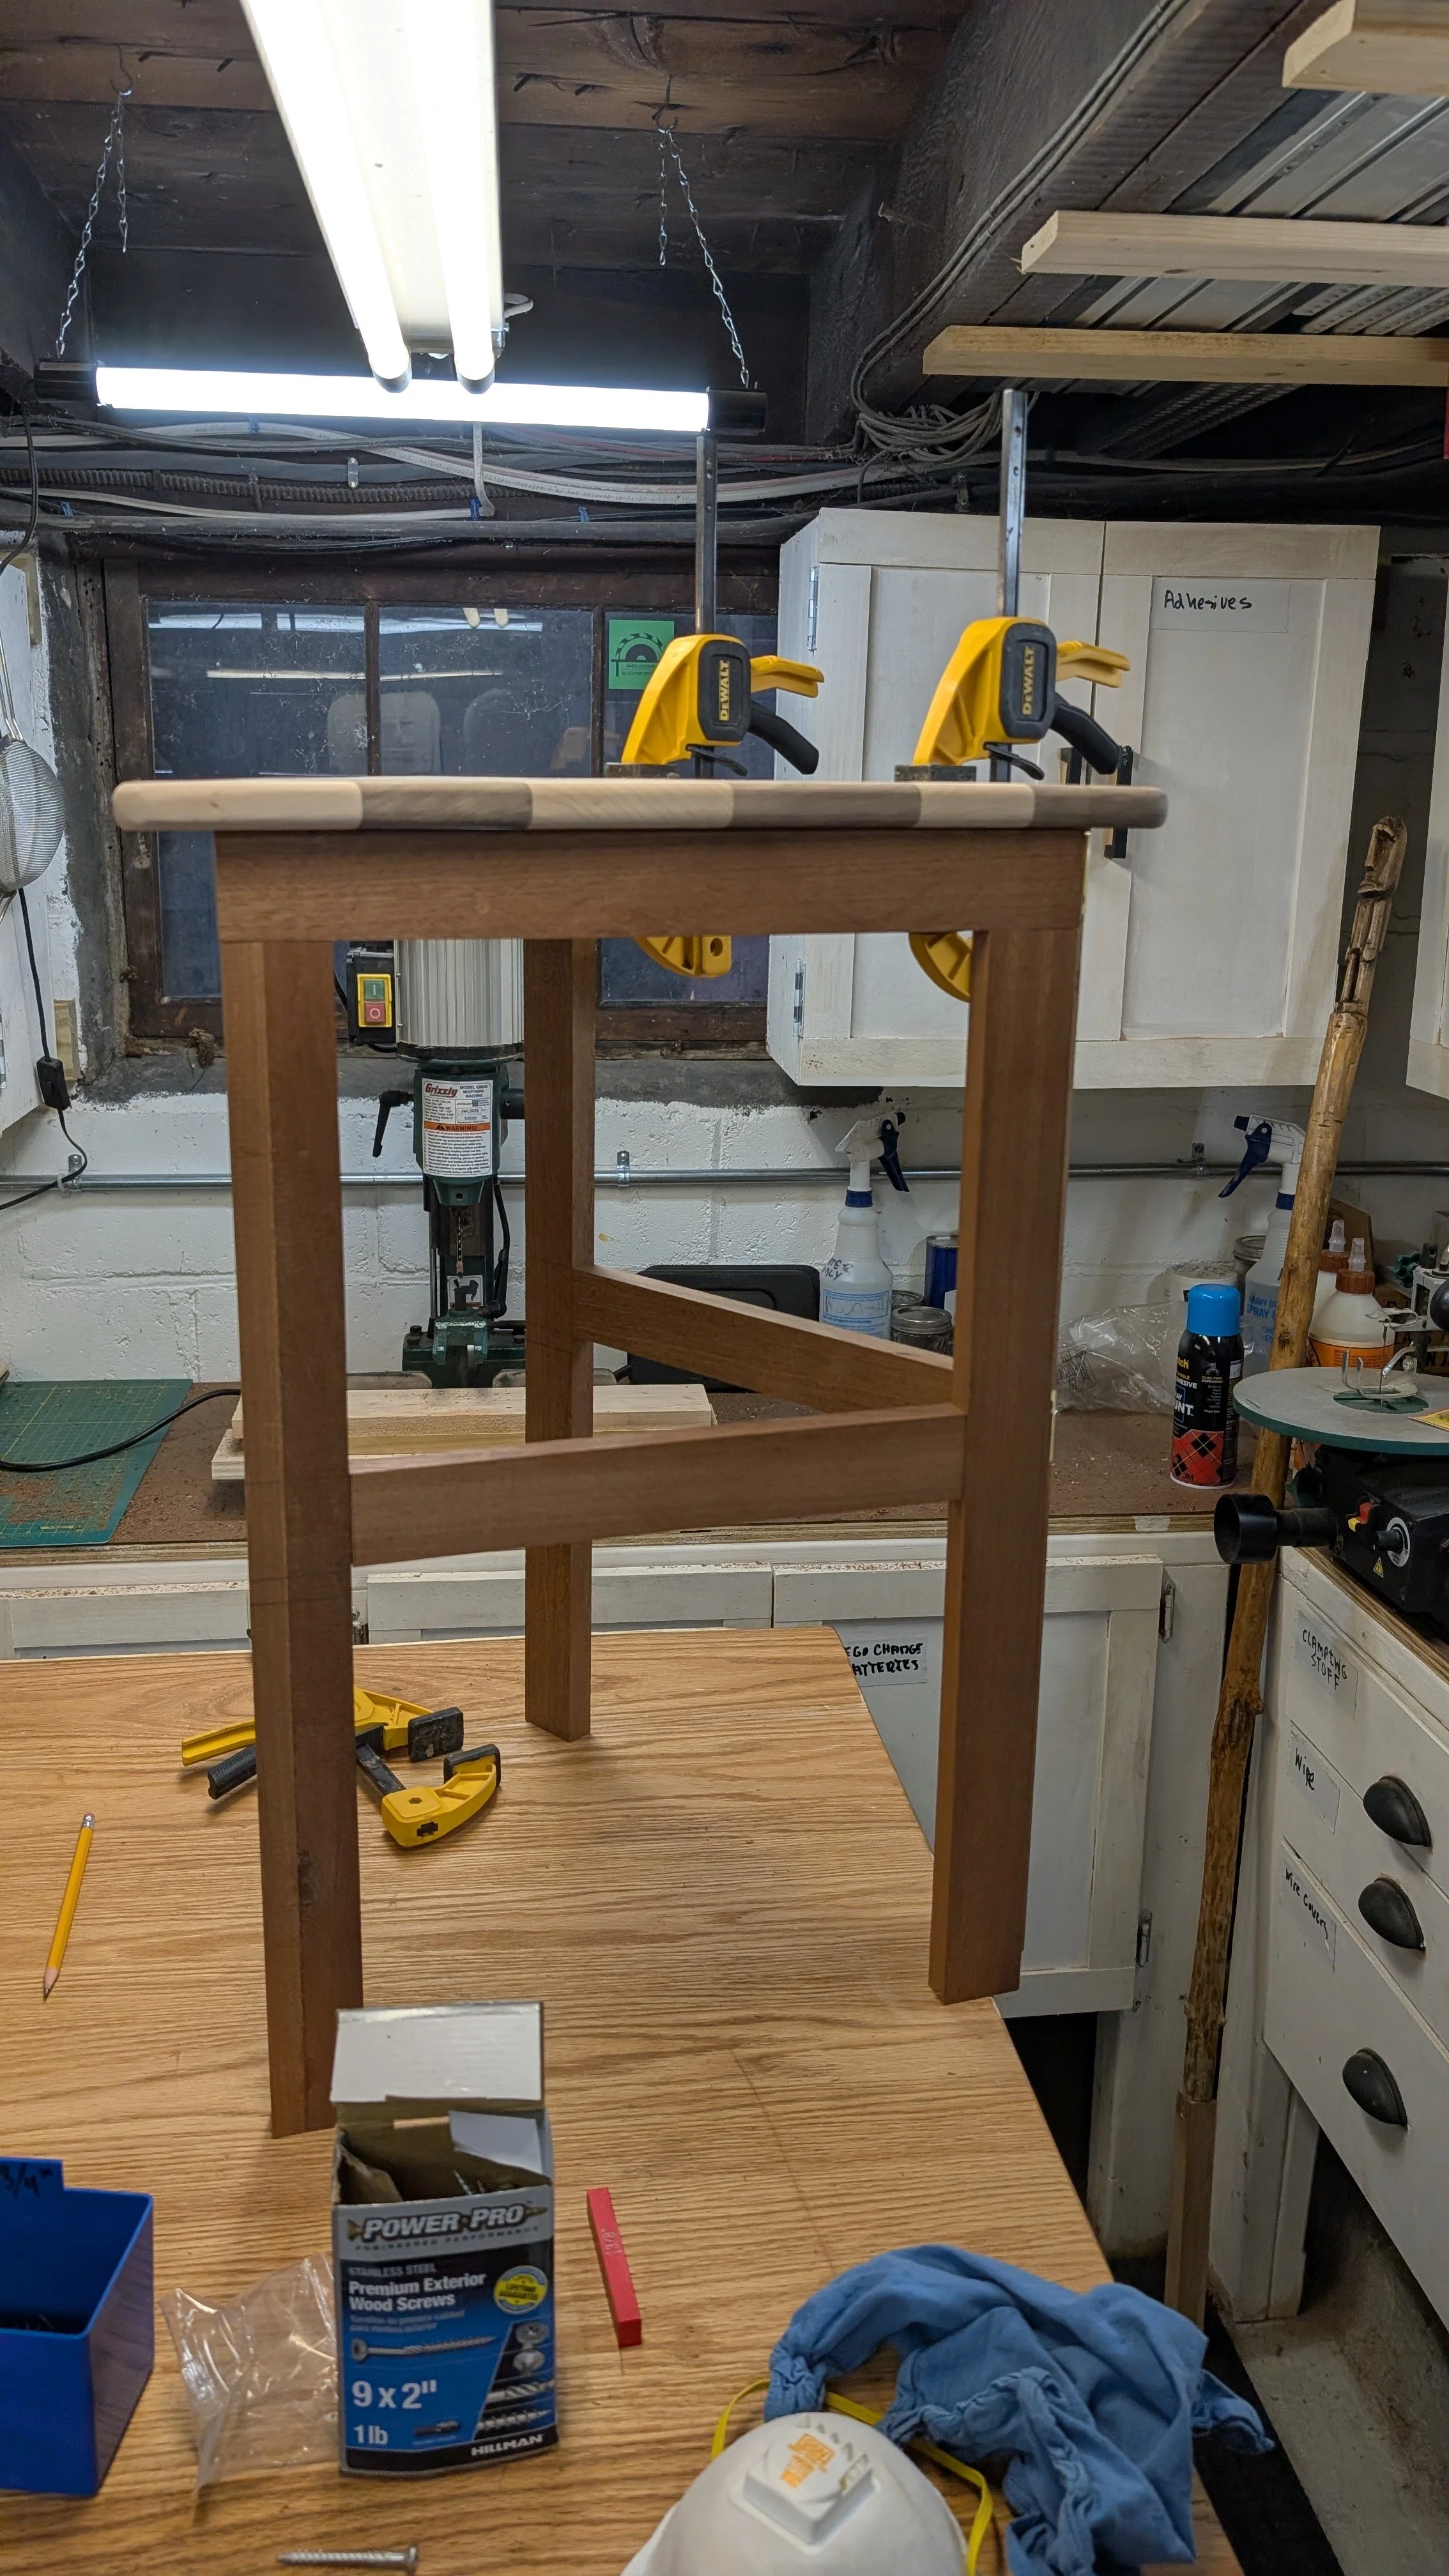
I decided t hat I was going to glue and screw the fixed leg frame to the top. I located the upper frame part and drilled and countersunk three screw holes. This also allowed me to do a full assembly mock-up of the table to figure out any clearance issues. I realized that I would have to round over the back edge of the underside of the table to provide clearance for the table top to fold down. I also cut the table top at the right distance and installed the hinges during this process. I also installed a rare earth magnet in the underside of the table top where I wanted the gate leg to stop and into the top frame of gate leg so that they would grip each other tightly.
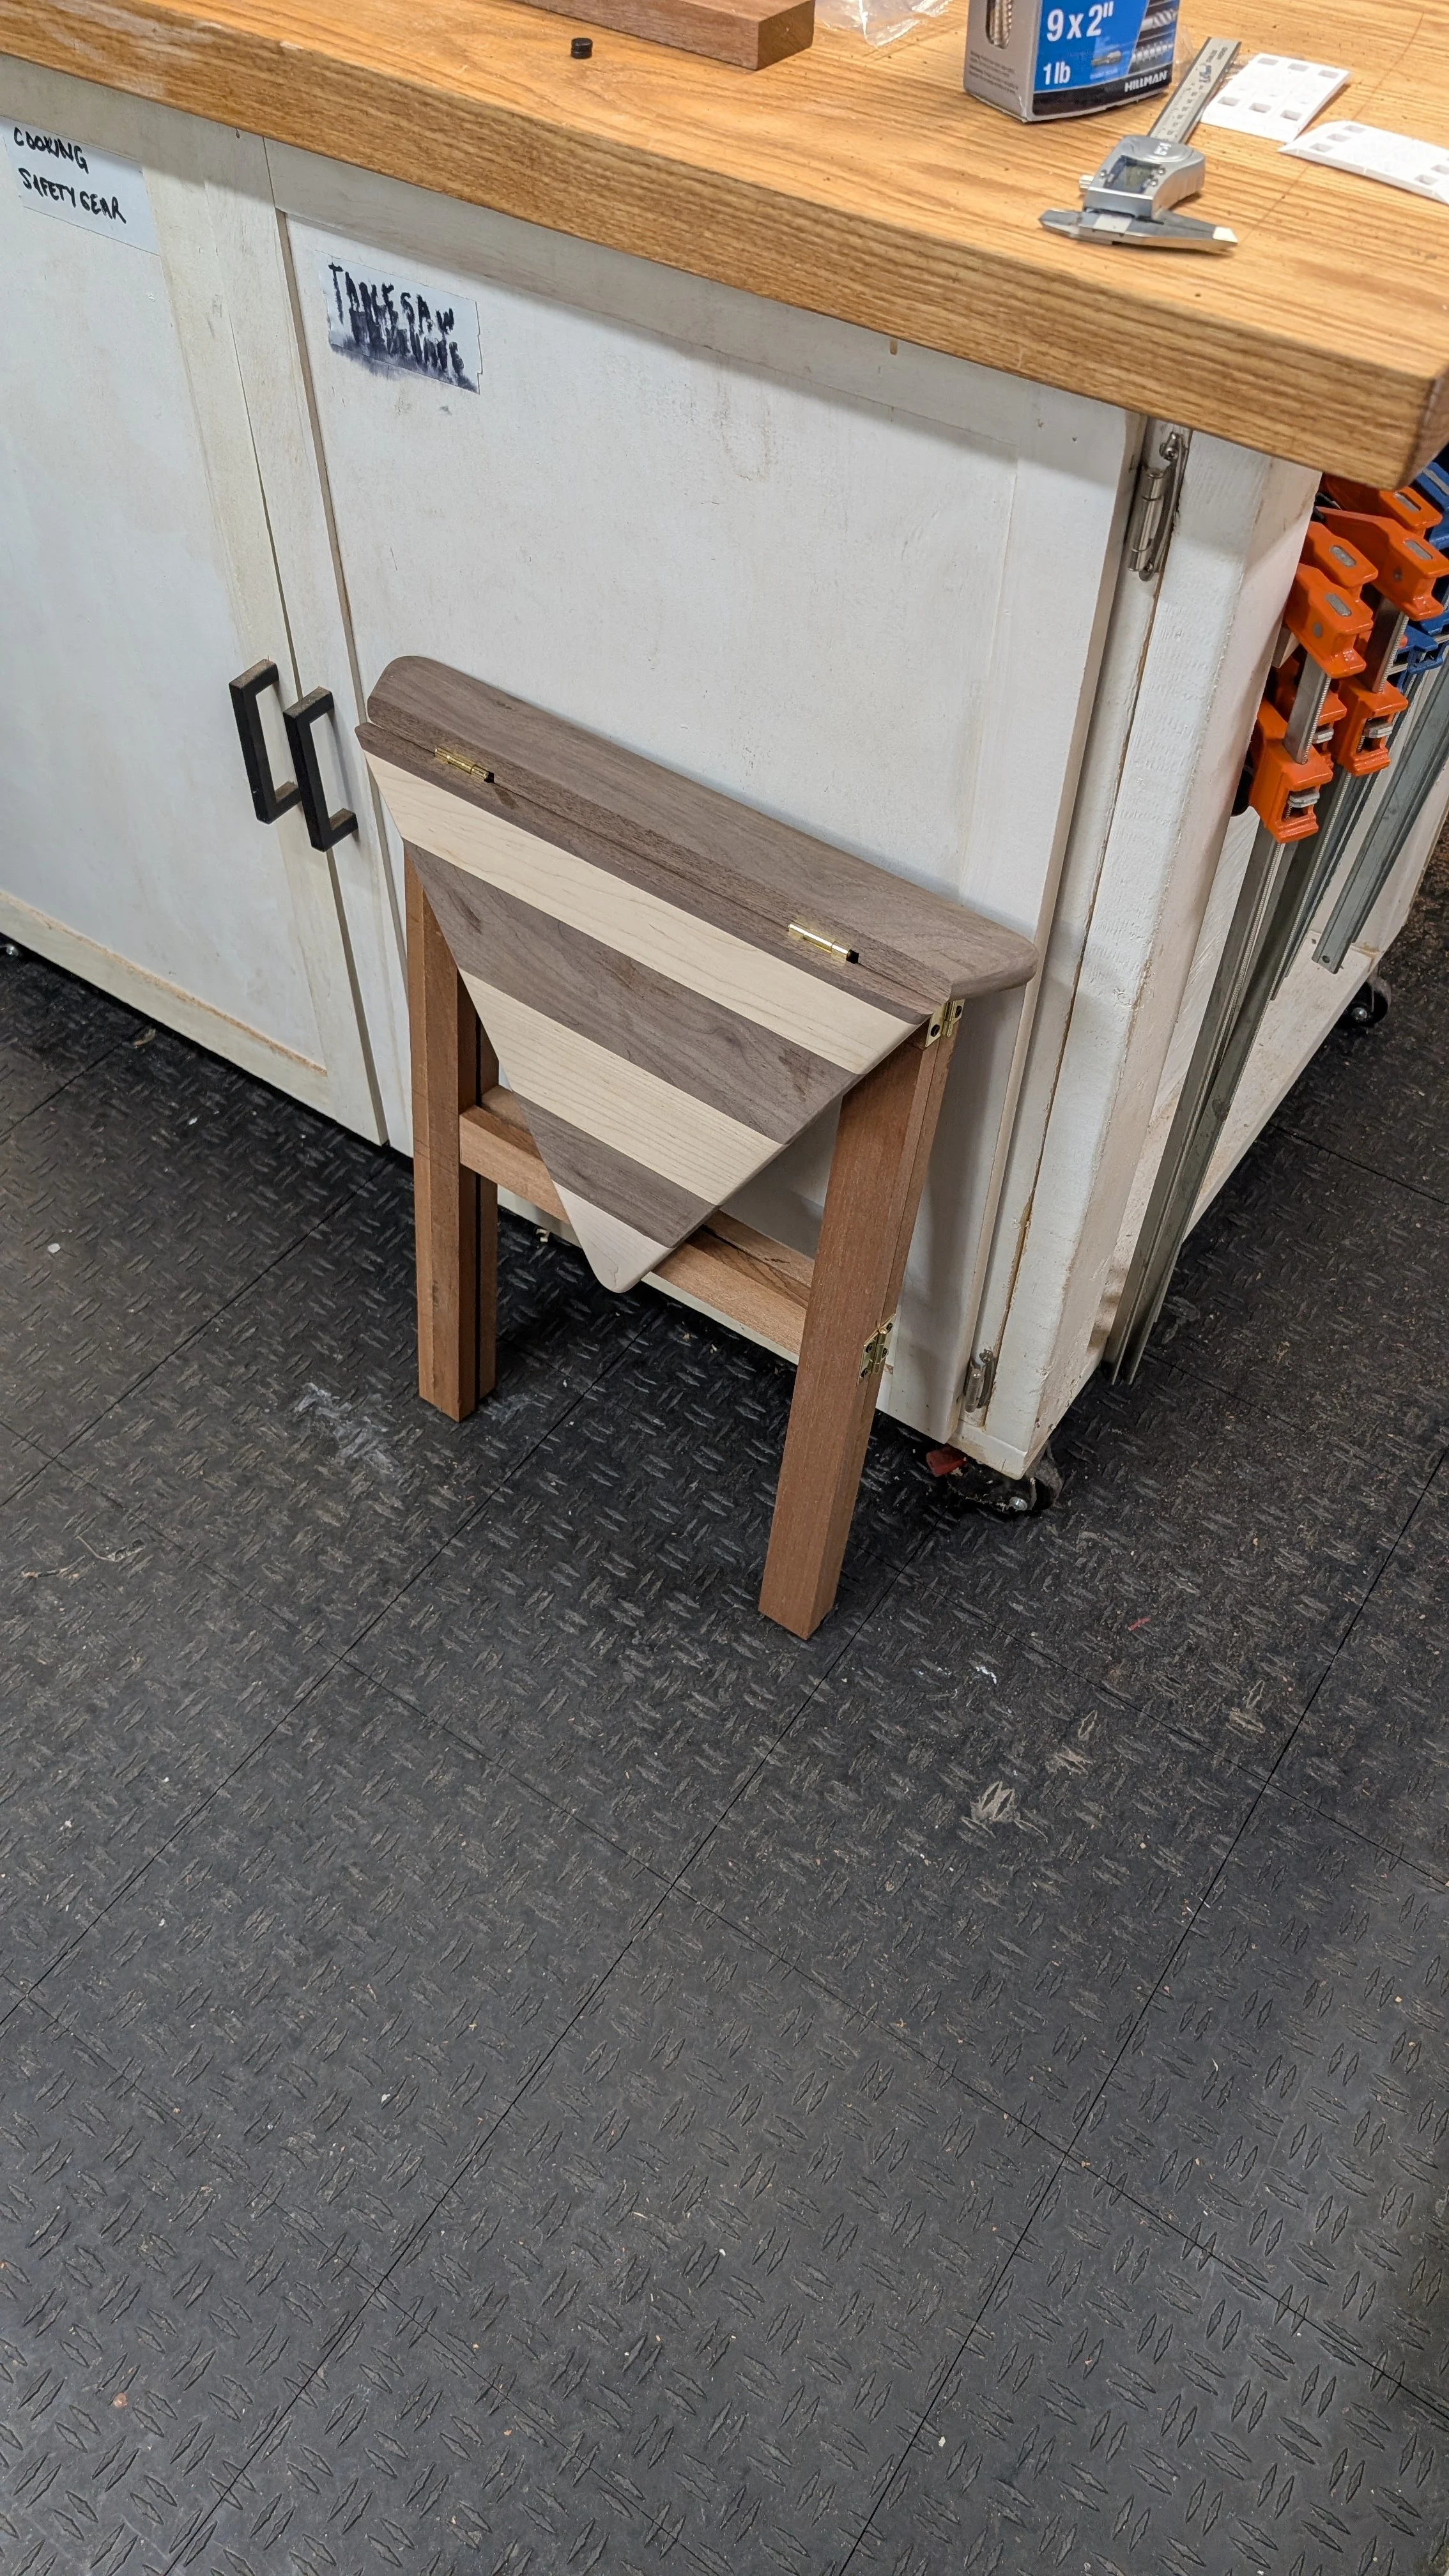
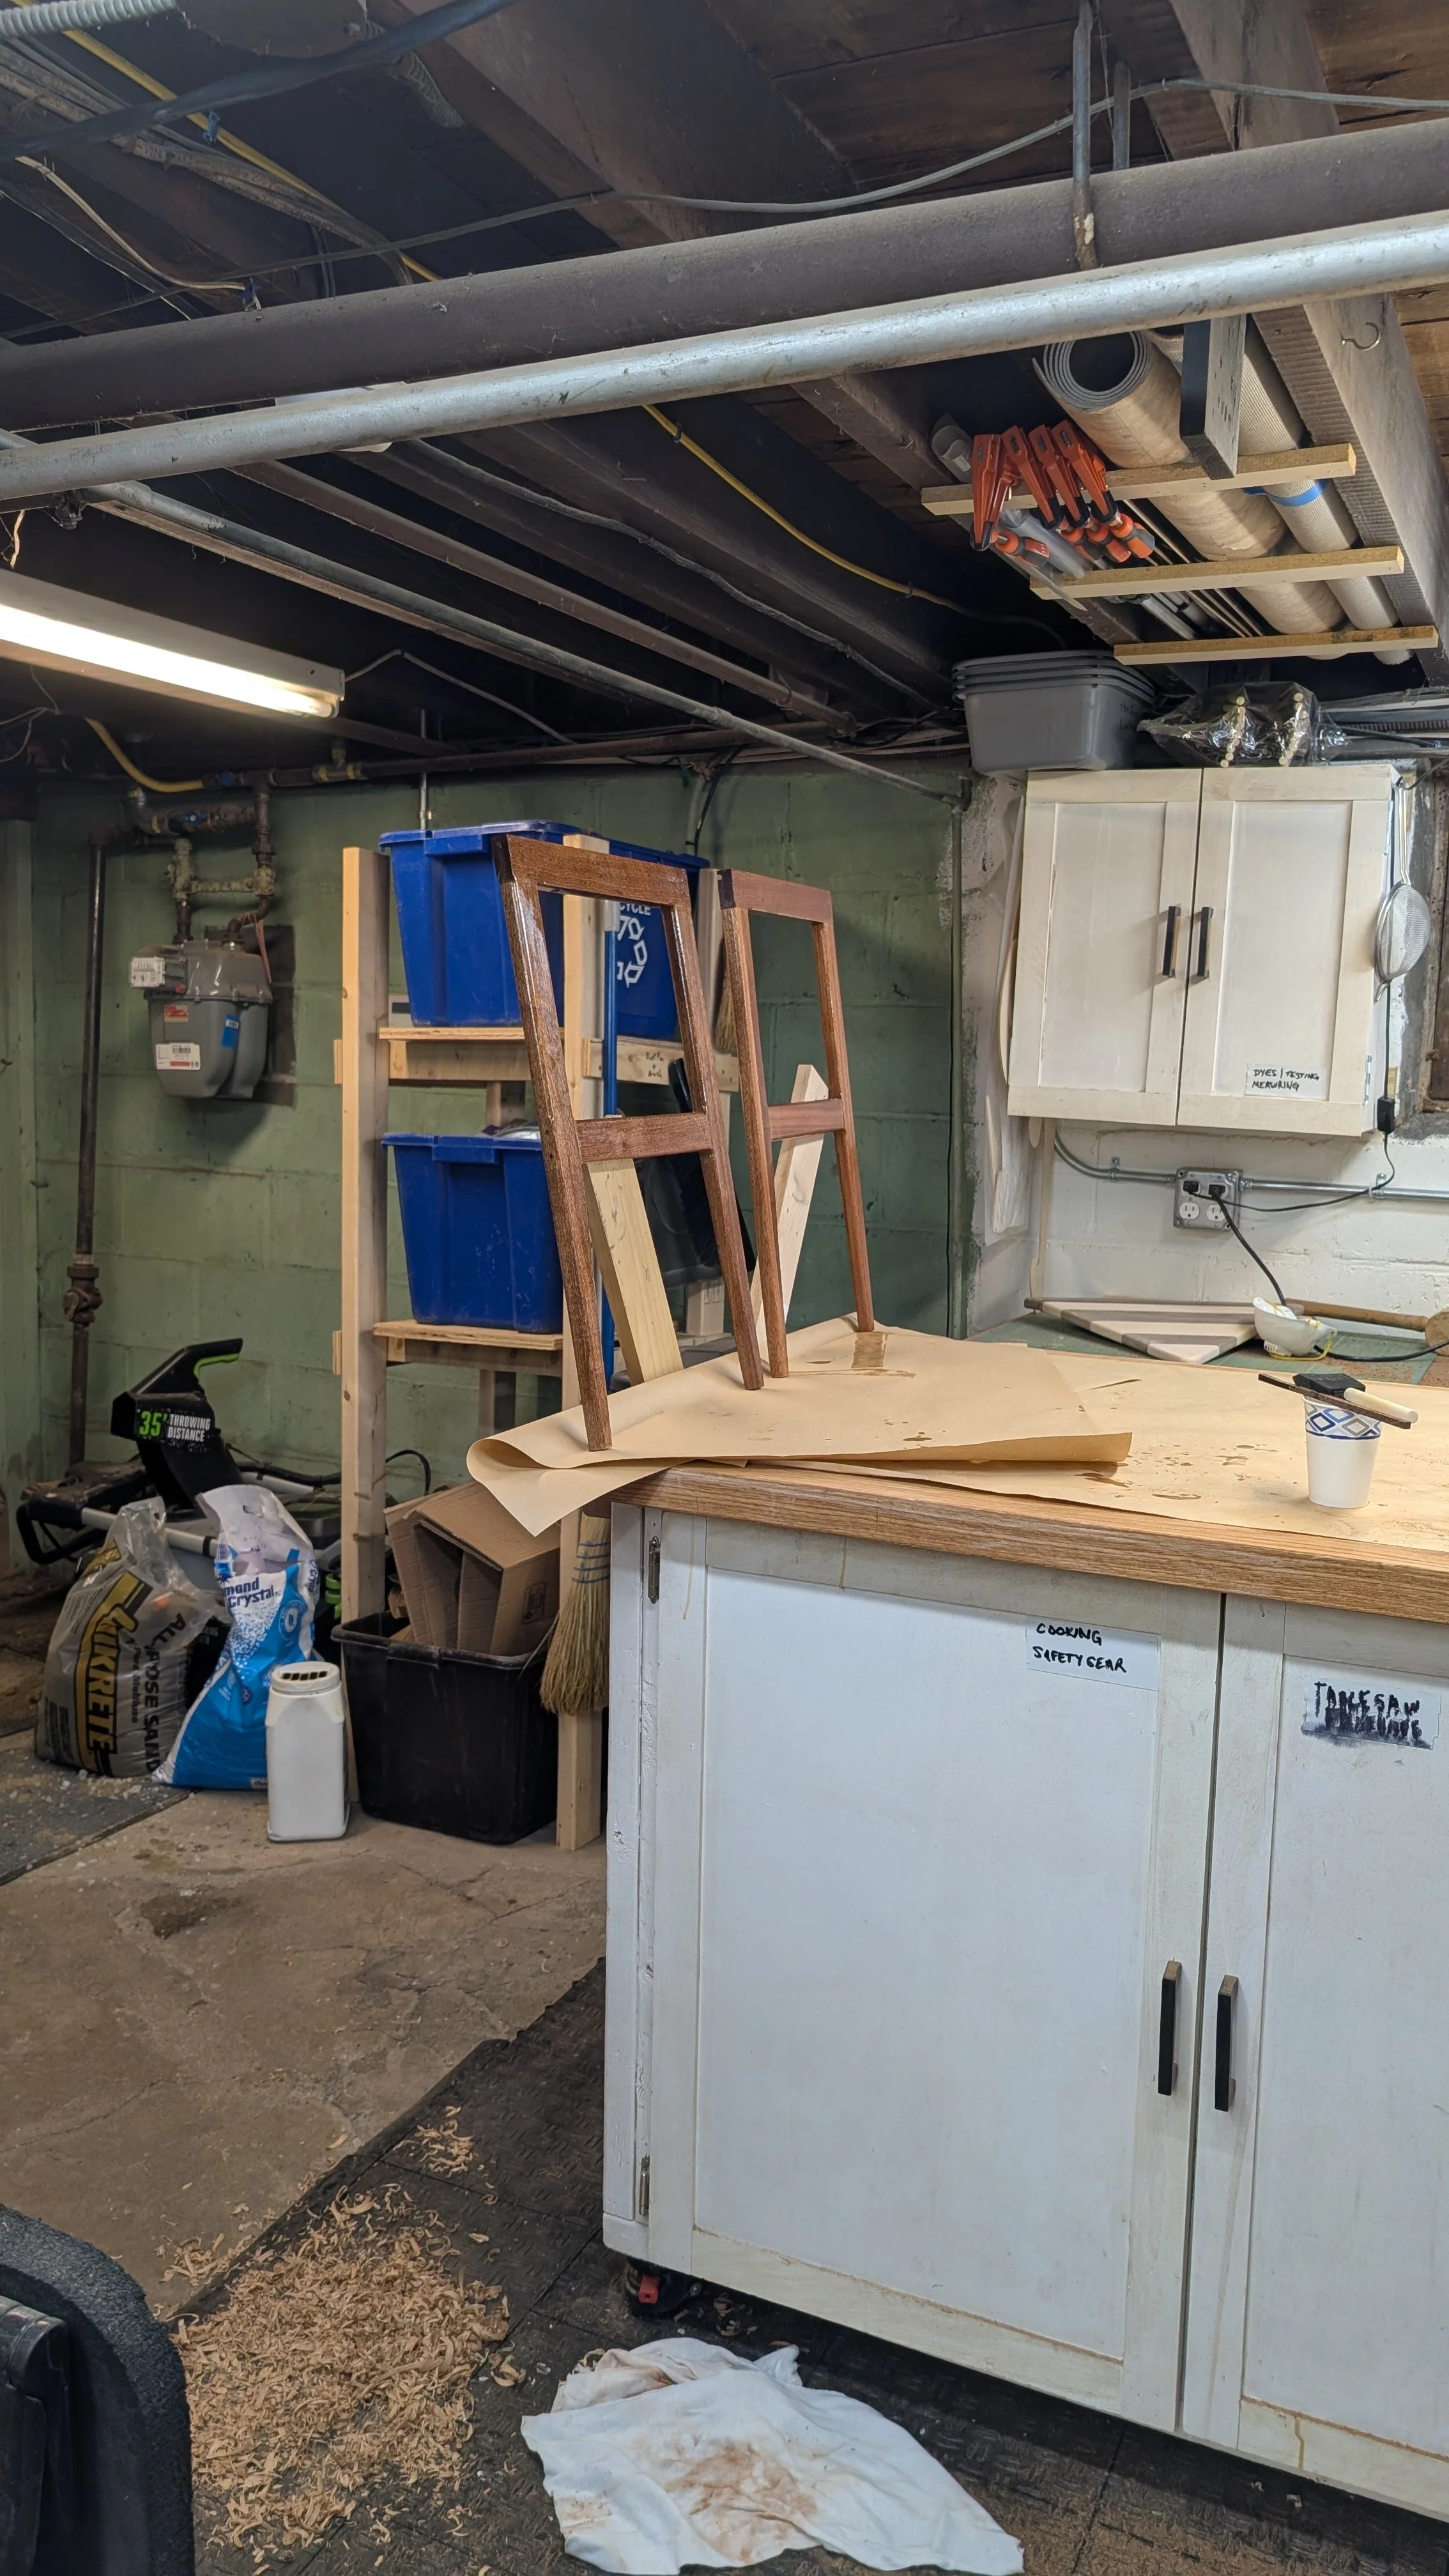
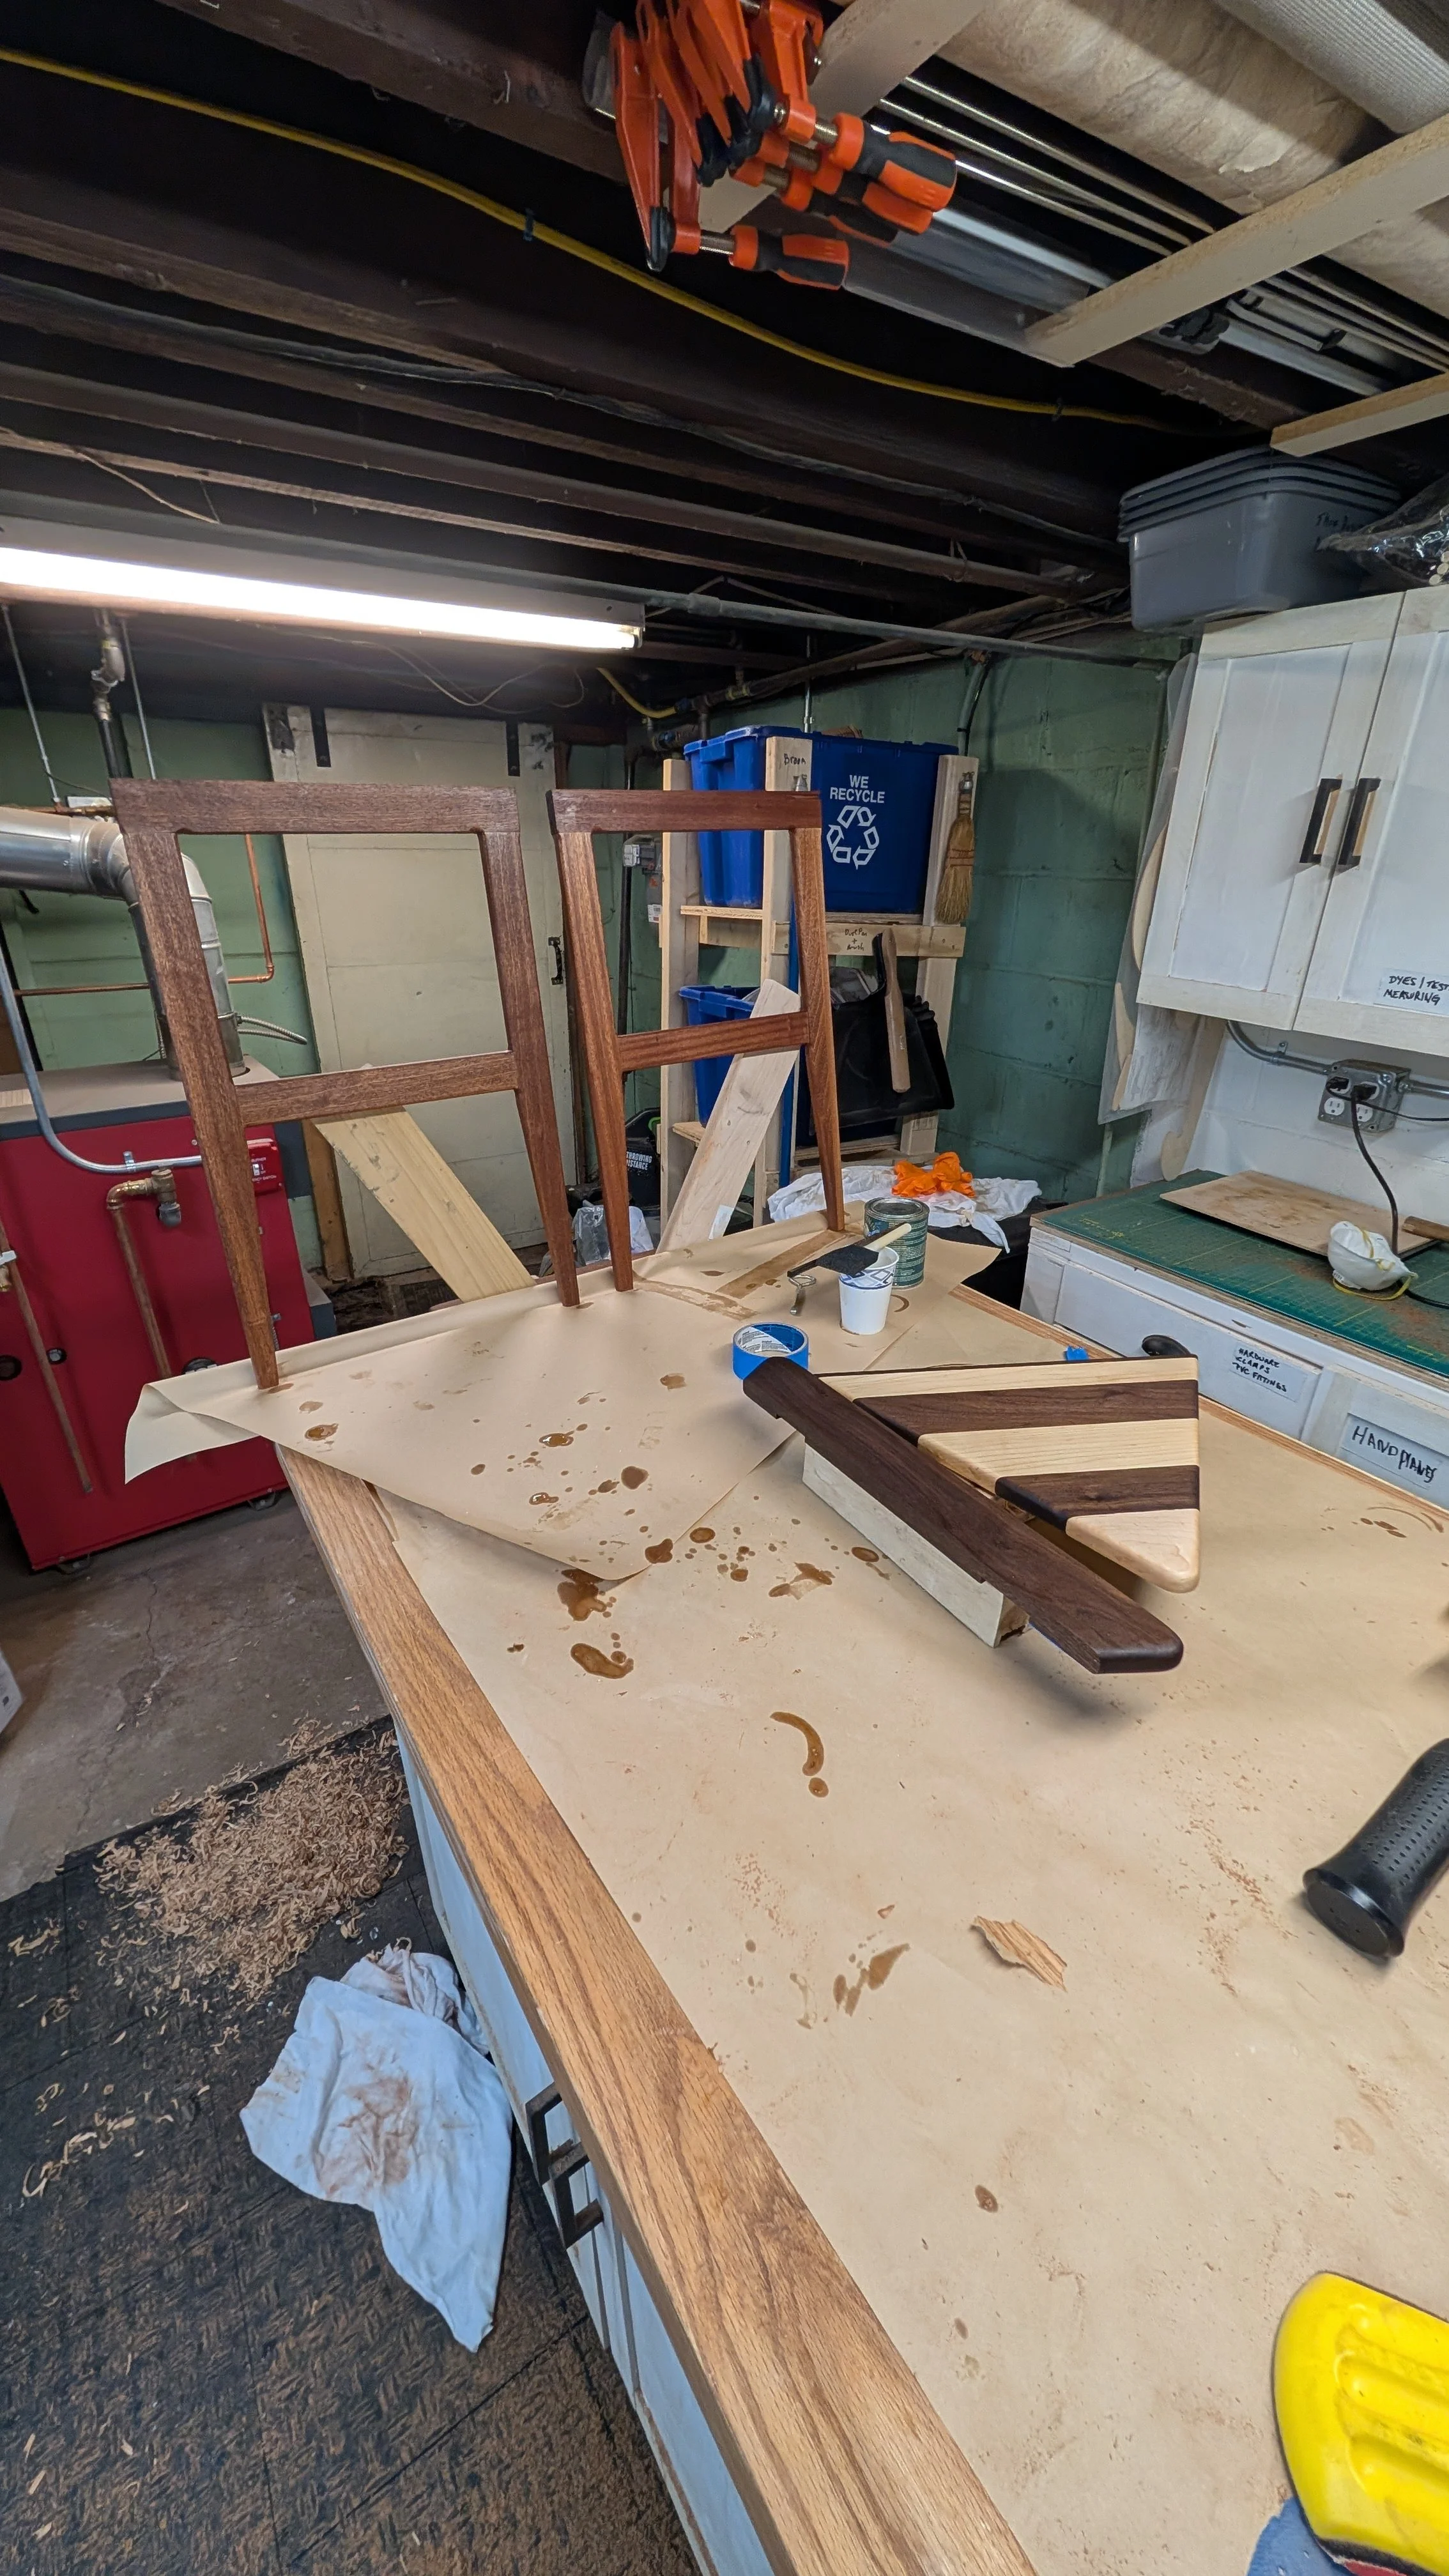
I then took all the hardware off and took apart the leg frames and tapered the inside of the lower part of each leg on a table saw tapering jig. Once they were all tapered I glued up all the mortise and tenon joints for the leg frames. After they cured I rounded over almost every edge of the legs. The combination of tapering and rounding over makes the legs look much lighter and more elegant.
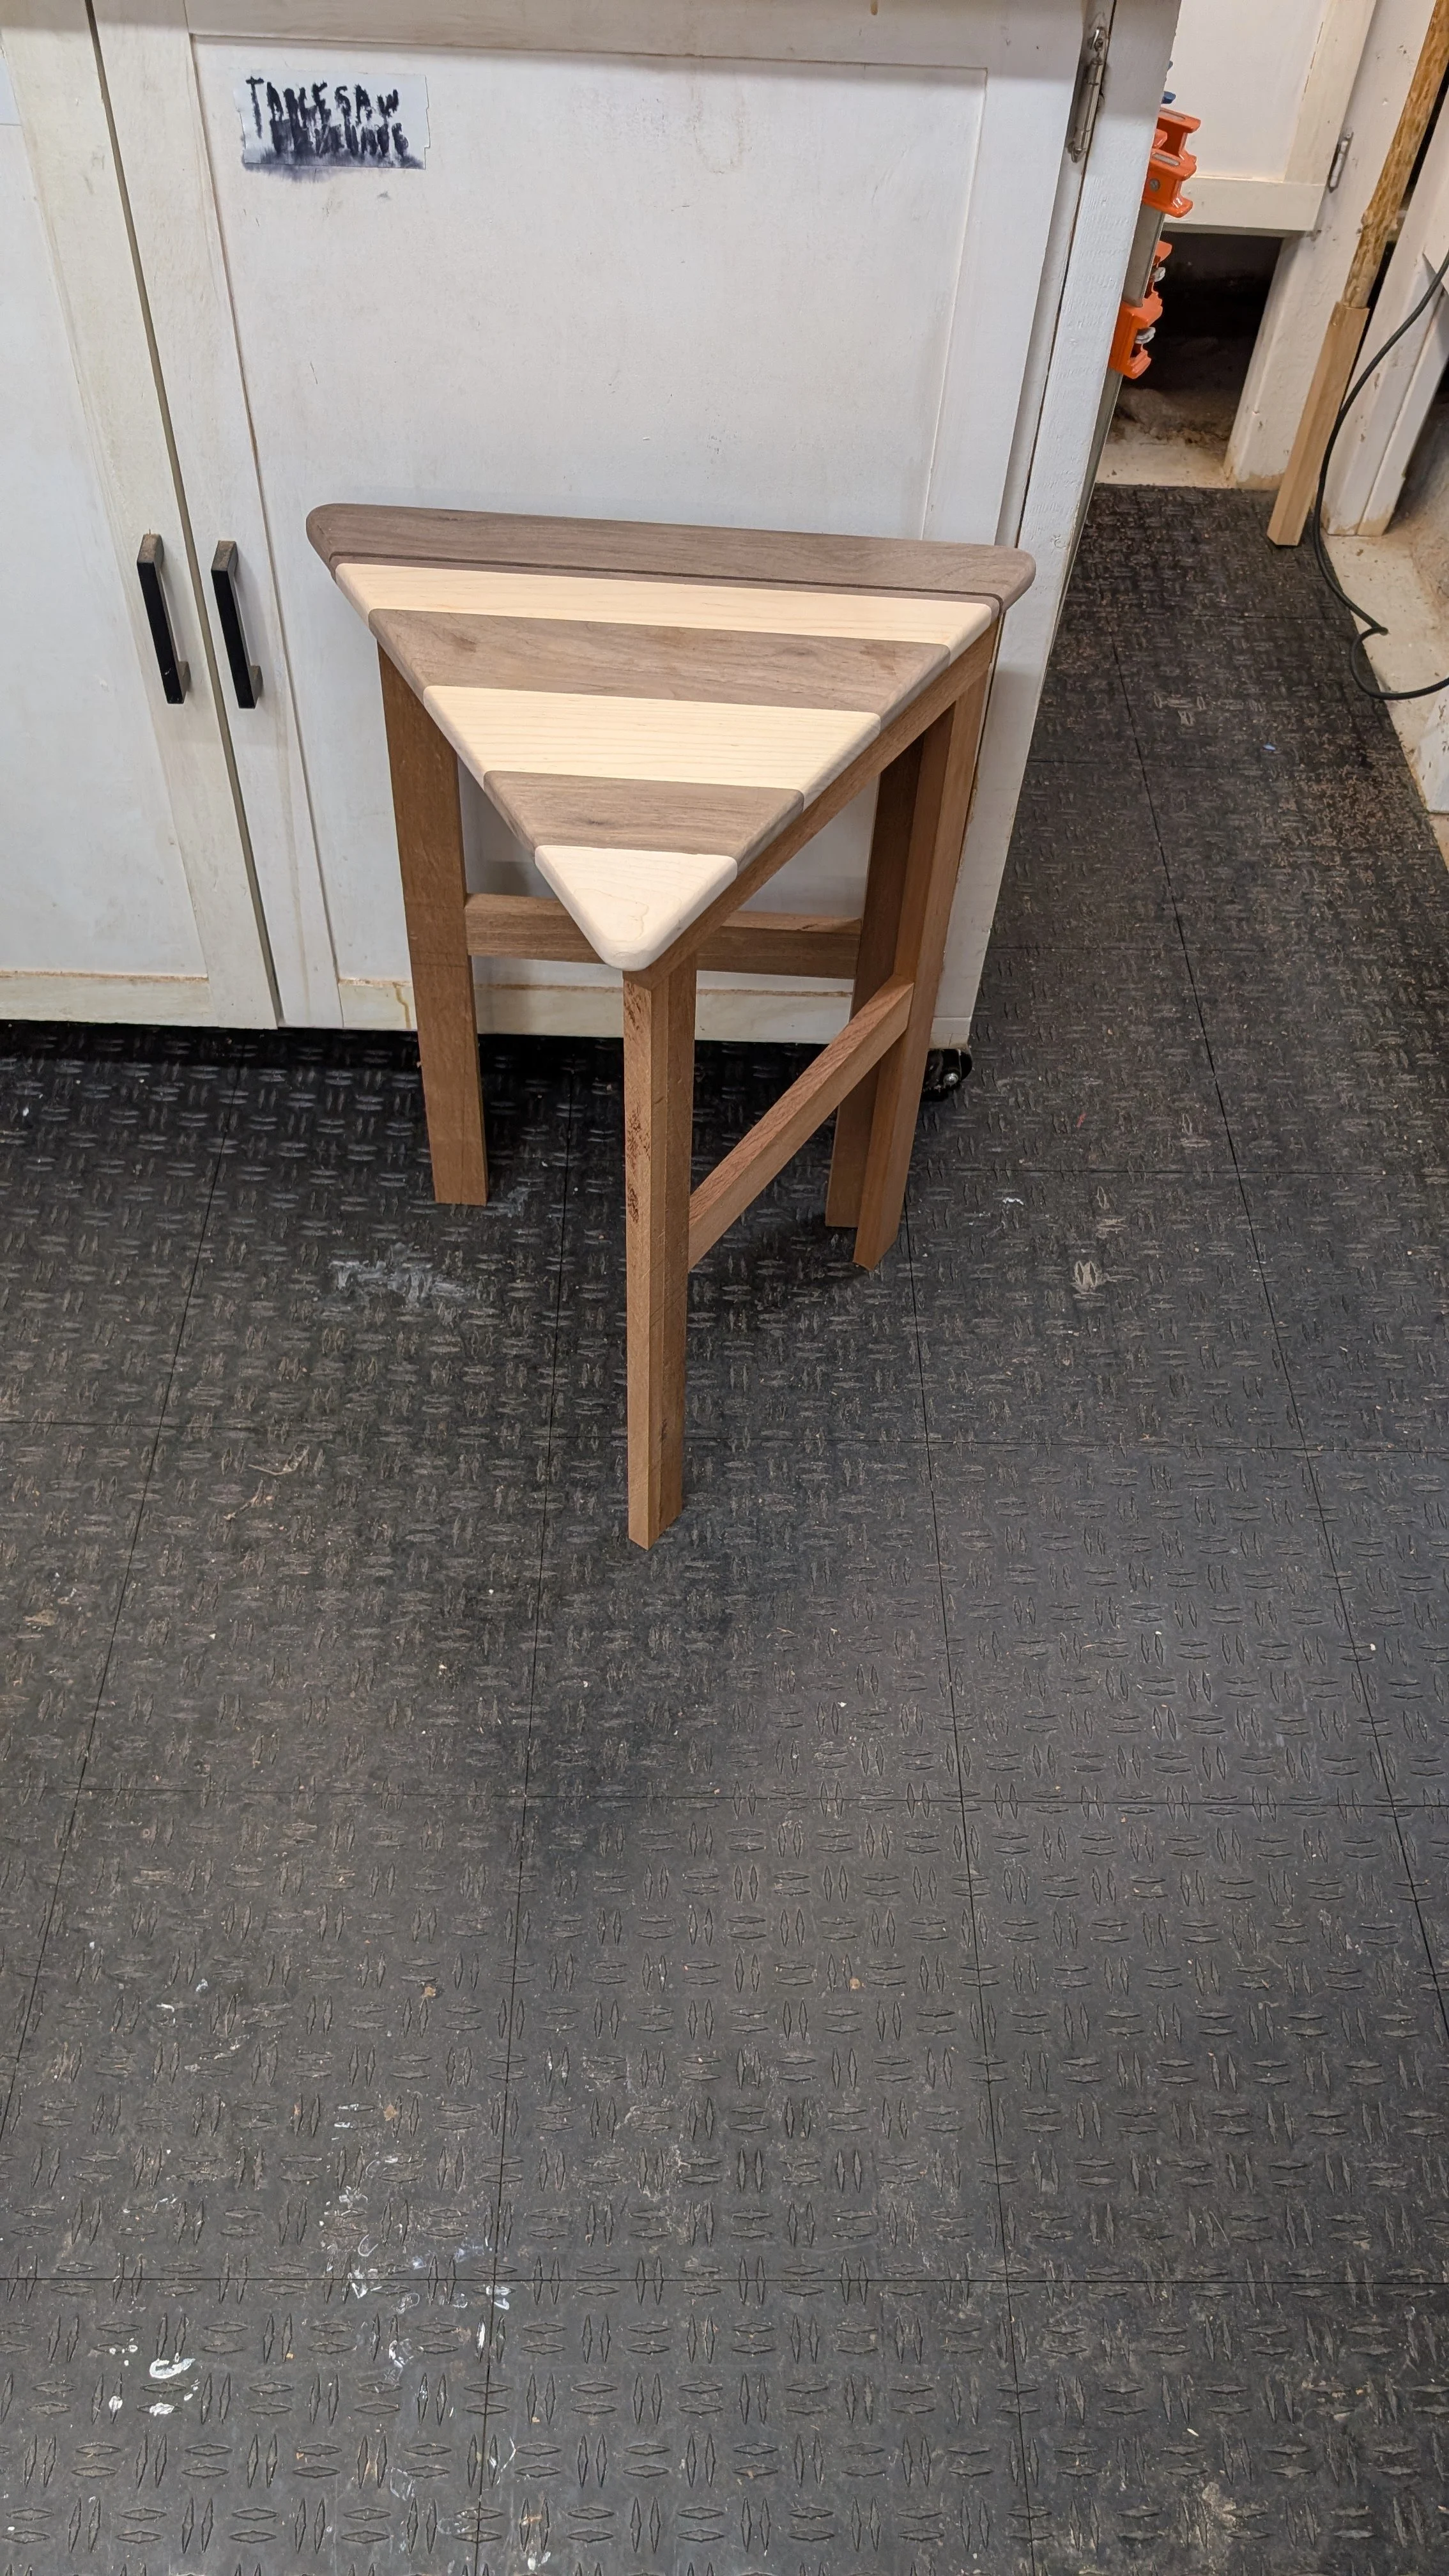
After some touch up sanding, I put a coat of General Finishes Hard Wax Oil on the legs and the top.
I reassembled the table and I was done. I like this prototype a lot and we’re going to use it. Watch this space for a project where I make three more out of Maple. So the set will have one multi-wood table and three Maple tables. I’ll do a few things differently on the final three but they are mostly cosmetic or process things.