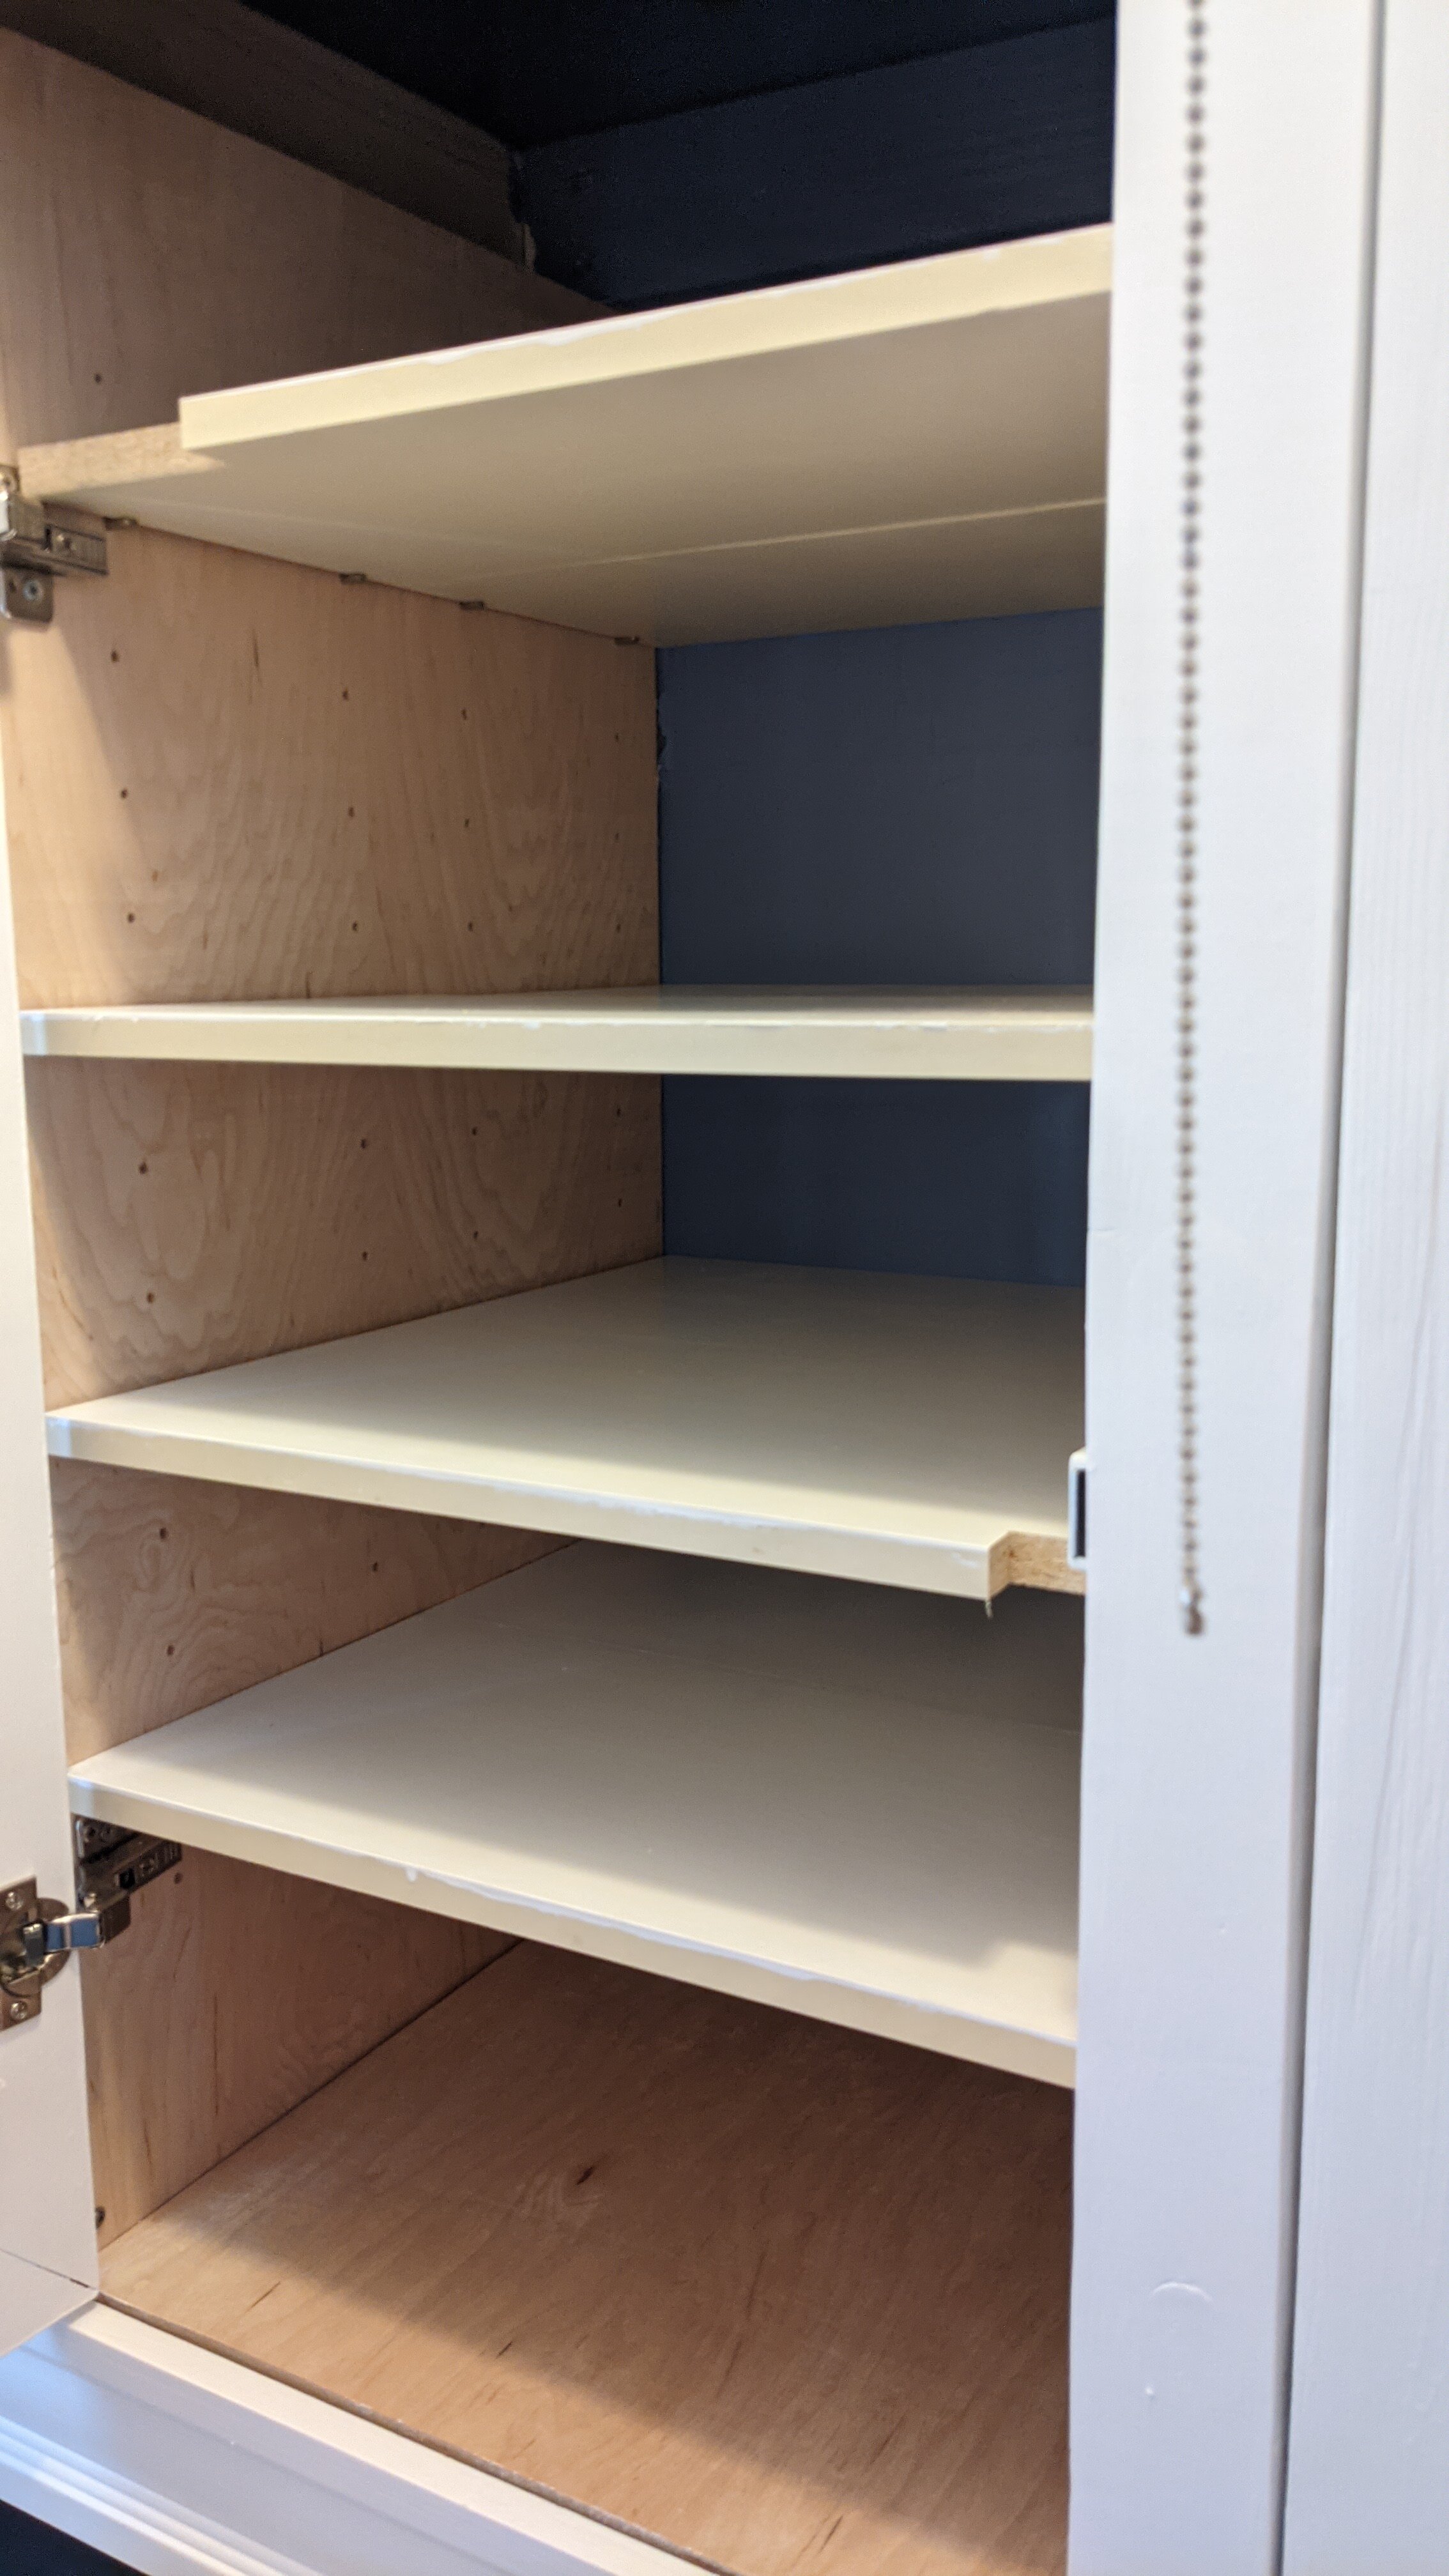
Whew this was the most complex project I’ve attempted to date, it has a bunch of engineering elements to it, and more requirements for precision. The goal for this project was to build a custom sofa-bed that would fit in the corner of our guest room/library and allow a queen sized bed. I also wanted to provide storage for blankets inside a cabinet in the headboard and also storage under the seat. Finally, I wanted to make it relatively easy to extend and then to put back.
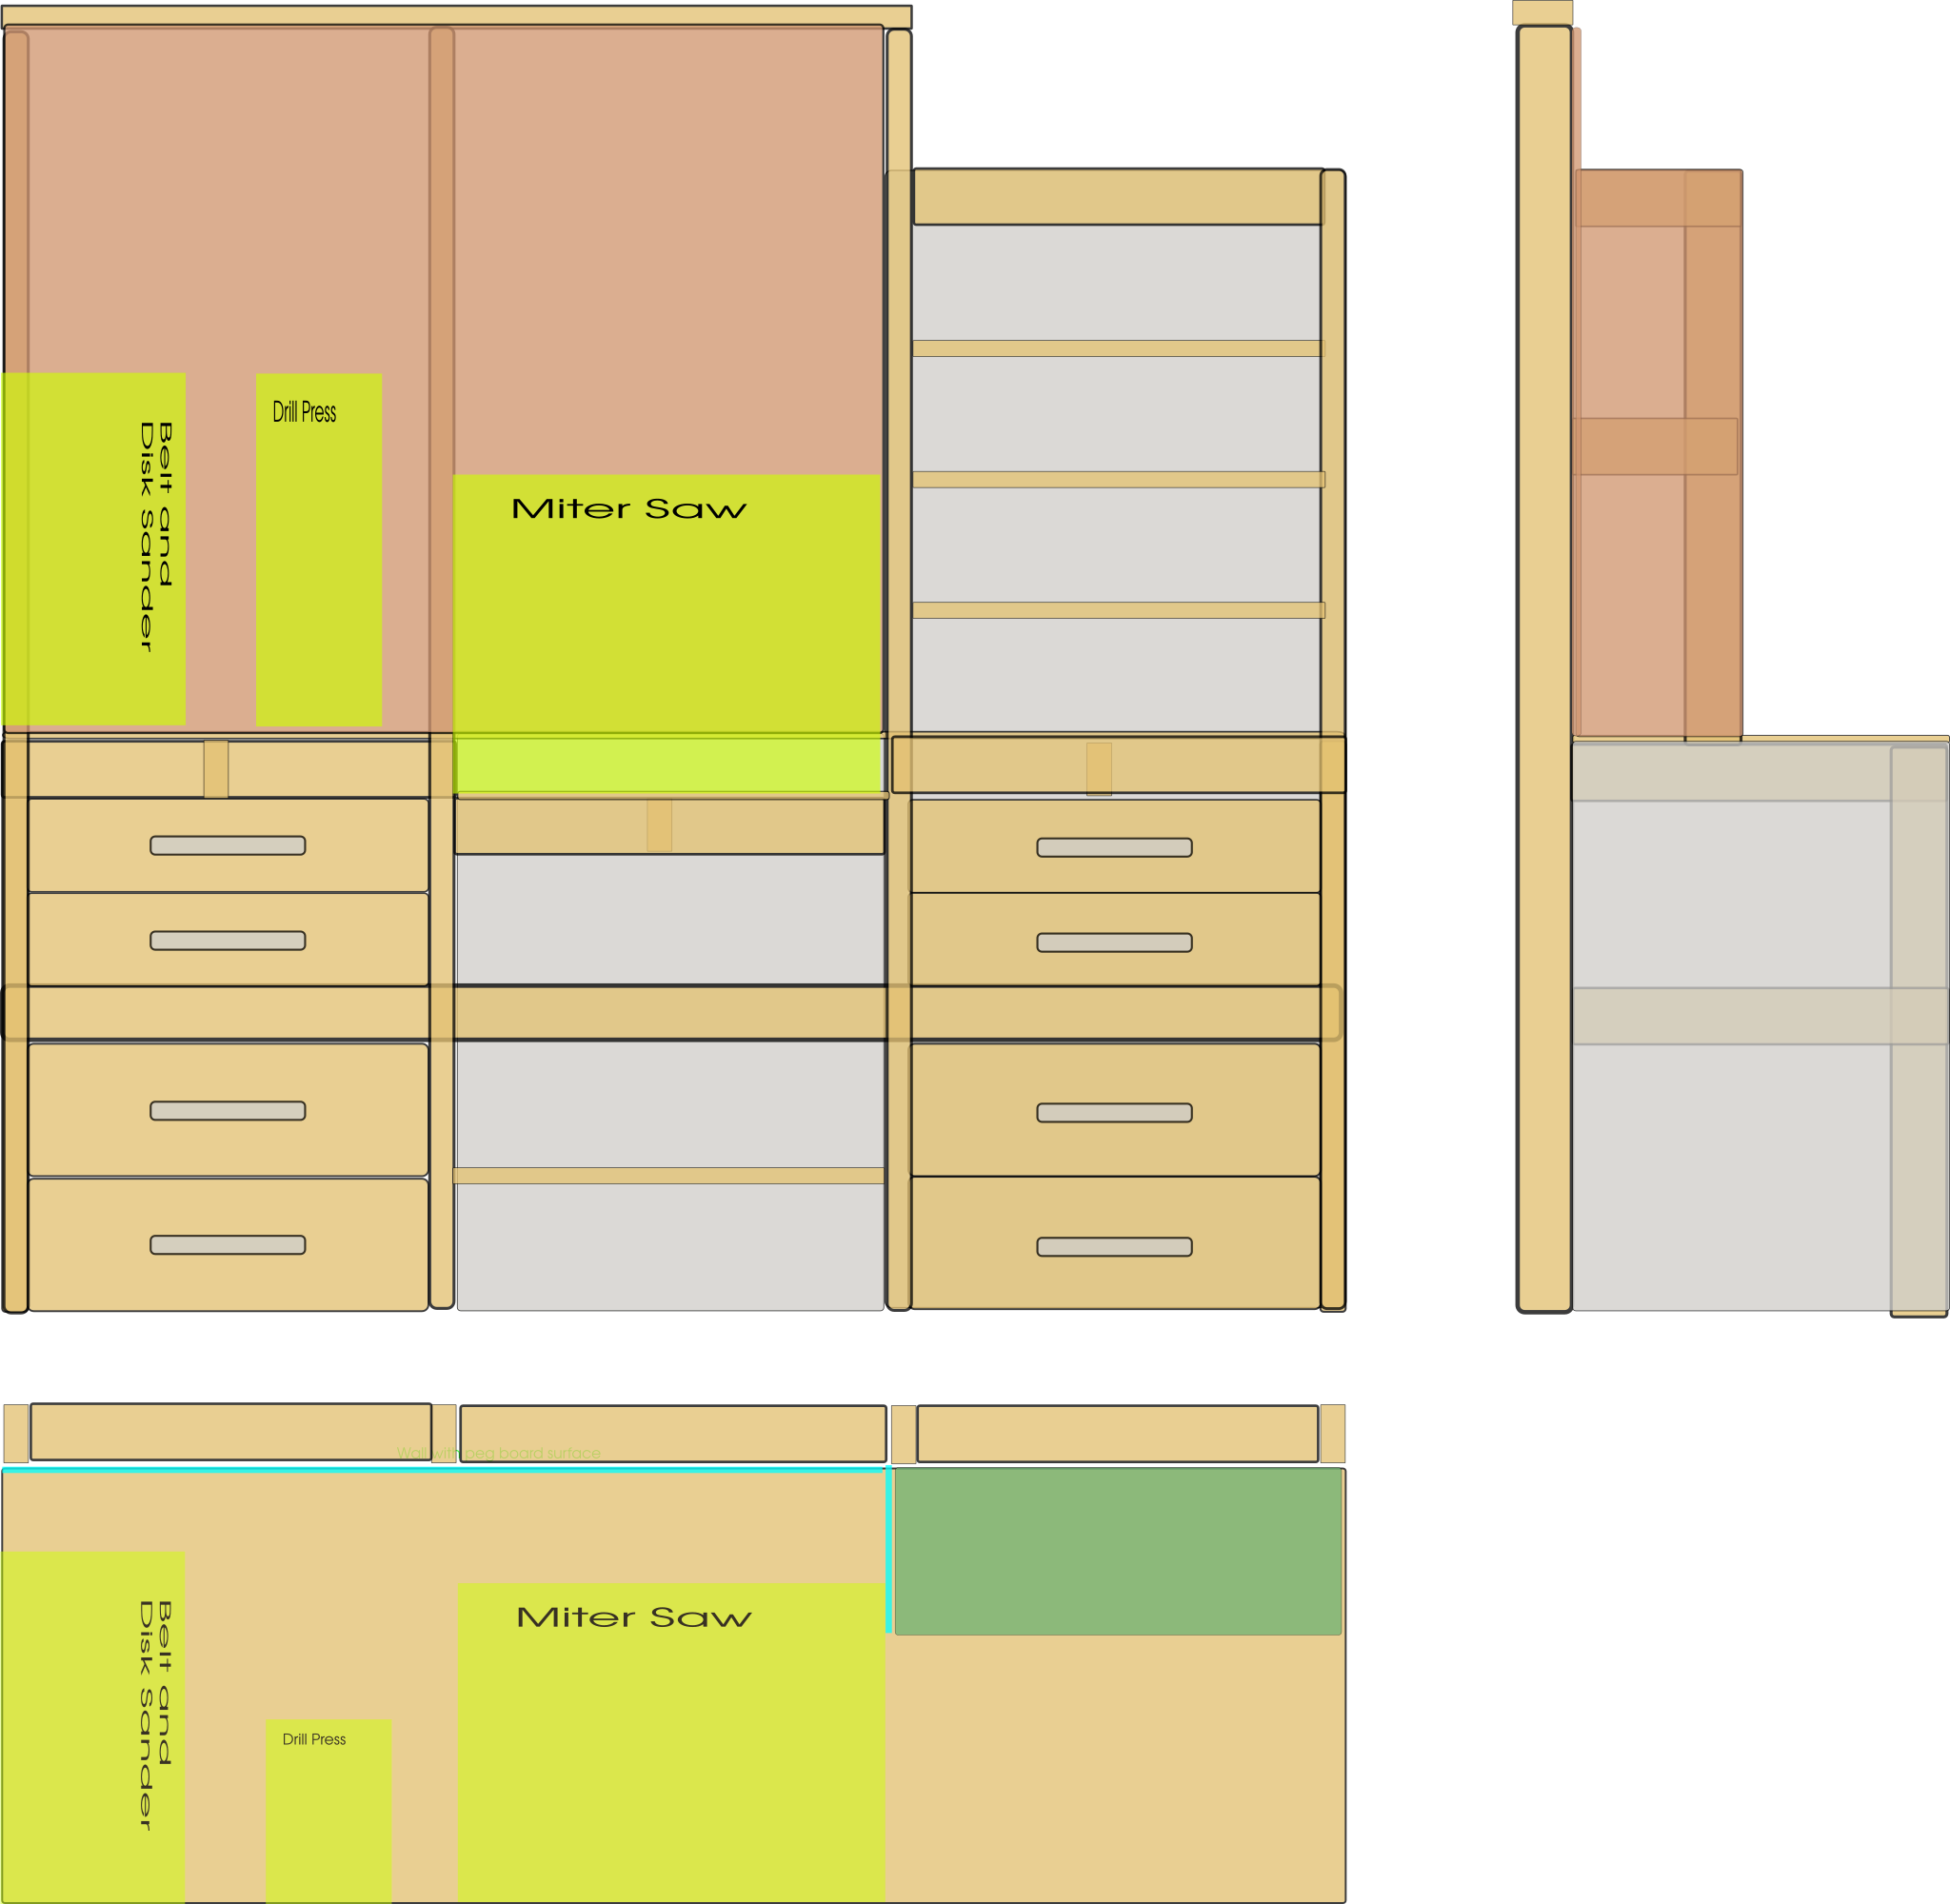
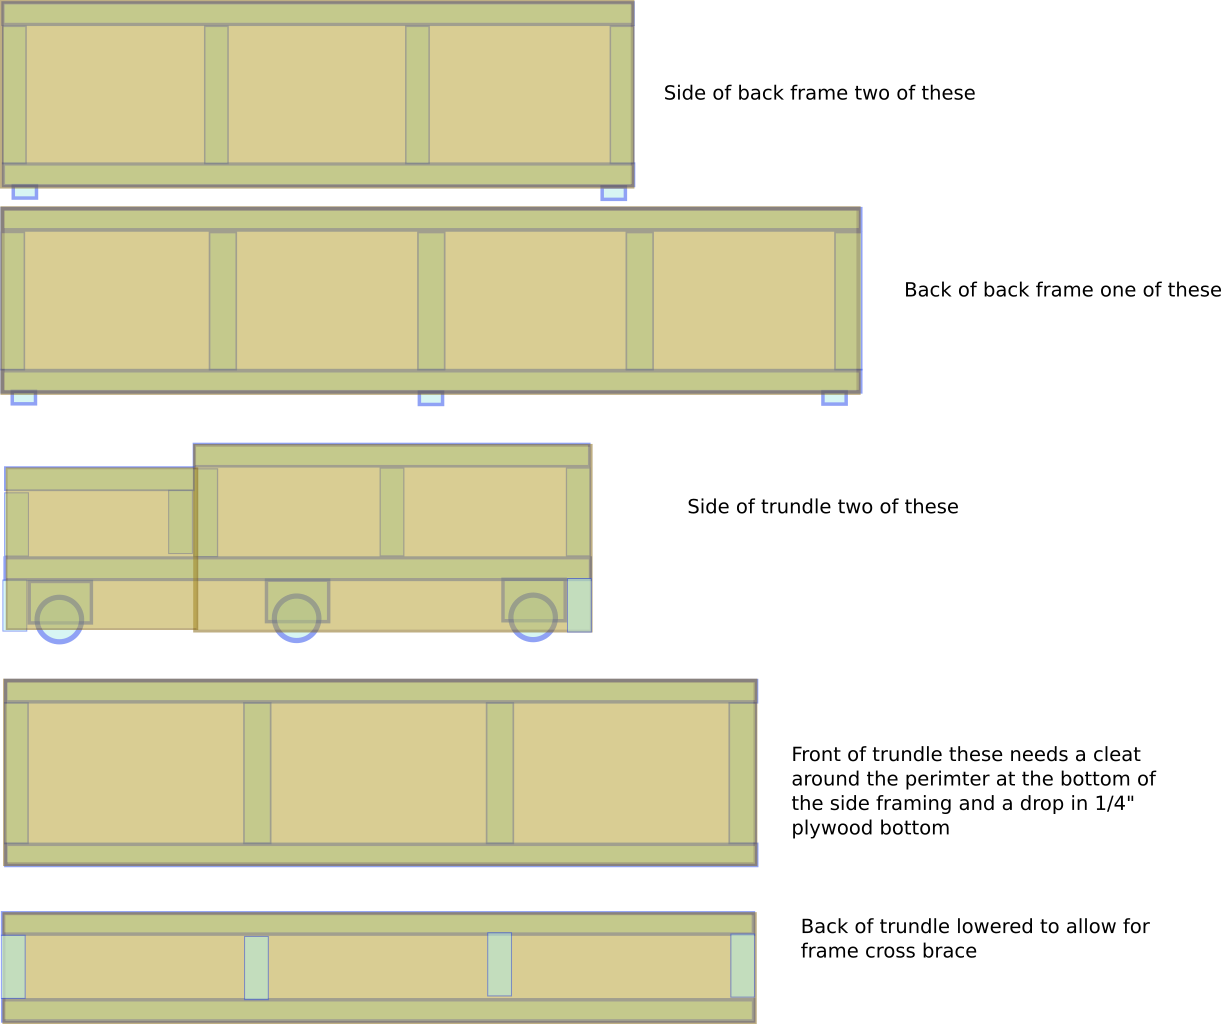
You can see the design drawings that I made below:
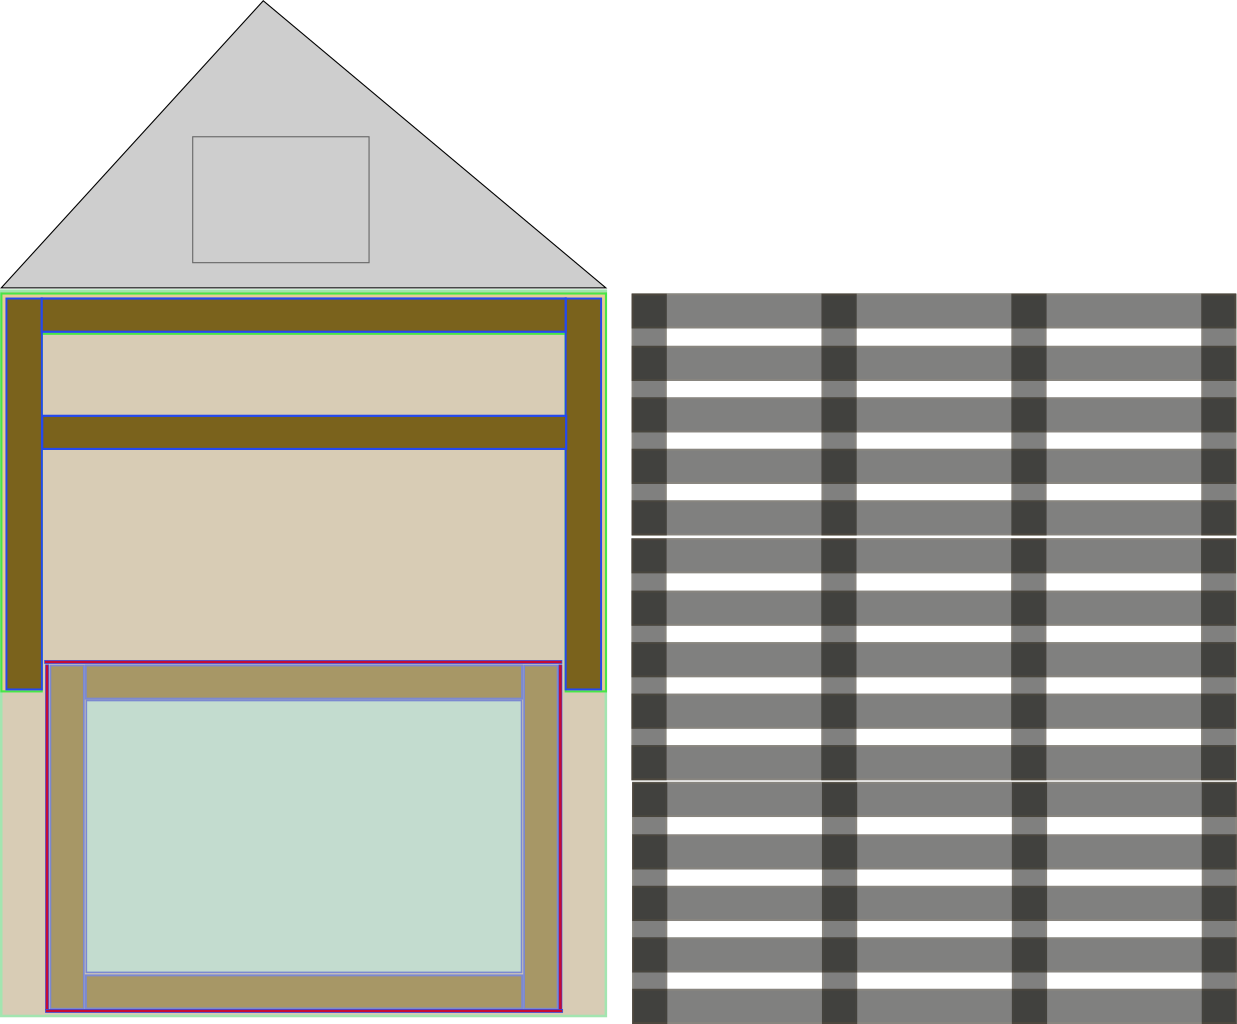
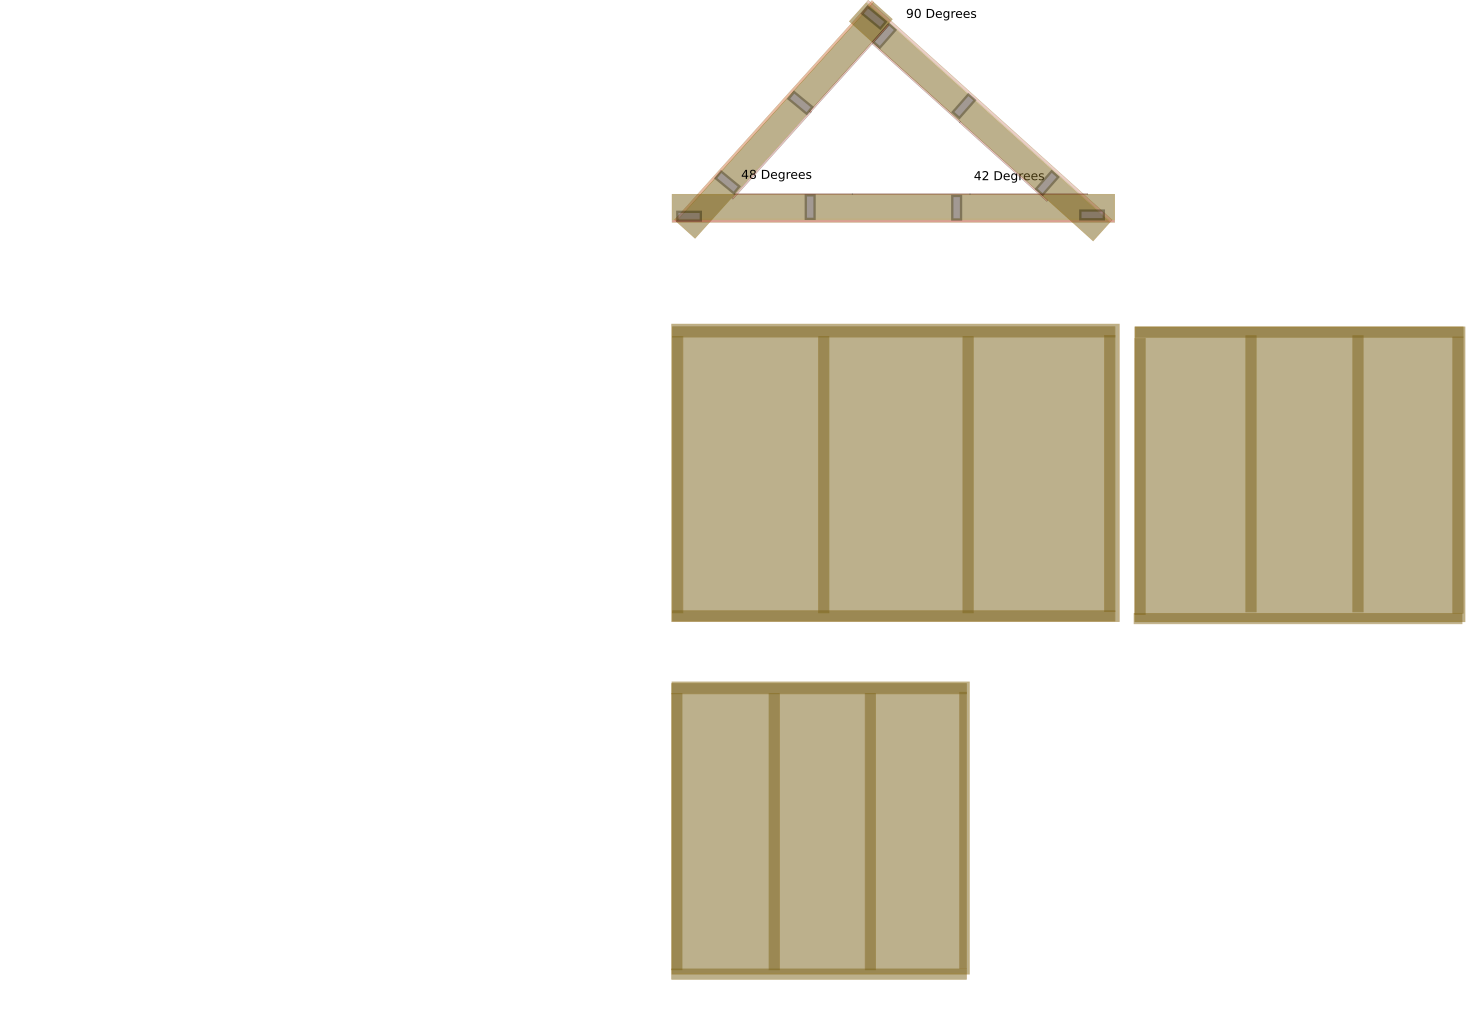
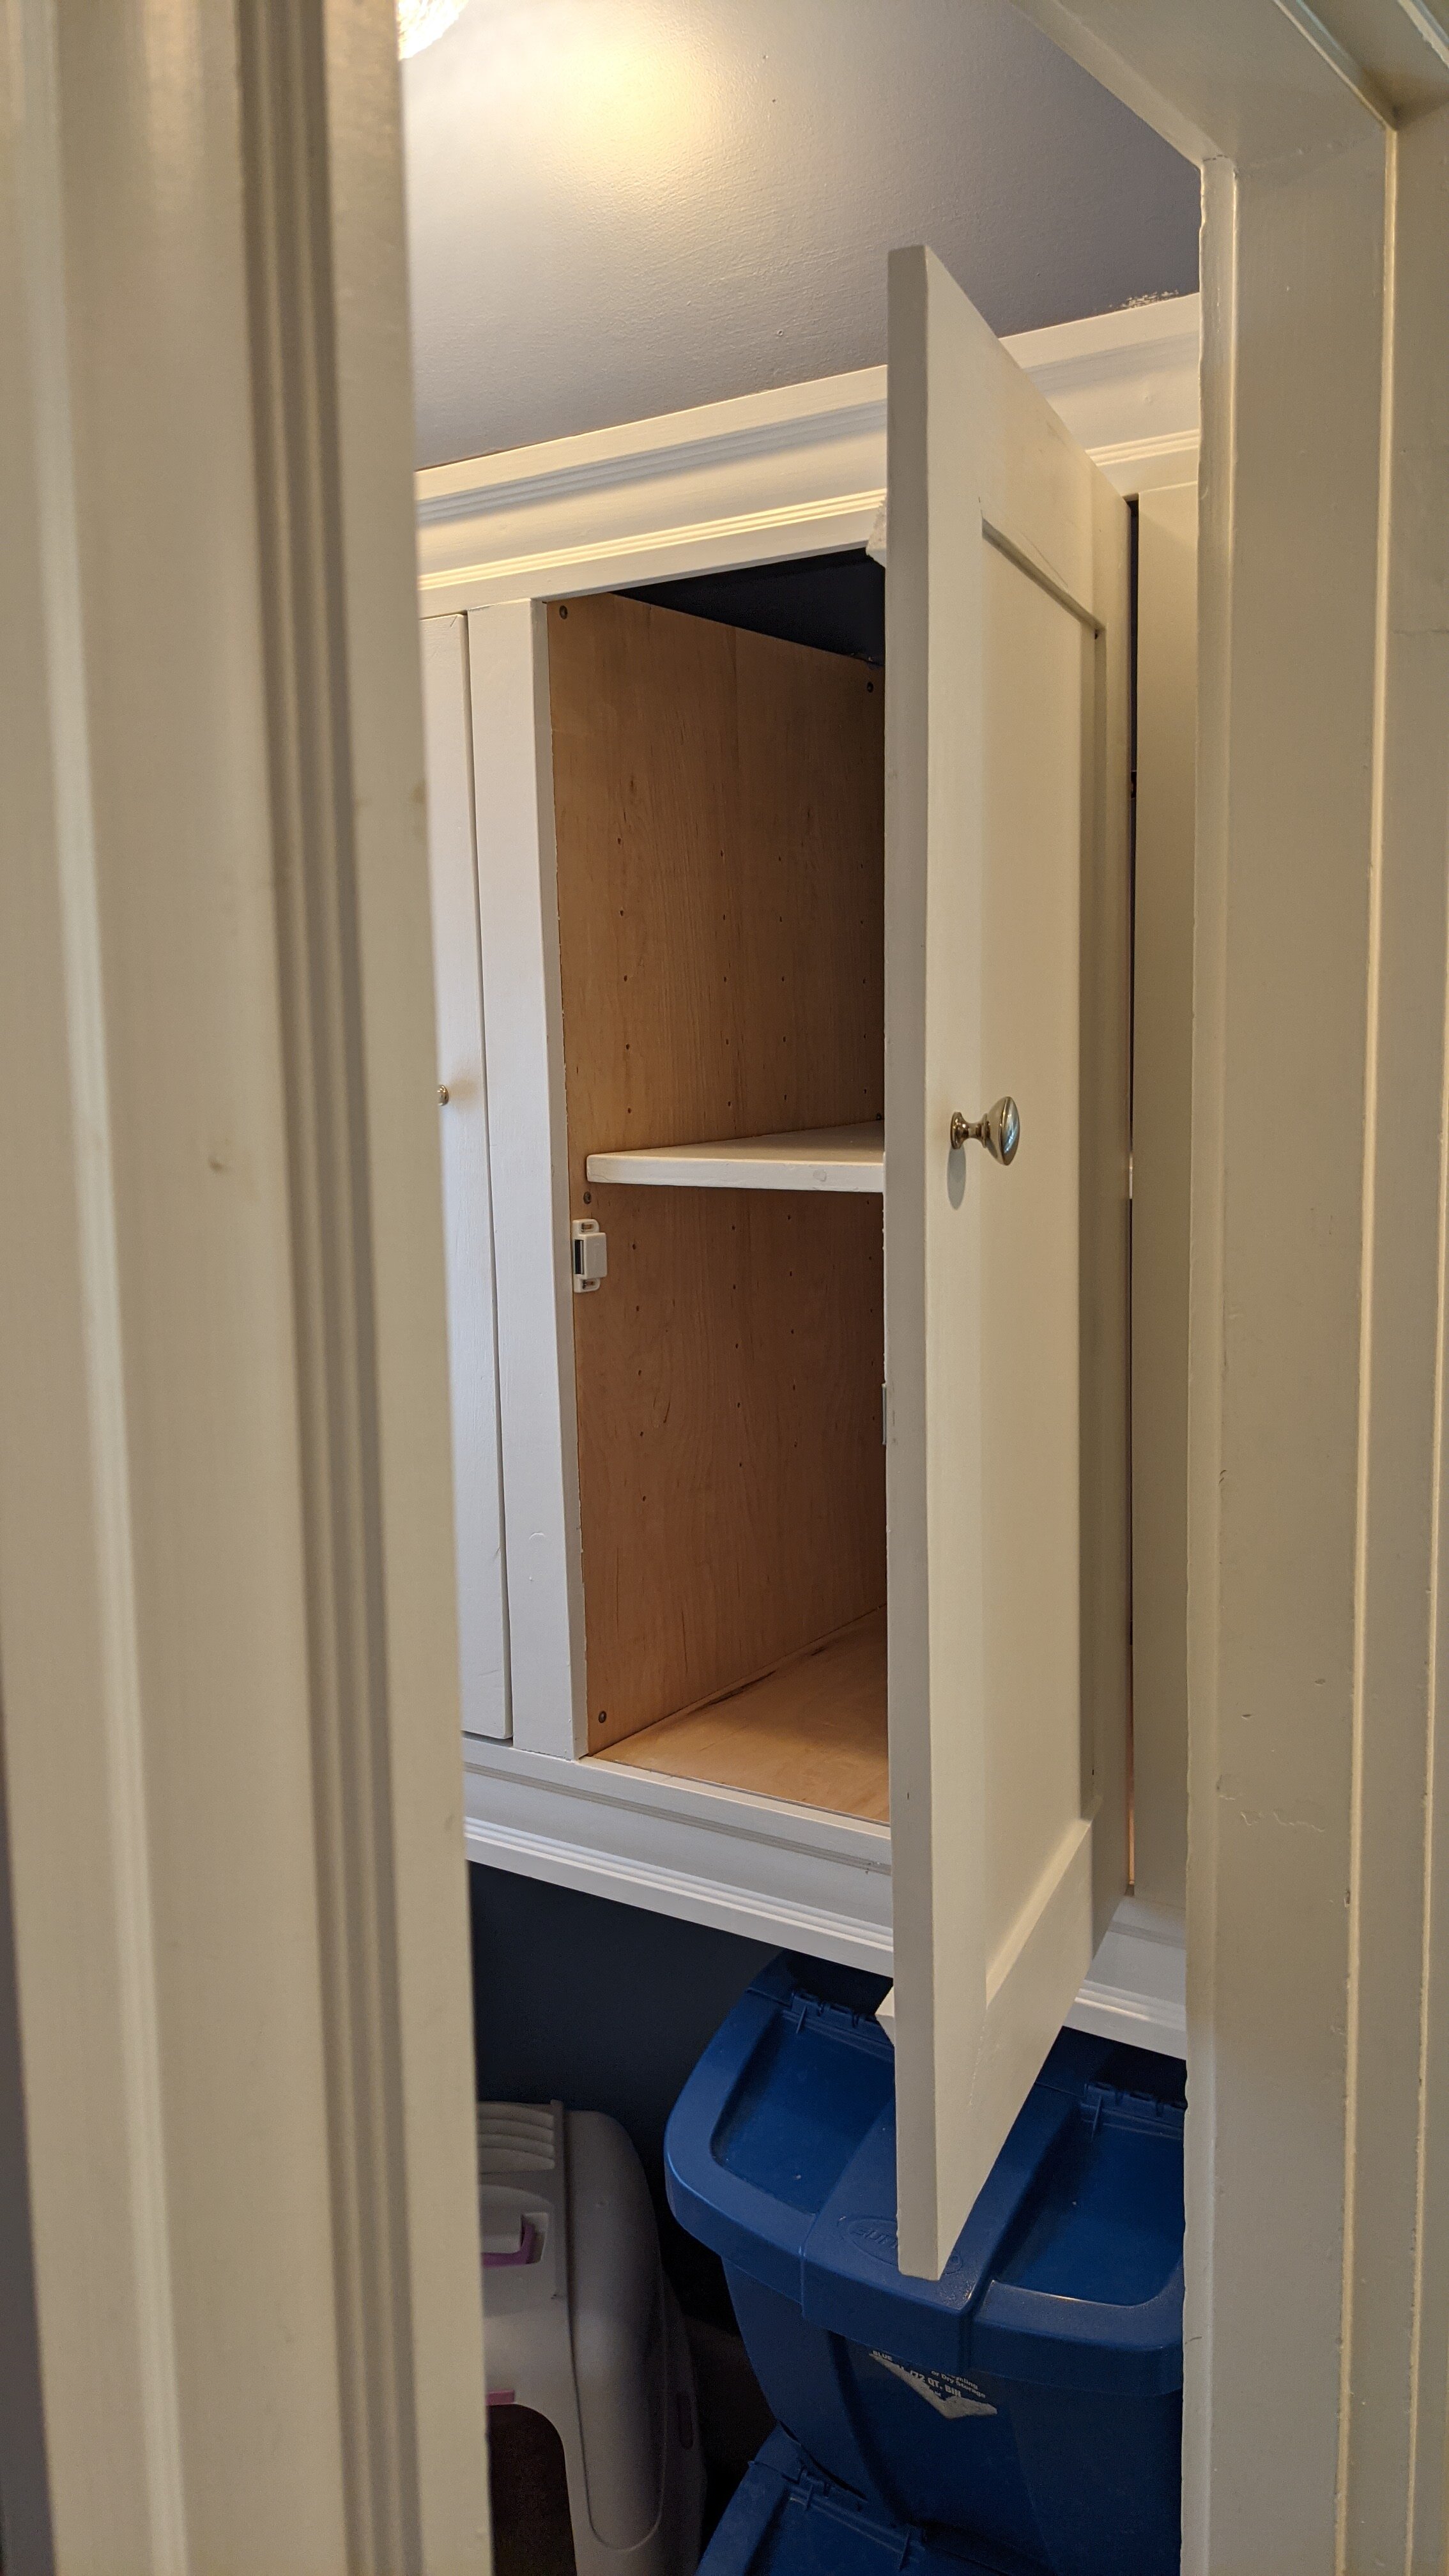
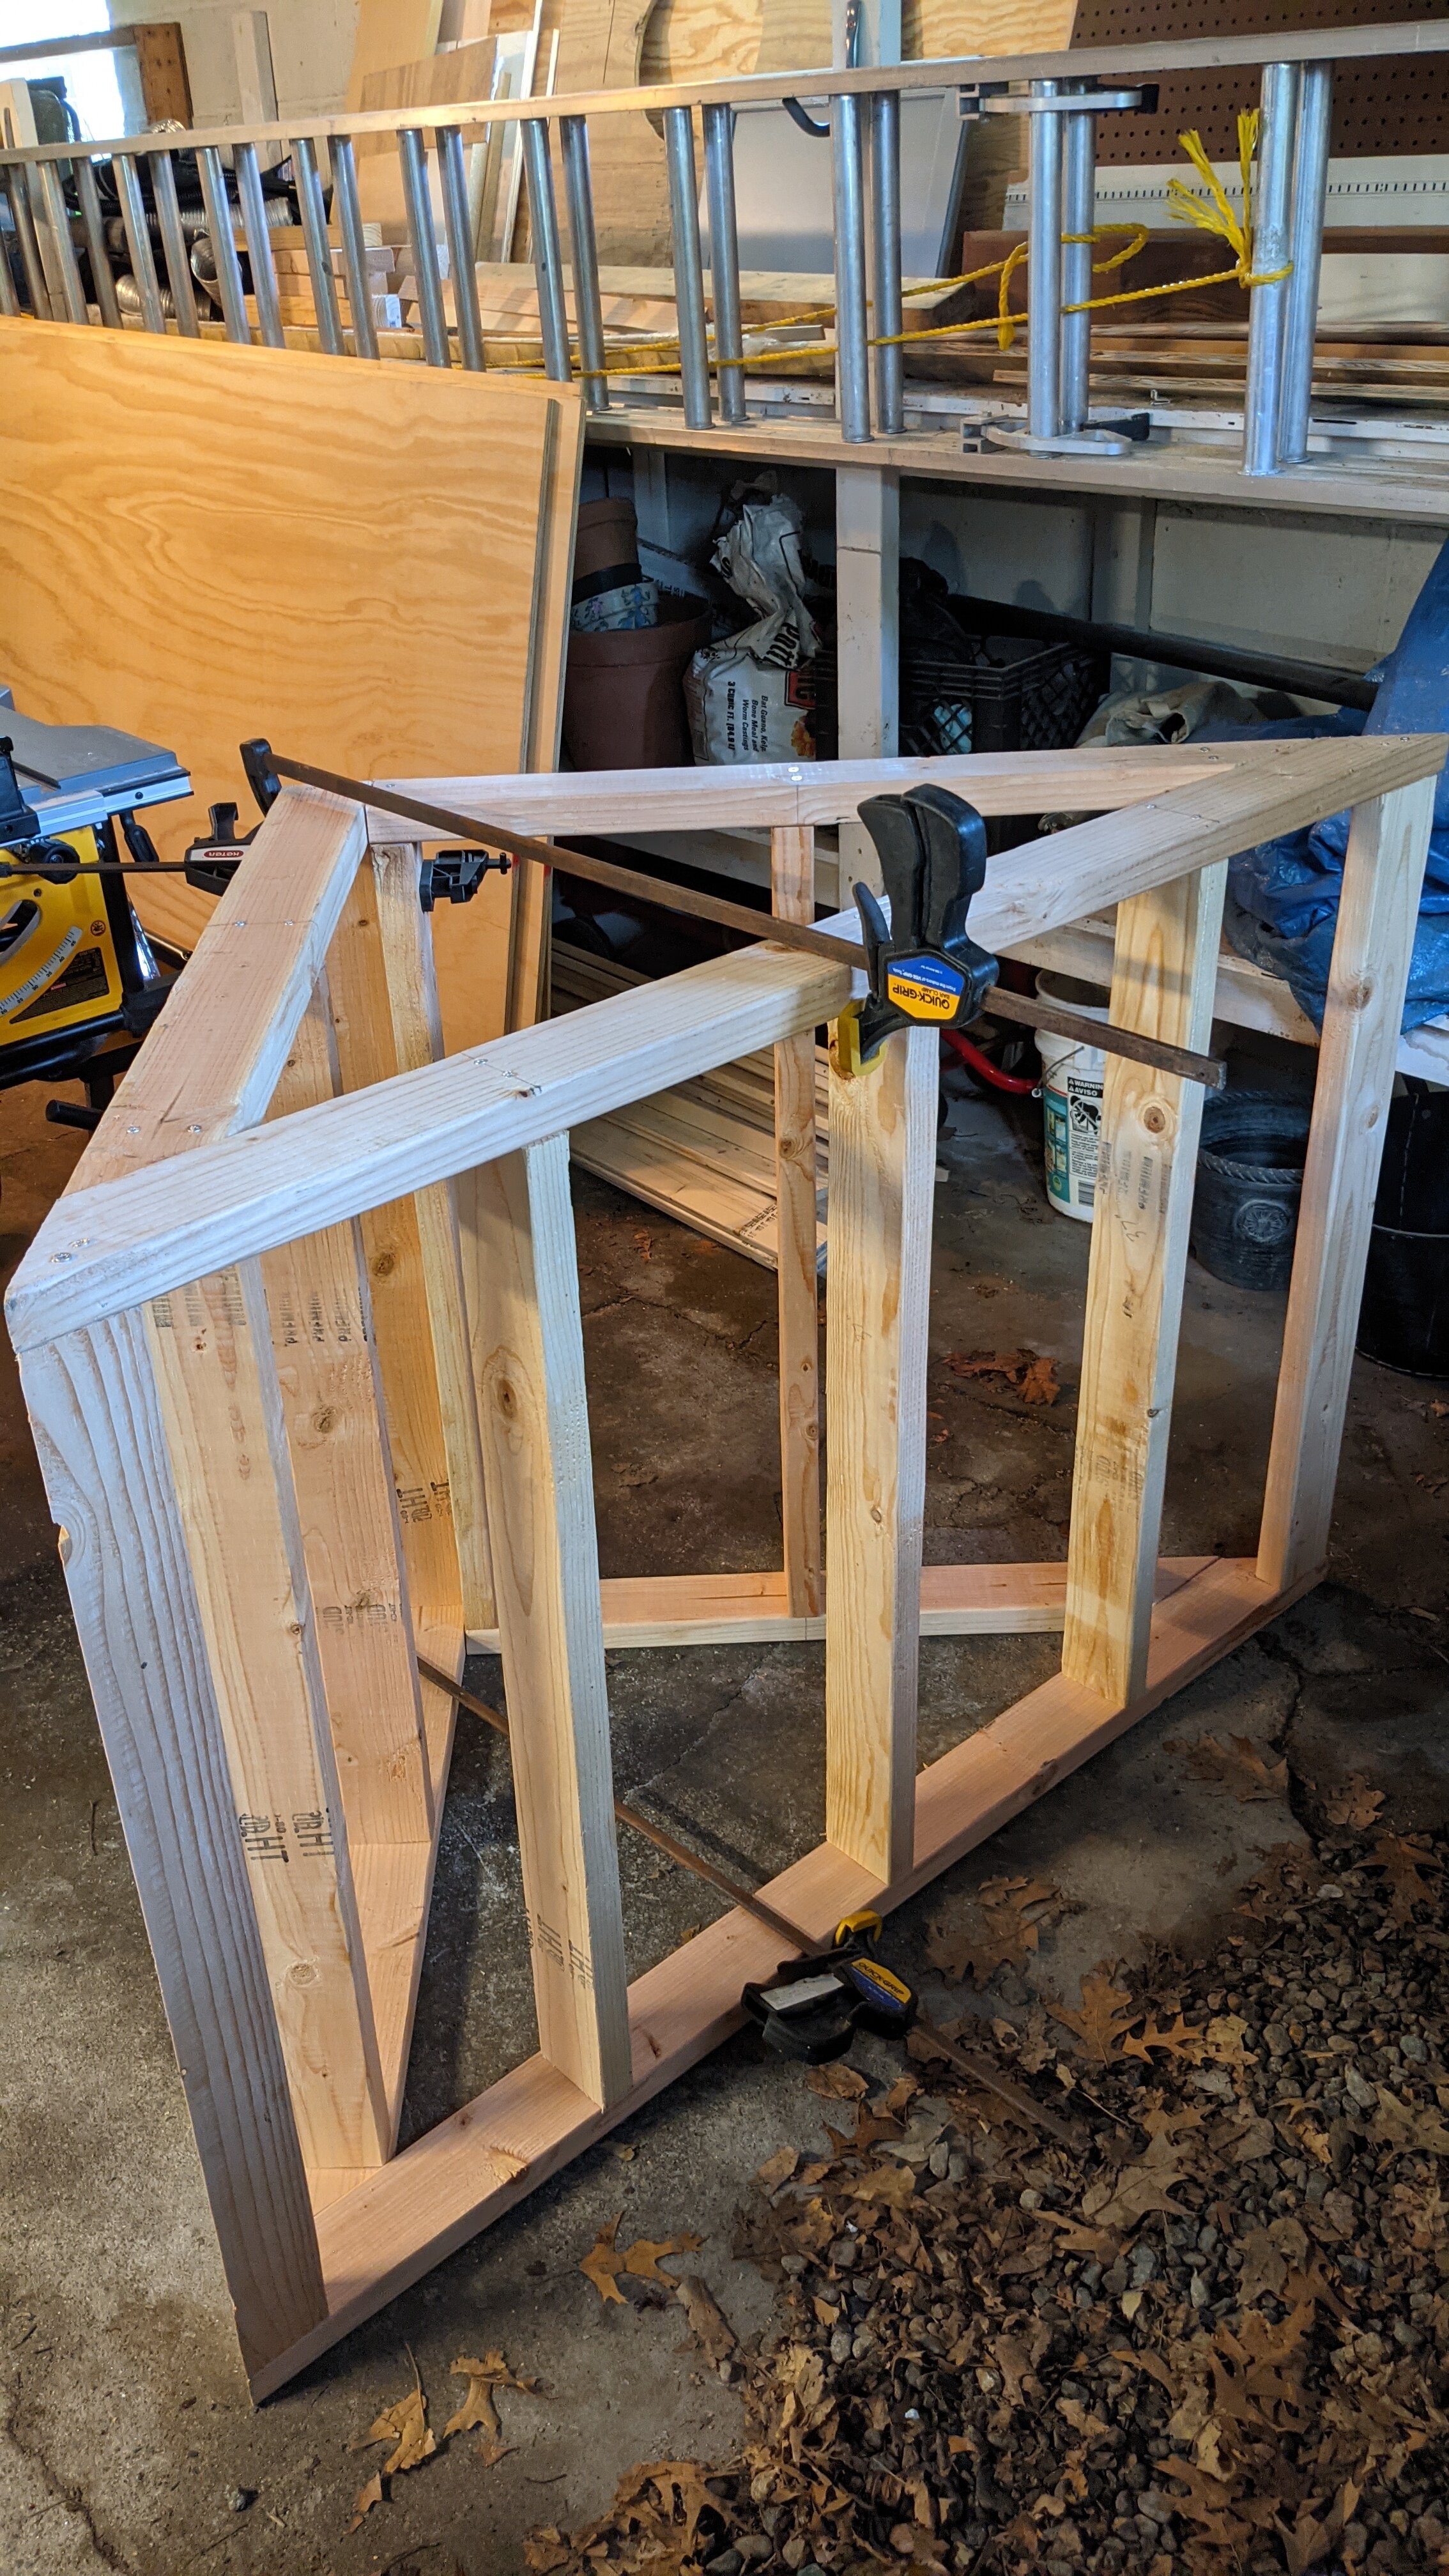
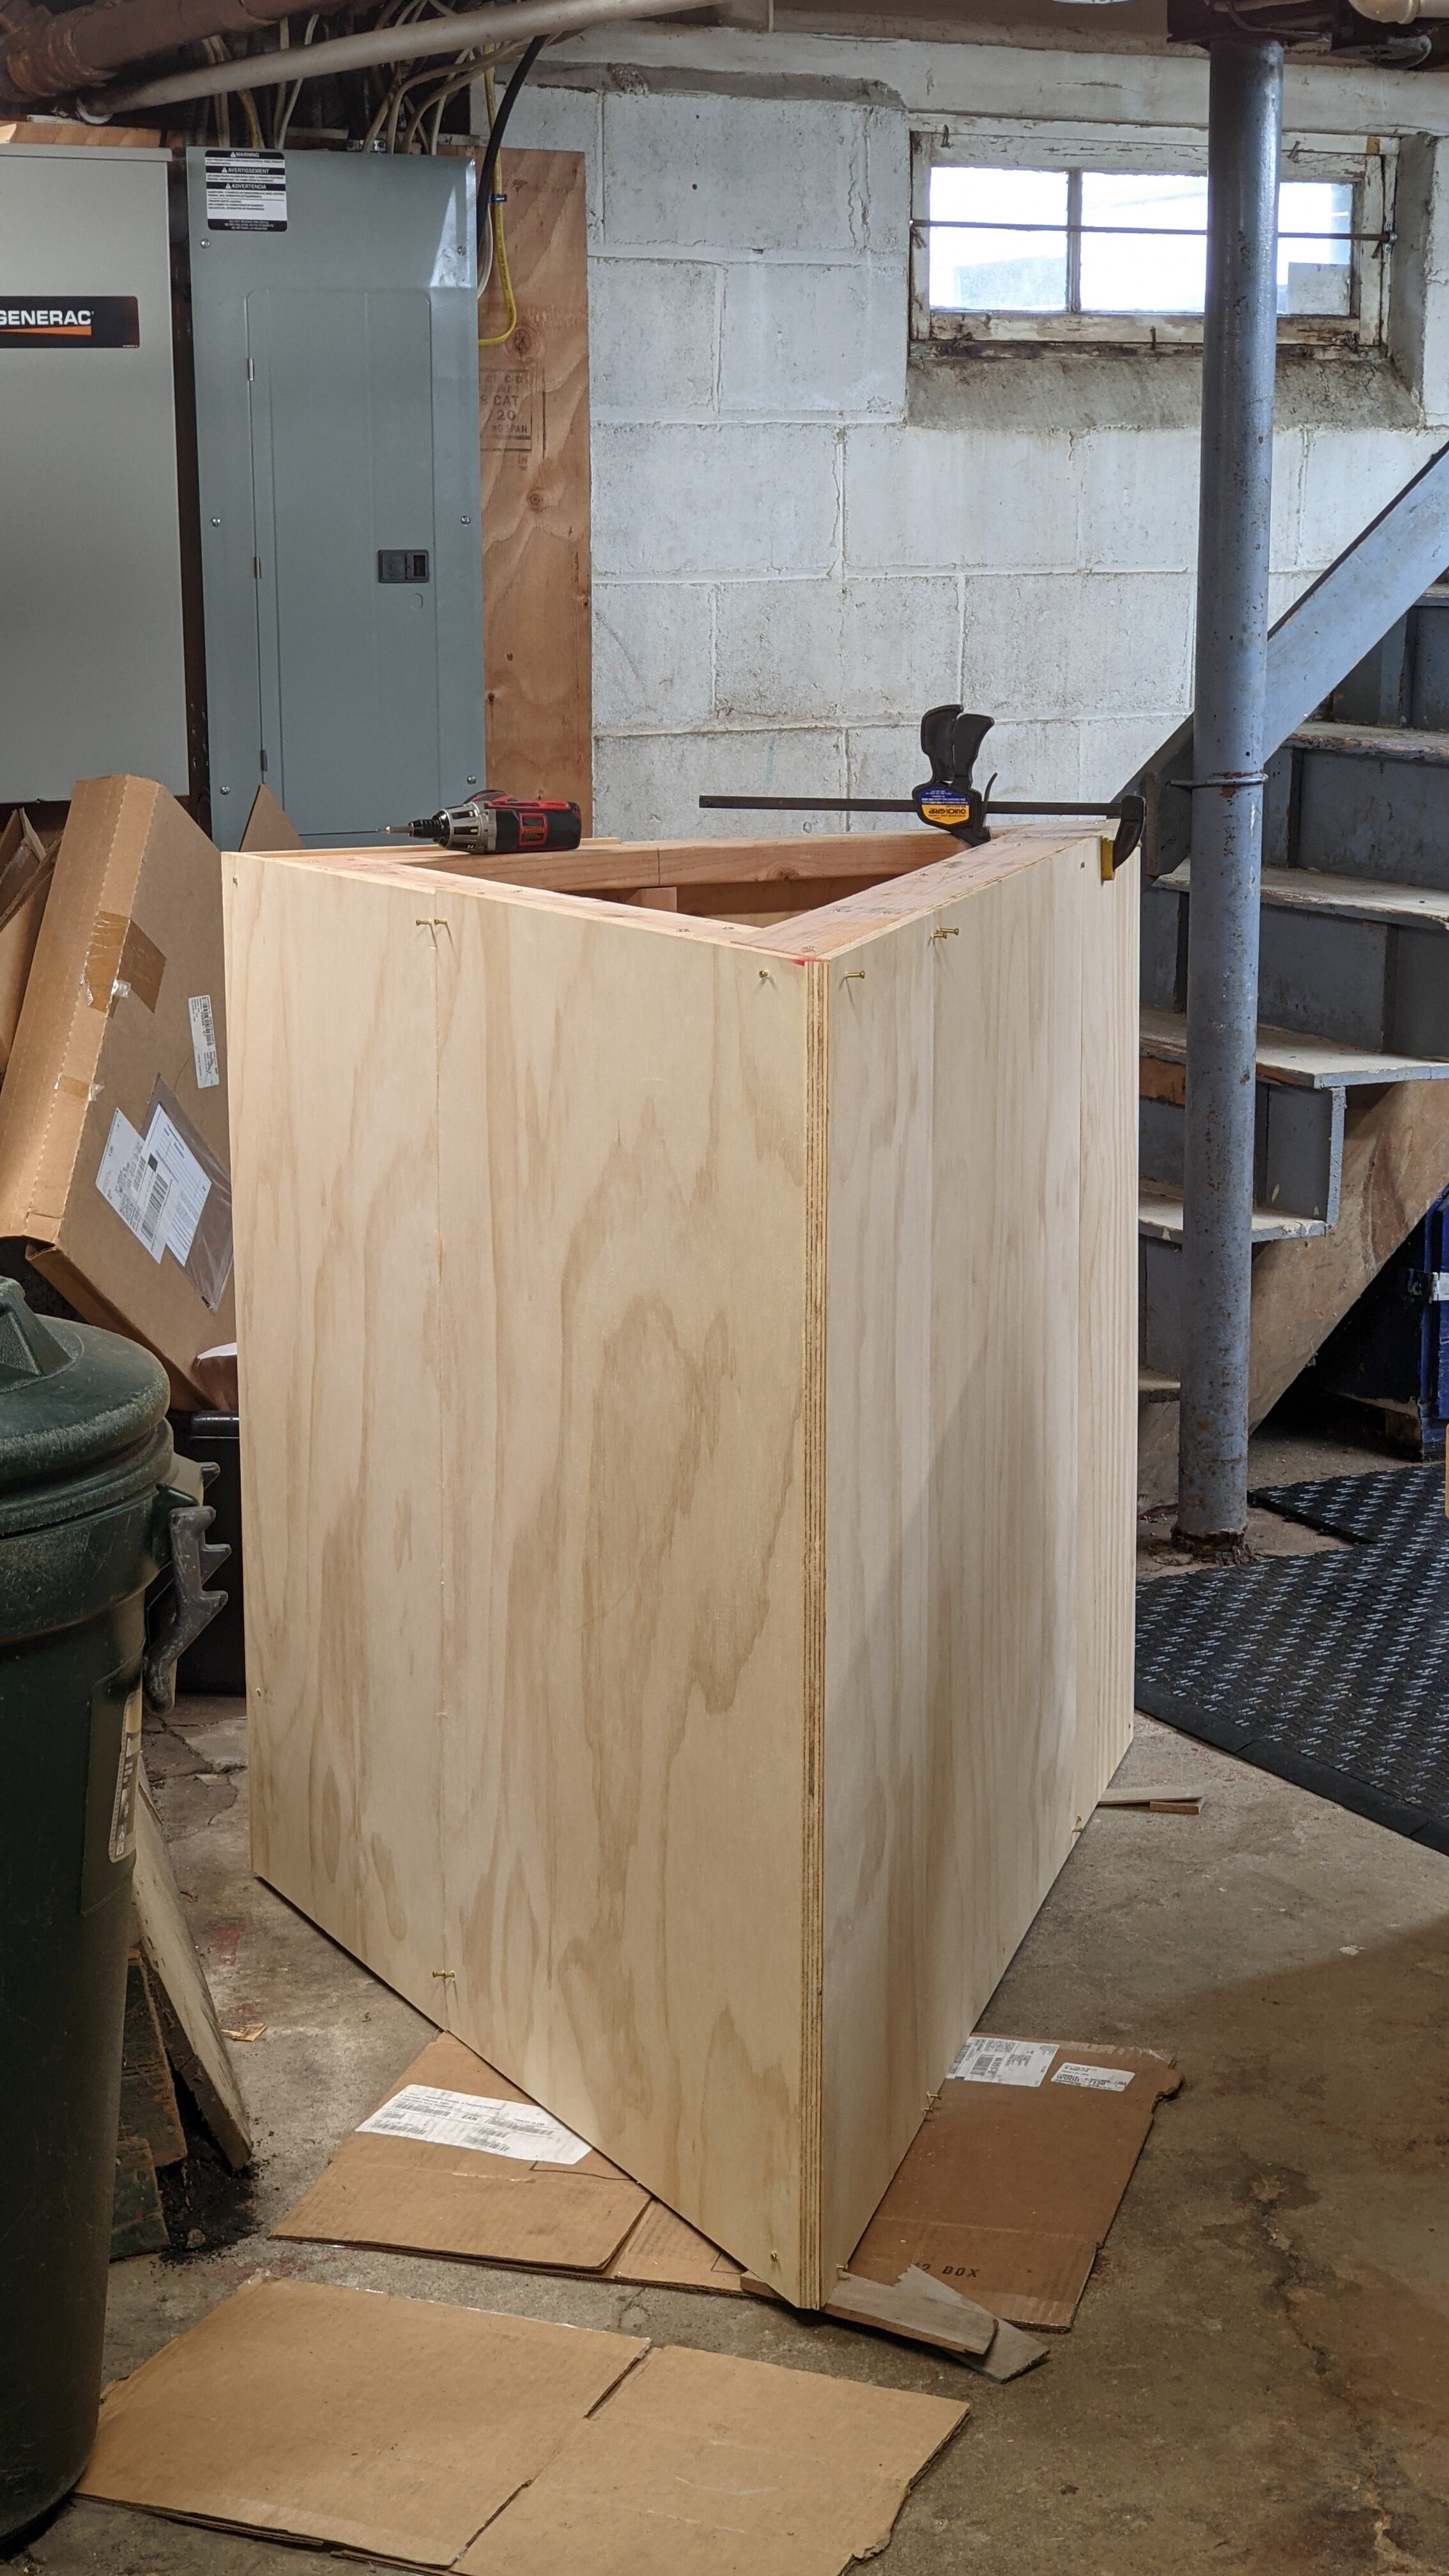
The first project was to build the triangular cabinet which fits into the corner of the guest room between two book shelves and provides a head board for the bed as well as storage for bedding and other woolens inside. Note that we’re going to also put USB charging reading lights on top, one on each side. This was challenging to frame because the sides of the triangle aren’t the same length so the angles were 90, 42, and 48 respectively. Cutting these odd angles was challenging as was getting the dimensions just right. Because the case was so large I made it so that it could be built in the shop and then disassembled and then finally assembled up in the room. I’ll say that it is quite overbuilt as it has an internal frame of 2x4’s that are skinned on the outside with 1/2” sanded pine plywood and on the inside with chipped cedar paneling to form a cedar chest. The next project that I do I’m going to try and work on lighter simpler structure, but this is my skill level at the moment and it works for me. I put leveling feet on the base to allow it to sit nicely on the carpeted floor. I primed and painted the plywood panels before assembling them in the room and then I just finish-screwed them on and filled the screw holes and sanded/touched up those areas.
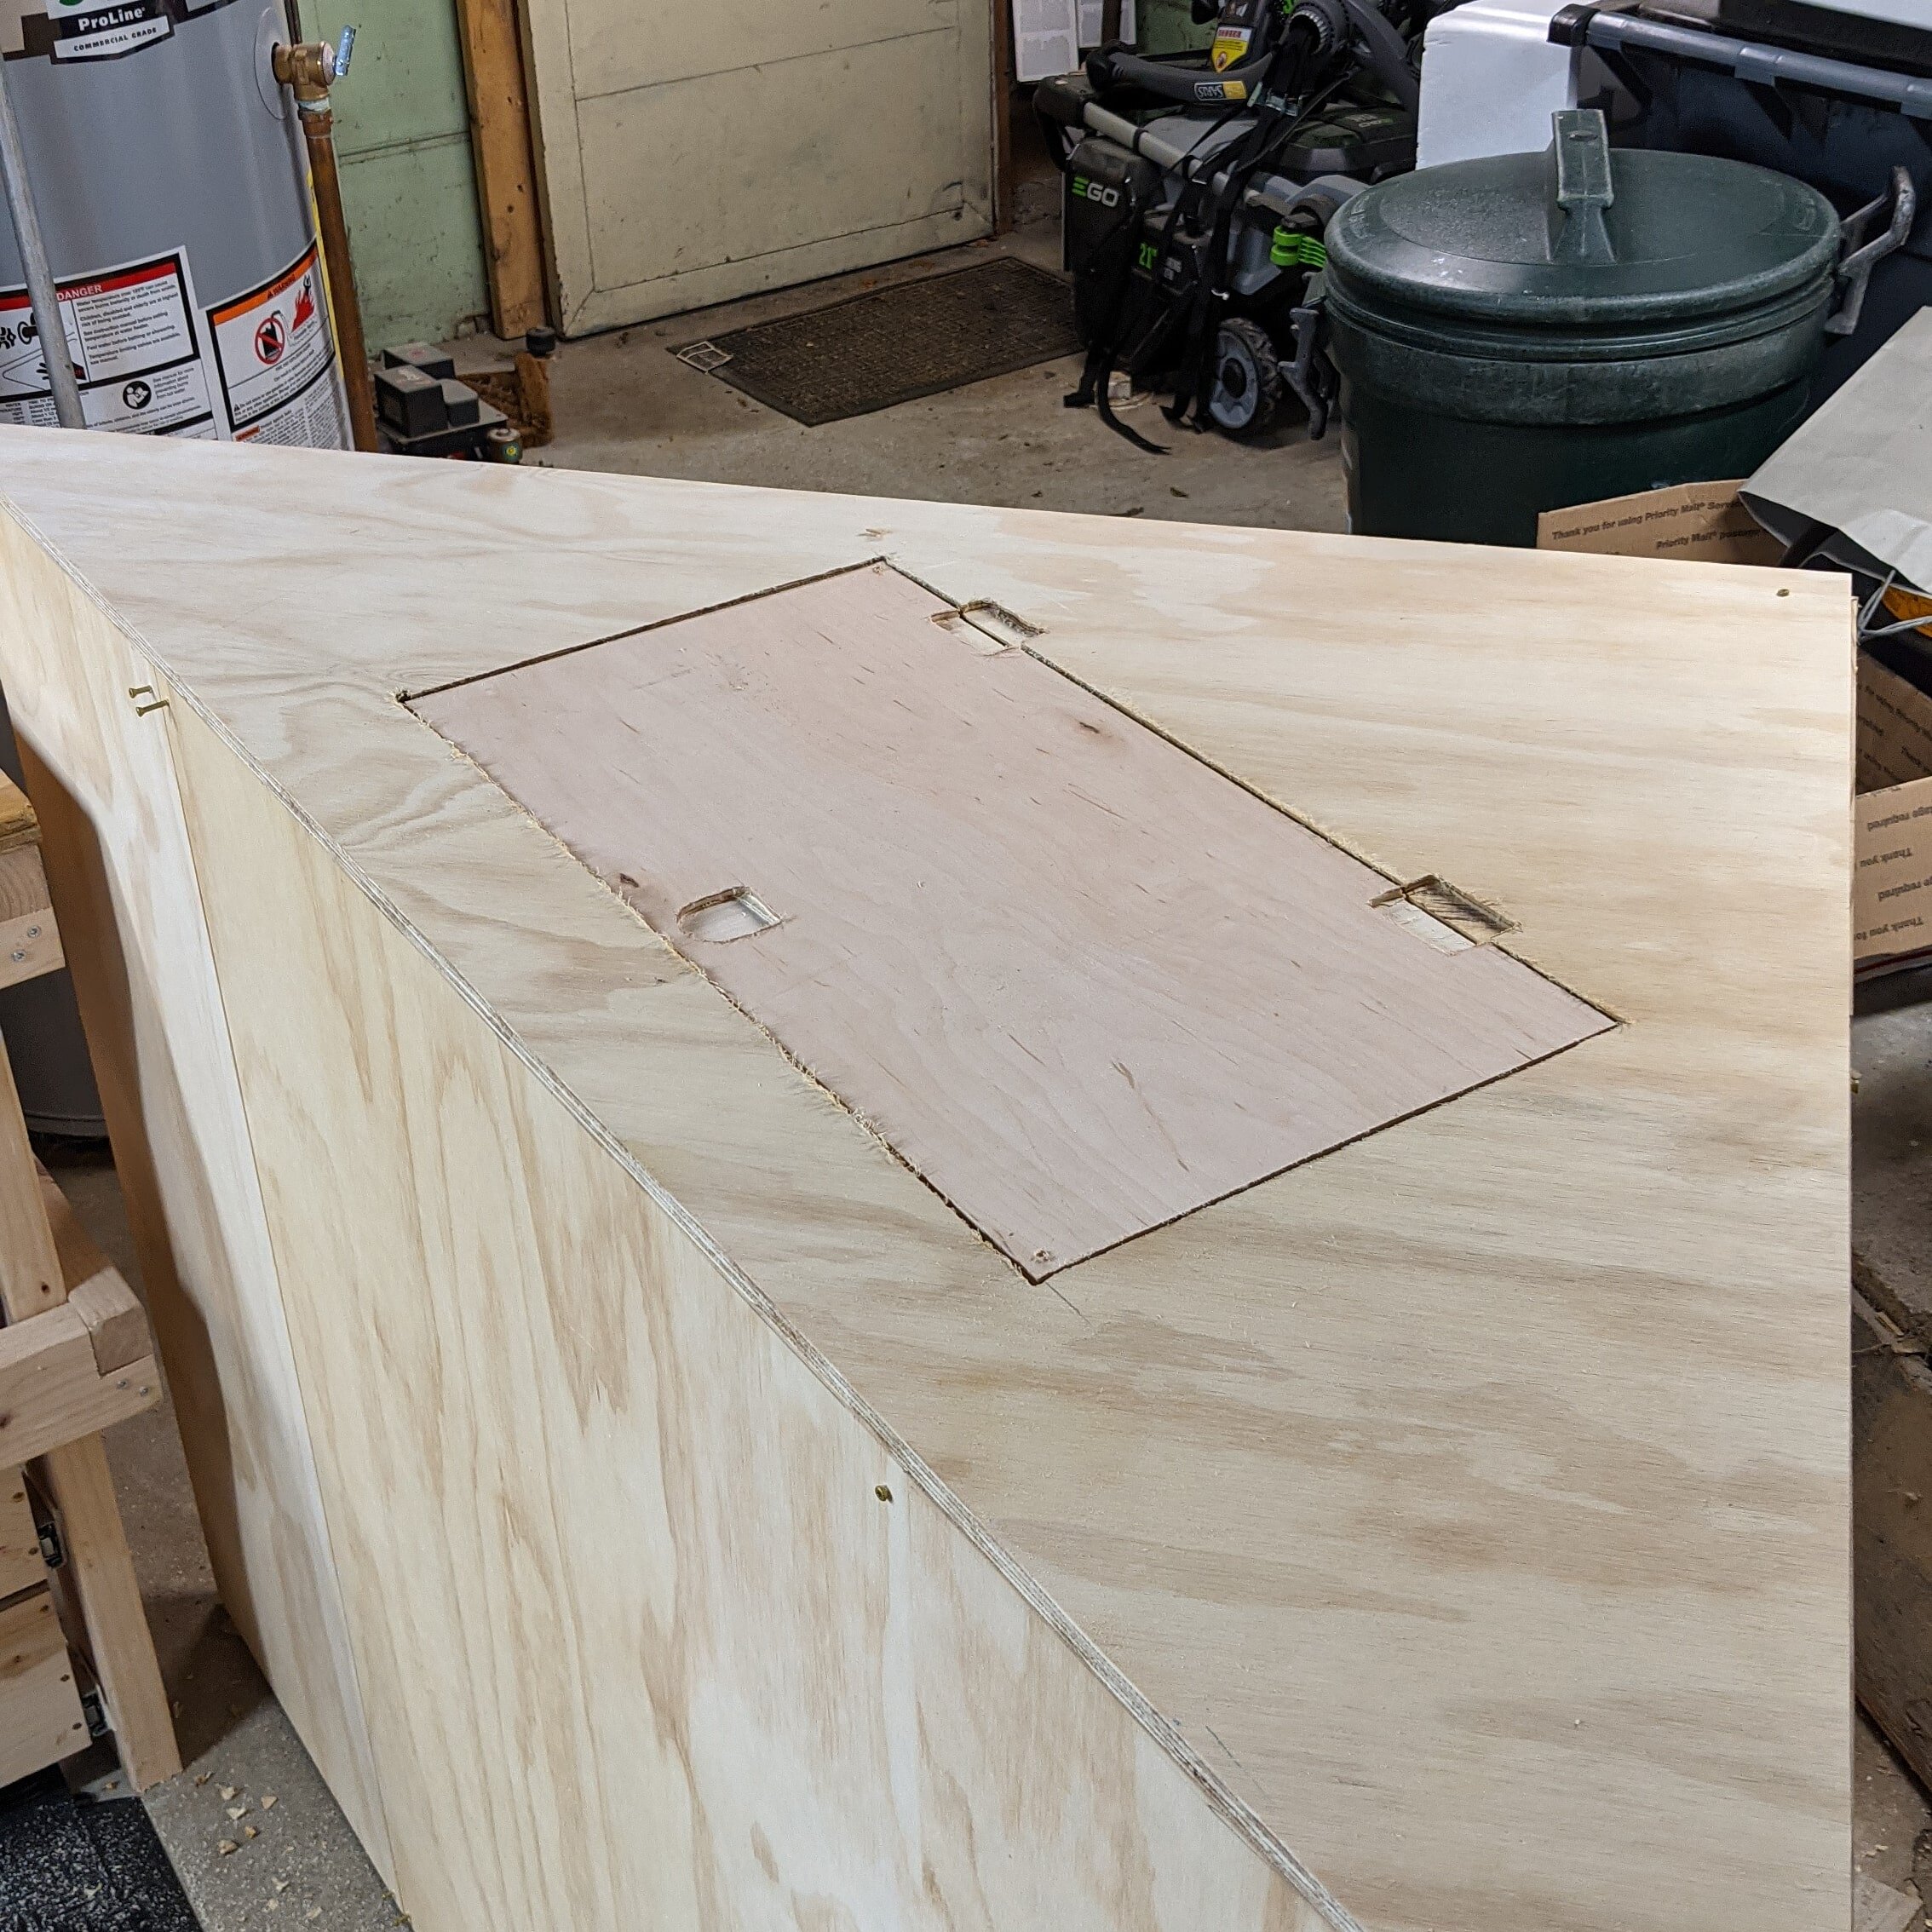
Cutting the hole and fitting the door for the cedar chest was some new router skills that I still need to work on. It came out ok, but I definitely need more practice cutting clean accurate holes and counter-sinks with the router.
Here’s the construction sequence gallery for the headboard:
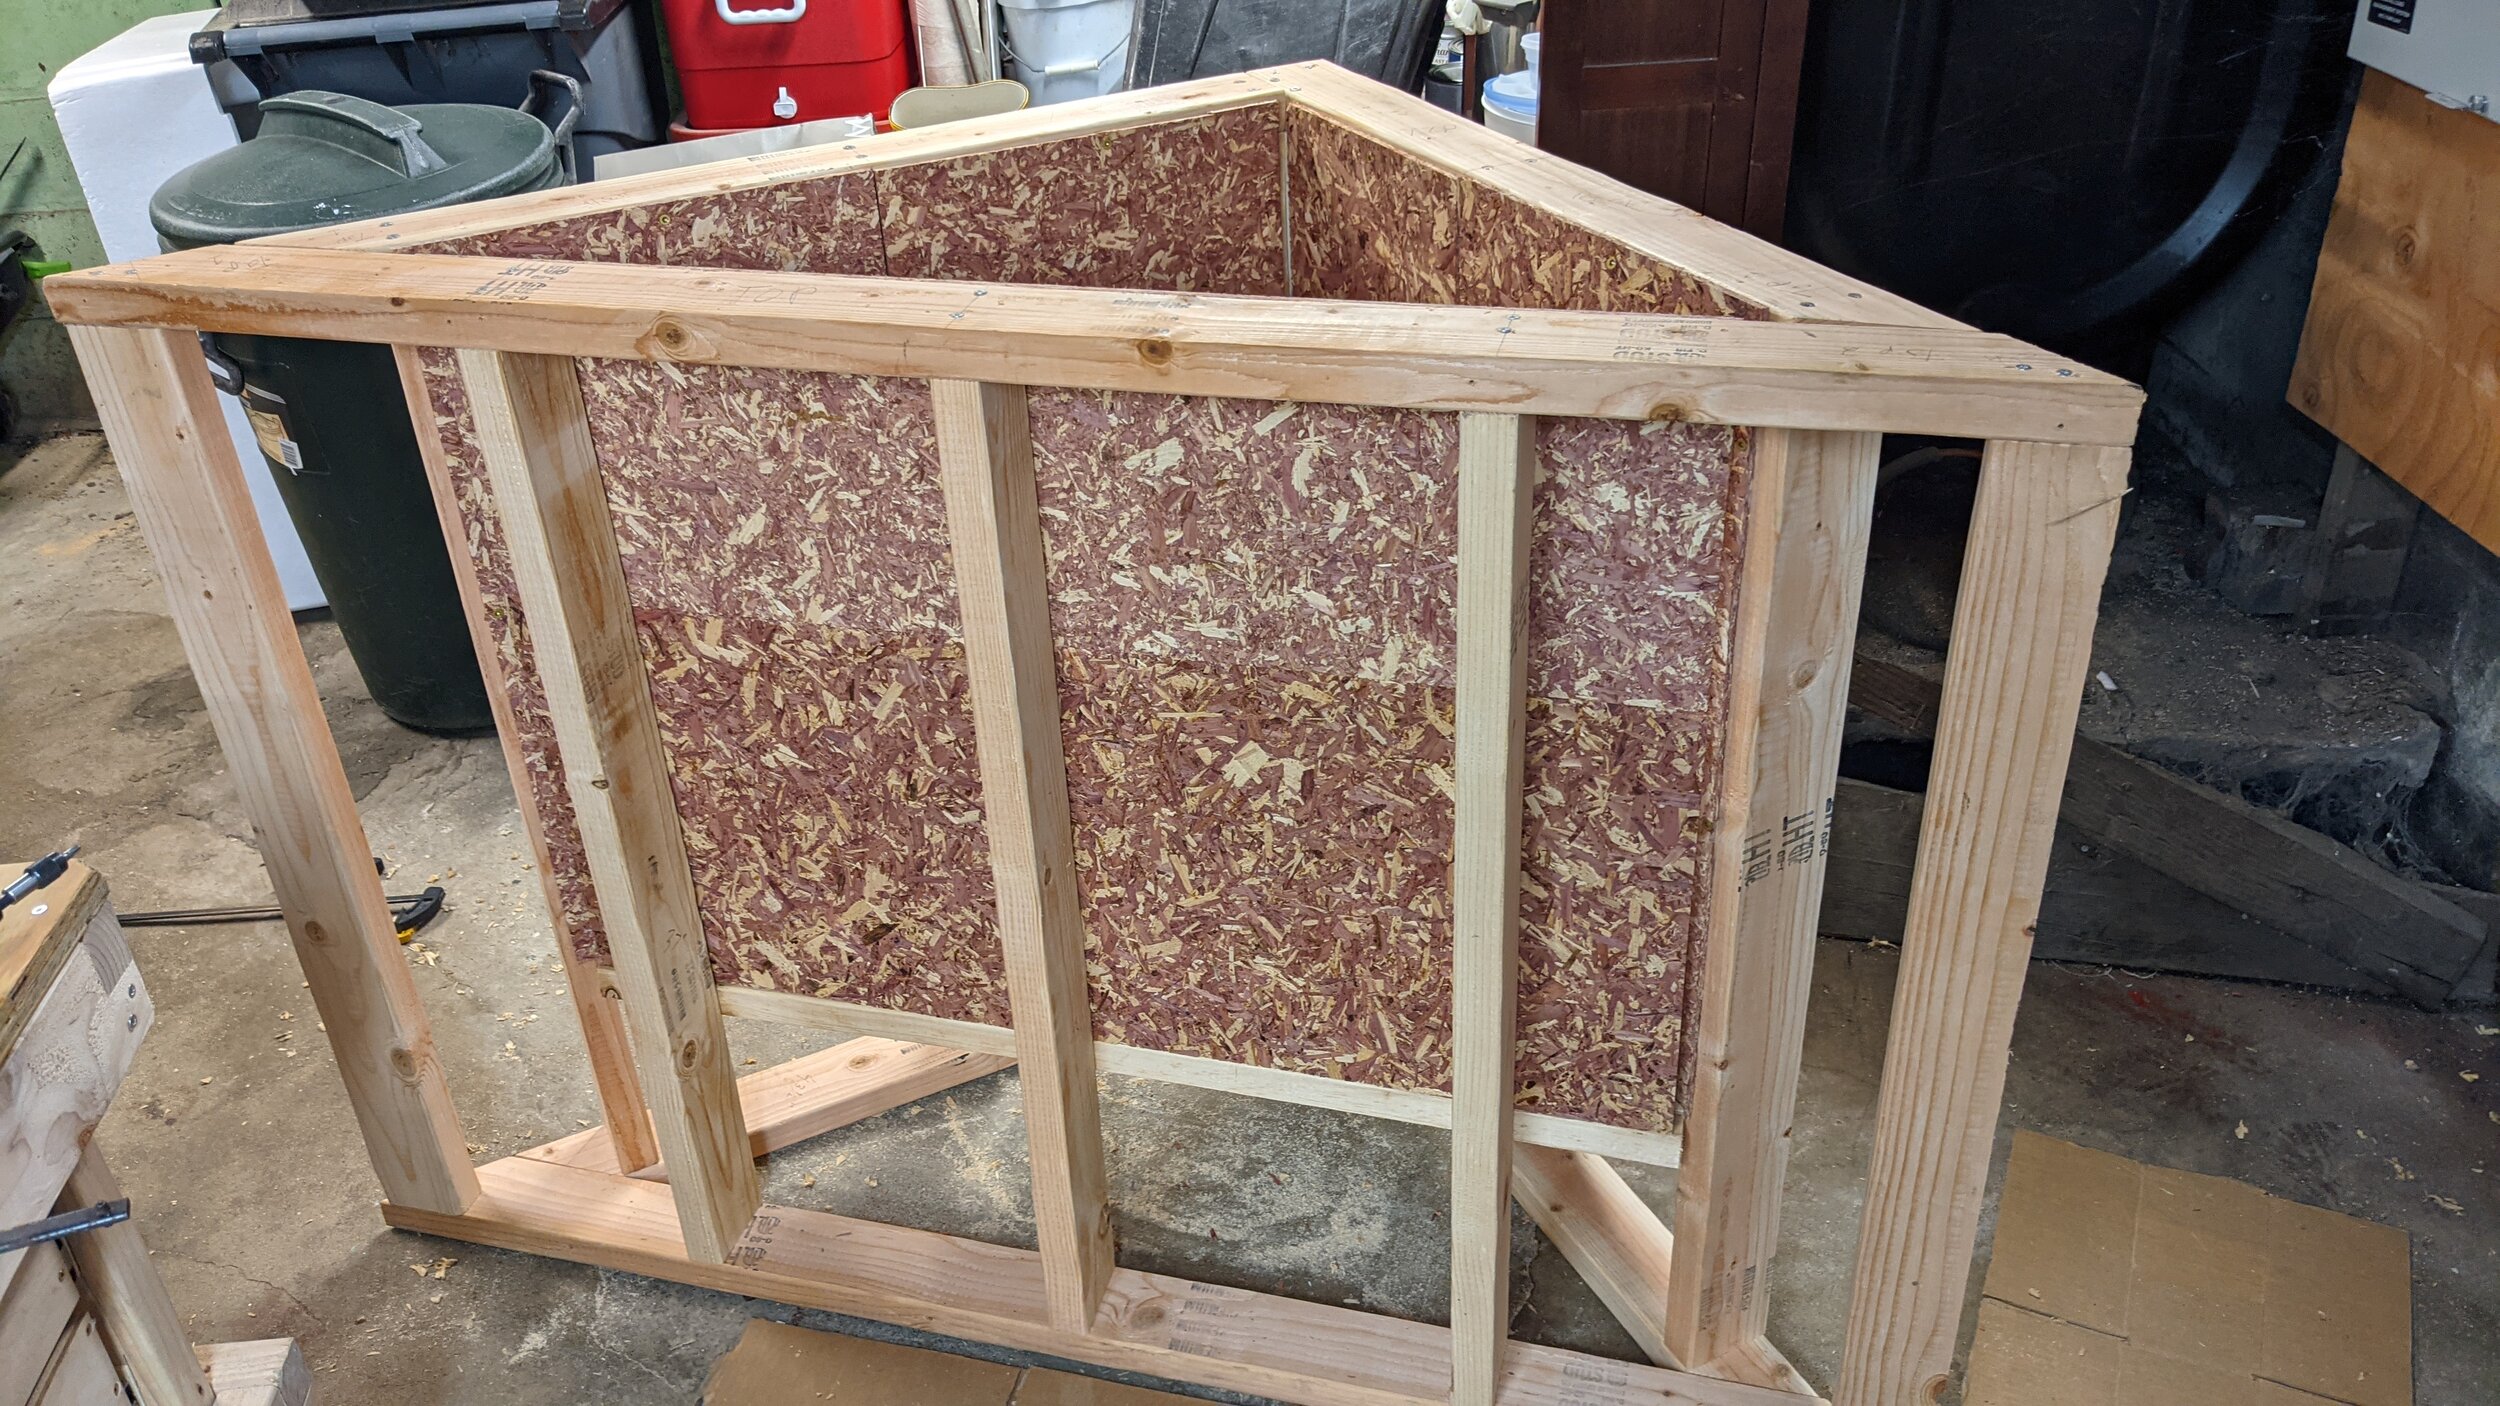
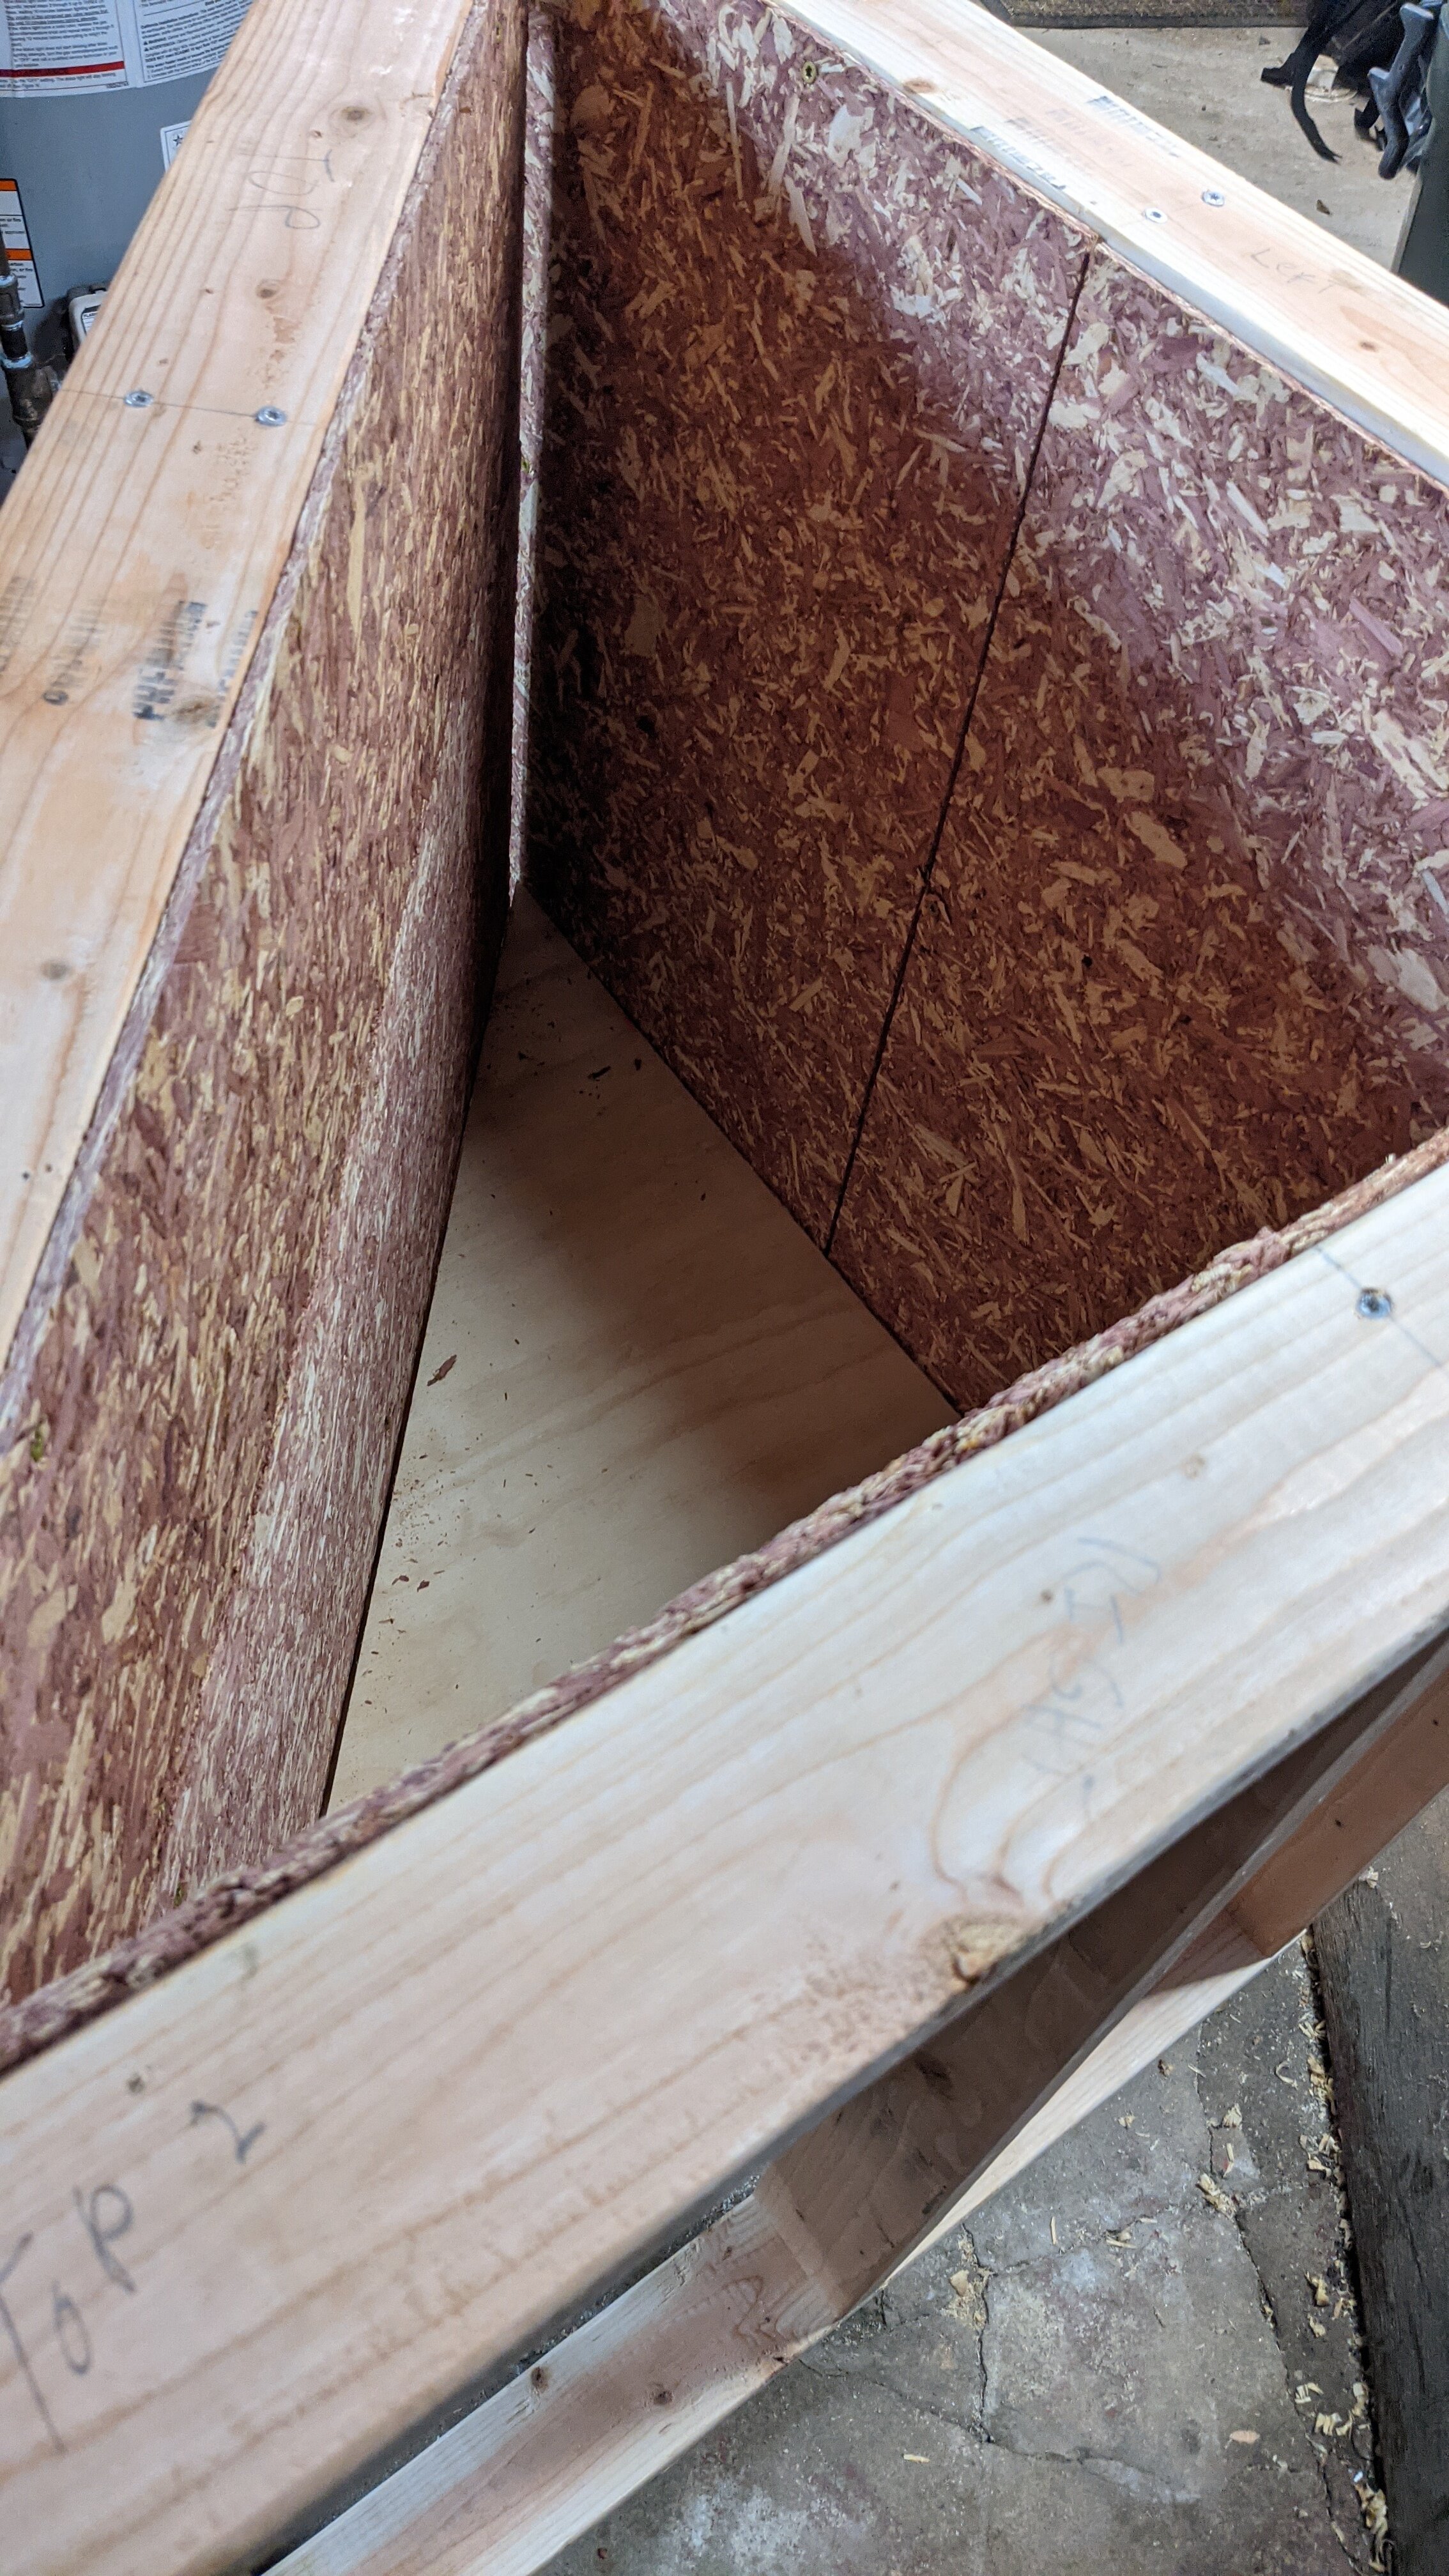
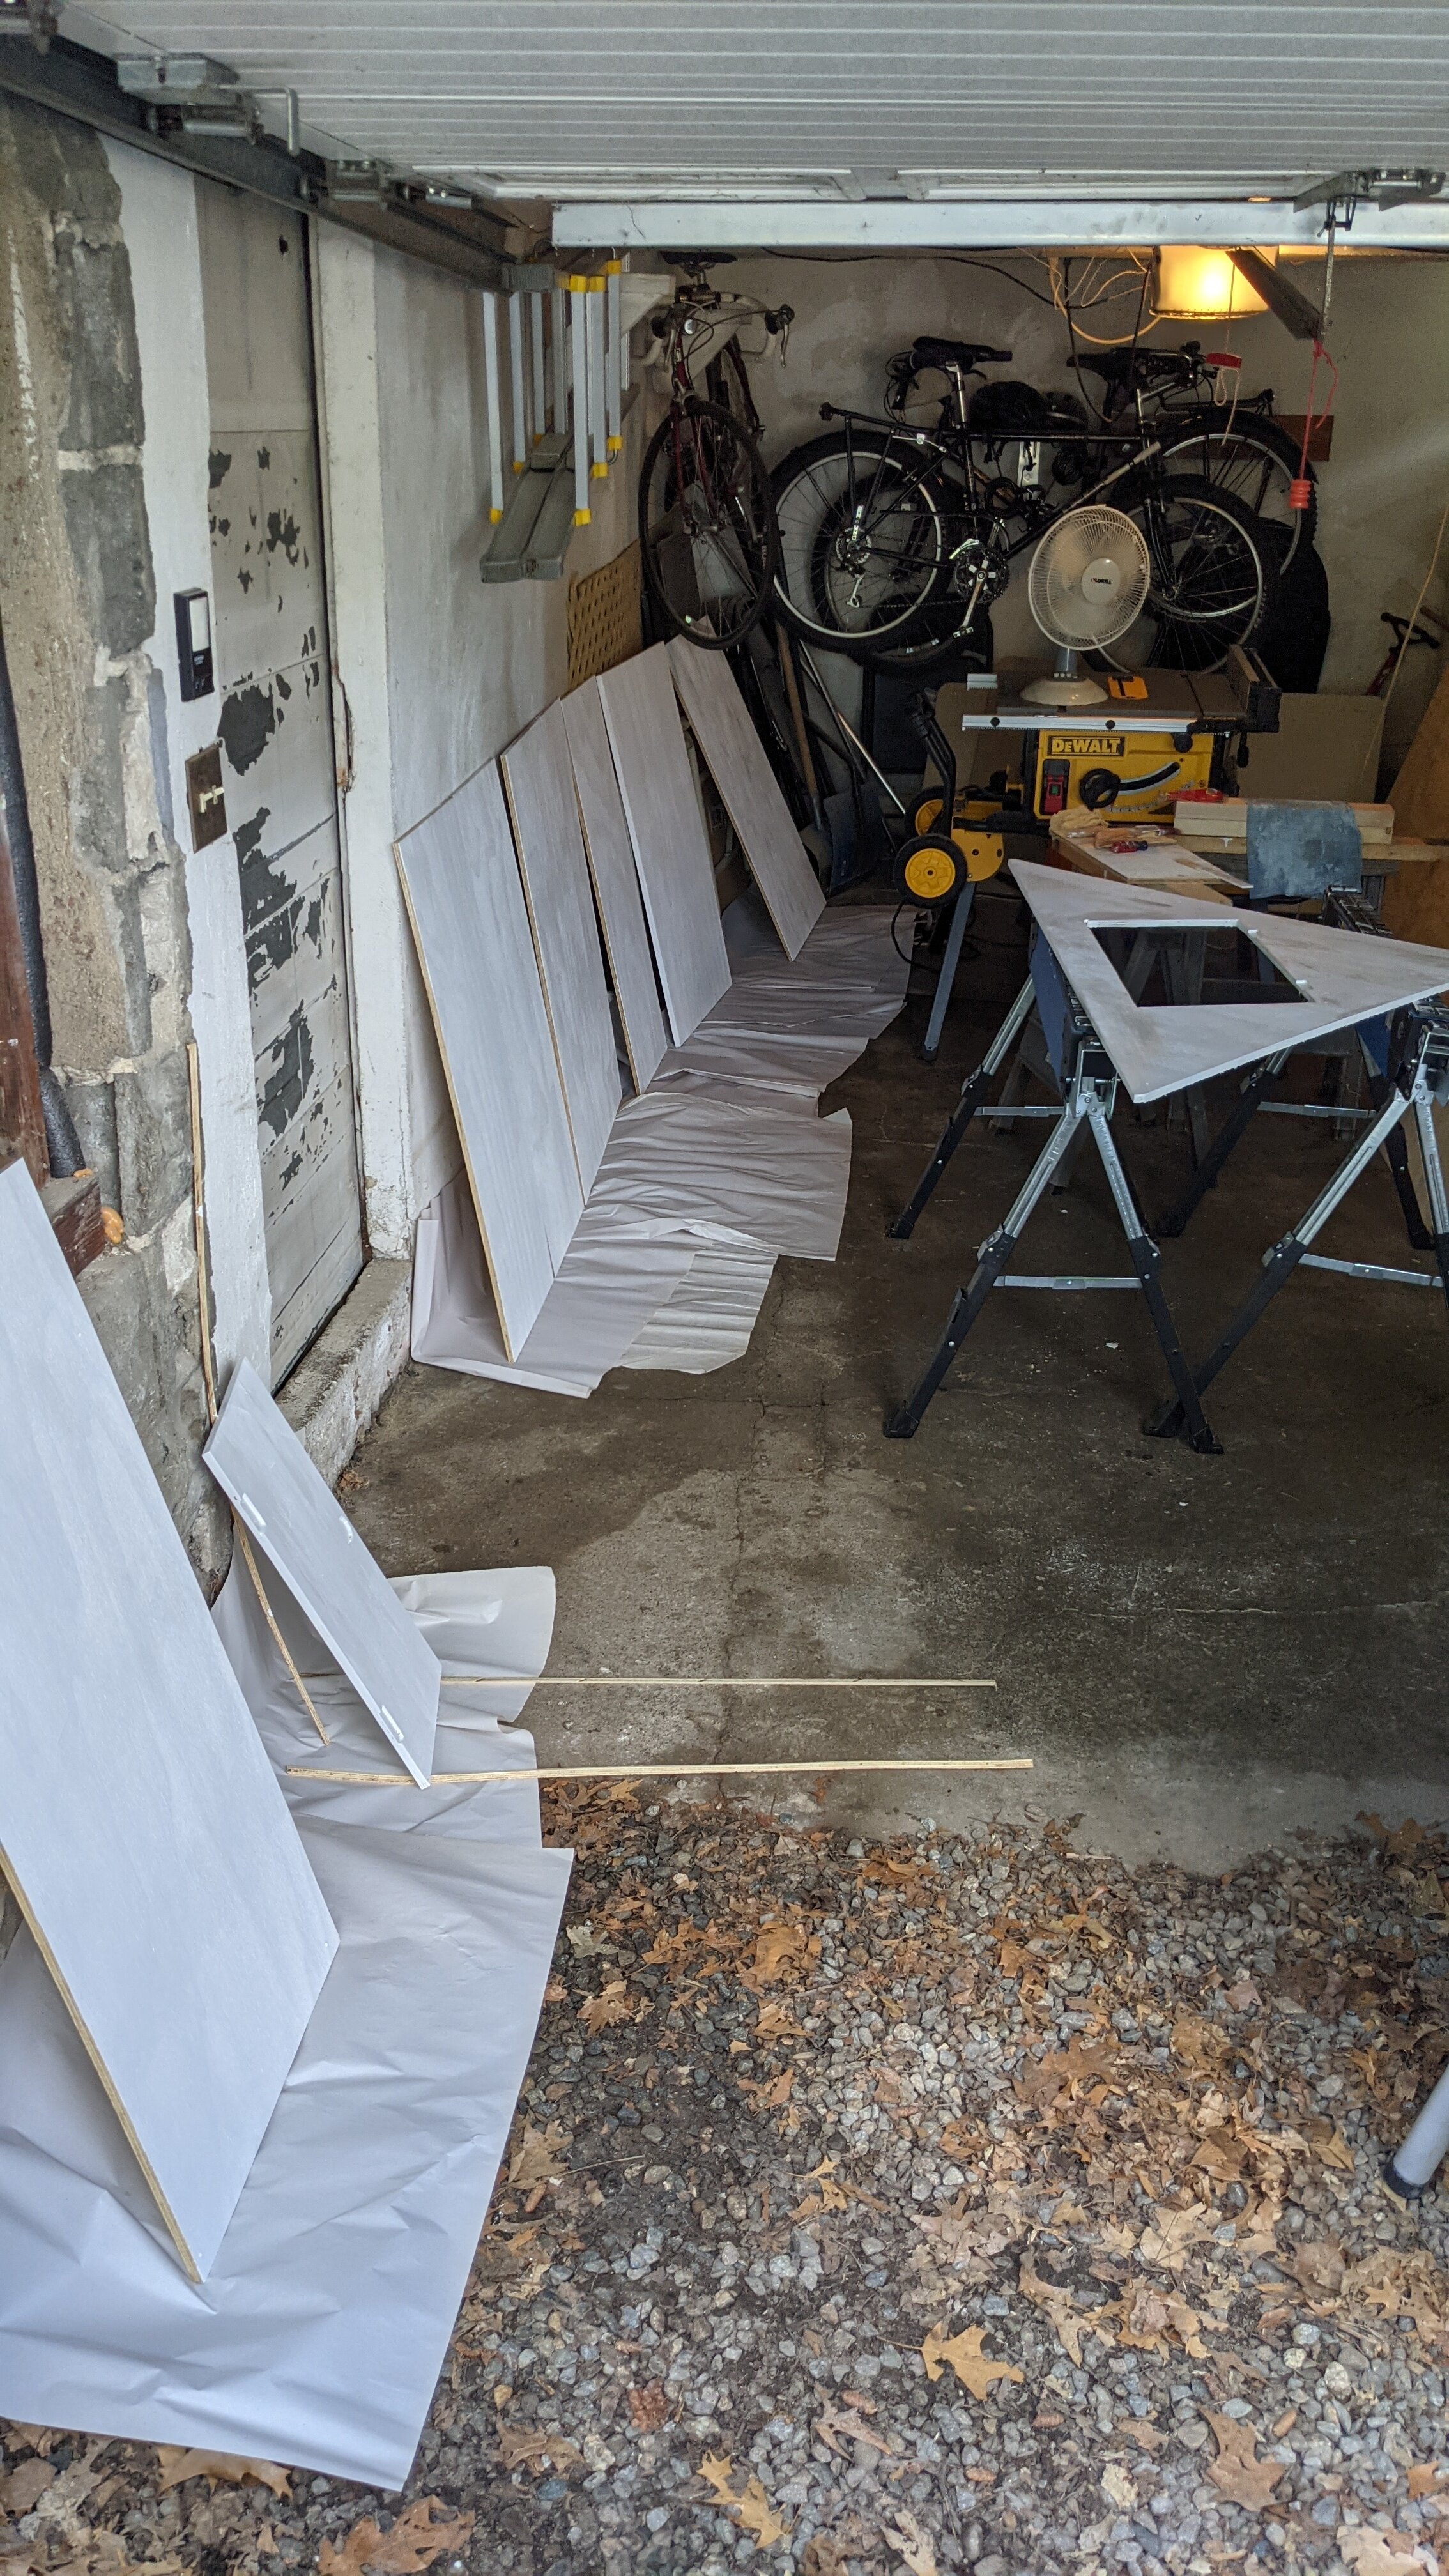
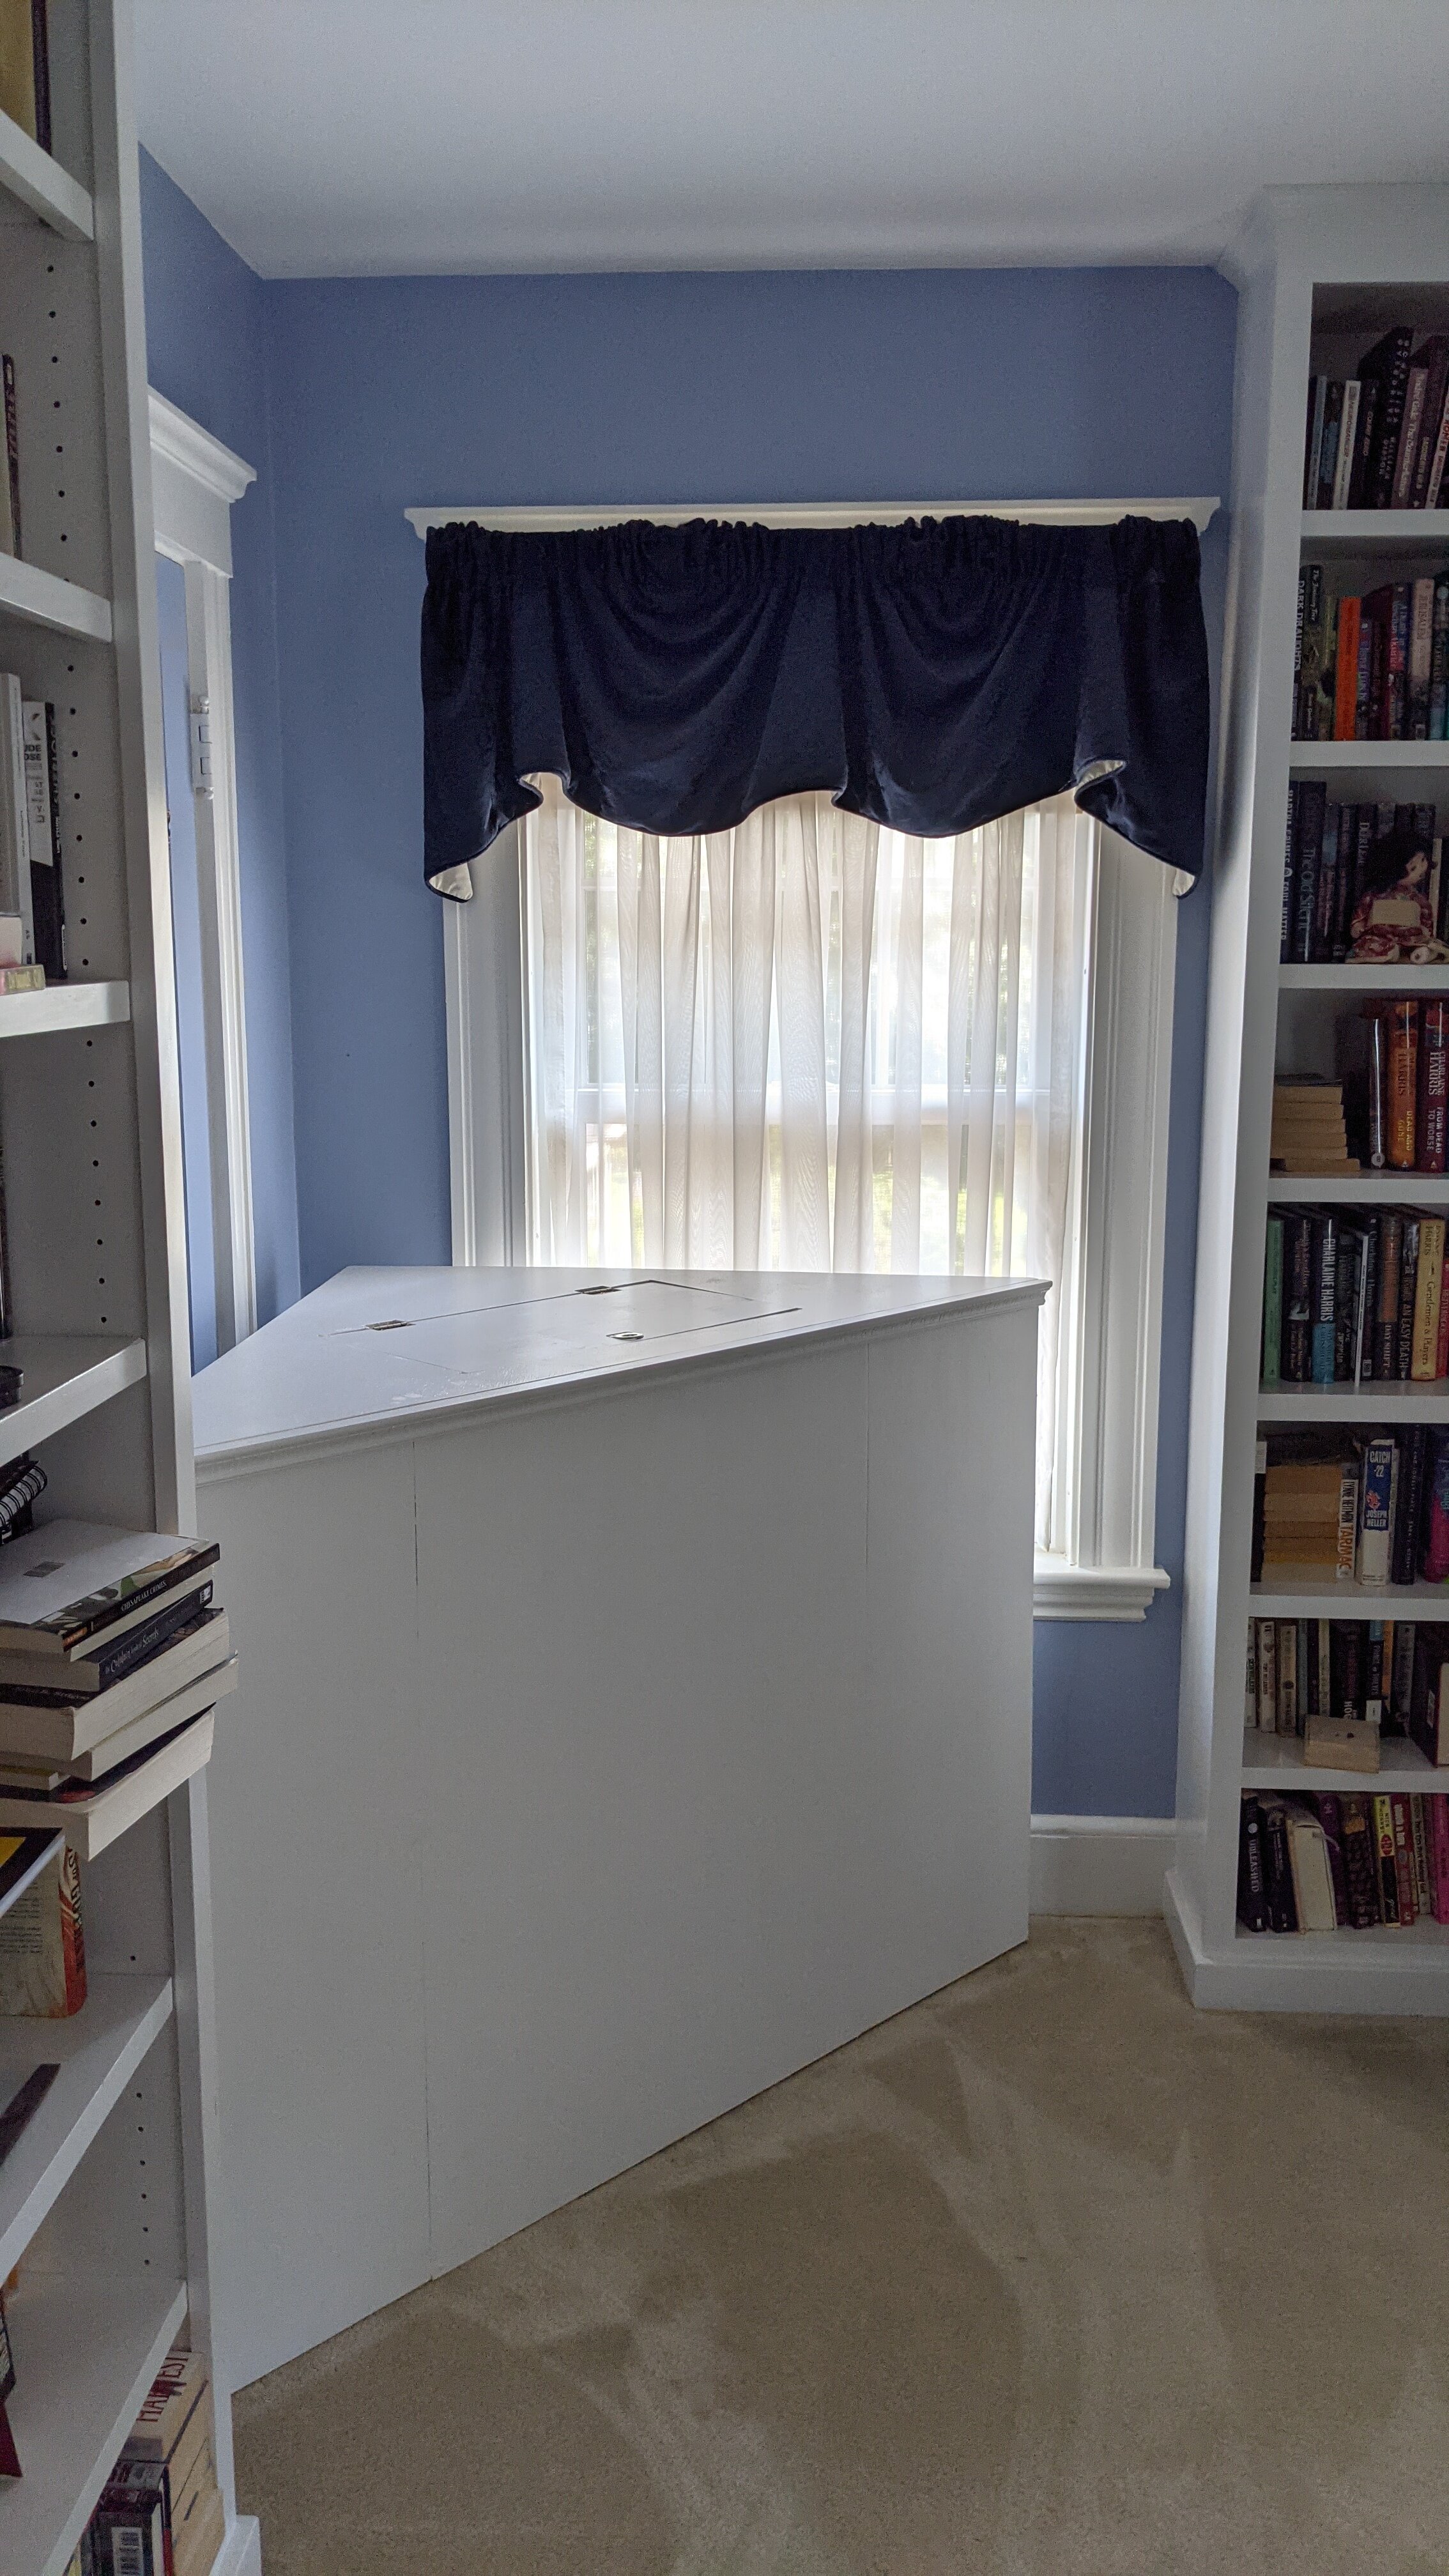
The second project was to build the fixed base for the sofa bed. This is a U-shaped frame that sticks out from the headboard into the room. It provides the support for the upper part of the bed when extended. The lower end of the bed rides on a trundle that rolls out of the fixed base on one-way industrial casters. This part was relatively easy to build since it was all right angles. I did get a bunch of practice cutting panels out of sheets of plywood using a combination of hand held circular saw and the table saw. I got a lot better at it over the course of this project and I feel much more confident with this skill. I also shifted from painting the panels with a brush to painting them with a 7” roller and that was a huge improvement in both time efficiency and quality of finish. My next project, I’m going to sand the piece after the initial coat of primer since it raises the grain on the plywood and I think I’d get a smoother finish if I did this. However, it doesn’t look bad at all unless you really get close to it and compare it to the professionally built book cases in the library.

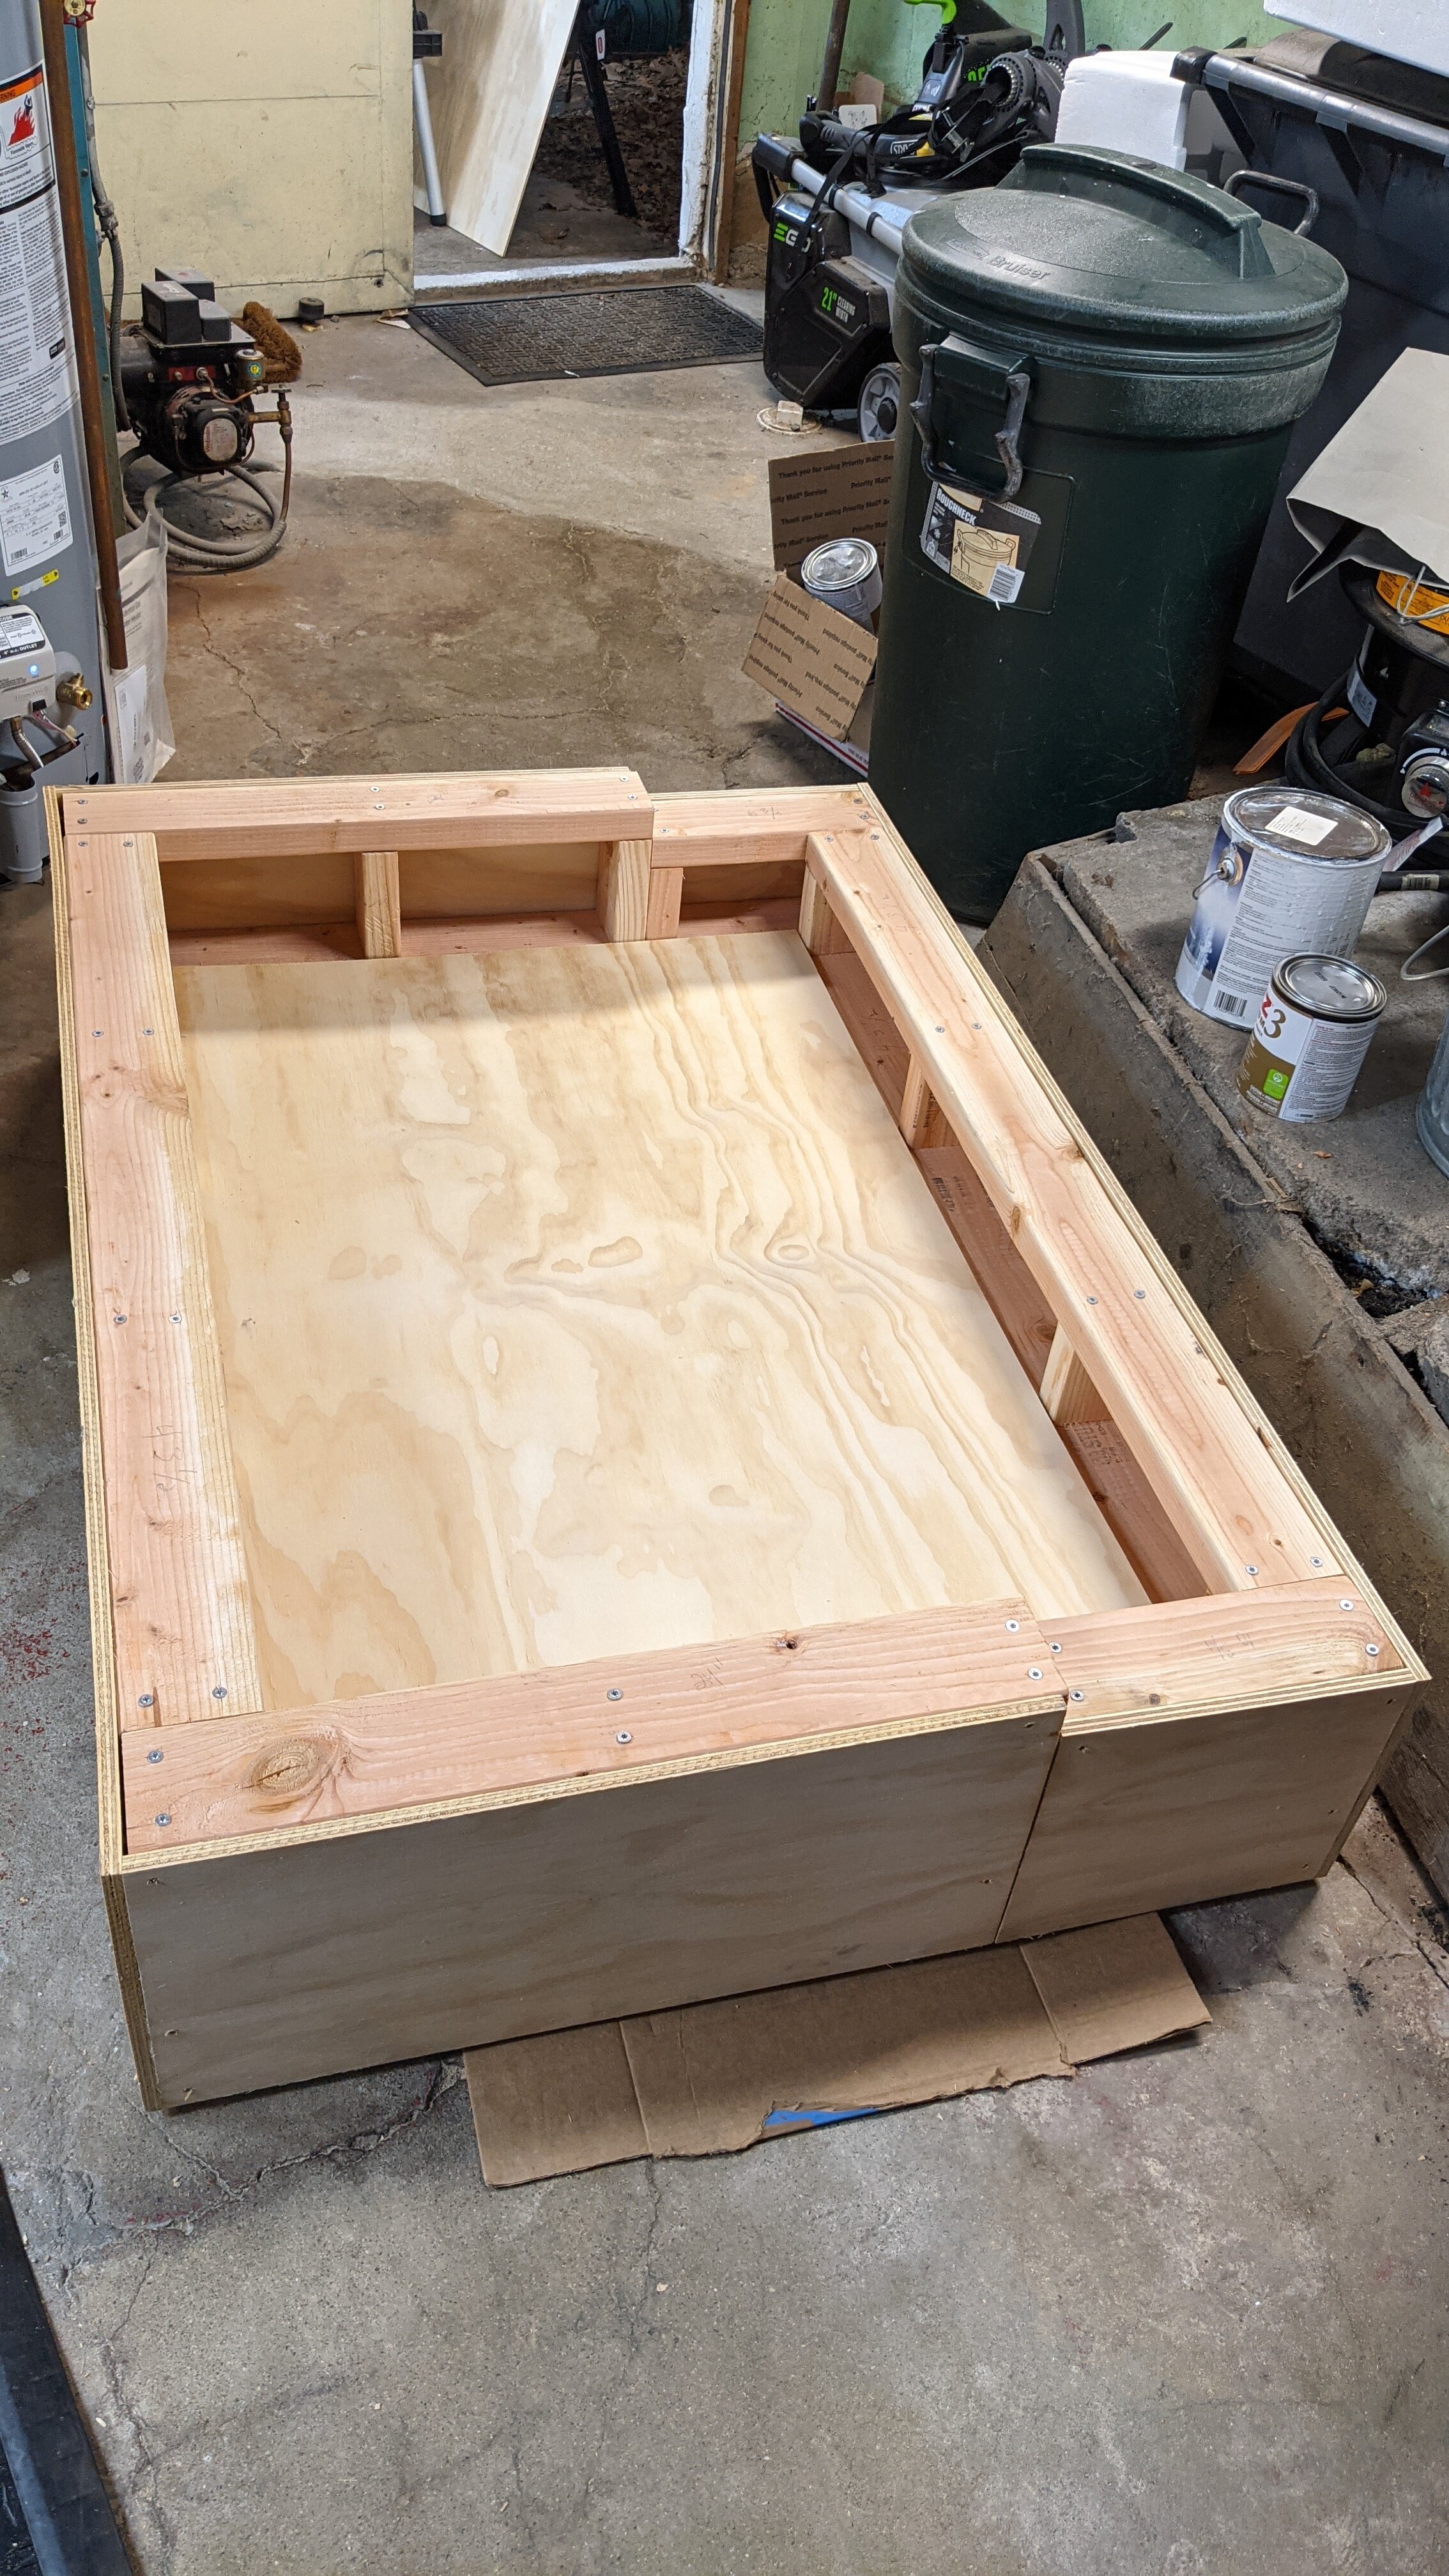
The next step of the project was to build the trundle that rolls out of the fixed base and extends the bed. Again this wasn’t too bad in terms of framing. The only complexity was that it is shorter at the back than the front to allow for it to pass under the stretcher that helps keep the base from bowing outward. It is also set up at the height of the casters, about 3 1/2” above the ground. I put in three one way casters on each side. Since they are in the same line they actually help make the trundle move straight in and out. The side panels are full height to hide the casters and make a uniform front on the sofa bed when it is closed. I put recessed handles into the front of the trundle to make pulling on it easier. There is a 2x2 cleat around the inside bottom of the trundle to support a plywood bottom making the interior into a large drawer for storage. The seat will hinge up at the front to allow access.
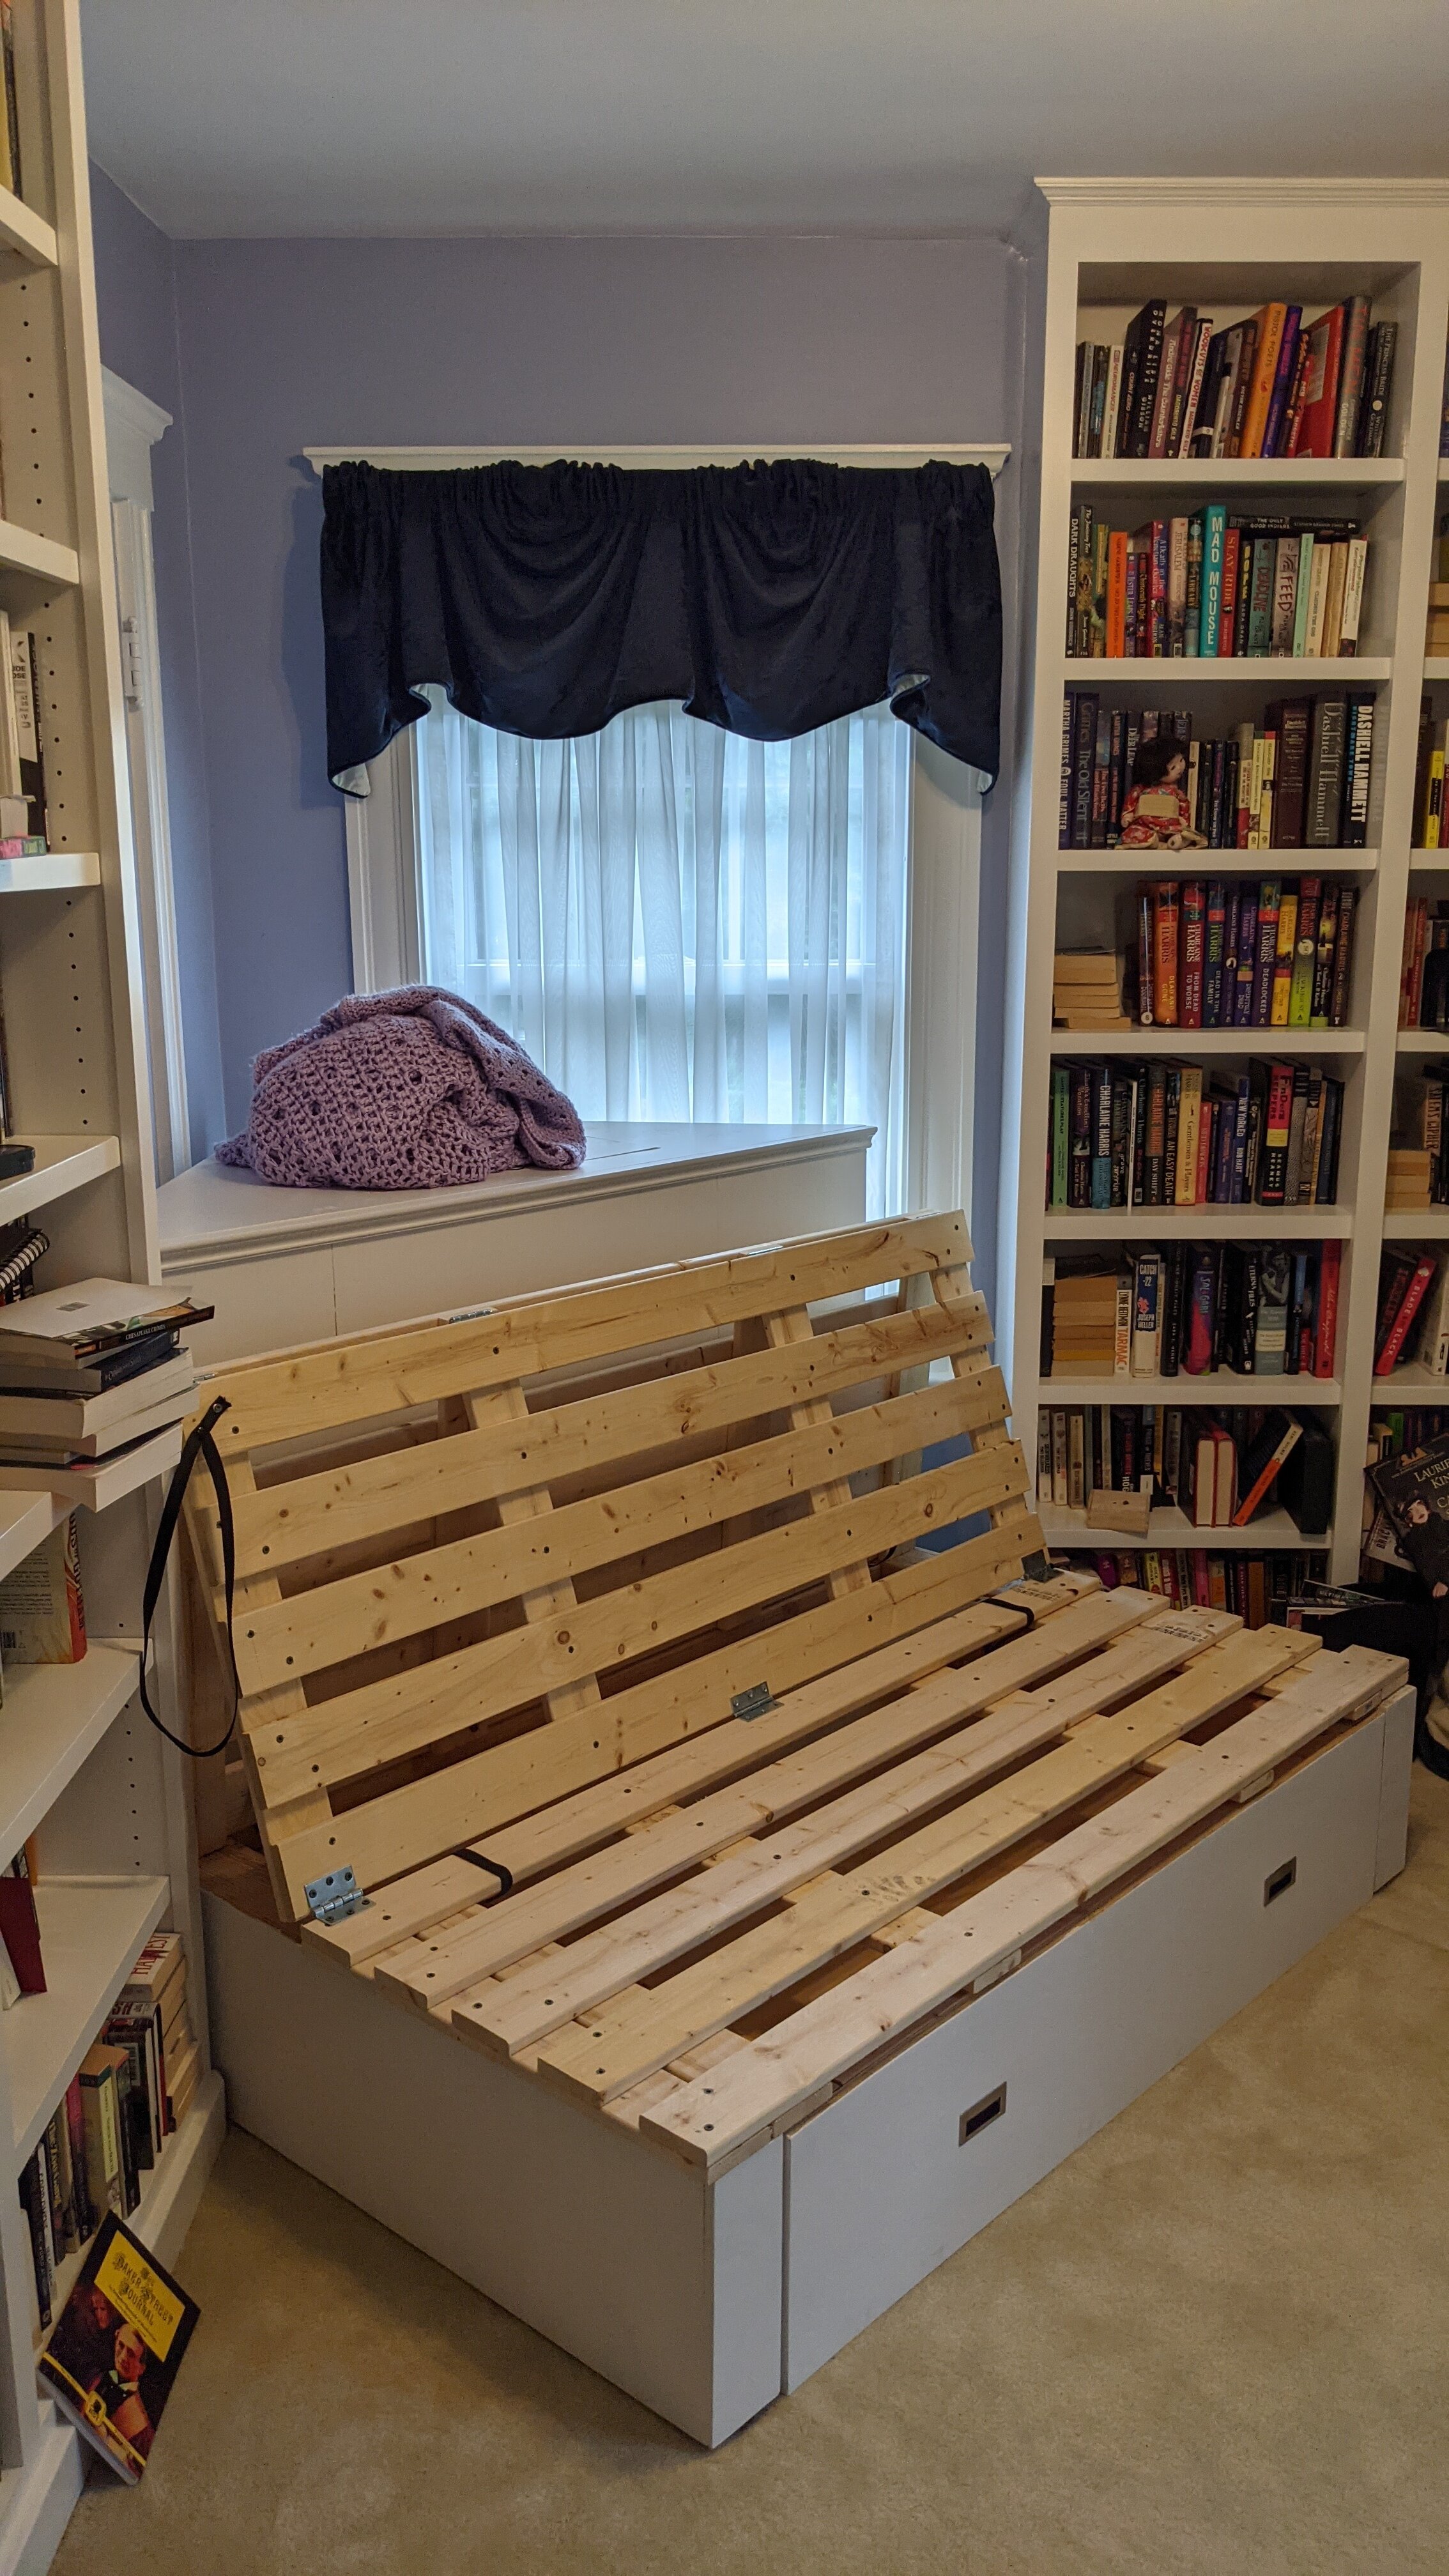
Finally I built the slat frame that hinges and supports the mattress ( on order, it takes a while to get one…). This was straightforward and constructed out of 1 x 4 pine stock. It attaches to the fixed frame at the top using some nylon webbing ( like what backpack straps are made of ) to allow it to be tethered in a flexible way when folded up but also to not slide off the base when extending or closing the bed. It is tethered in a similar way to the trundle and the back allowing the panel to act as a cover for the drawer that can be opened with the bed extended or folded. It is very firm and stable when deployed or folded and I’m really happy with it. It handles my considerable bulk without too much flex or movement.
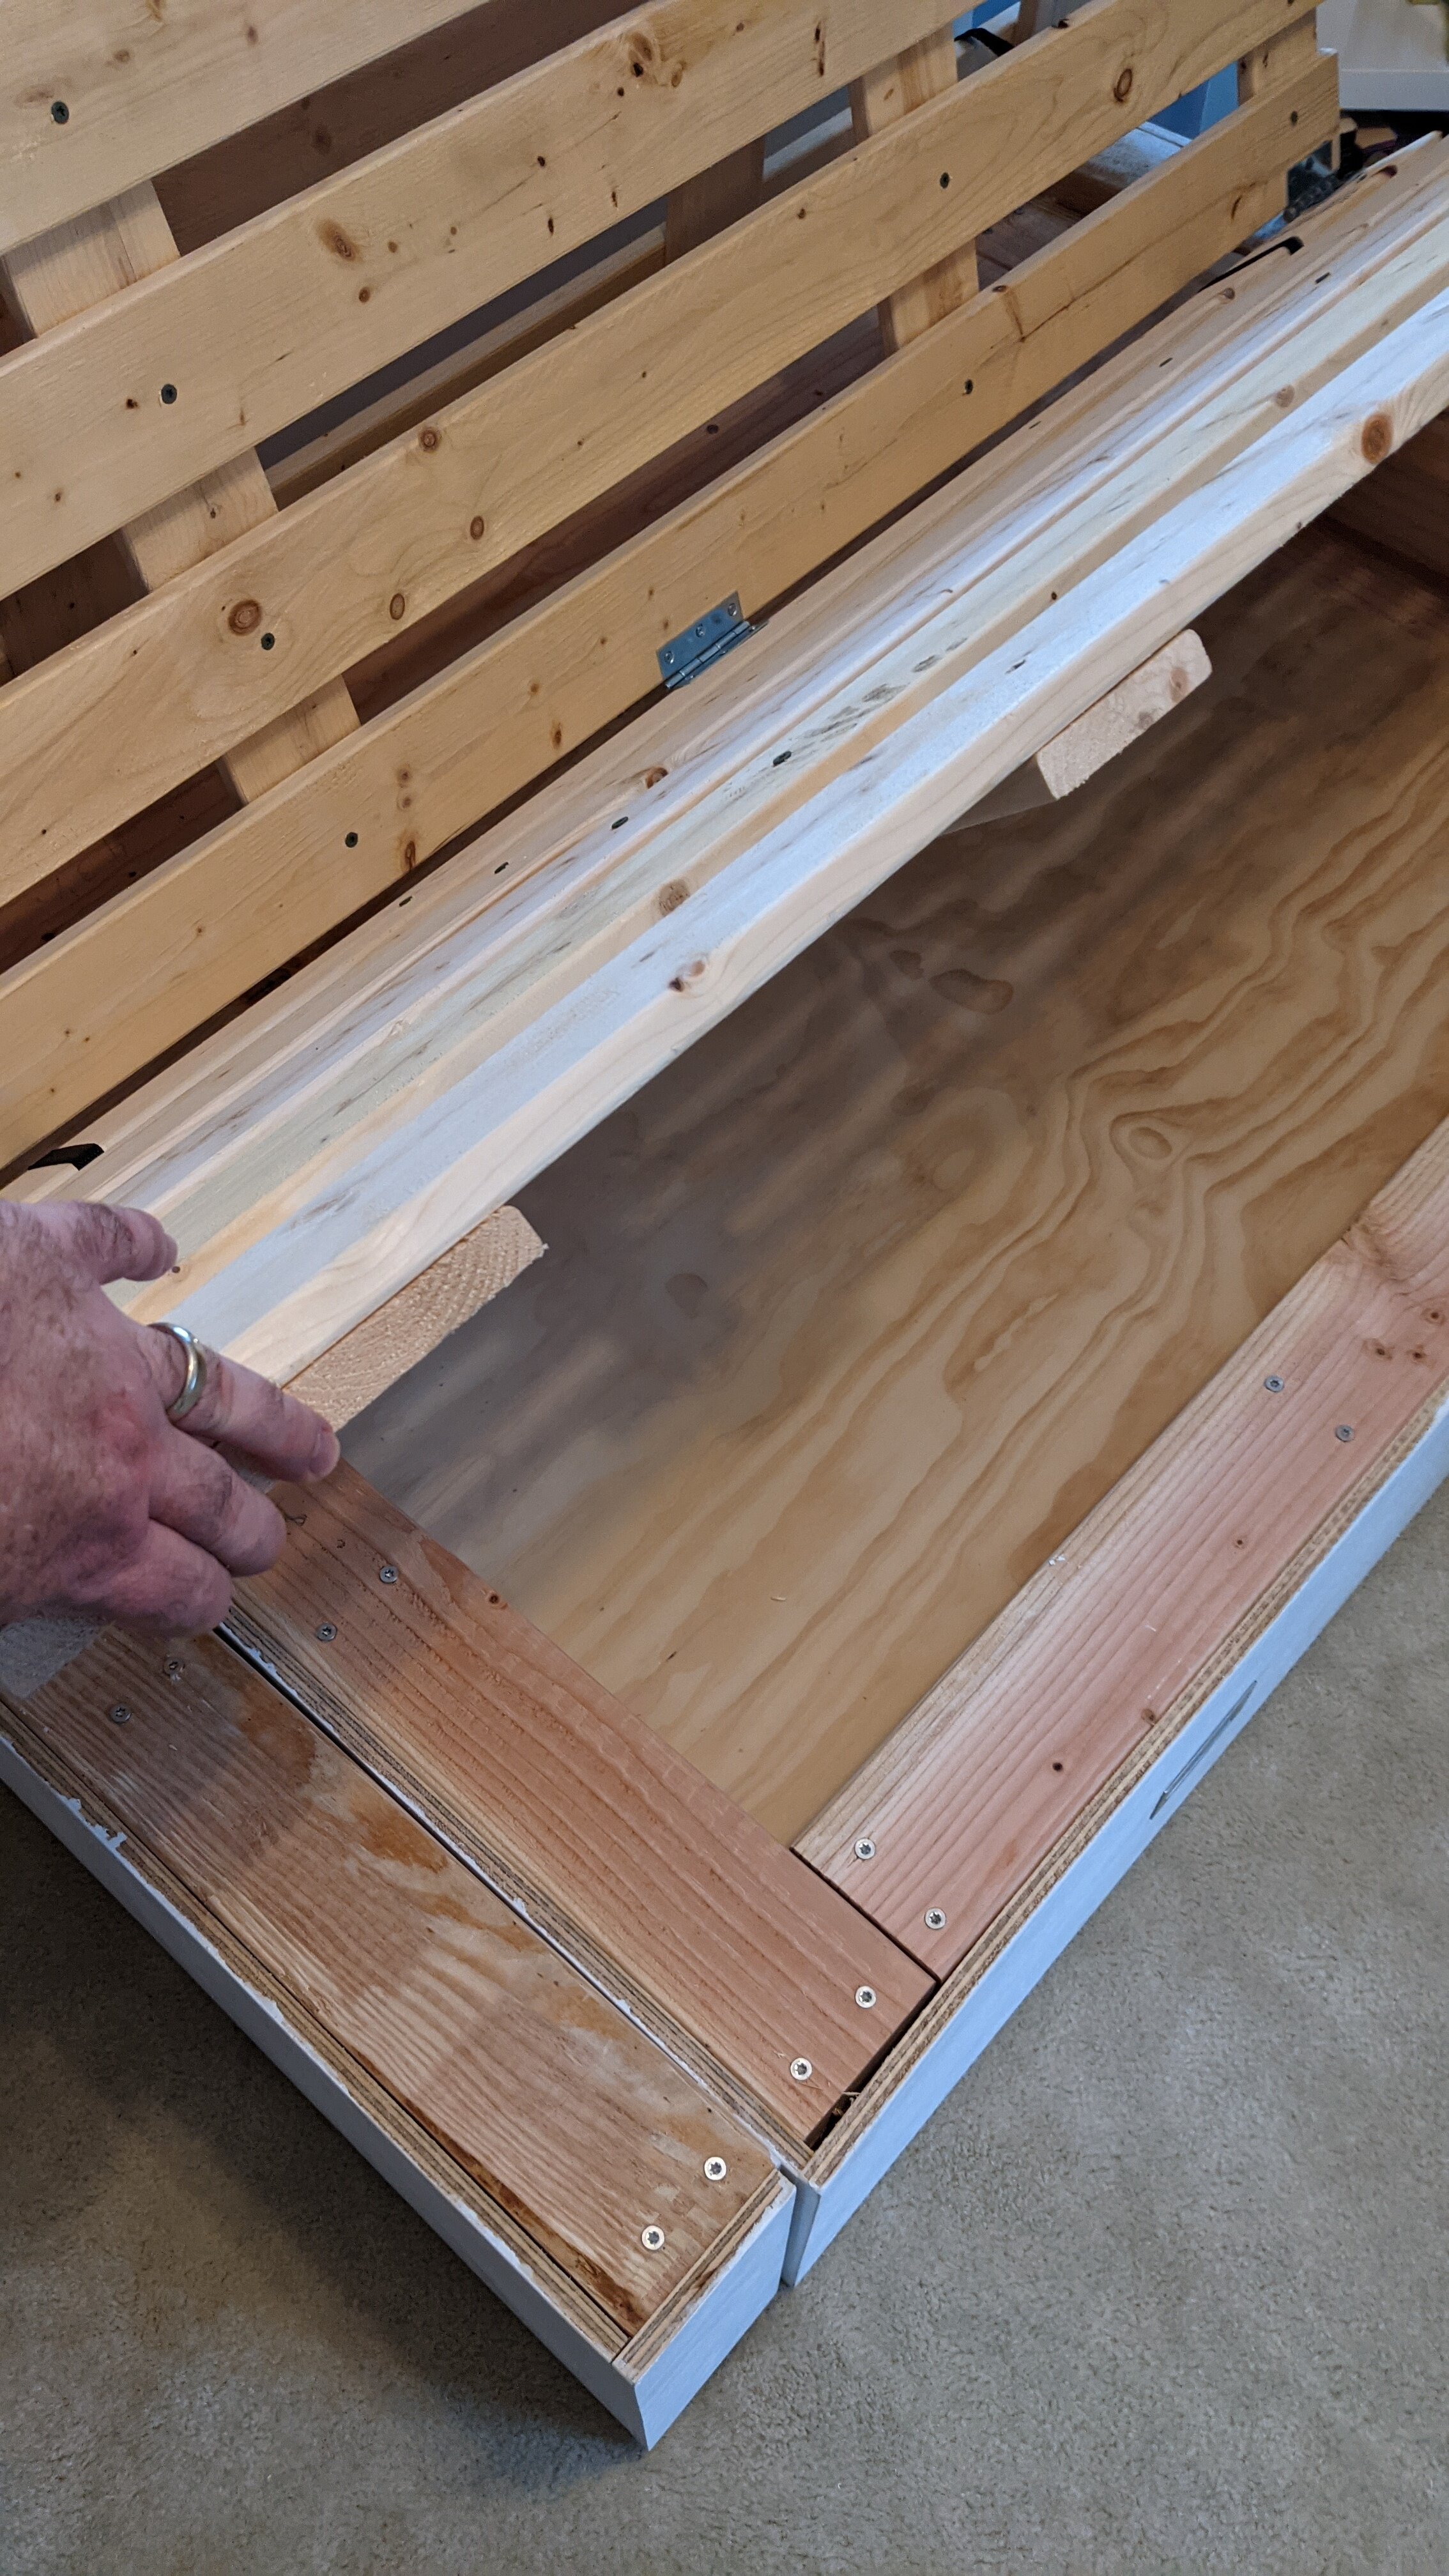
I have a few things left to do. Once the mattress shows up I need to do any adjustments to accommodate it ( the mattress is a memory foam replacement sofa-bed wide queen mattress 60 x 72 ). There is currently and issue with the height of the trundle relative to the height of the fixed frame that makes it difficult to extend and close the bed smoothly. I have two adjustments I can make, there are leveling feet on the fixed base which I can adjust and I can also add a spacer under the caster bases to change the height of the trundle. I may also add some small guide wheels inside the fixed base front to help guide the trundle straight when you’re closing it.
I’ll install the reading lights last so that they’re not in the way in case I have to move the headboard case around or do any adjustment there.
I’ll post some final pictures when I do all of that!