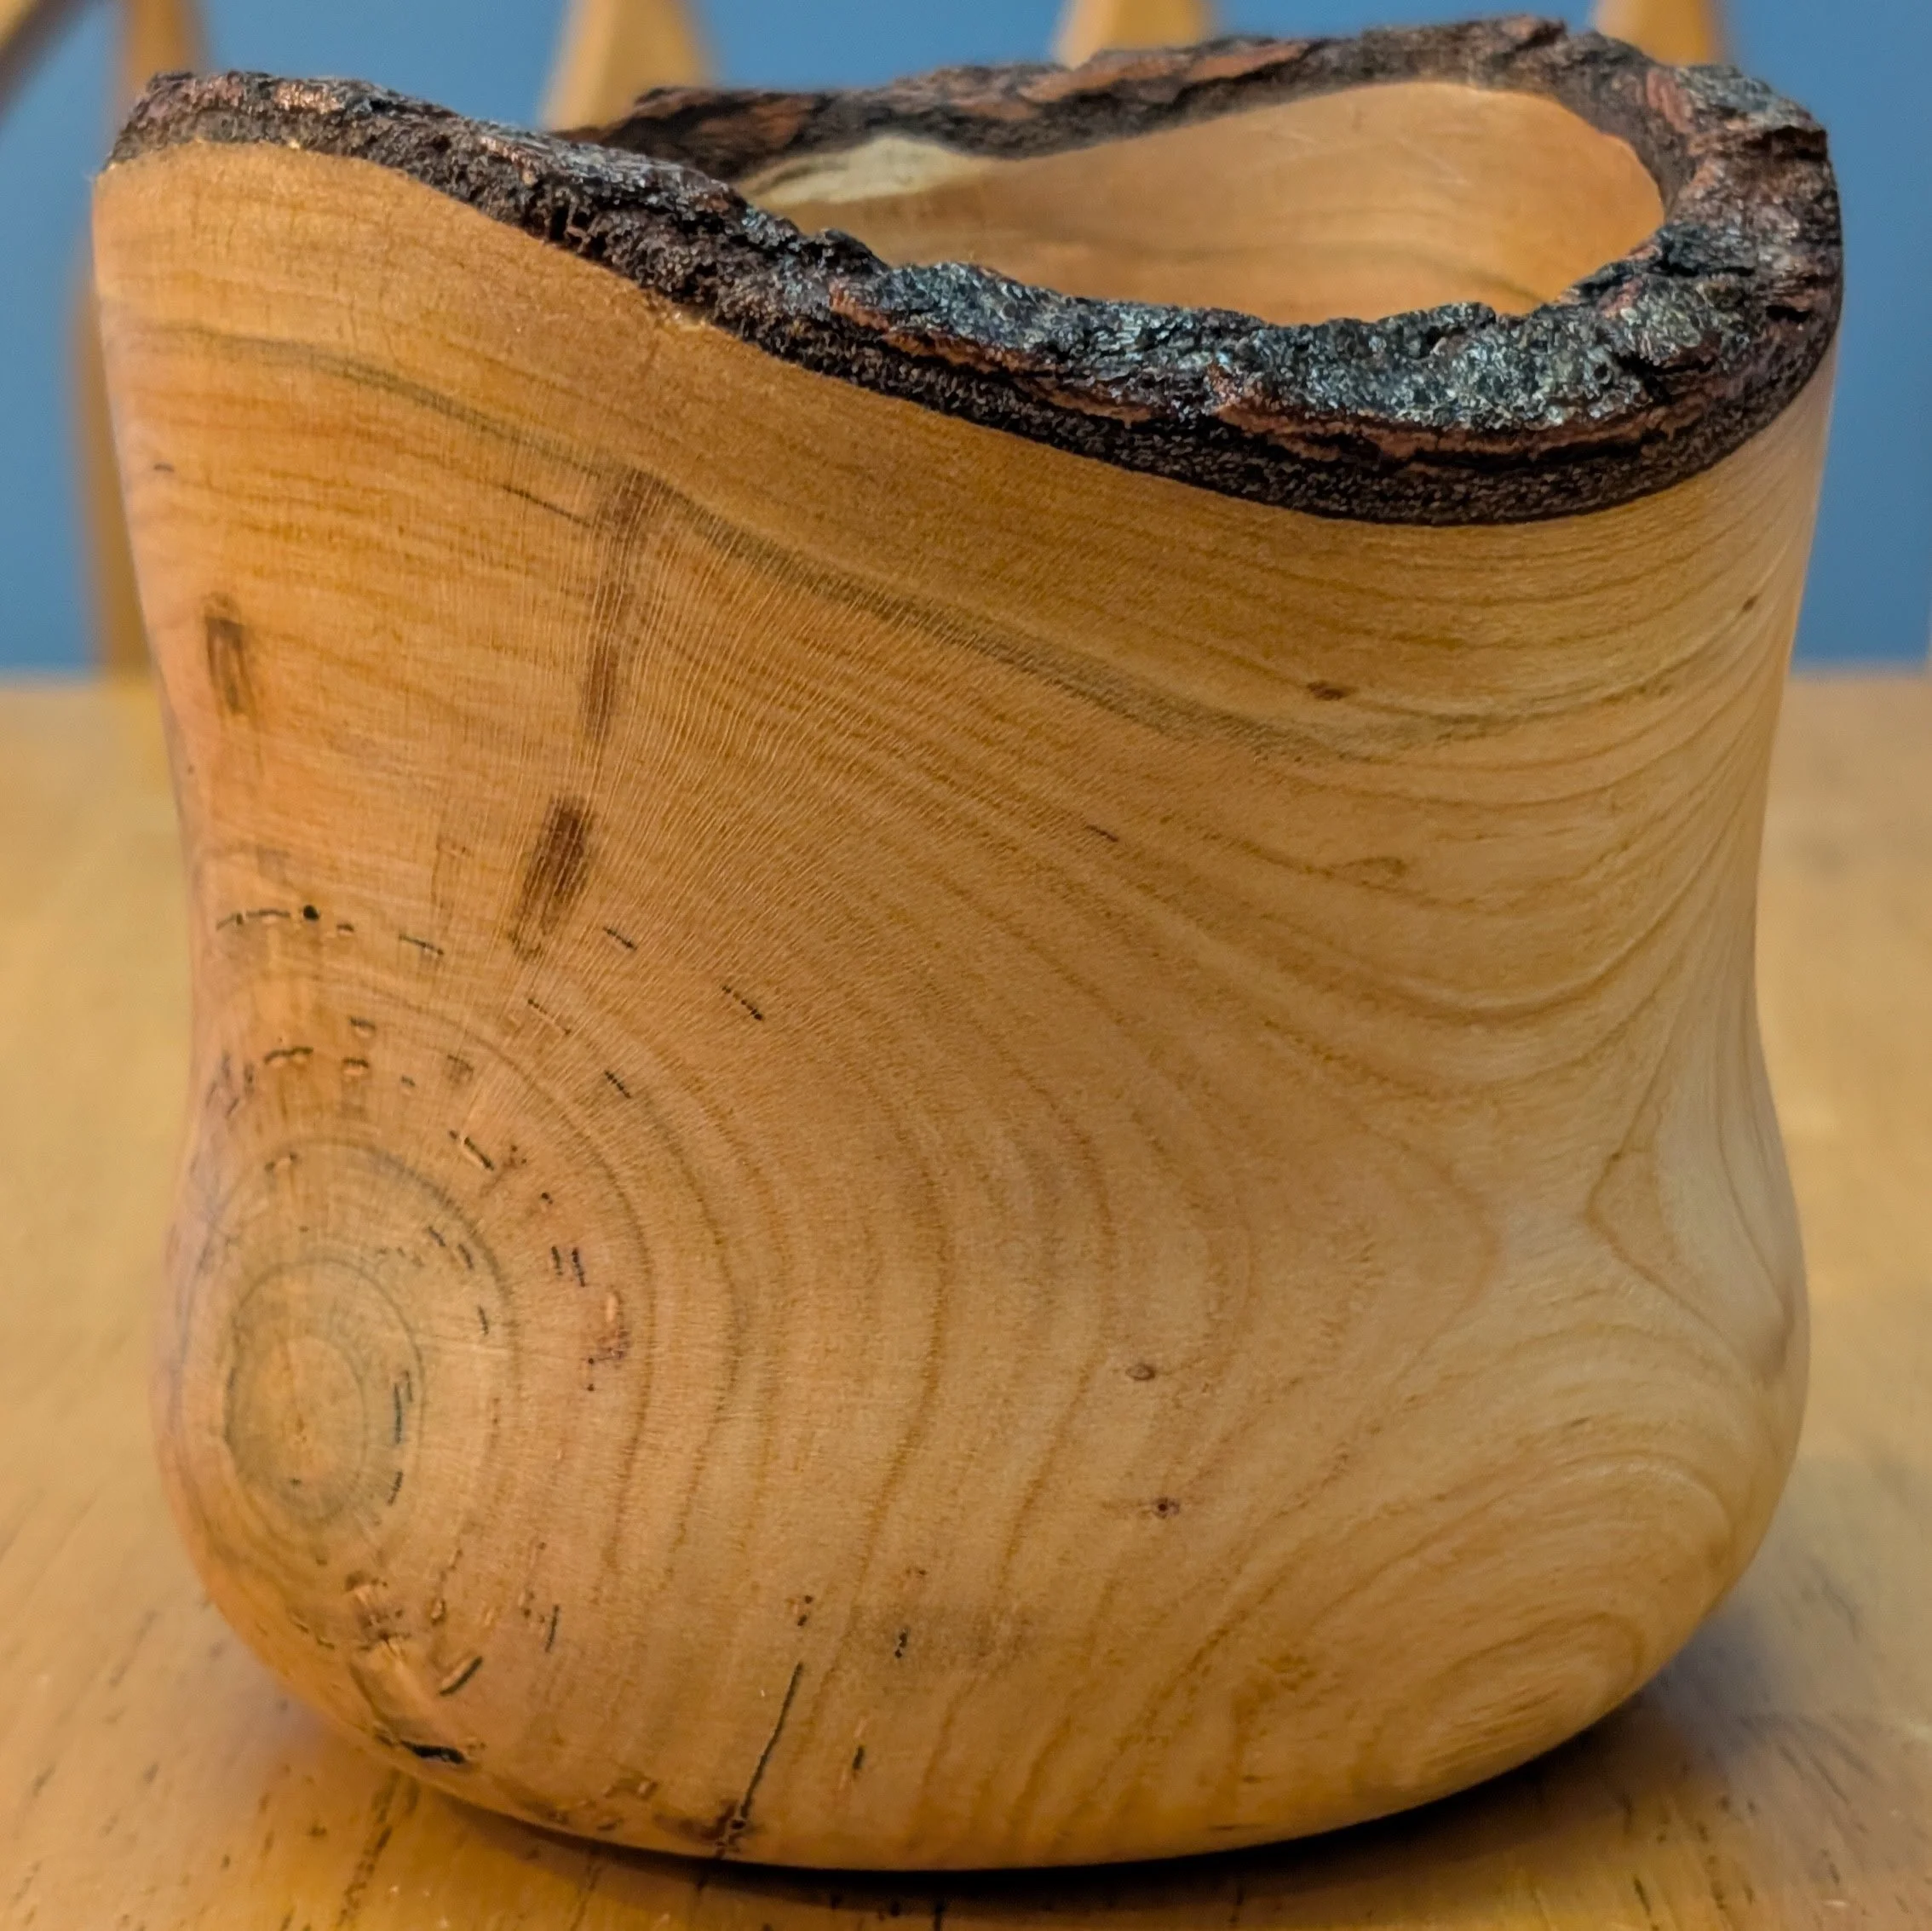
I’ve been exploring different wood turning processes and one that I have been interested in is turning vessels from freshly cut or green wood. One of the challenges in this type of turning is that you need to manage the drying of the vessel so that it doesn’t destroy itself. The method that I chose to use to start is rapid drying in silica gel desiccant beads.
The first problem however was finding some green wood to turn in the first place. Fortunately I am a member of ART a local wood turning guild and someone posted a notice about some freshly cut cherry burls for sale on the guild mailing list. I responded to the person selling the burls, set up a meeting, picked out a nice big burl and bought it.
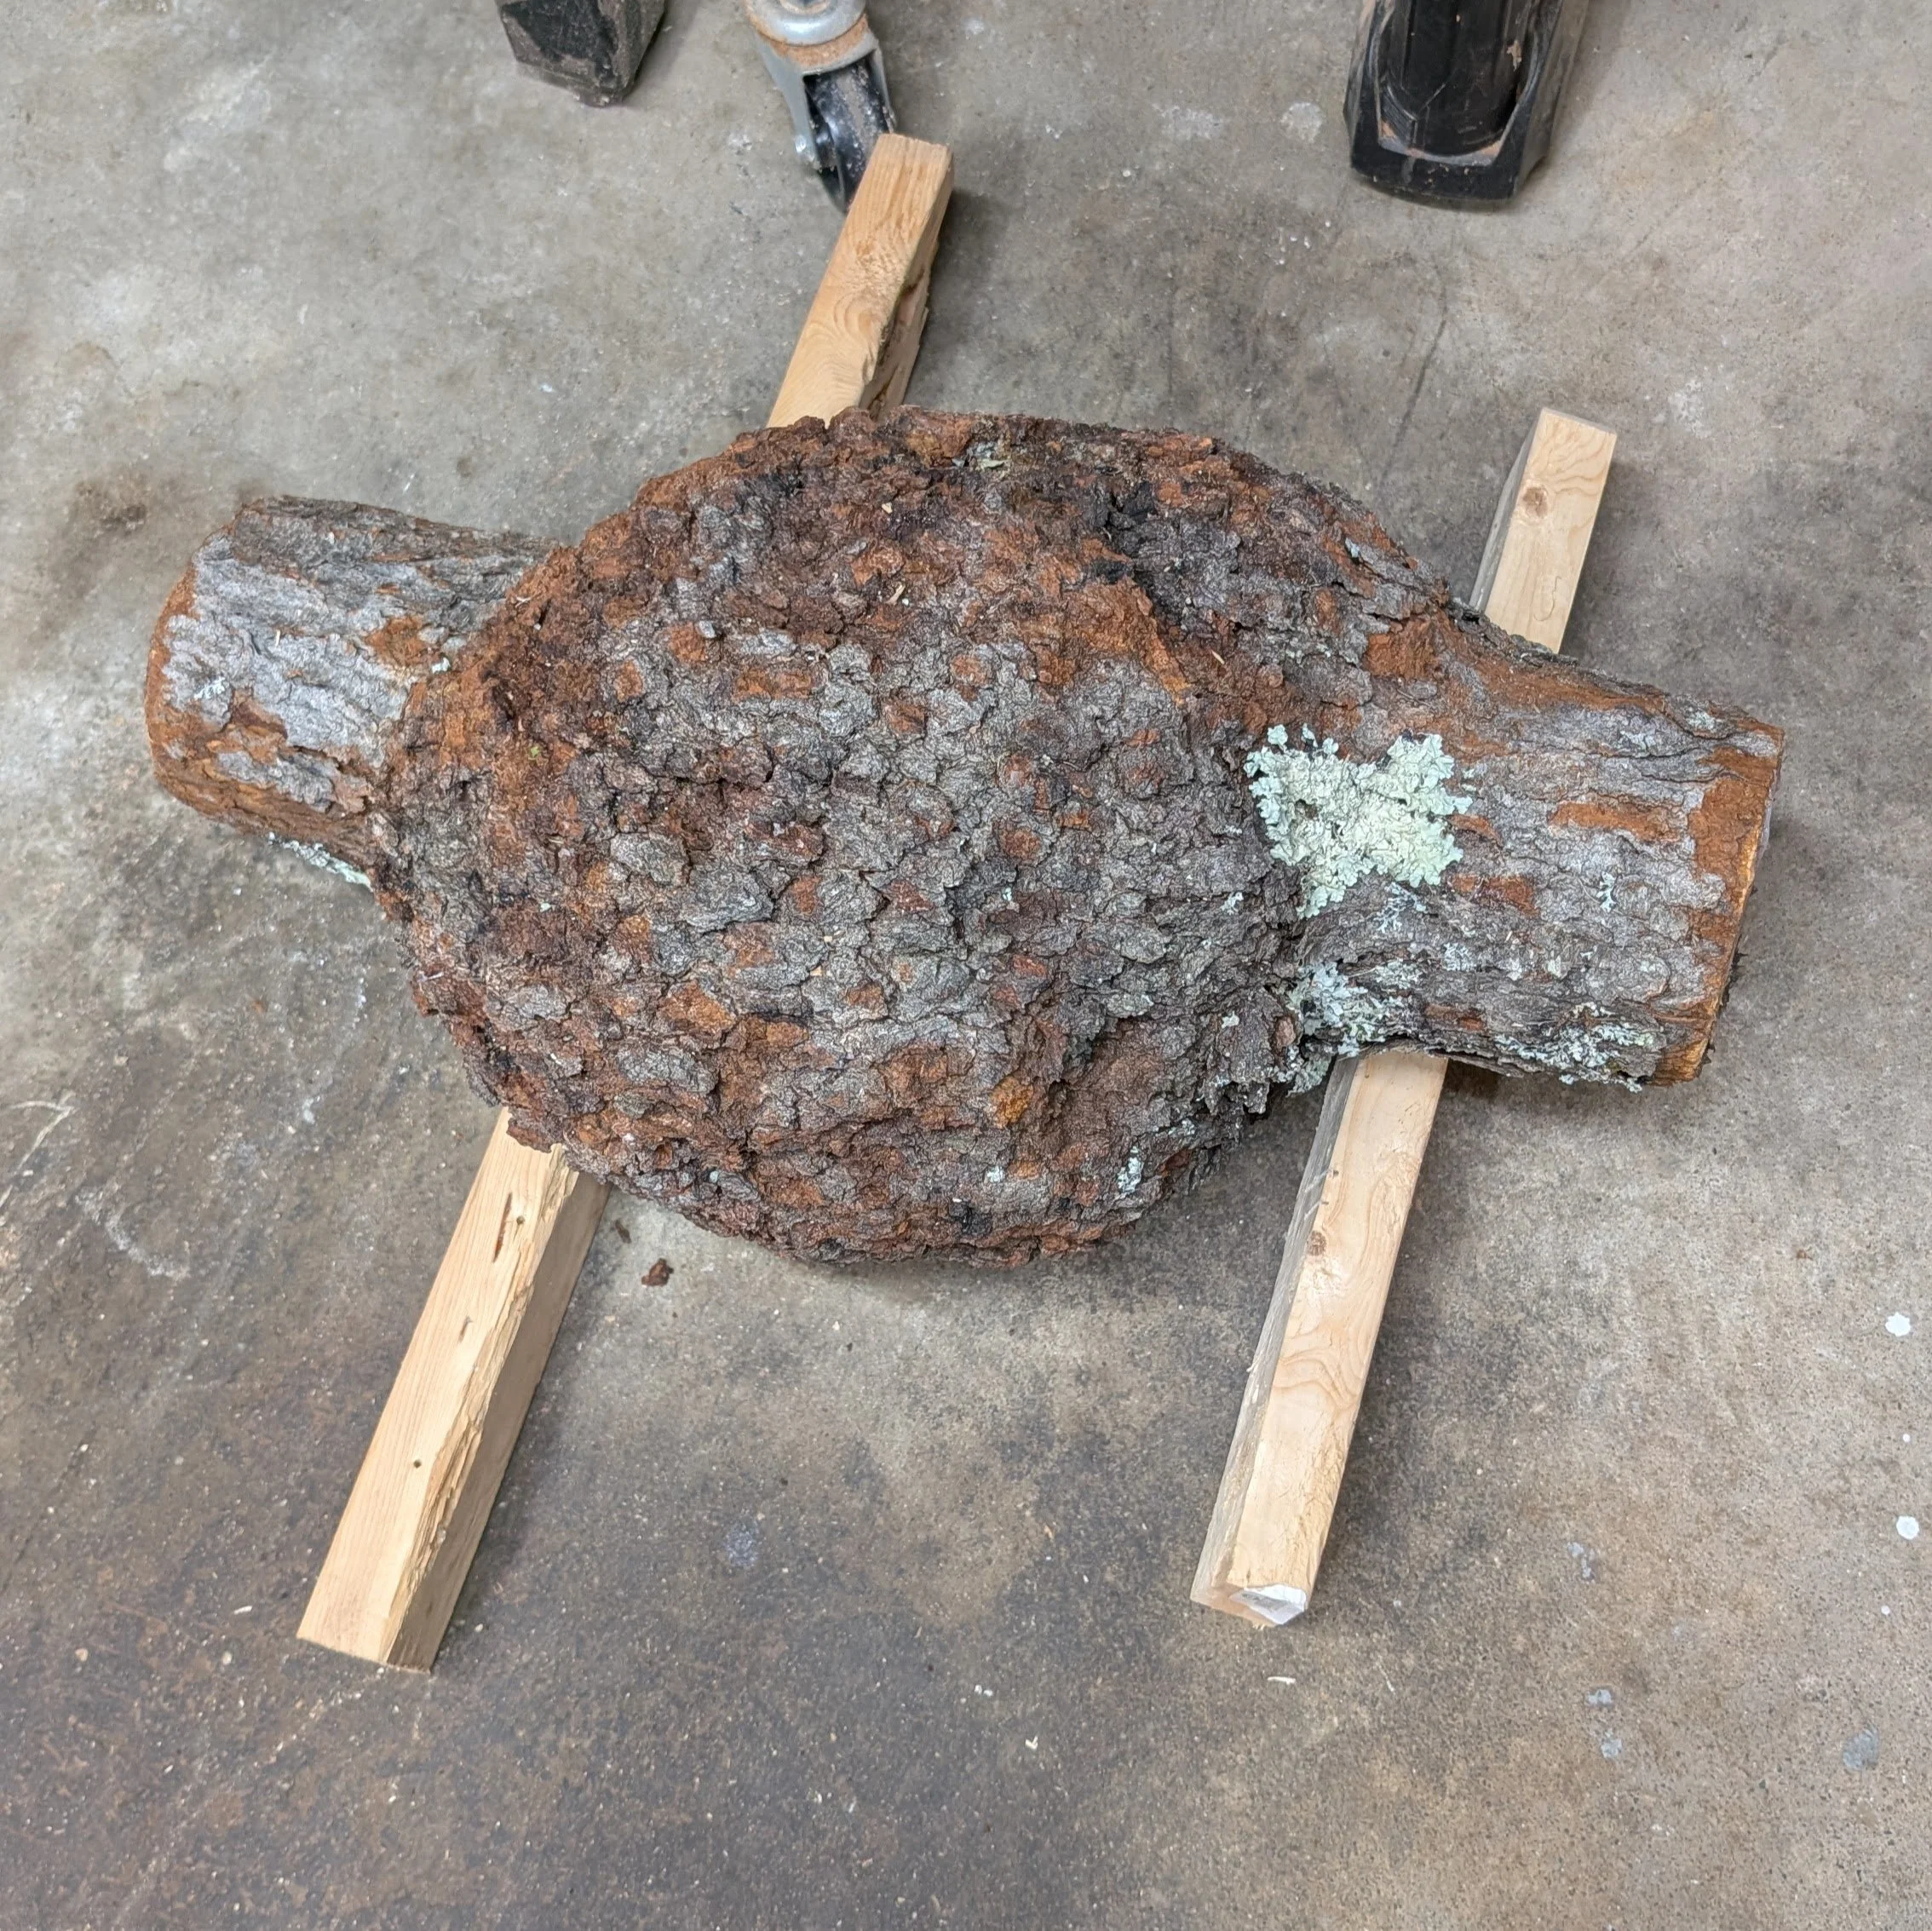
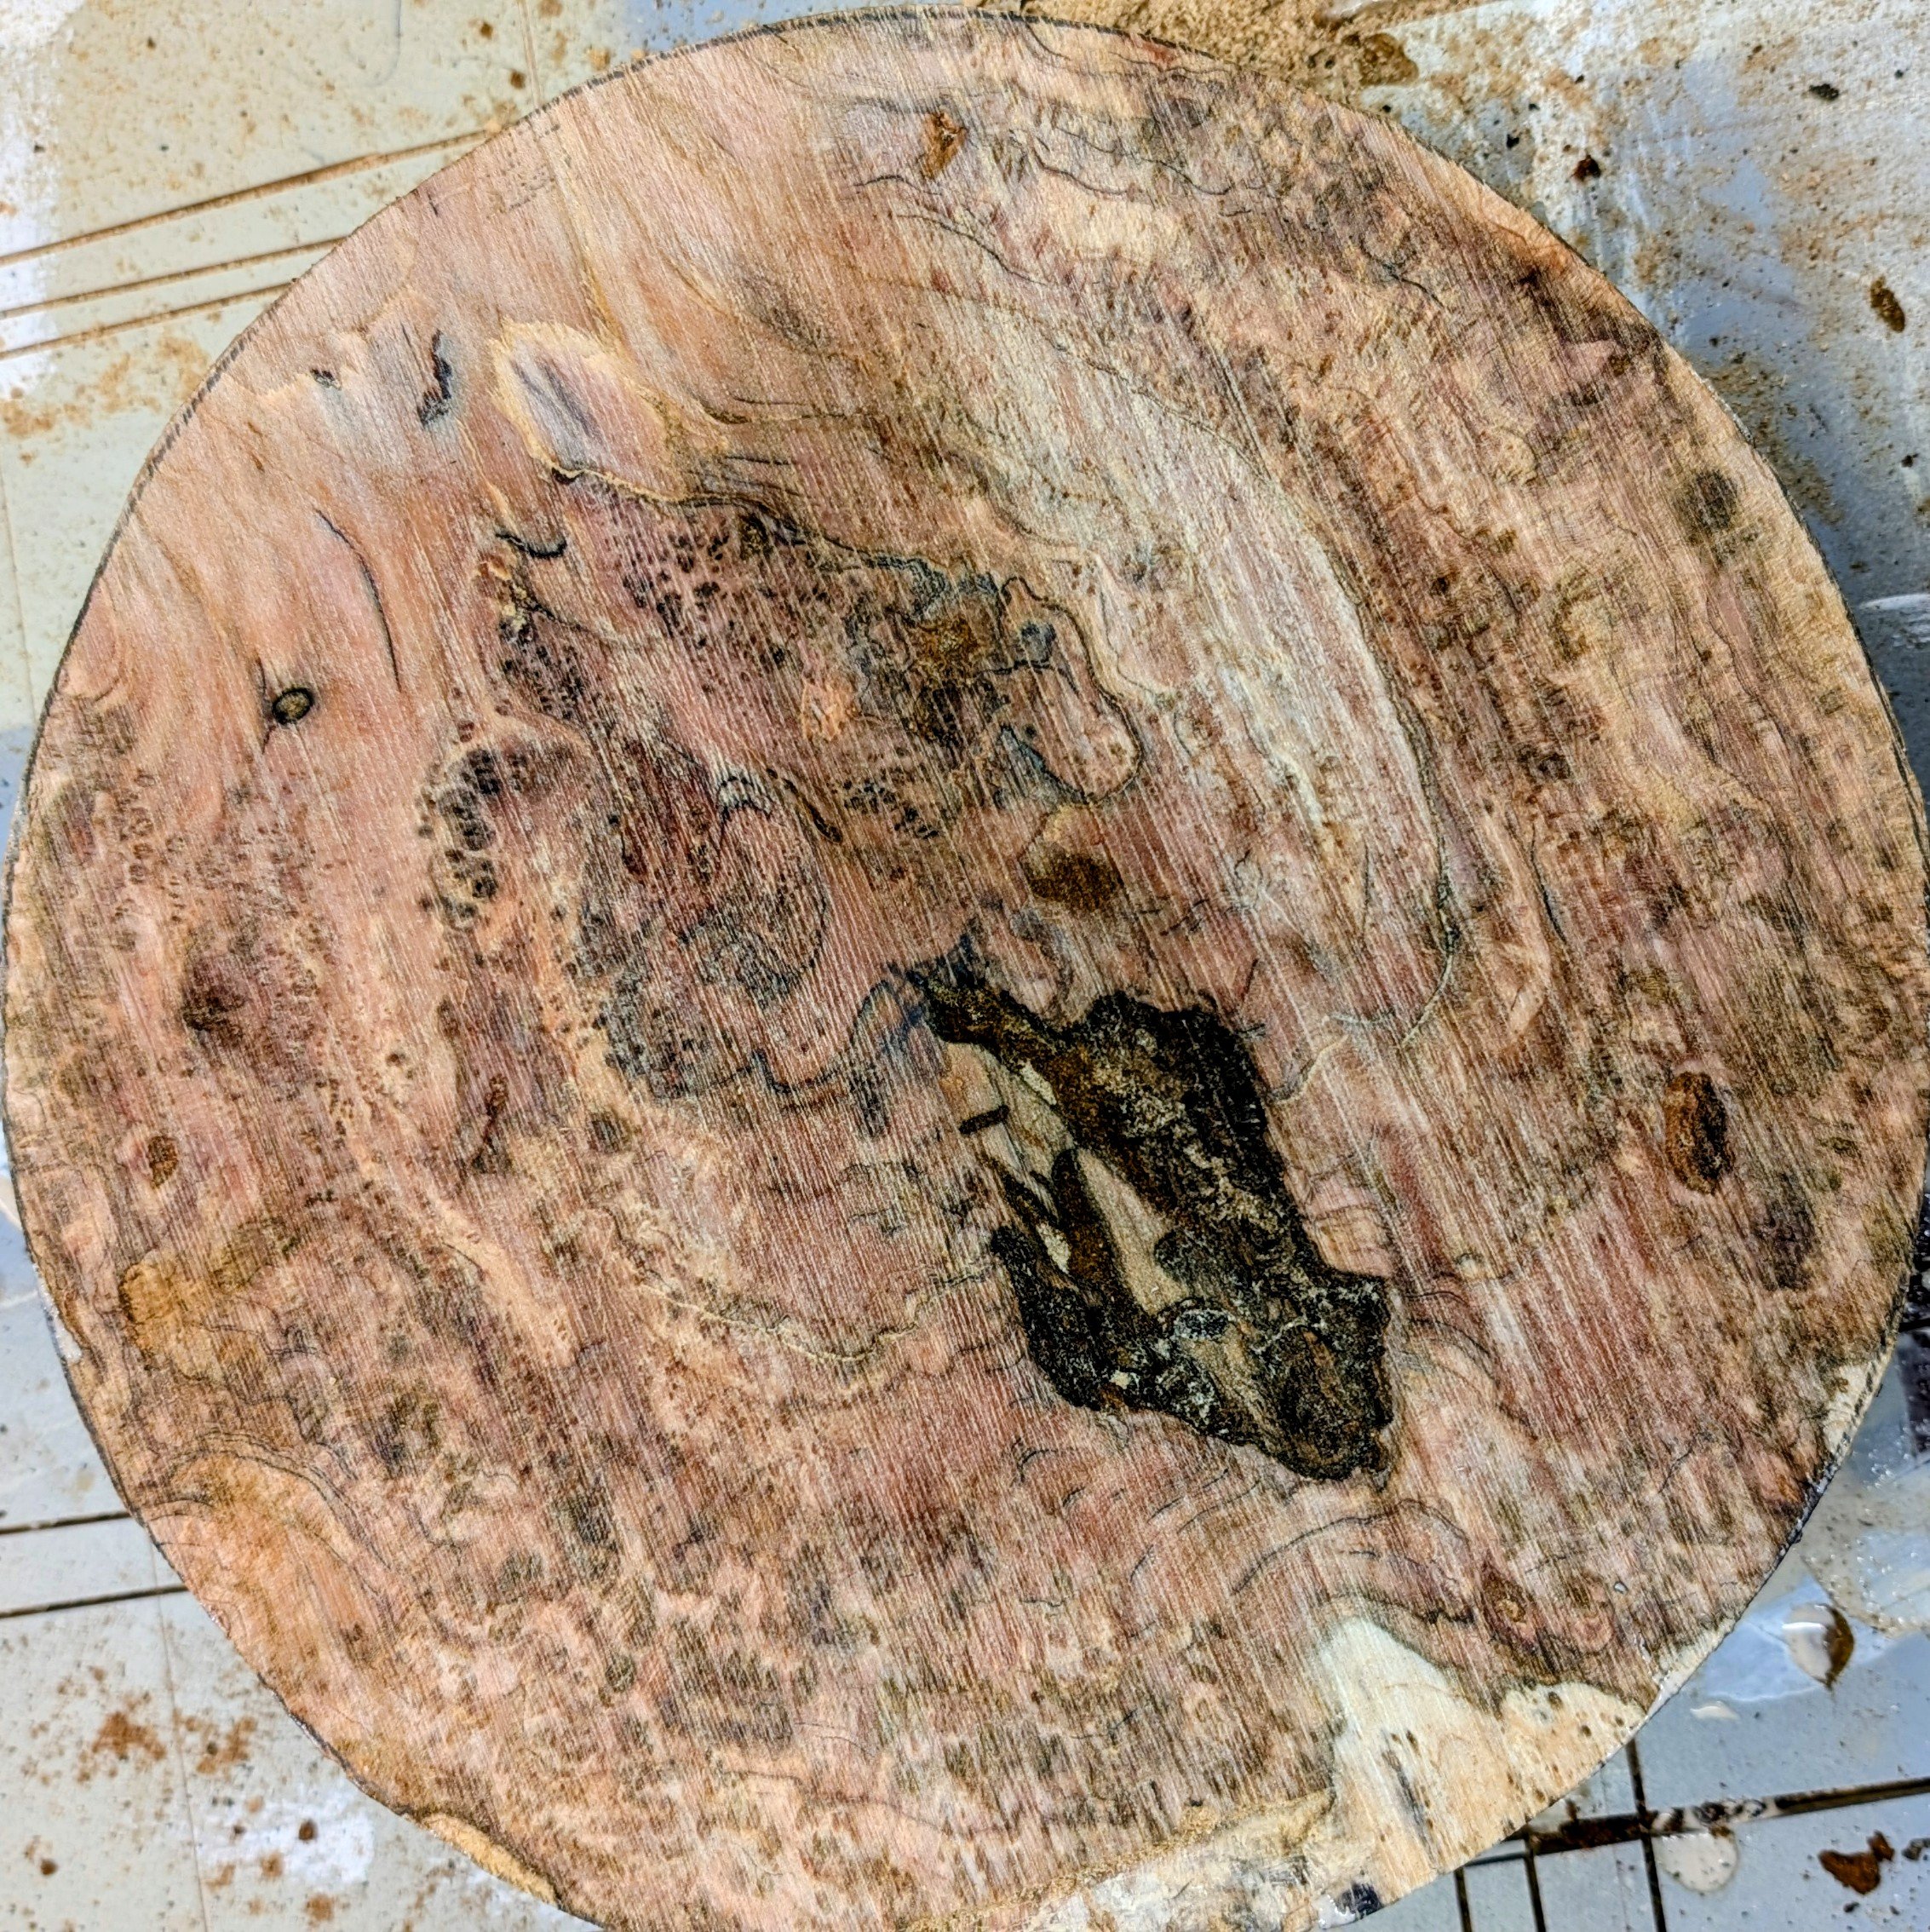
For reference the burl above is about 20” long and 15” across the middle and it weighs about 50 lbs. The first problem I had was how do I cut this into usable blanks? I don’t have a chainsaw and this is not a safe shape to put through the band saw without a sled or other fixture. Using my hand saw I cut the limb sections off the ends of the burl. Then I created a fixture on a work table to hold the burl in a vertical position so that I could cut one side off creating a flat face. This sawing through a very dense thick piece of wet wood took a couple of days.
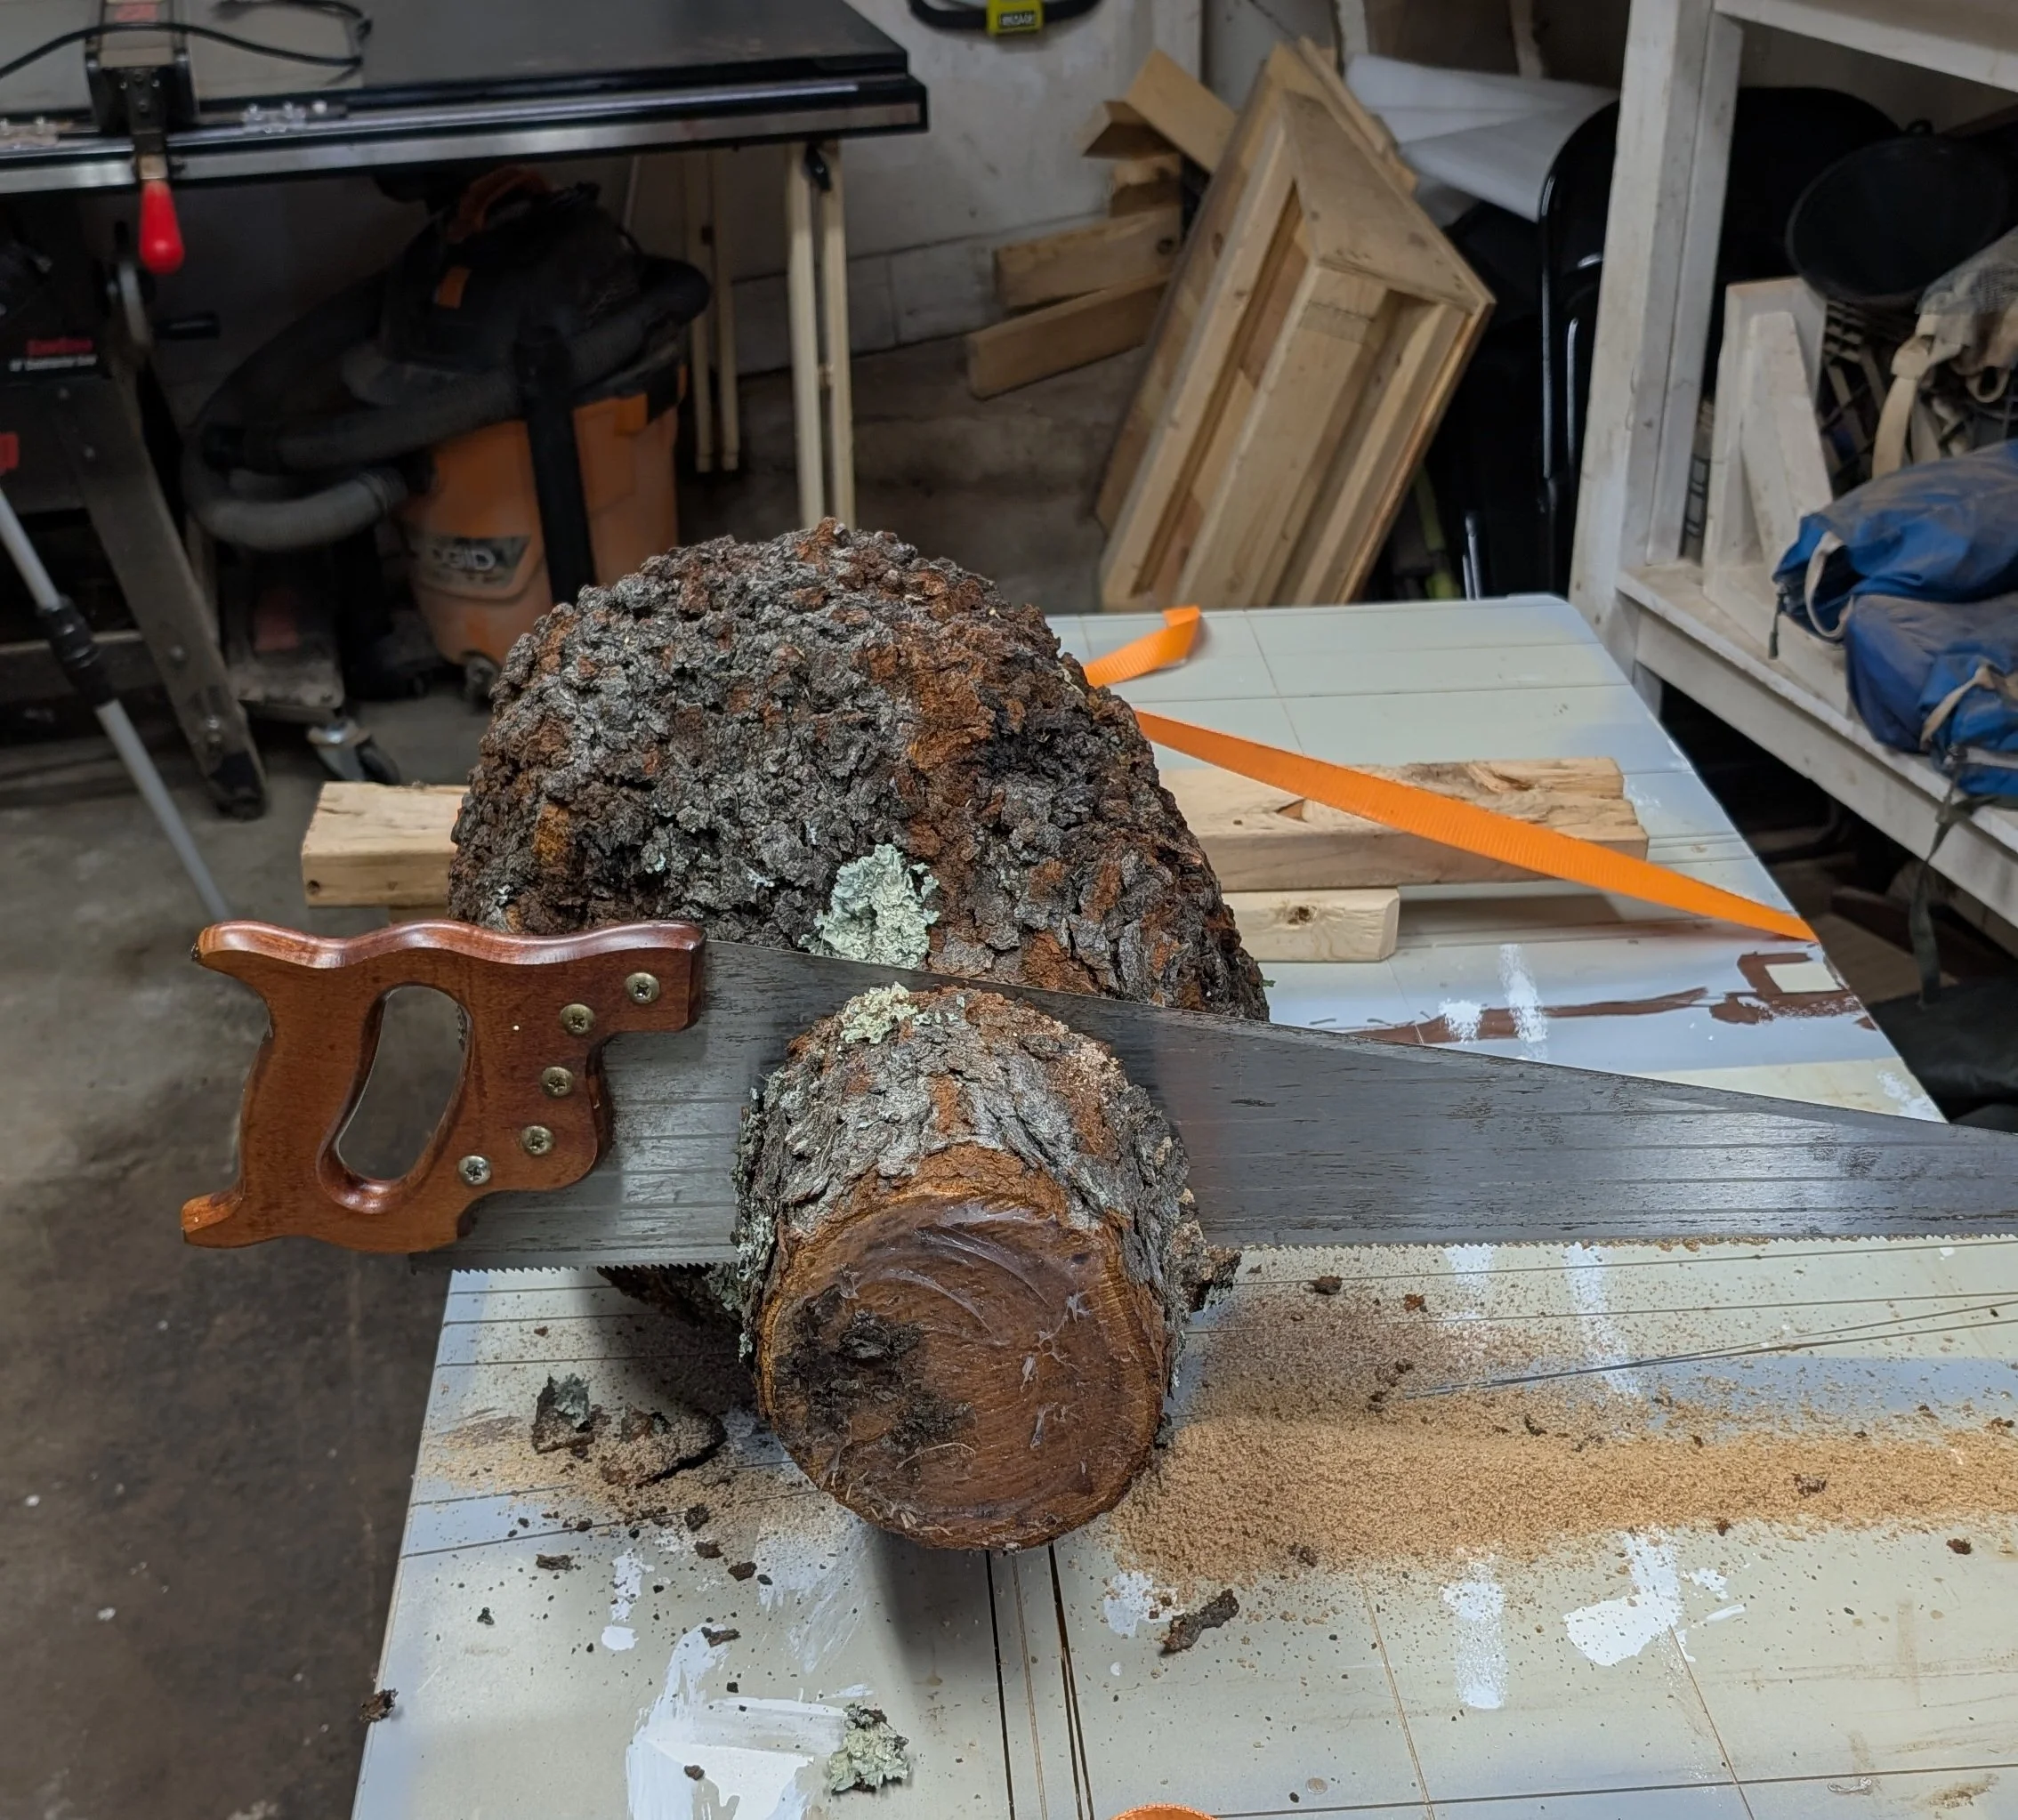
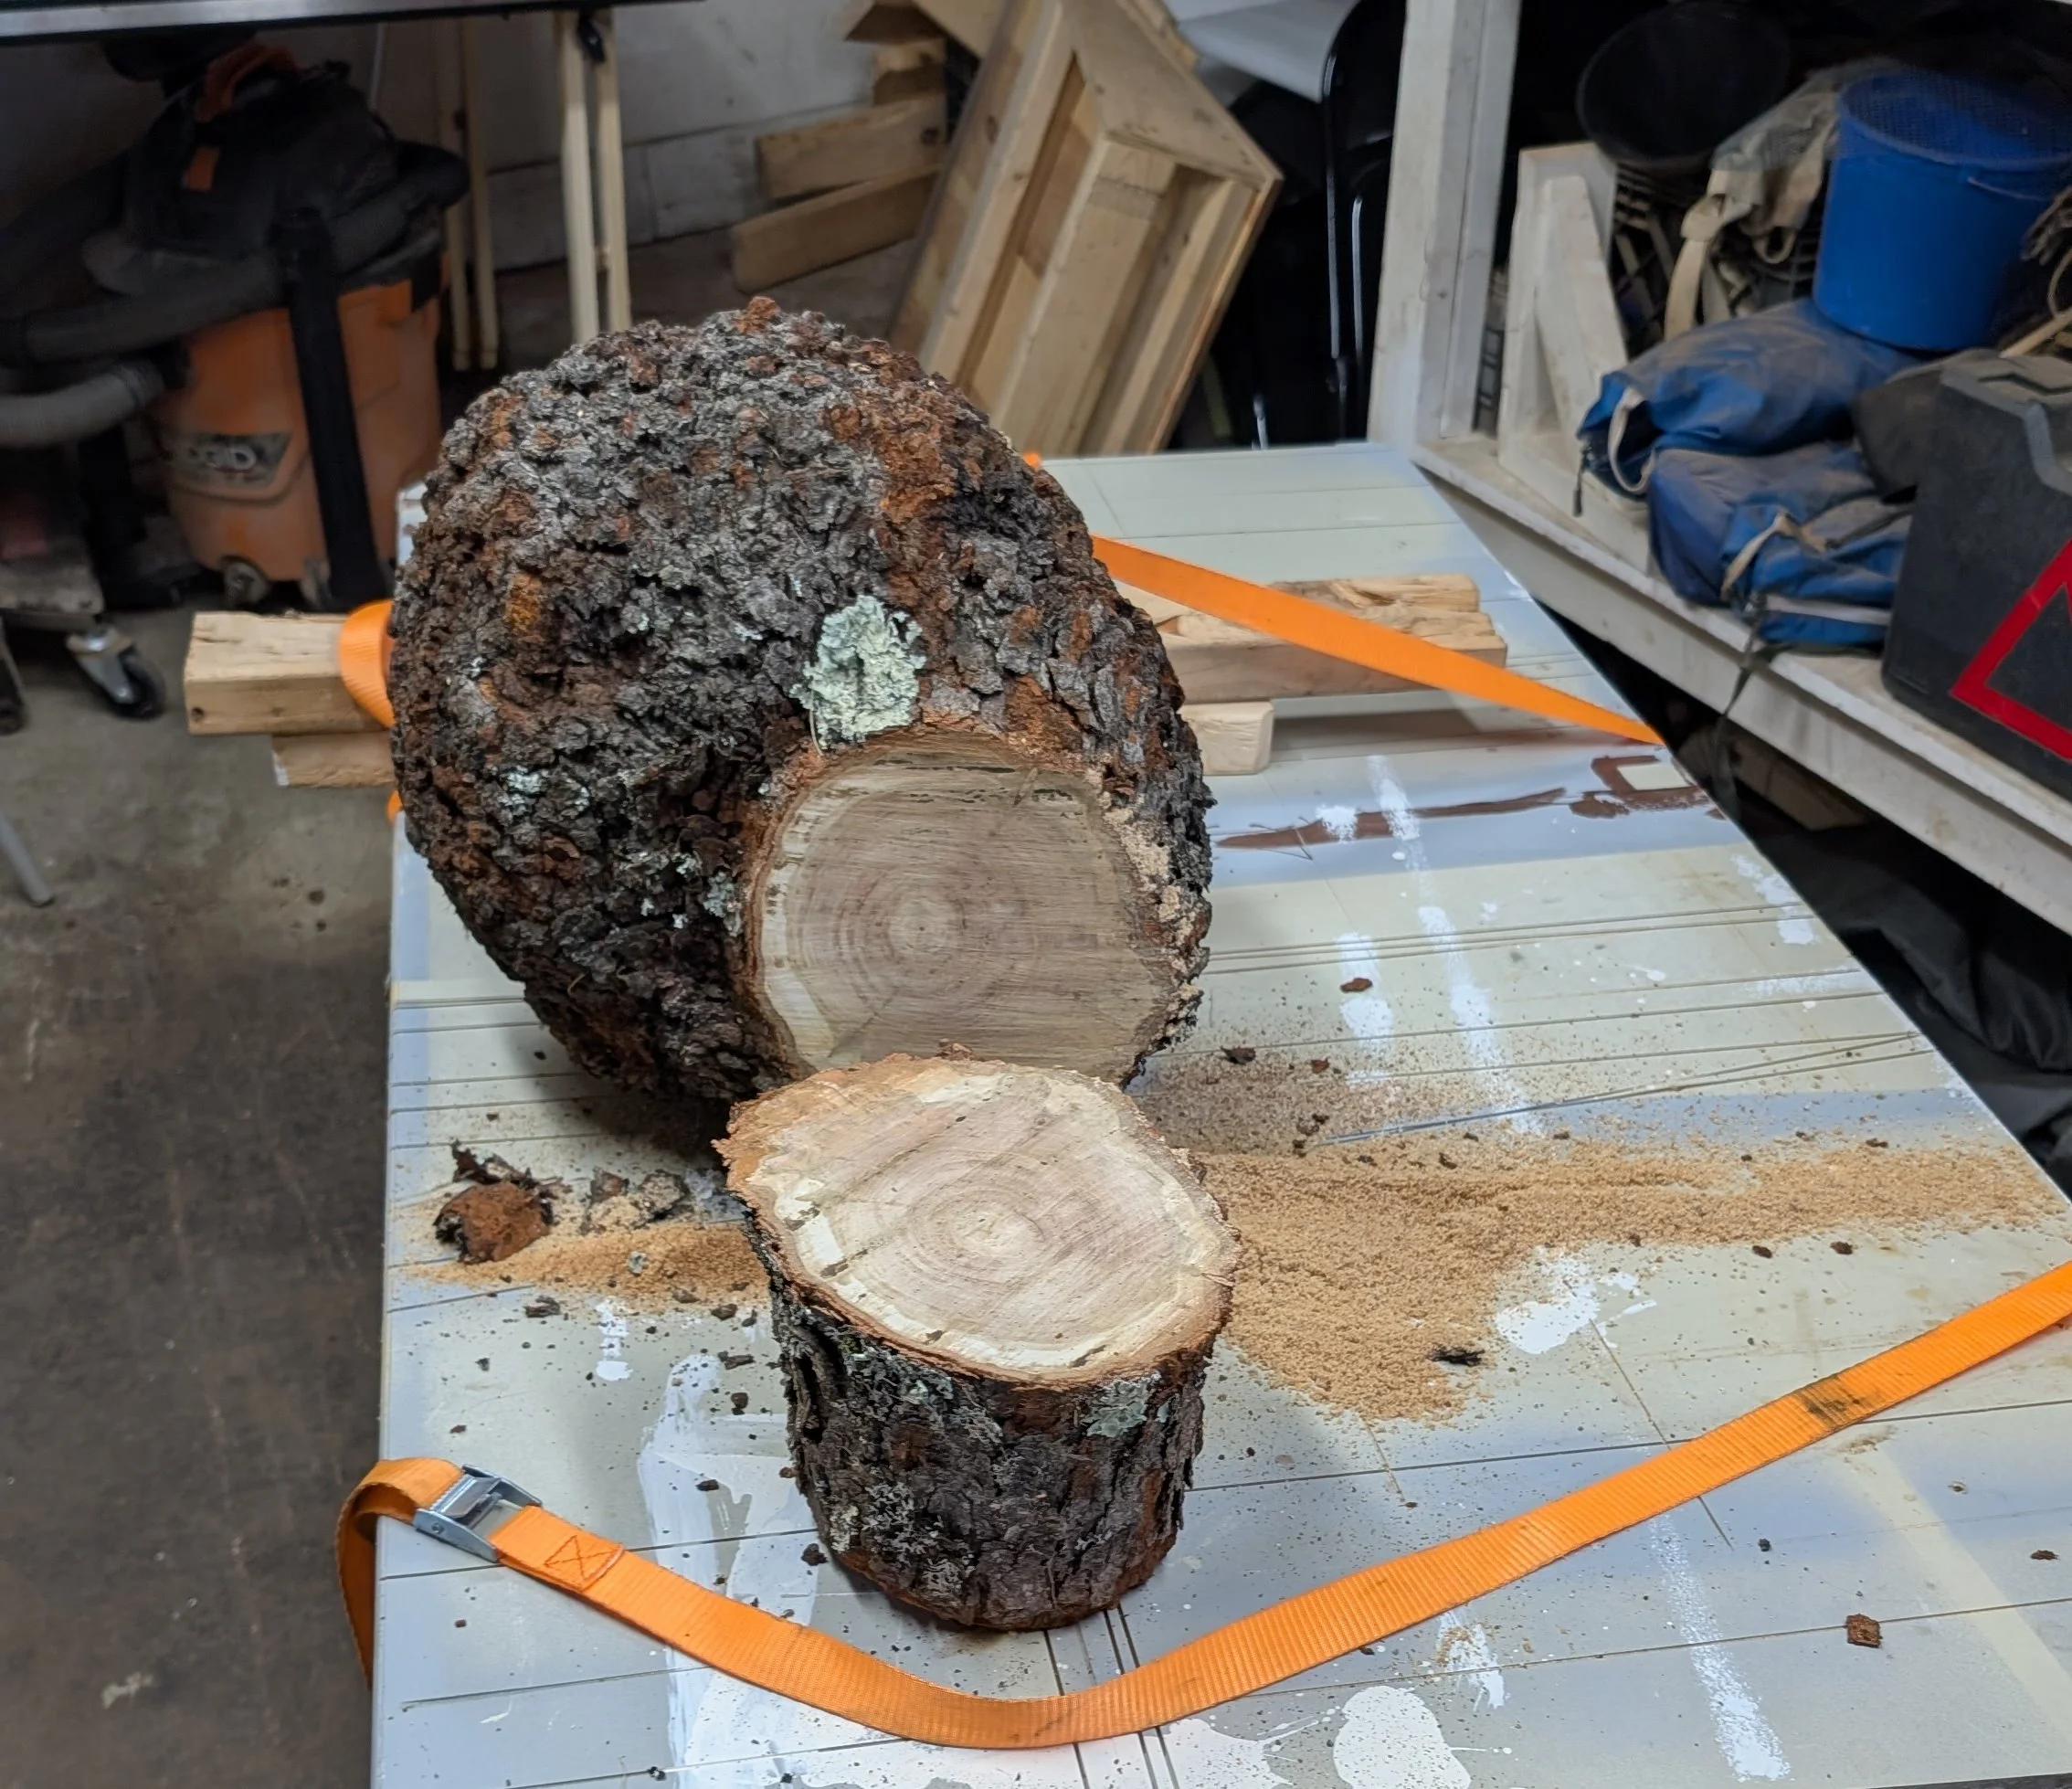
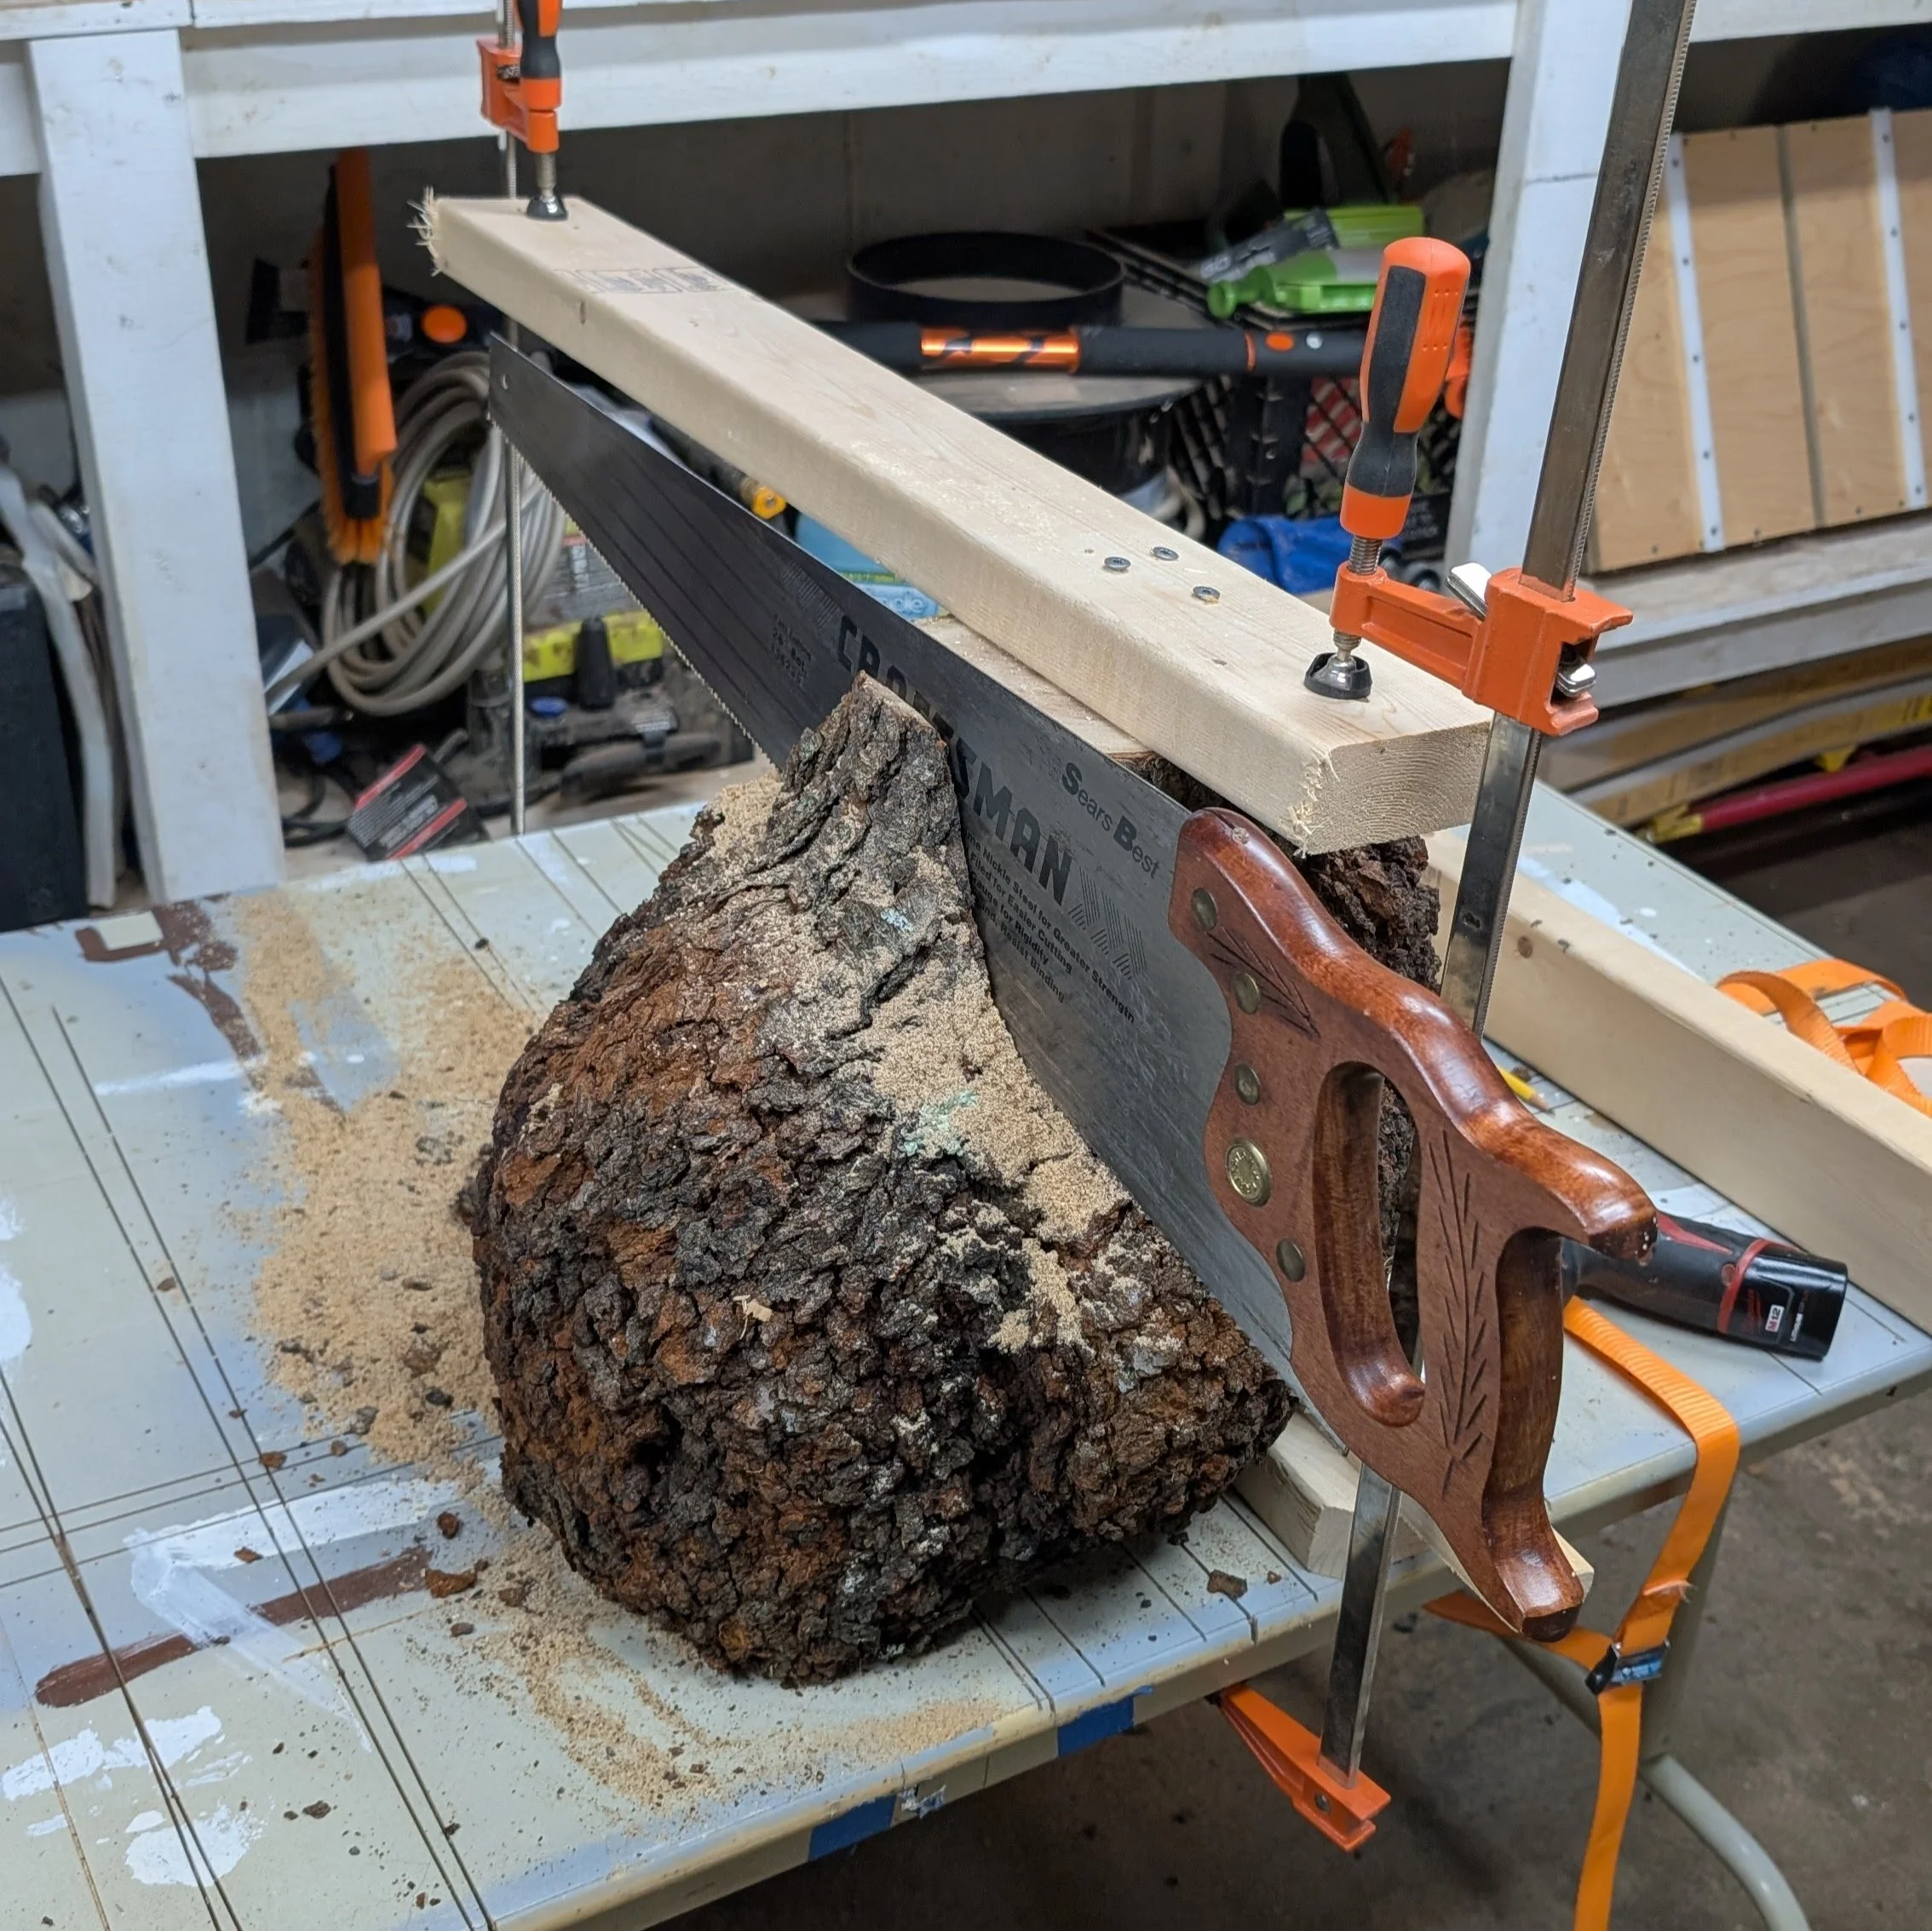
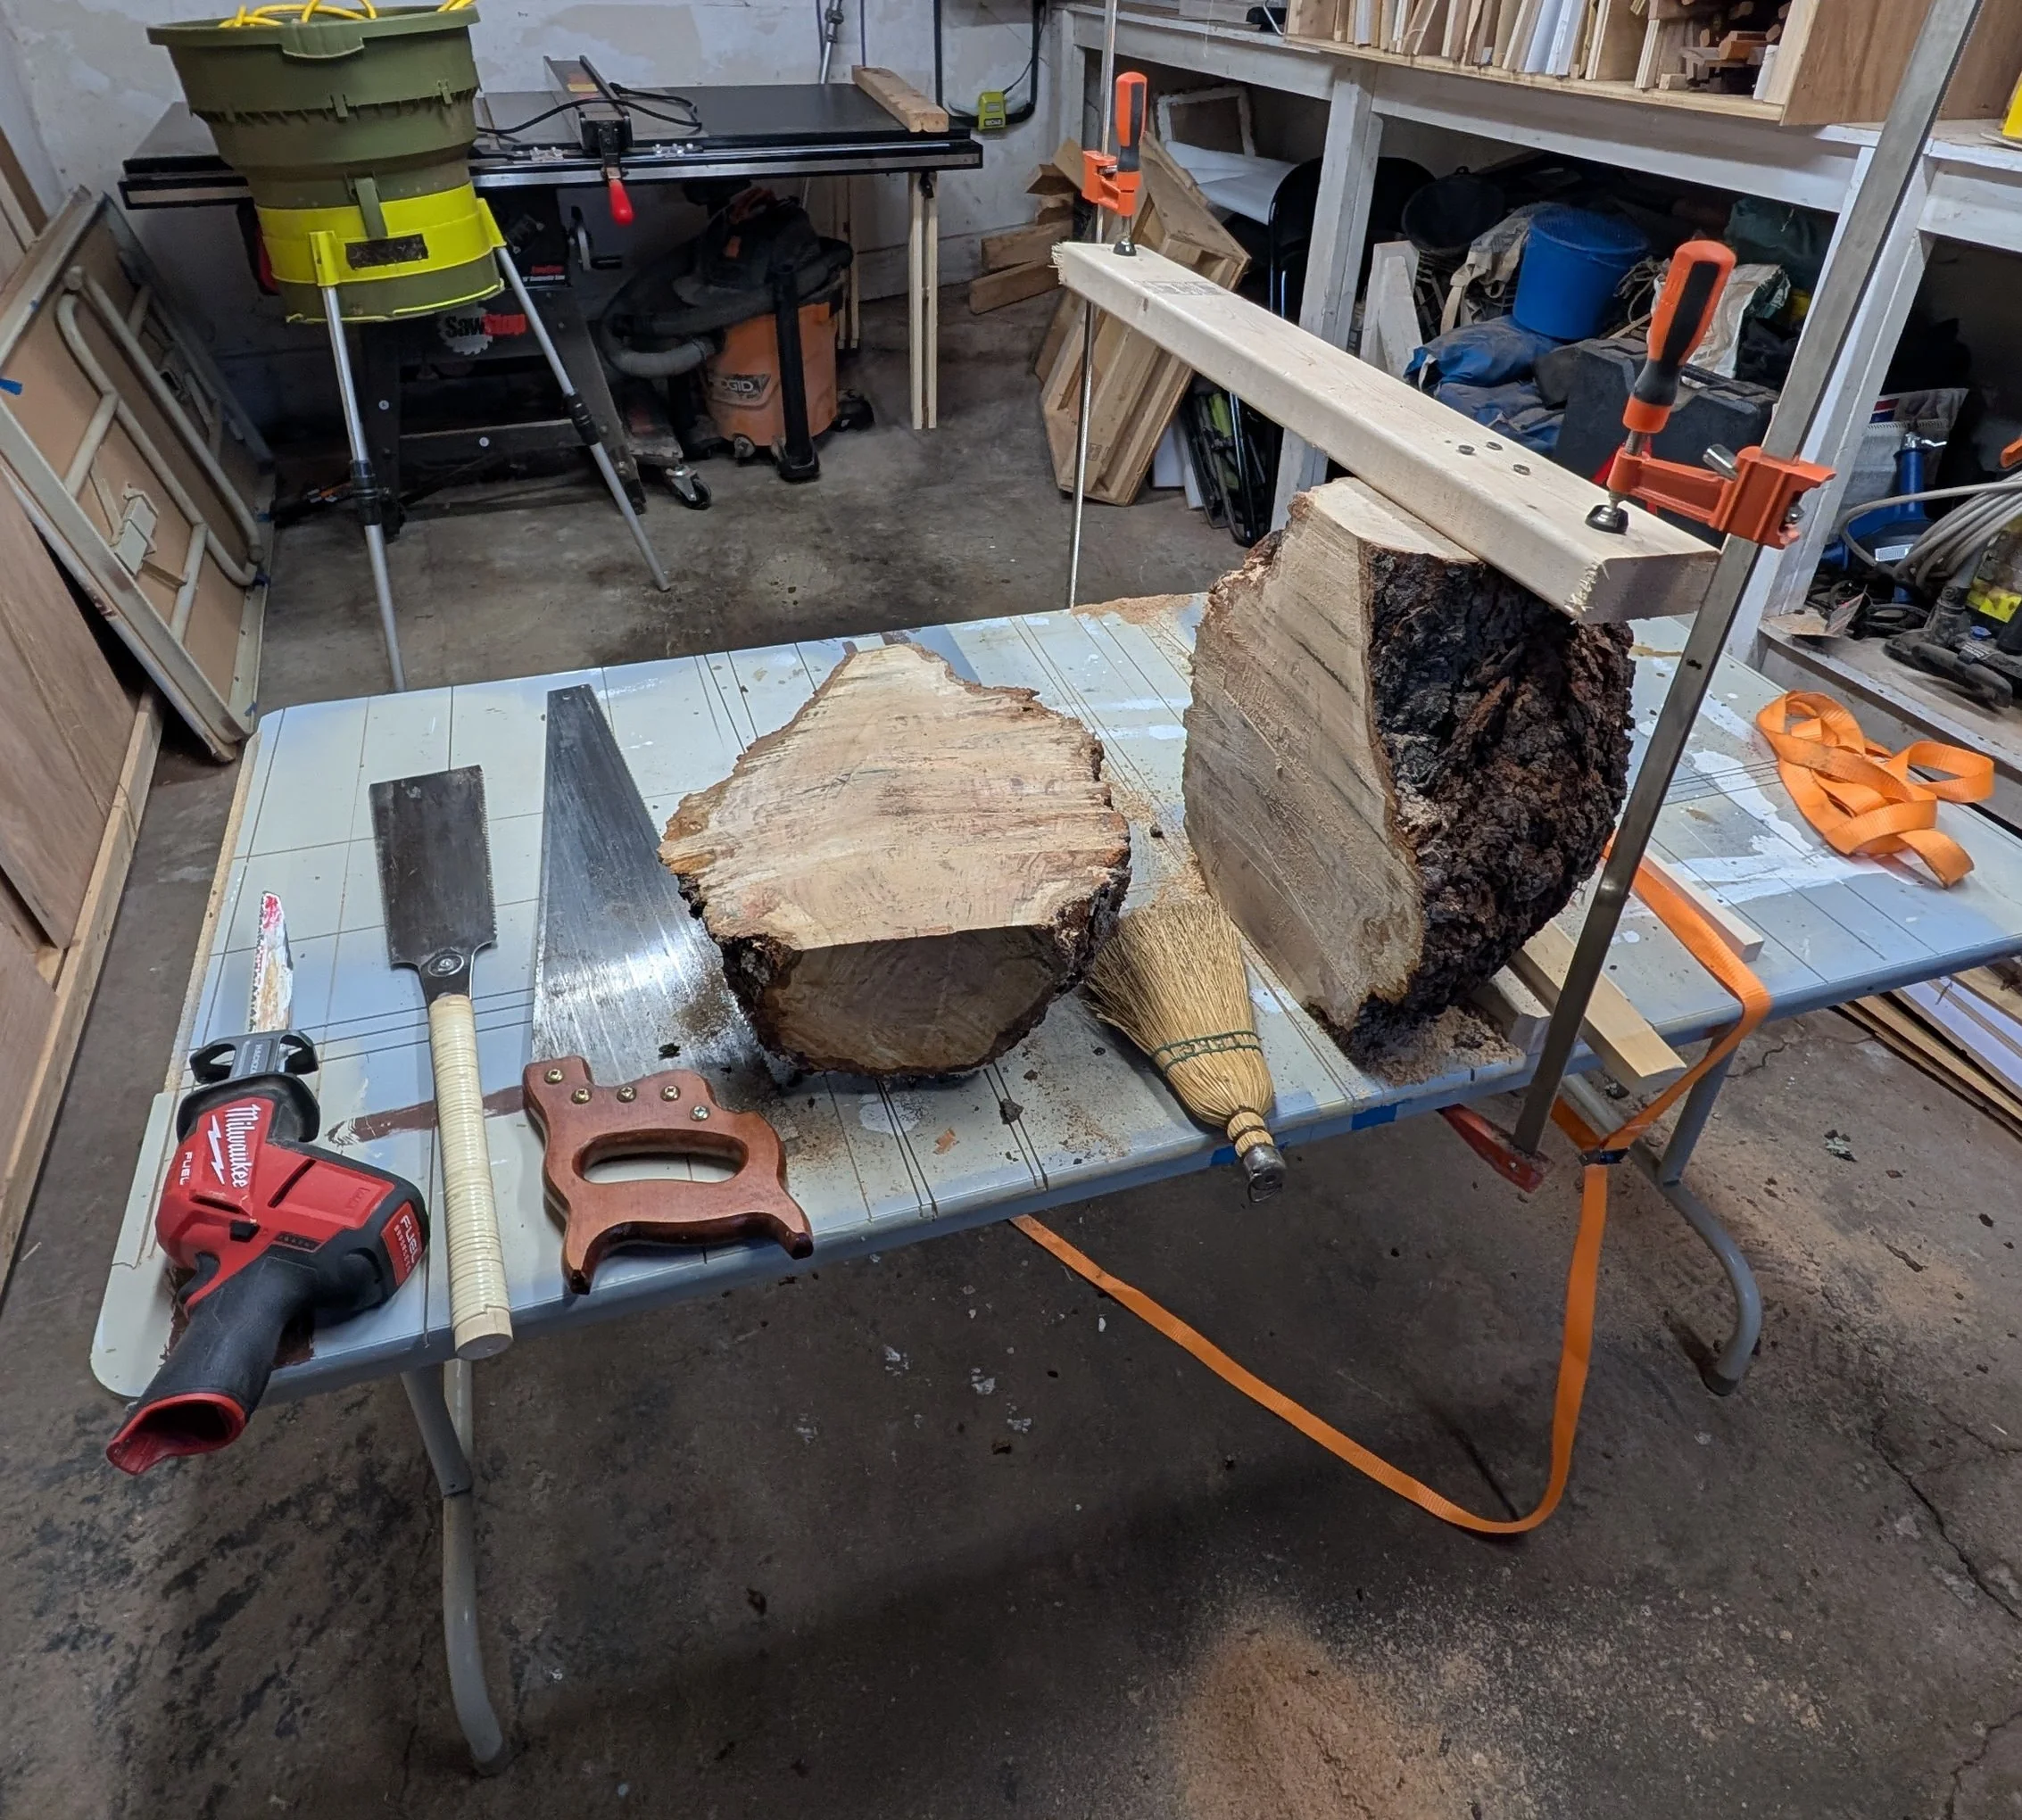
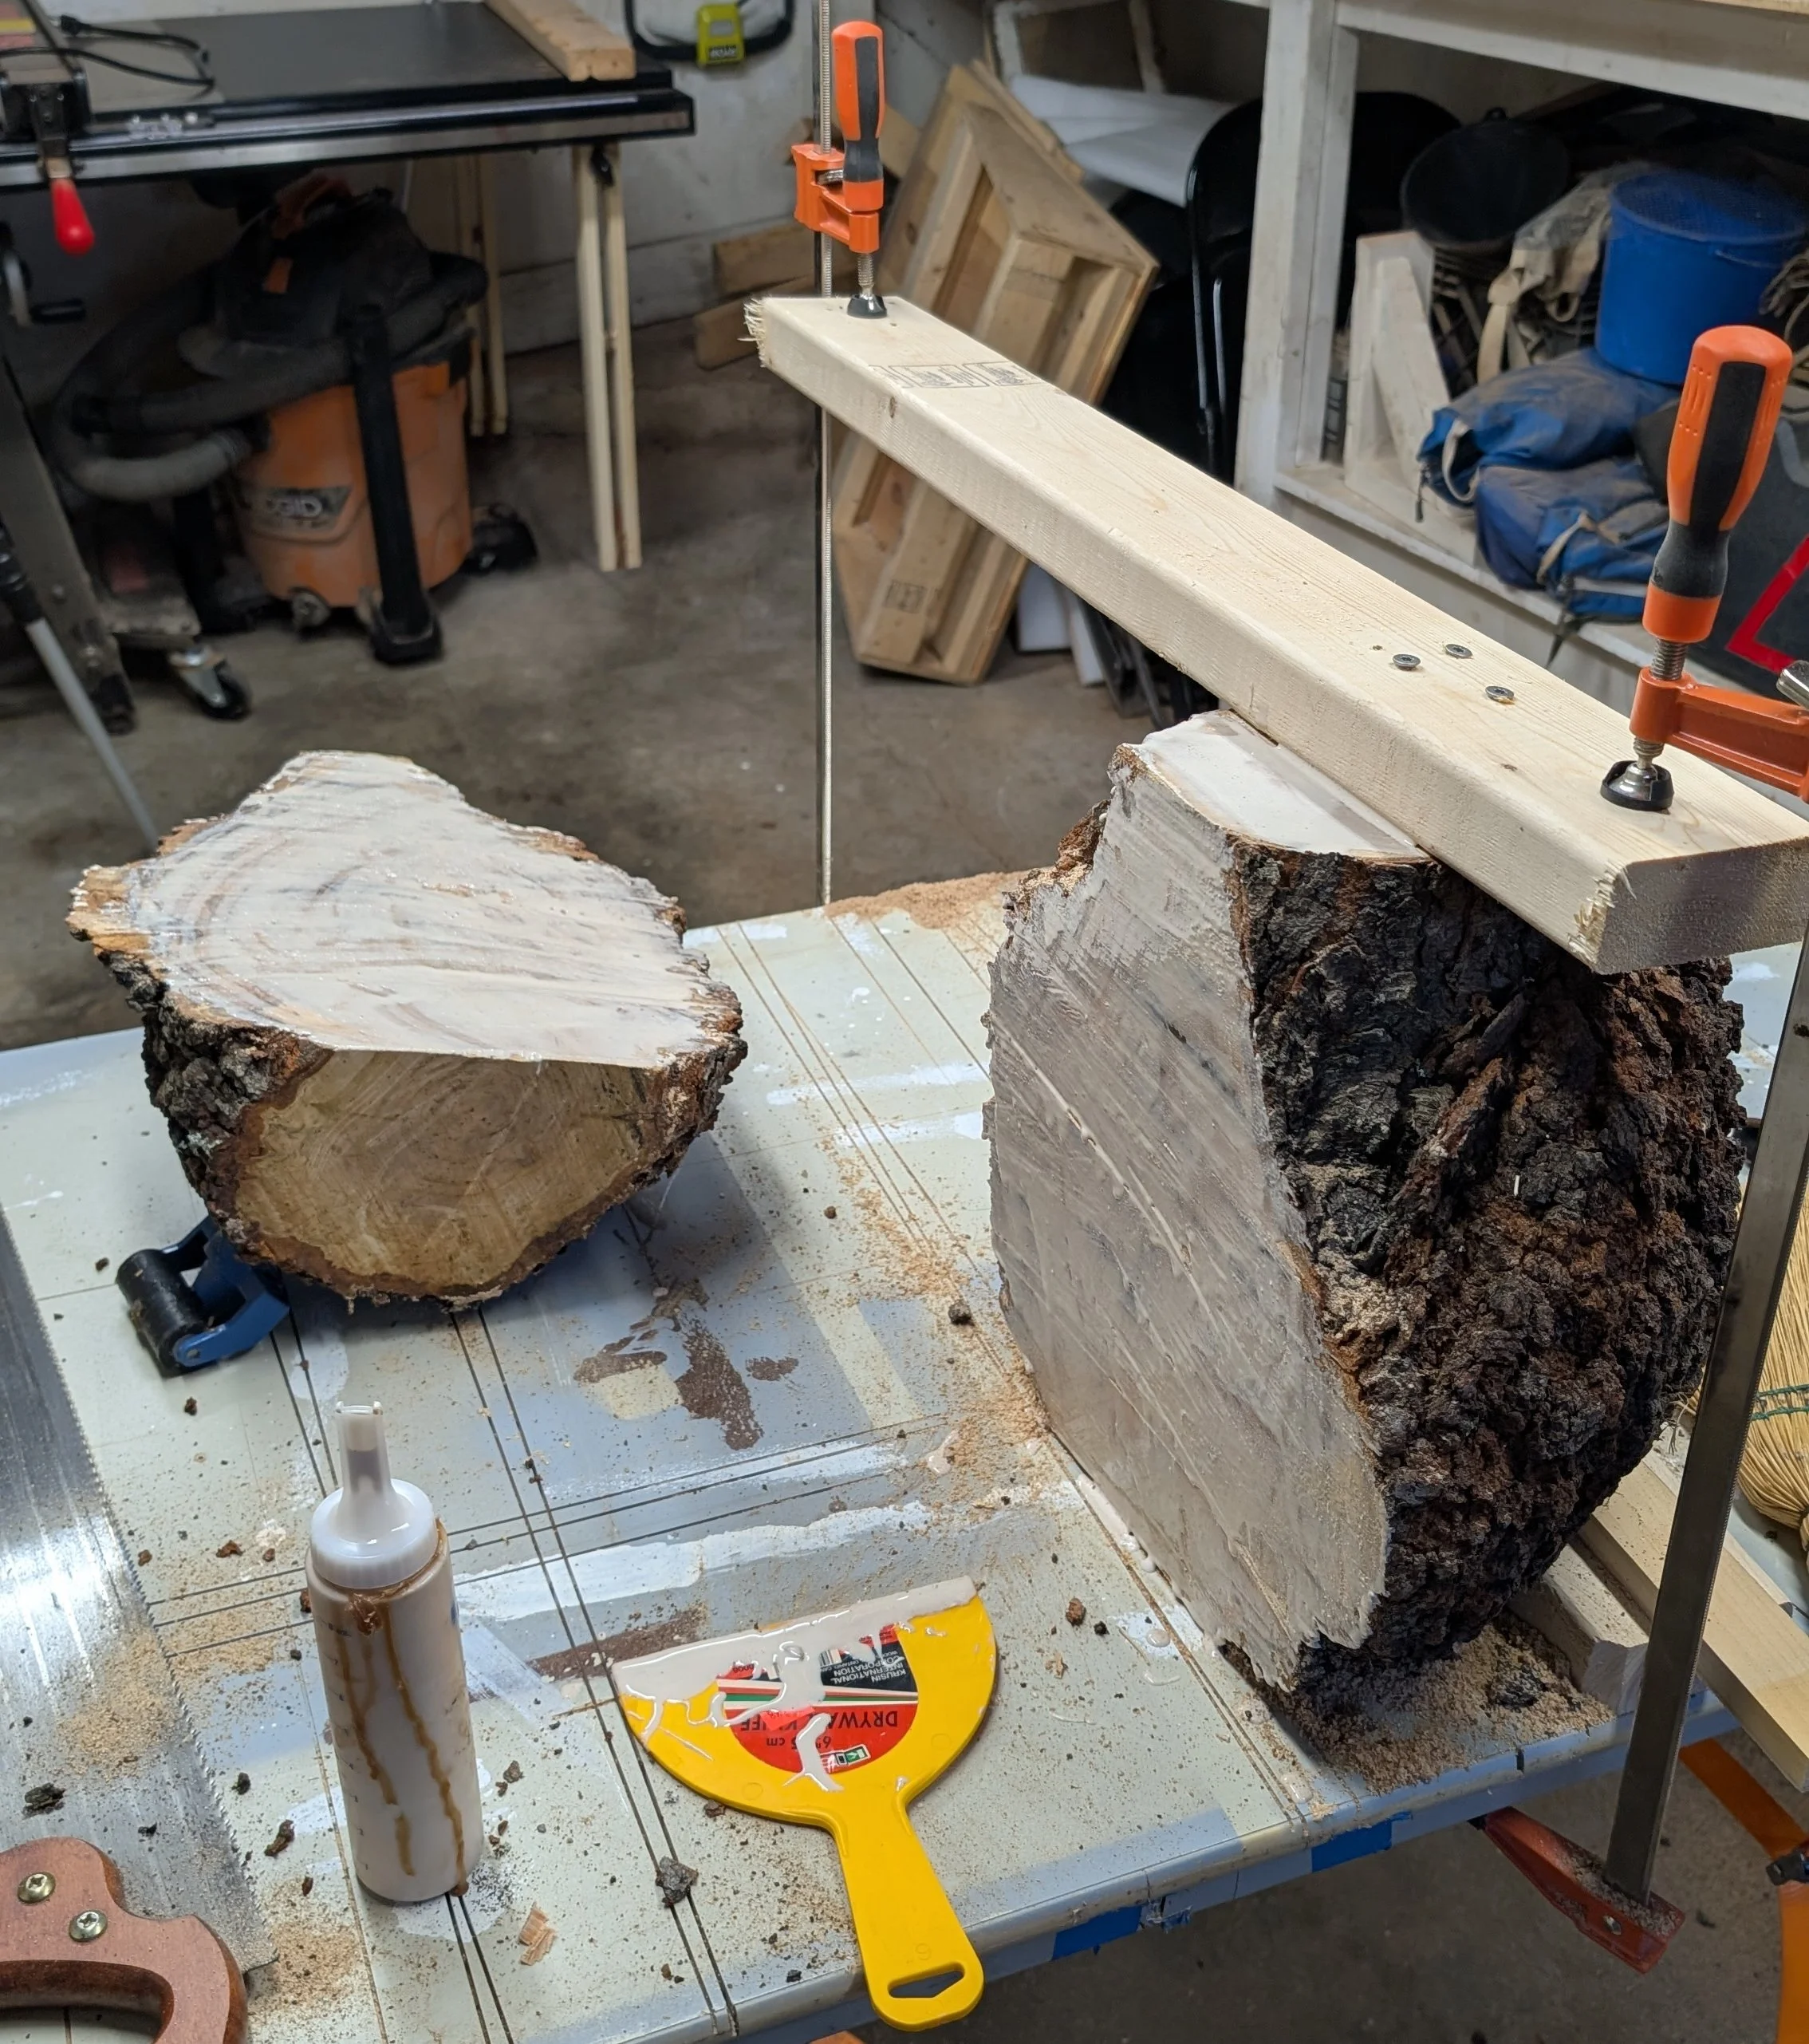
I ended up using several saws to get the job done. I then painted the exposed saw cuts with wood glue to prevent drying in those areas and potential cracking.
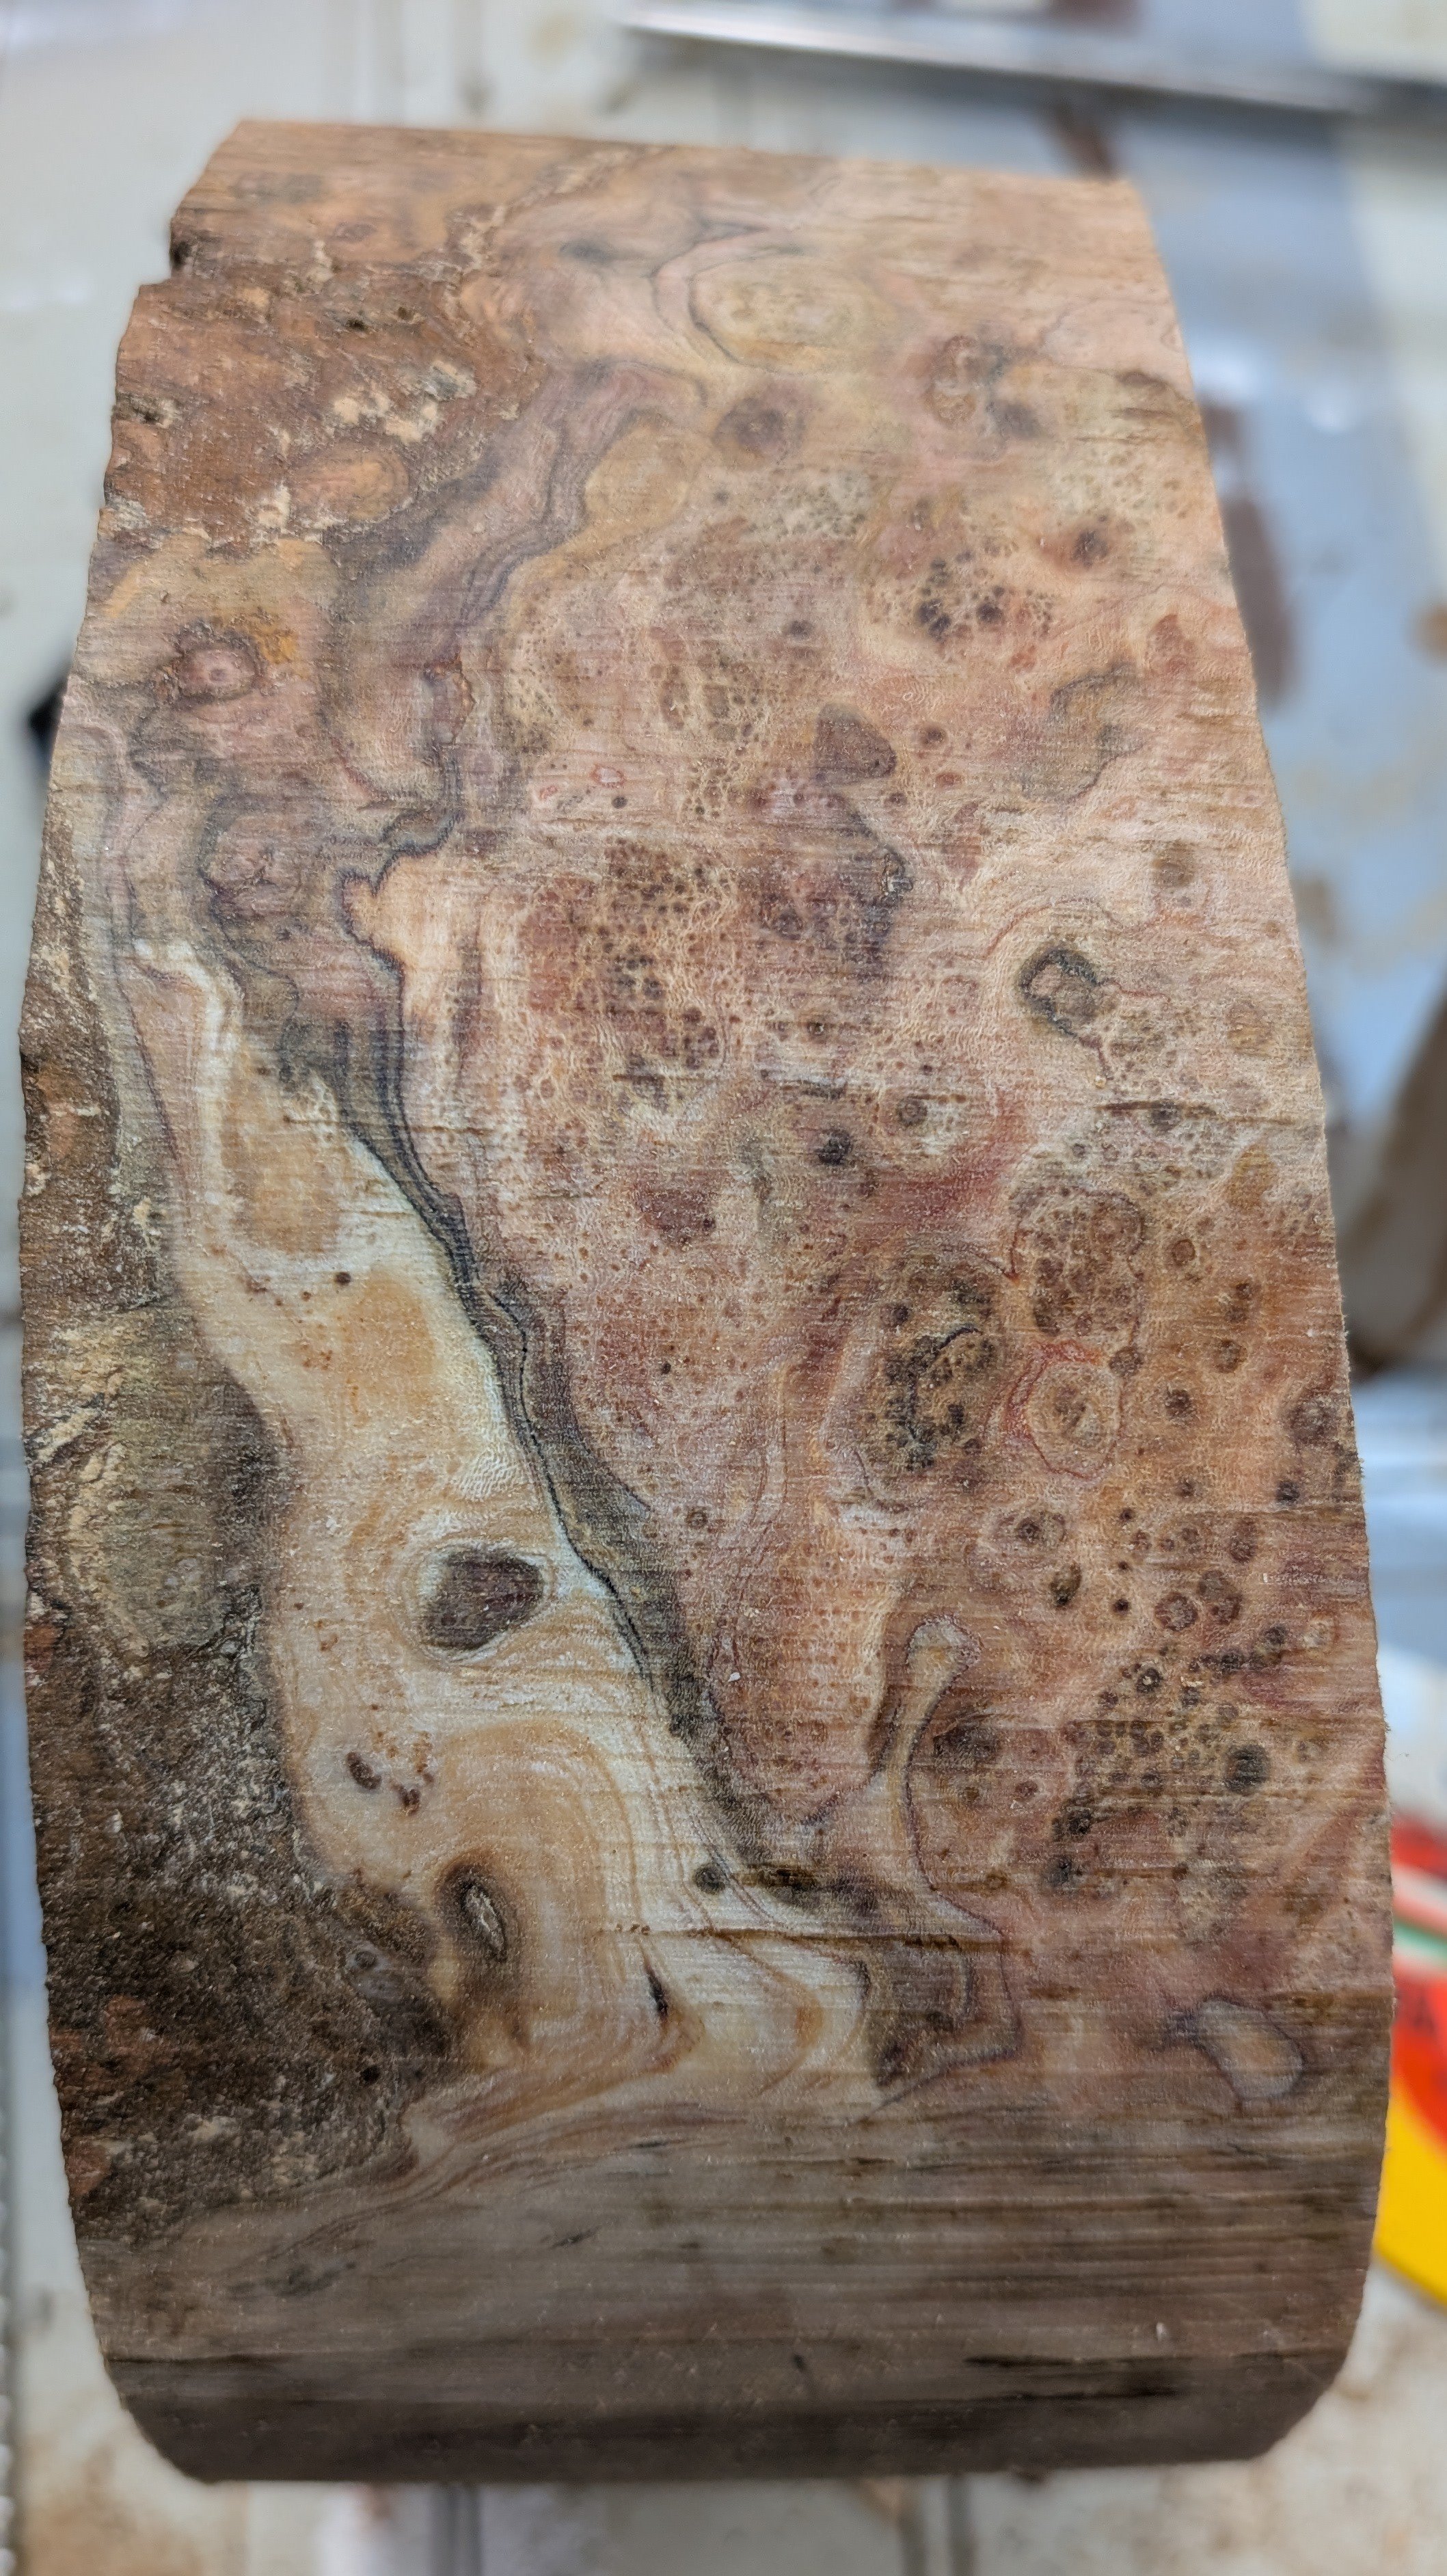
Once I had a large flat side I was able to use my band saw to cut several slices off of the burl turning it into several blanks for fairly large bowls that would fit on my lathe.
I decided that I would practice green wood turning for the first time on the limb sections that I had cut off and so I set up to make a small live edge bowl from the first one. I mounted the limb on the lathe centered on one side and worked at low RPM on turning it round and also shaping the bottom of the bowl. It was challenging getting used to the interrupted cutting but after working through a few angles of attack and different tools I managed to get there.
I put a foot with a recess in one end of it and then turned it around and chucked on the recess. I did the initial hollowing using a 2 1/4” forstner bit in the tailstock chuck. I realized that the sides looked too plain so I decided to put a curve into the side flaring up towards the top. I matched that curve on the inside while I was hollowing. I finished carving the inside and the outside down to 3/8” thickness all over. You need a consistent thickness to do the rapid drying process. At a certain point I broke the foot and it came off the lathe but only the foot was damaged. I made a jam chuck and remounted it the other way and removed the foot and made a smooth bottom and finished cleaning up the outside.
I then sanded it inside and outside to 320 grit. I weighed it and it came out to 359 grams. I buried it in a box lined with a plastic bag filled with 10 lbs of orange desiccant beads ( don’t use the blue beads ). I sealed it up and left it over the weekend because I would be away. when I got back I pulled it out and it was very slightly ovalized with no cracks and it weighed 251 grams which was a 30% reduction so it was ready for finish.
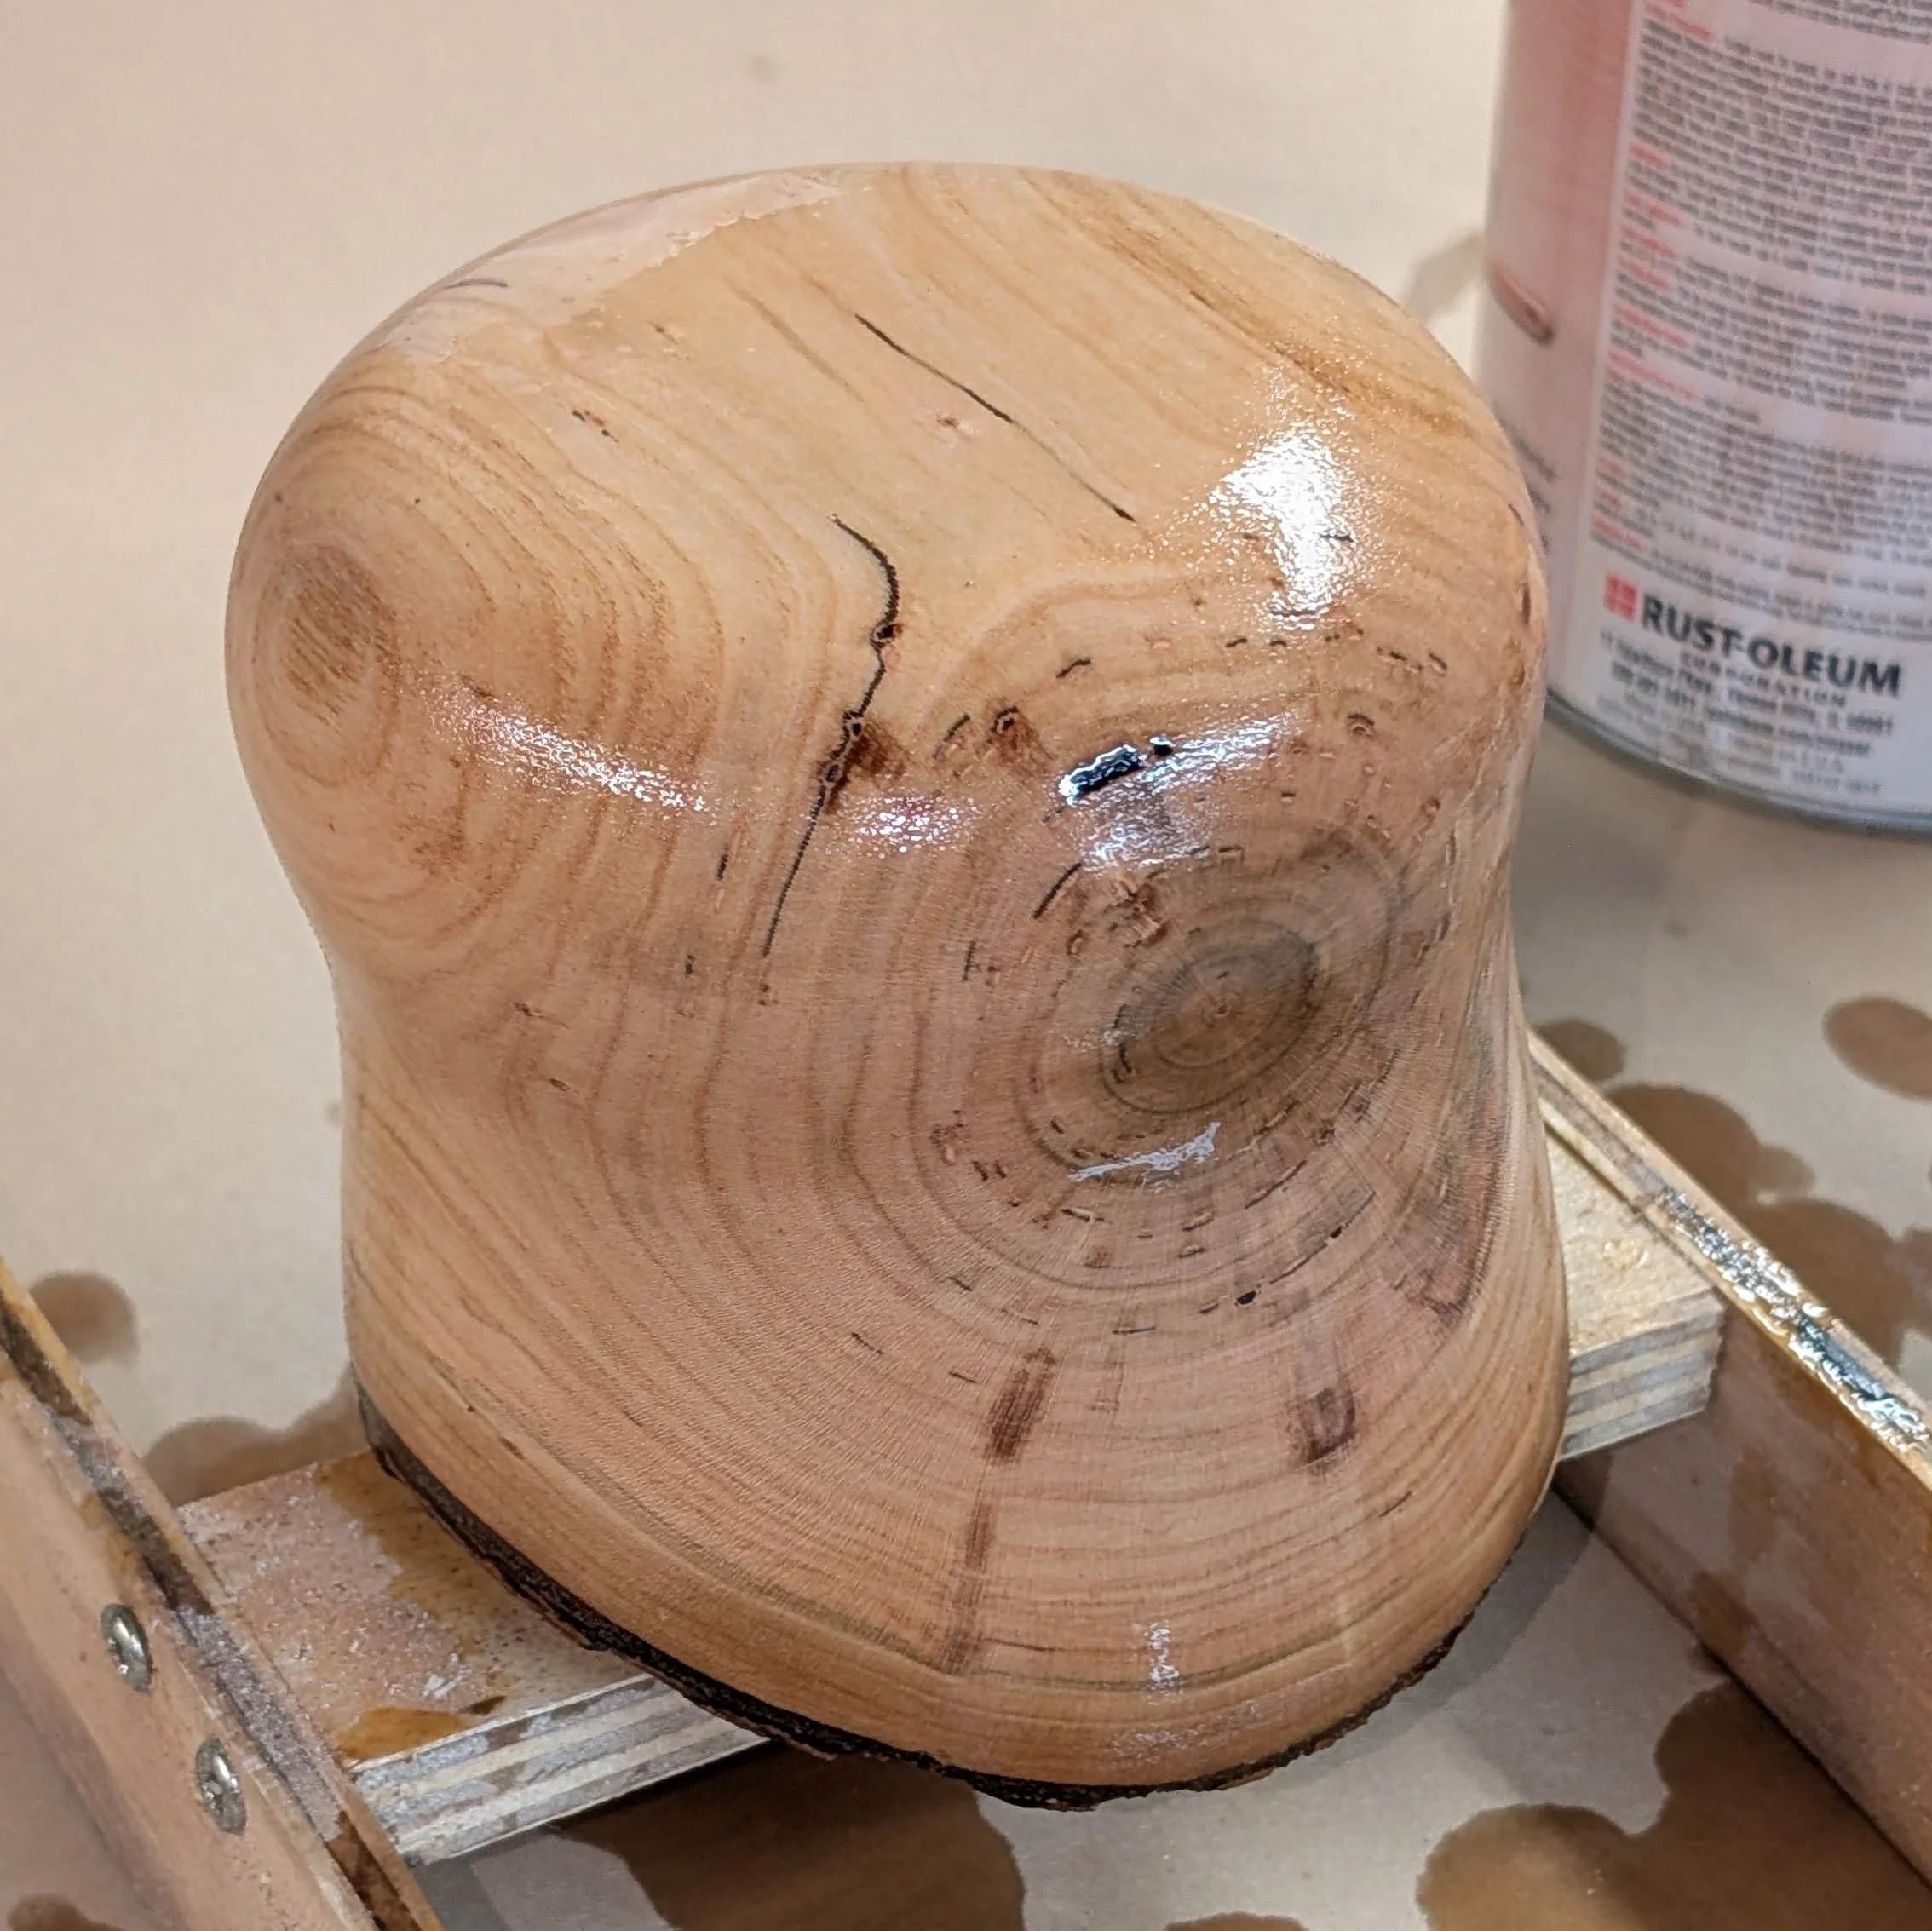
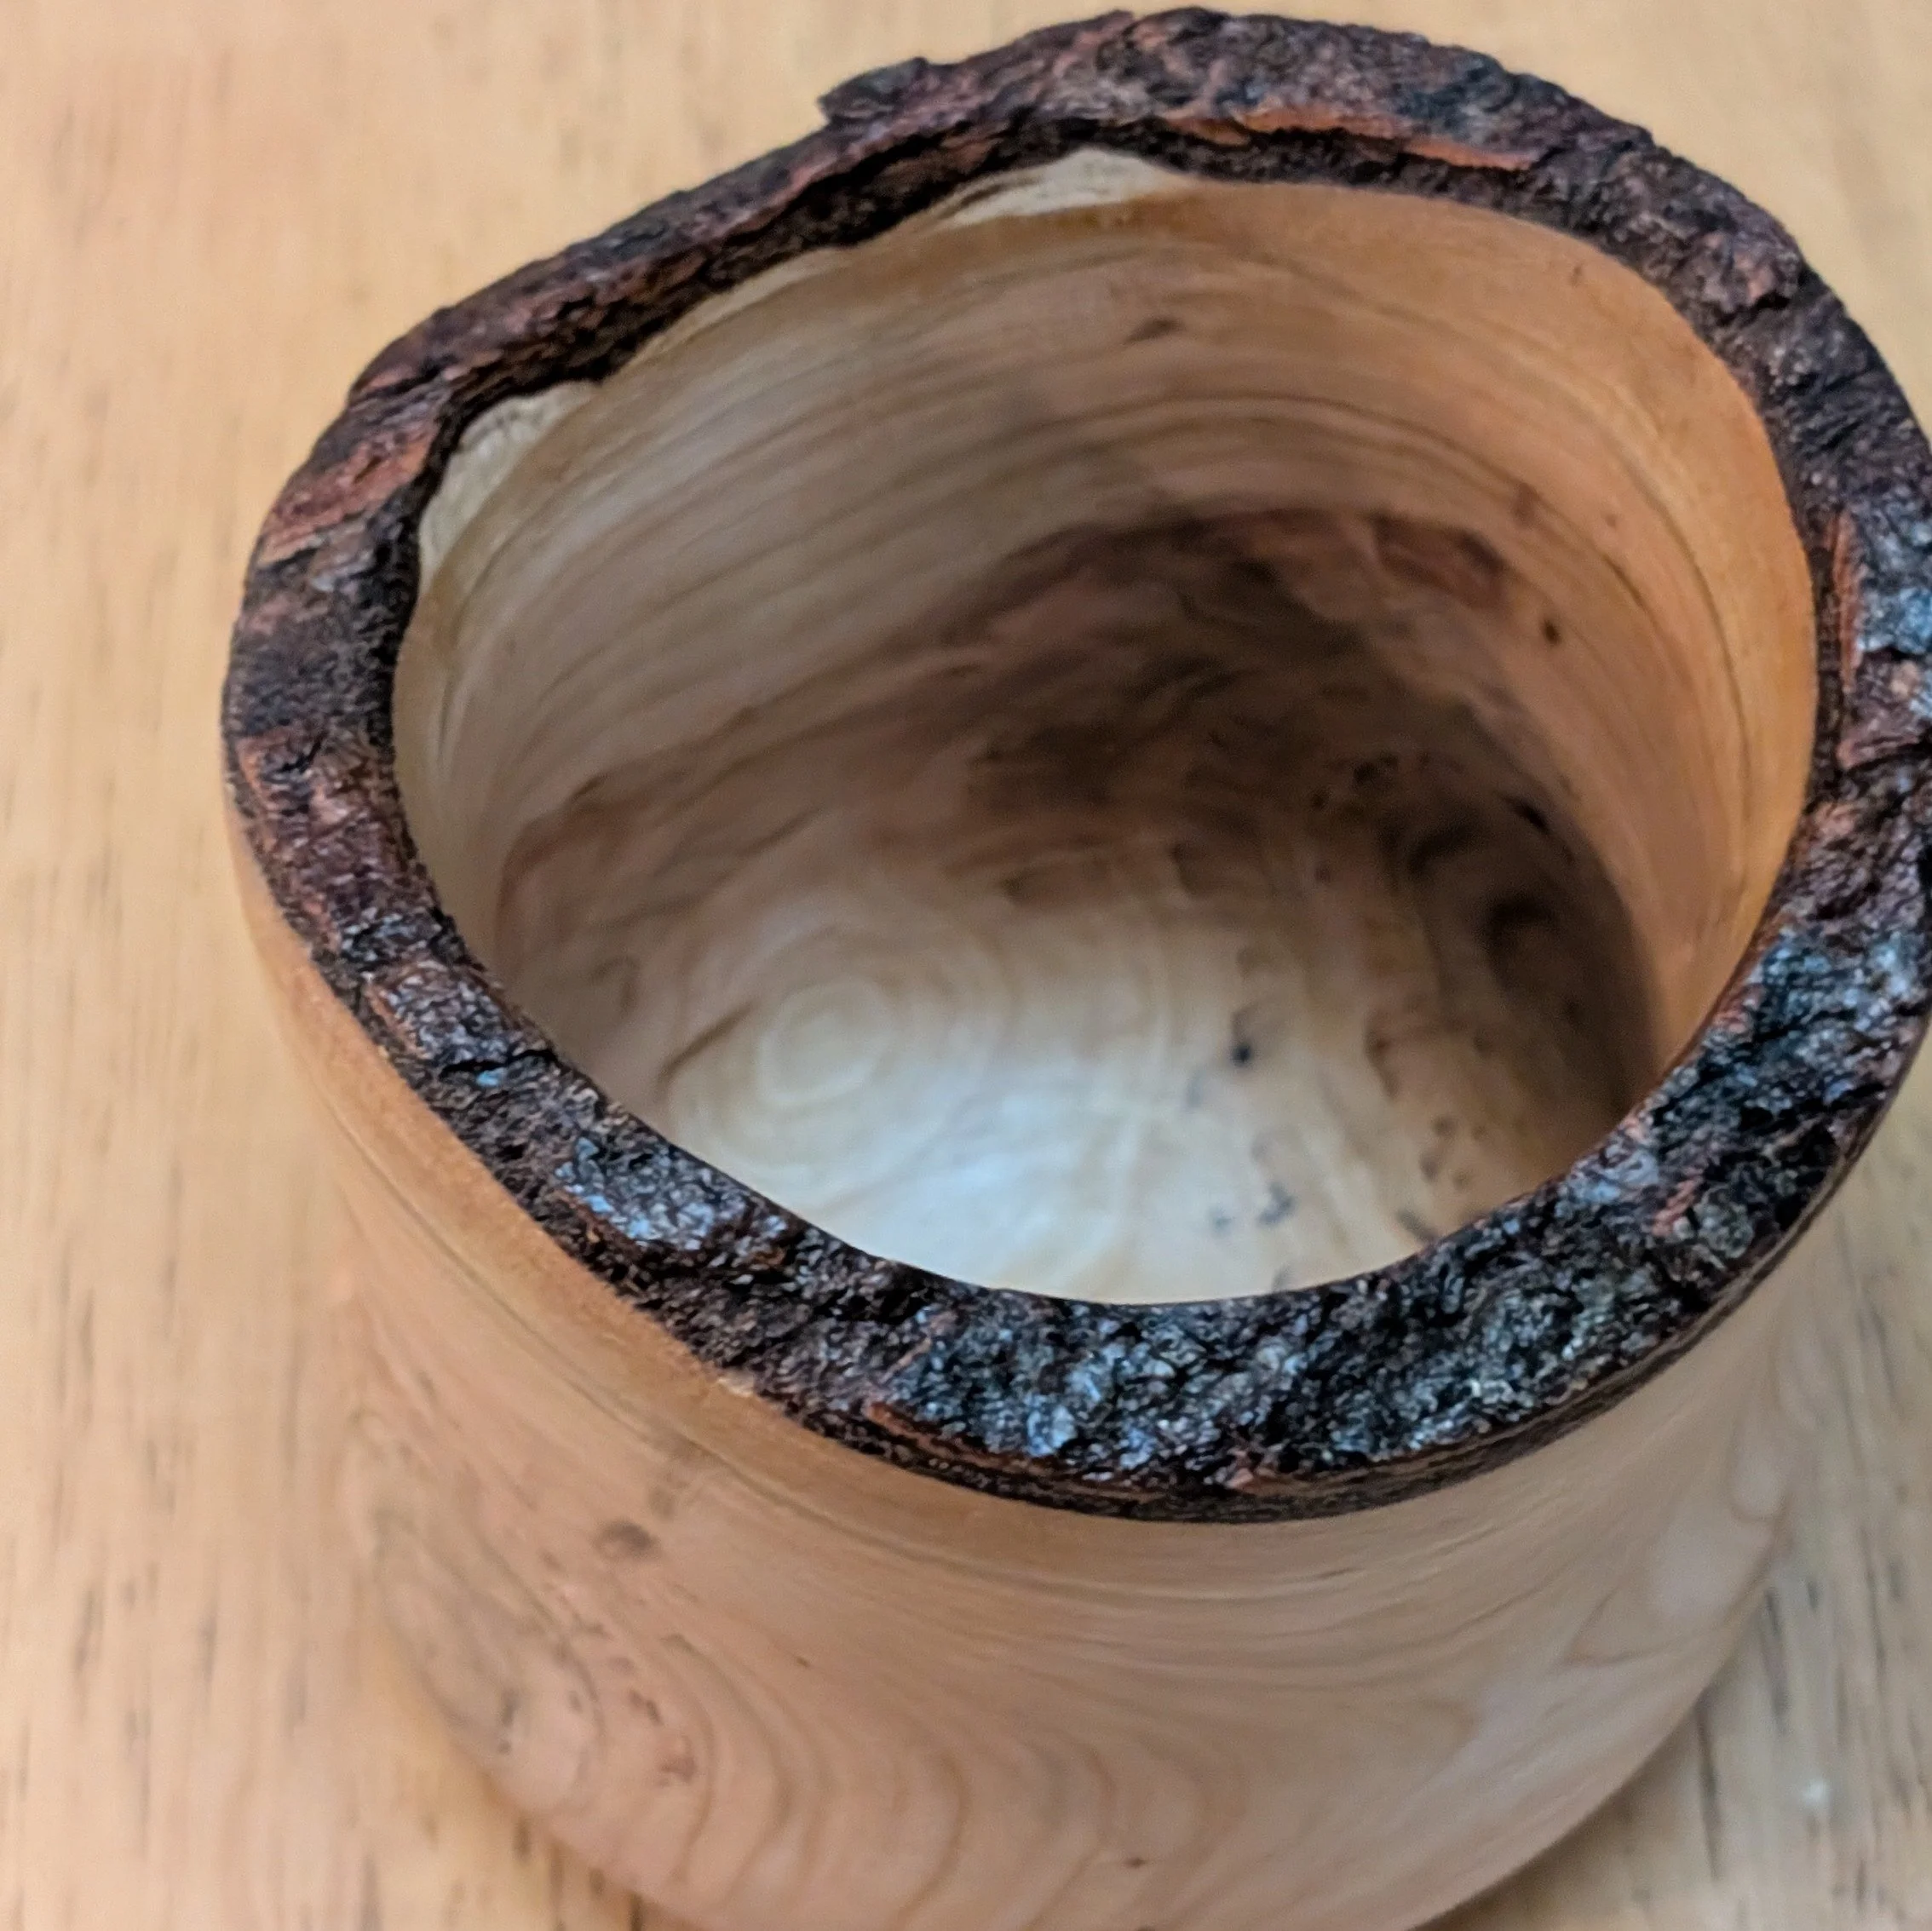
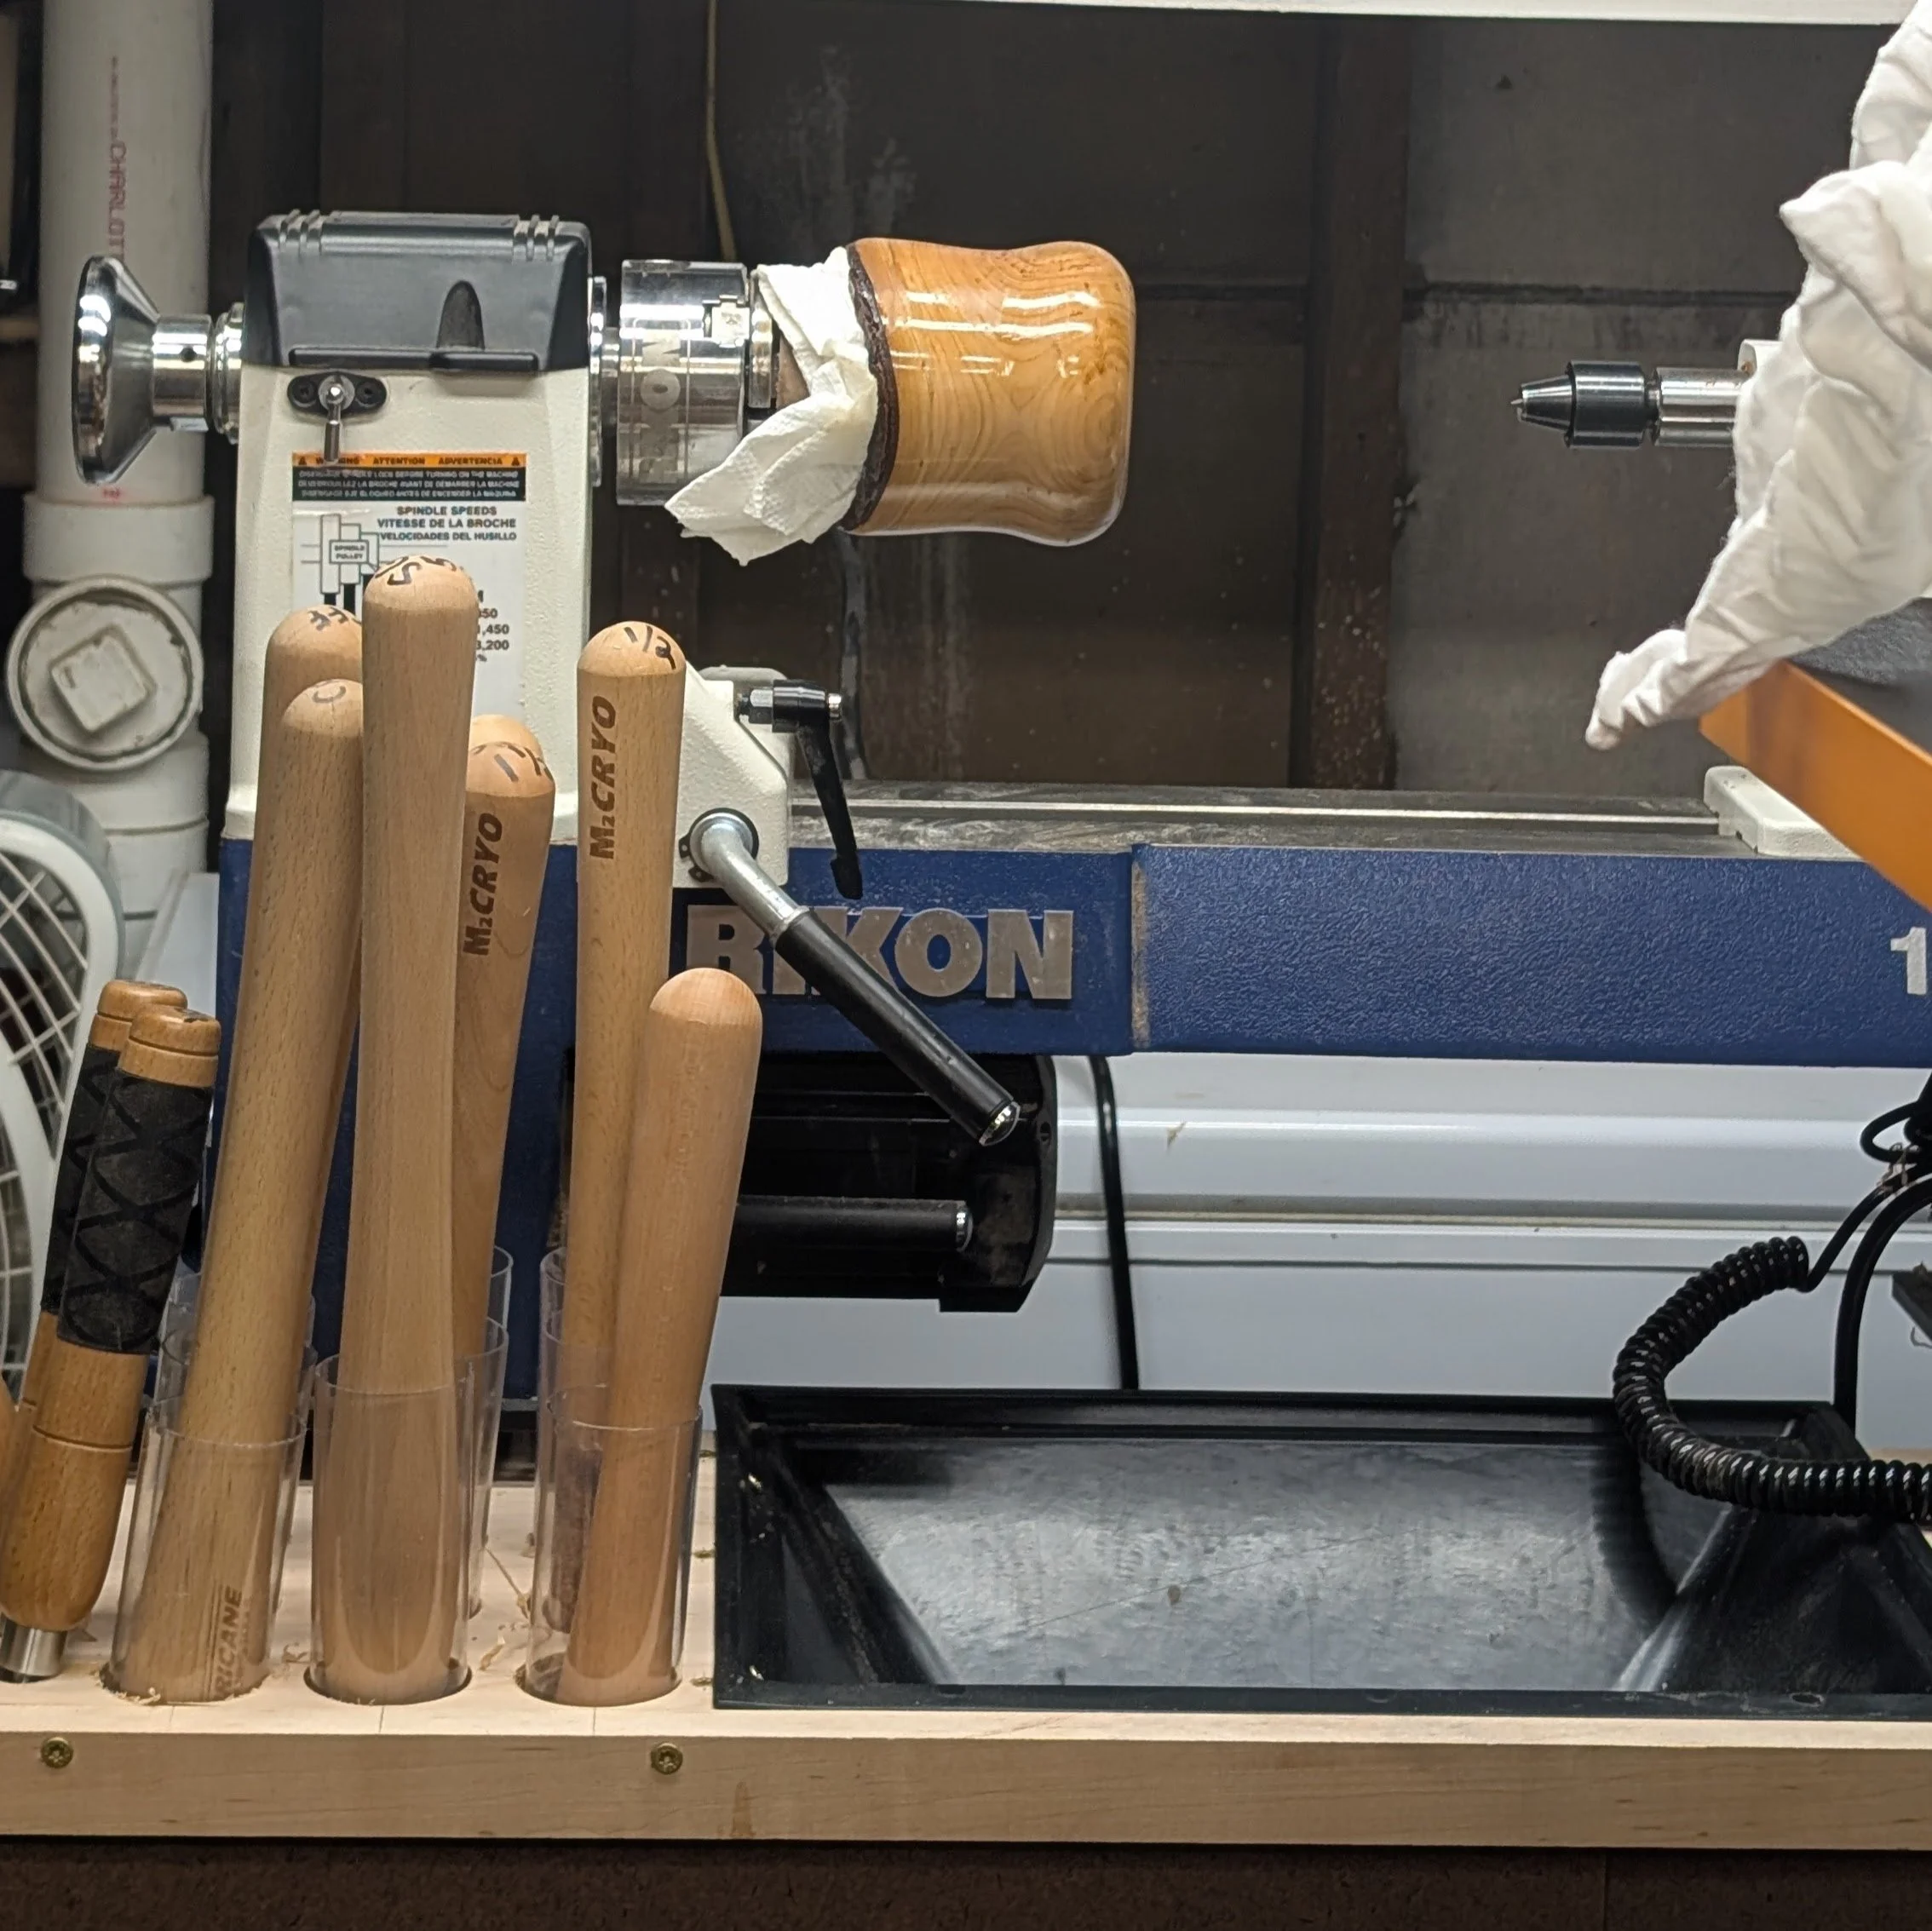
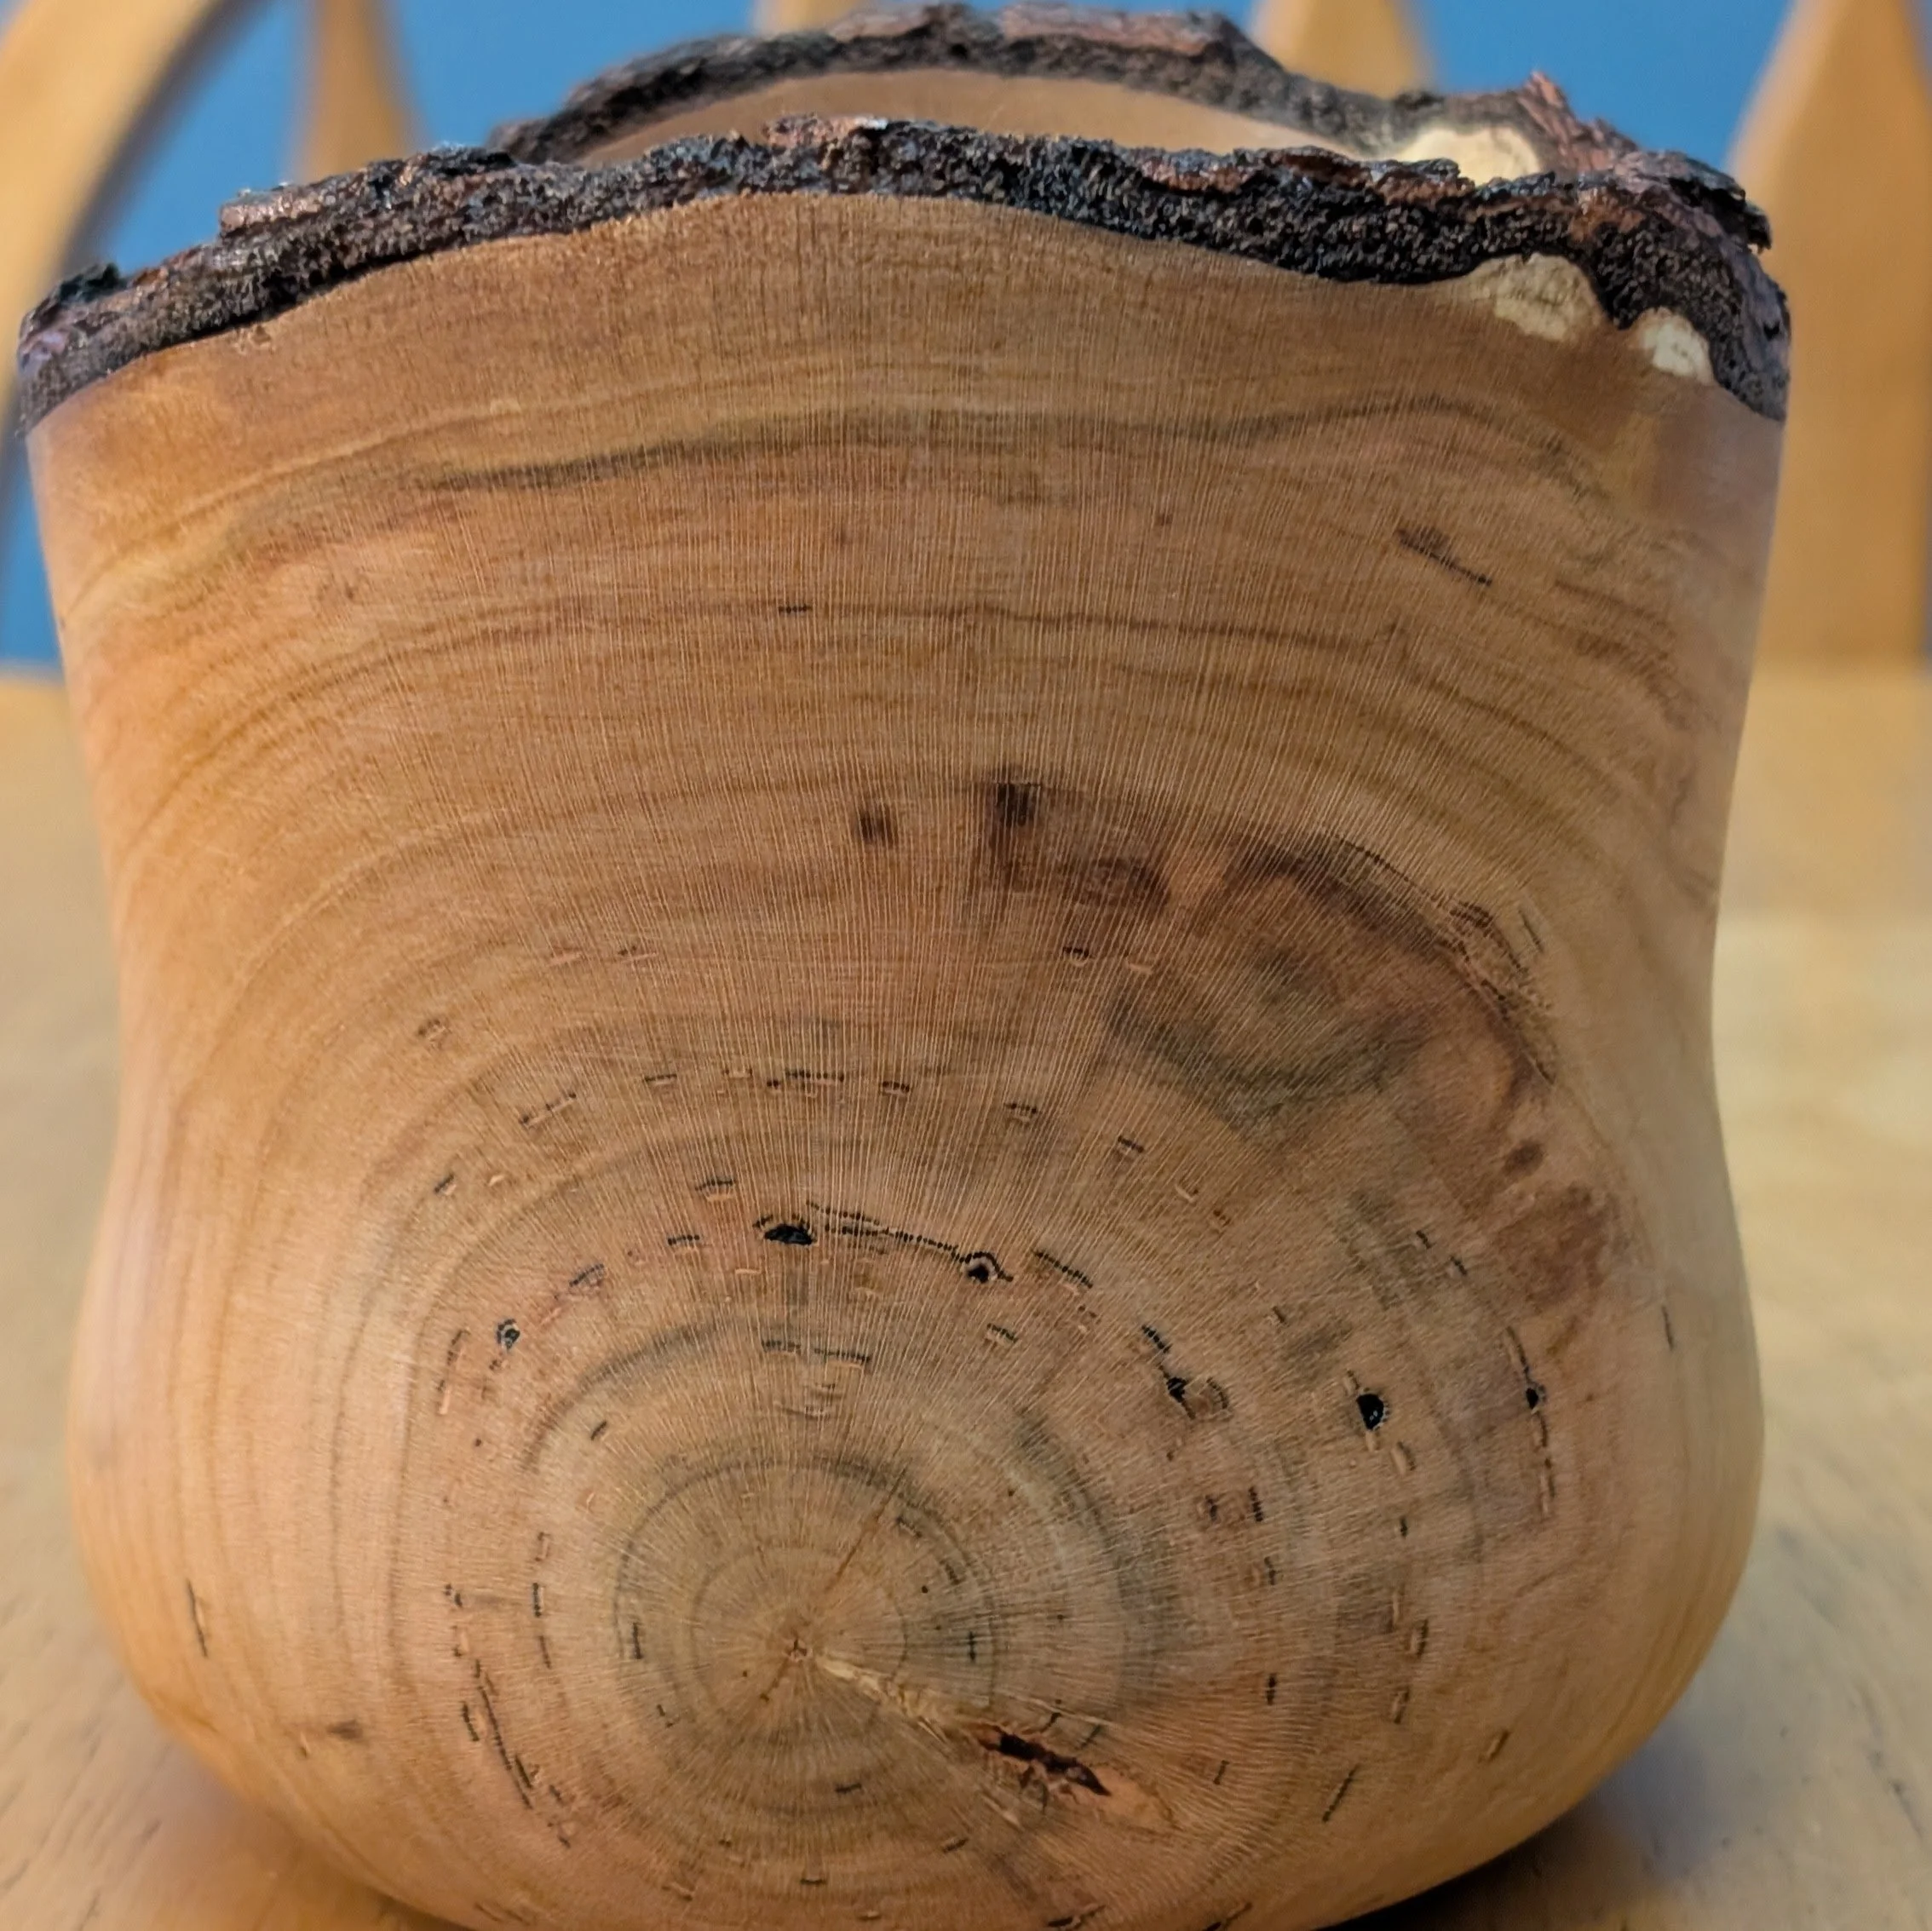
I put a coat of shellac based sanding sealer on it and let it dry over night. Then I sanded it up to 1000 grit and after cleaning it with alcohol I applied a butcher block conditioner to it and after letting it sit for 20 minutes I buffed it in on the lathe and by hand on the inside.
This came out great and most of the process went smoothly. My wife suggested turning a goblet shape for the other branch section and I liked that idea because it would be a more complex shape and would push the limits of the drying method.
On this branch section I cut a flat side on it and then used the band saw to cut it roughly circular. This made getting it round a lot easier and I could turn at a higher rpm from the start.
The process was about the same from there so I won’t repeat it but here are the before finish and after finish pictures.
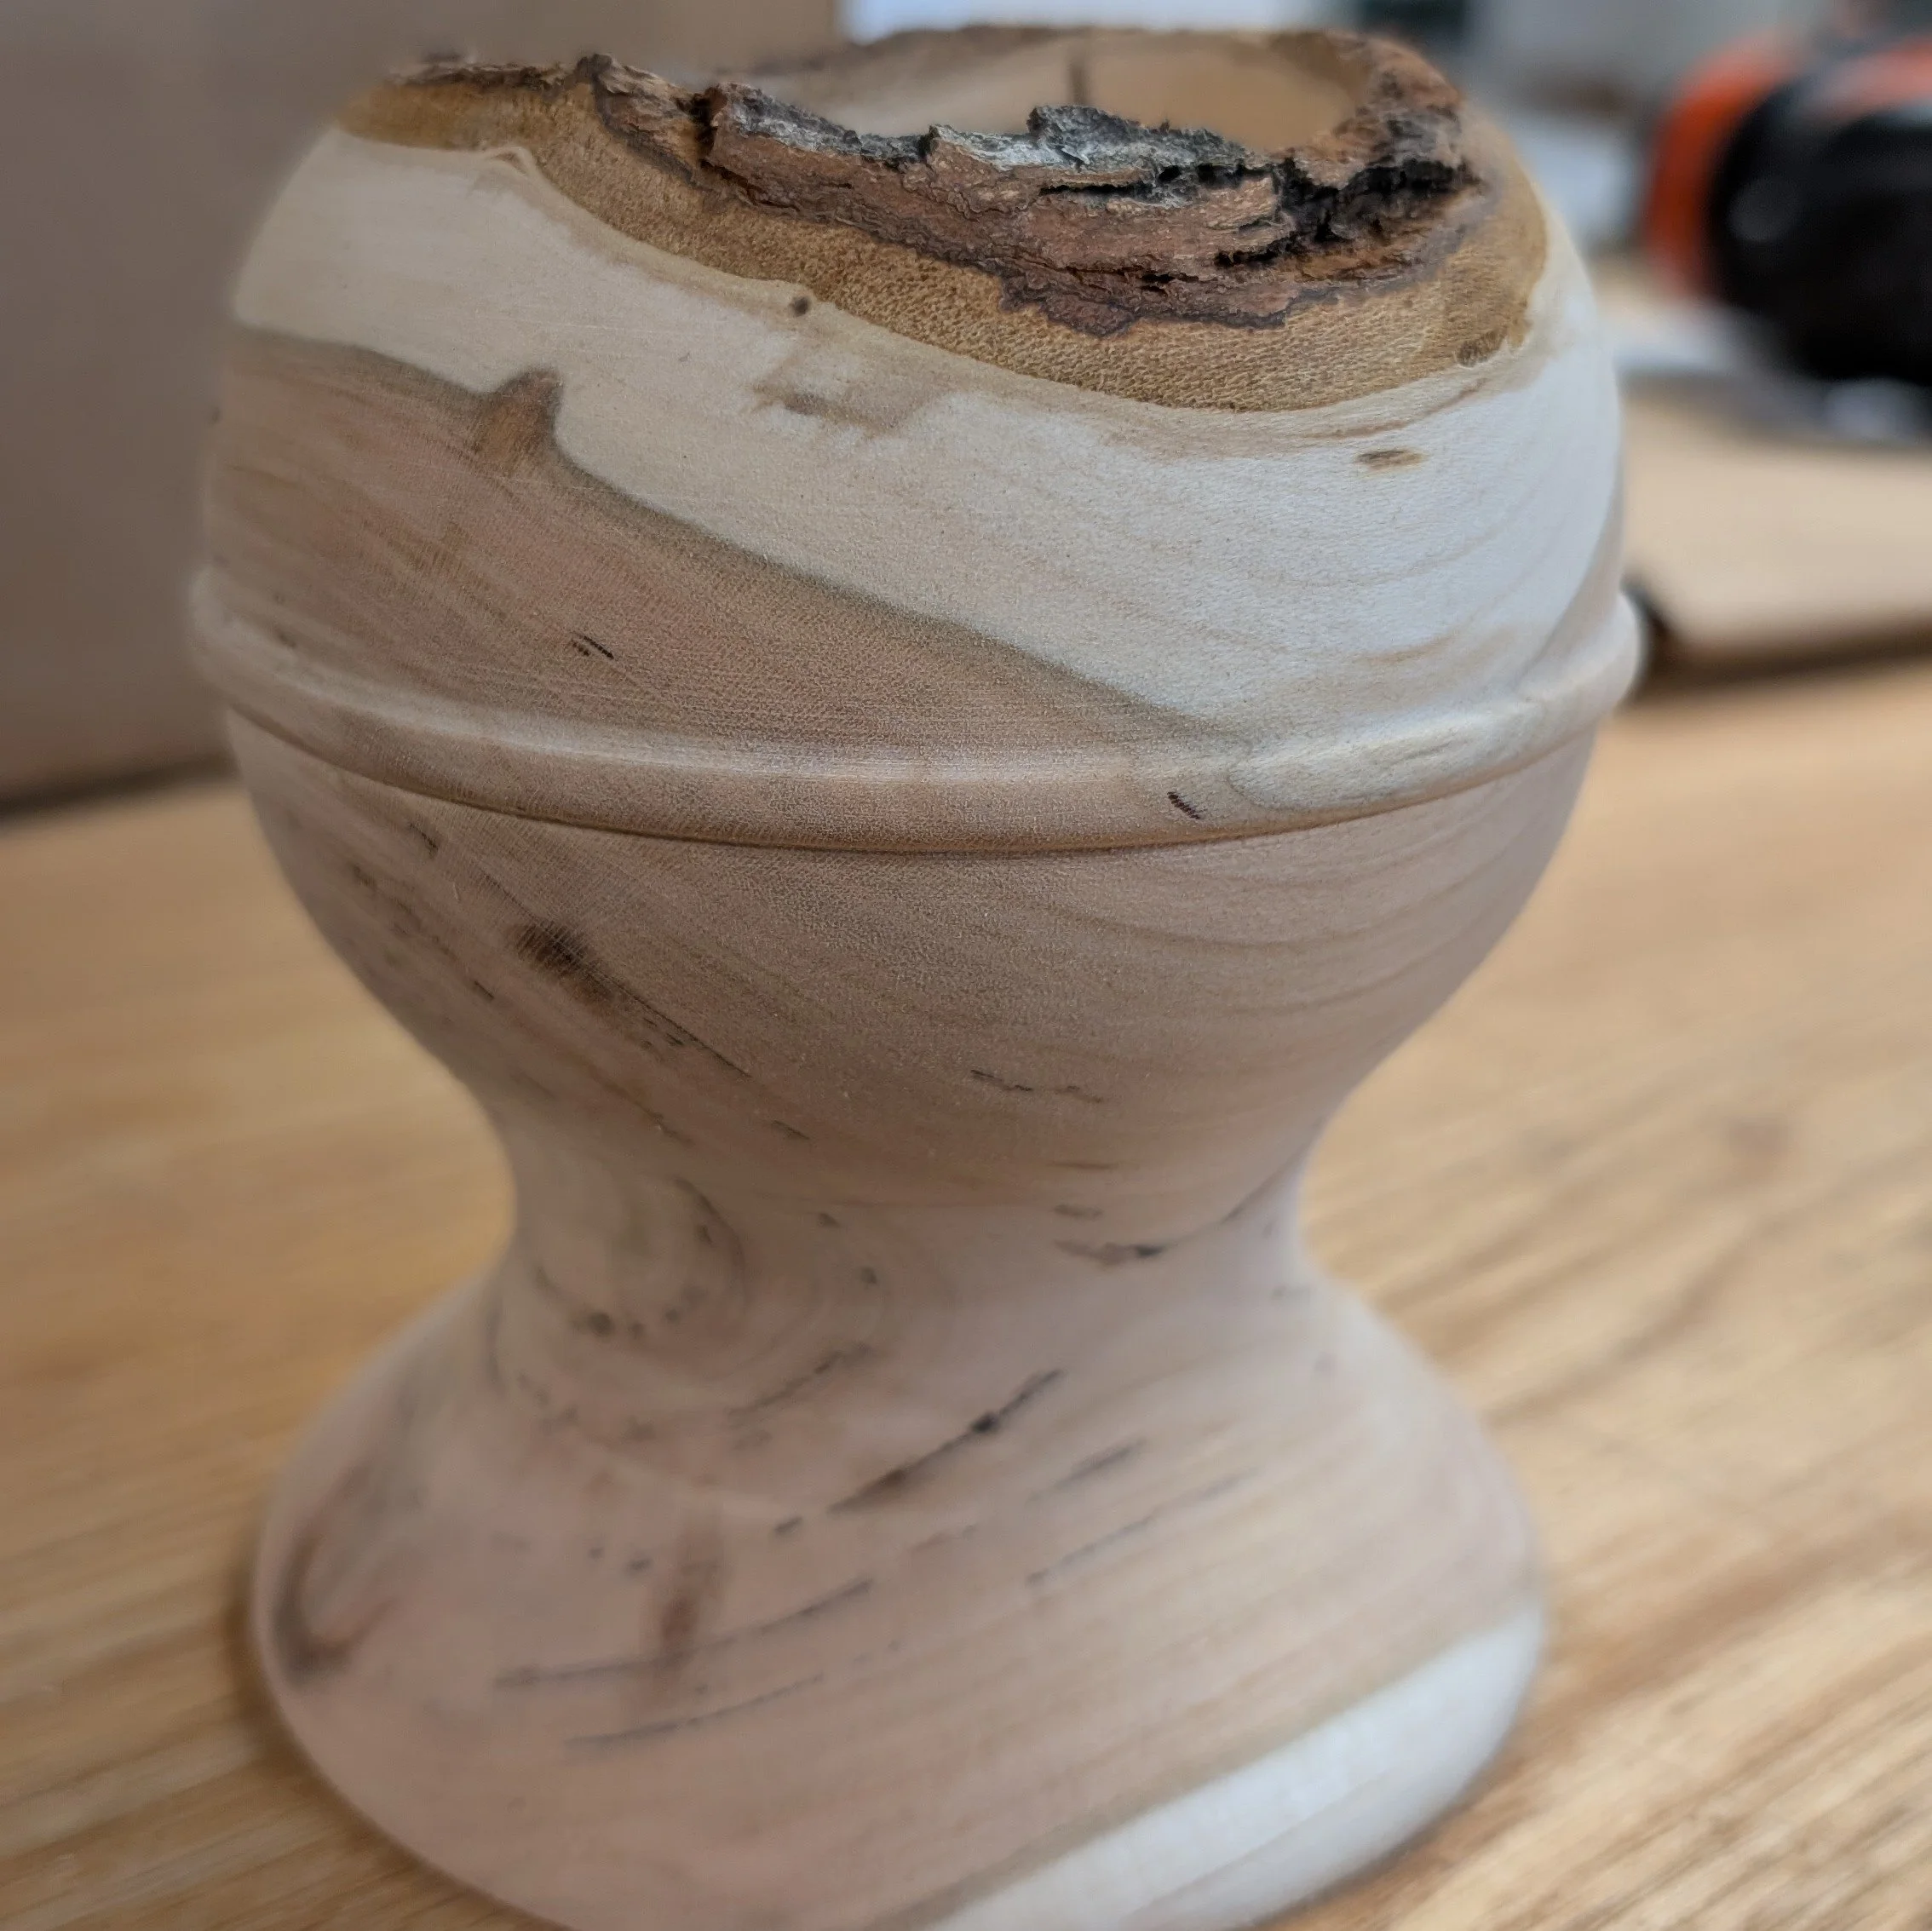
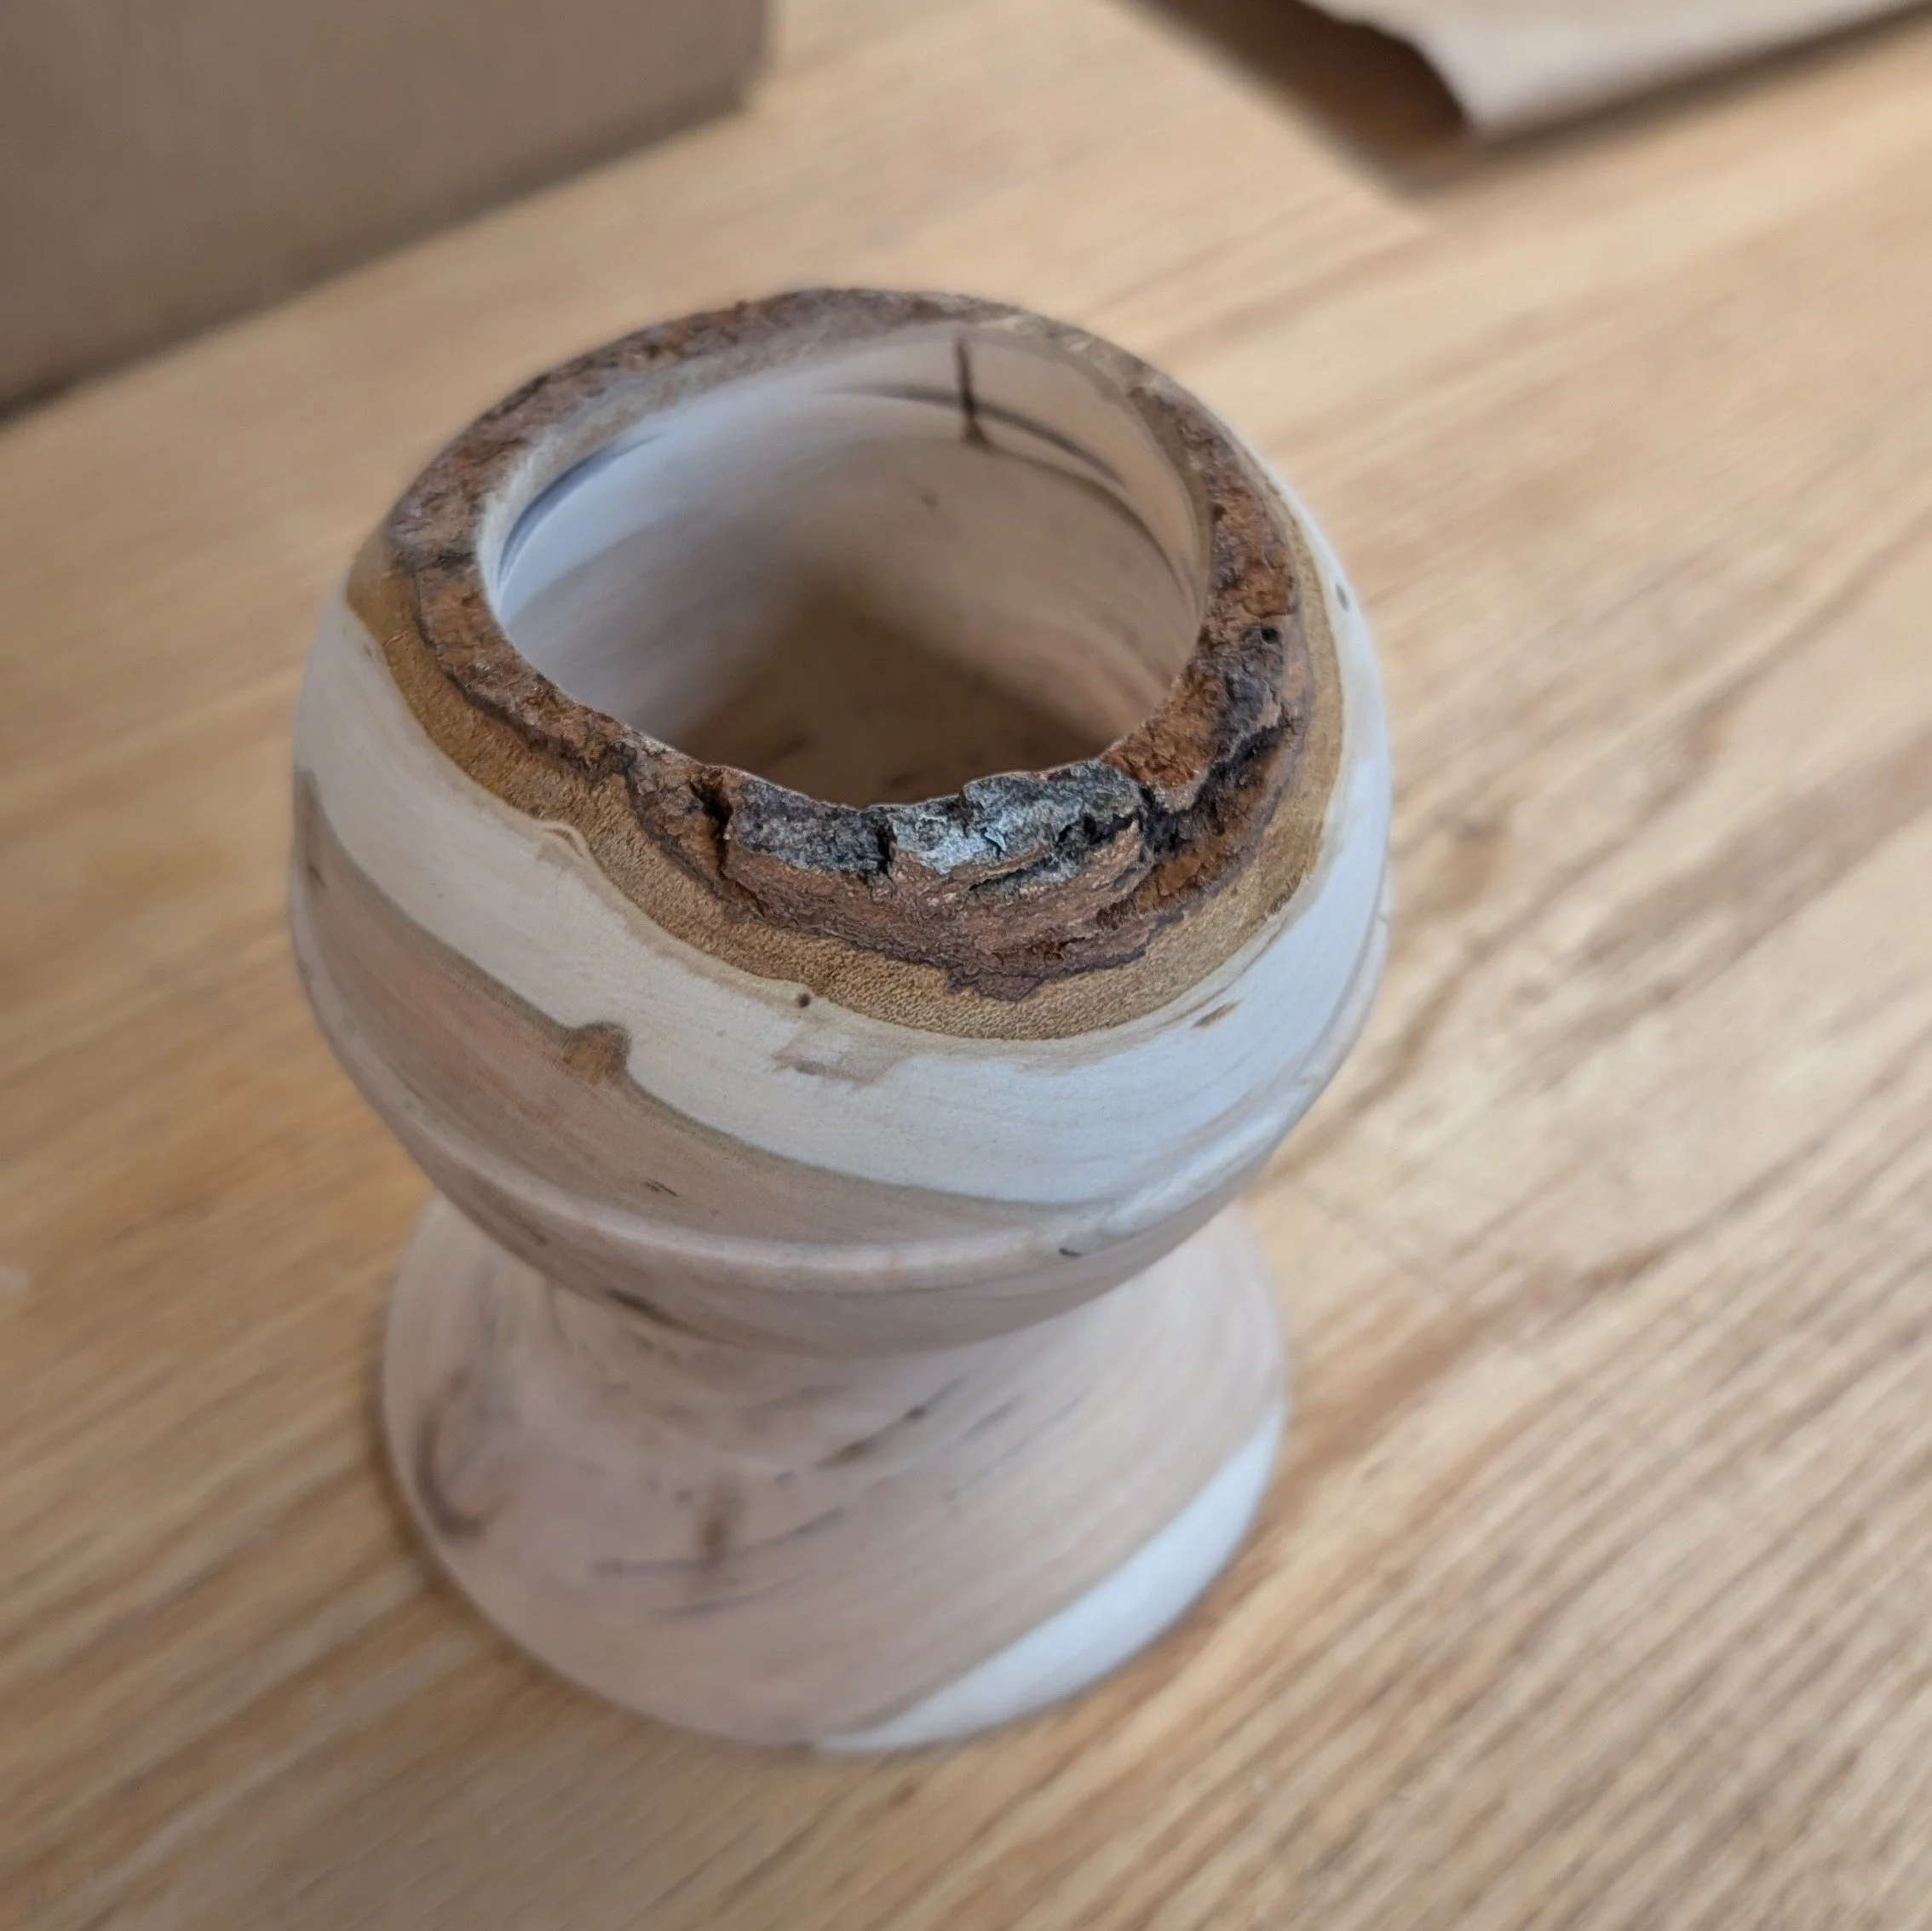
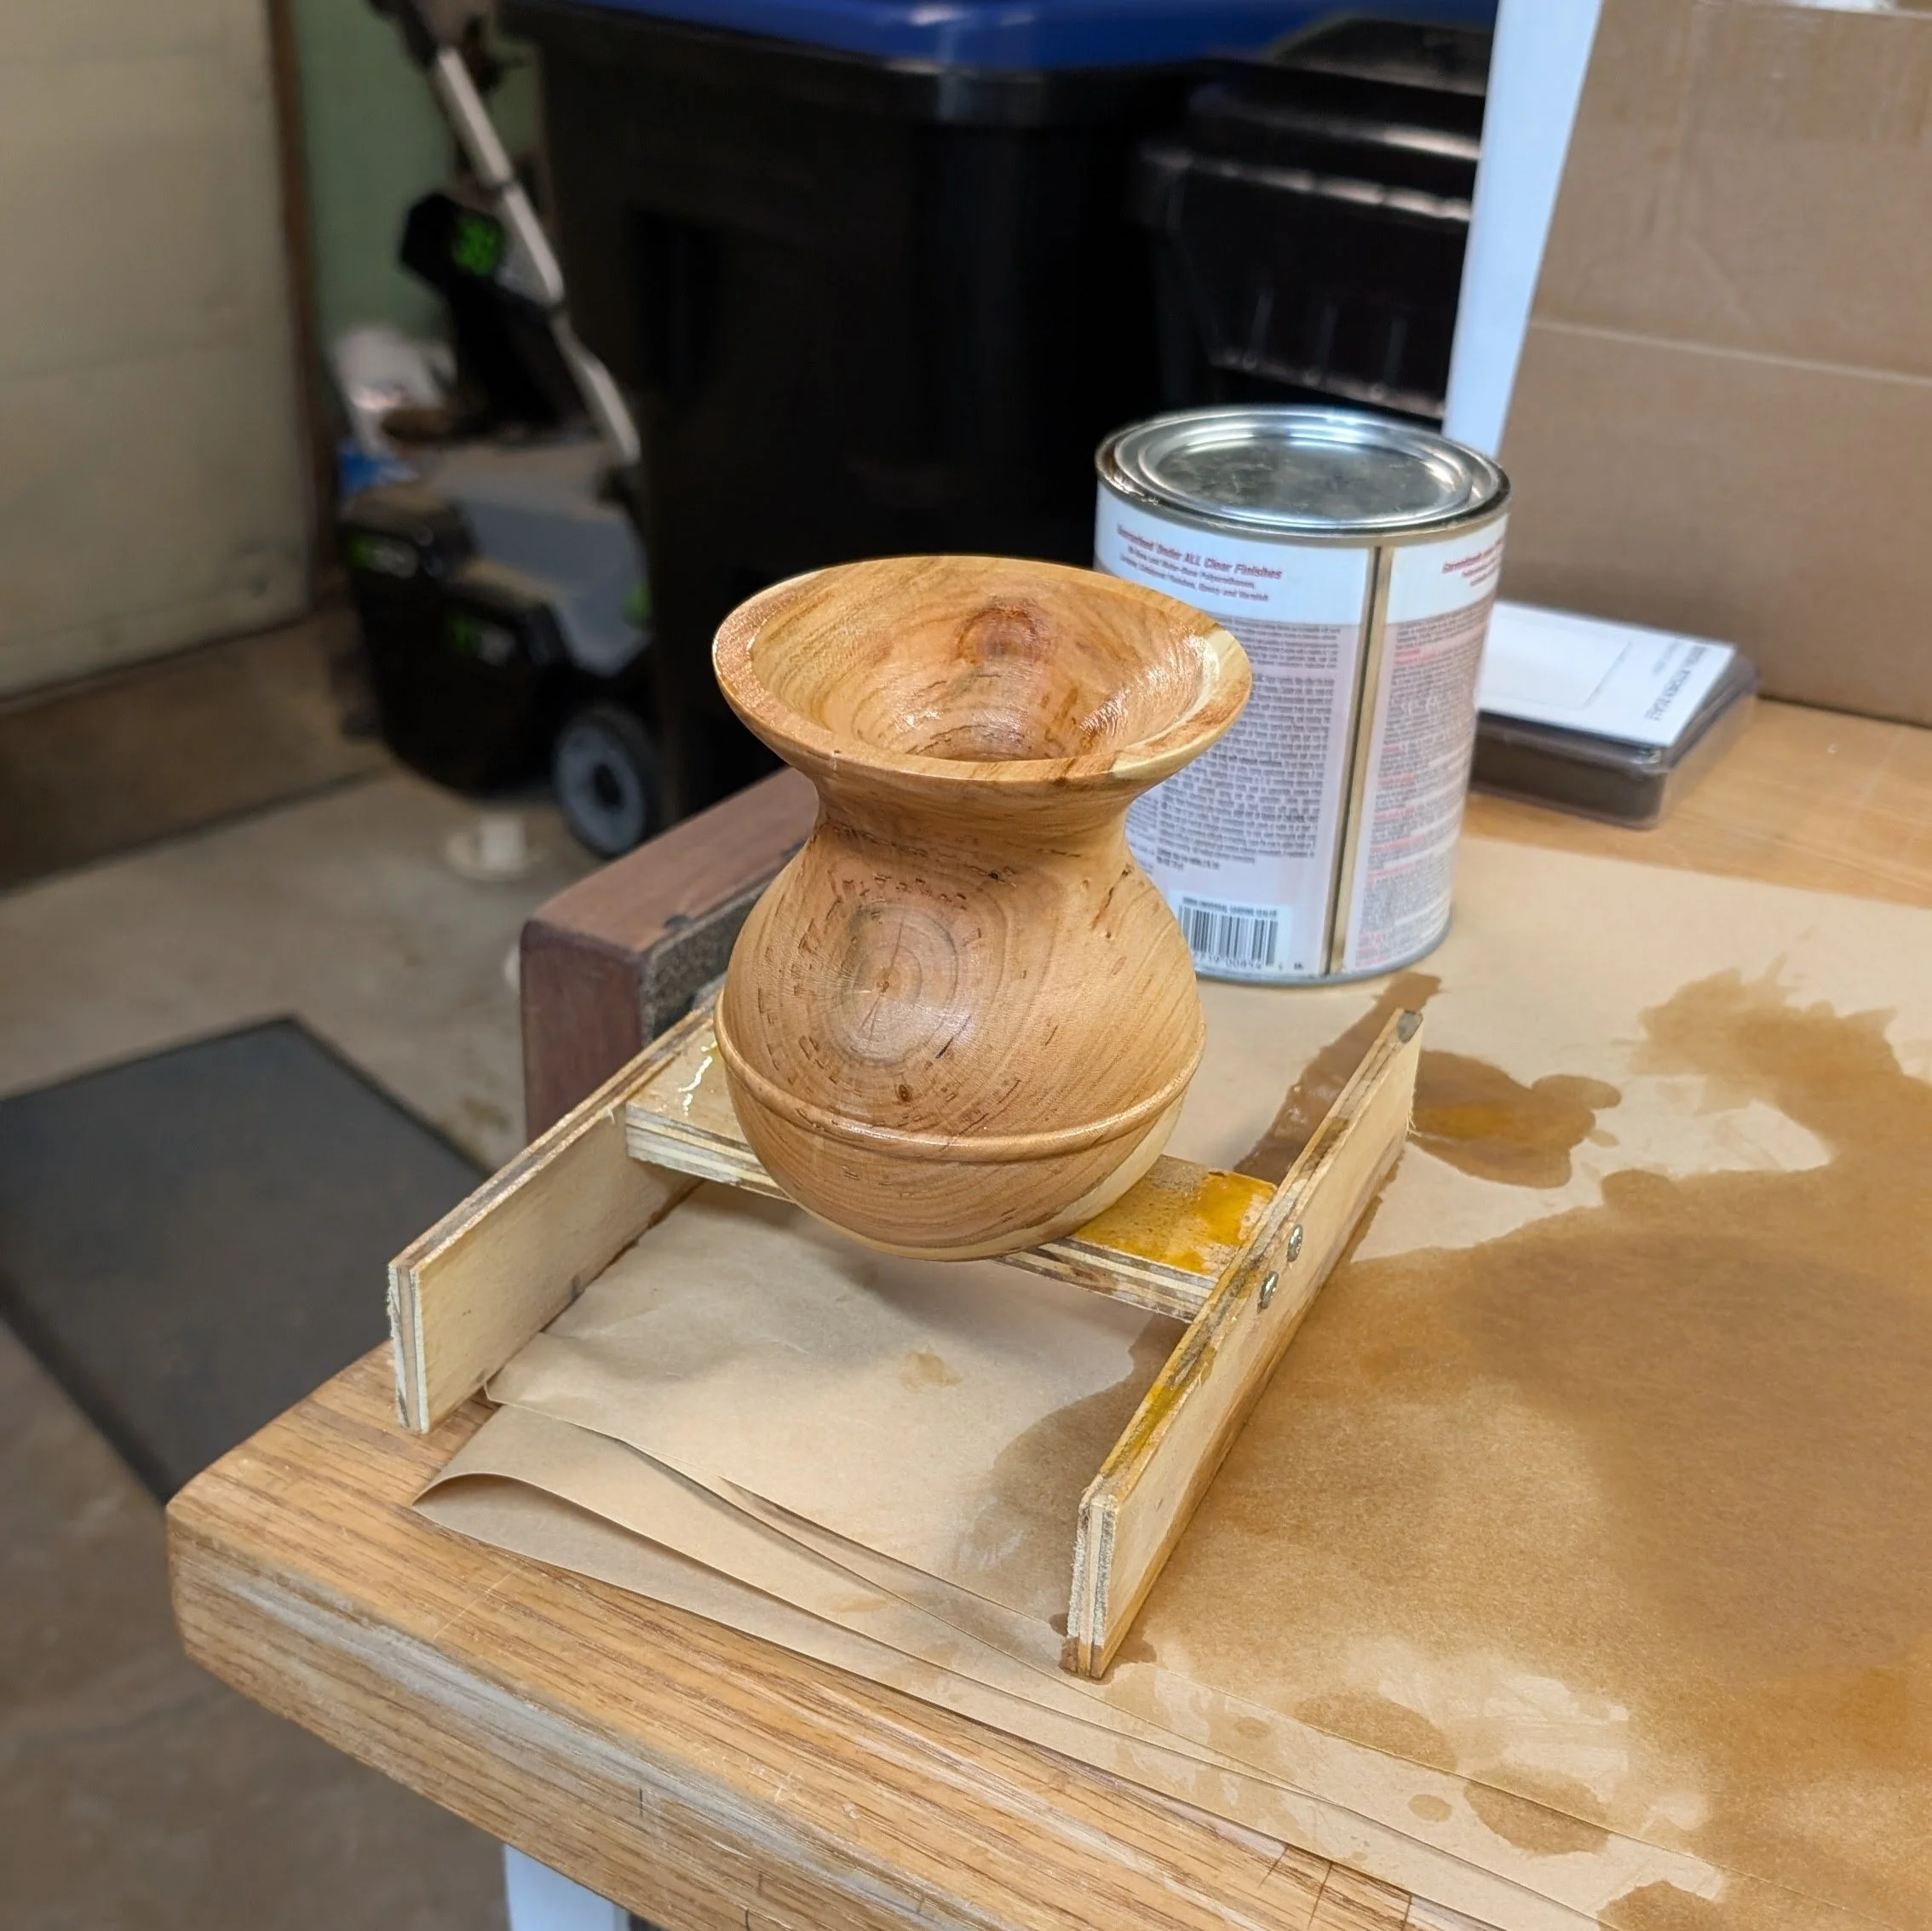
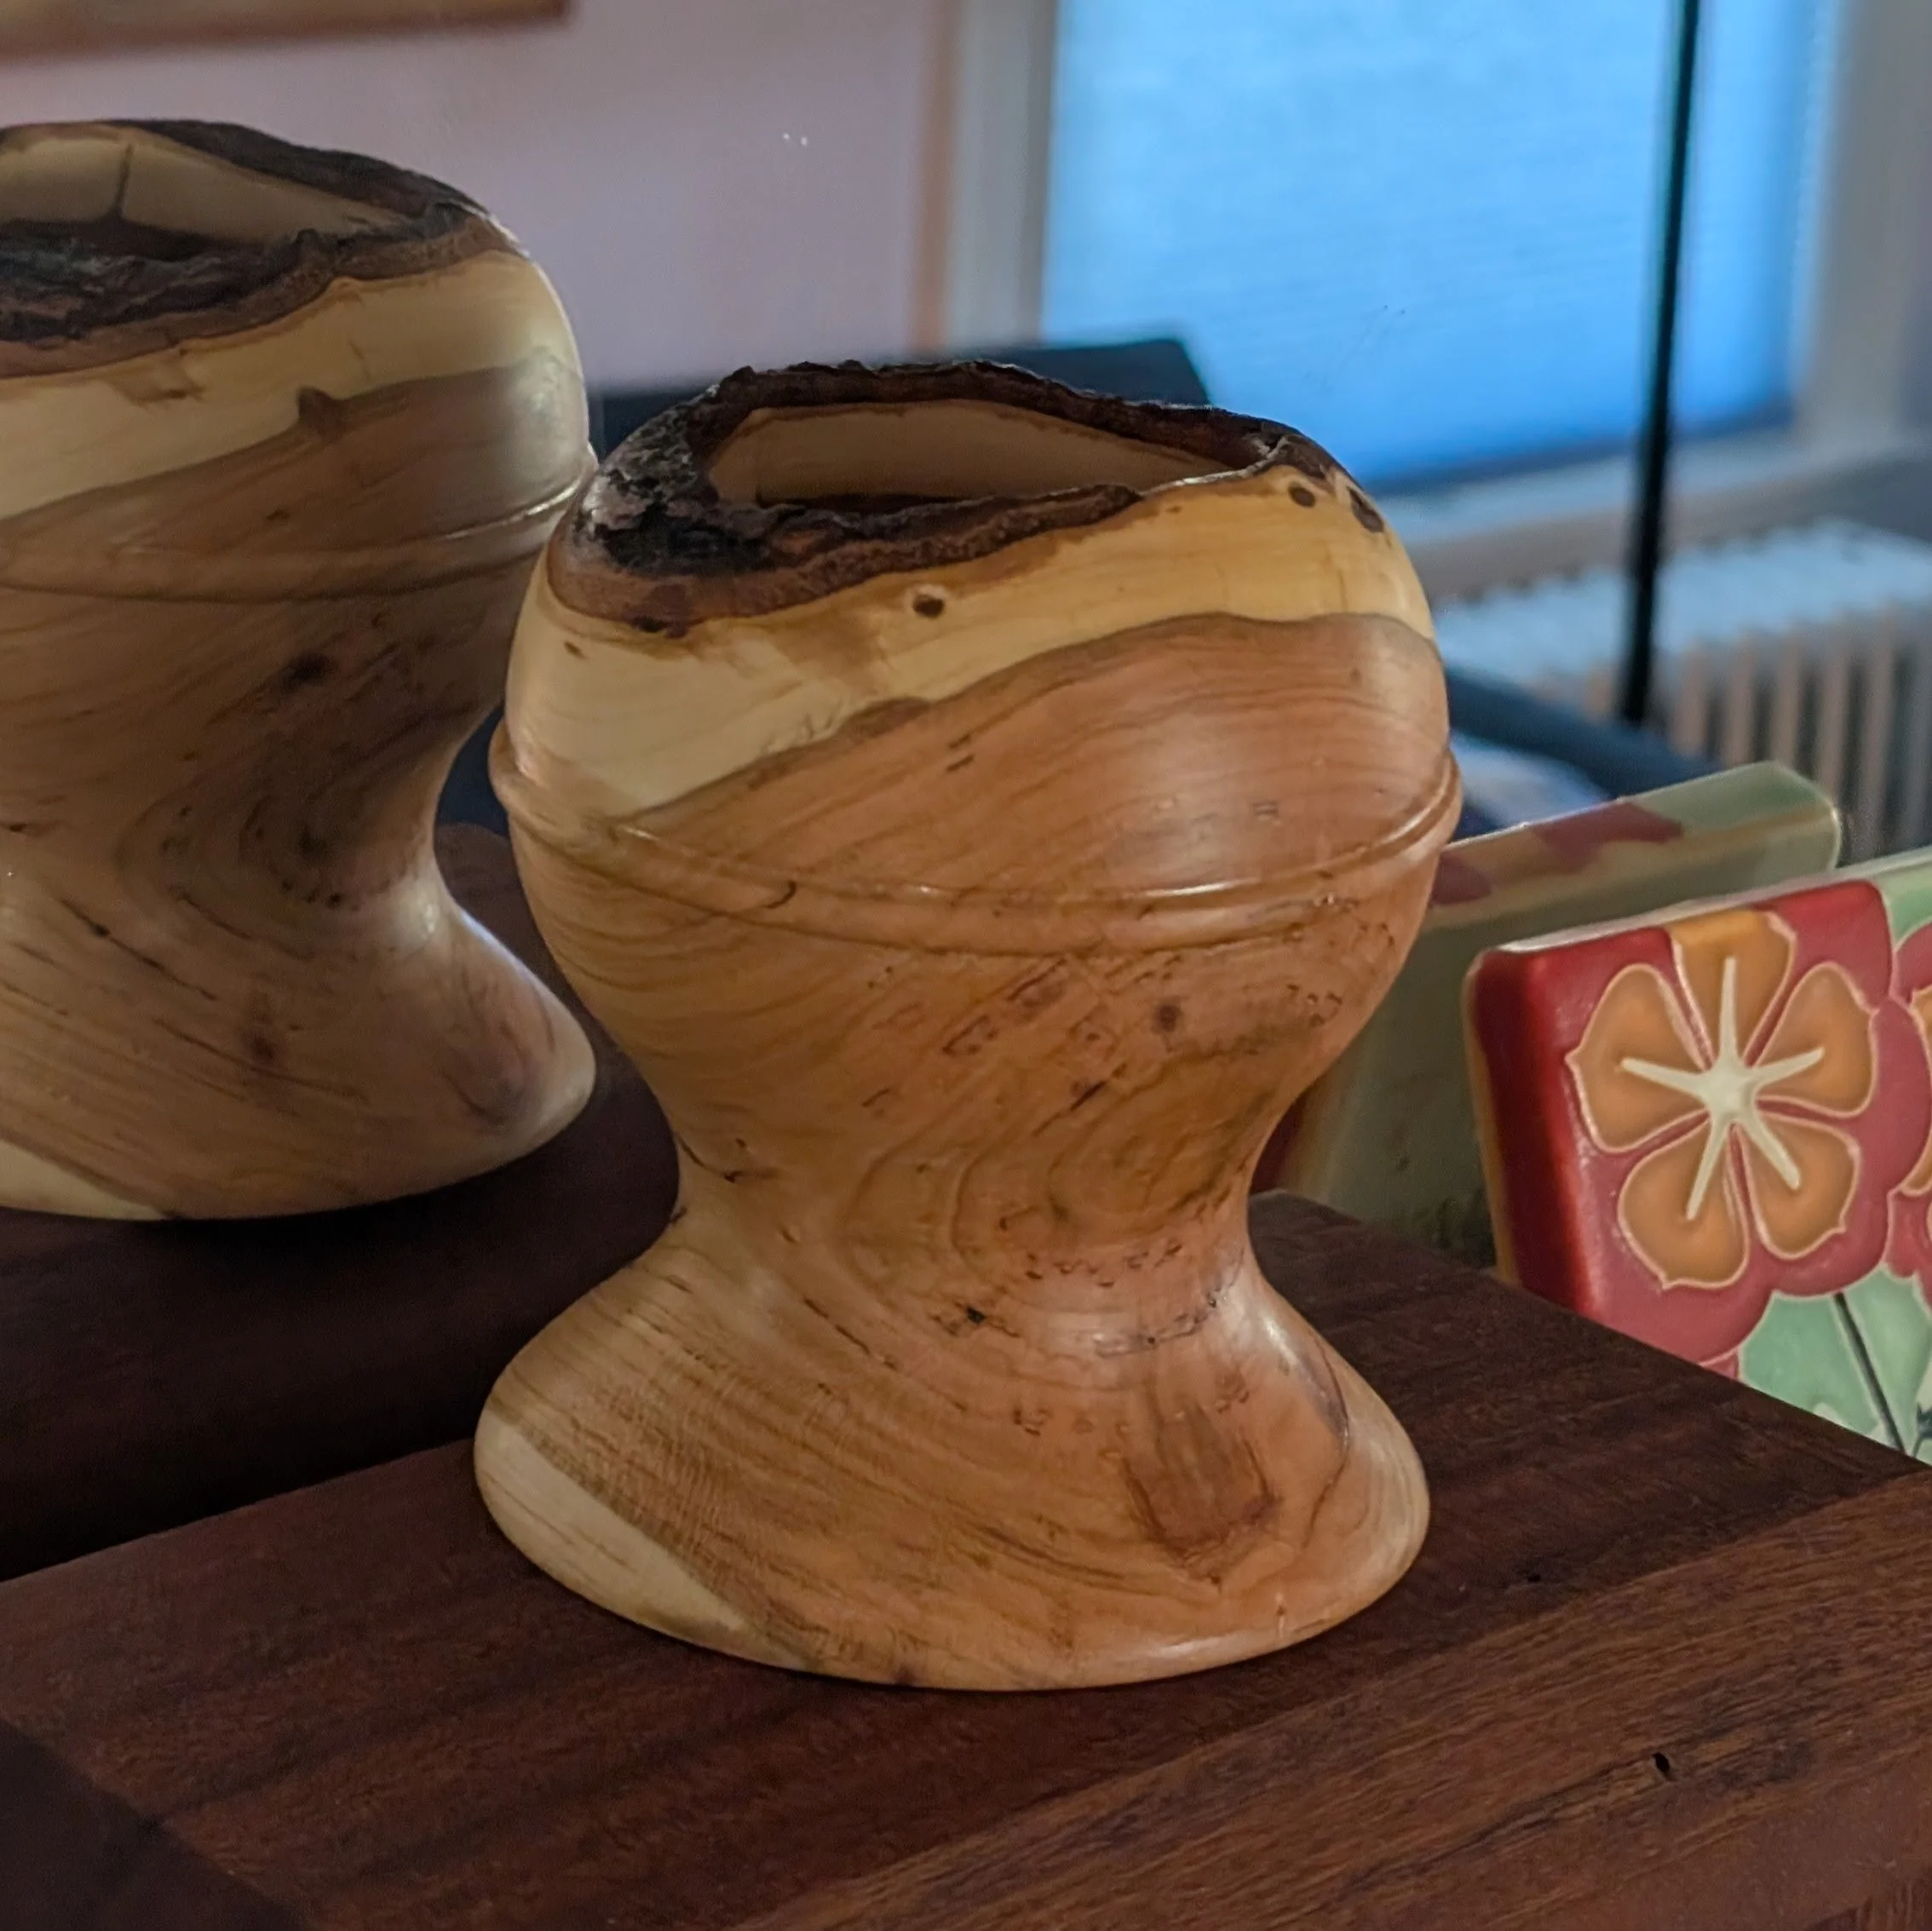
This one had a couple of cosmetic cracks in the base and in the stem of the goblet. Both cracks appeared wider in the early part of the drying and then closed up almost completely as the piece dried. I will note that the bark stayed on very nicely on both pieces and with the shellac on it should remain on there. So all in all these were great learning projects and the next thing will be a relatively large bowl from one of the burl sections which should be very interesting.