• Home
  • Blog
  • About
  • Privacy Policy
Menu

James Goodwin

  • Home
  • Blog
  • About
  • Privacy Policy

Walnut Bowls

August 26, 2026

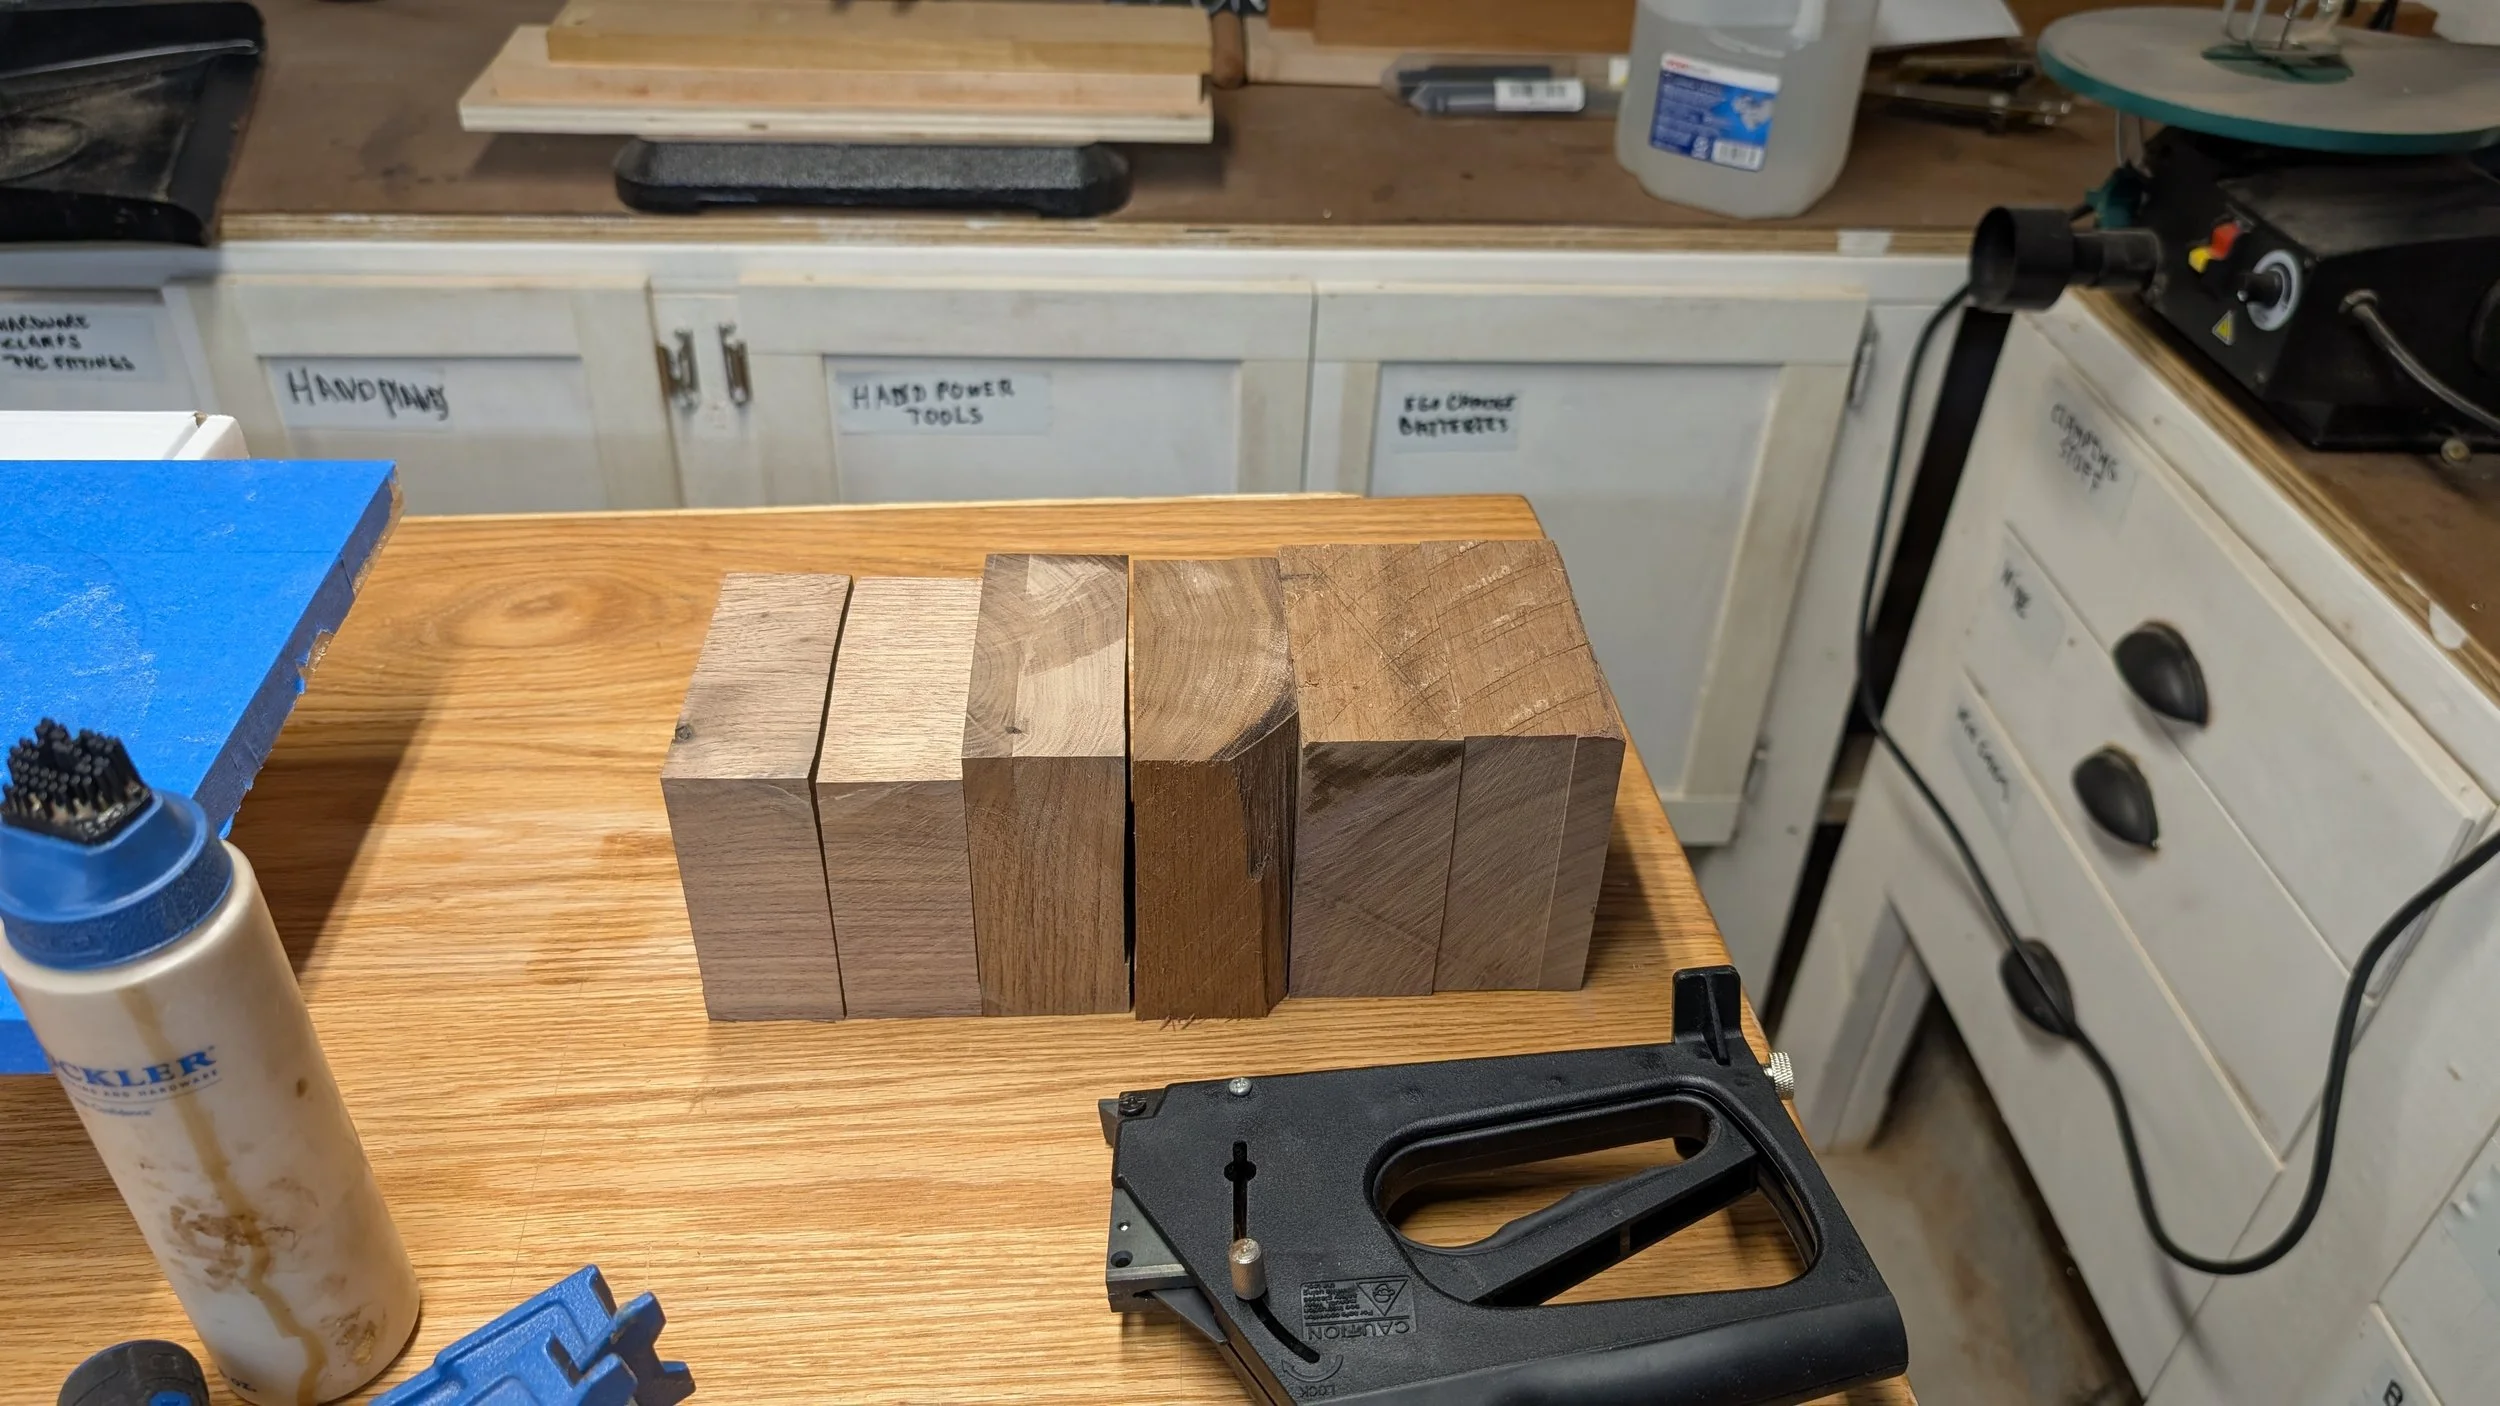
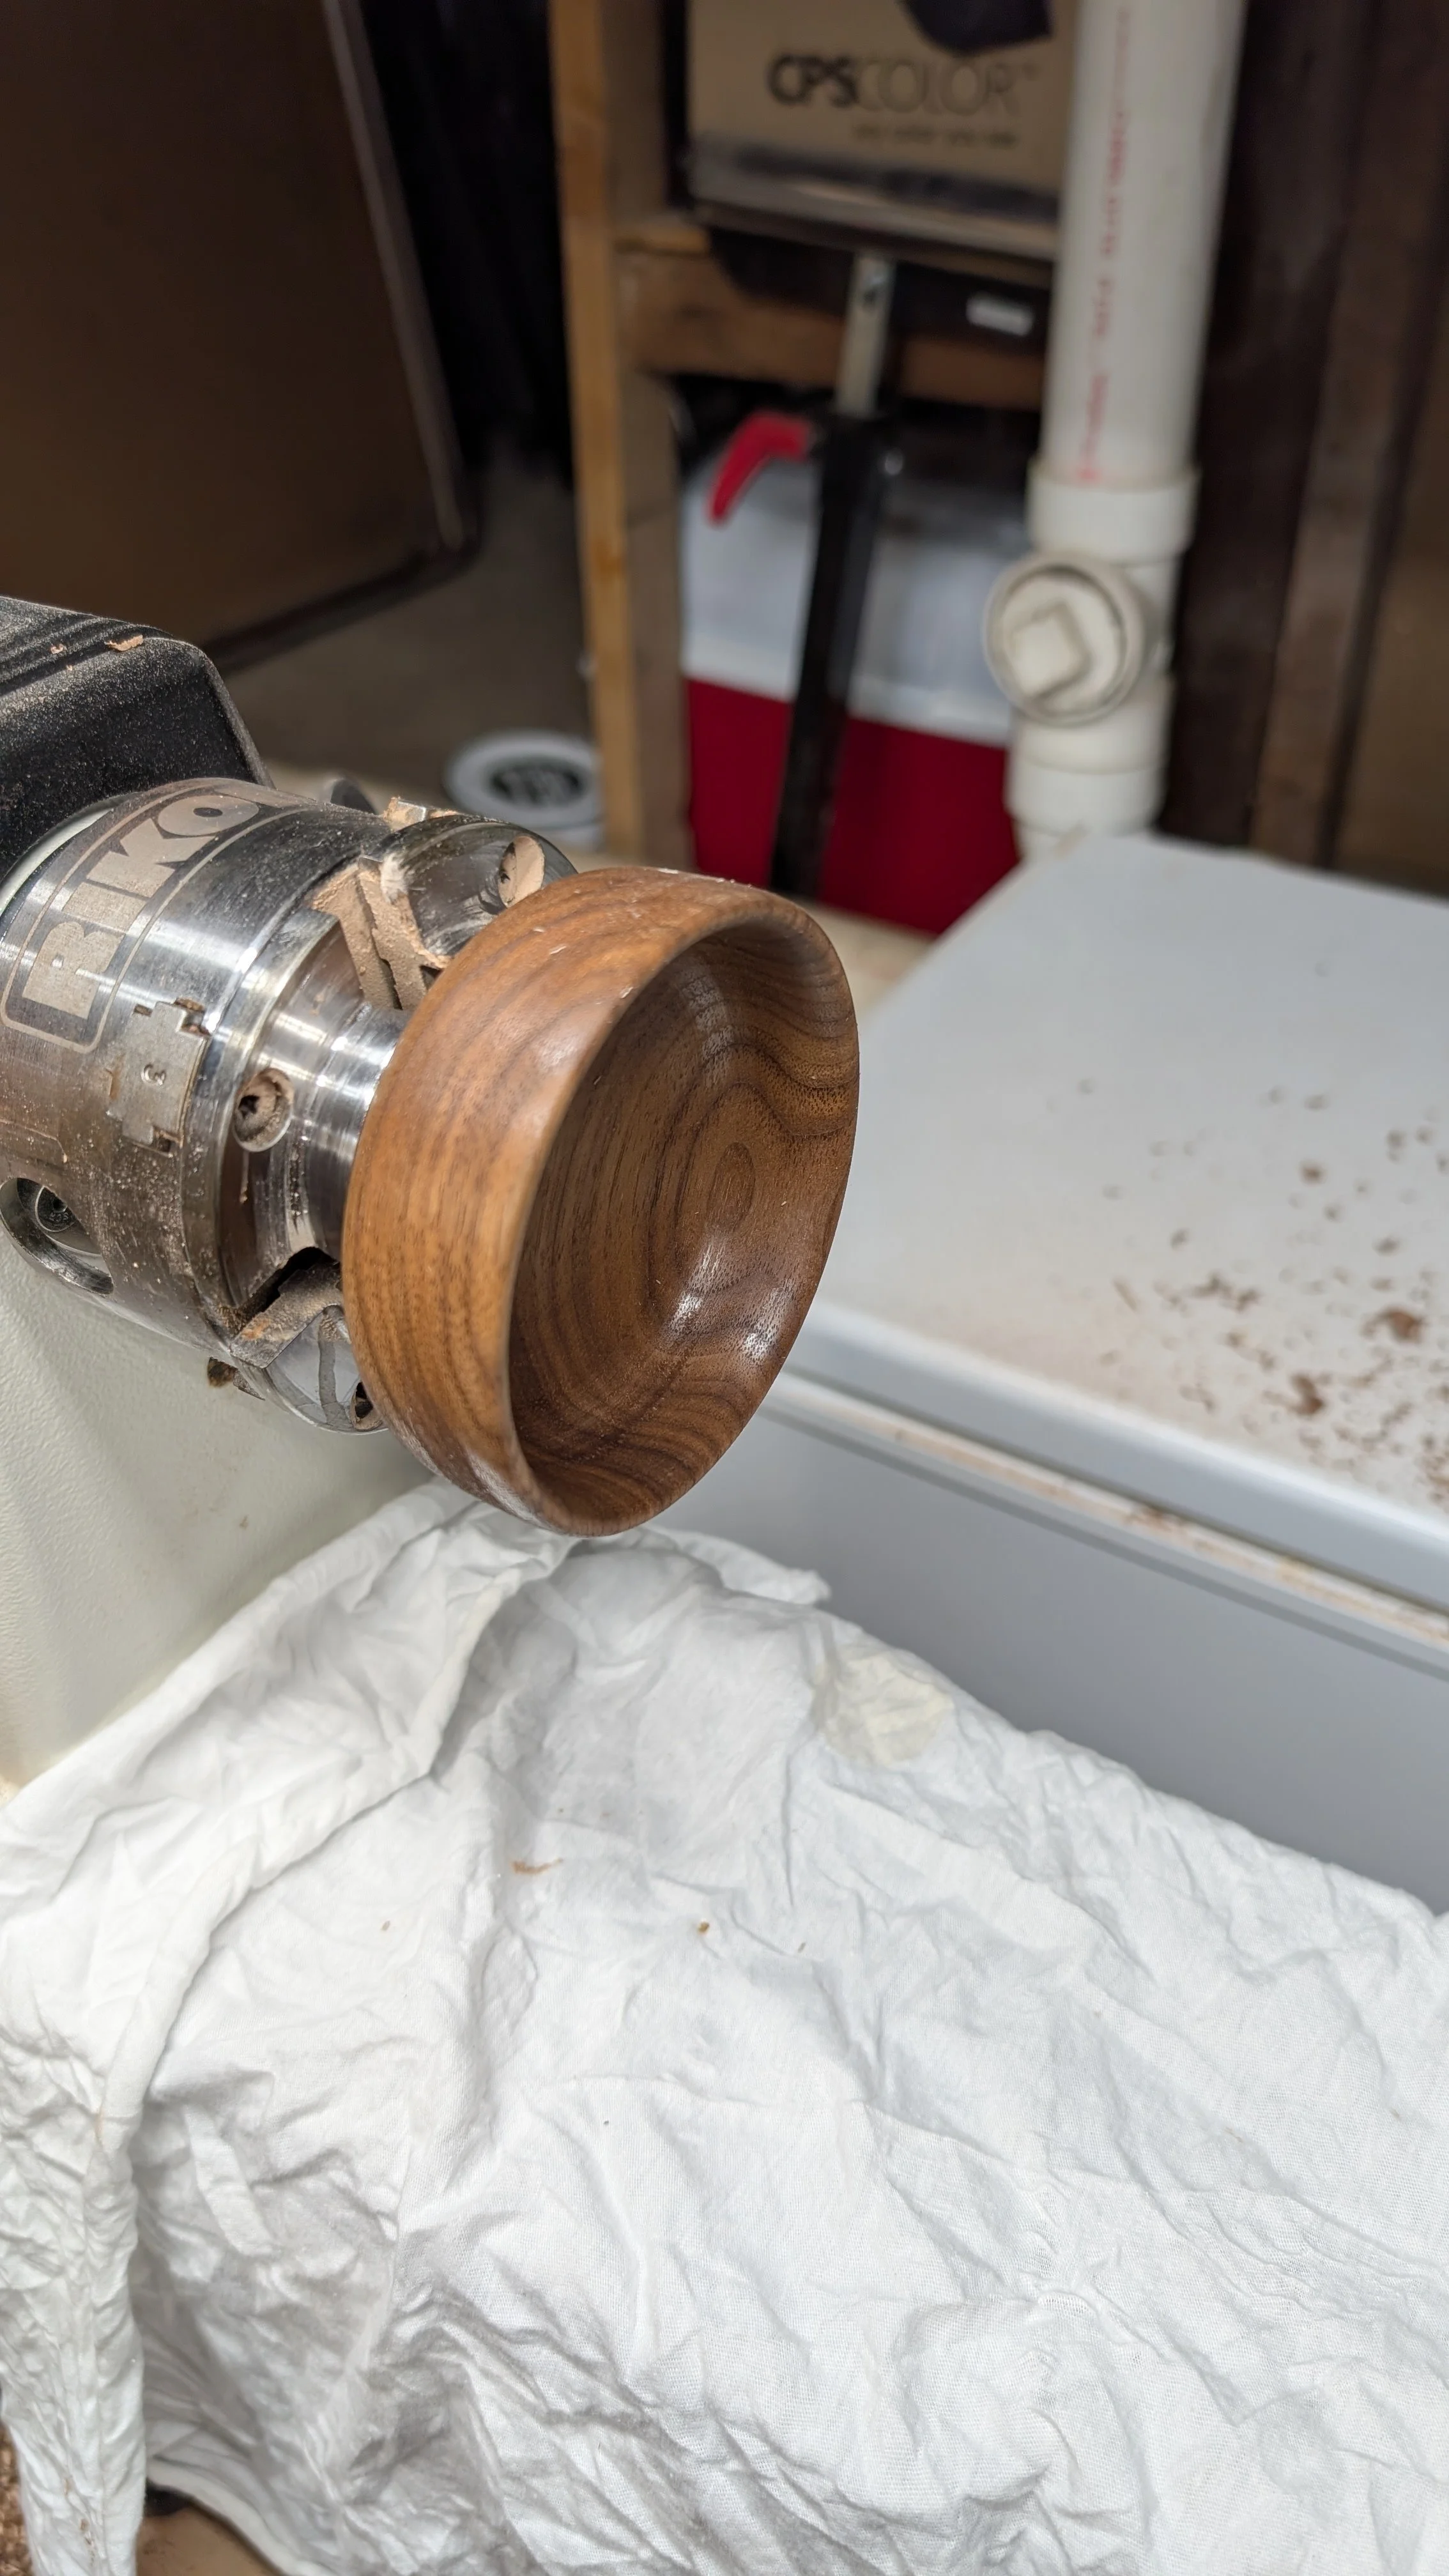
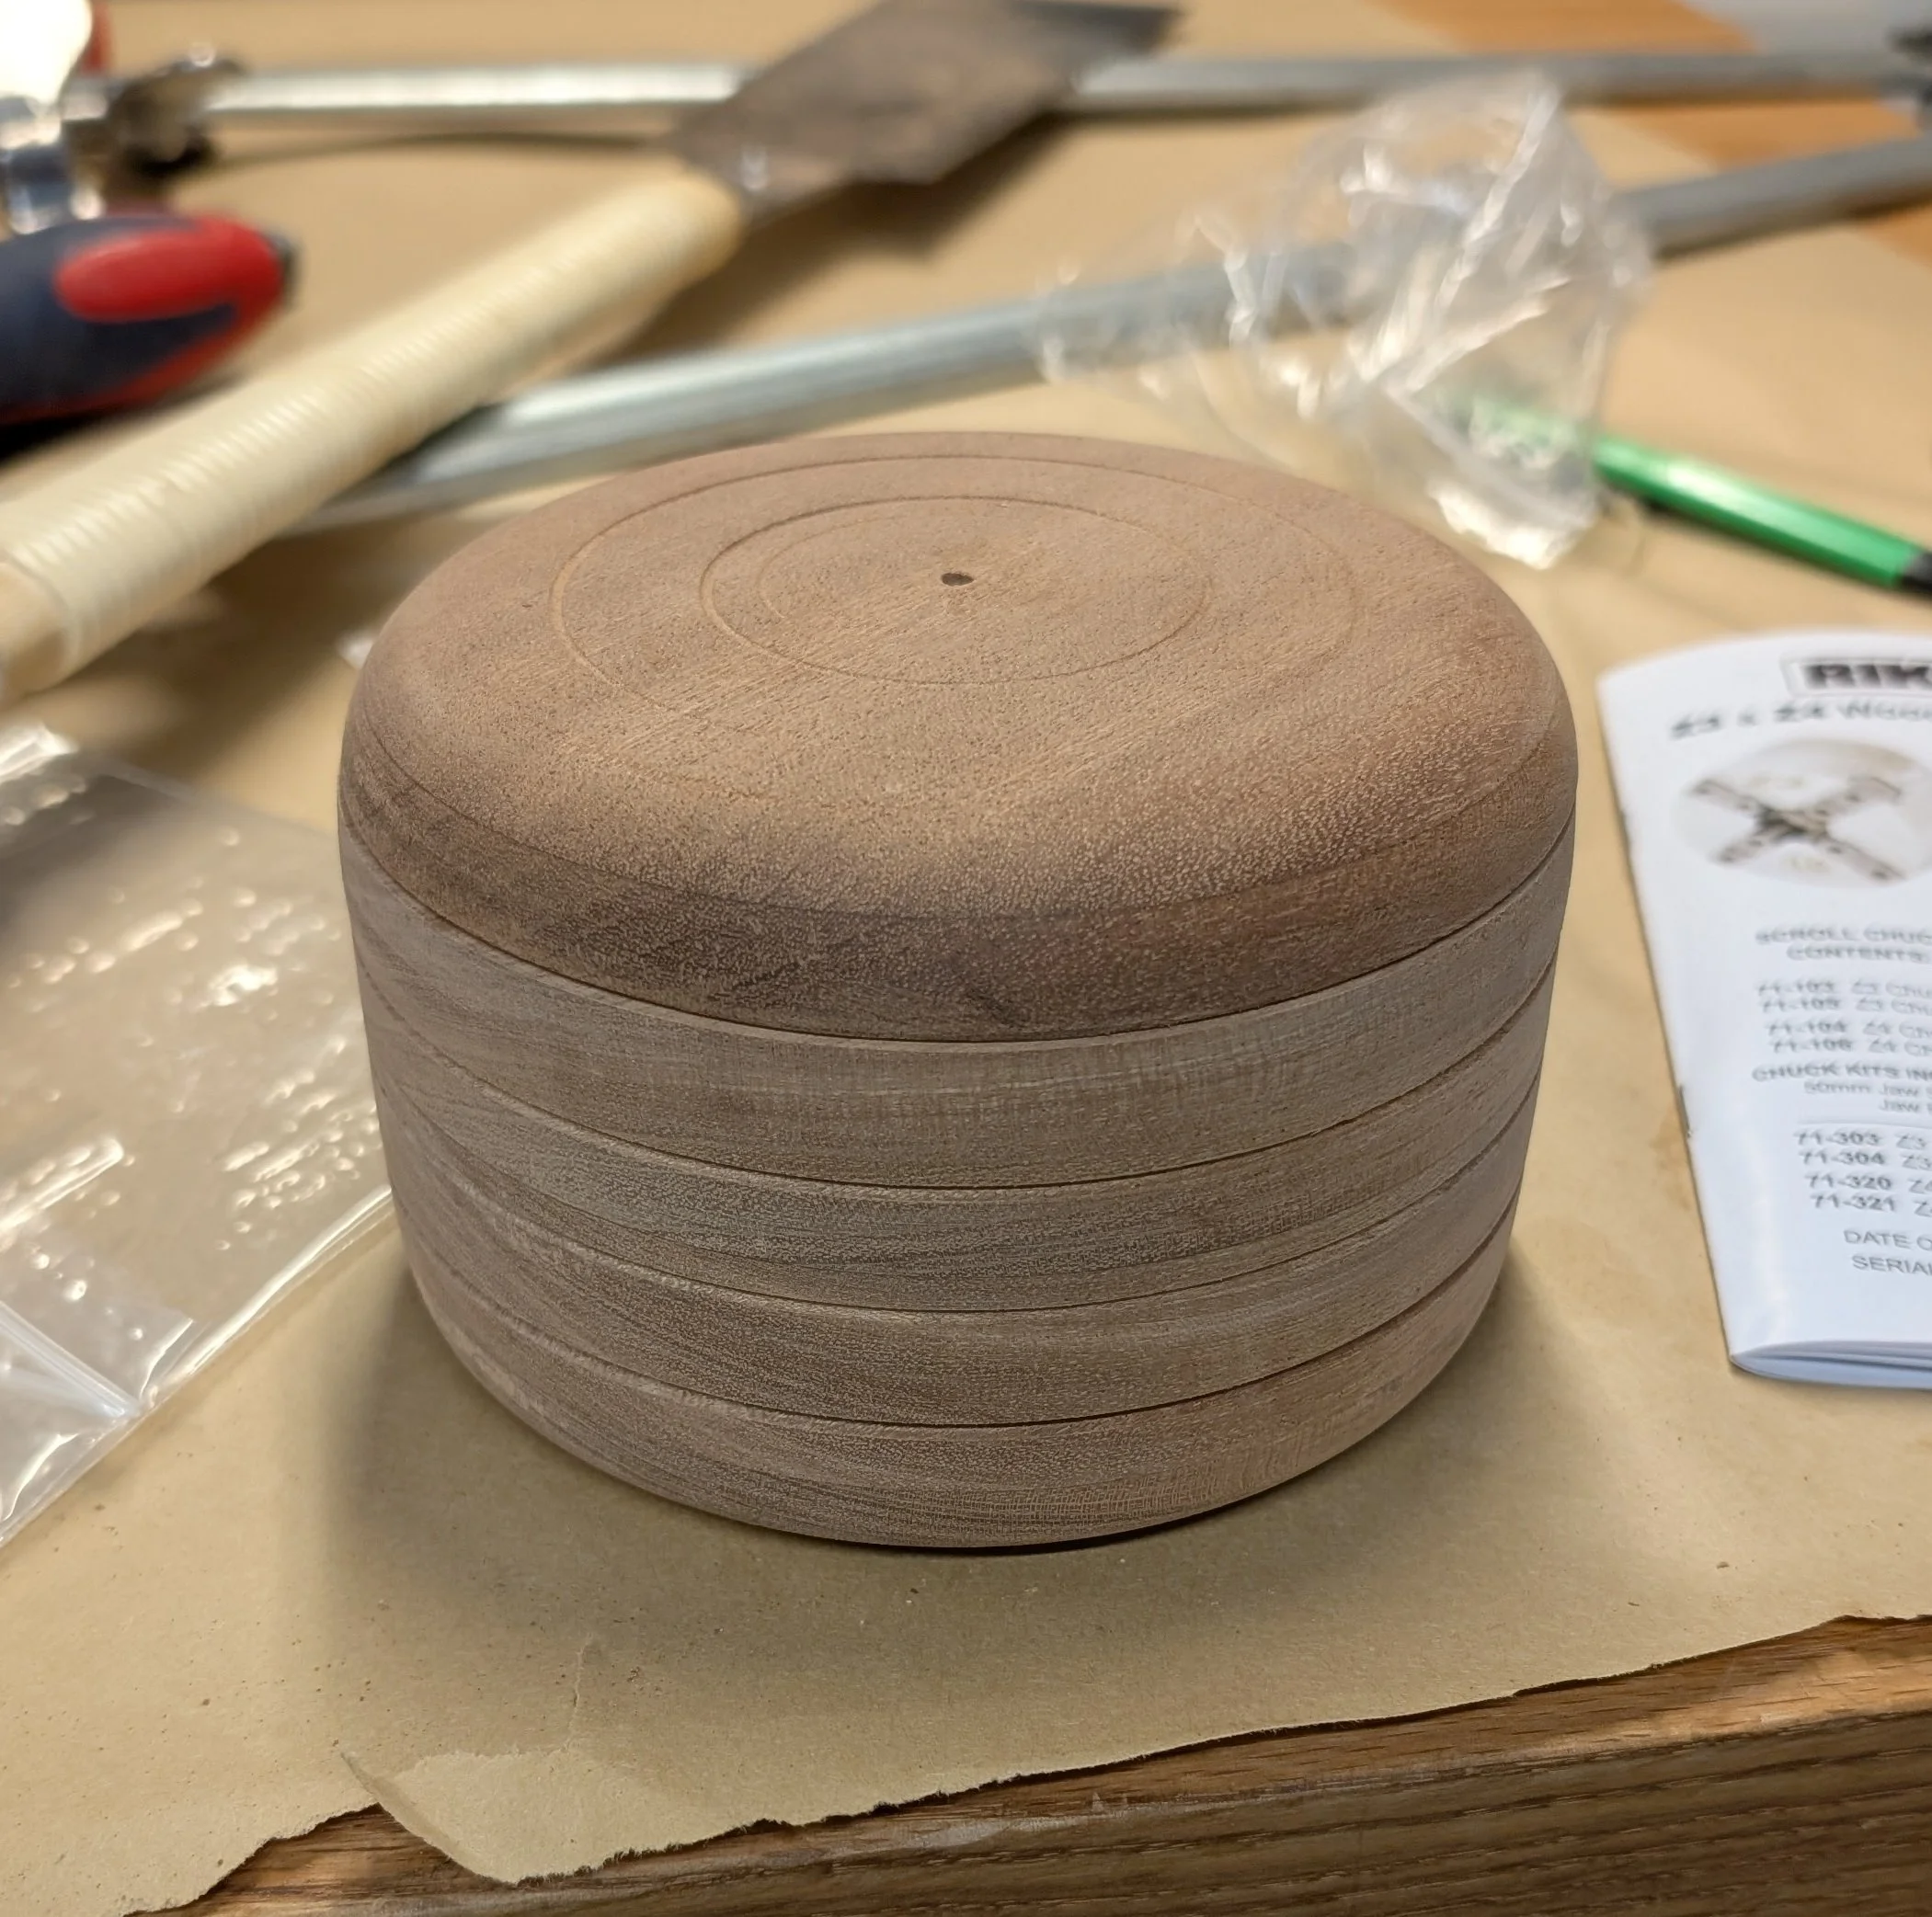
A friend asked me to make a couple of bowls for a fundraiser to benefit a good cause. I agreed. I had just acquired some 8 1/4” x 8 1/4” x 3 1/4” Walnut and so I decided to make both bowls out of one blank. I re-sawed it into 1 7/8” pieces and then marked a center and circle and trimmed them to be mostly round.

I put a 2 1/4” x 3/16” recess in the flattest side of each blank and chucked the first one on the lathe. I also used the tail-stock and live center for support. I trued up the blank so it was round and then I shaped the bottom of the bowl. For this one I wanted to experiment with reverse curve under the rim of the bowl and I managed to get a nicely proportioned curve and flare under the rim.

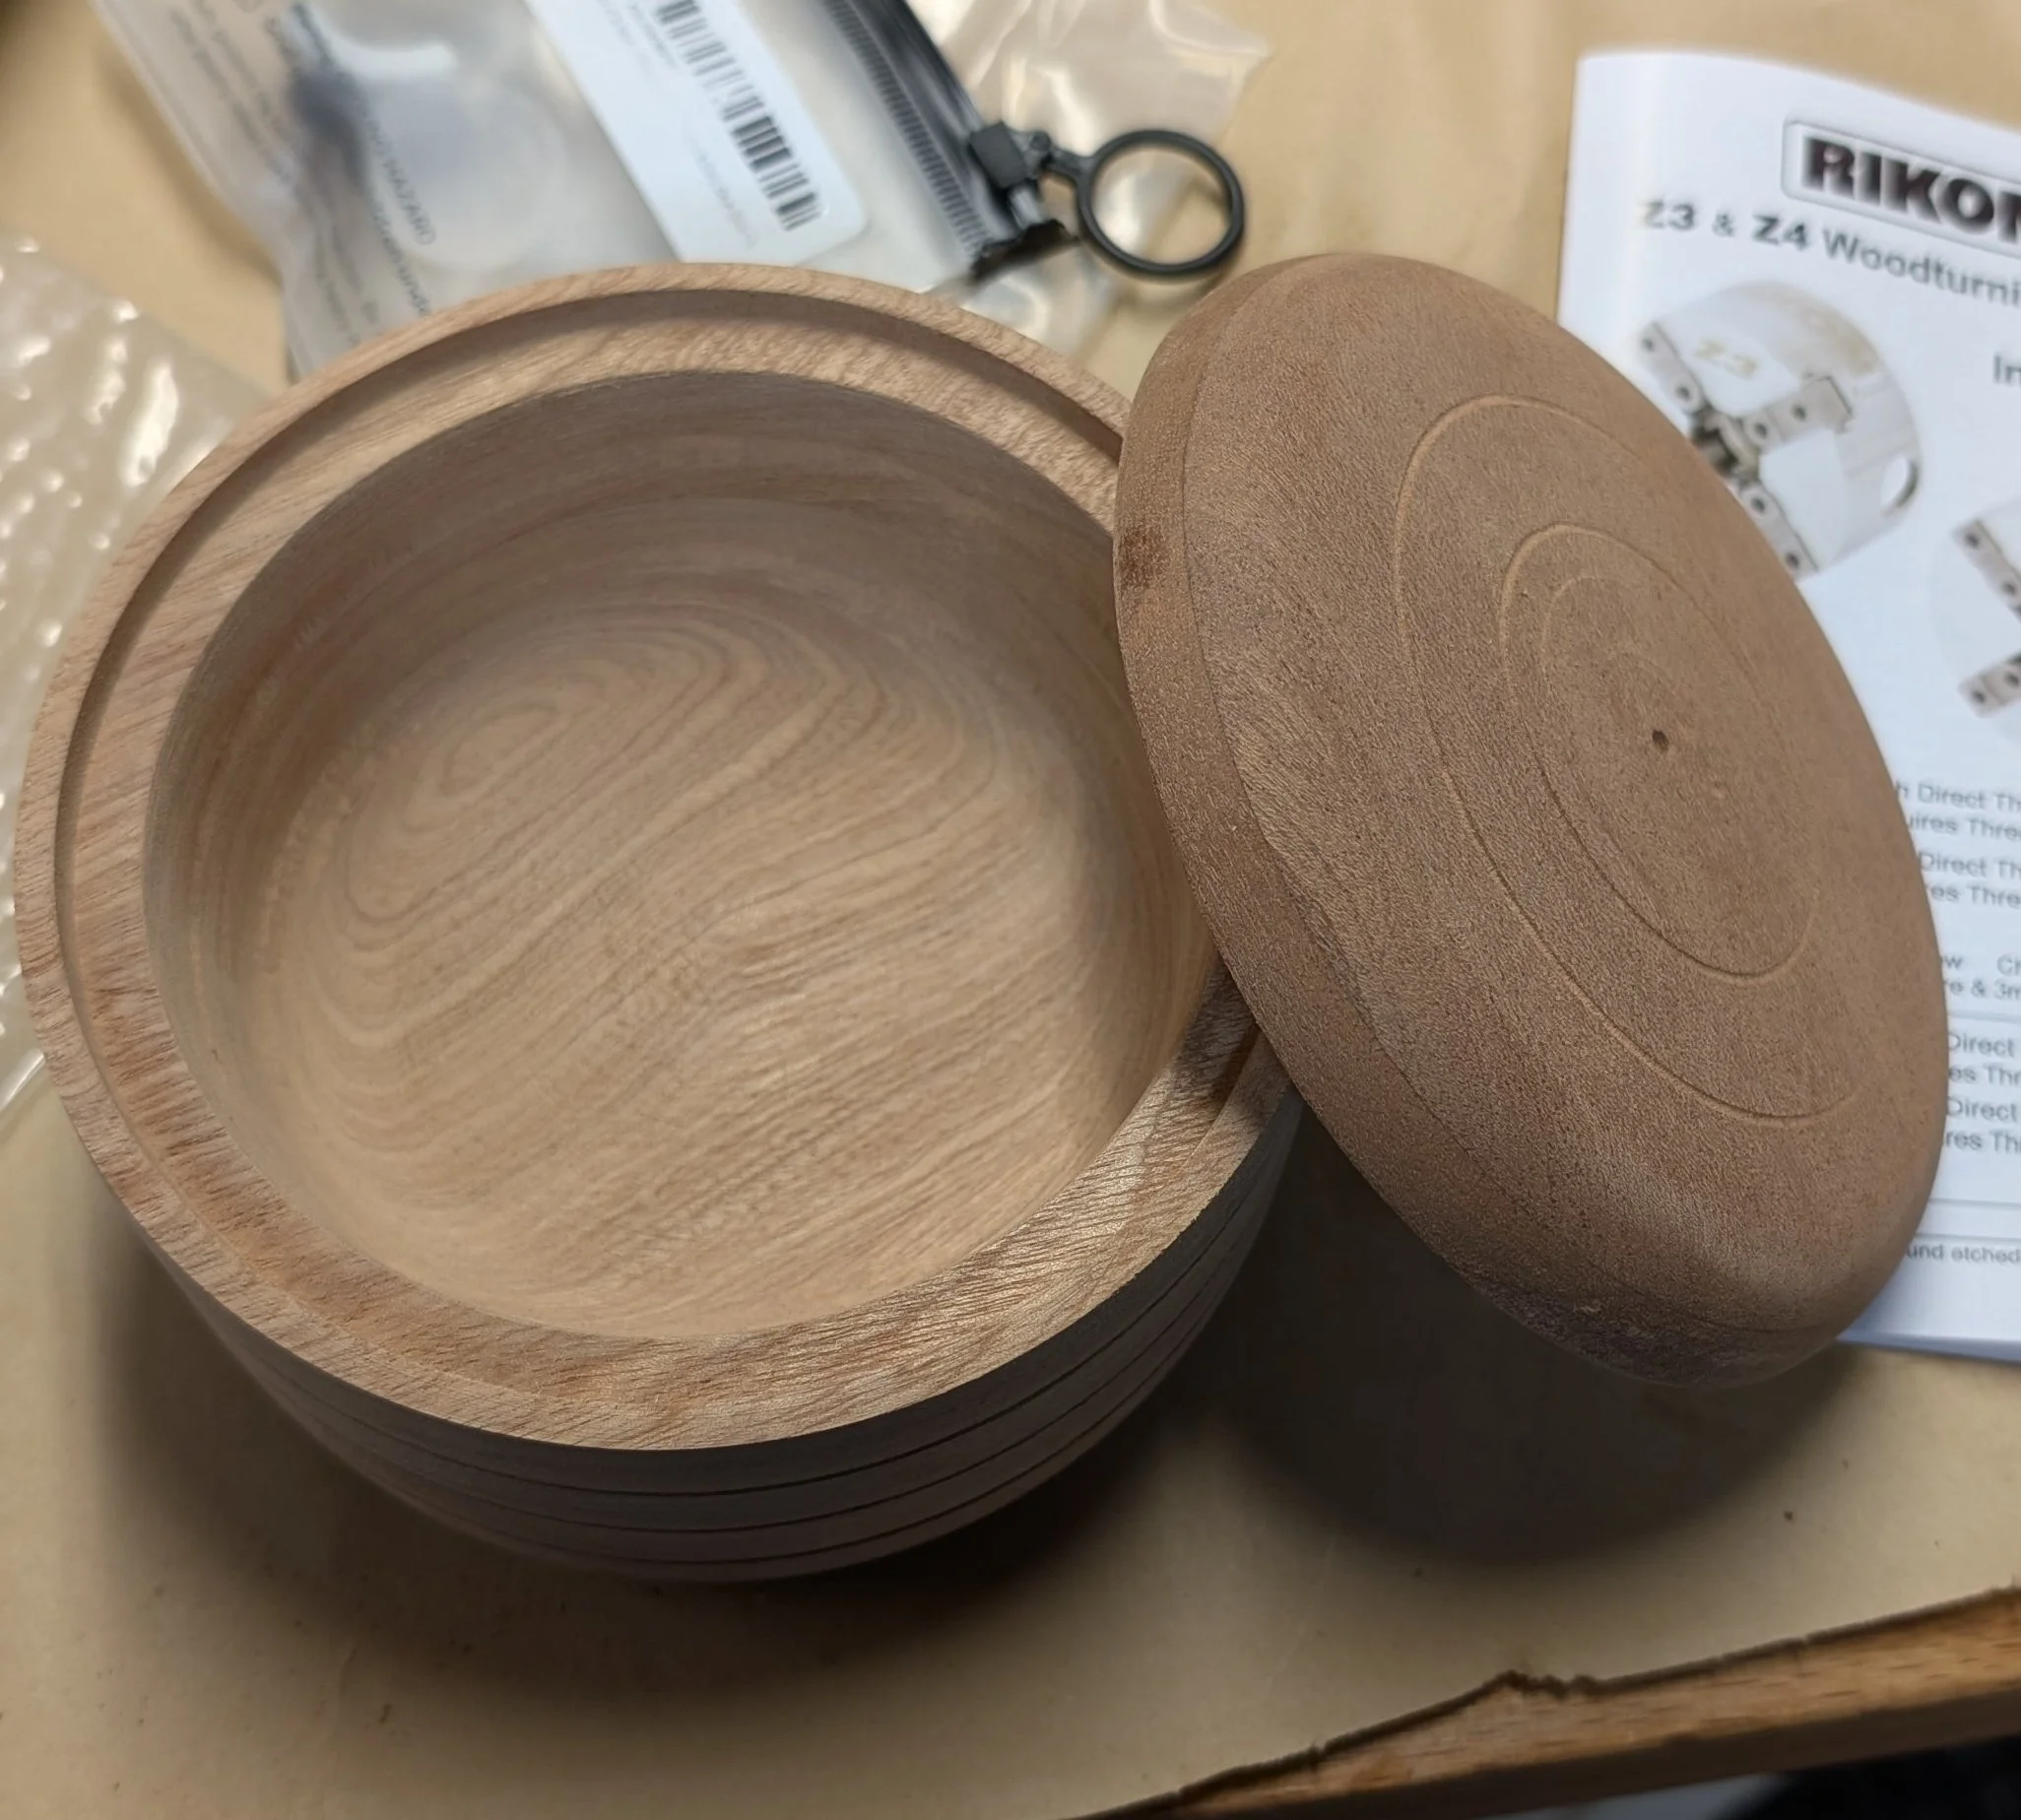
I also wanted to have a matching undercut under the rim on the inside. I figured out how to do it and I really like how it came out.

The second bowl I wanted to have it be a more modern profile with two different curves from the top edge to the shoulder and then from the shoulder to the bottom. This one would also have an undercut on the inside.

I finished these the way that I have been doing sanding up to 320 grit then putting on a shellac based sanding sealer and once that is dry sanding through 600, 800, 1000, 2000 grit and then applying a beeswax and mineral oil final finish. It comes out nice and is food safe.

I learned a lot on these two getting better at the work holding, doing better at hollowing, creating an undercut, using various tools to manage rough areas that would develop because of the very open grain of walnut. All in all I really enjoyed this project.

In Journal Tags building, wood turning, walnut bowls, journal
Comment

Wider, Lower, More Curved Segmented Bowl

August 14, 2026

I really enjoyed making the last Segmented Bowl so I decided to make another one. This time I wanted to make it wider, lower, and more curved. I drew up a rough scale design to figure out the sizes of the rings:

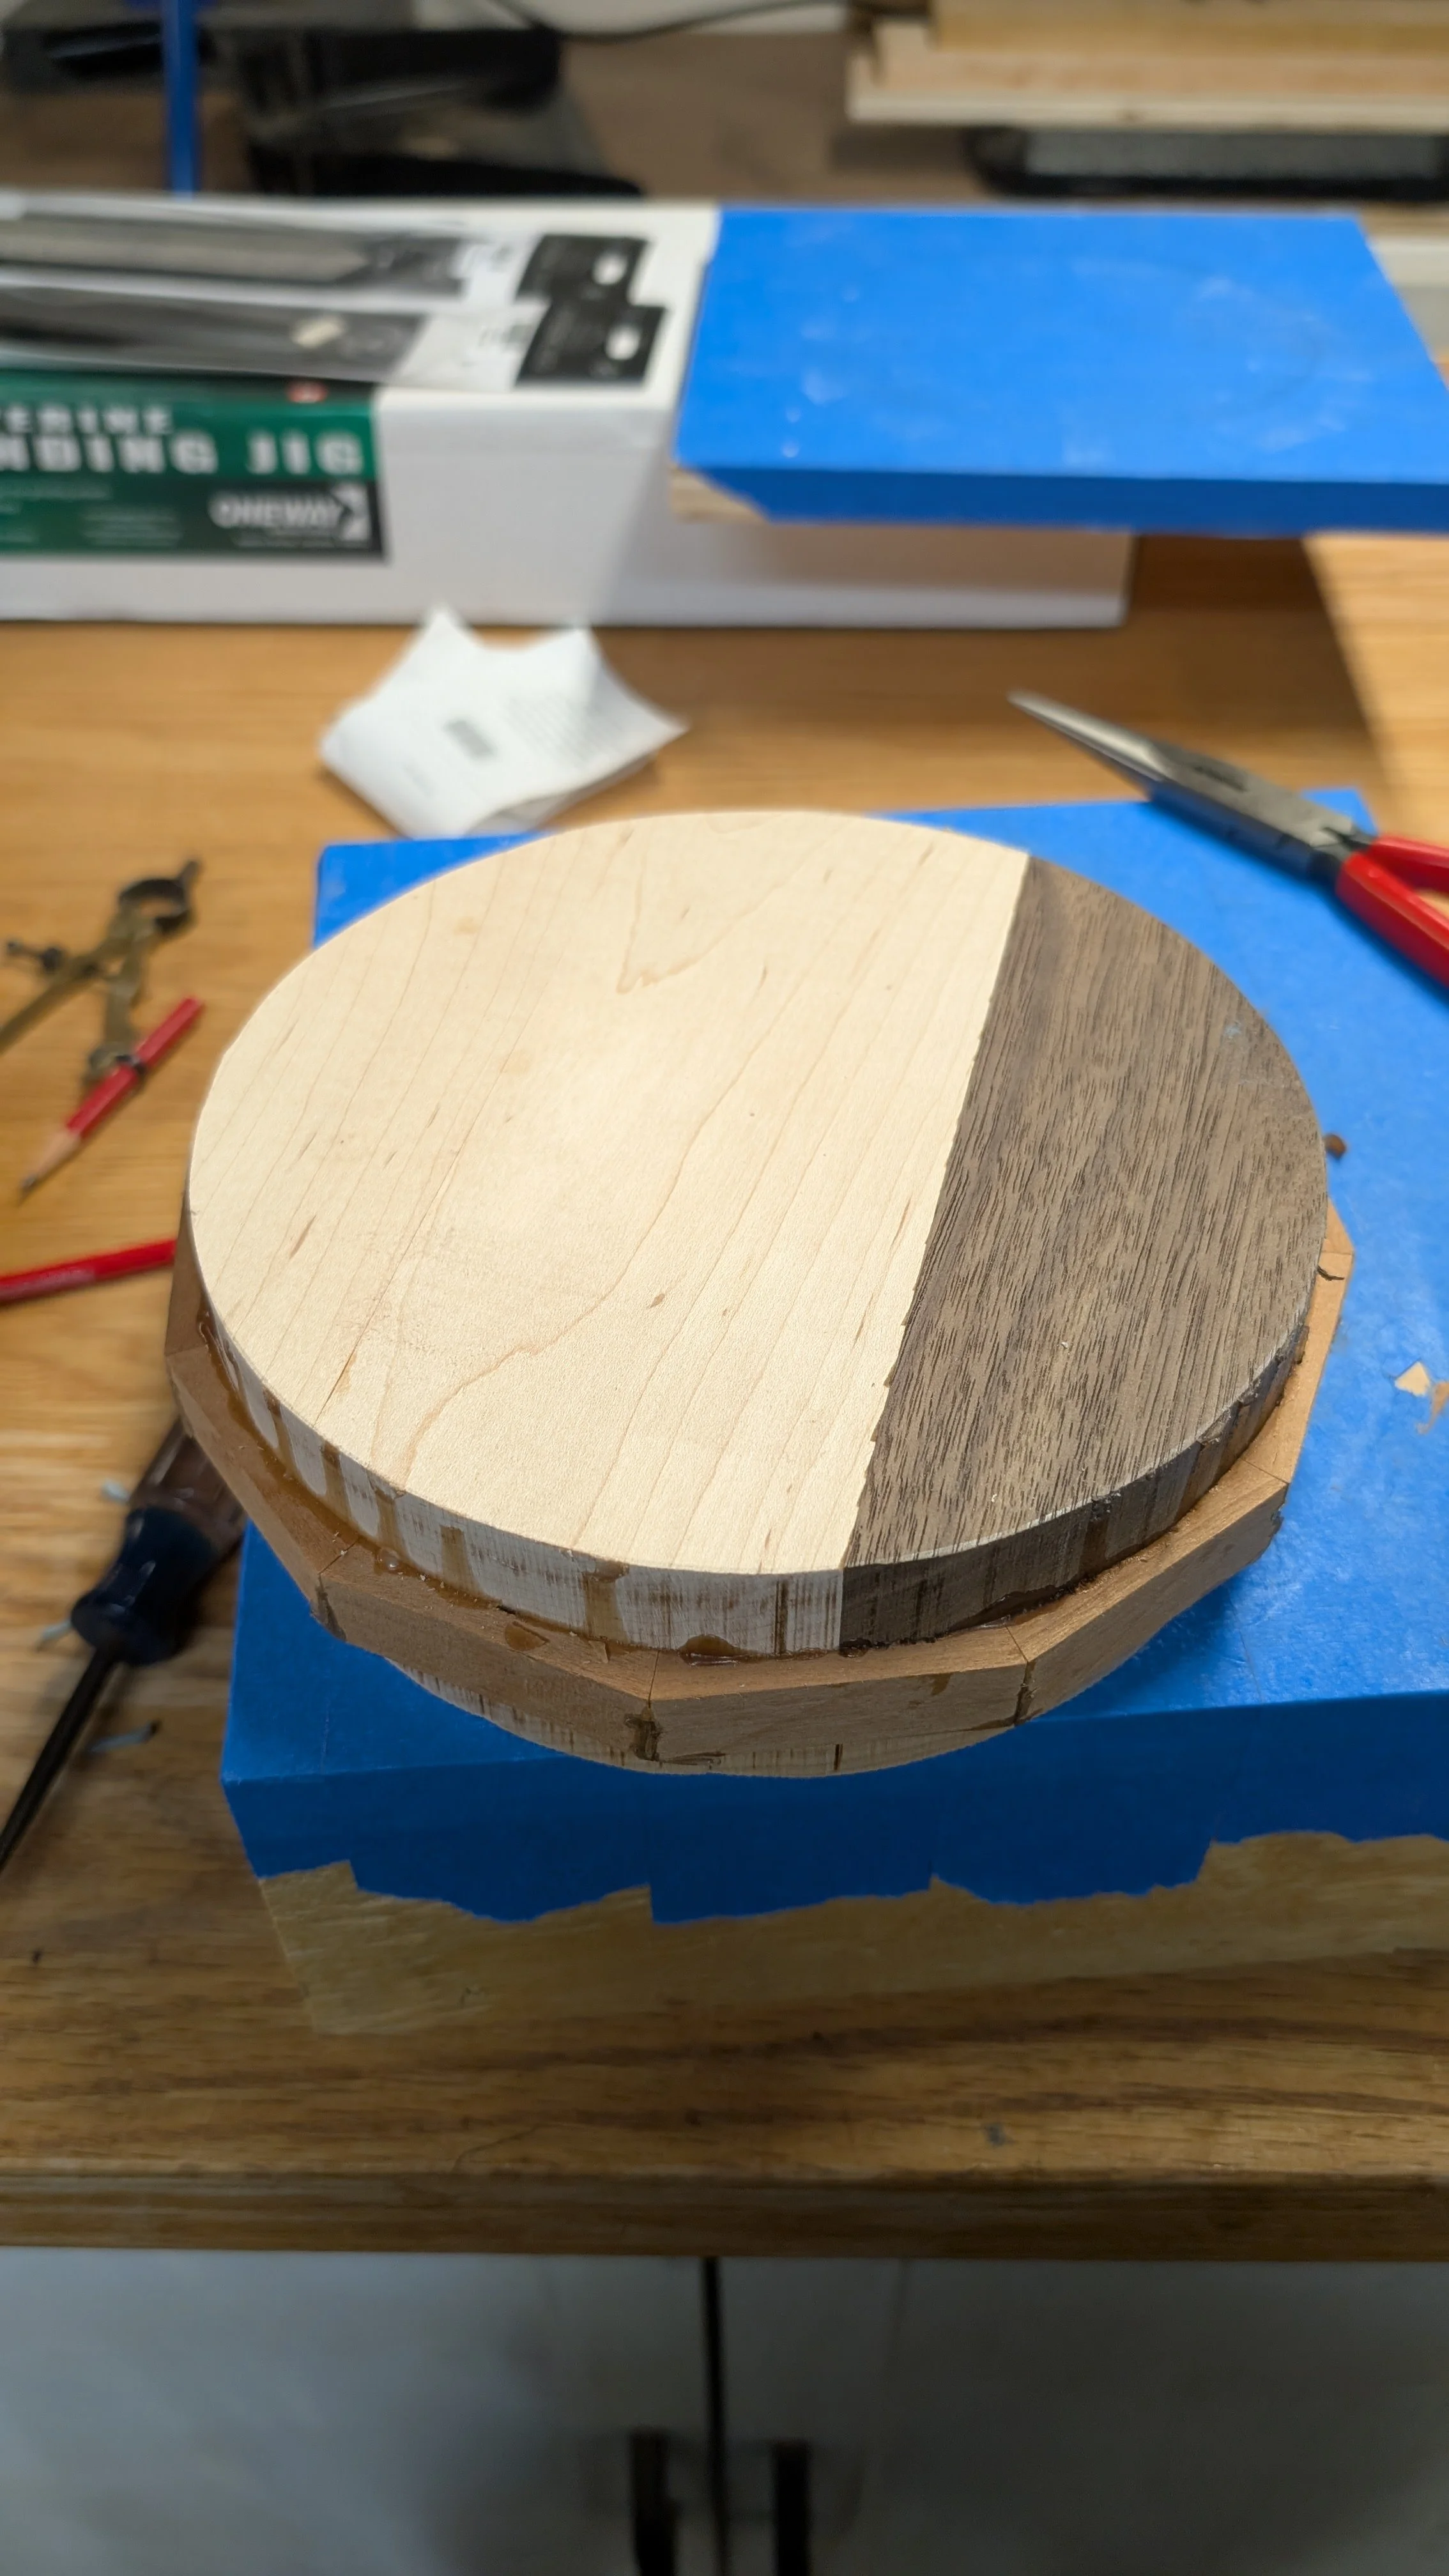
Using the same software as the last time I figured out the segment sizes based on twelve segments this time. I think this was a good choice because it made the initial rough turning a lot easier than only eight segments

The largest ring was very close to 12” which is the widest thing I can turn on my lathe and I also had to use big elastic bands ( a bunch of them ) to glue it up because my spiral duct clamps didn’t open wide enough to clamp it.

I also had to make a larger clamping fixture to clamp the ring flat like I did before.

As before I sanded the rings flat on a whole sheet of sandpaper attached to a flat board. I also cut a solid disk of Maple for the base.

Using the trick I came up with the last time of using framing points to temporarily keep the rings from creeping when I glued them I was able to glue and clamp the entire stack in one operation which saved a lot of time and steps.

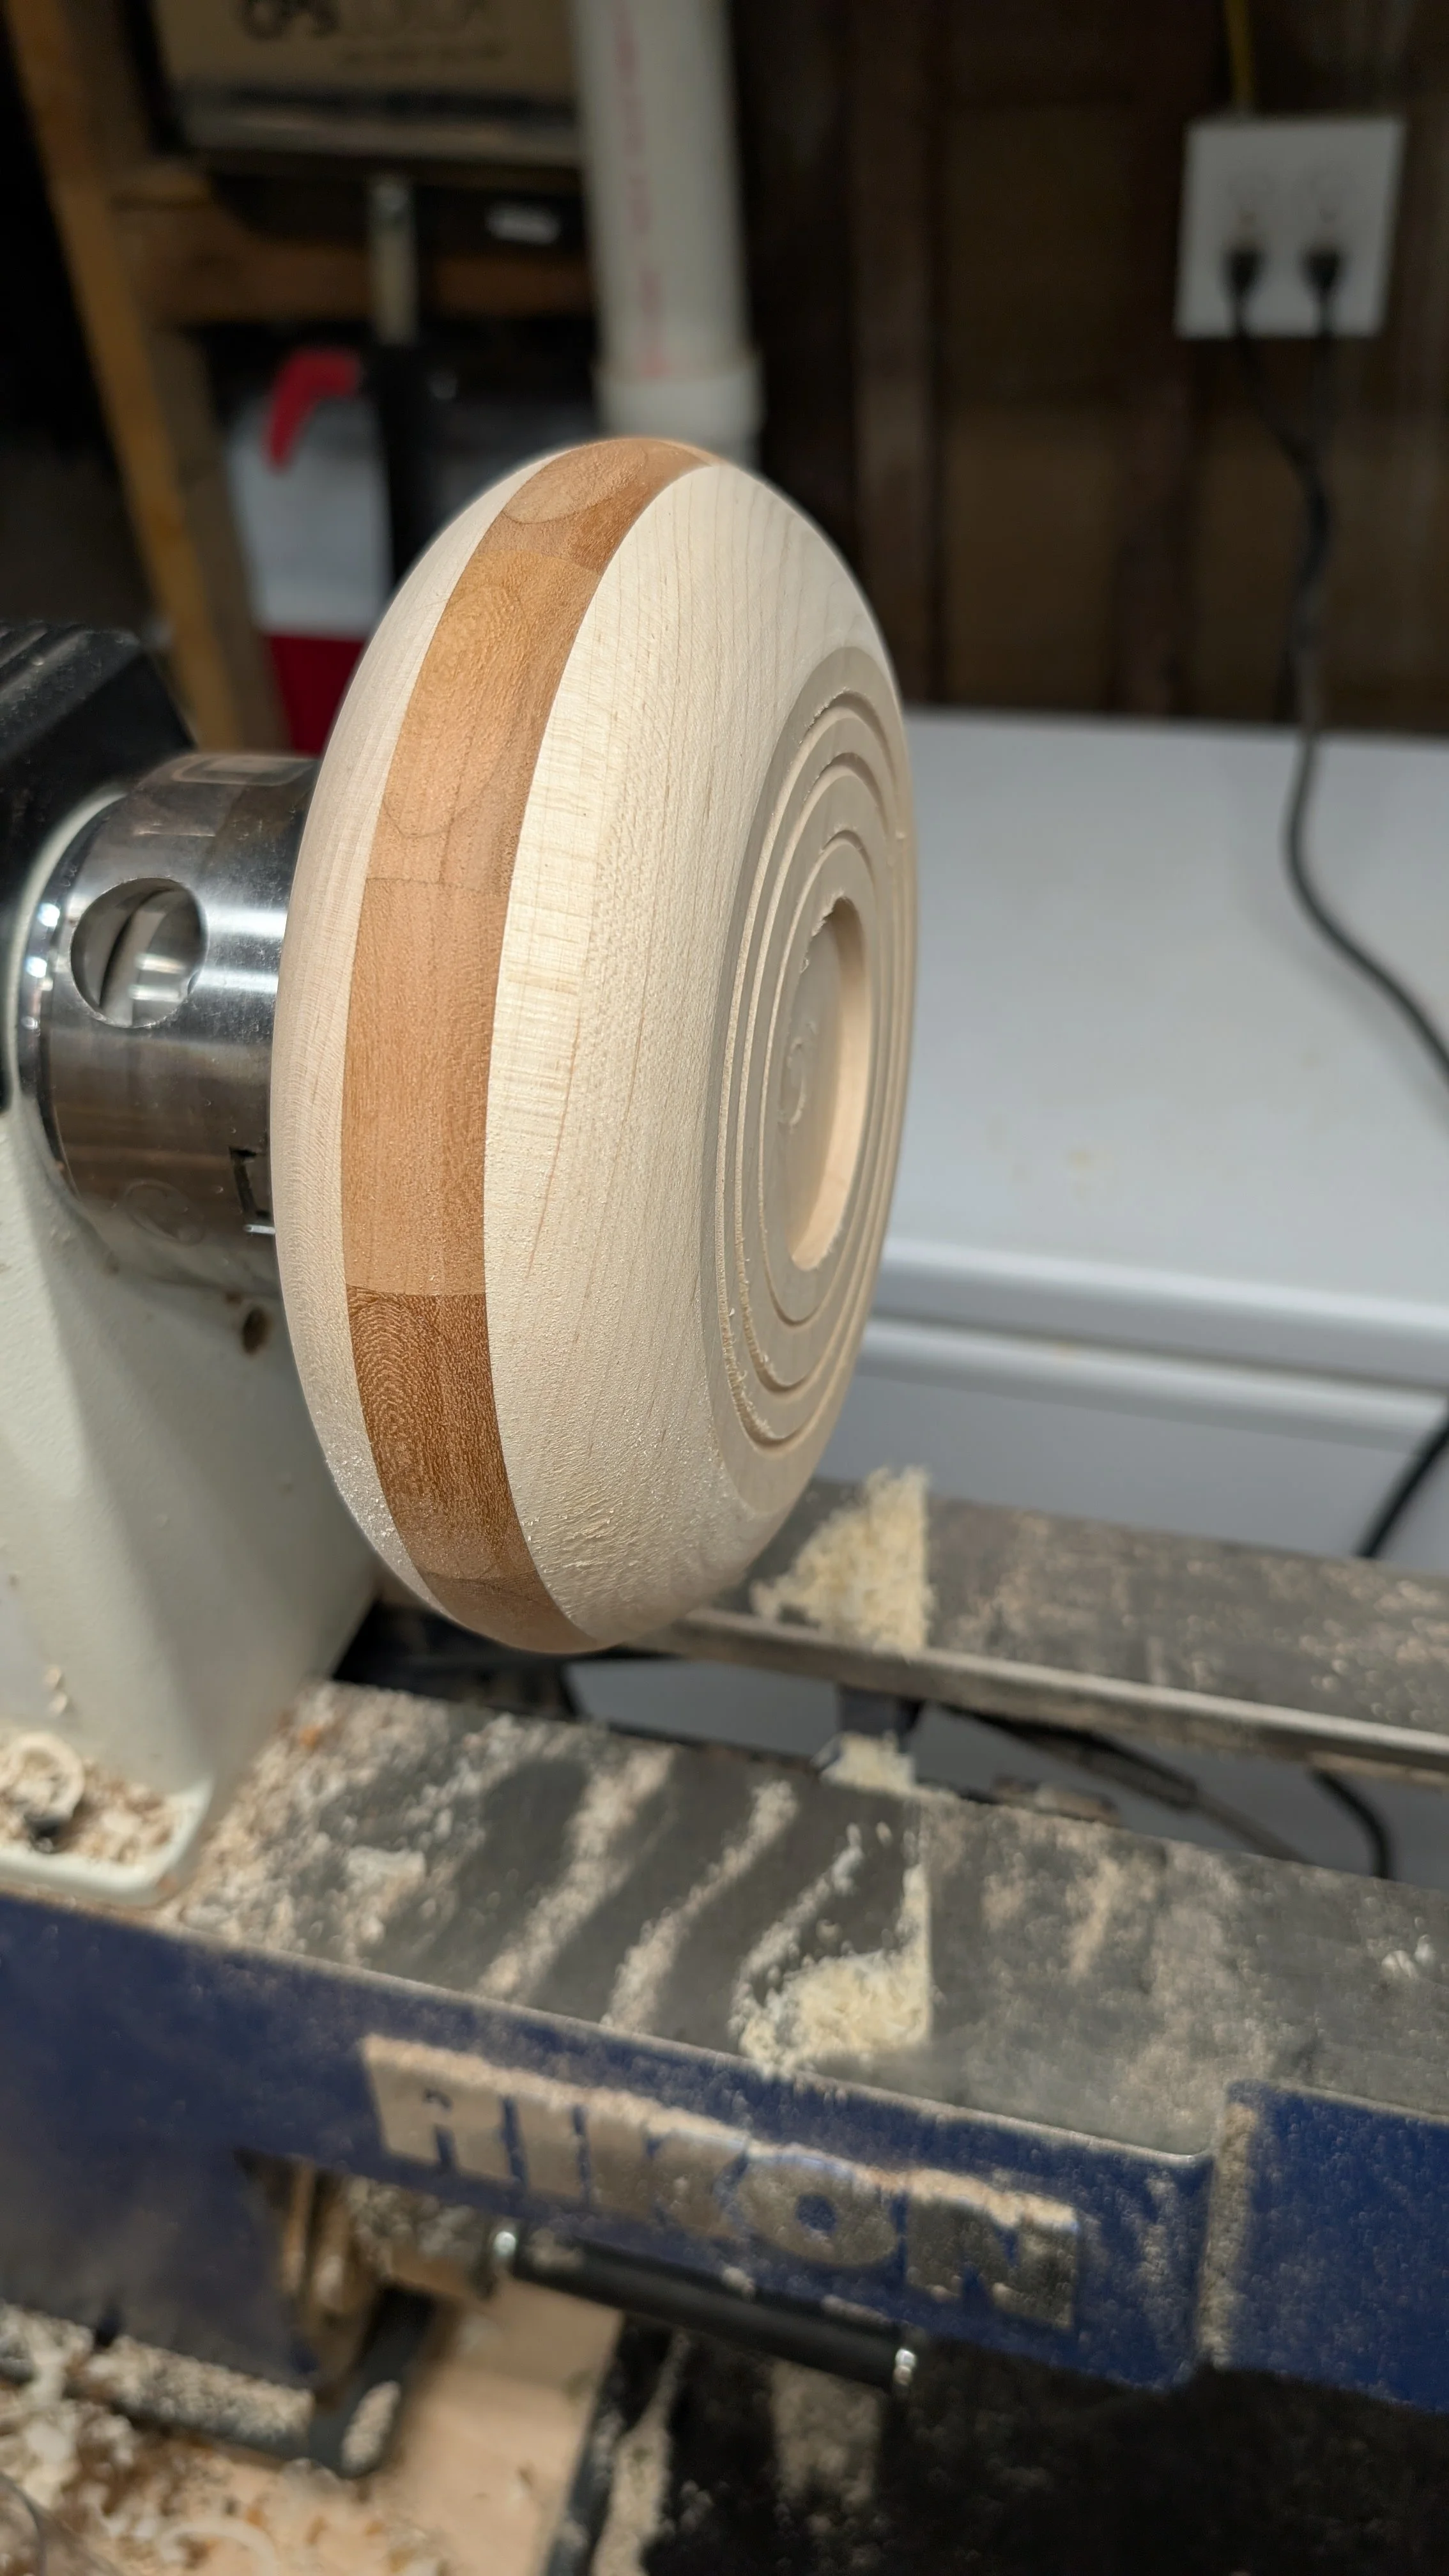
I drilled a 3/8” by 2 1/4” recess in the bottom and mounted it on the lathe. There was a small clearance issue due to run out in the largest ring so I just trimmed it a bit on the band saw until it cleared.

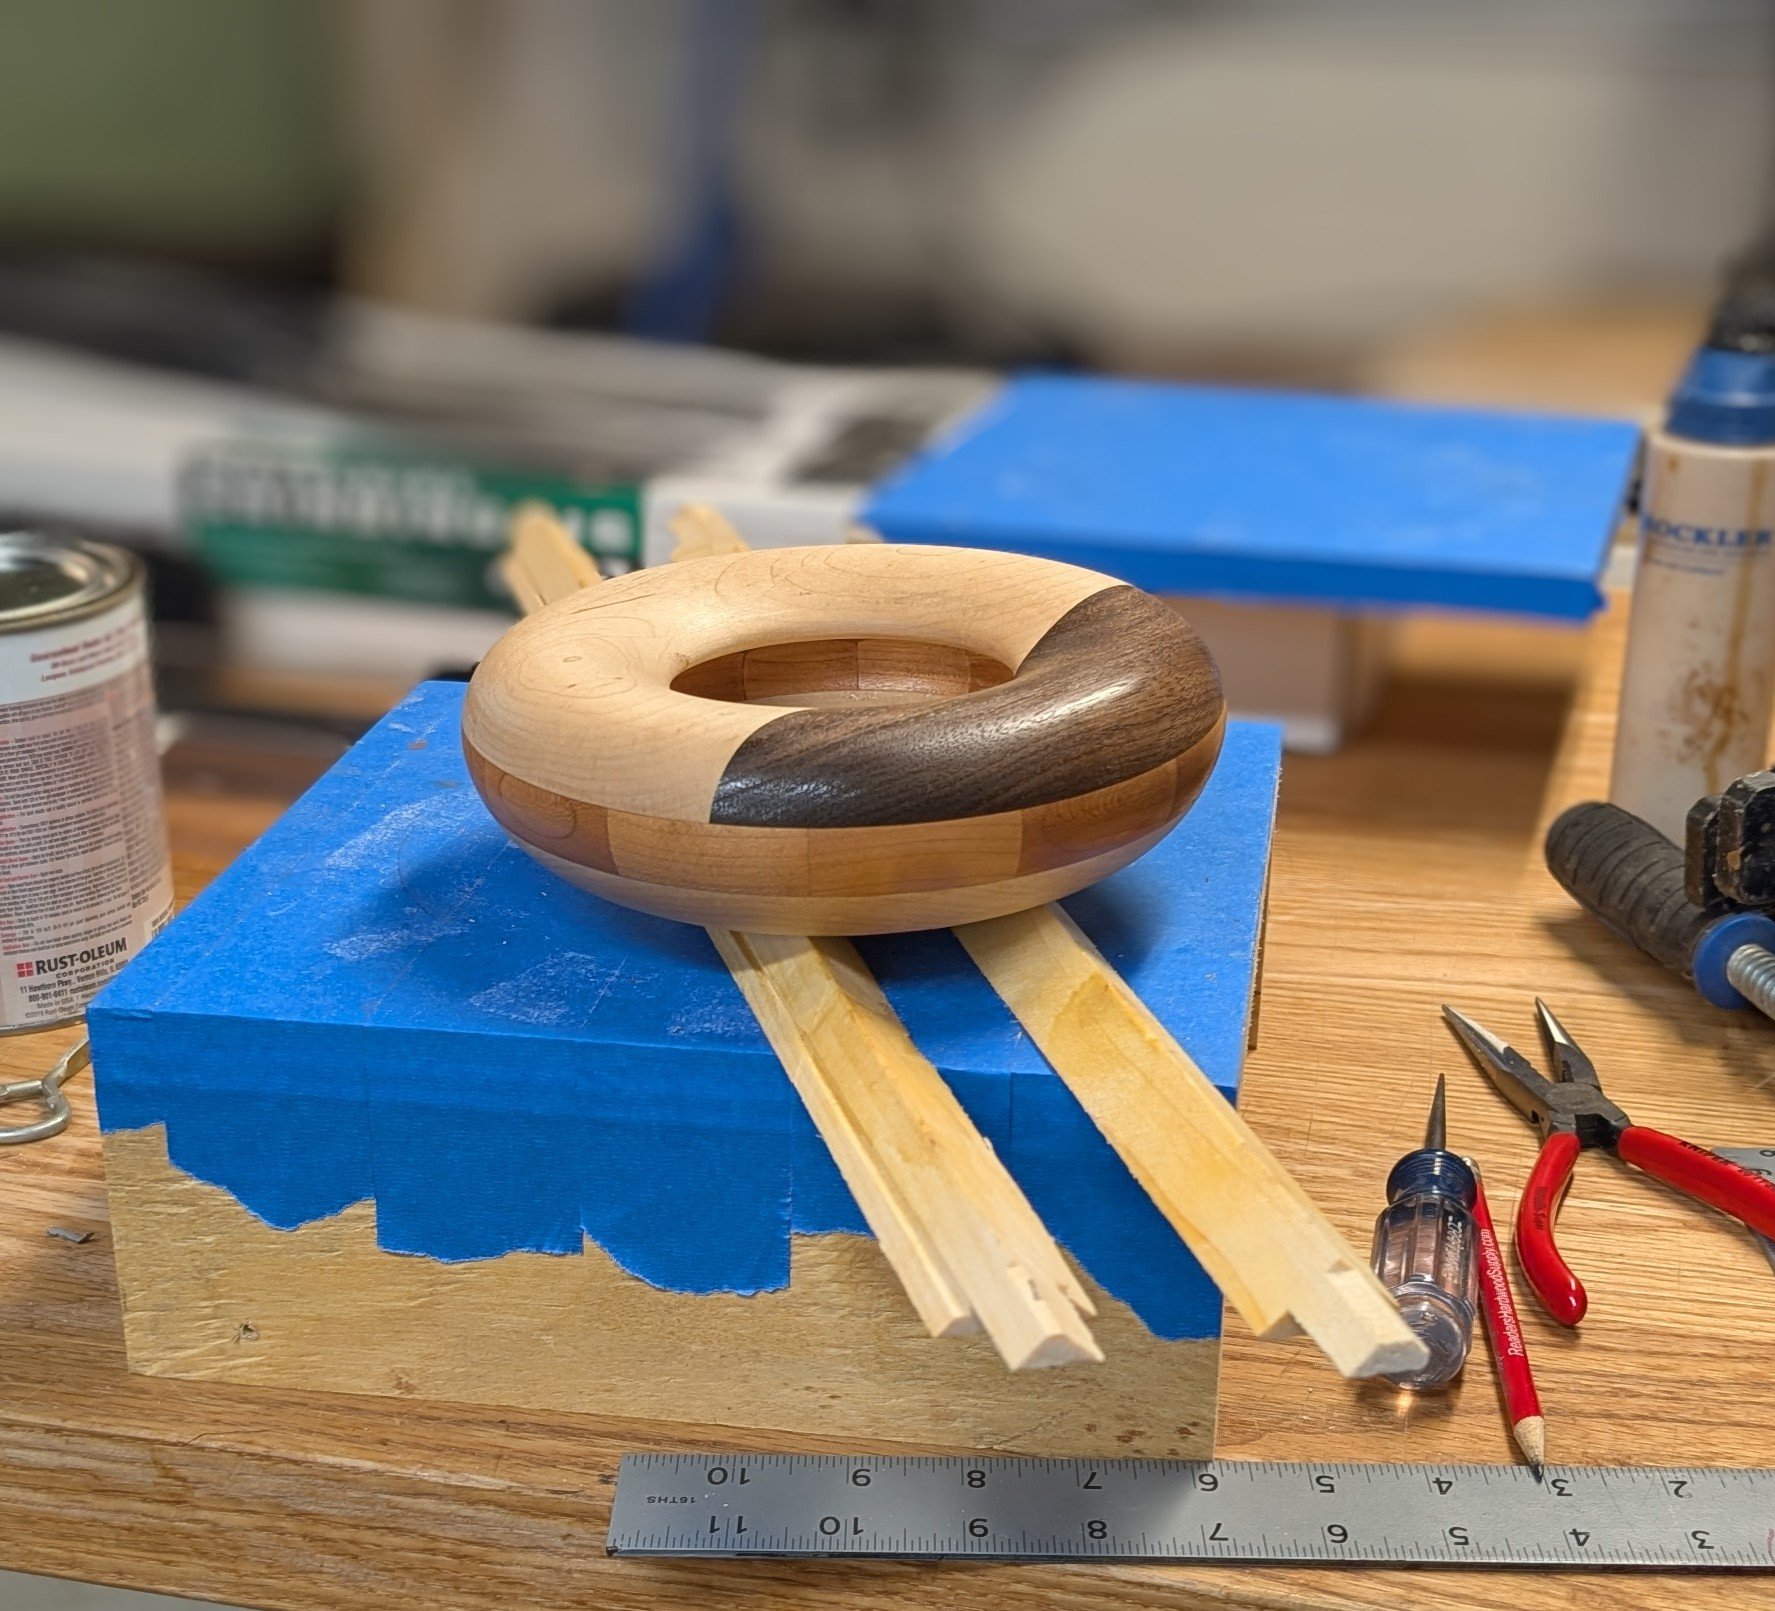
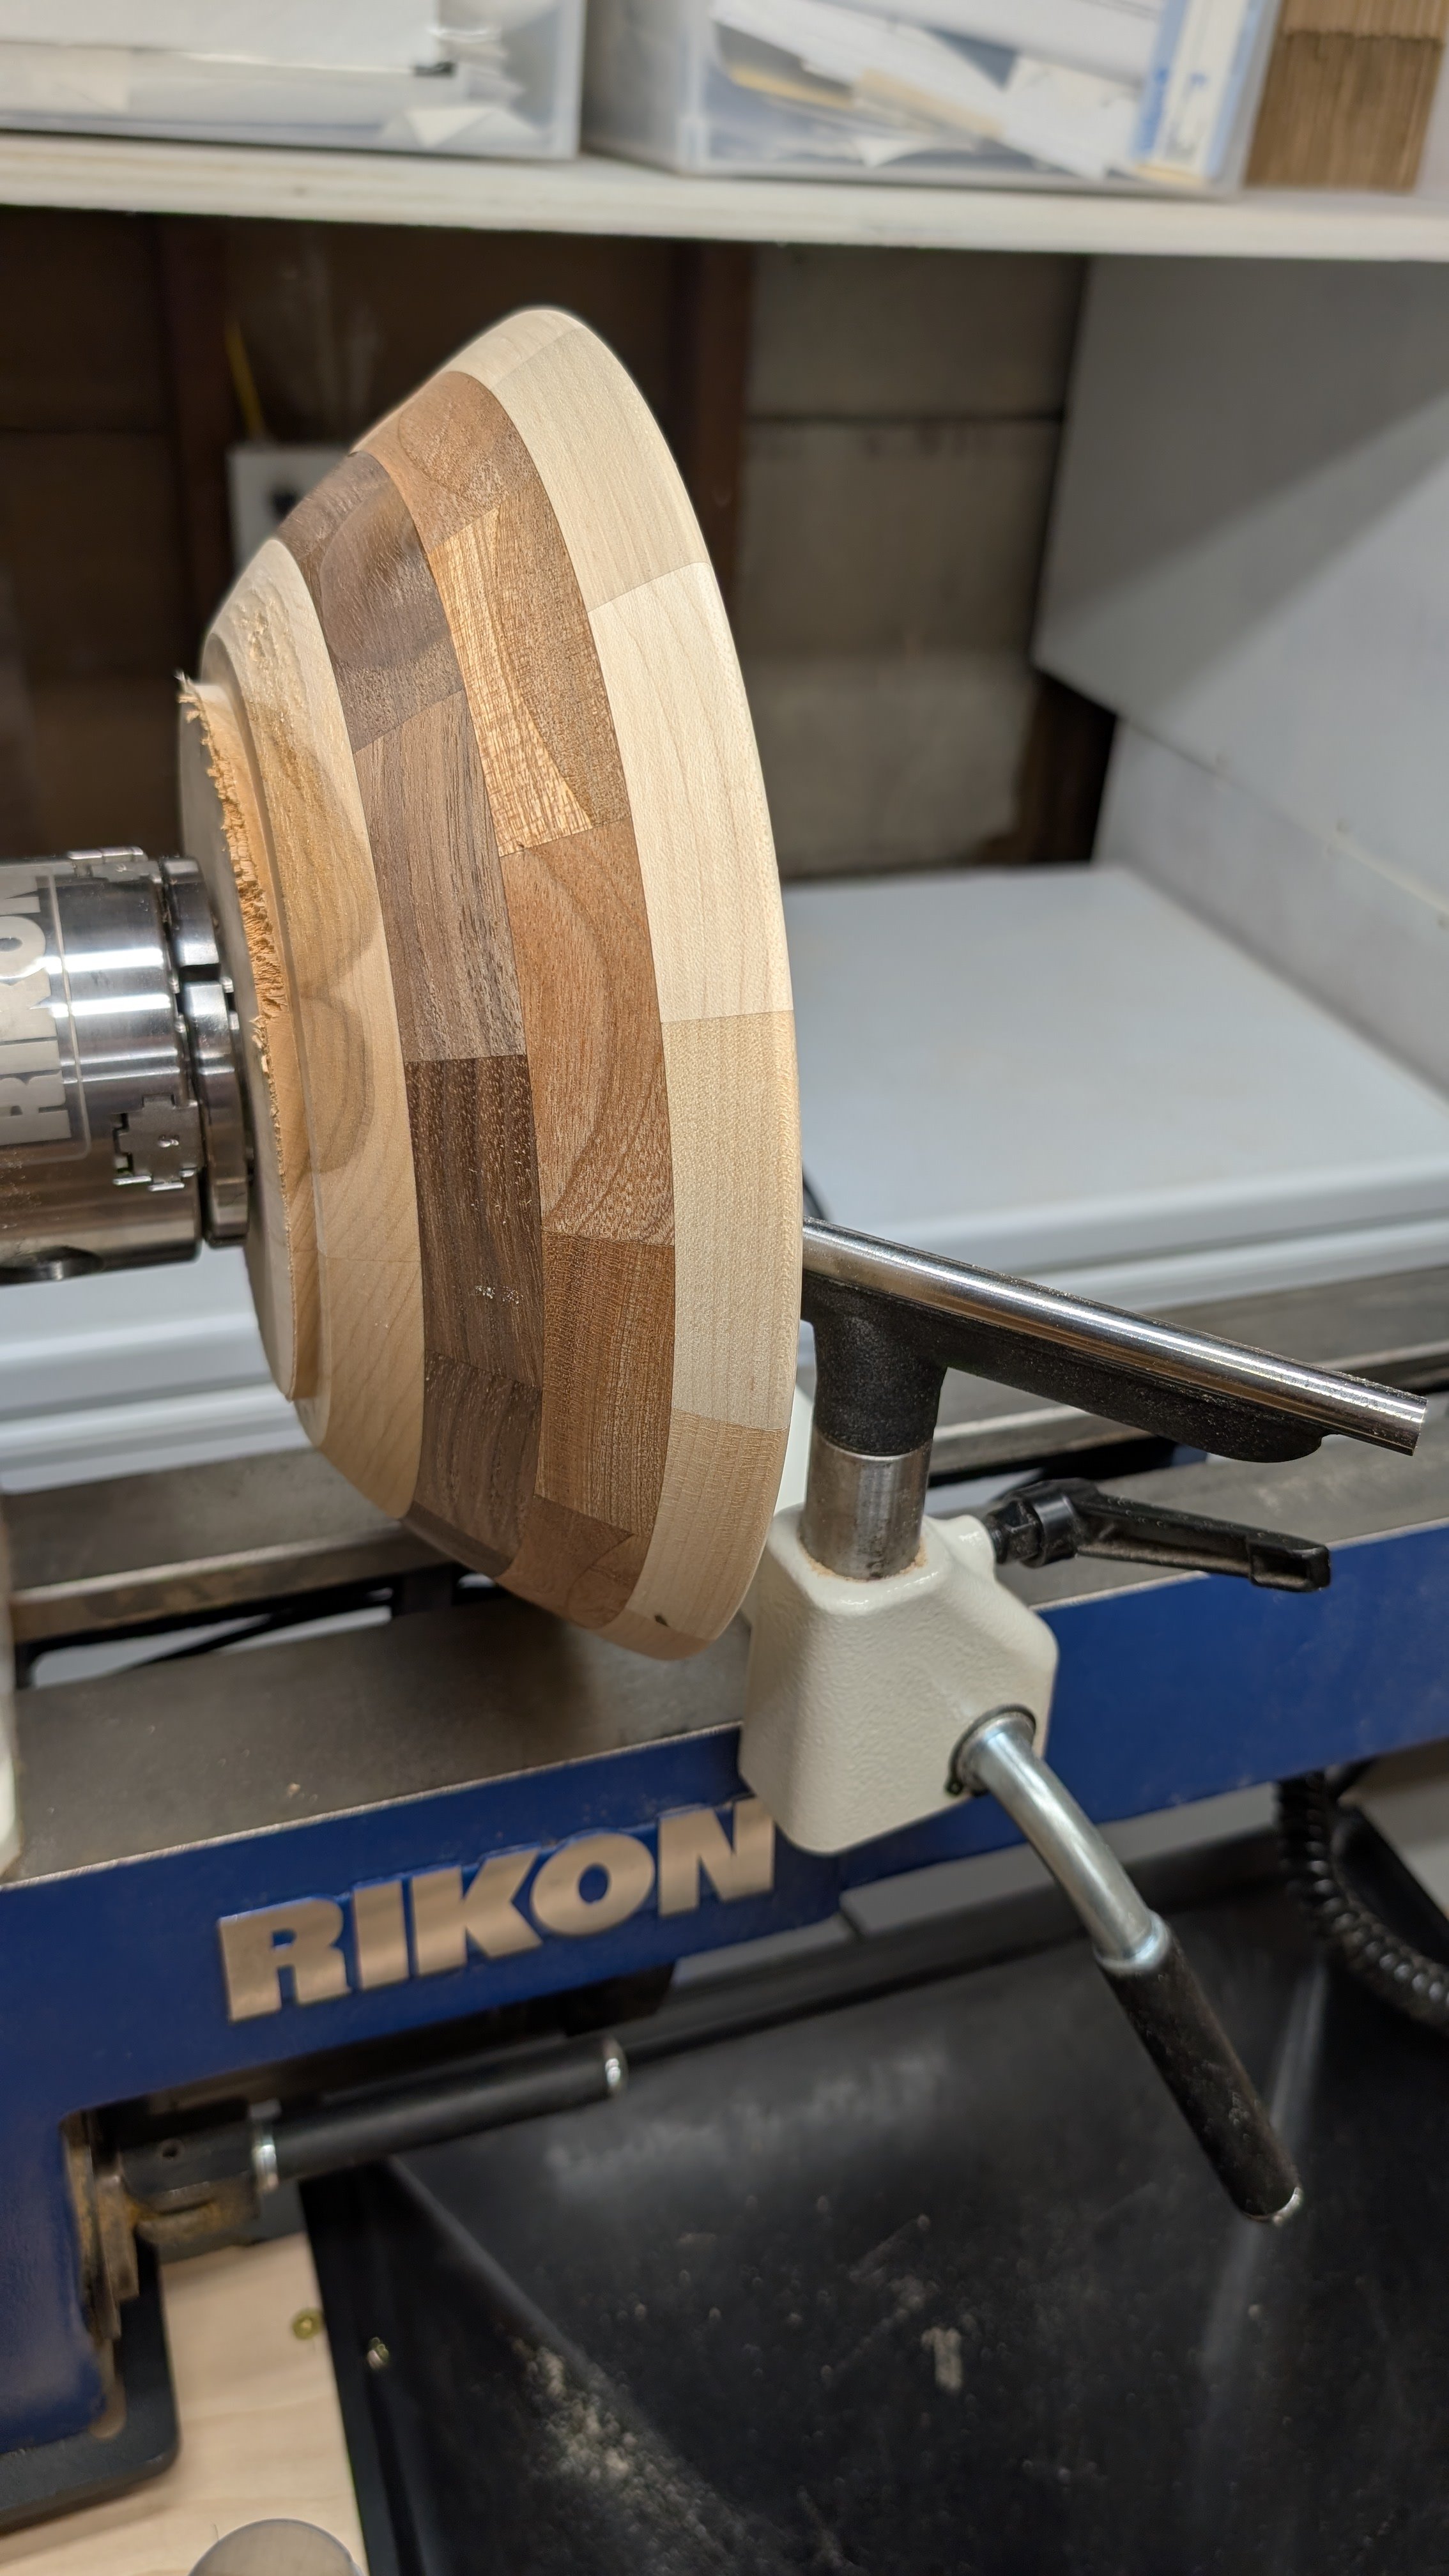
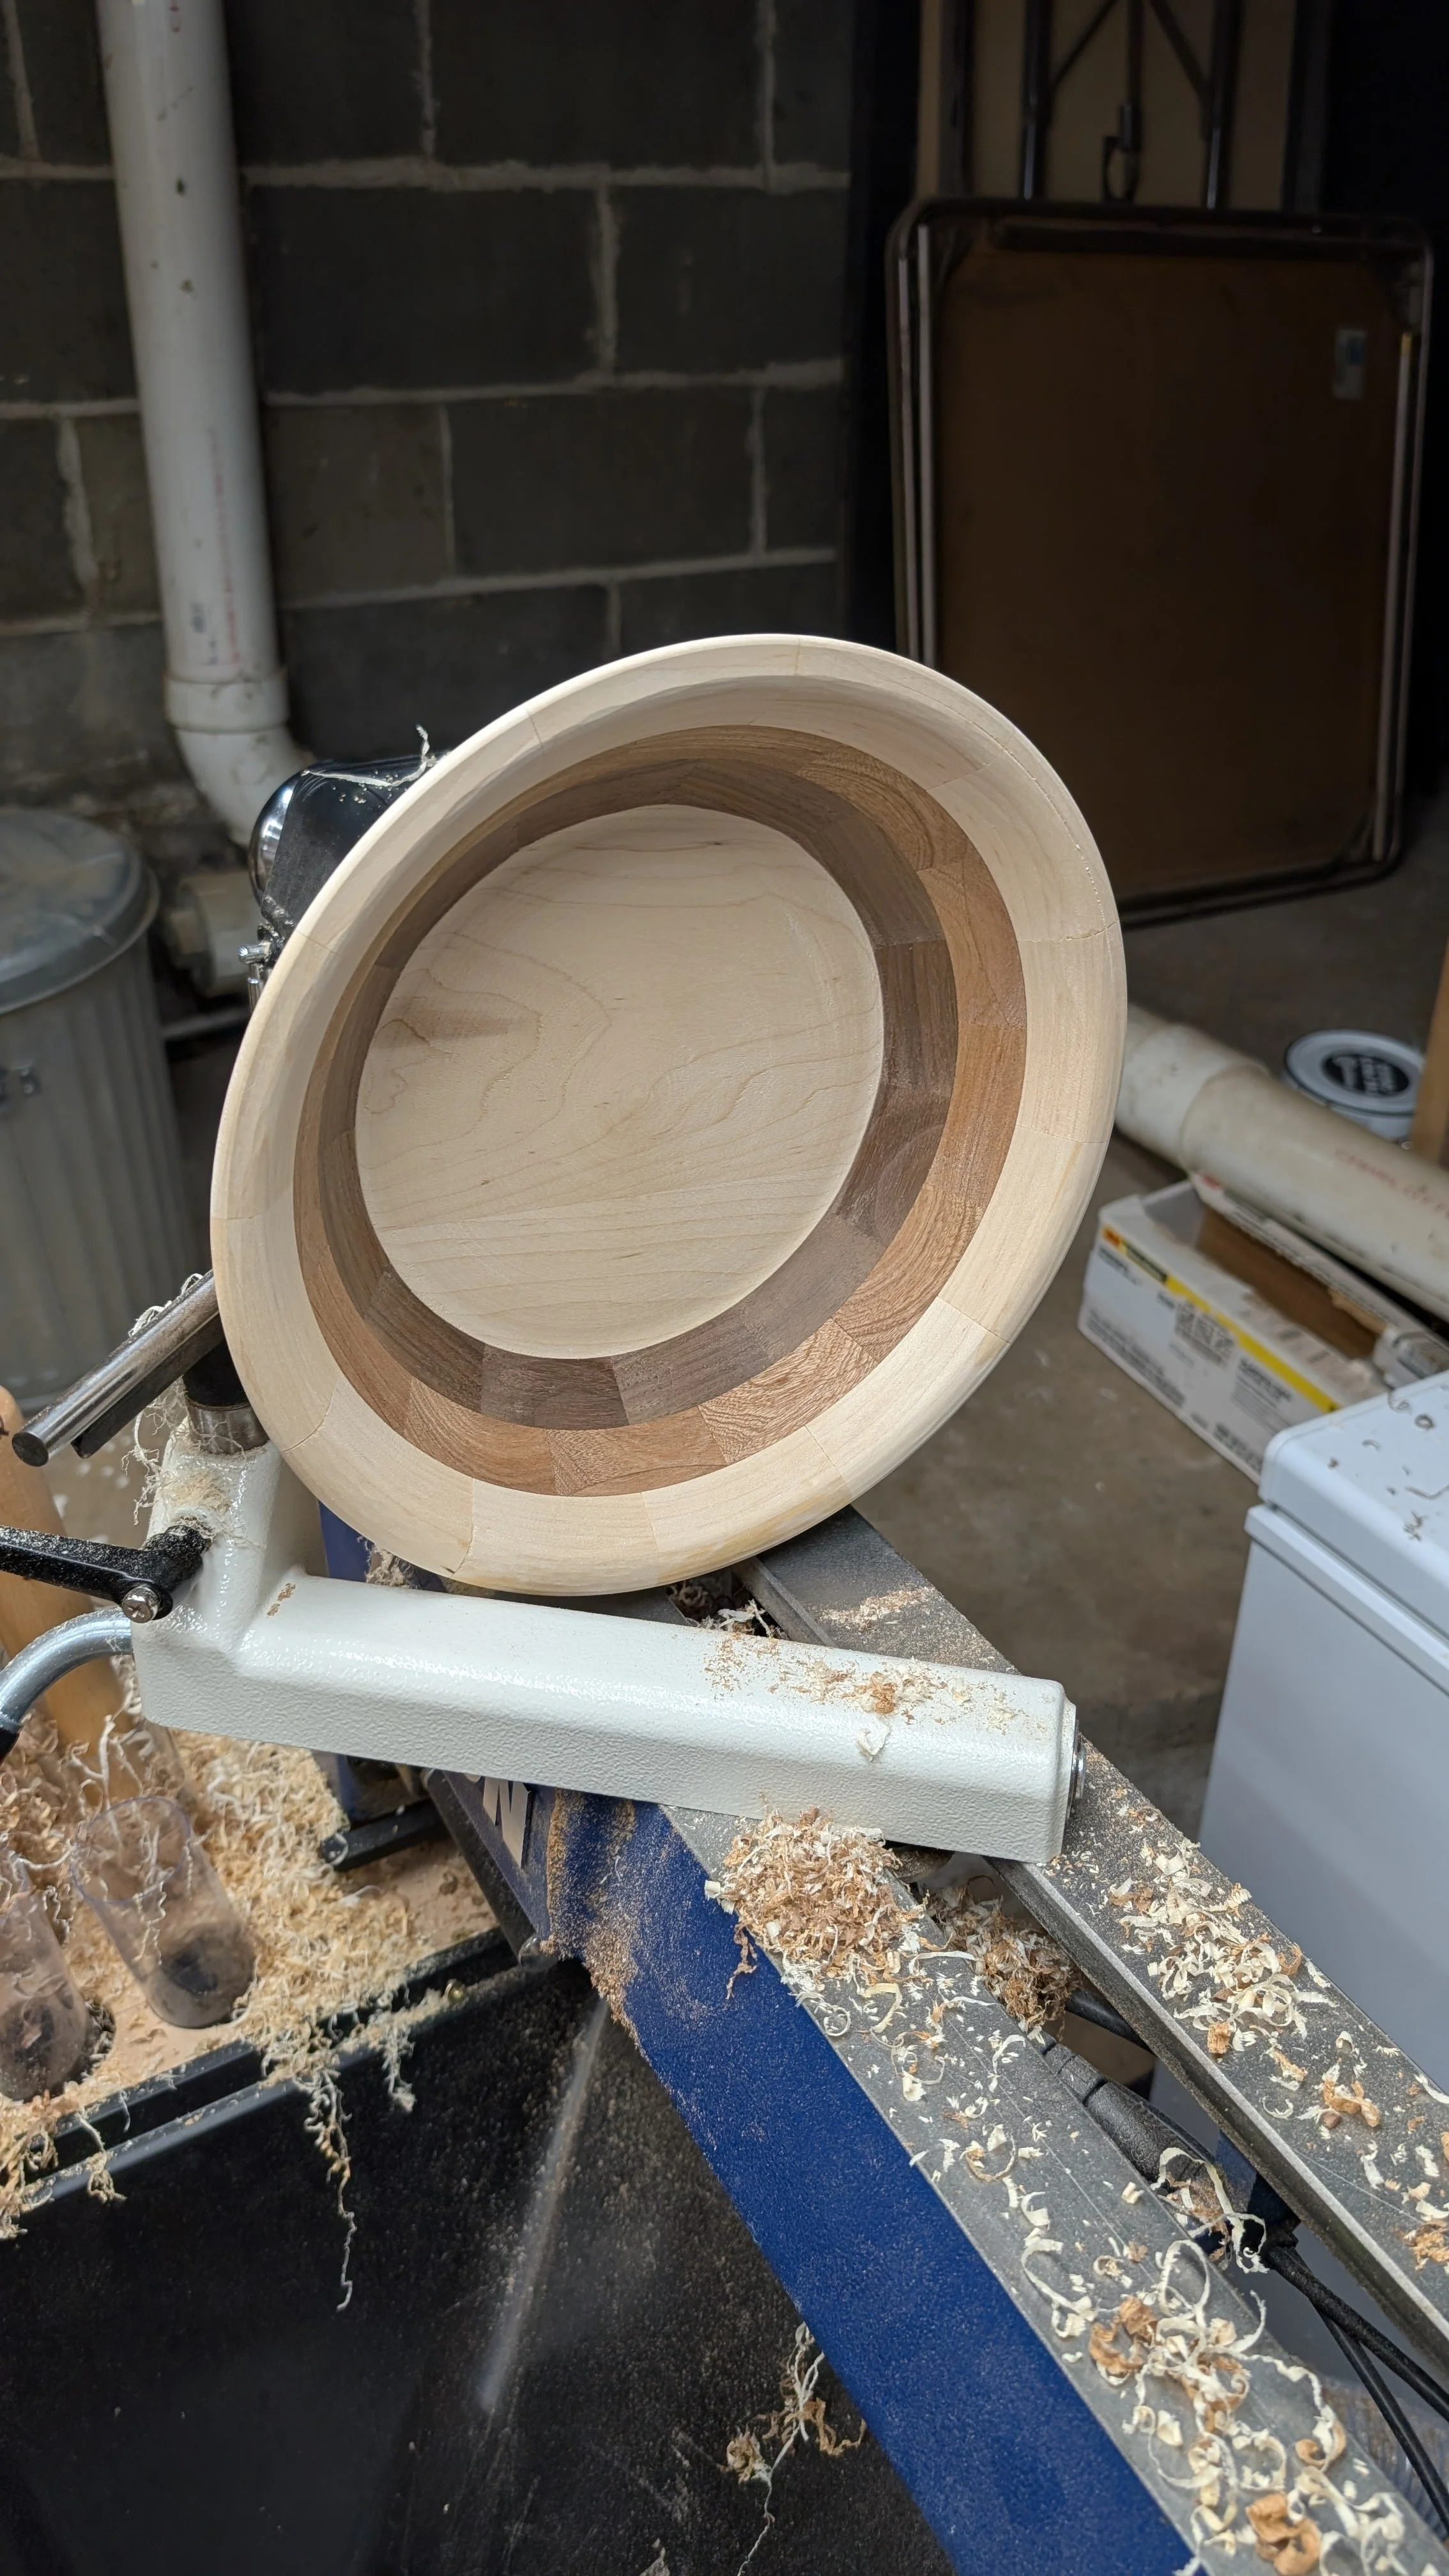
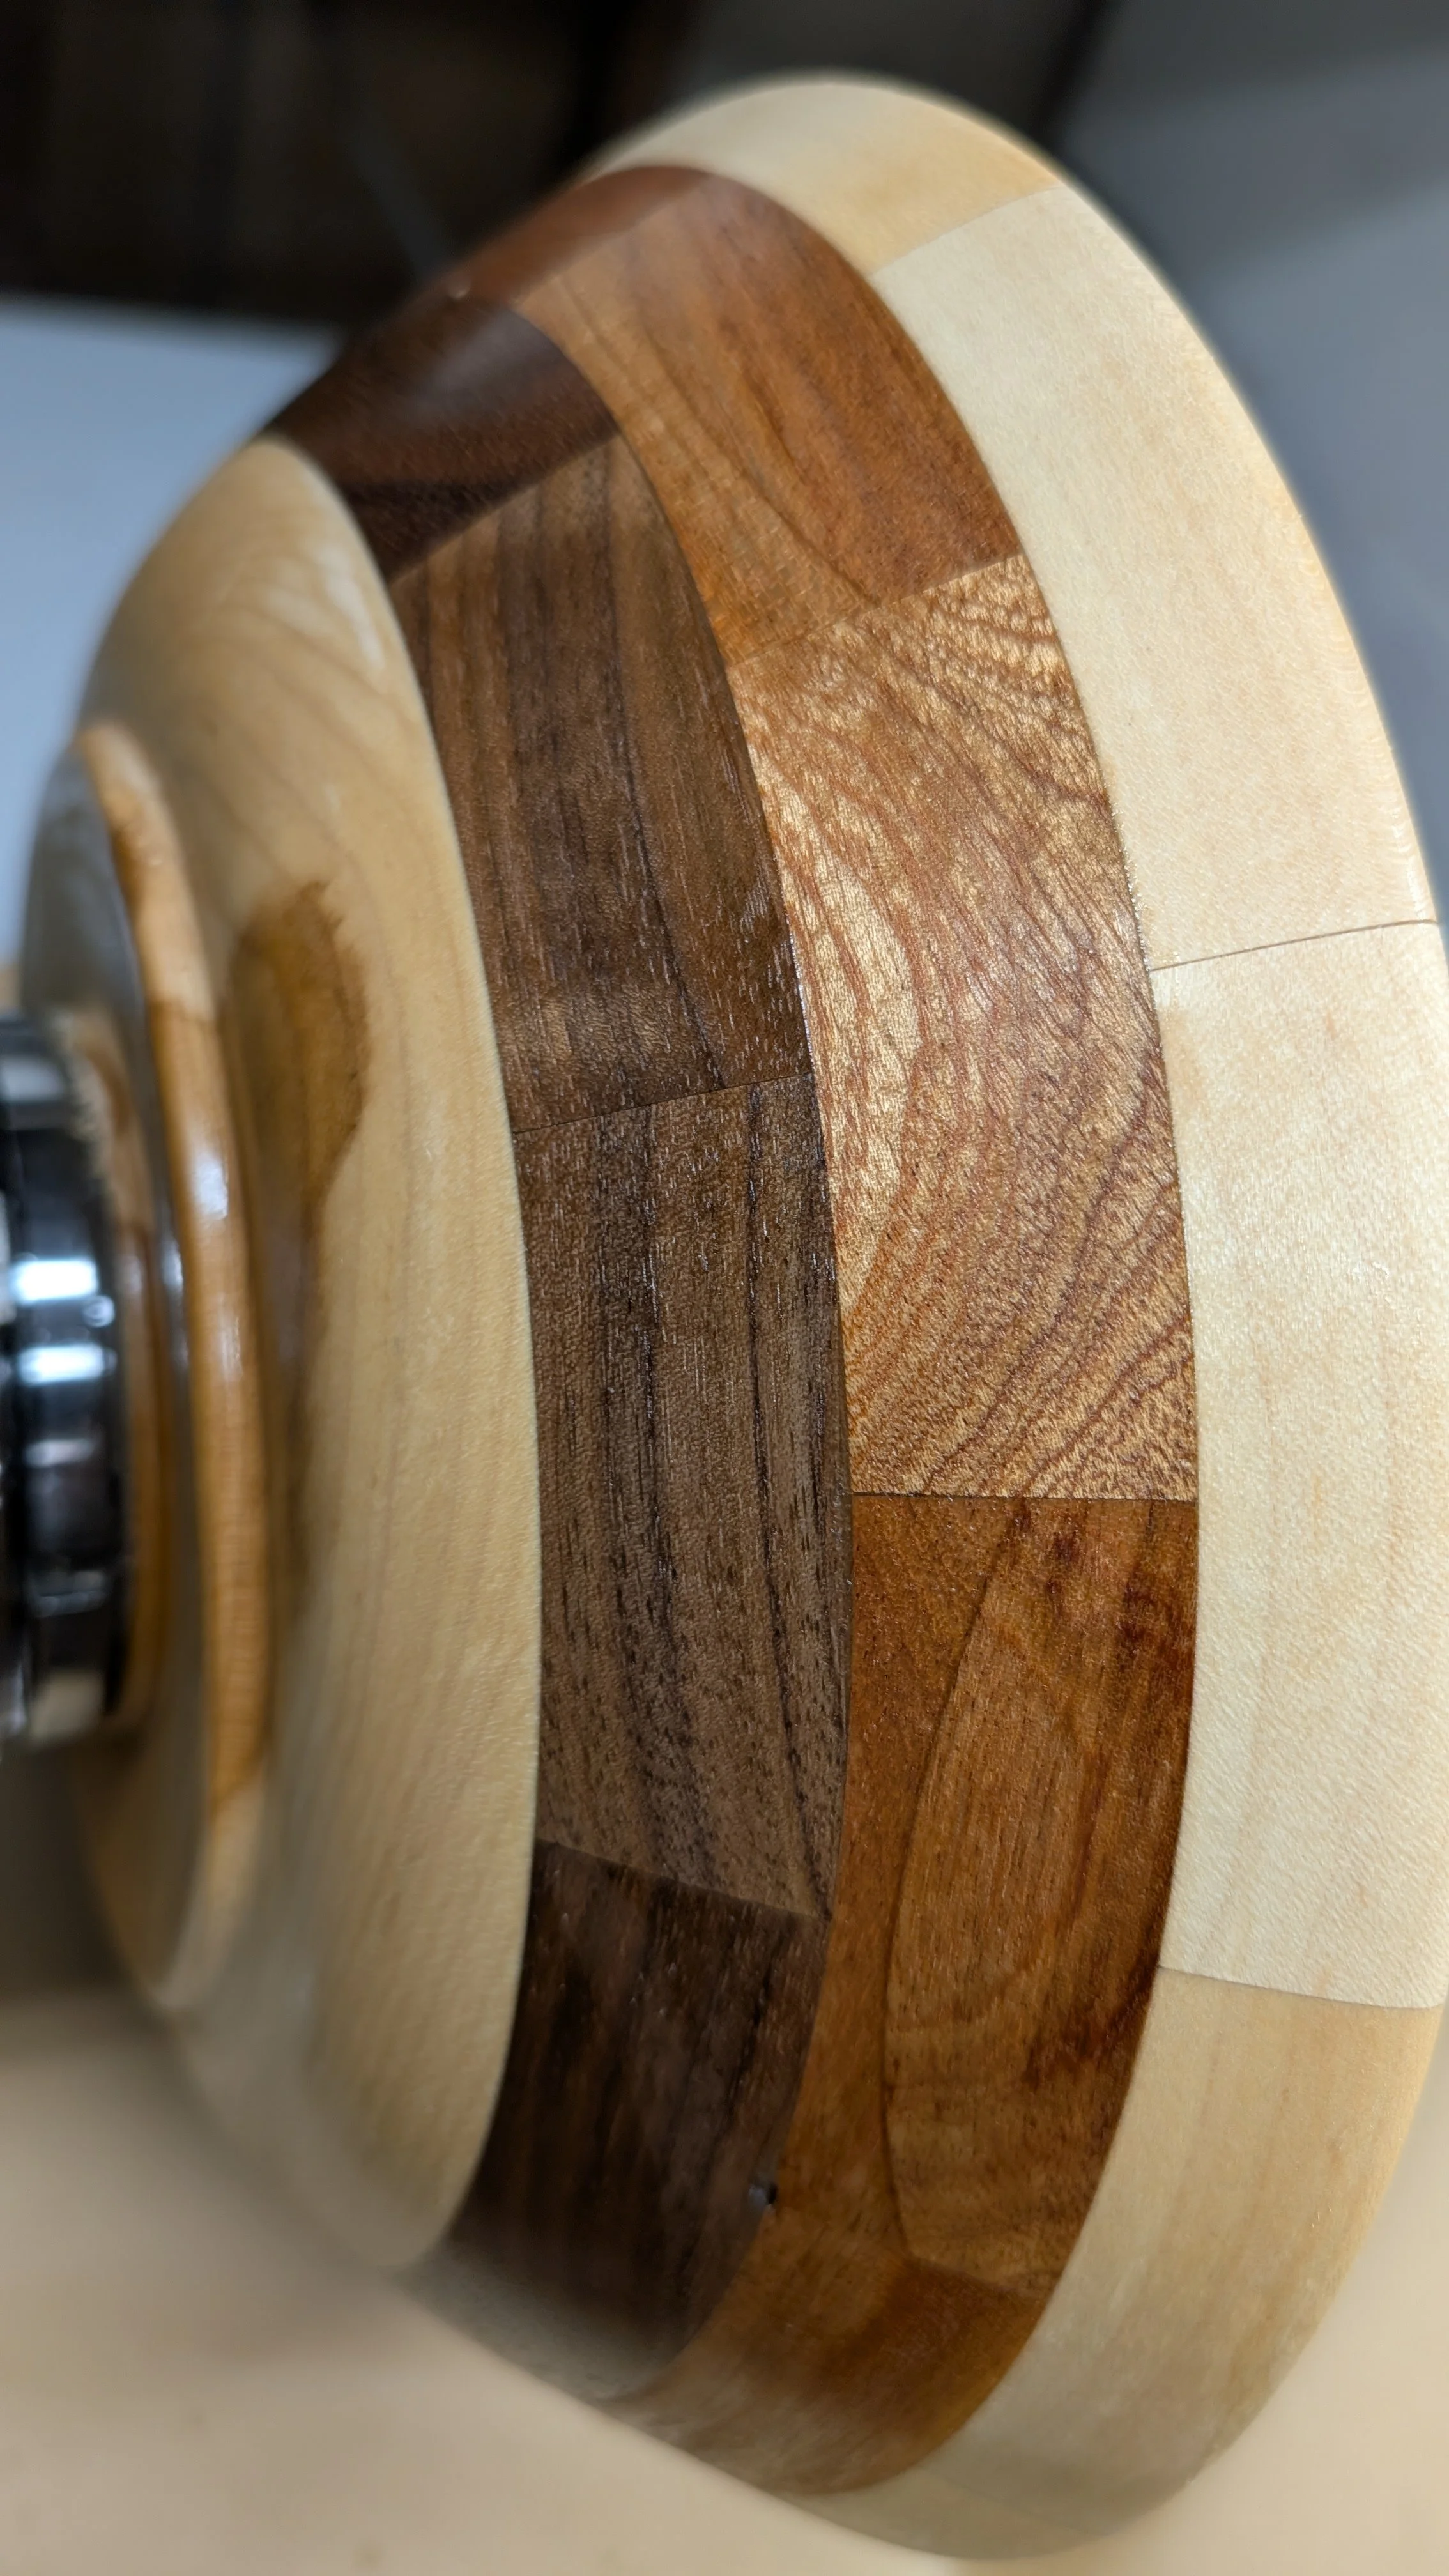
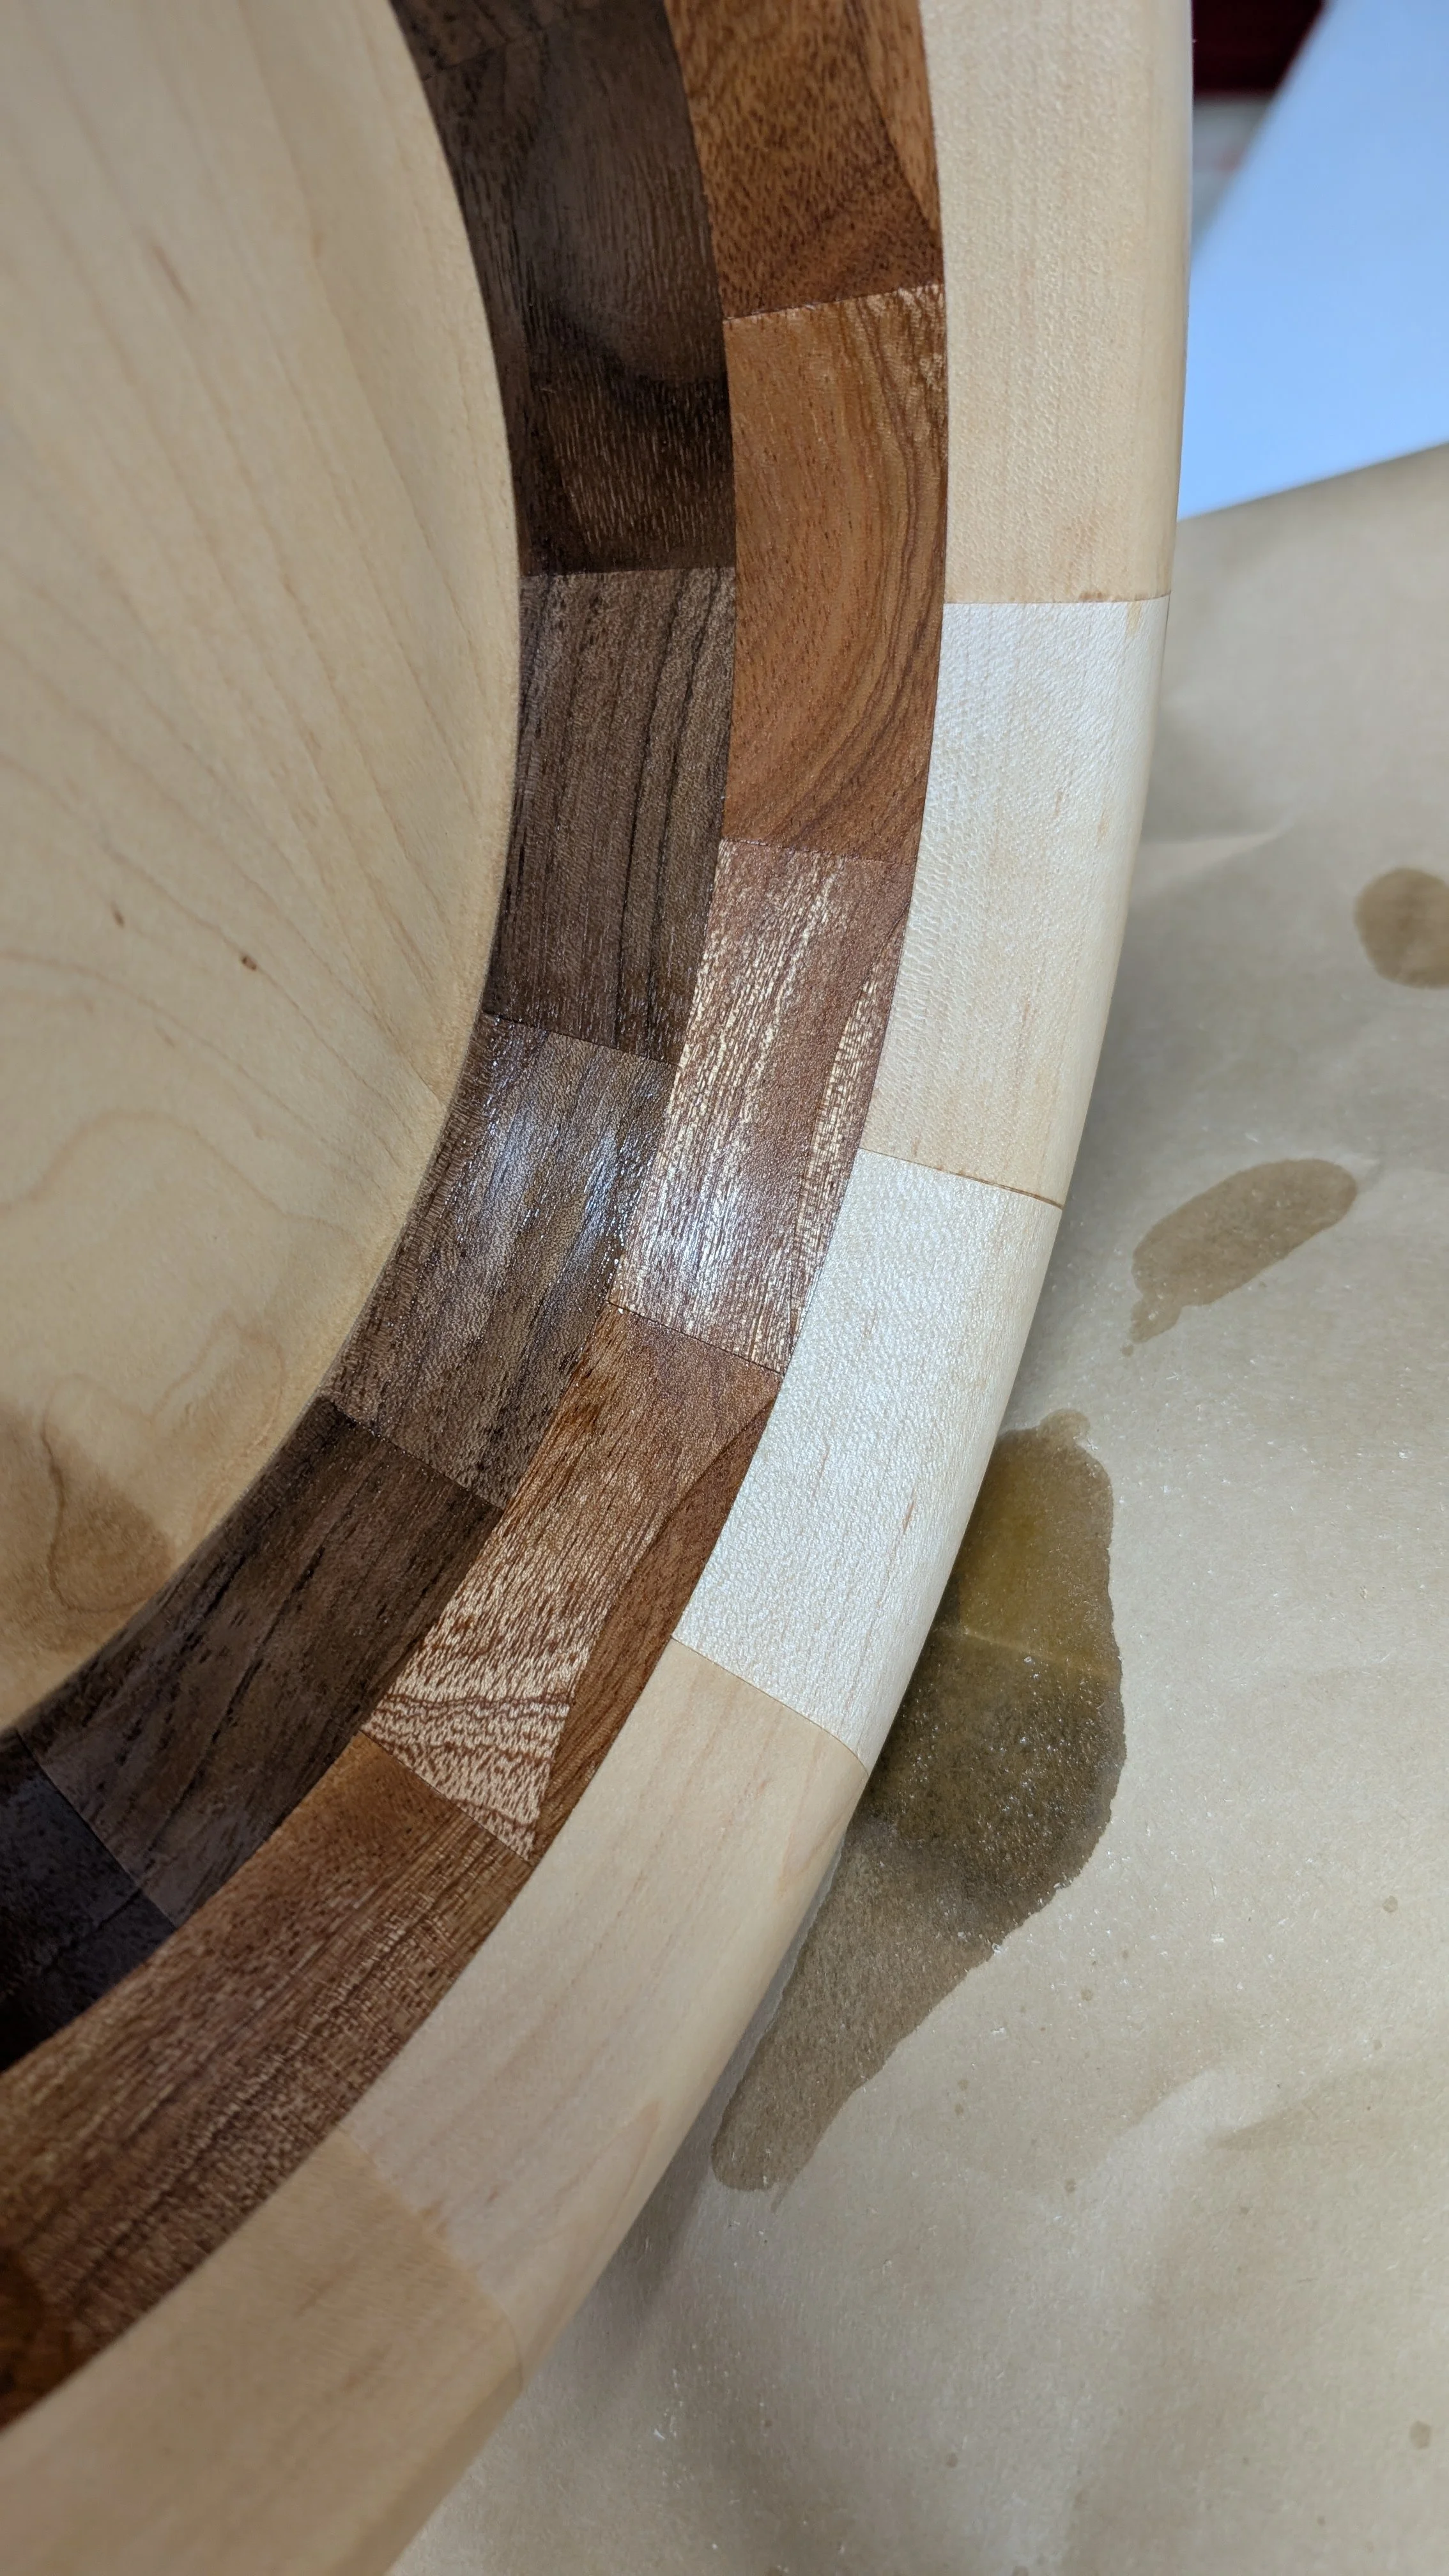
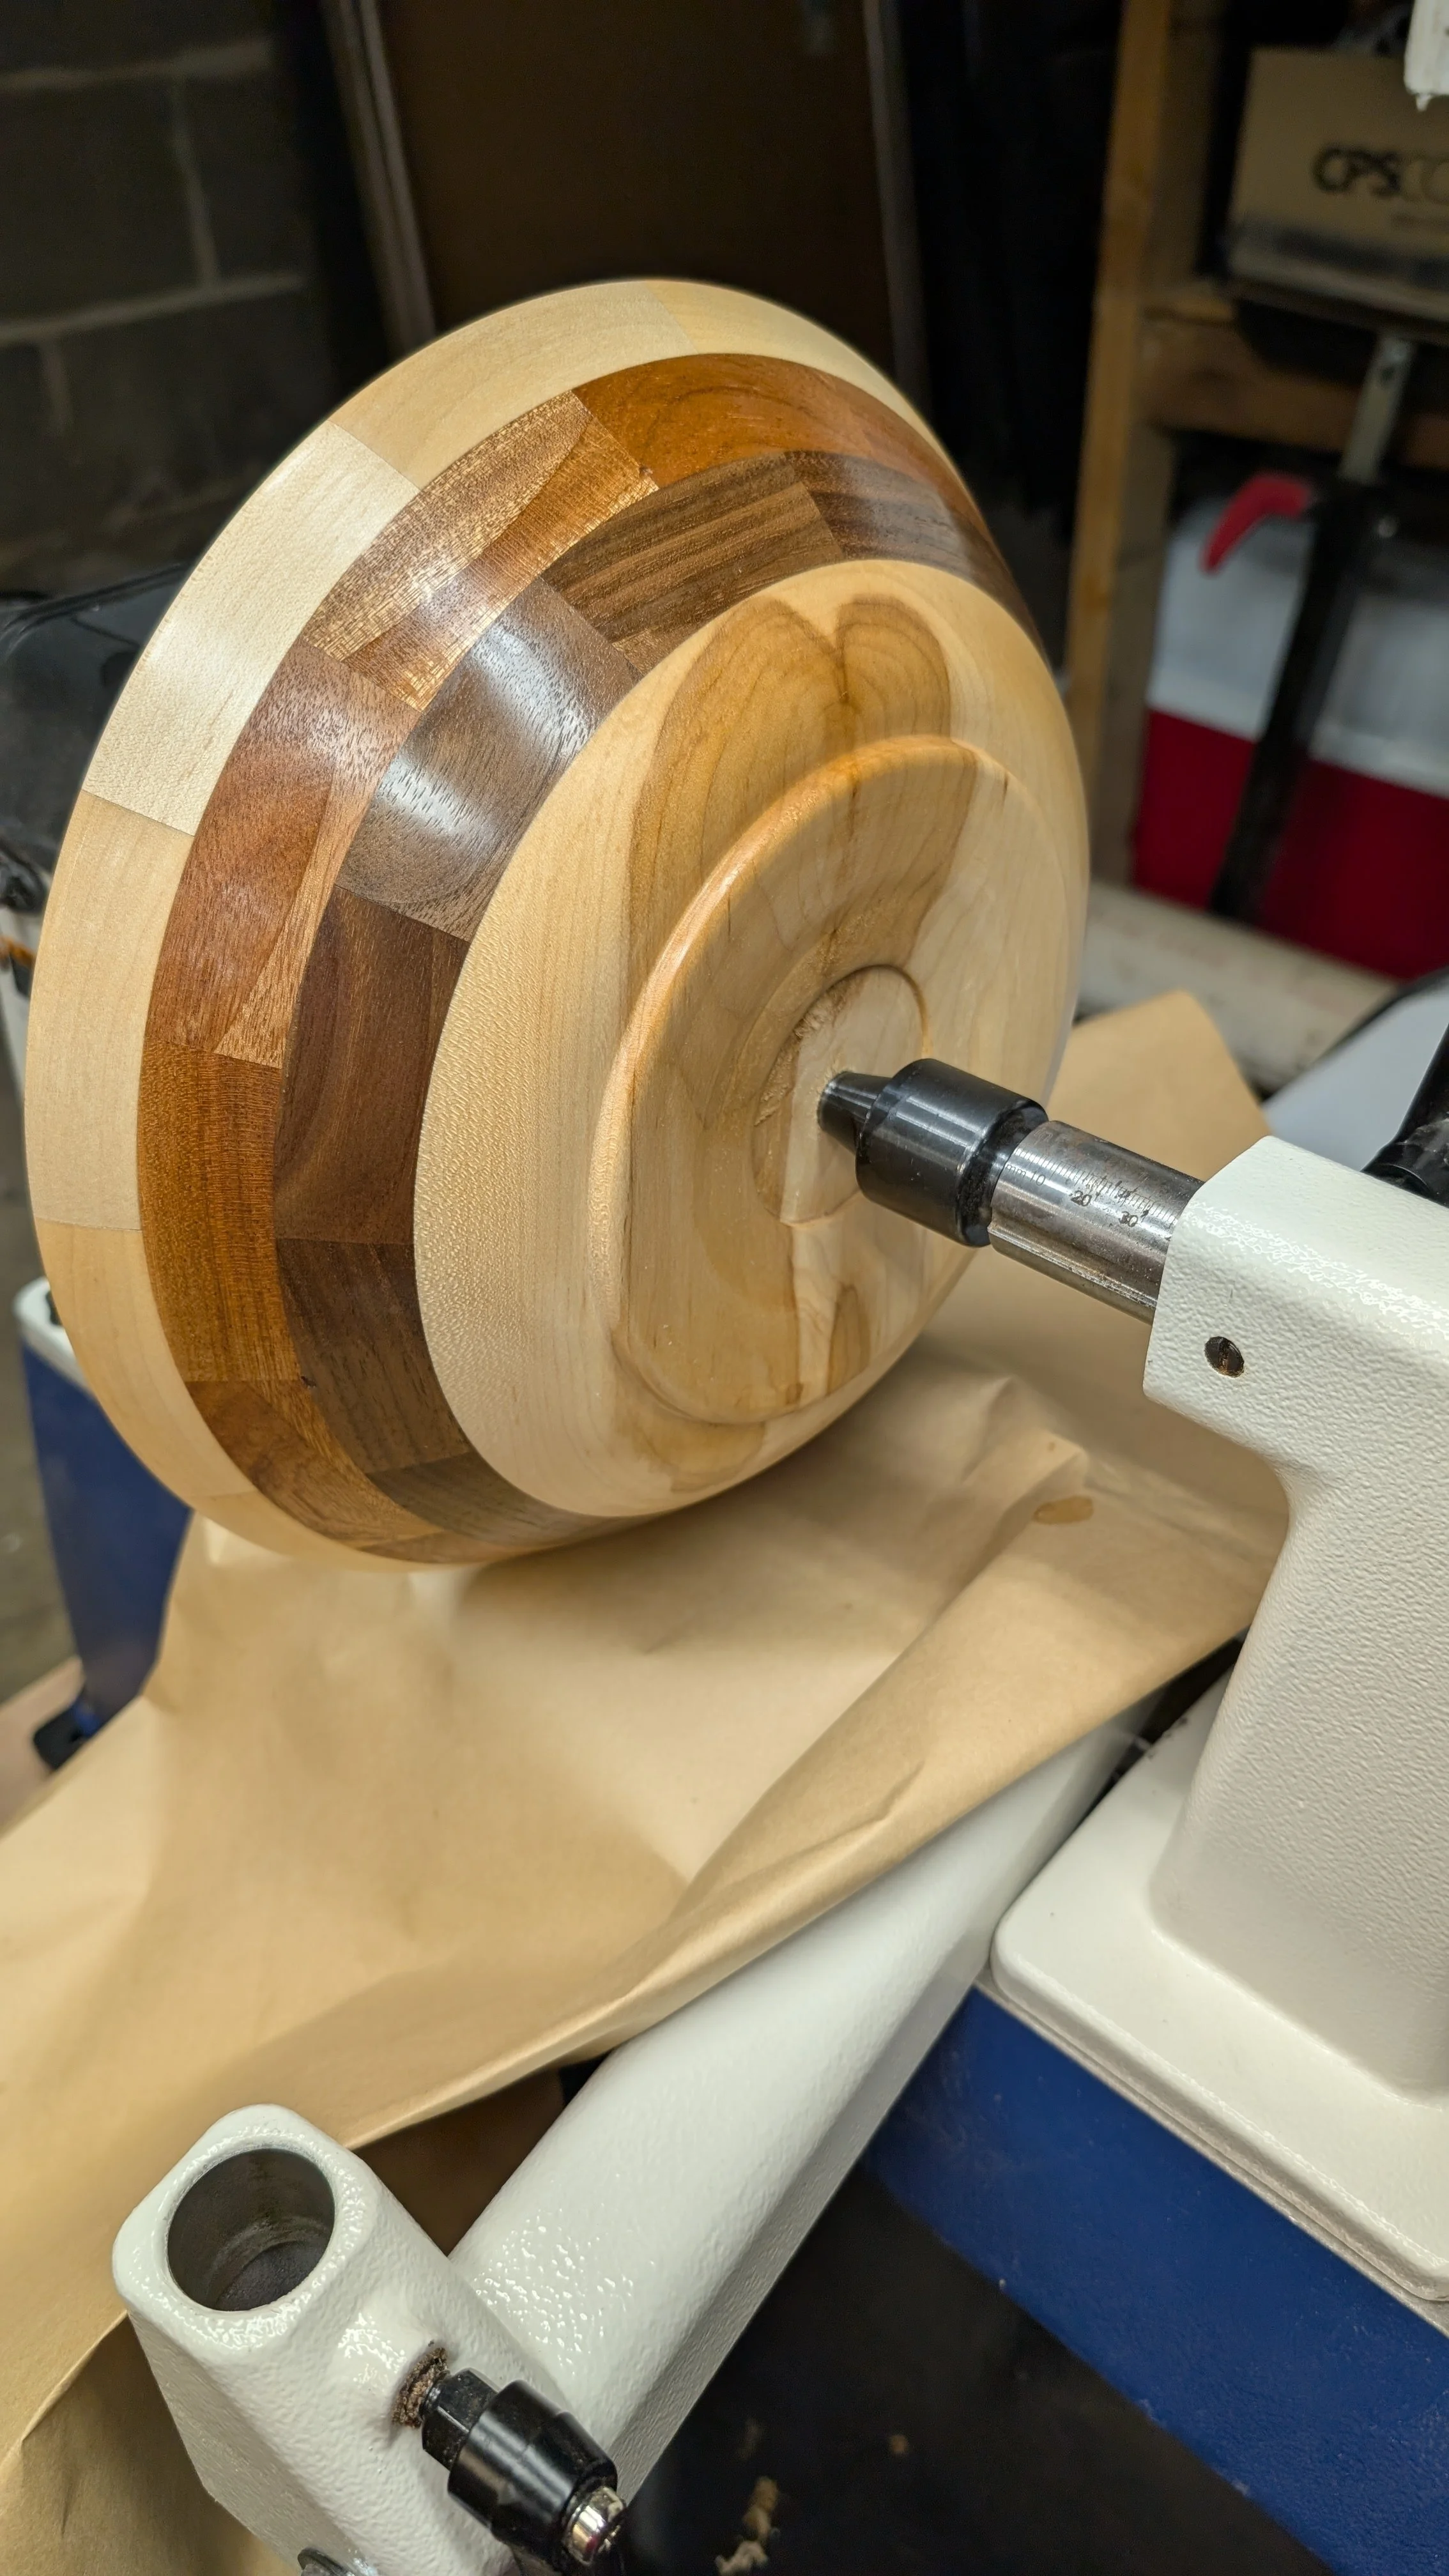
I turned the outside following a much more curved profile than the last bowl. Then I turned the inside aiming for a 3/8” wall thickness and following the outside profile.

View fullsize PXL_20260809_155835519.jpg
View fullsize PXL_20260809_155840906.jpg
View fullsize PXL_20260811_145929456.jpg

I then sanded everything to 320 grit and cleaned all the dust off and applied a Shellac based sanding sealer.

View fullsize PXL_20260812_144018581.jpg
View fullsize PXL_20260812_144022582.jpg

The next day I sanded it 600, 800, 1000, and 2000 grit and then removed the dust and applied Howard’s butcher block conditioner and waited twenty five minutes and buffed it in.

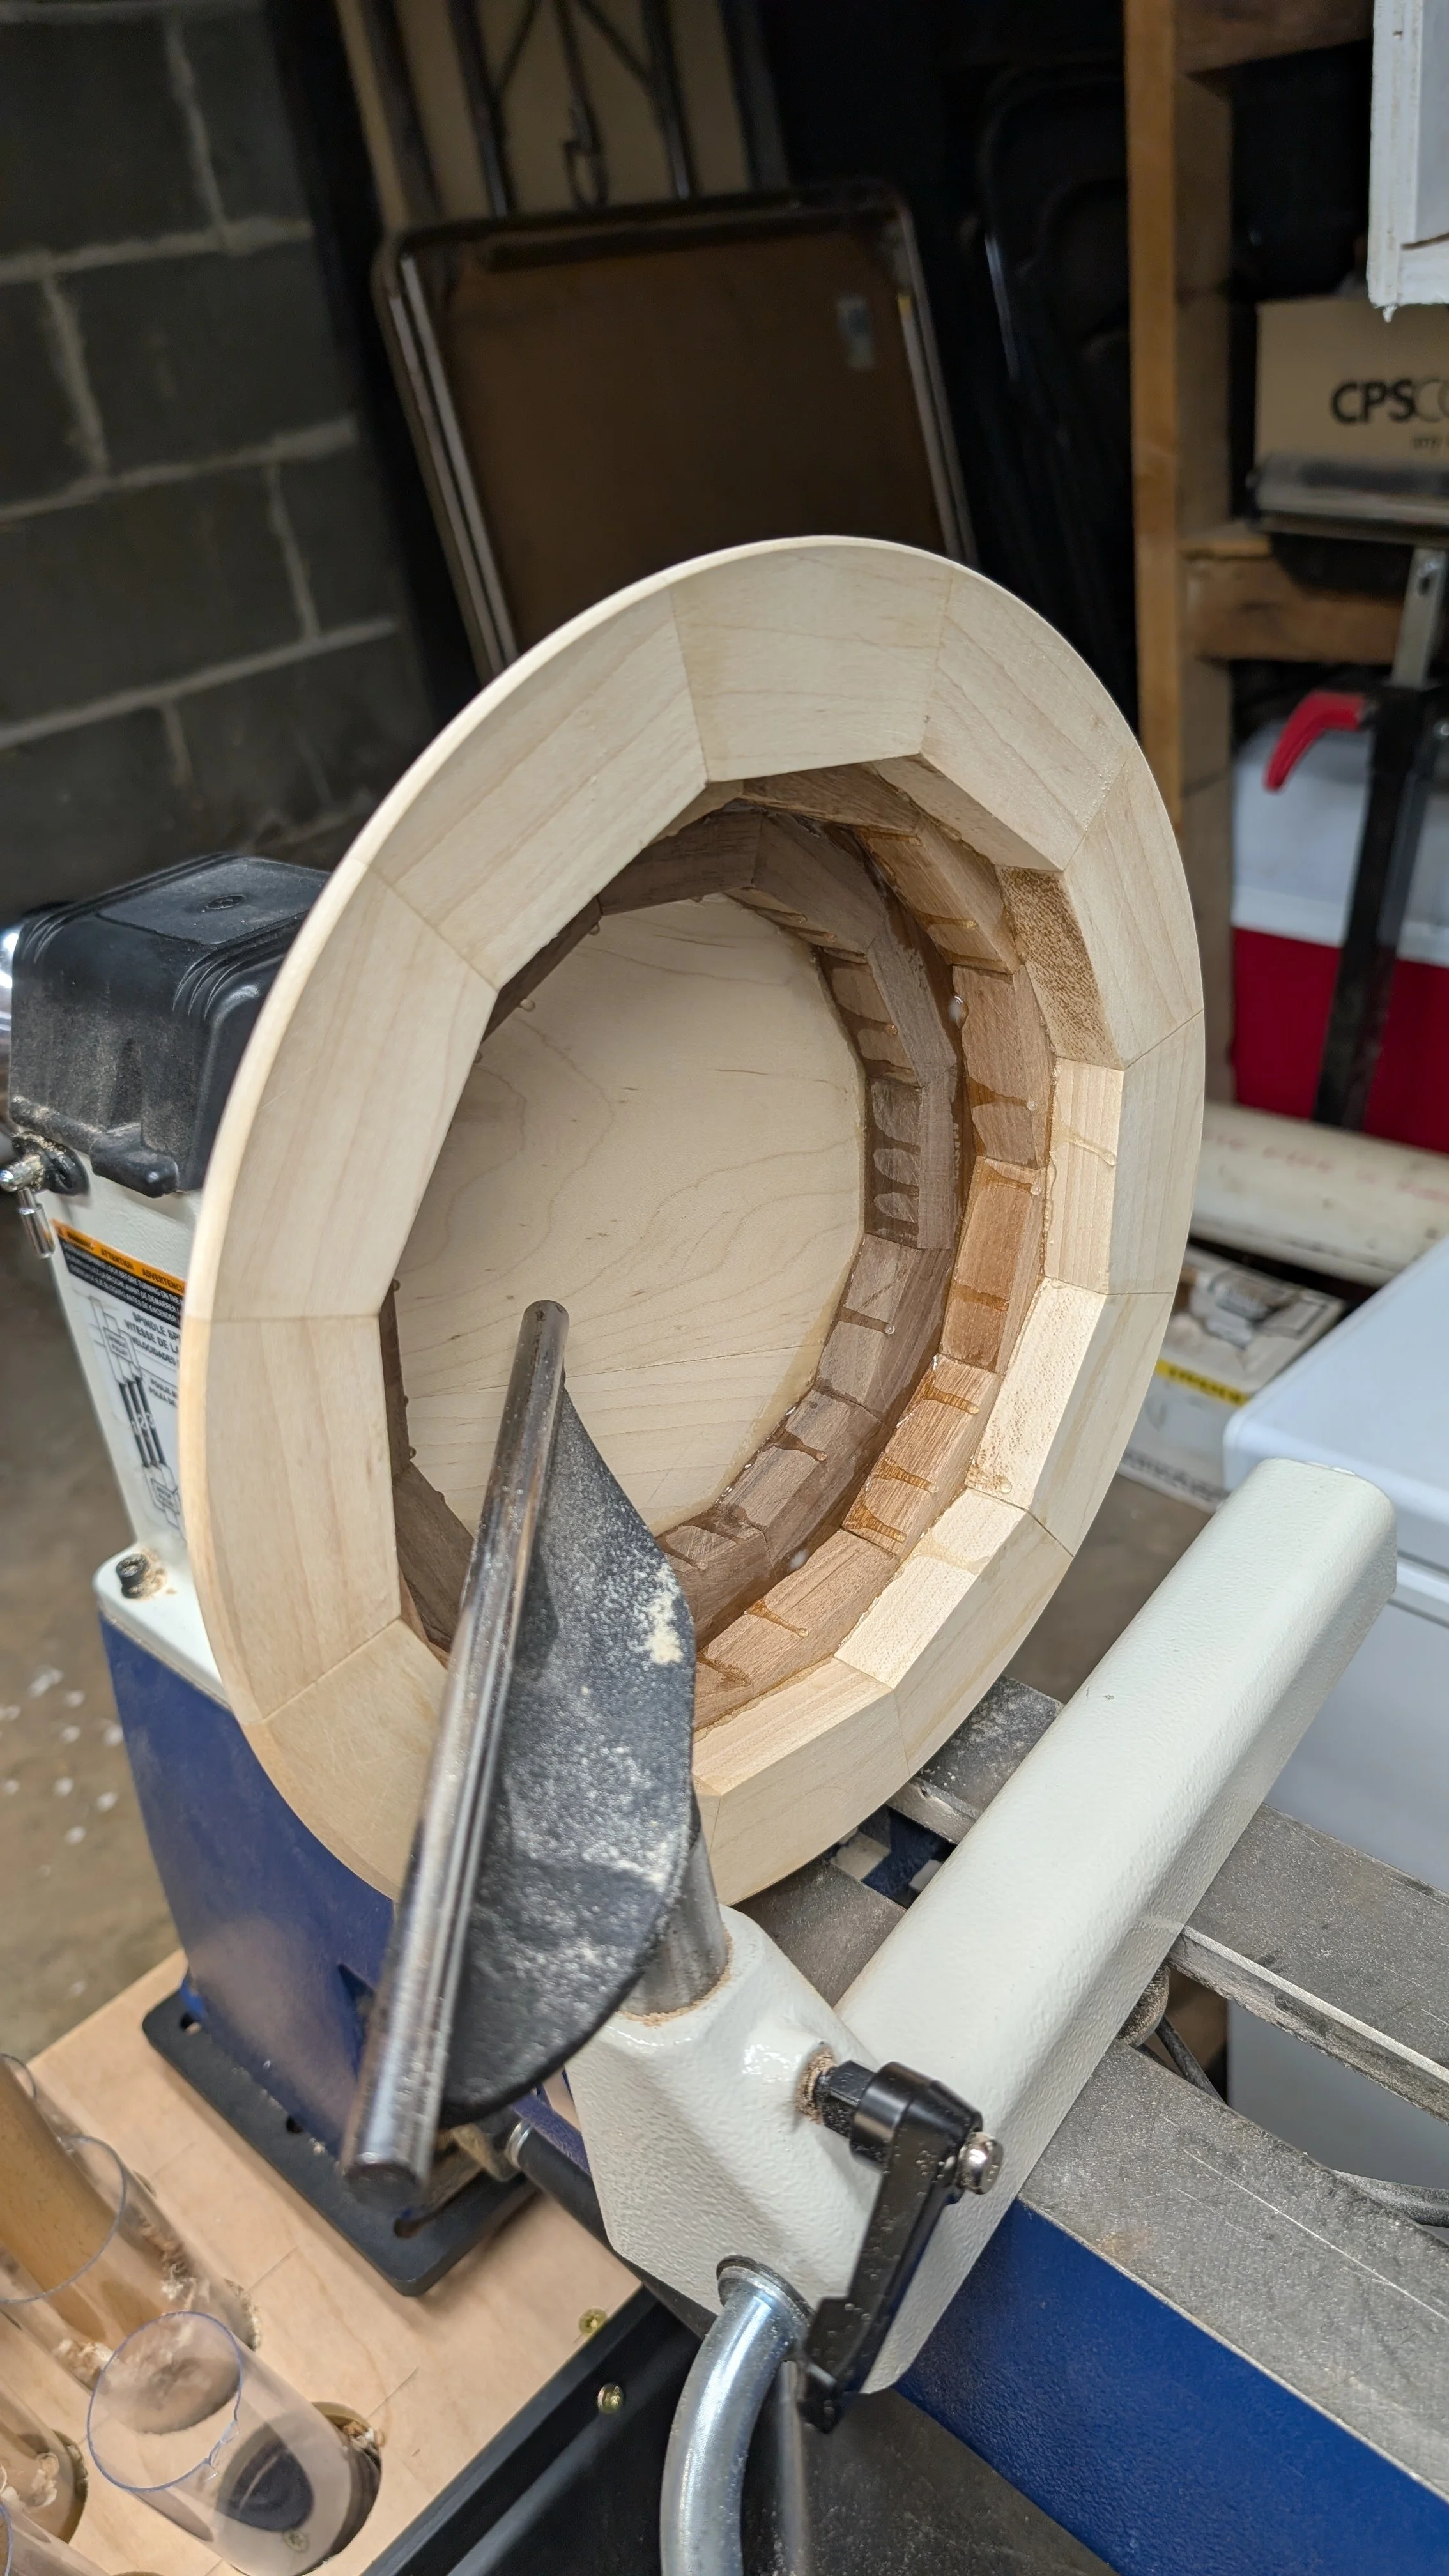
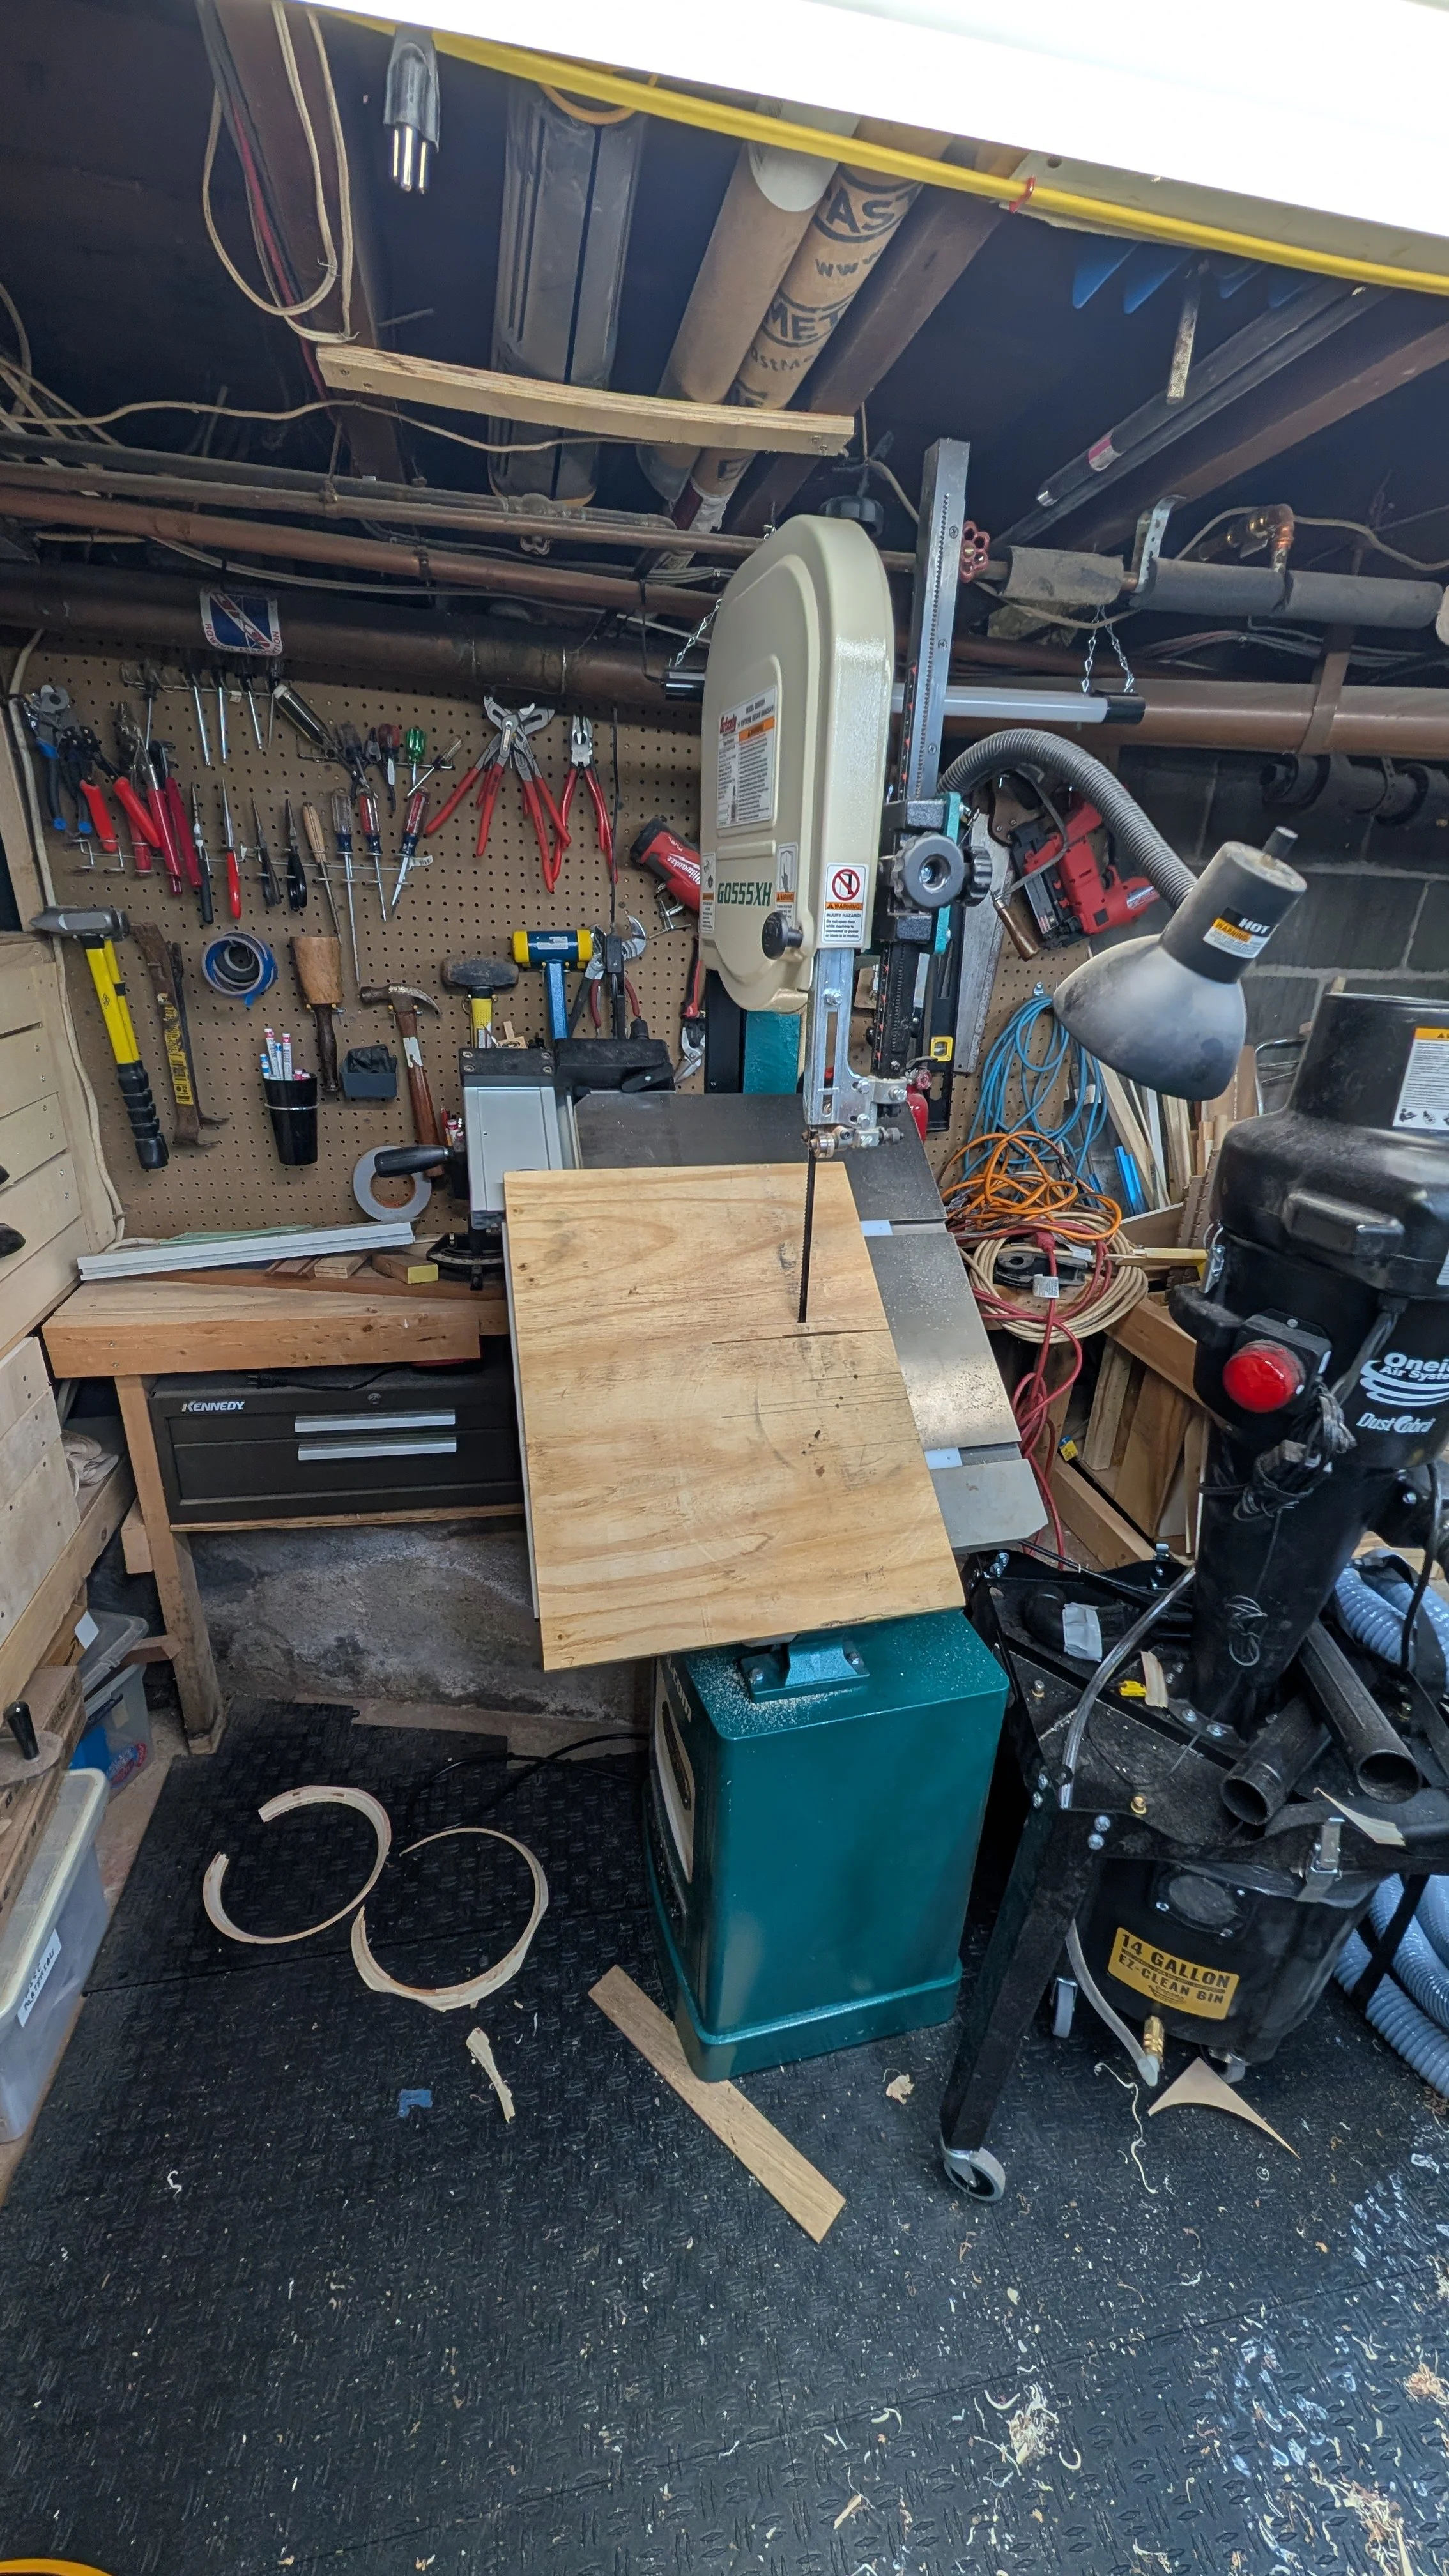
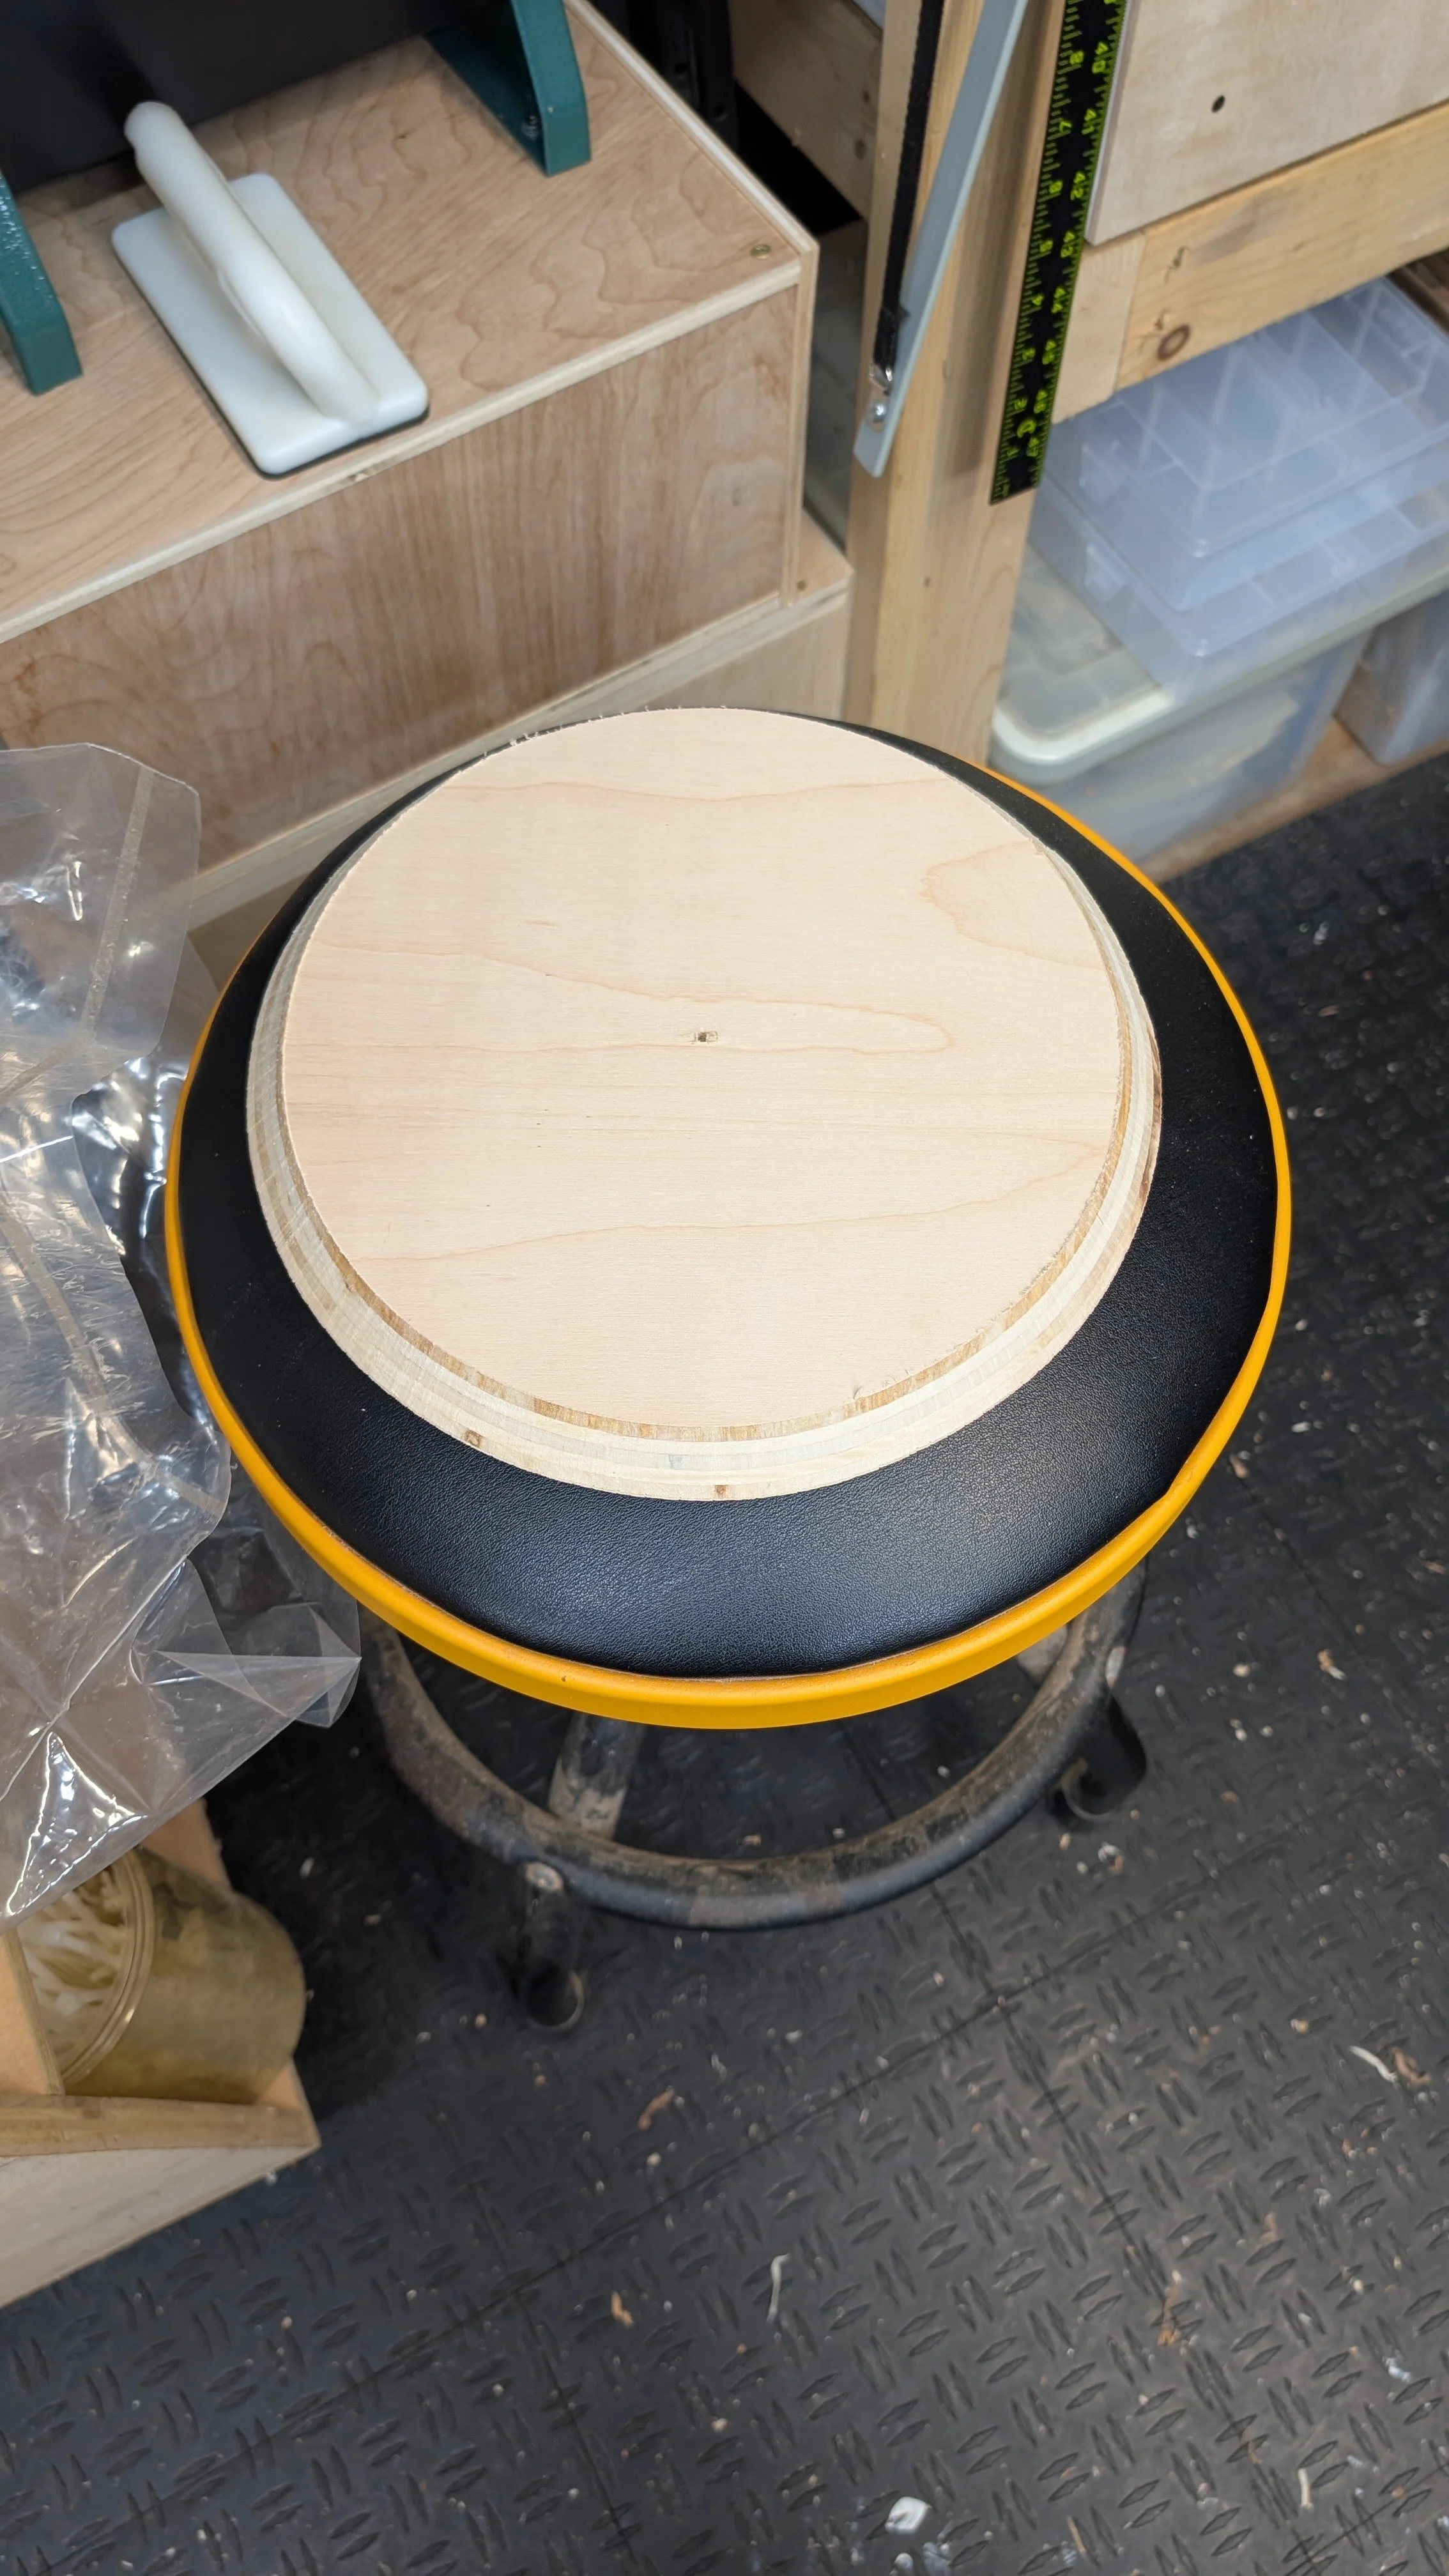
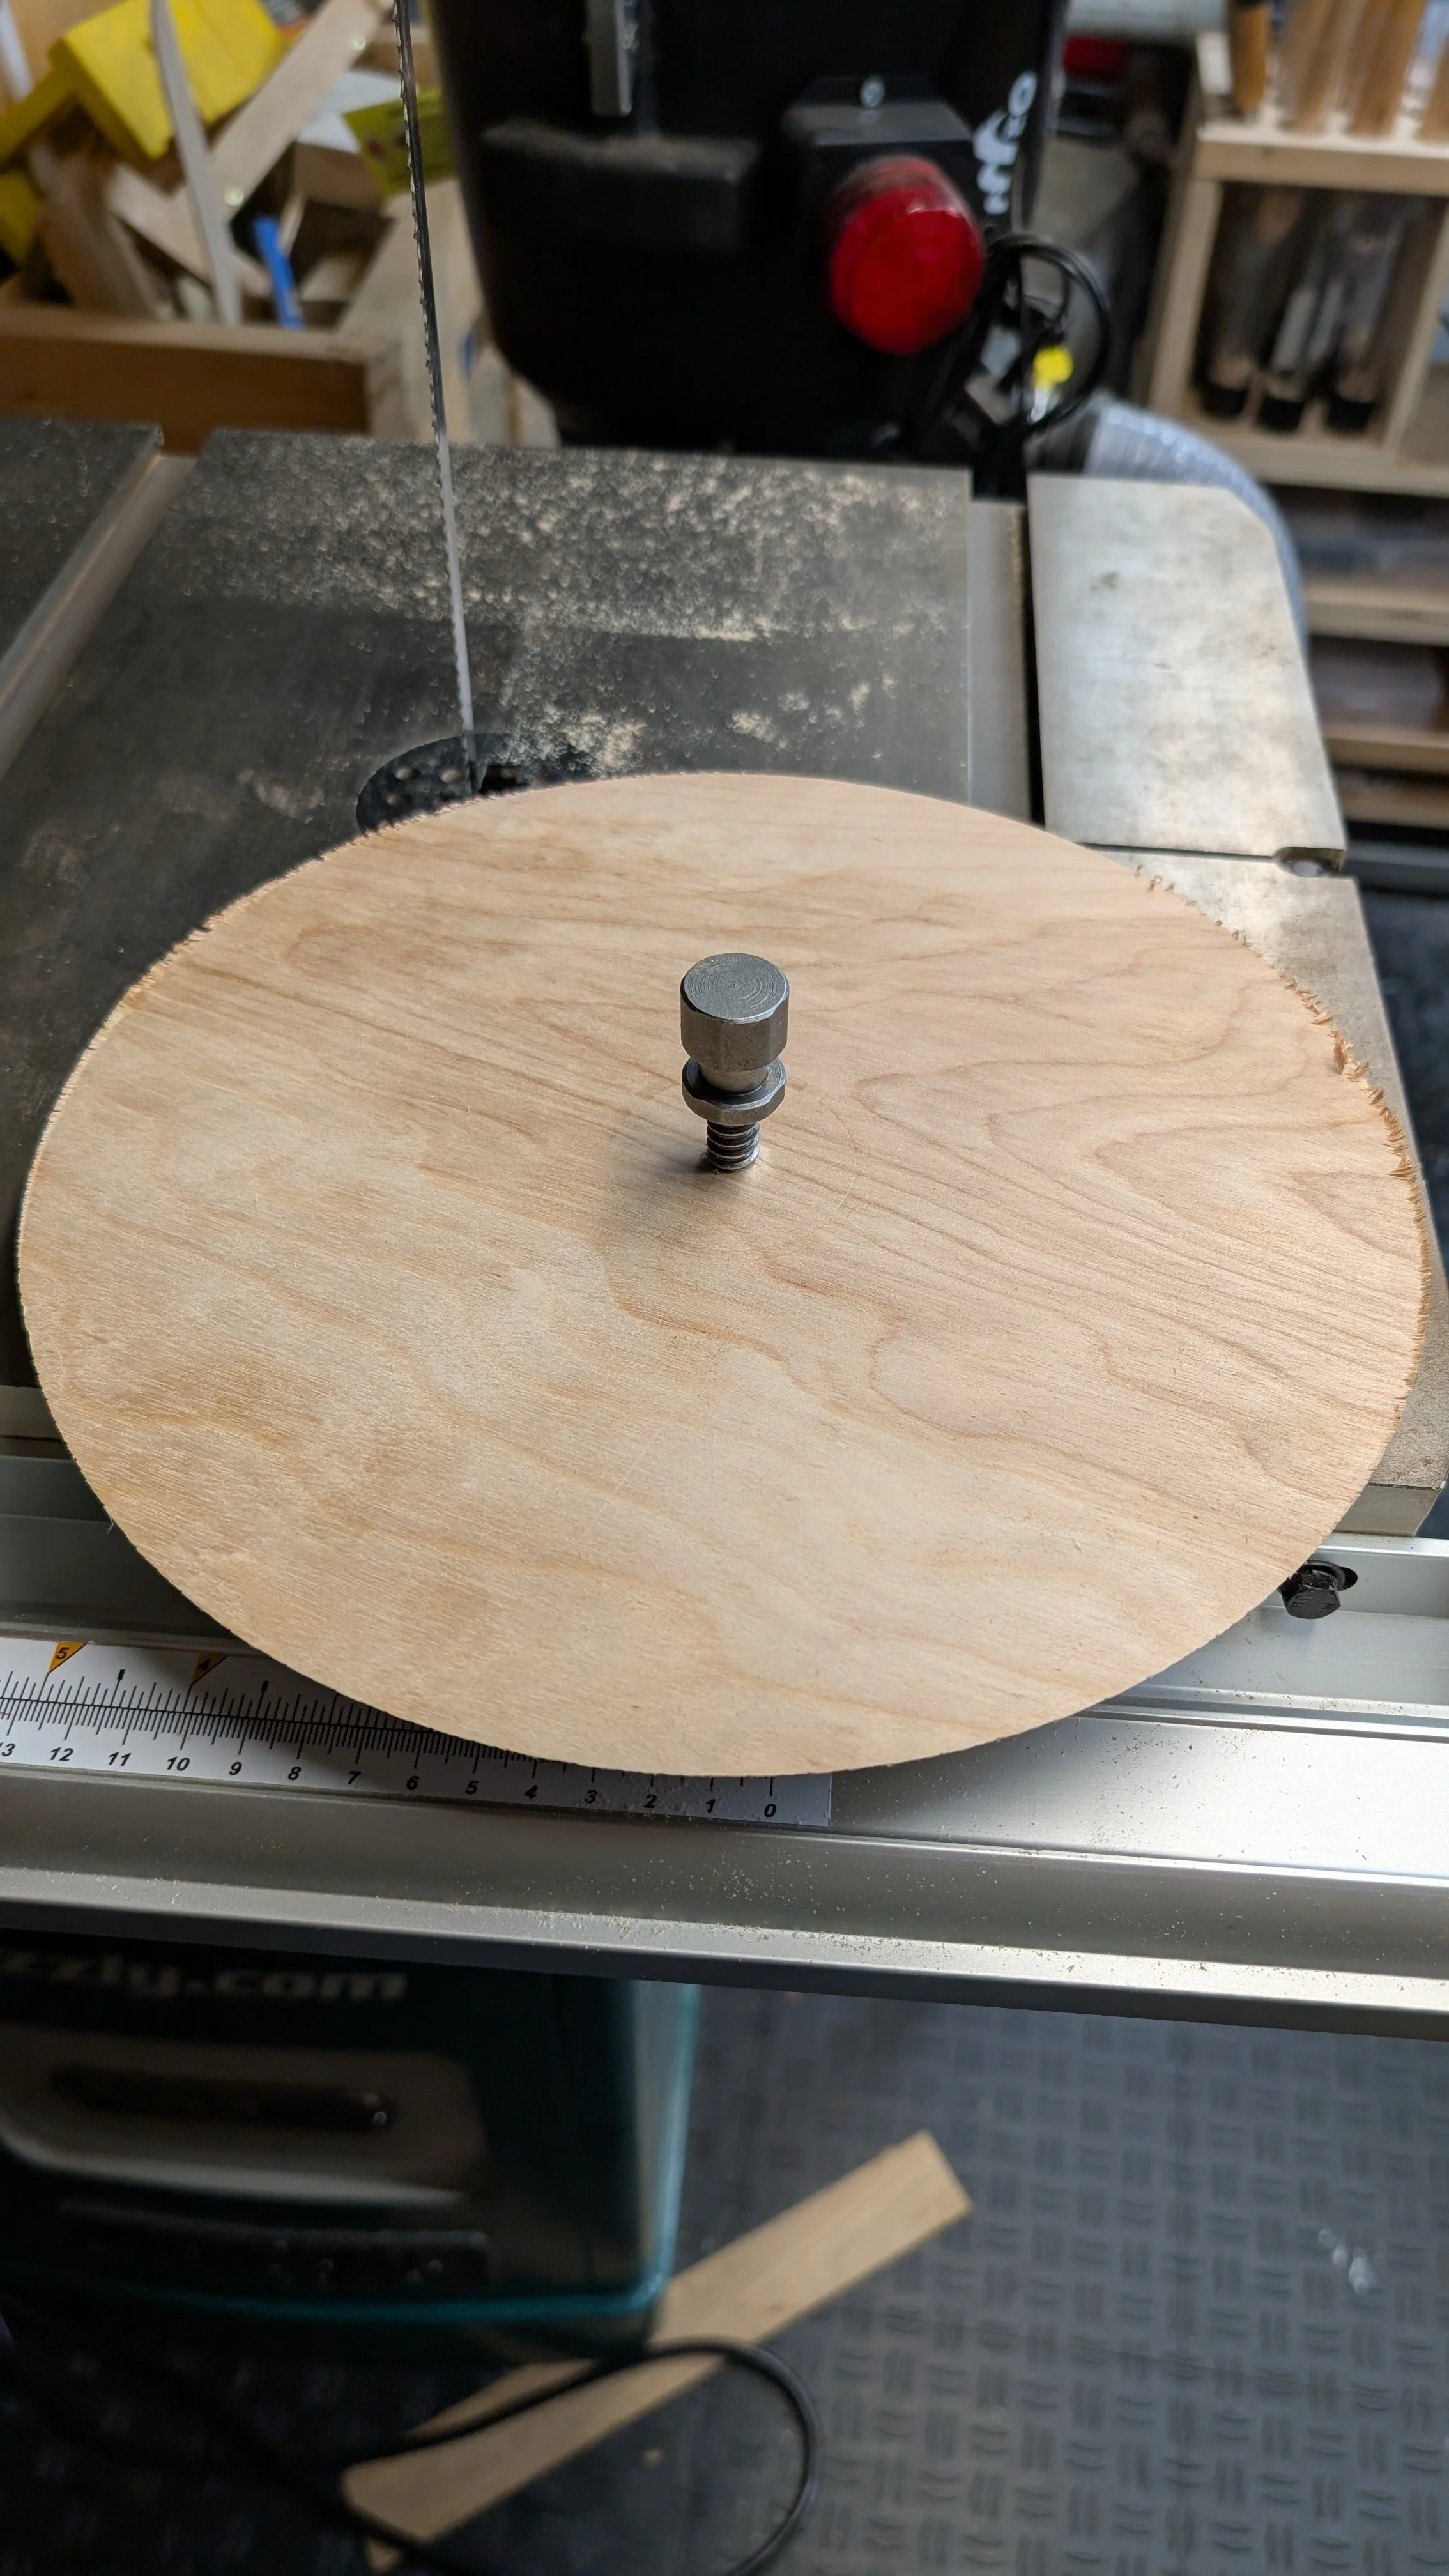
Now I had to turn it around to clean up the base and I needed some kind of a work holding solution. My Cole jaws wouldn’t hold it and still clear the base of the lathe so I cut a pressure disk from 3/4” birch plywood on my band saw with a bevel on the edge that matched the angle of the opening of the bowl.

I mounted the pressure disk on the chuck using the worm screw that came with the lathe. I trued up the disk and smoothed the saw cut on the bevel using a full size carbide finishing tool.

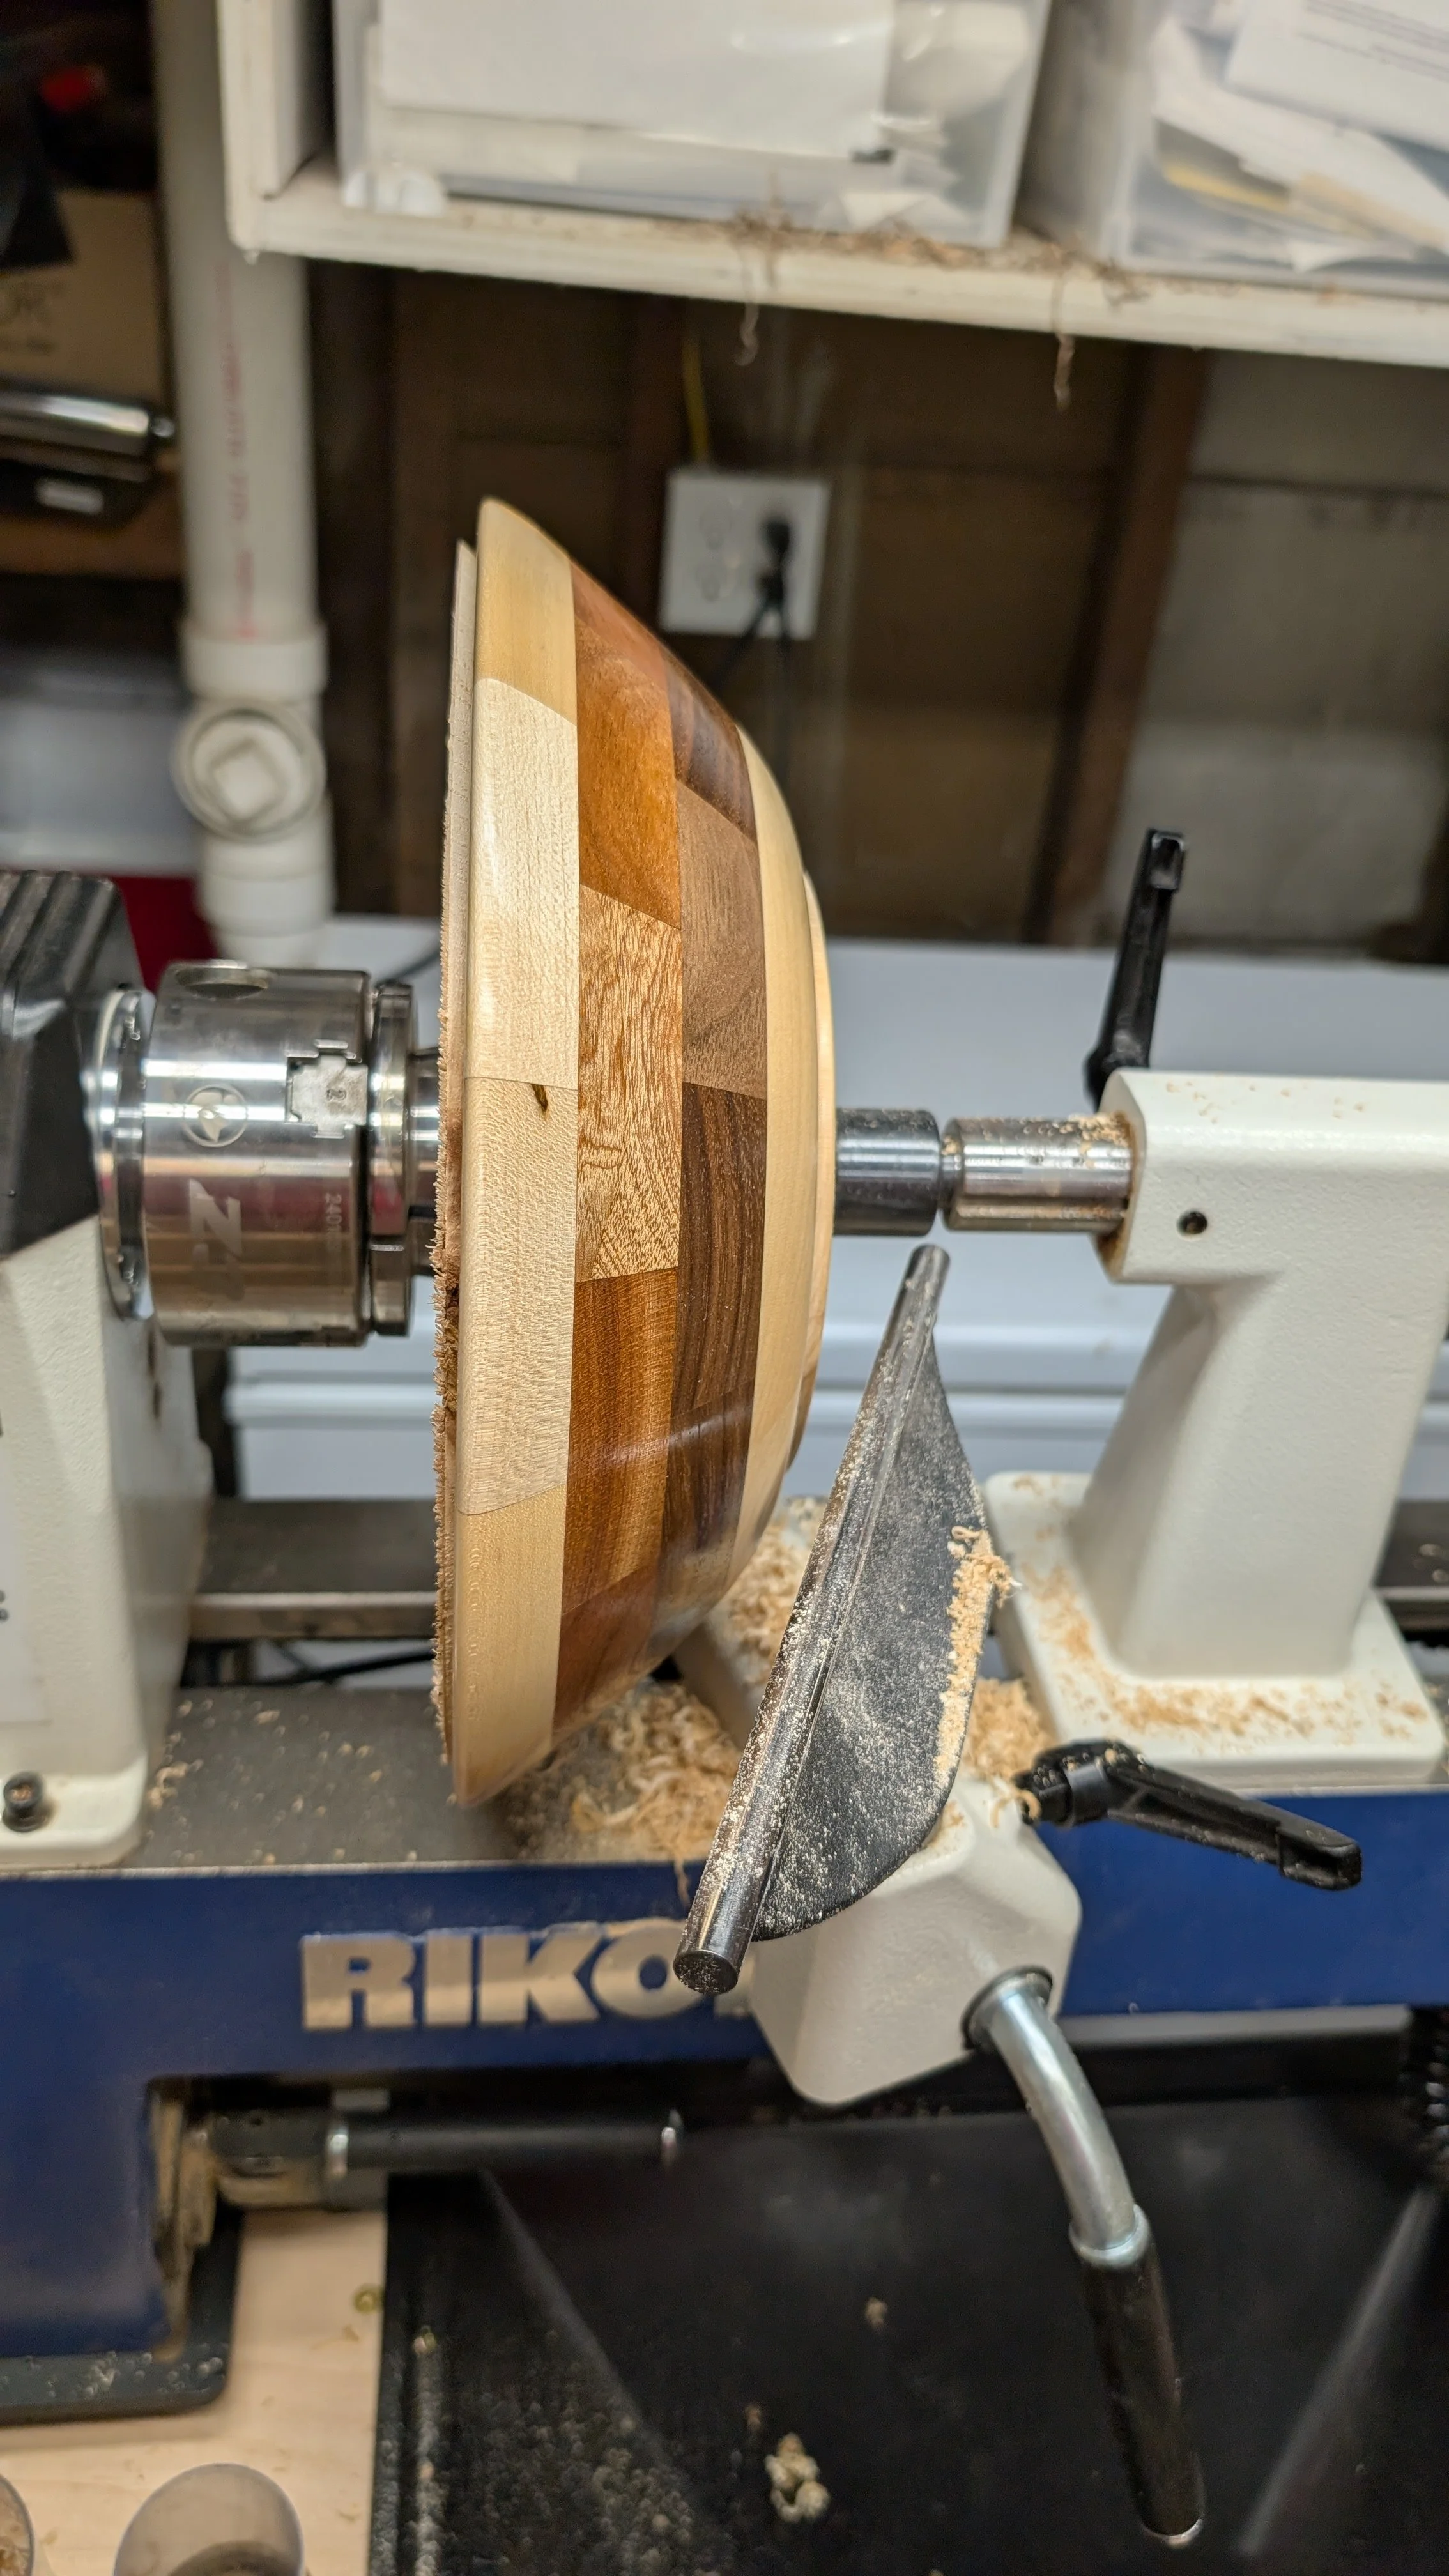
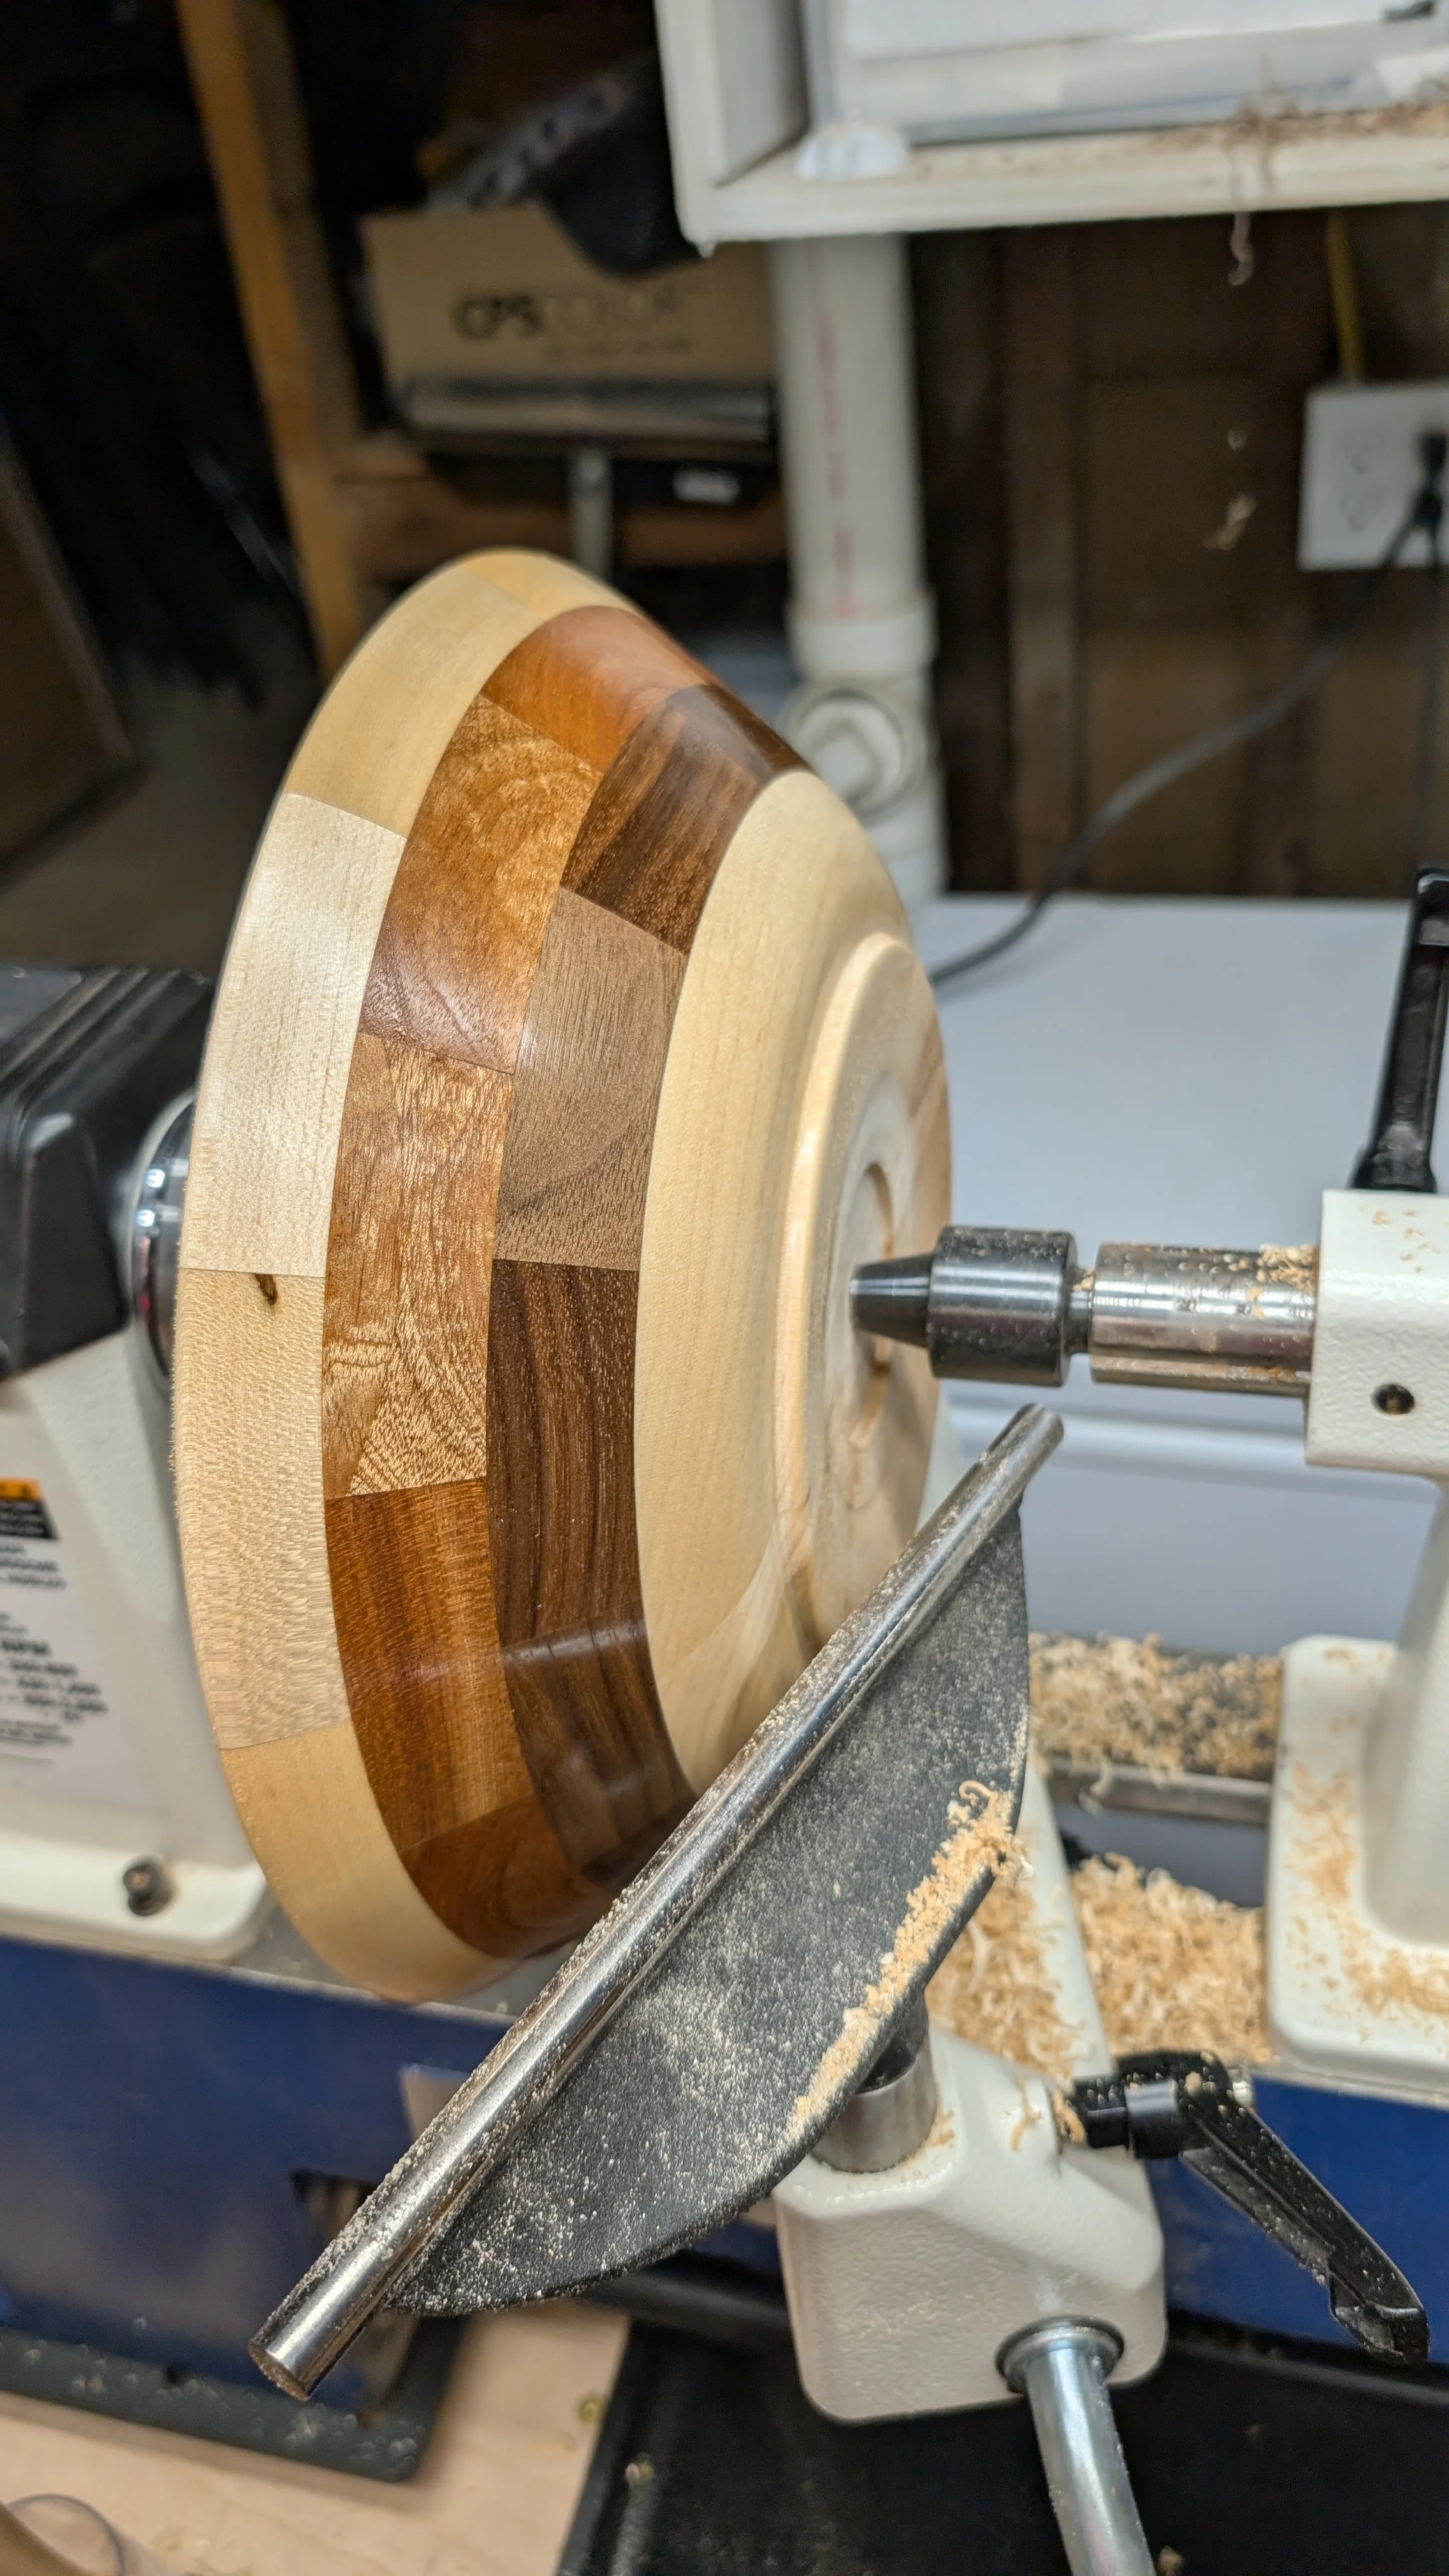
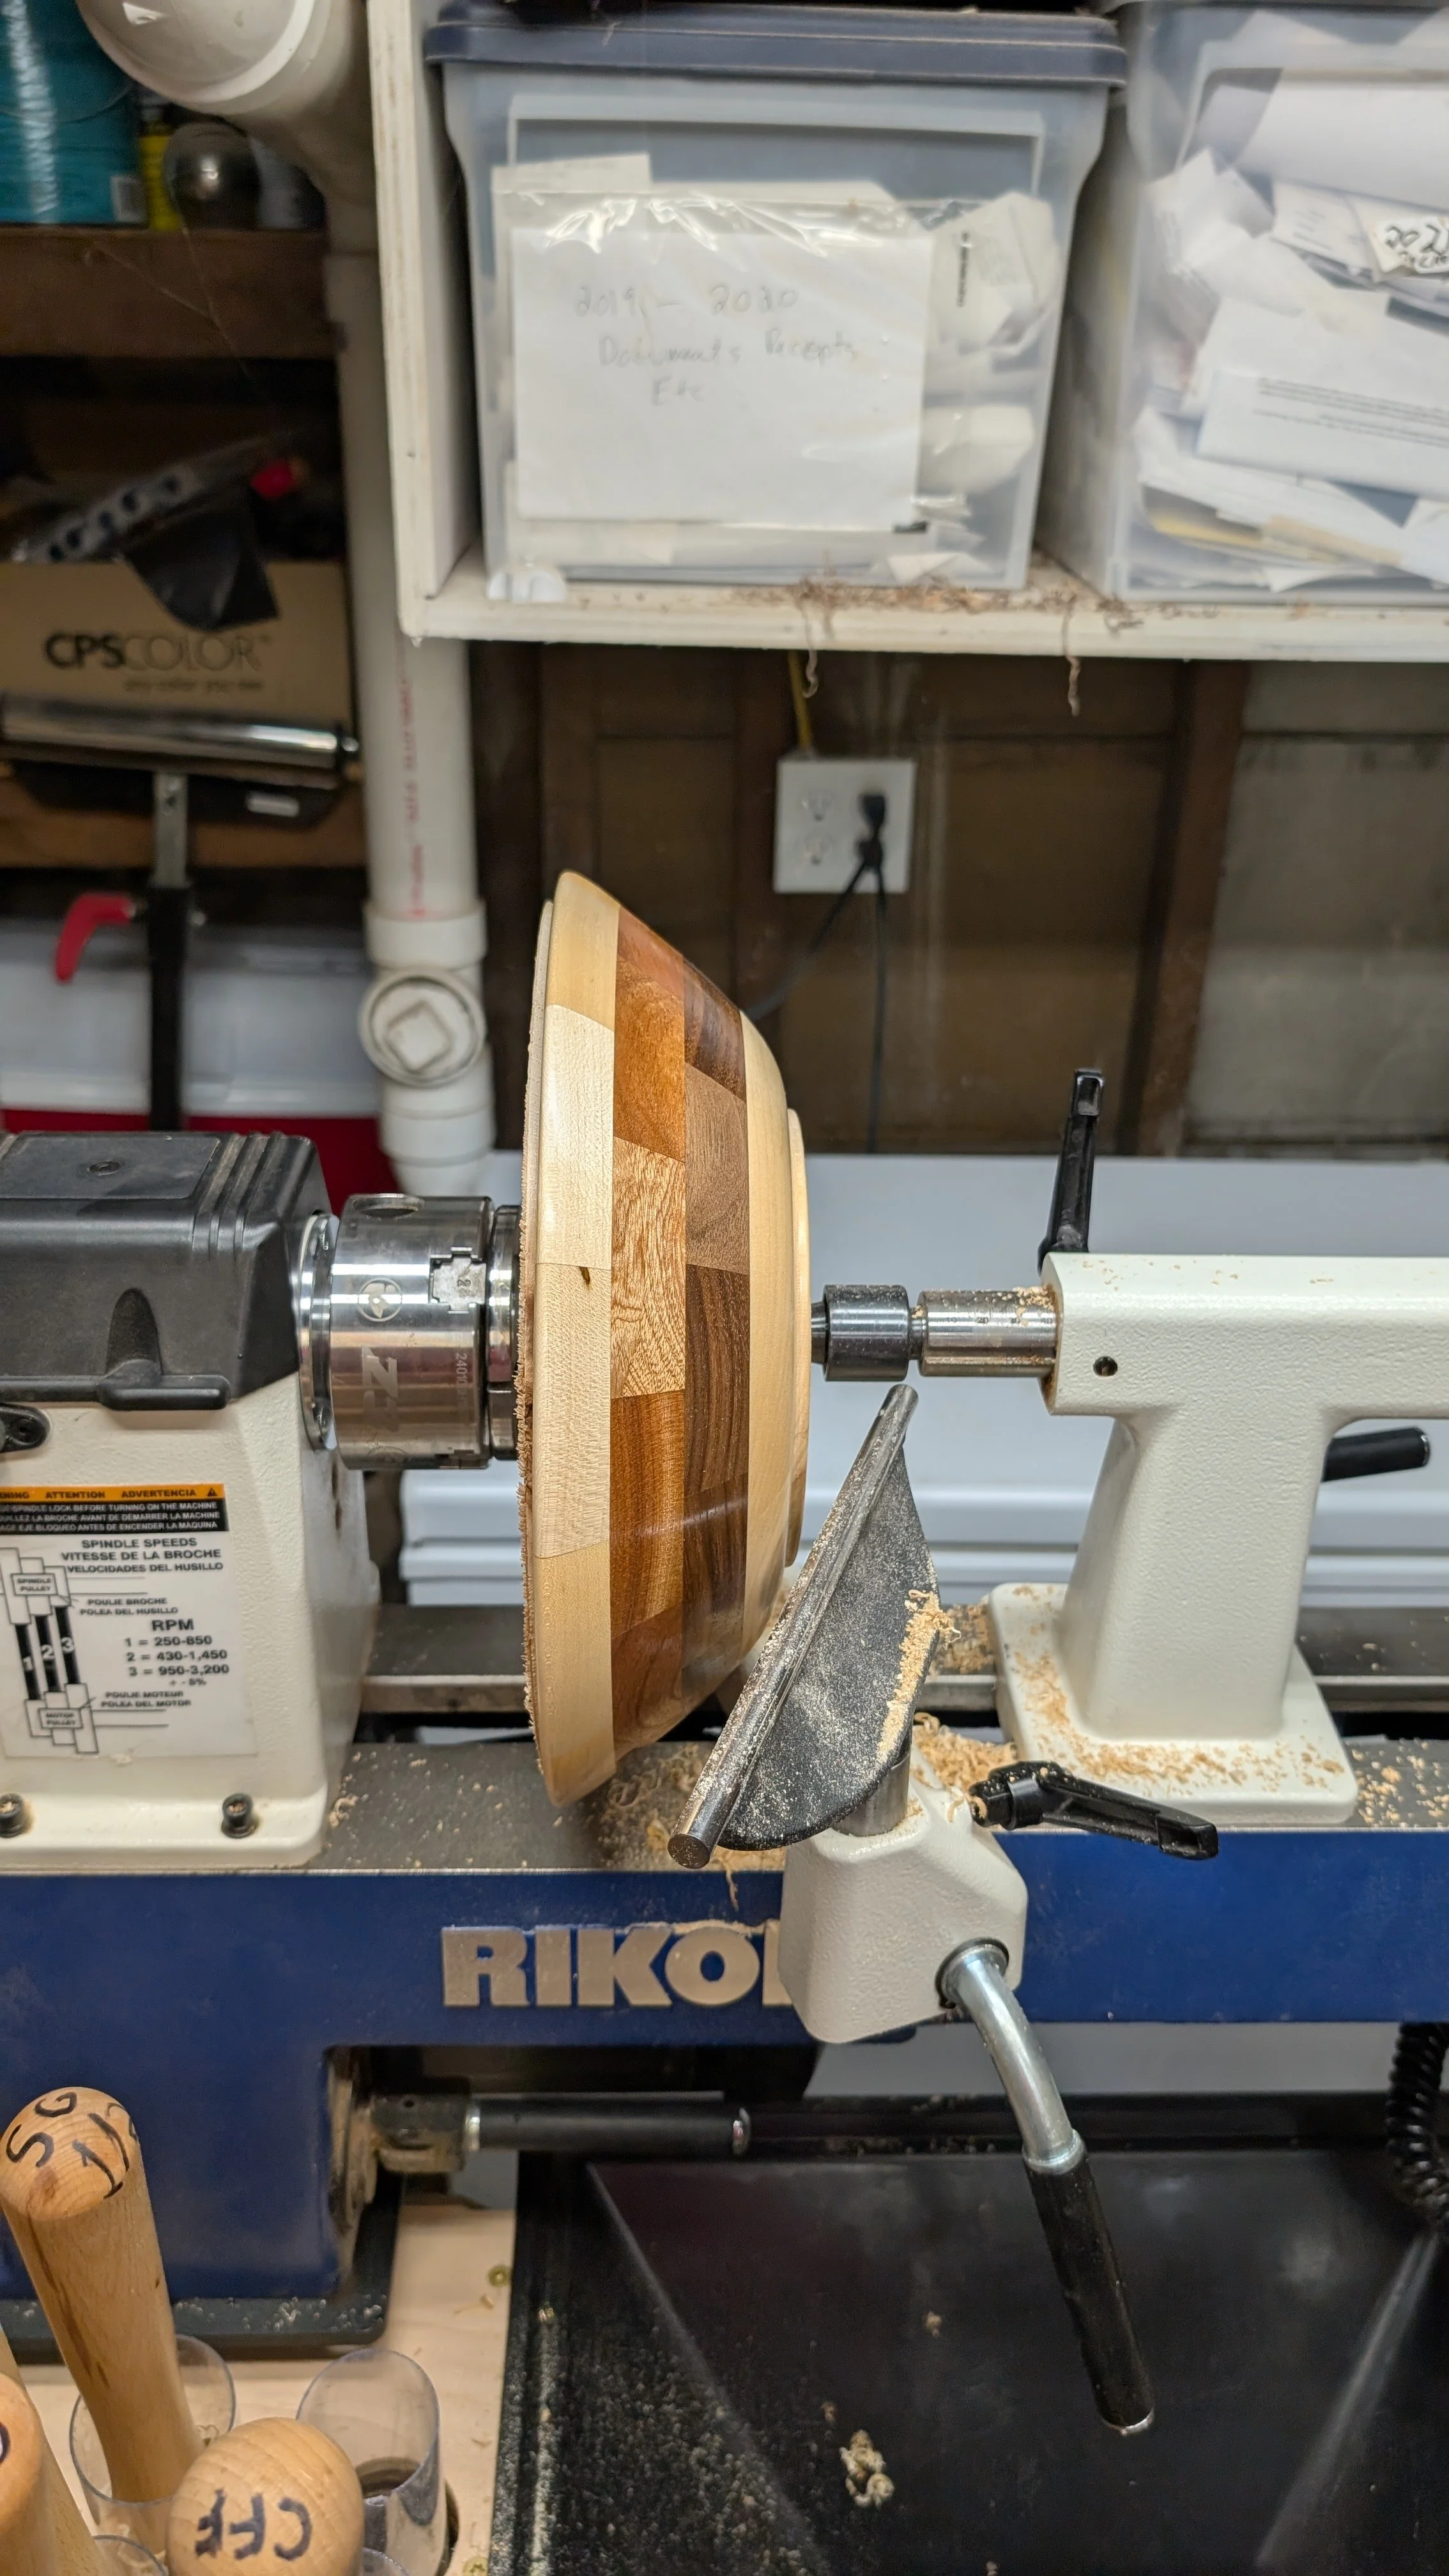
Then I pressed the bowl against the disk with the tail stock, it wasn’t perfectly centered but it was good enough to finish up the foot of the bowl. Then I sanded the foot to 320 grit and put some sanding sealer on it. The next day I sanded 600, 800, 1000, and 2000 grit and then cleaned all the dust off and applied the same finish as to the outside and inside.

View fullsize PXL_20260812_192918232.jpg
View fullsize PXL_20260812_192928703.jpg
View fullsize PXL_20260814_123044560.jpg
View fullsize PXL_20260813_122154492.jpg
View fullsize PXL_20260813_122158380.jpg
View fullsize PXL_20260813_122201330.jpg
View fullsize PXL_20260813_124031801.jpg

I like this one a lot, there is also a cool half moon pattern in many of the segments because the stock I used was glued up lengthwise and the bowl cuts through the glue line. It looks good on the dining table too.

In Journal Tags building, journal, wider lower more curved segmented bowl, wood turning
Comment

Learning to Turn

July 15, 2026

So… In the six years and some months since I retired I’ve been doing a lot of woodworking. I’ve learned a lot and the shop has evolved steadily and I’ve even joined a woodworking guild. One of the things that often comes up is wood turning and if I’m going to do it. I deferred deciding that on the grounds that I didn’t know where I would put a lathe in my shop. However, recently I figured out how to make some more space in the shop and I finally decided to go ahead and learn wood turning and get a lathe.

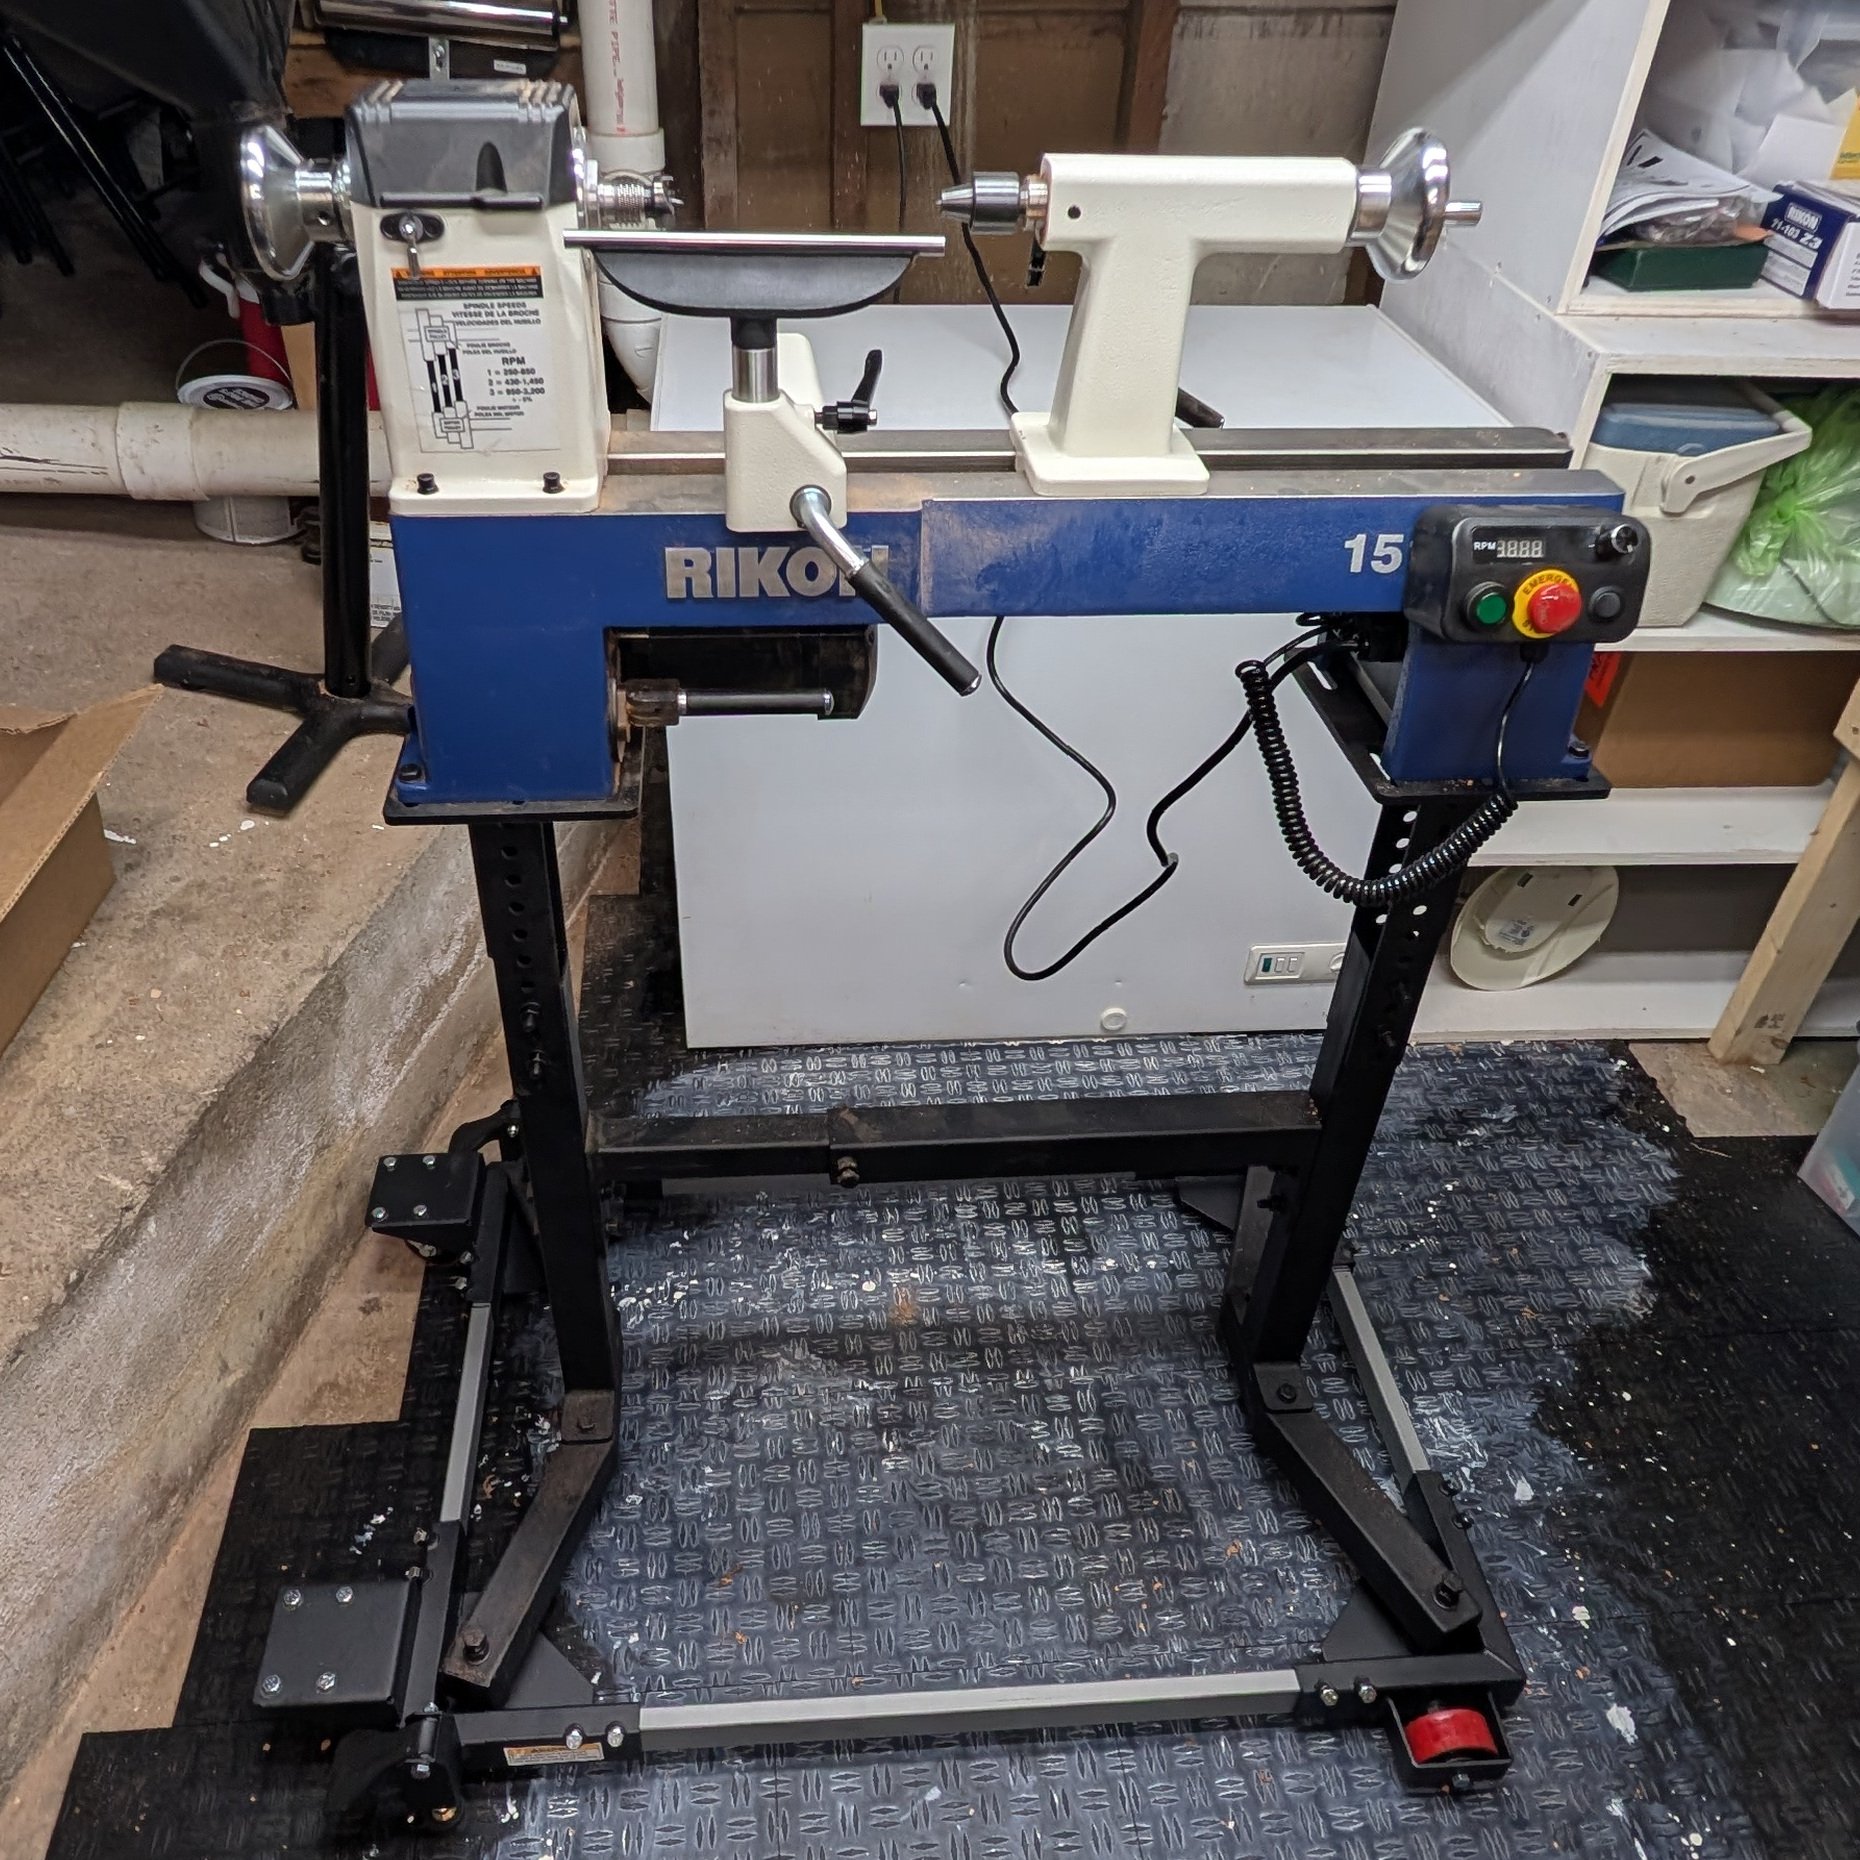
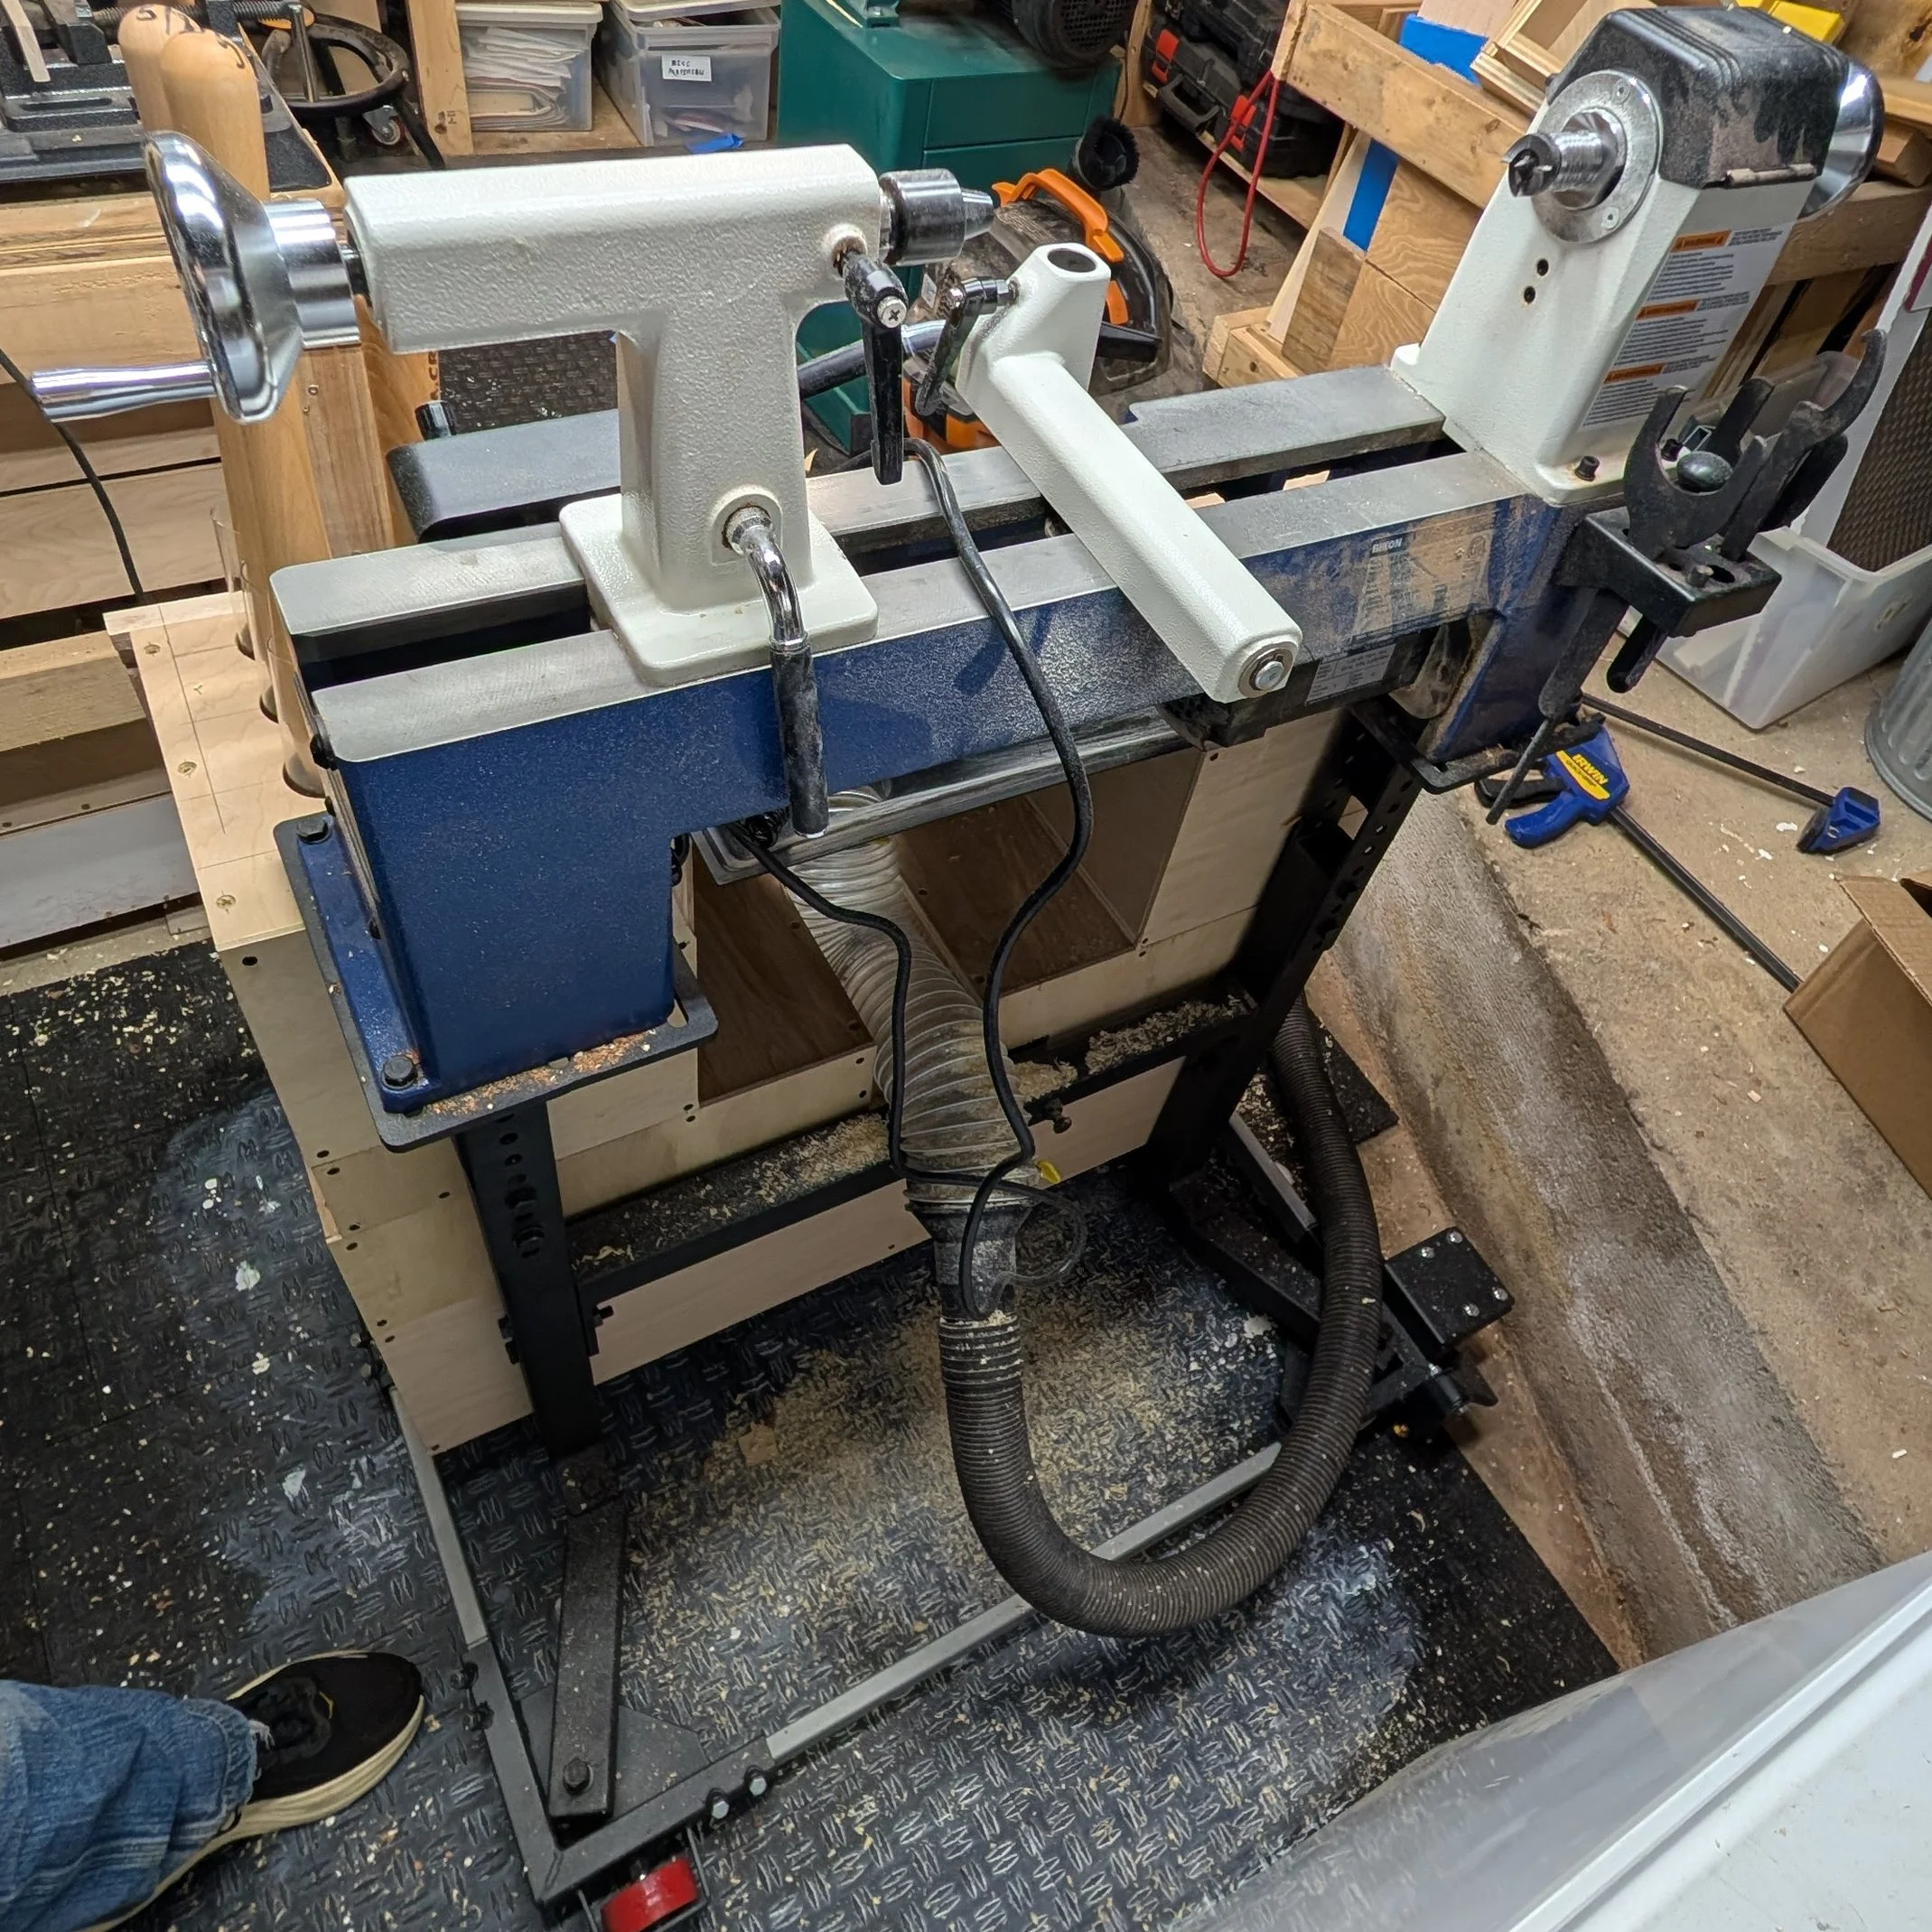
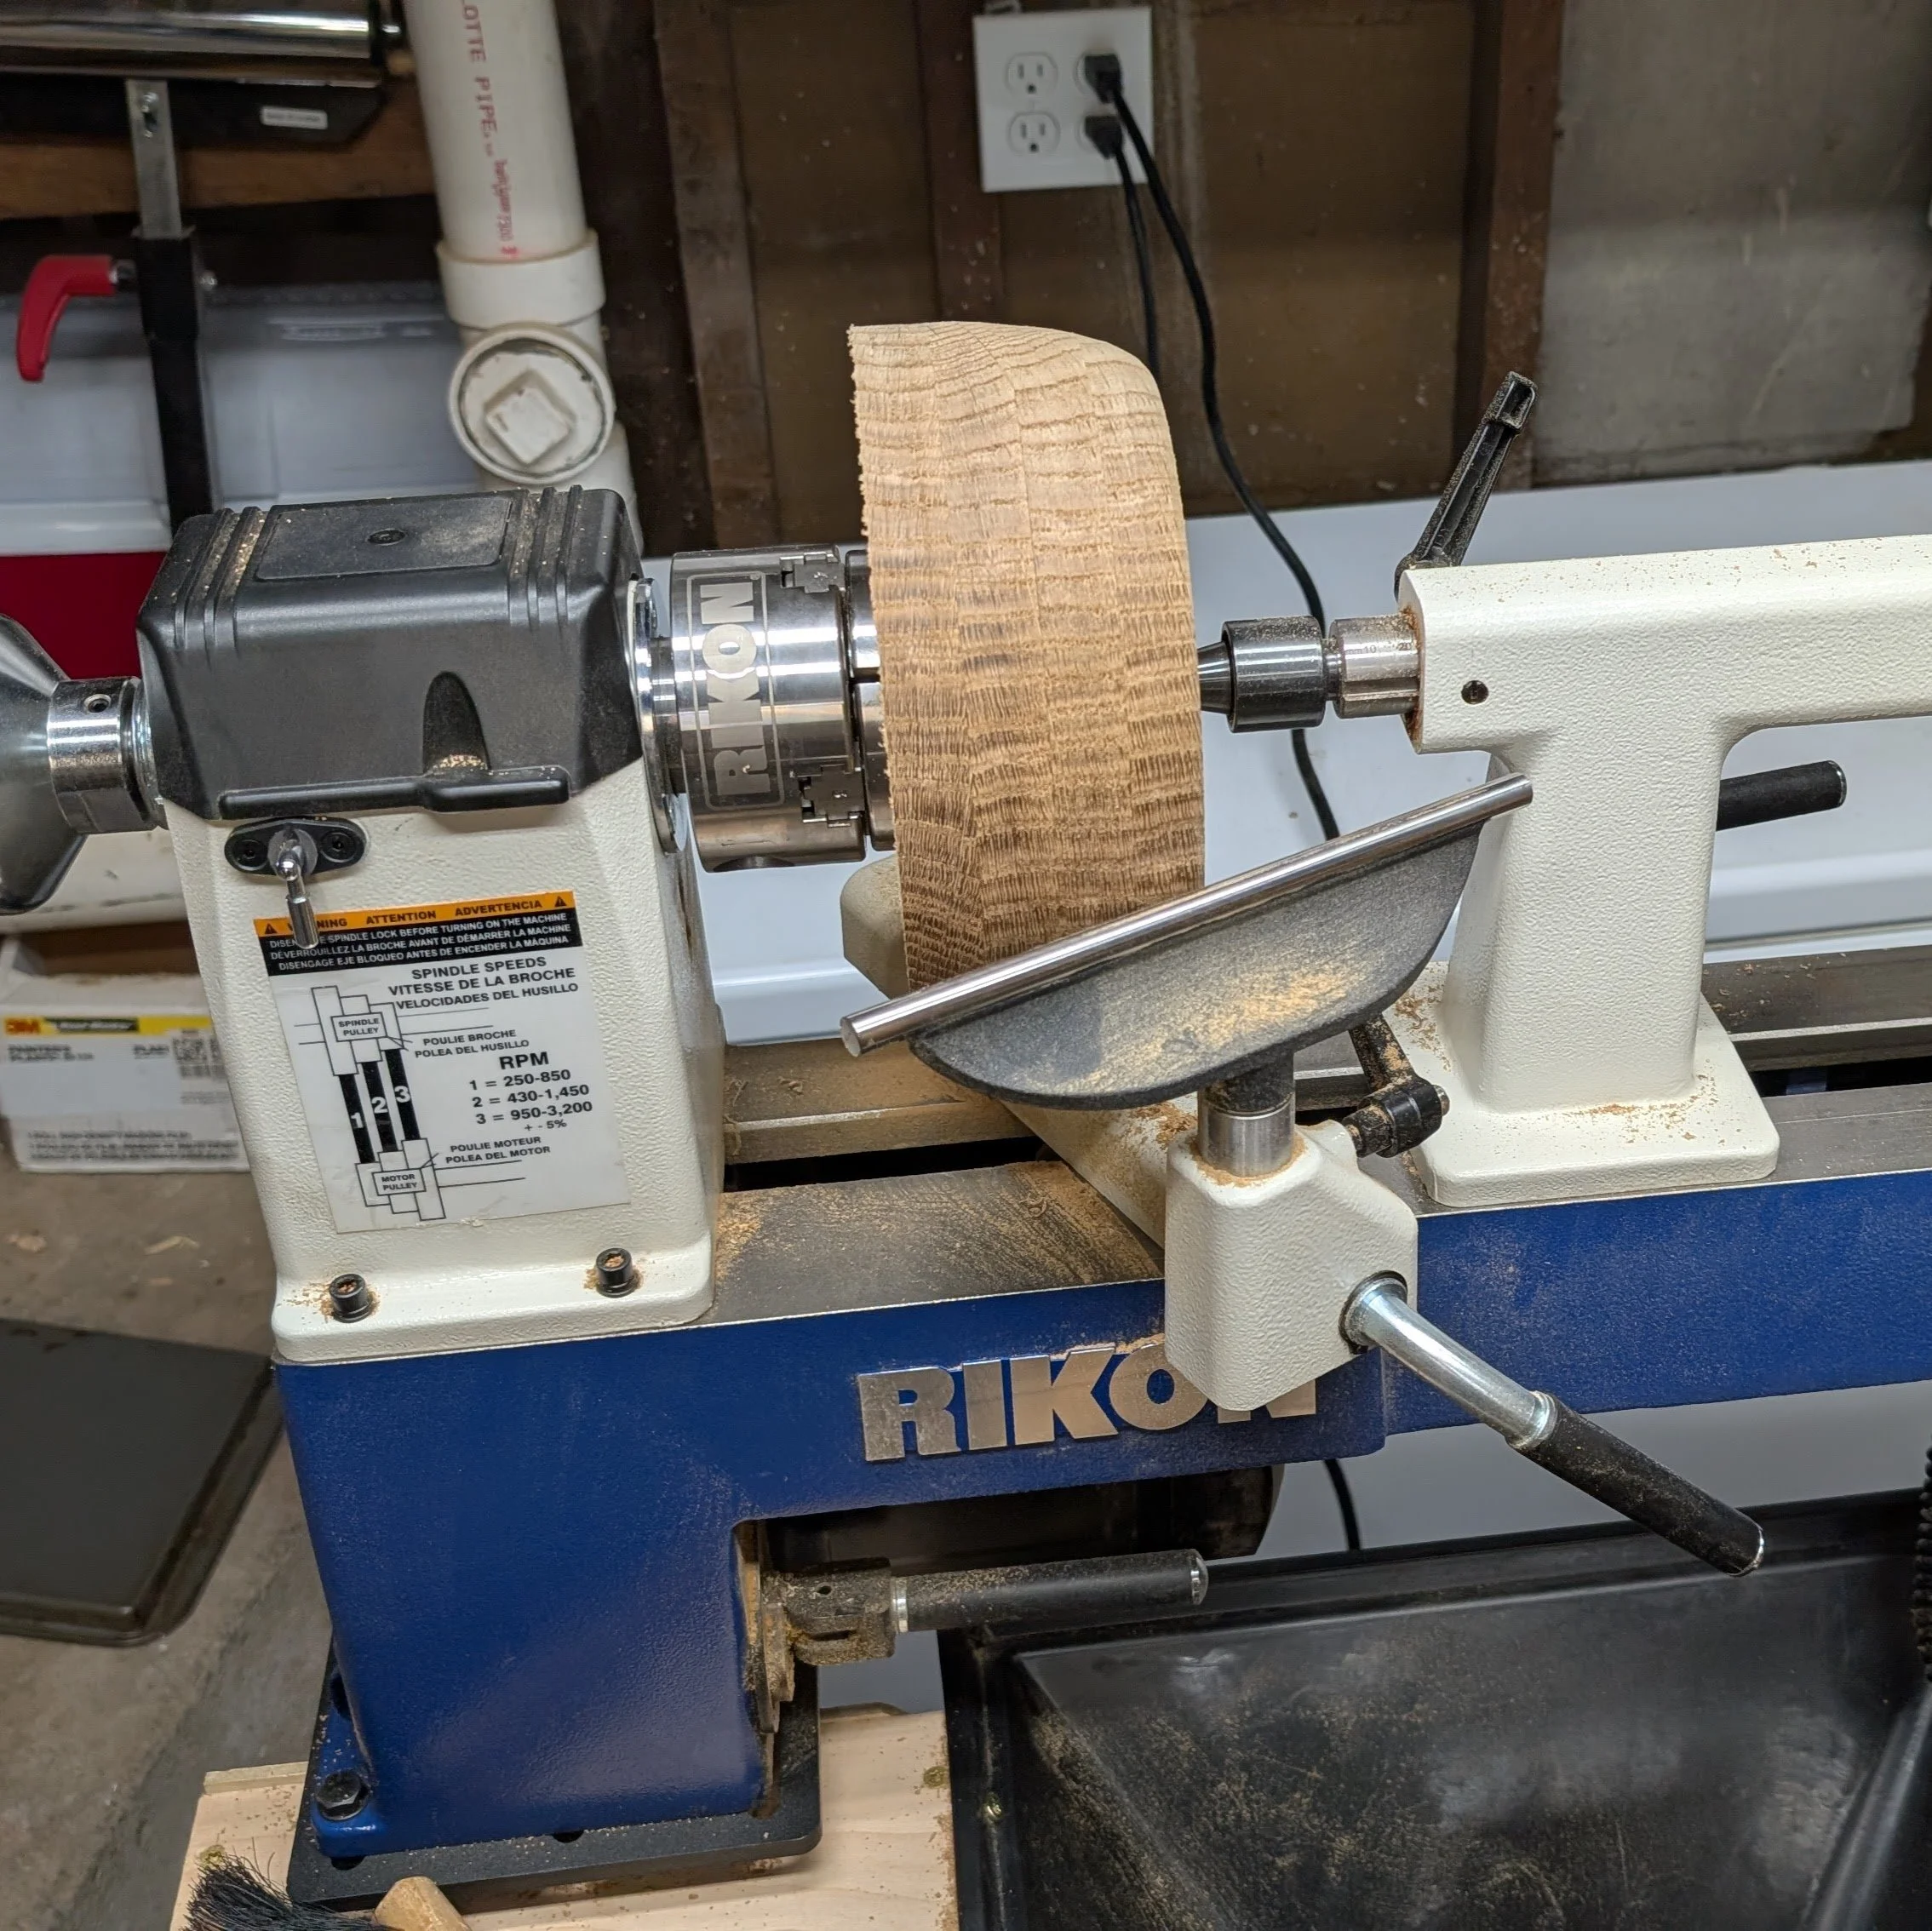
I didn’t have enough space for a big lathe so I got what is termed a midi-lathe it is a 16” x 12” RIKON lathe. It fit my price point, came with a good collection of accessories, and fit my goals which were to mostly turn bowls and other hollow things that were 12” or less in diameter.

I also got a nice stand for it and eventually I put it on a mobile base that I had purchased when I got my band saw but never used due to height restrictions. Fortunately I have a chain hoist and a fine collection of heavy duty eye-bolts so I was able to hoist it onto the mobile base and re-adjust the working height.

The other thing that folks talk about when discussing wood turning is the plethora of additional tools and work holding accessories you need to acquire in addition to the lathe. This lathe came with a nice chuck, a worm screw, a live center, a drive center, and a face plate. Which is quite bit more that many similarly priced lathes come with. I then acquired several sizes and types of high speed steel turning chisels gouges, scrapers, etc… as well a several sizes and types of carbide turning tools… because I couldn’t decide what kind of person I was going to be and figured I would just do both. I also got a drill chuck, some cole jaws for gripping a hollow form after it has been hollowed, a new wet sharpening system, and a special jig for sharpening turning gouges.

I justified a bunch of the expense by having sold all of my photographic equipment that I no longer used for a decent percentage of the total cost of this project.

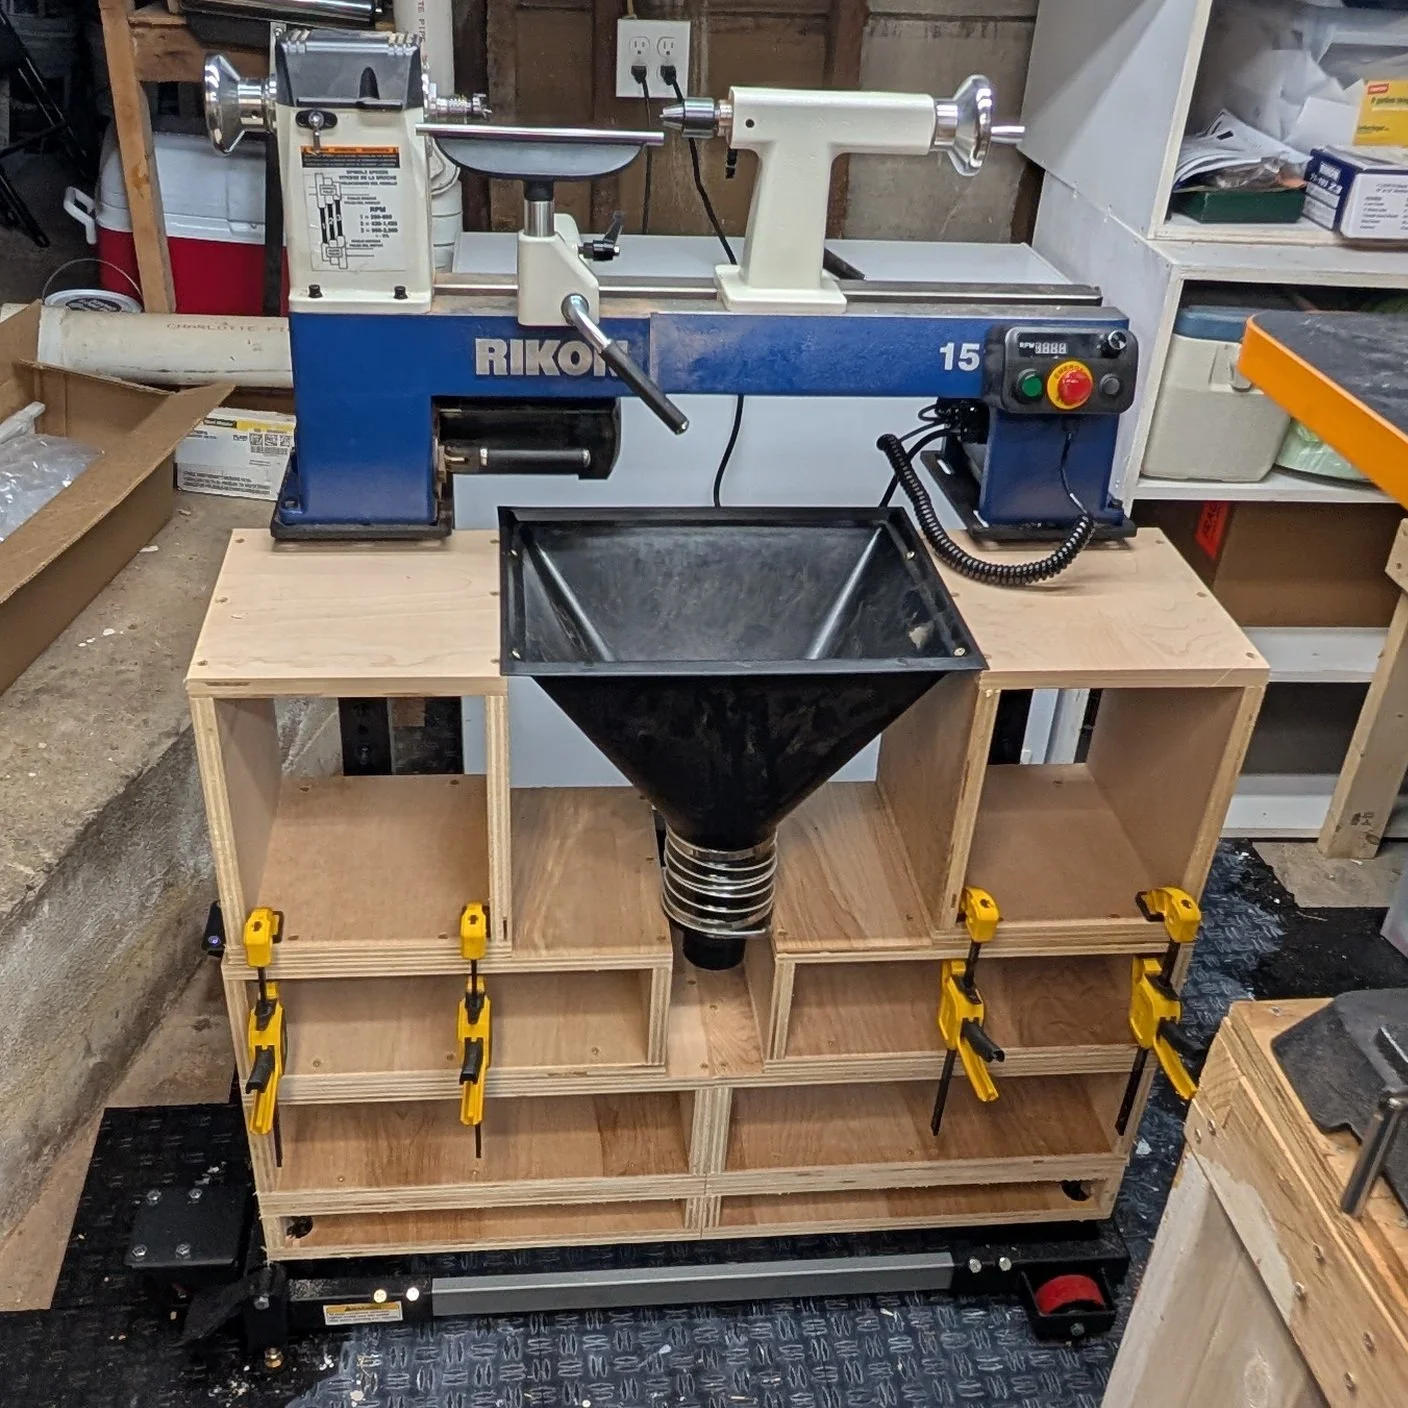
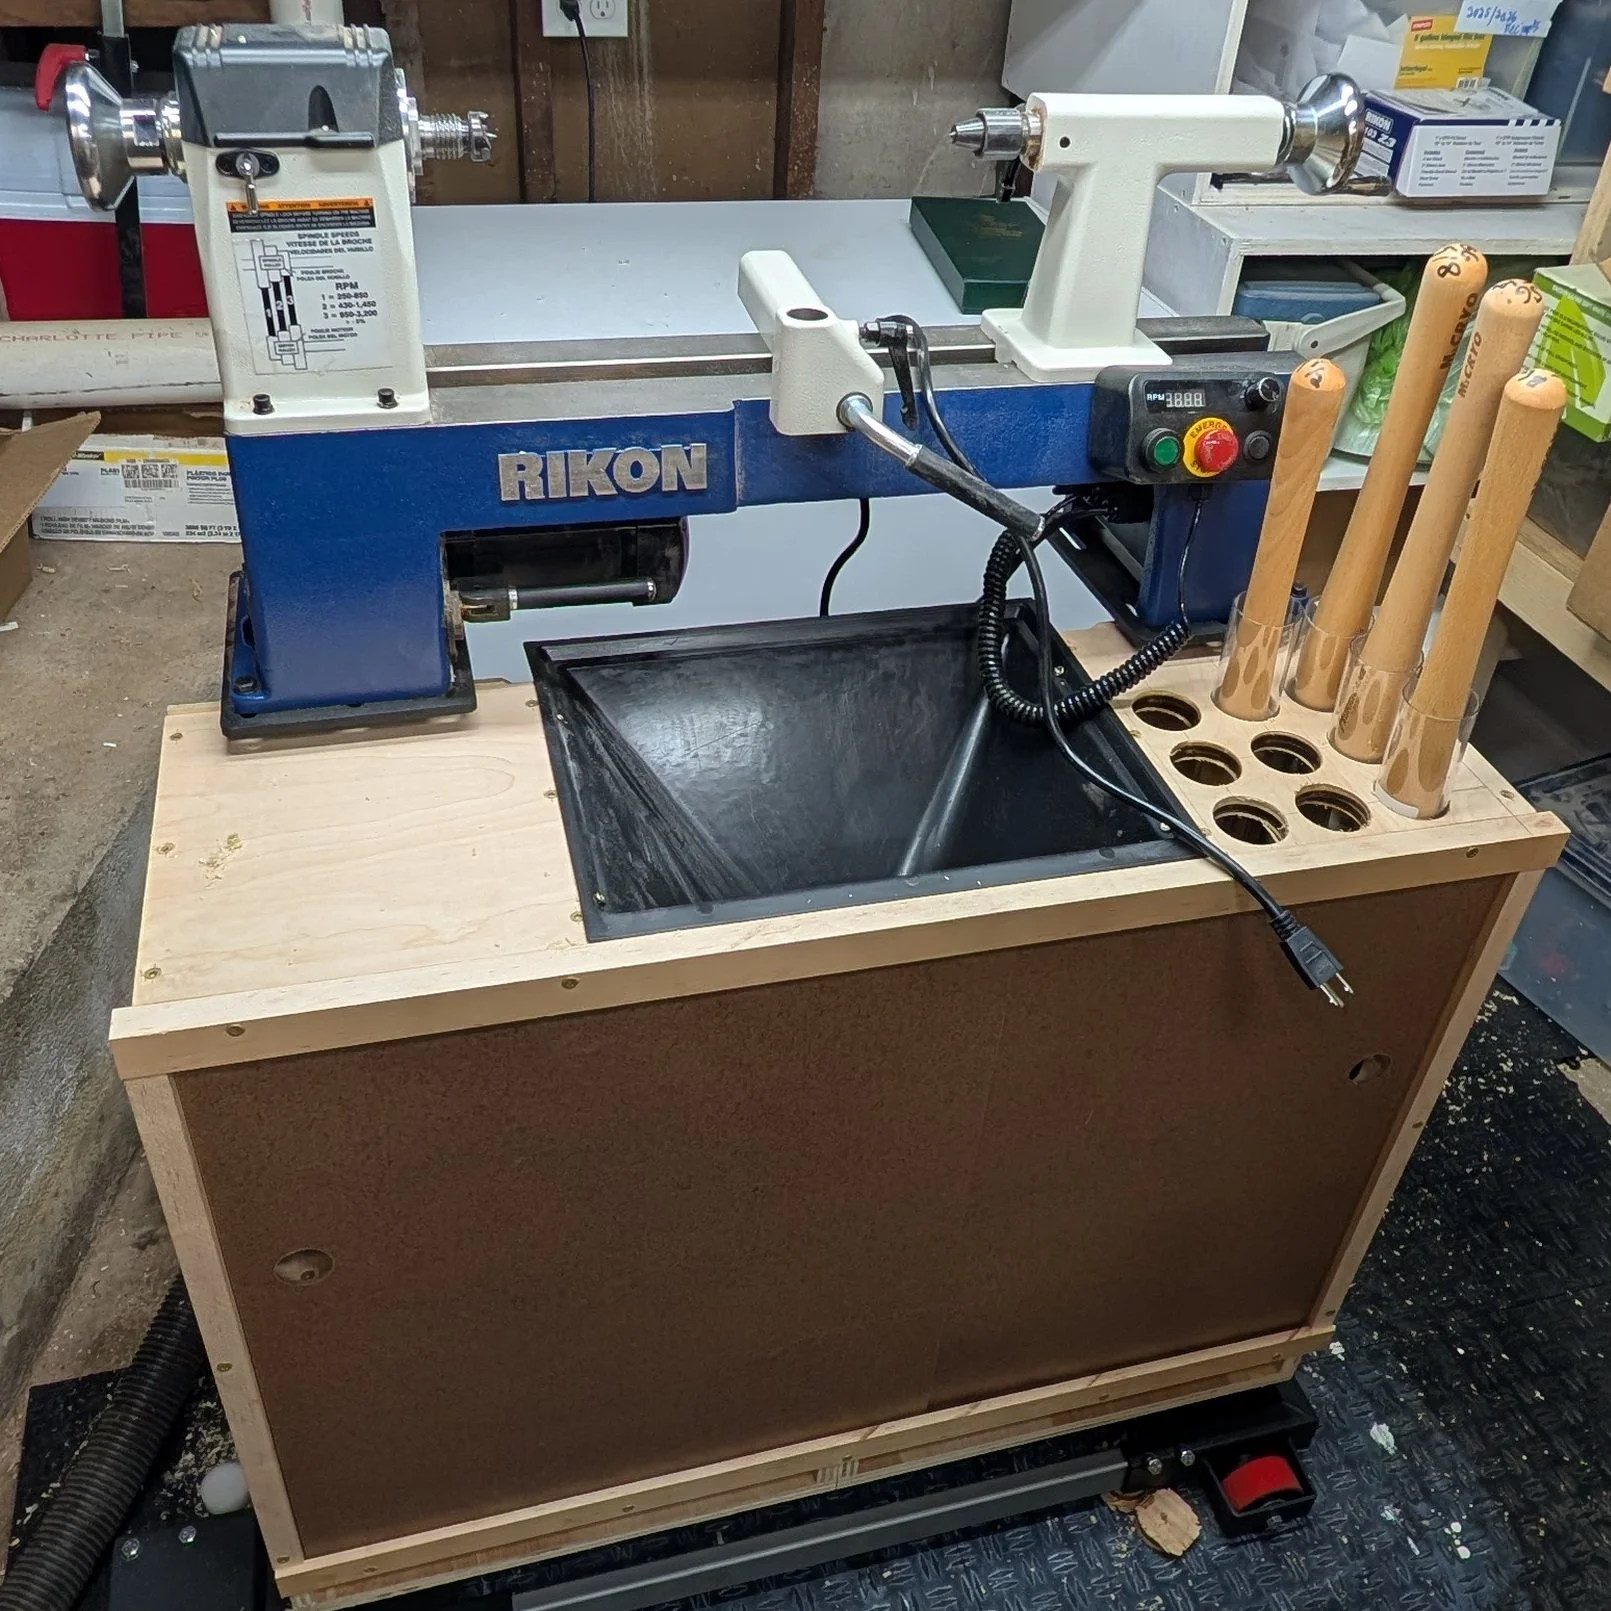
The other problem was, where would all of these tools live in my already somewhat full and small shop? I decided to build a storage cabinet that would ride on the mobile base with the lathe and also house some dust collection.

View fullsize PXL_20260701_141118472.jpg
View fullsize PXL_20260703_163238893.jpg
View fullsize PXL_20260705_160533074.jpg
View fullsize PXL_20260705_160557035.jpg

I used up a lot of scrap plywood and made my very first set of very crude bypass doors.

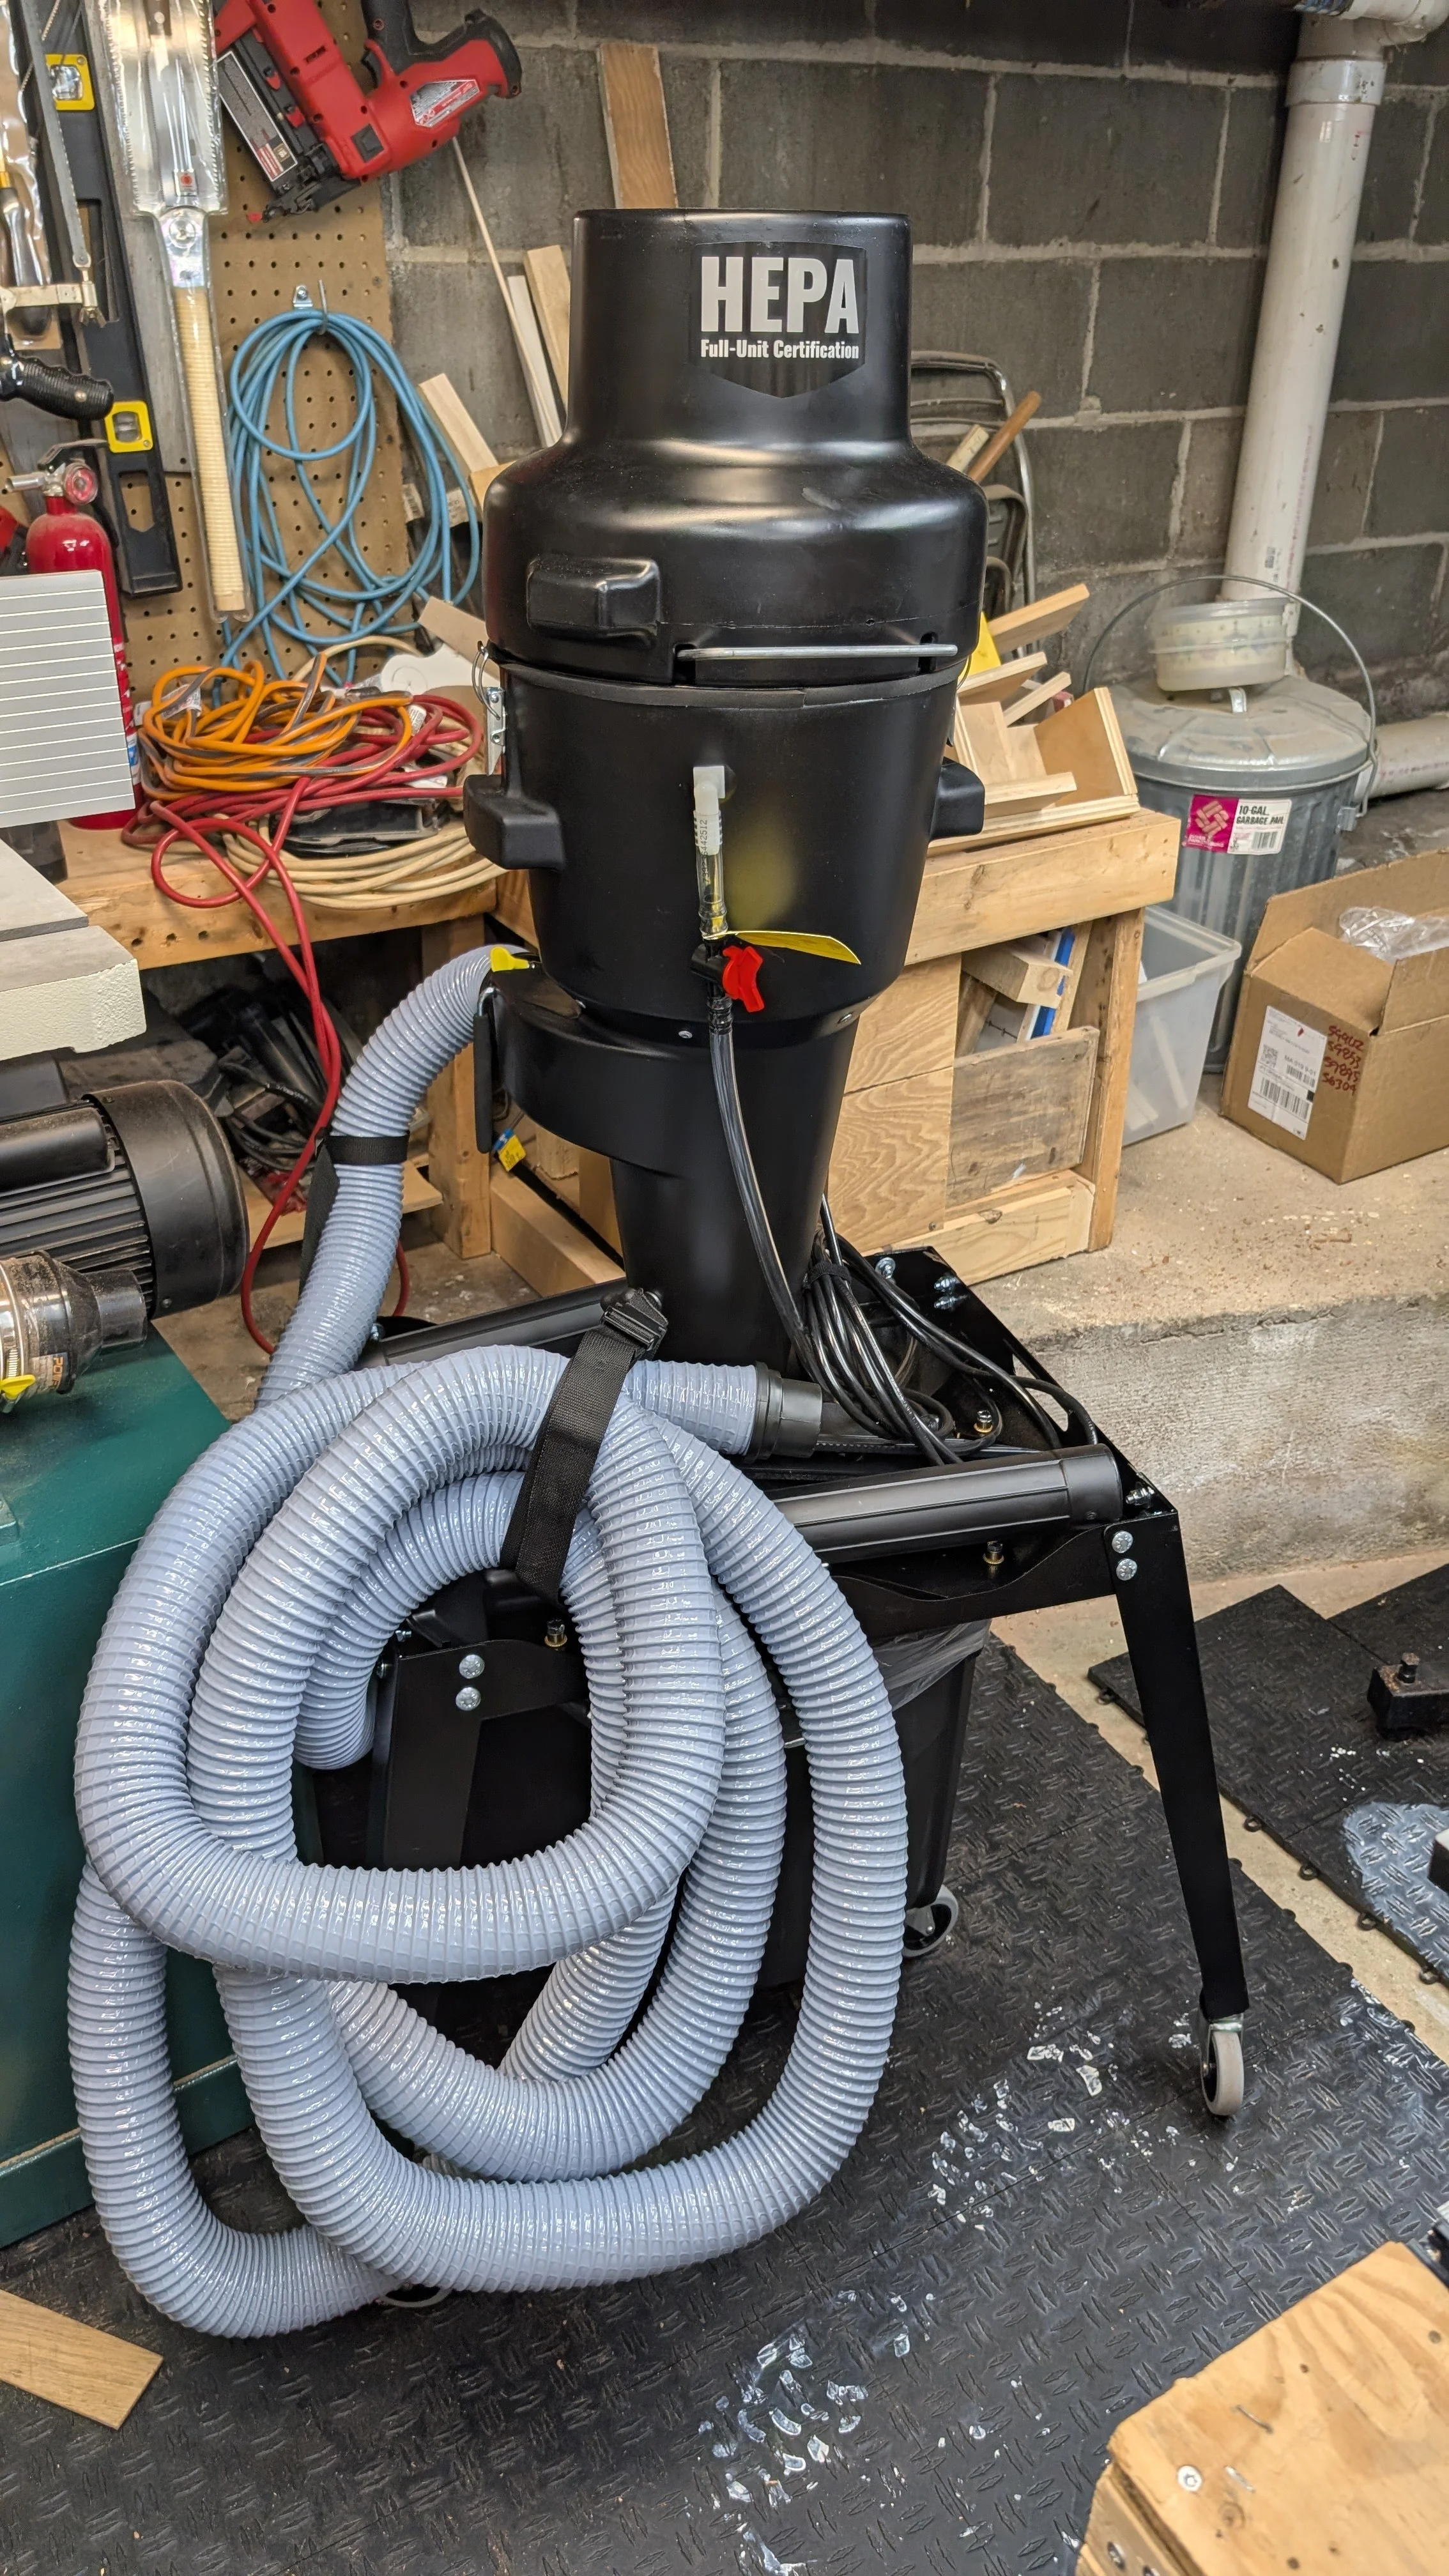
On a parallel shop improvement track I also upgraded the dust collection in the shop with a Dust Cobra from Oneida Air. It is a very nice dust collector and has a 25 foot hose that lets me get to almost all of the shop without moving it. It was a serious two day project to assemble it but it was worth the effort.

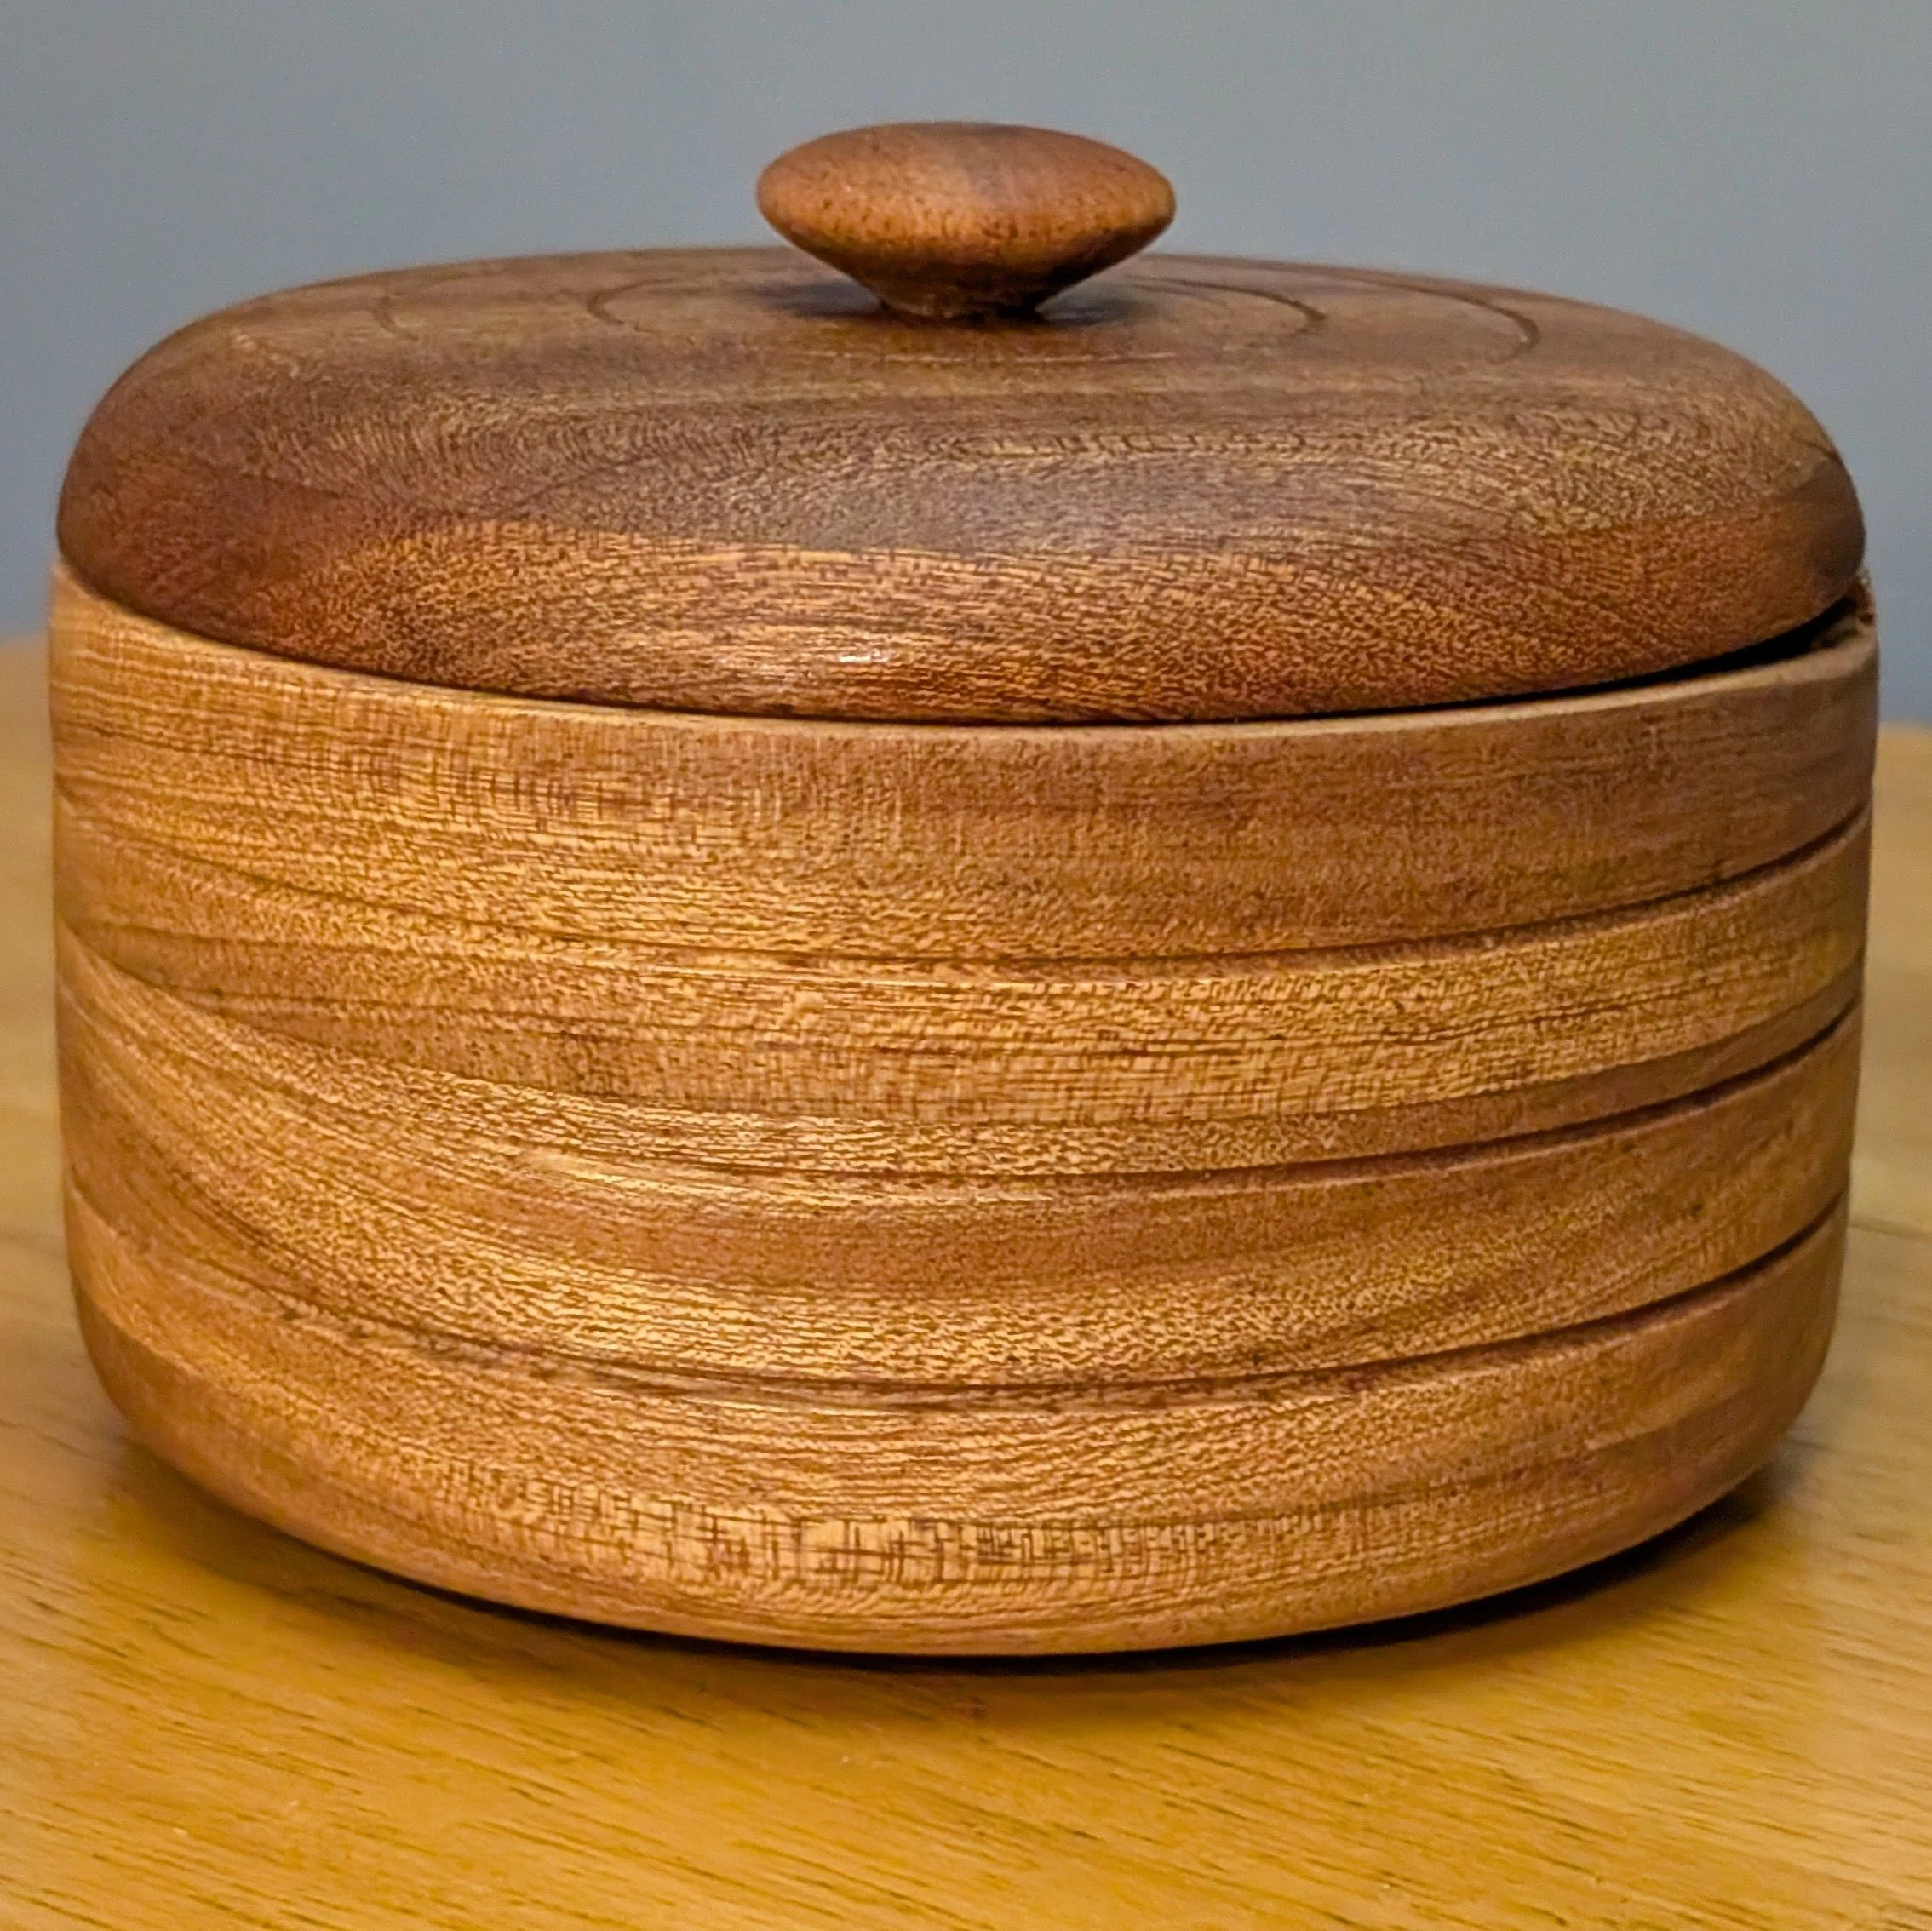
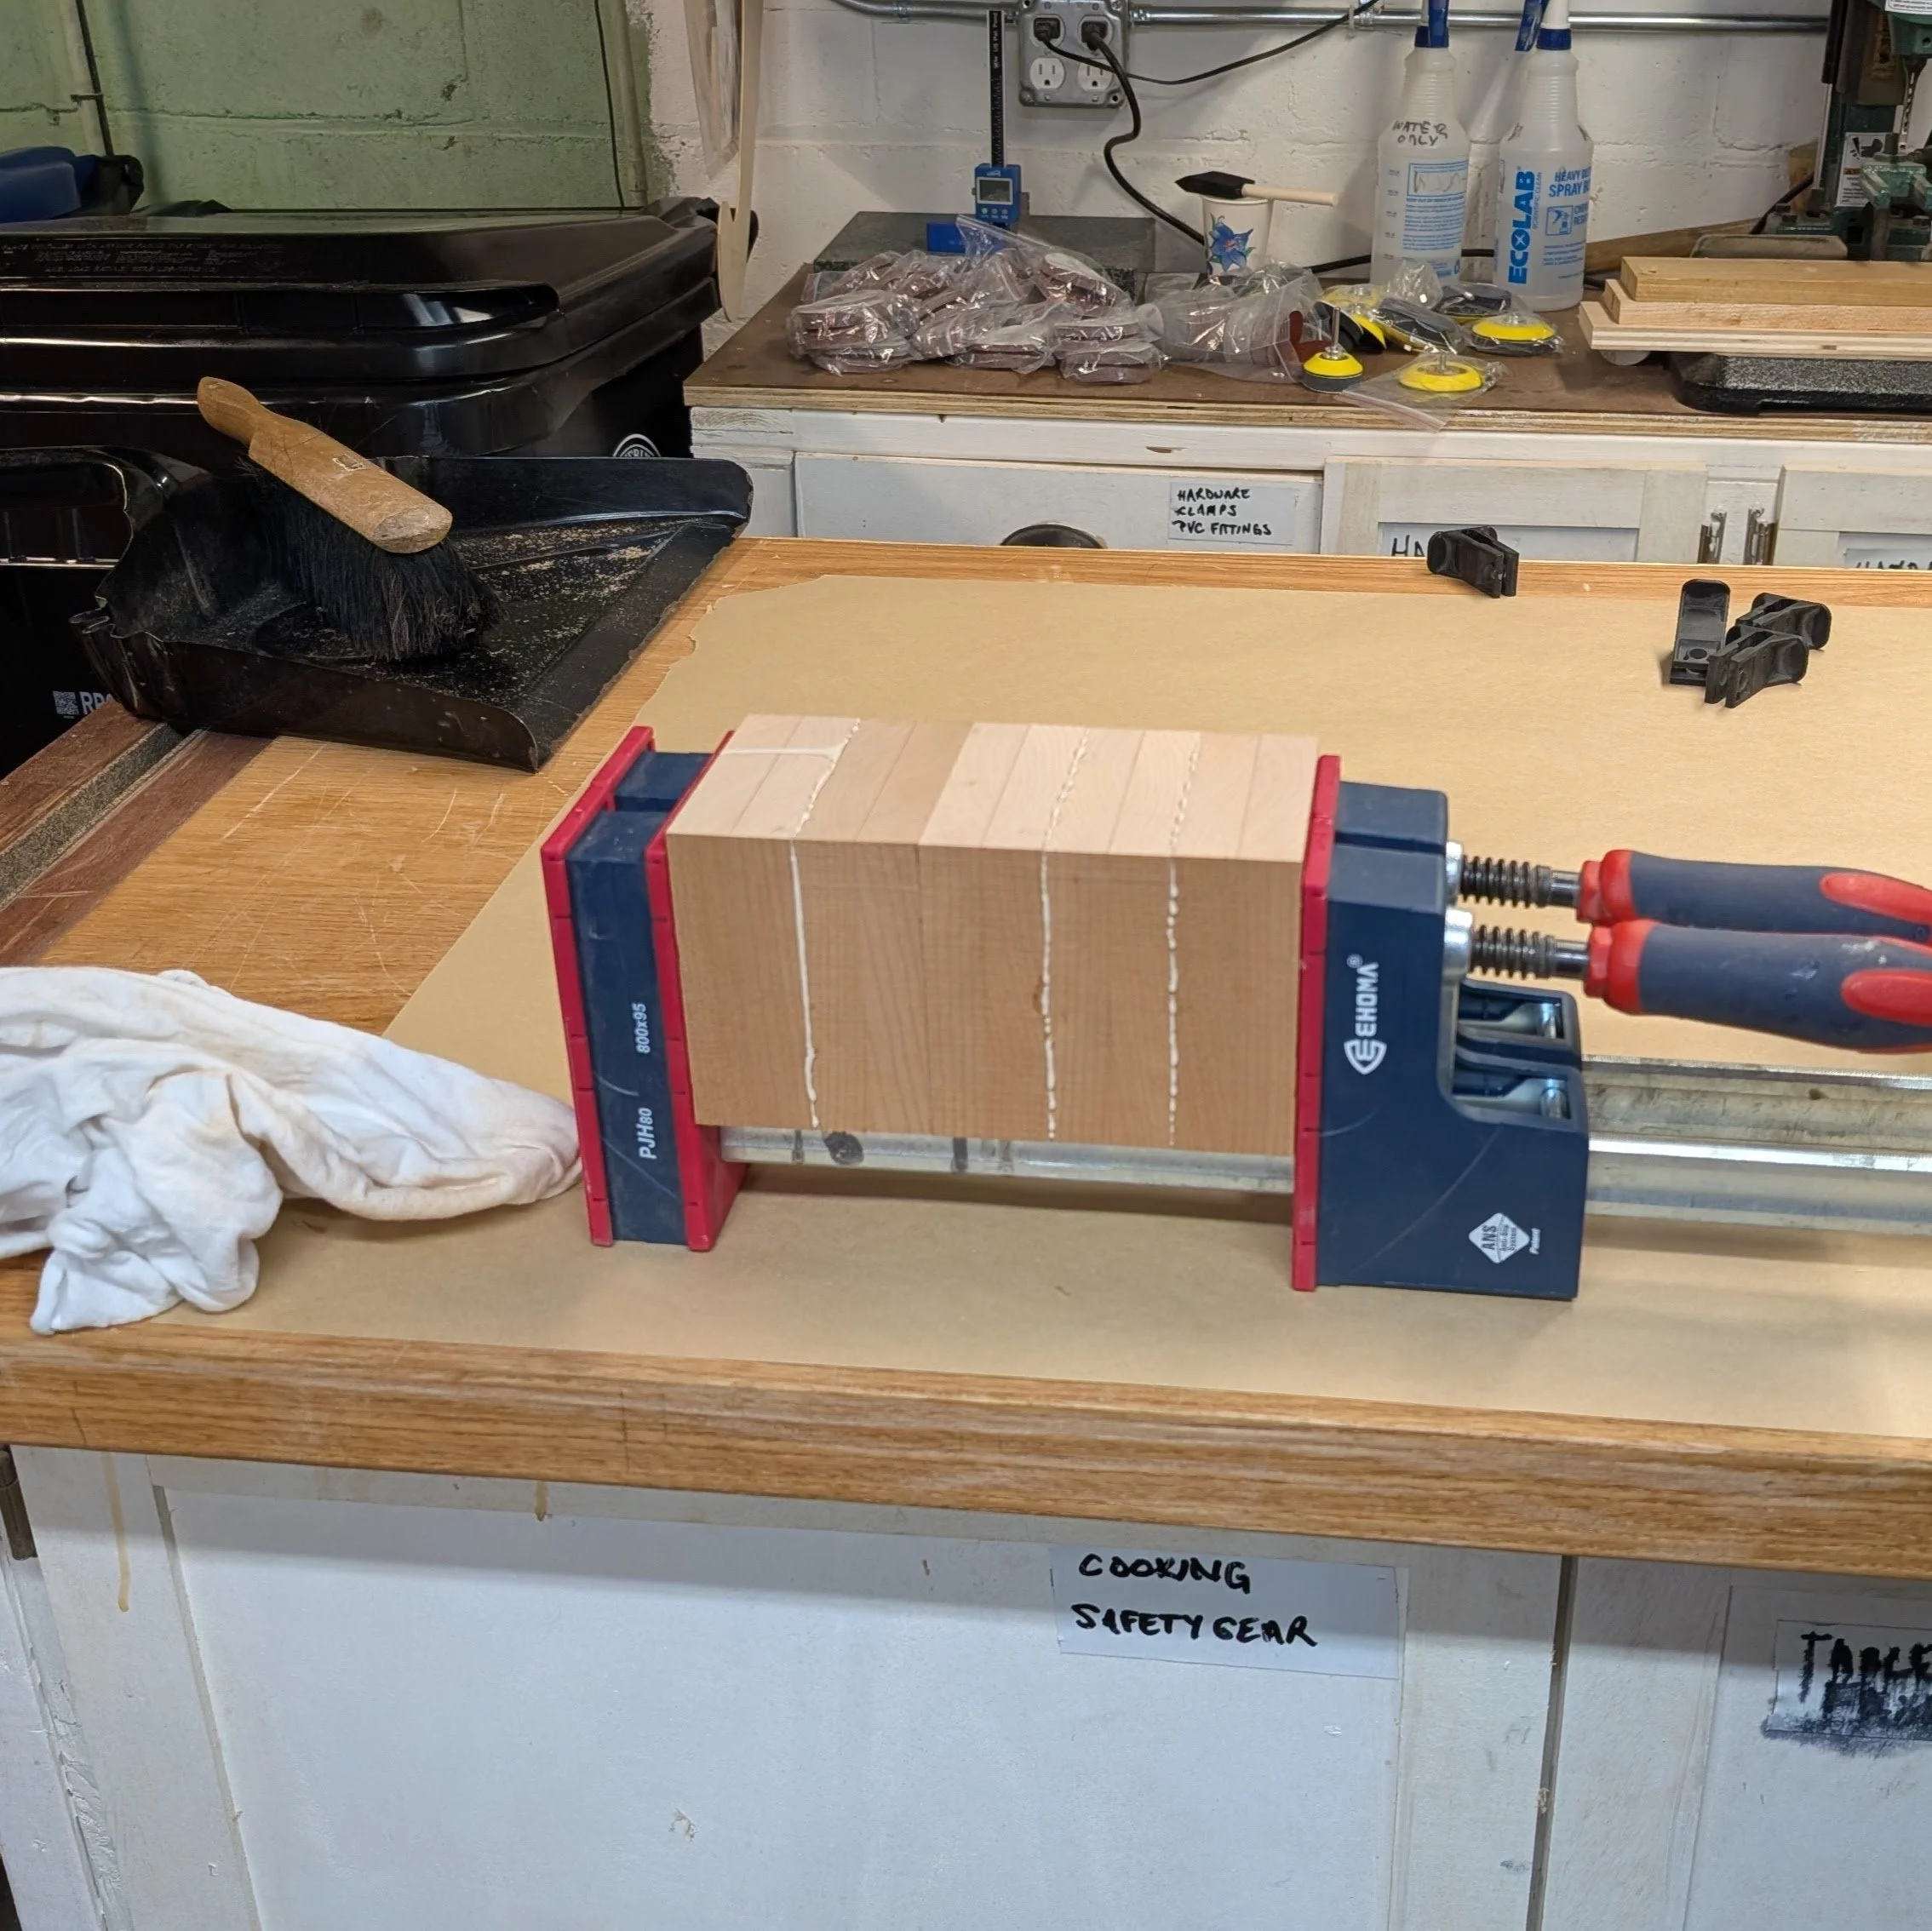
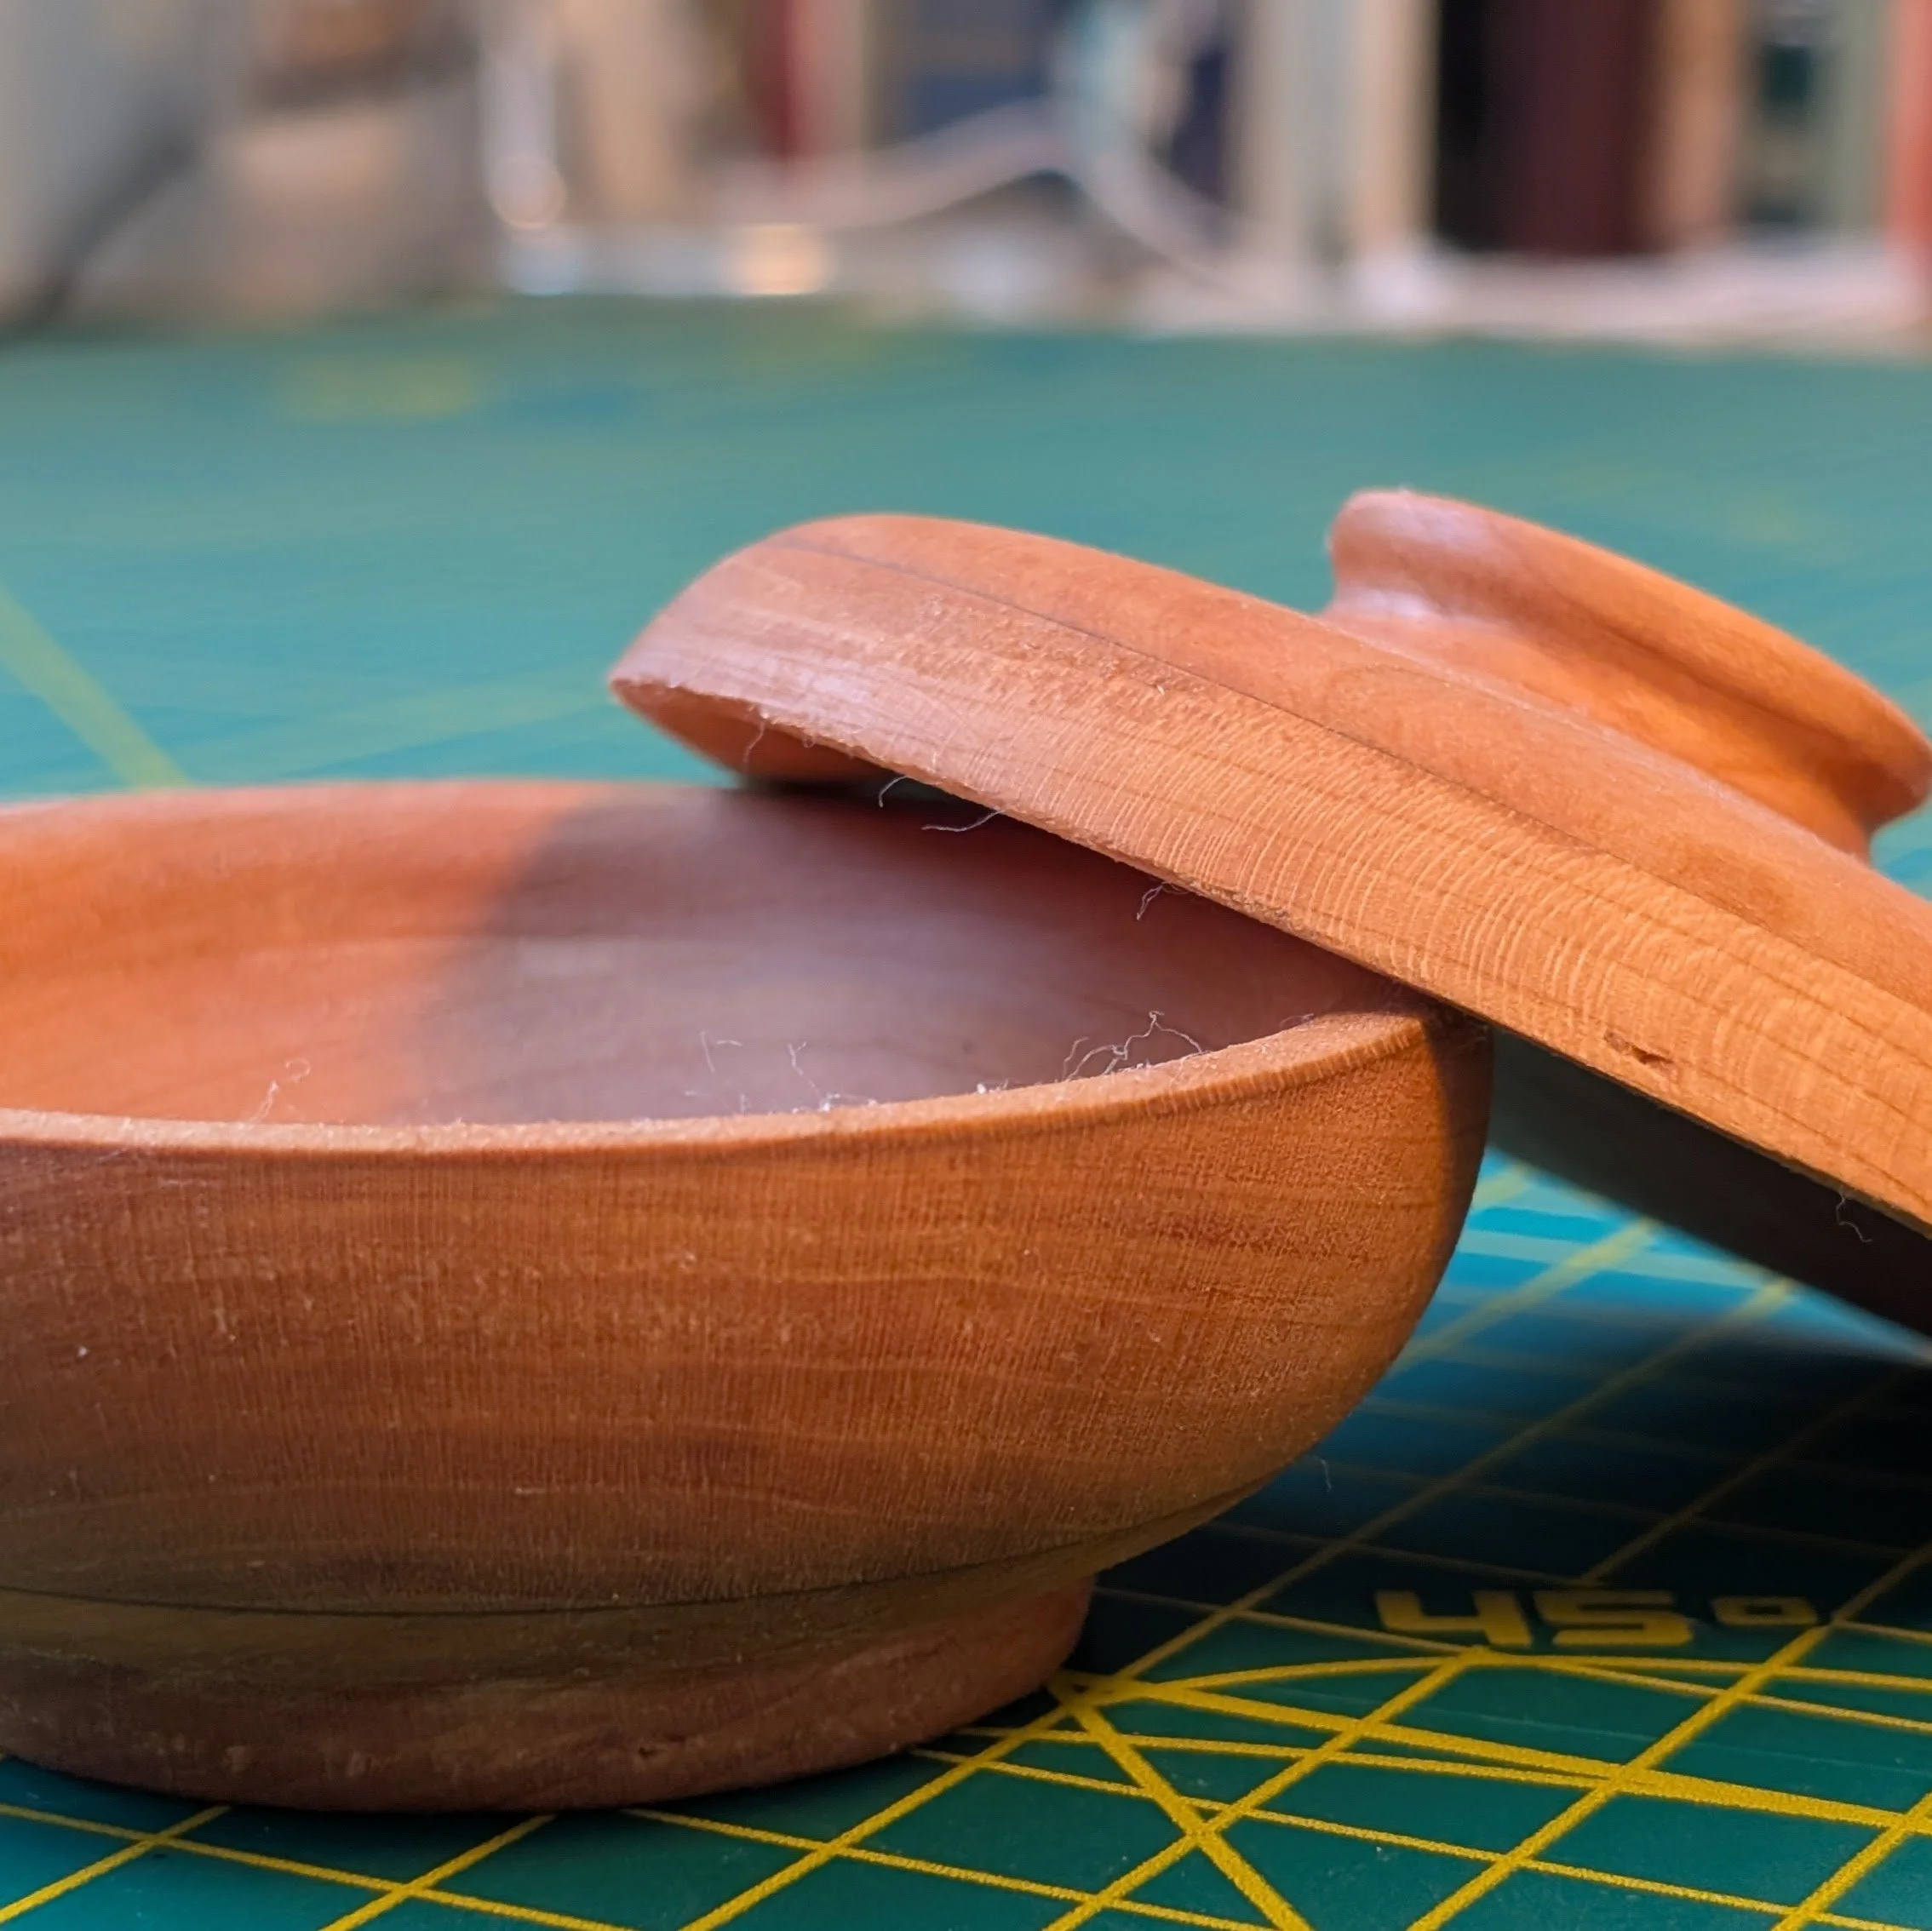
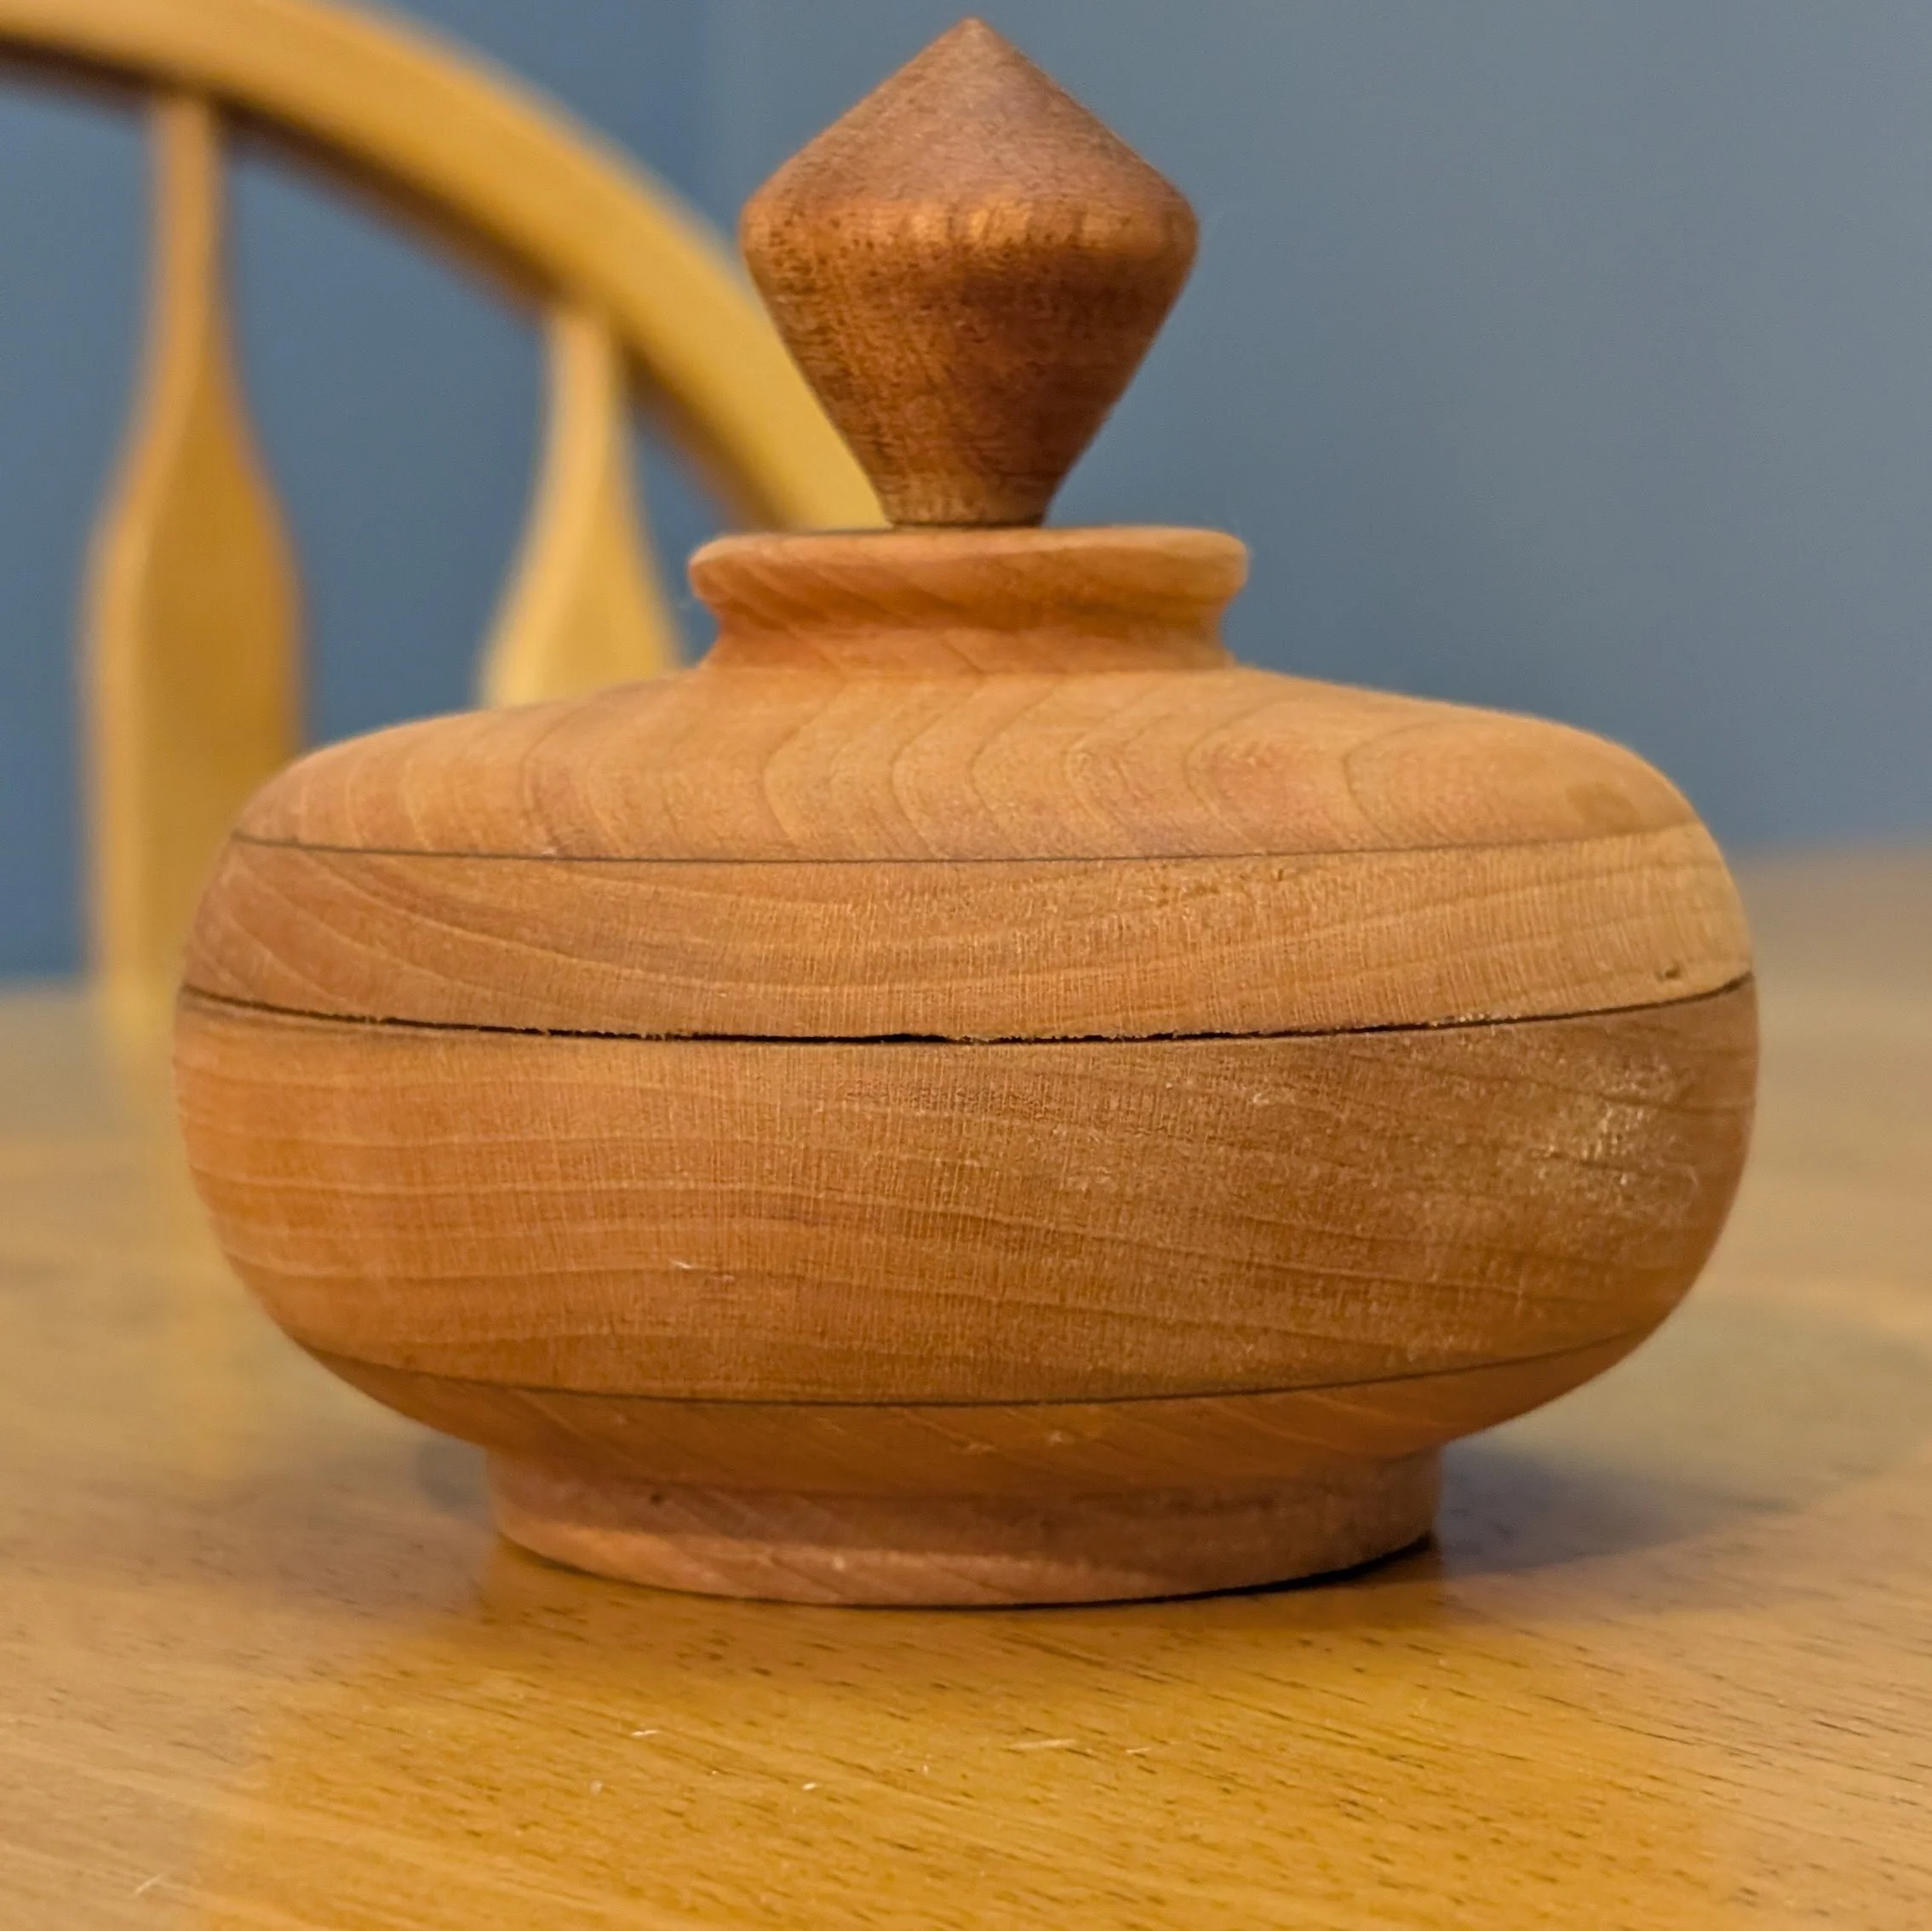
I then practiced turning on some scrap wood and then once I’d achieved some sense of what I was doing I glued up some scrap 3/4” Sapele into a turning blank for attempting a covered box. It went ok, mistakes were made but then covered up or at least hidden from the pictures below. I also made a knob for the lid by doing some spindle turning and then gluing it in. I practiced doing some sanding and finishing as well even though it is far from perfect.

View fullsize PXL_20260623_142411878.jpg
View fullsize PXL_20260623_142433301.jpg
View fullsize PXL_20260709_183301704.jpg

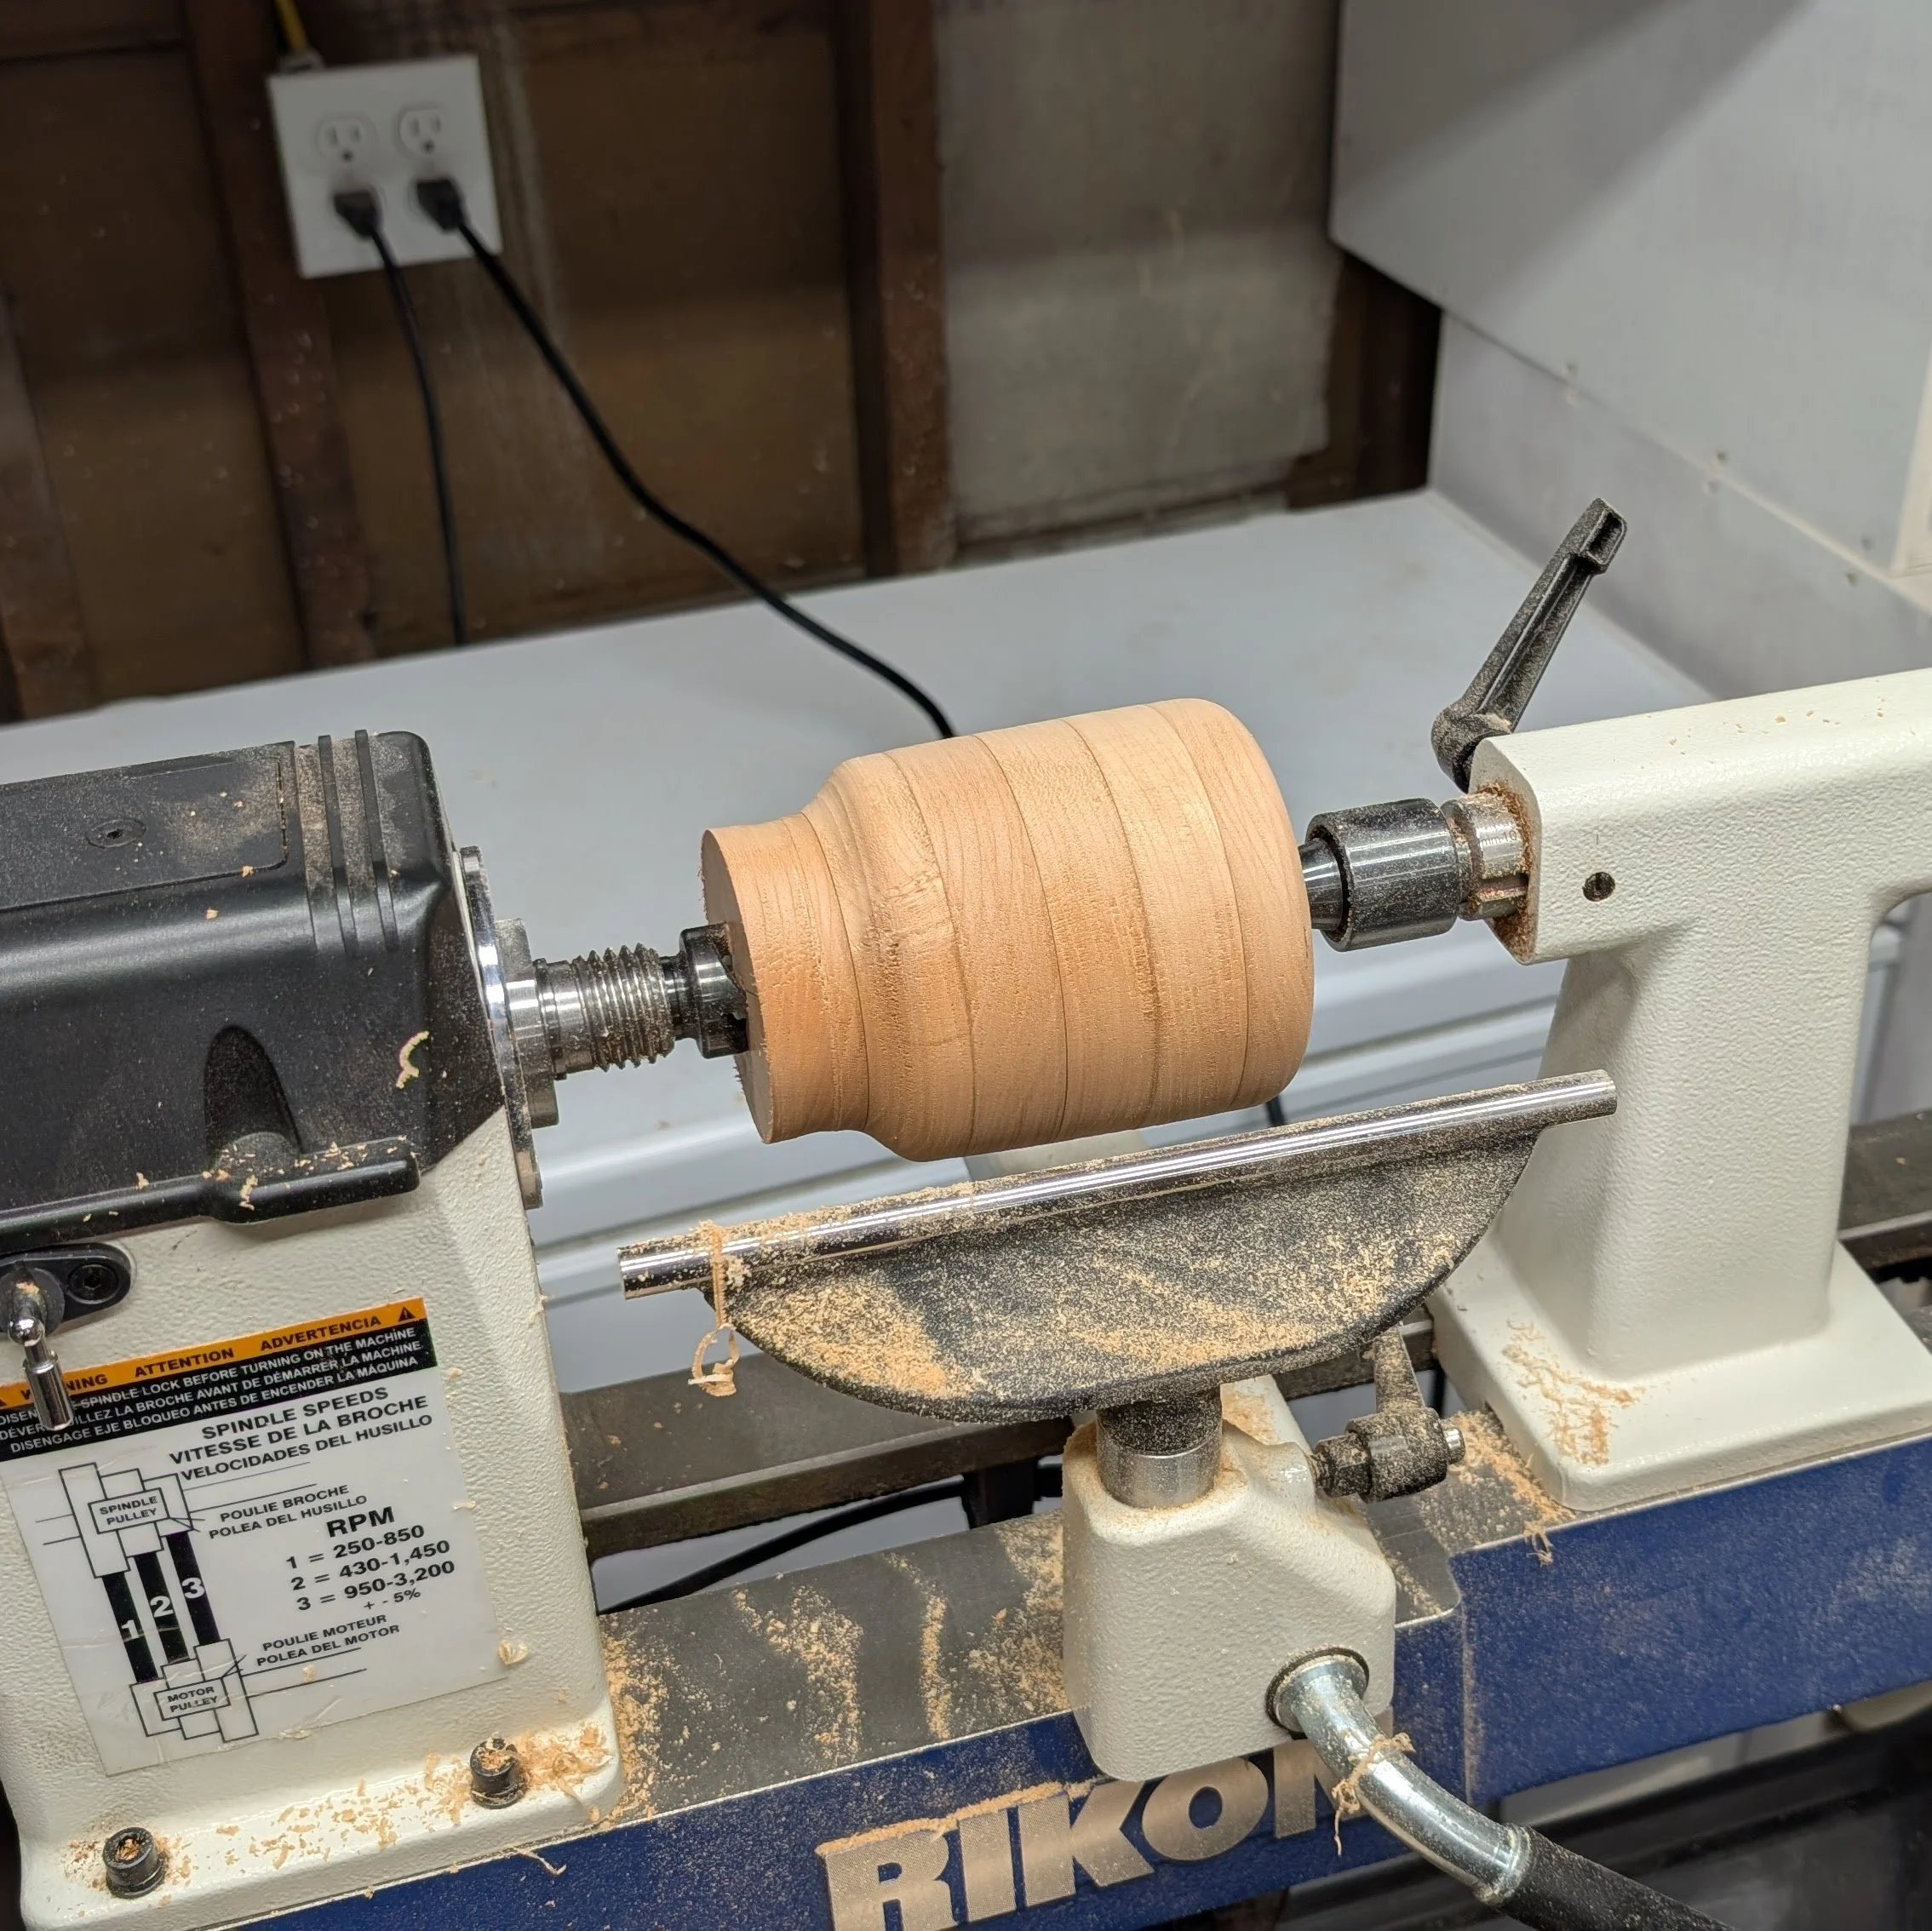
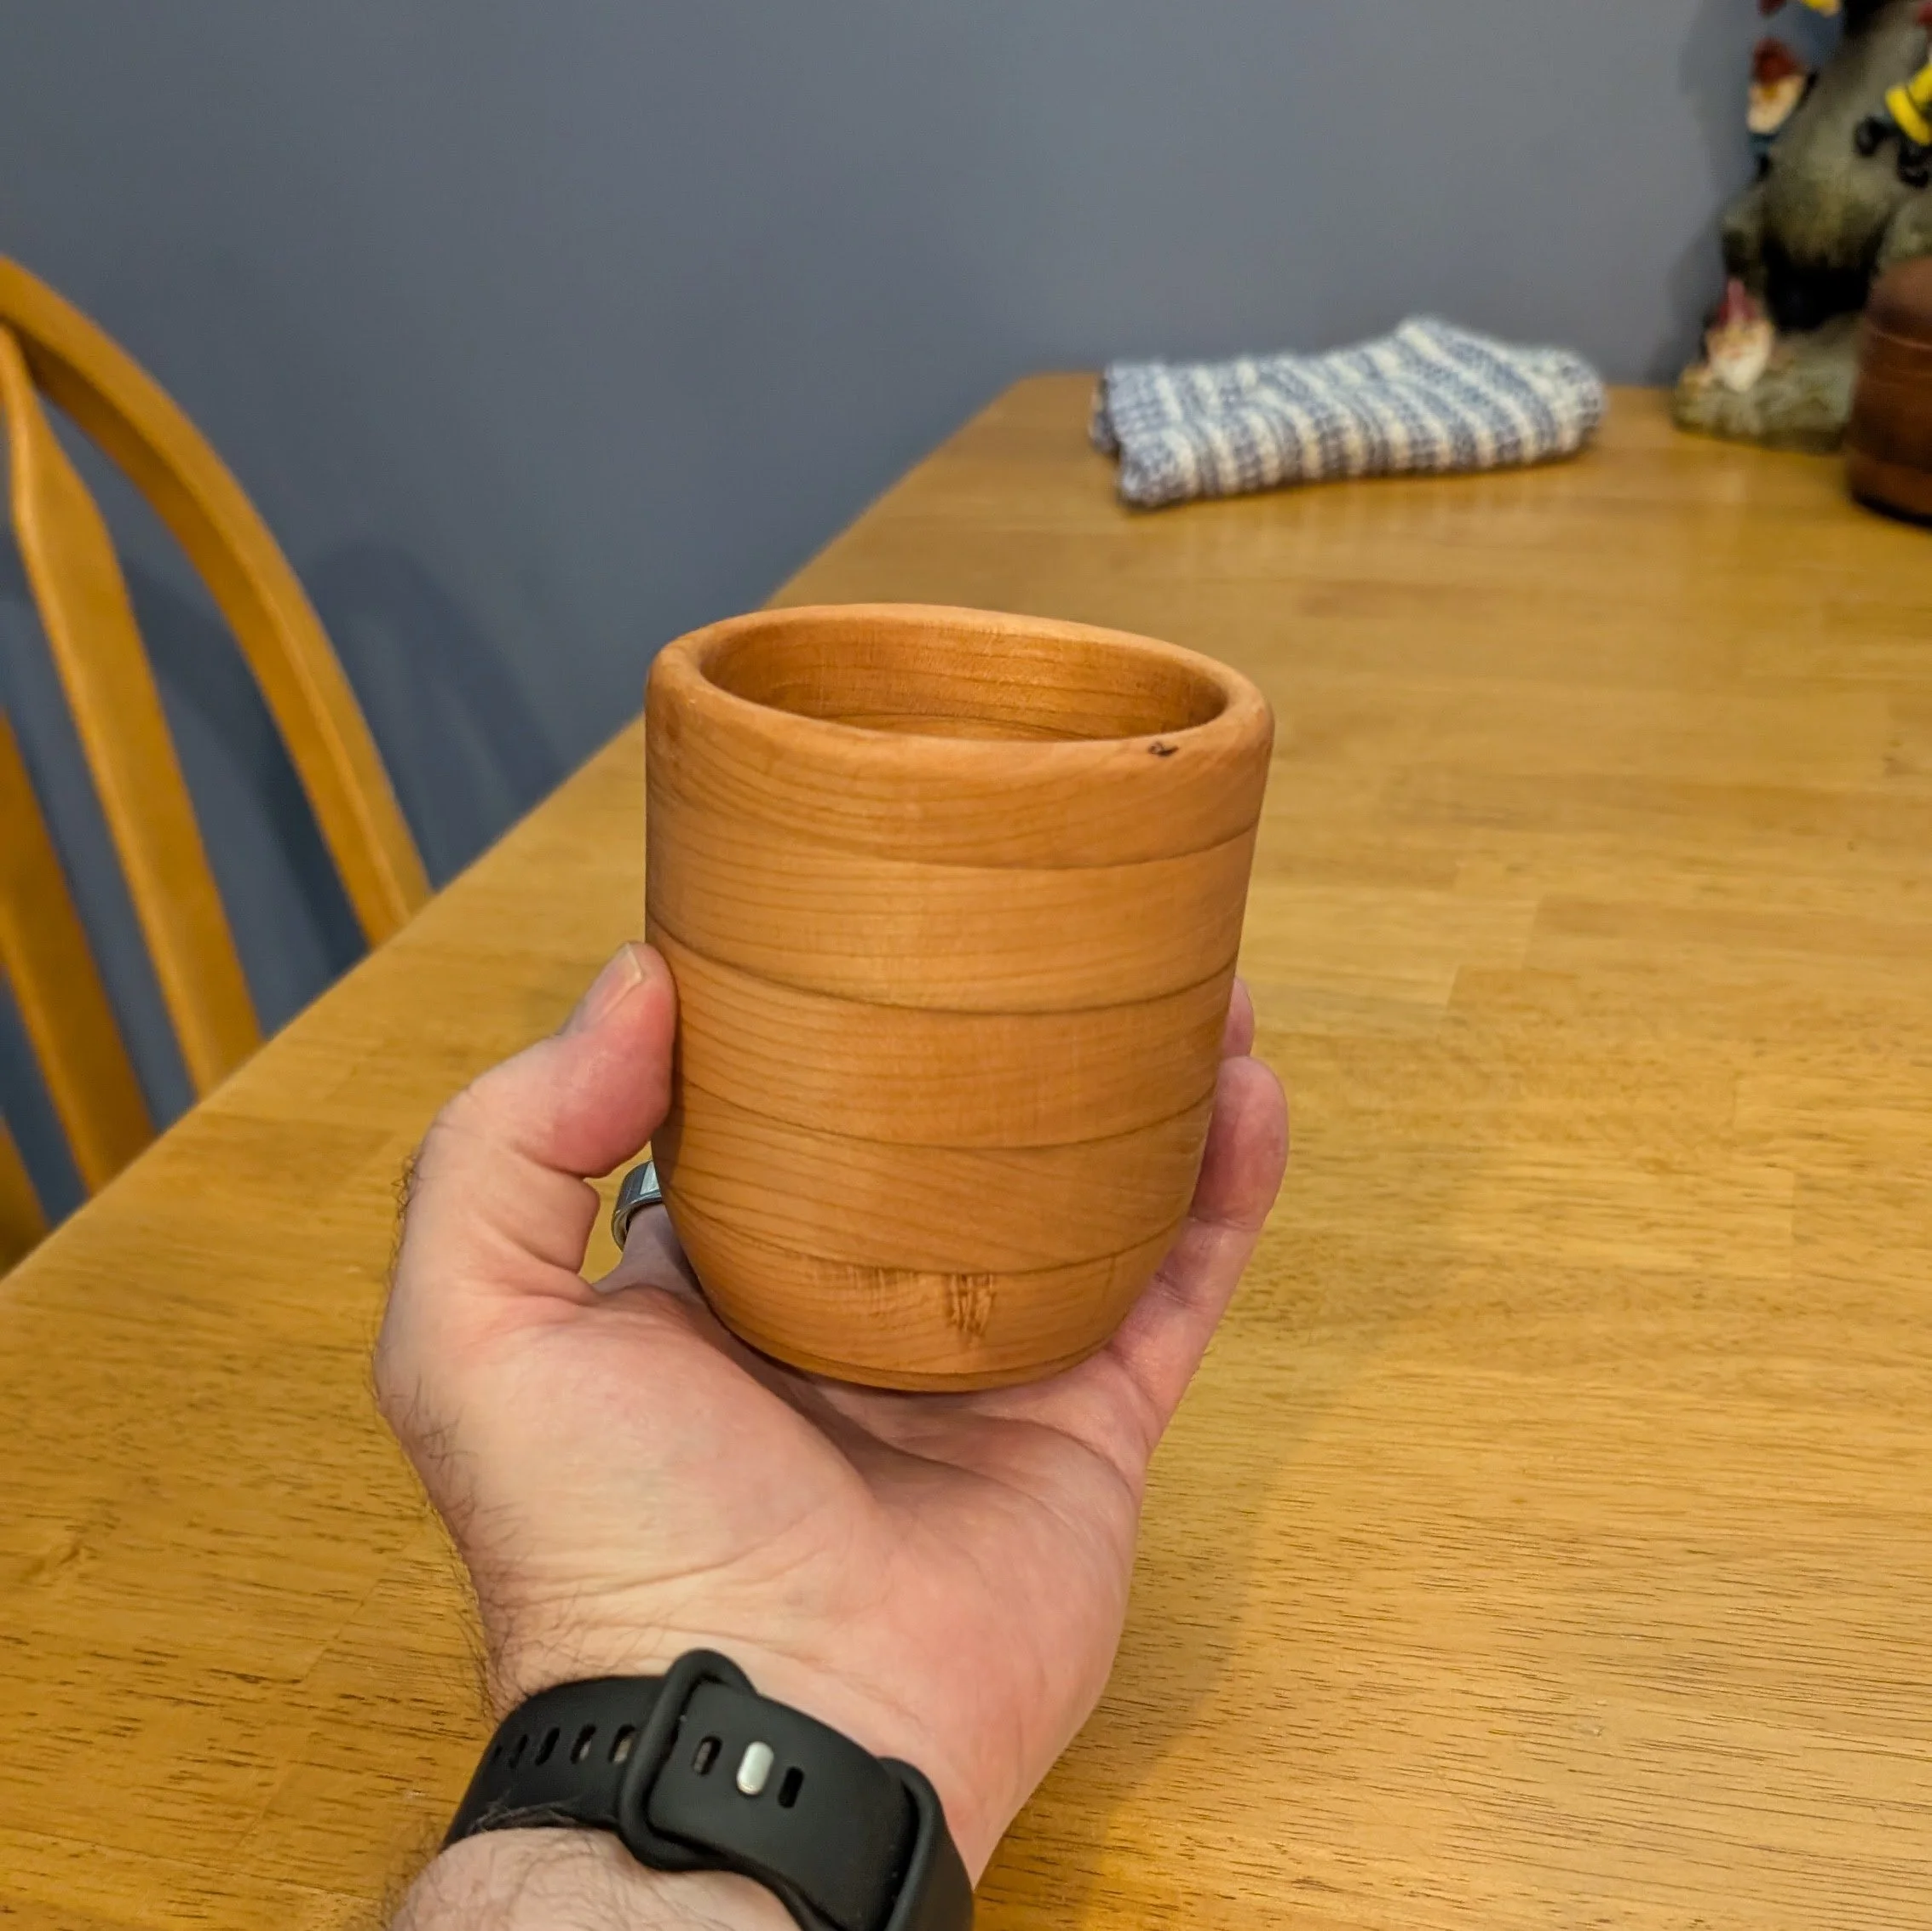
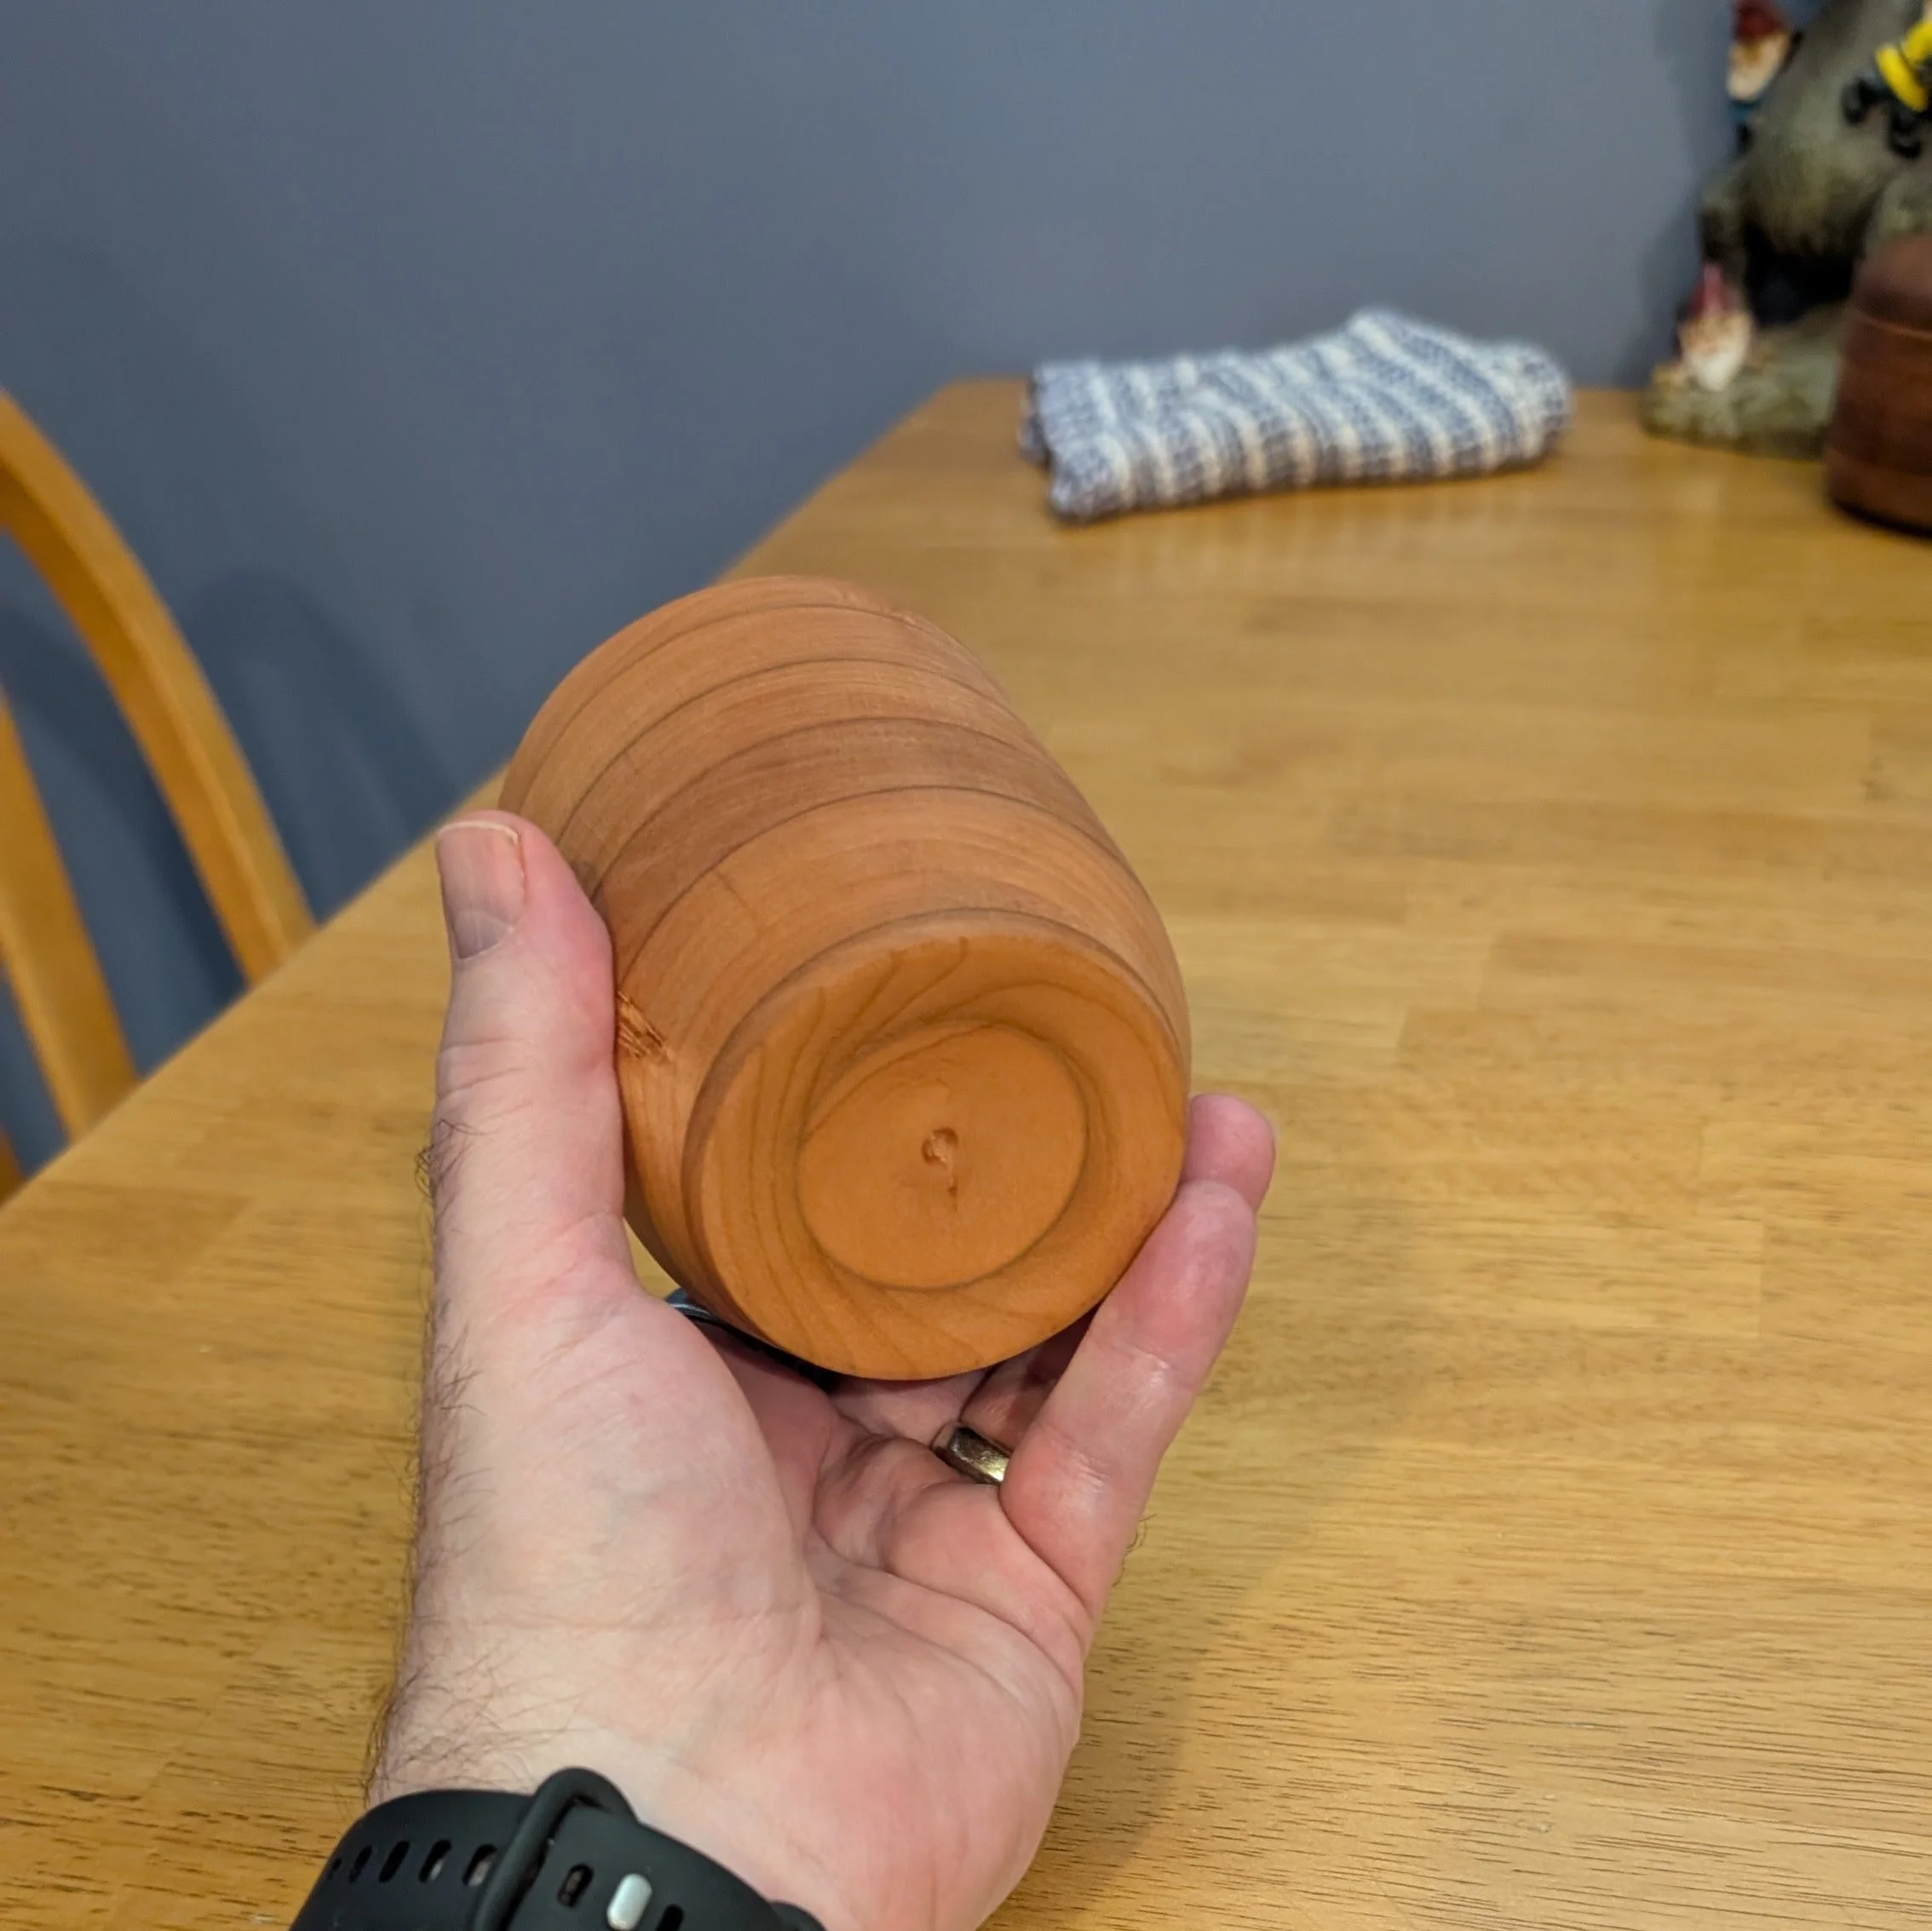
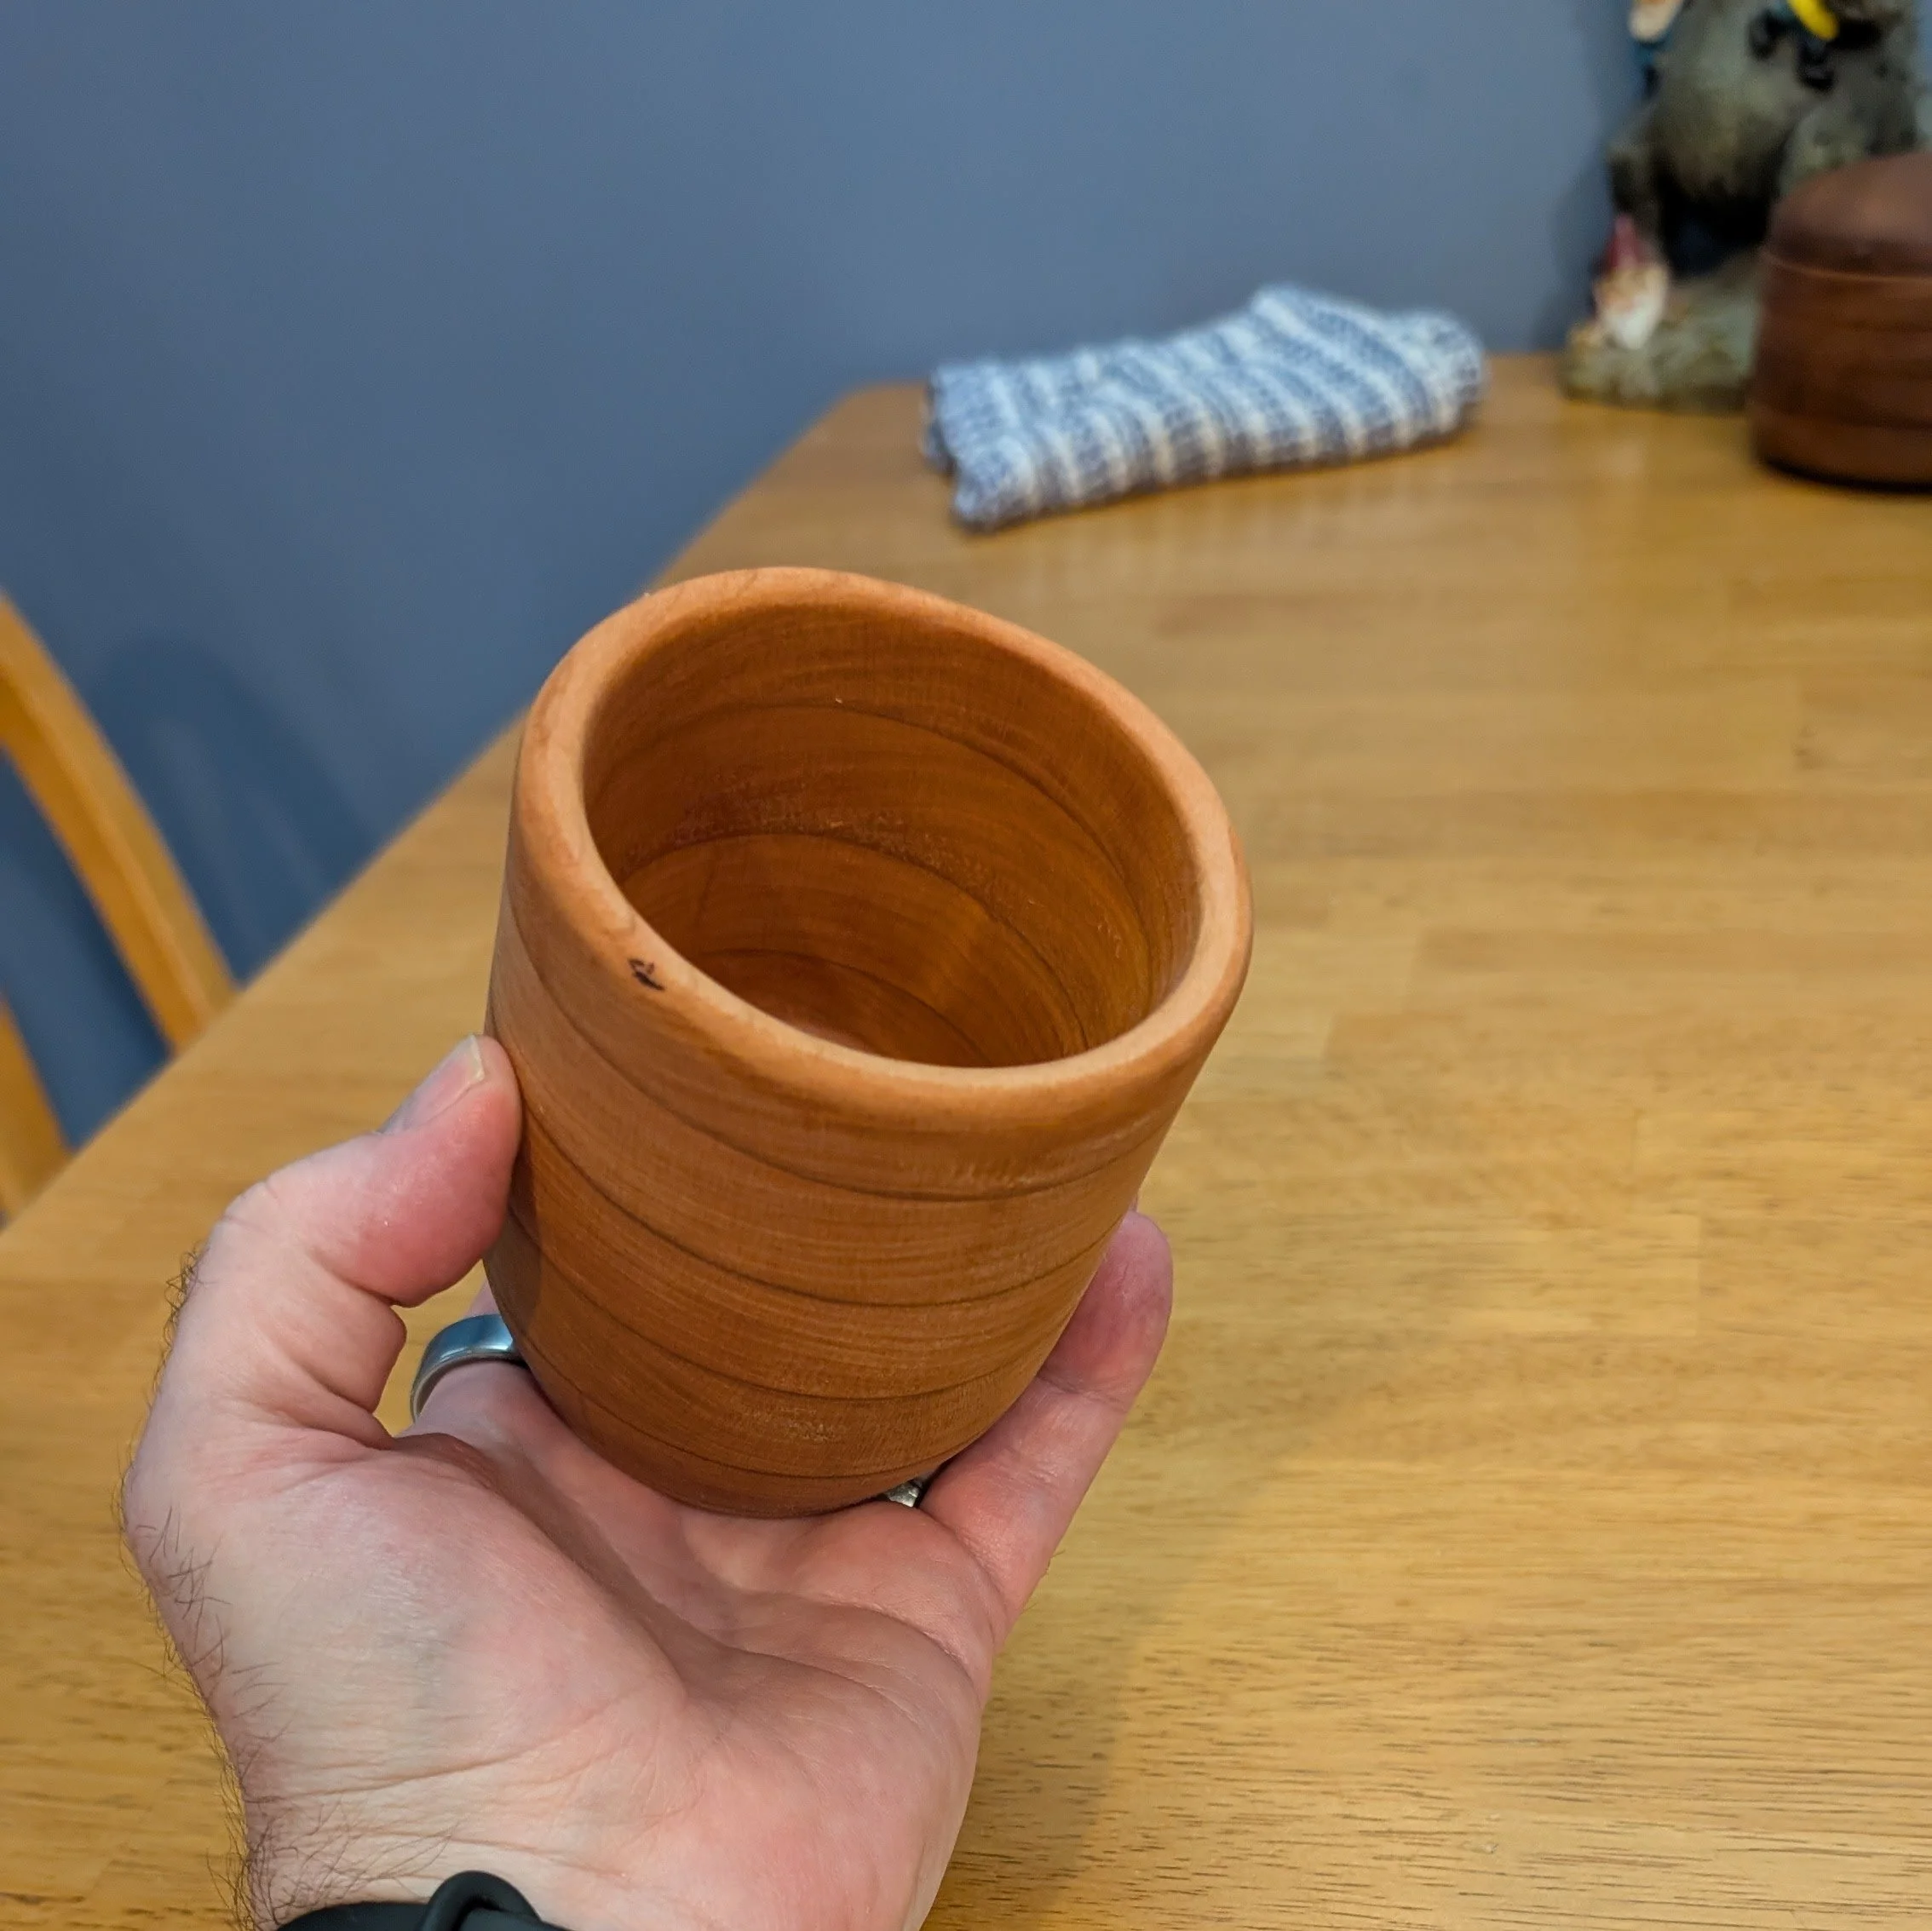
For my next exploration I glued up two smaller blanks of cherry and the first one I tried turning a “cup” shape.

PXL_20260705_172929952.jpg
PXL_20260706_162920848.jpg
PXL_20260706_200917802.jpg
PXL_20260706_200922610.jpg
PXL_20260706_200930195.jpg

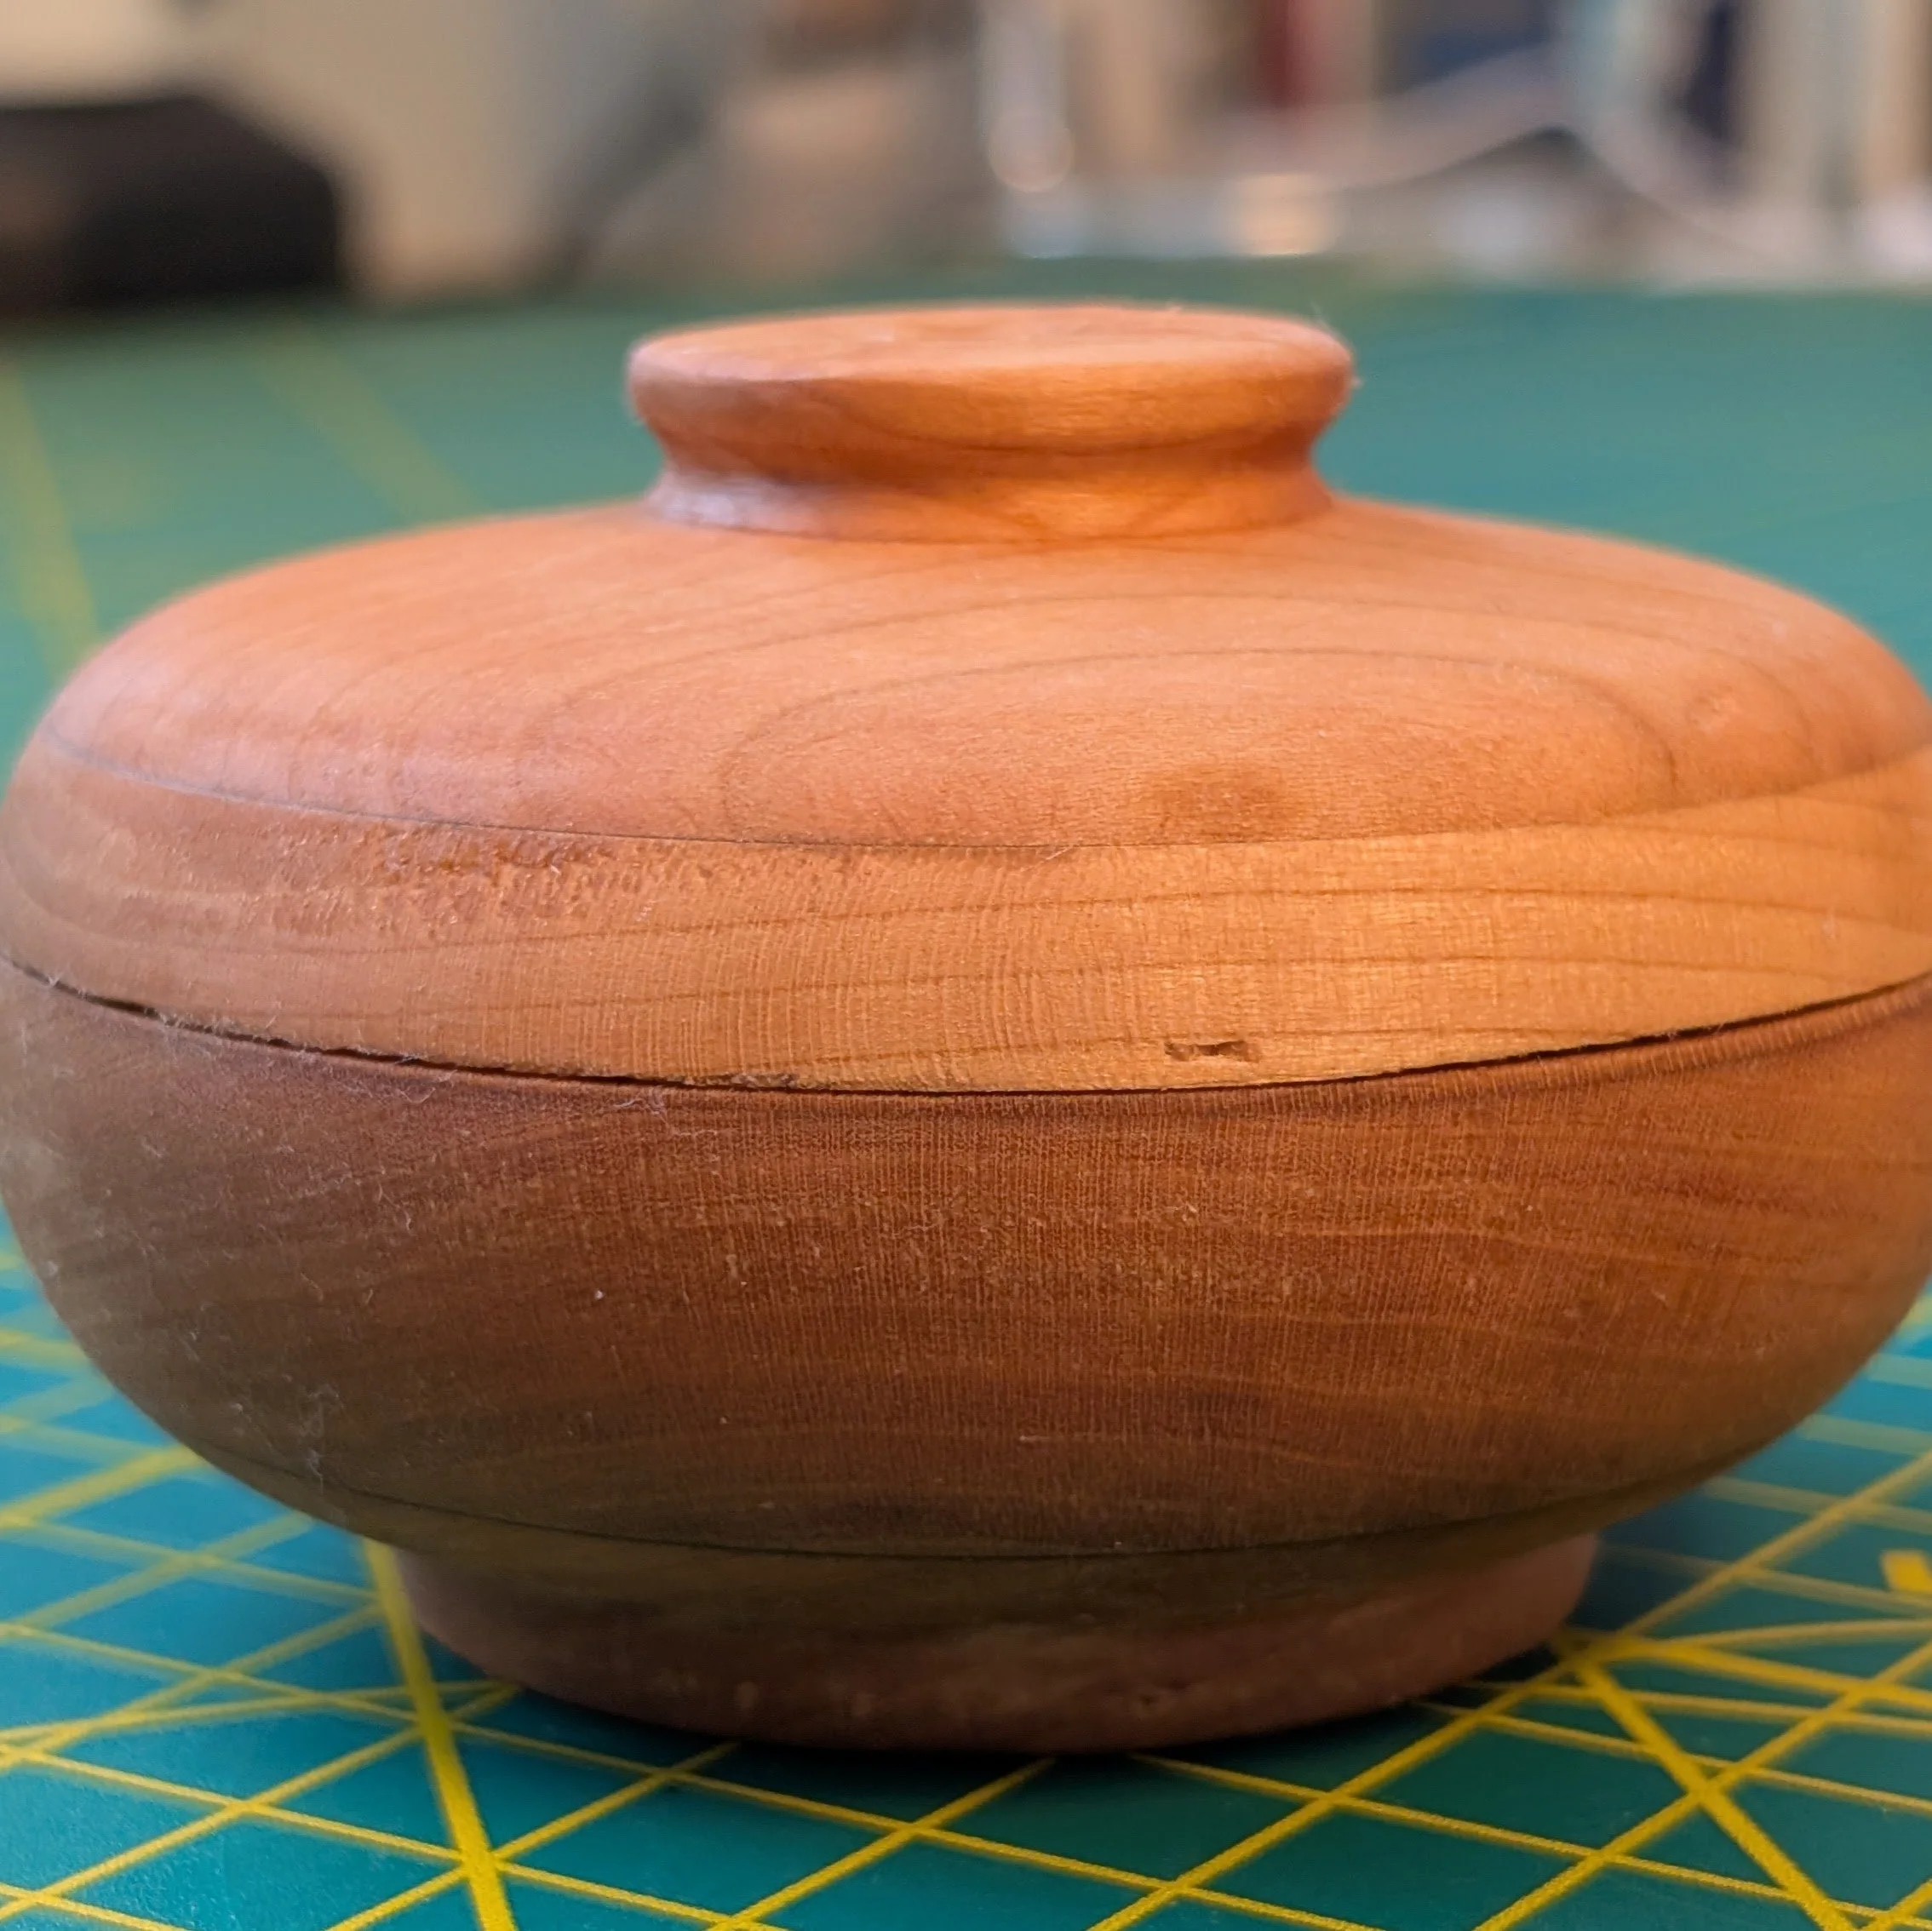
This one is now housing my pens, pencils, knives and scissors on my desk. The other Cherry blank I decided I would try to make a covered bowl that was close to spherical.

View fullsize PXL_20260707_122902314.jpg
View fullsize PXL_20260708_194522884.jpg
View fullsize PXL_20260708_194537134.jpg
View fullsize PXL_20260709_231900182.jpg

More ovoid than spherical but I like the shape. I also did some more spindle turning to make it a finial.

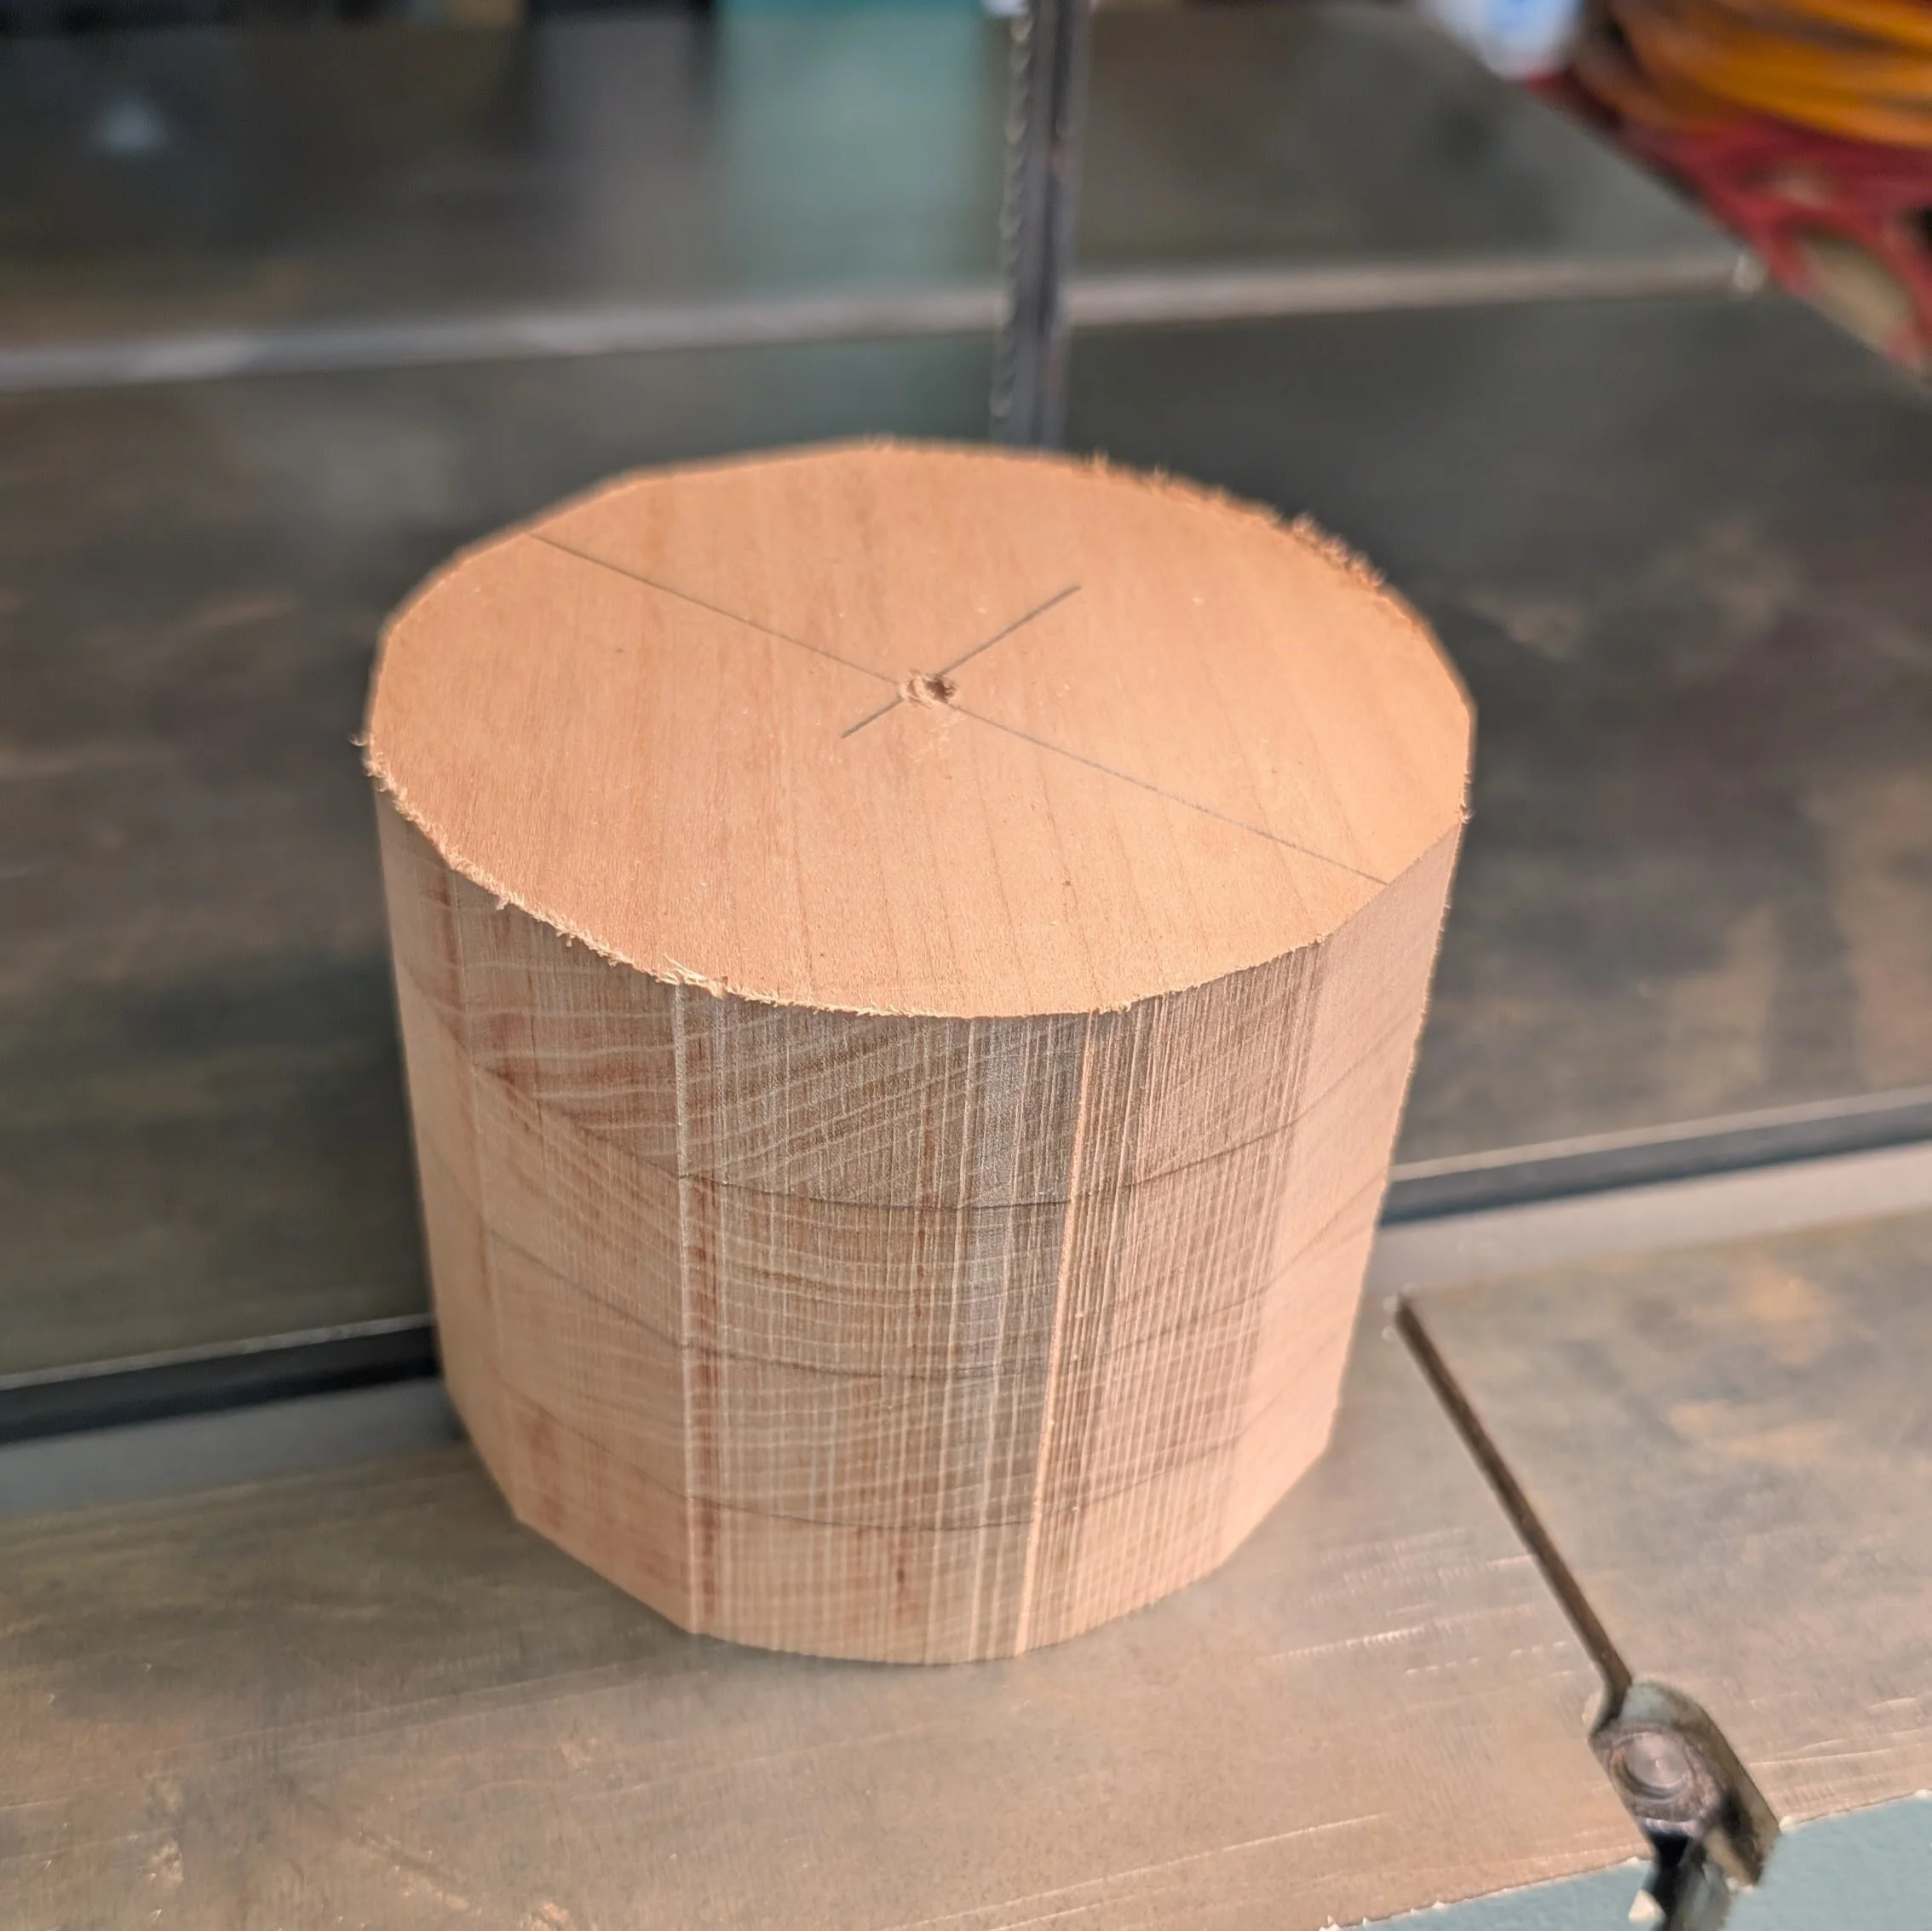
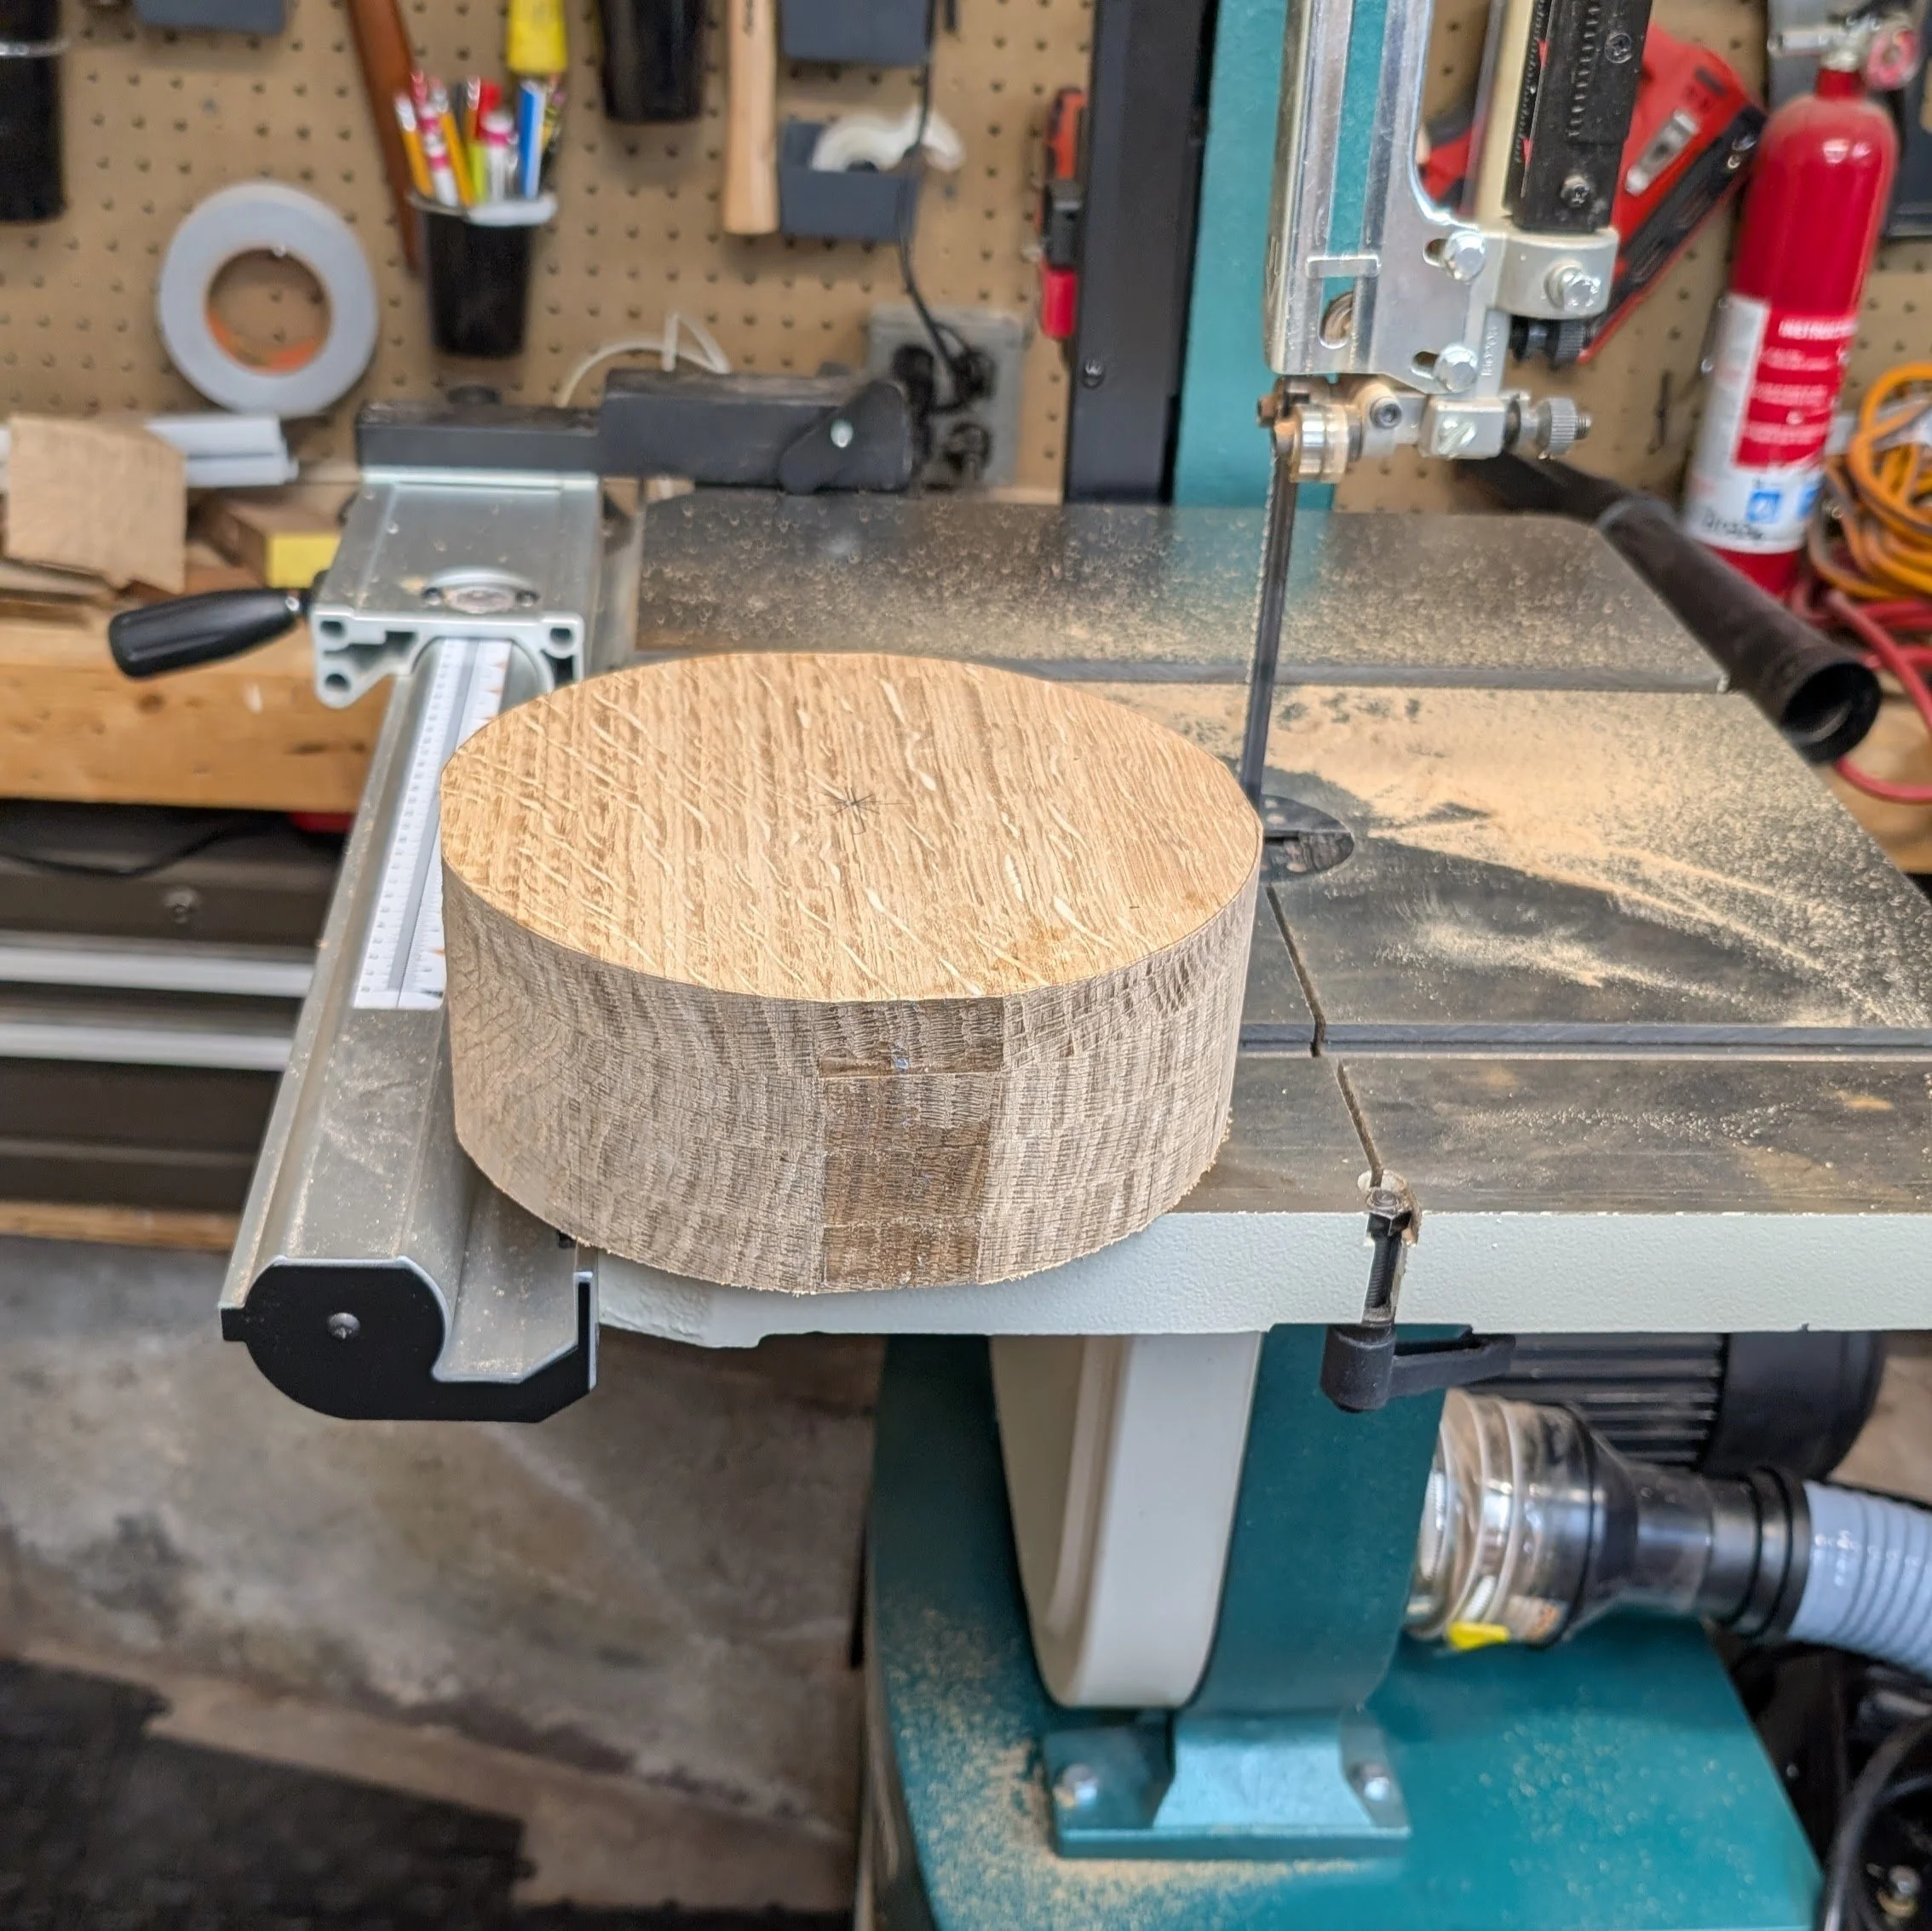
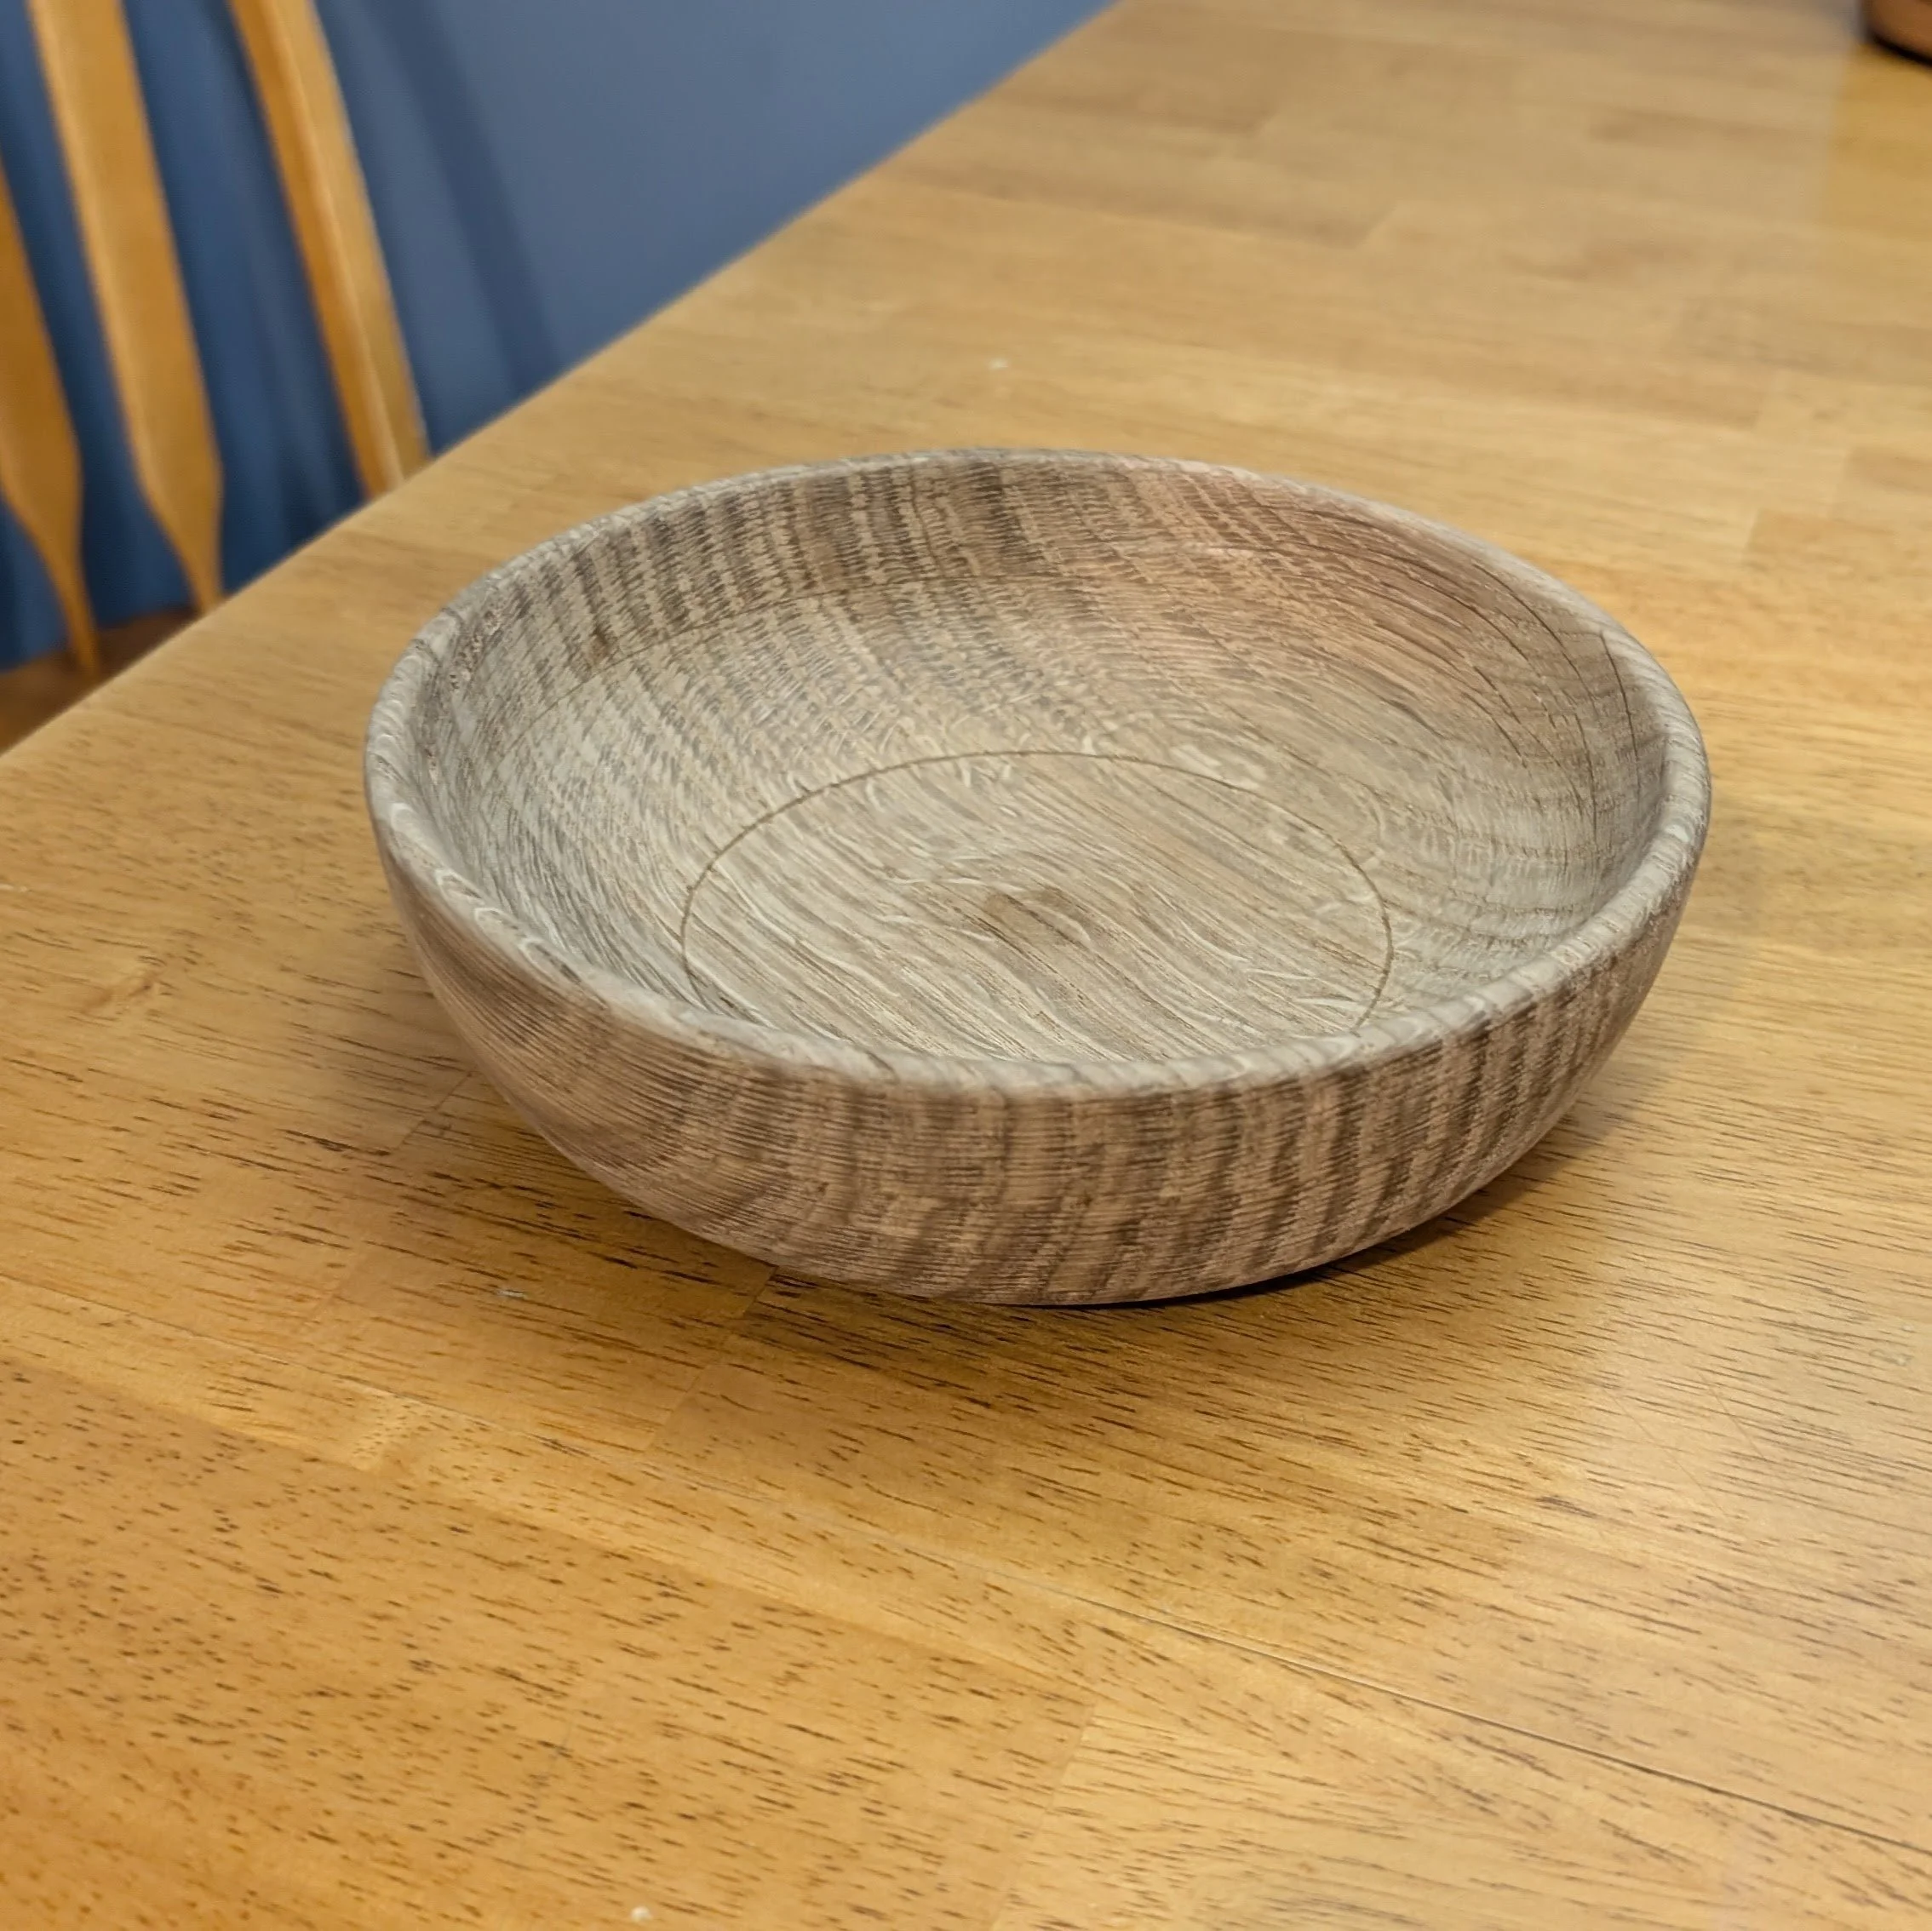
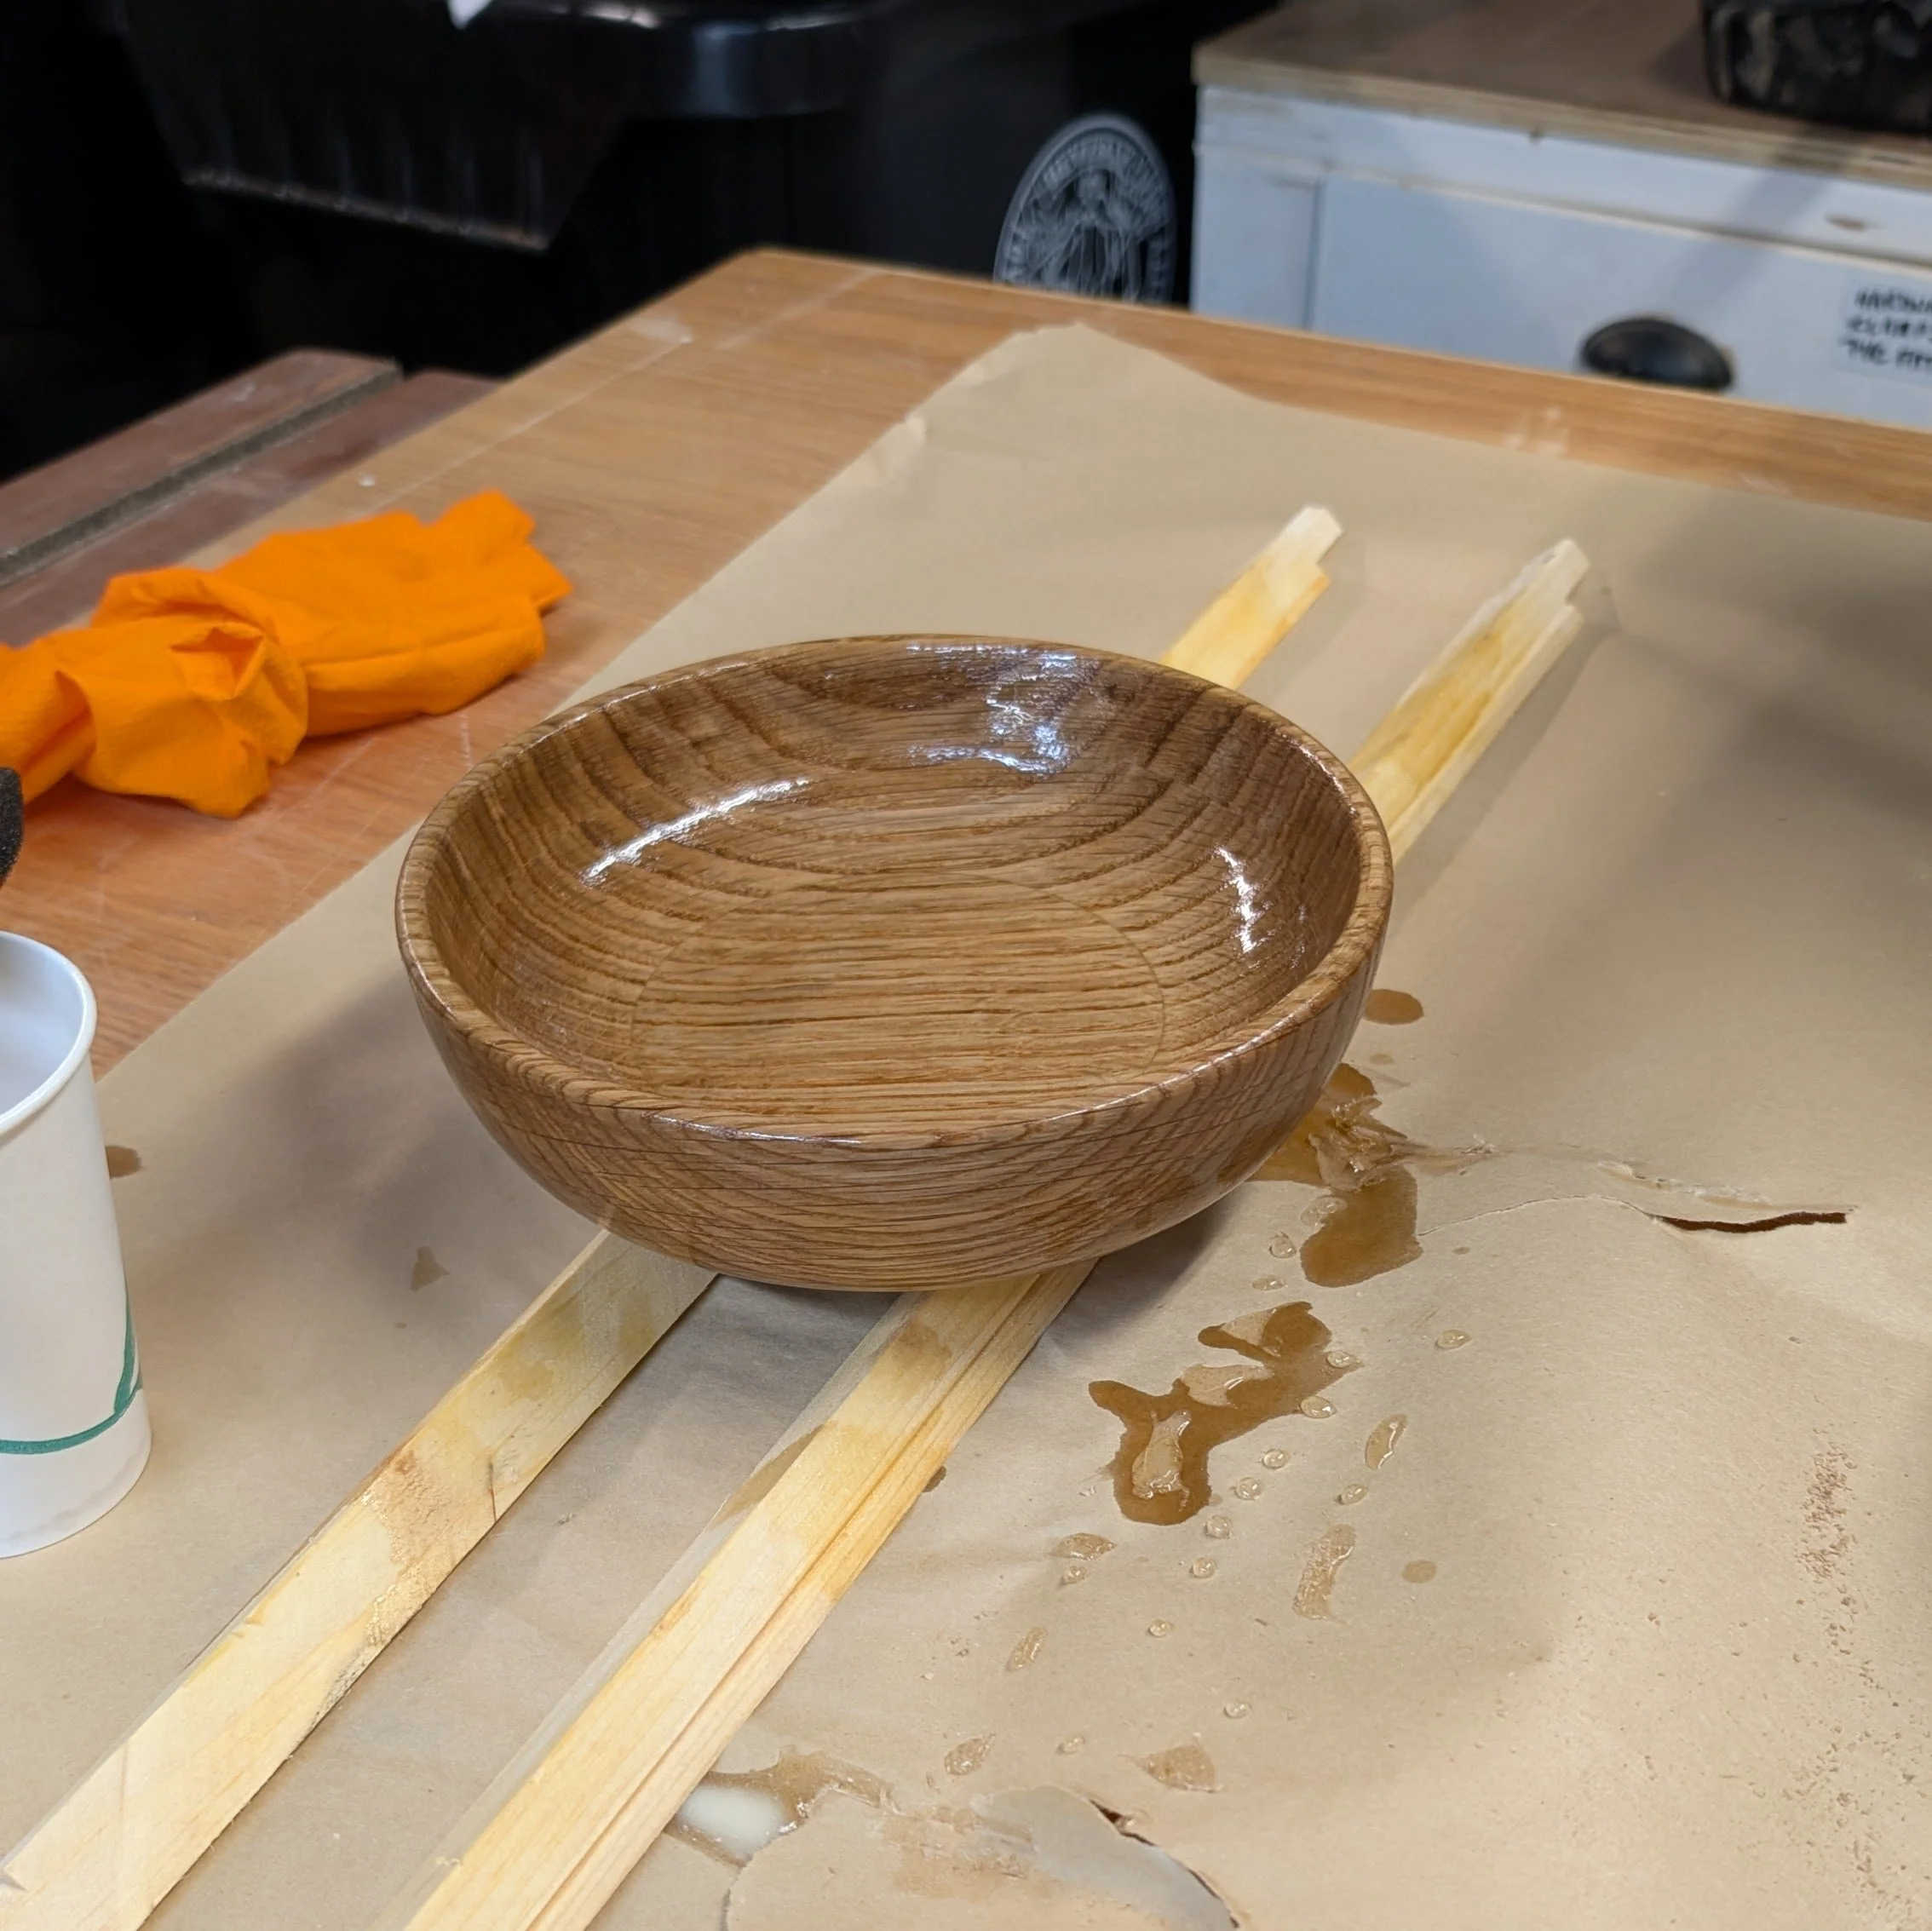
The next project was to make a useful sized serving vessel, so I glued up a 8” x 3” blank of white oak. I cut it to mostly round. I drilled a recess for mounting it on the chuck. I turned the bottom and the outside without too much difficulty. Even sanding it. I put another recess inside the foot of the bowl and turned it around.

Unfortunately the board that I made the blank out of had a crack in the end of it that I thought I would cut off when rounding. I did not. A big chunk came out of the top so I had to shorten the whole piece by about 3/8”, no big problem.

Hollowing something of this size was challenging and I learned a lot about tool selection, cutting angles, etc… there were mistakes. The final bowl is another half inch shorter. But still perfectly proportioned.

PXL_20260714_115734534.jpg
PXL_20260714_124147357.jpg
PXL_20260714_191859445.jpg
PXL_20260715_142751959.jpg

I’m having a lot of fun learning about wood turning. It is very engrossing when you are doing it. The problem solving and debugging when you make a mistake is also very rewarding. Even my crude beginner efforts are nice objects that I’m happy to have. I will be continuing my journey soon.

In Journal Tags building, wood turning, shop improvement, journal
Comment

Latest & Greatest

Blog RSS
Featured
PXL_20260826_150938765.jpg
August 26, 2026
Walnut Bowls
August 26, 2026
Read more →
August 26, 2026
PXL_20260814_121041091.jpg
August 14, 2026
Wider, Lower, More Curved Segmented Bowl
August 14, 2026
Read more →
August 14, 2026
PXL_20260801_152456504.jpg
August 3, 2026
Segmented Bowl
August 3, 2026
Read more →
August 3, 2026
PXL_20260709_231900182.jpg
July 15, 2026
Learning to Turn
July 15, 2026
Read more →
July 15, 2026
PXL_20260531_111209154.jpg
May 31, 2026
Record Sorter
May 31, 2026
Read more →
May 31, 2026
PXL_20260324_141508528.jpg
March 25, 2026
Set of folding side tables
March 25, 2026
Read more →
March 25, 2026
PXL_20260308_194438613.jpg
March 10, 2026
Hallway mirror
March 10, 2026
Read more →
March 10, 2026
PXL_20260306_205341914~2.jpg
March 8, 2026
Folding side table
March 8, 2026
Read more →
March 8, 2026
processed_887.jpg
February 27, 2026
Office organization...
February 27, 2026
Read more →
February 27, 2026
PXL_20260217_192557249~2.jpg
February 18, 2026
Craftsman-ish Ottoman for my Morris Chair
February 18, 2026
Read more →
February 18, 2026

Tags

  • building
  • journal
  • projects
  • python
  • software

All content on this site is Copyright 2007-2024 by James Goodwin unless otherwise noted.