For decades we’ve had a counter in the kitchen which due to it’s location near all the entrances to the kitchen collects a pile of papers, mail, receipts, keys, pens, letter openers, bills, etc… I’ve always found it somewhat upsetting to deal with but it hasn’t reached the top of the “do something about this” list… until now.
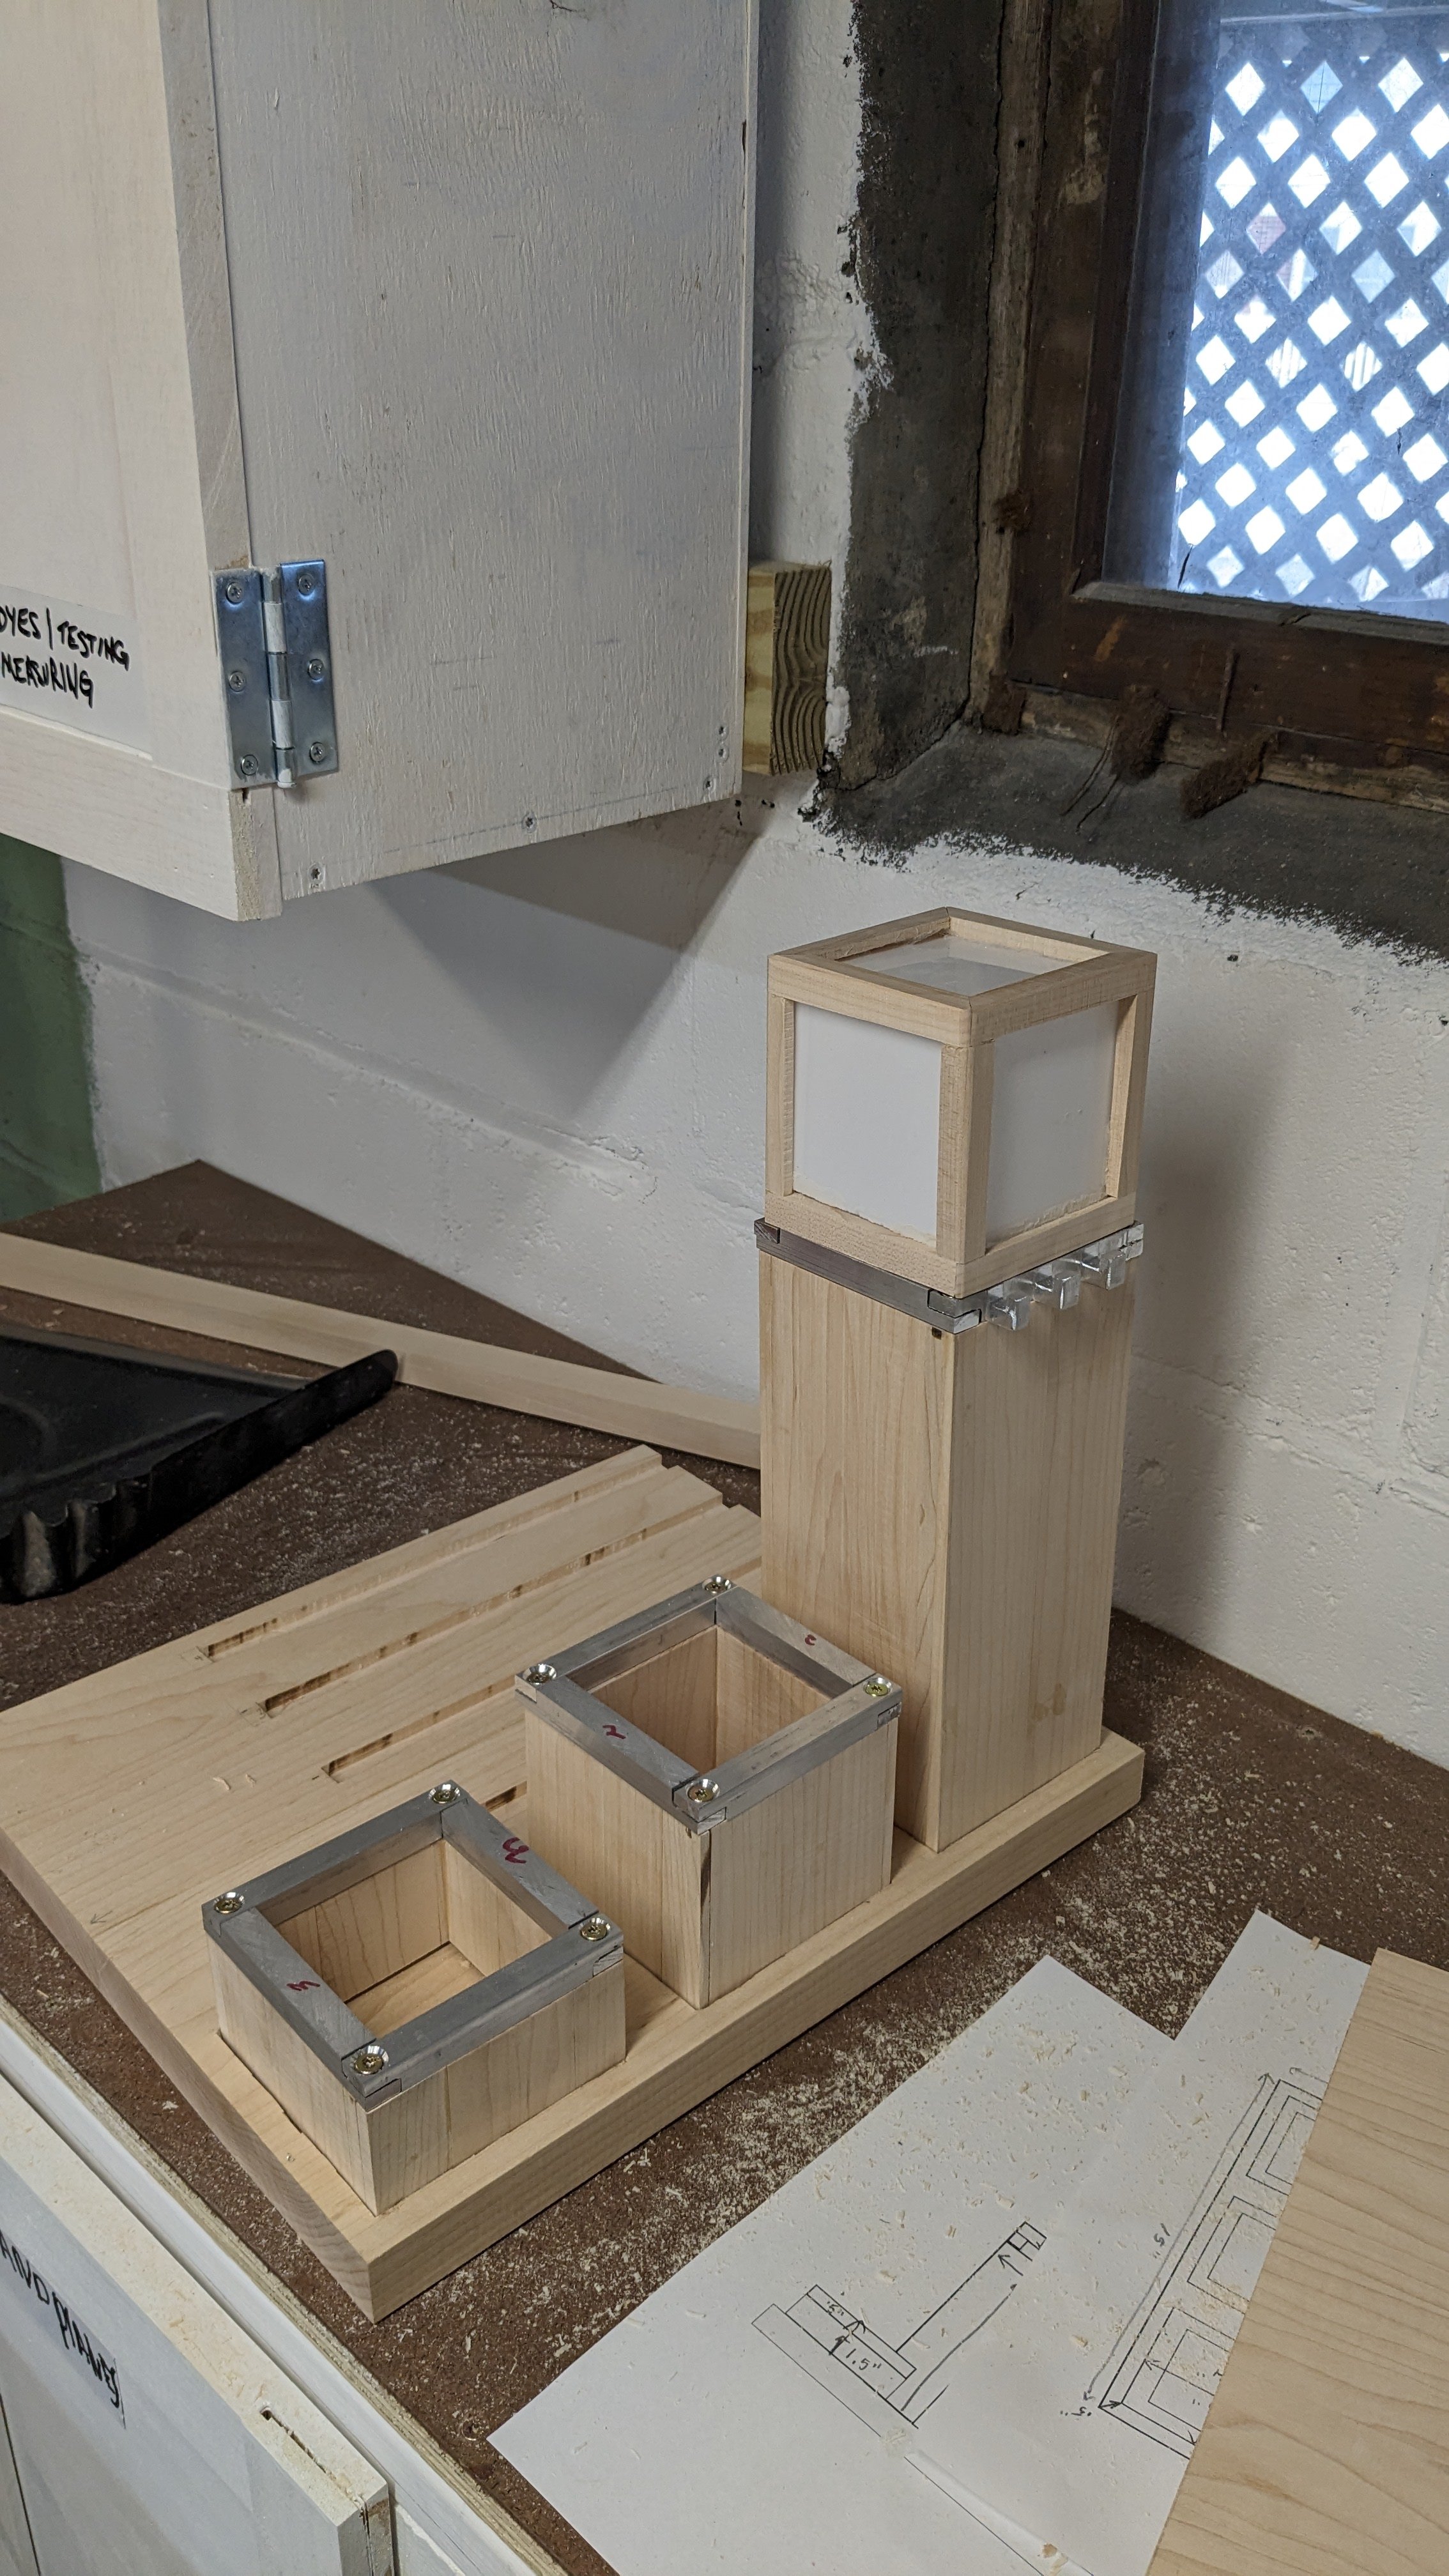
I wanted to make another small project and I was interested in using up some maple scraps and some “drops” of aluminum bar from the fire table project. Also I was curious about the Rockler bluetooth speaker/radio kit. So I decided to design an organizer for this corner. I was going for a sort of modernist abstract cityscape design ( that’s what I’m telling people ). I wanted dividers to organize the papers and envelopes and some cups to organize the small objects and pens, scissors, and mail openers. That counter was always dark because it didn’t have any undercabinet lighting so I made a tall tower to house the bluetooth speaker, a light, and on the back two AC outlets and two USB outlets.
I started the project with some problems and at some point I may end up remaking either parts of this project or the whole thing due to not really solving those problems. The first problem was that I didn’t have any 1/2” scrap stock and I wanted to make most of the features out of 1/2” material. I don’t have a jointer, or a thickness planer, or a bandsaw capable of accurately resawing anything. But I figured what the heck I’ll see how far I can get.
The stock that I did have was 1 1/16” thick so I cut it into two inch strips and attempted to slice them into 1/2” strips. This process was somewhat inaccurate ending up with some strips over 1/2” inch slightly and some under 1/2” slightly. Also I realized at this point that my table saw blade was dirty and dull from having cut a lot of crappy plywood for the shop cabinets recently.
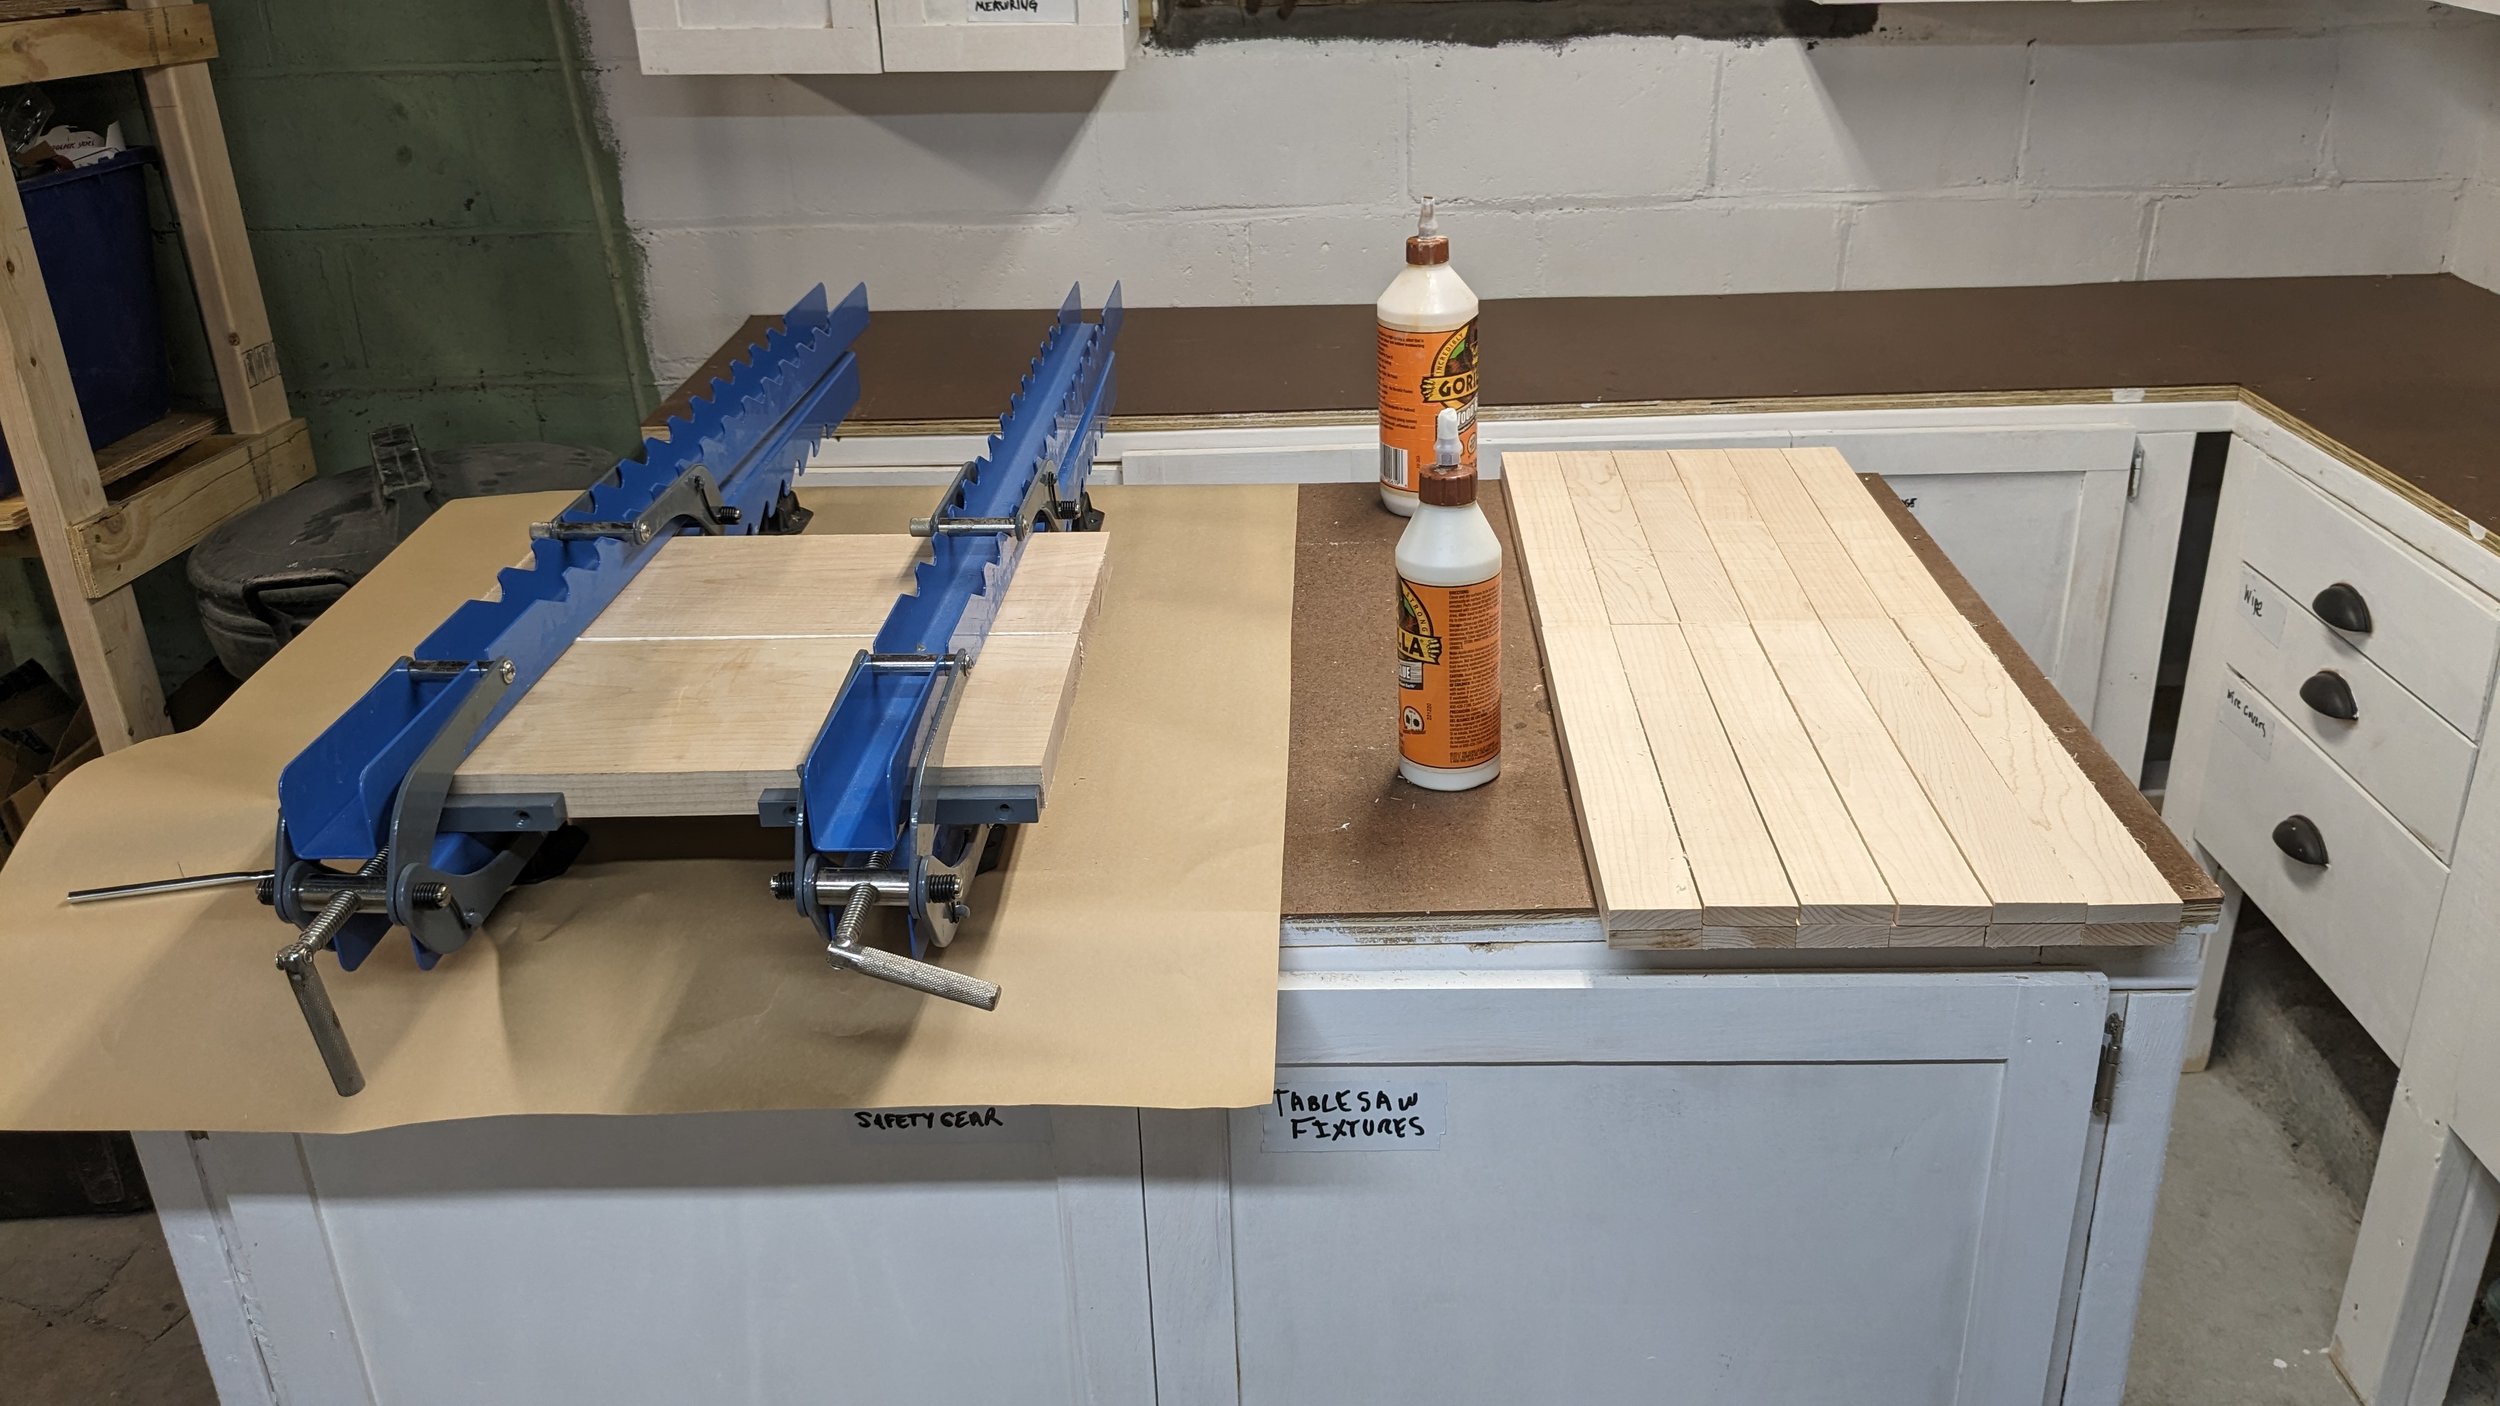
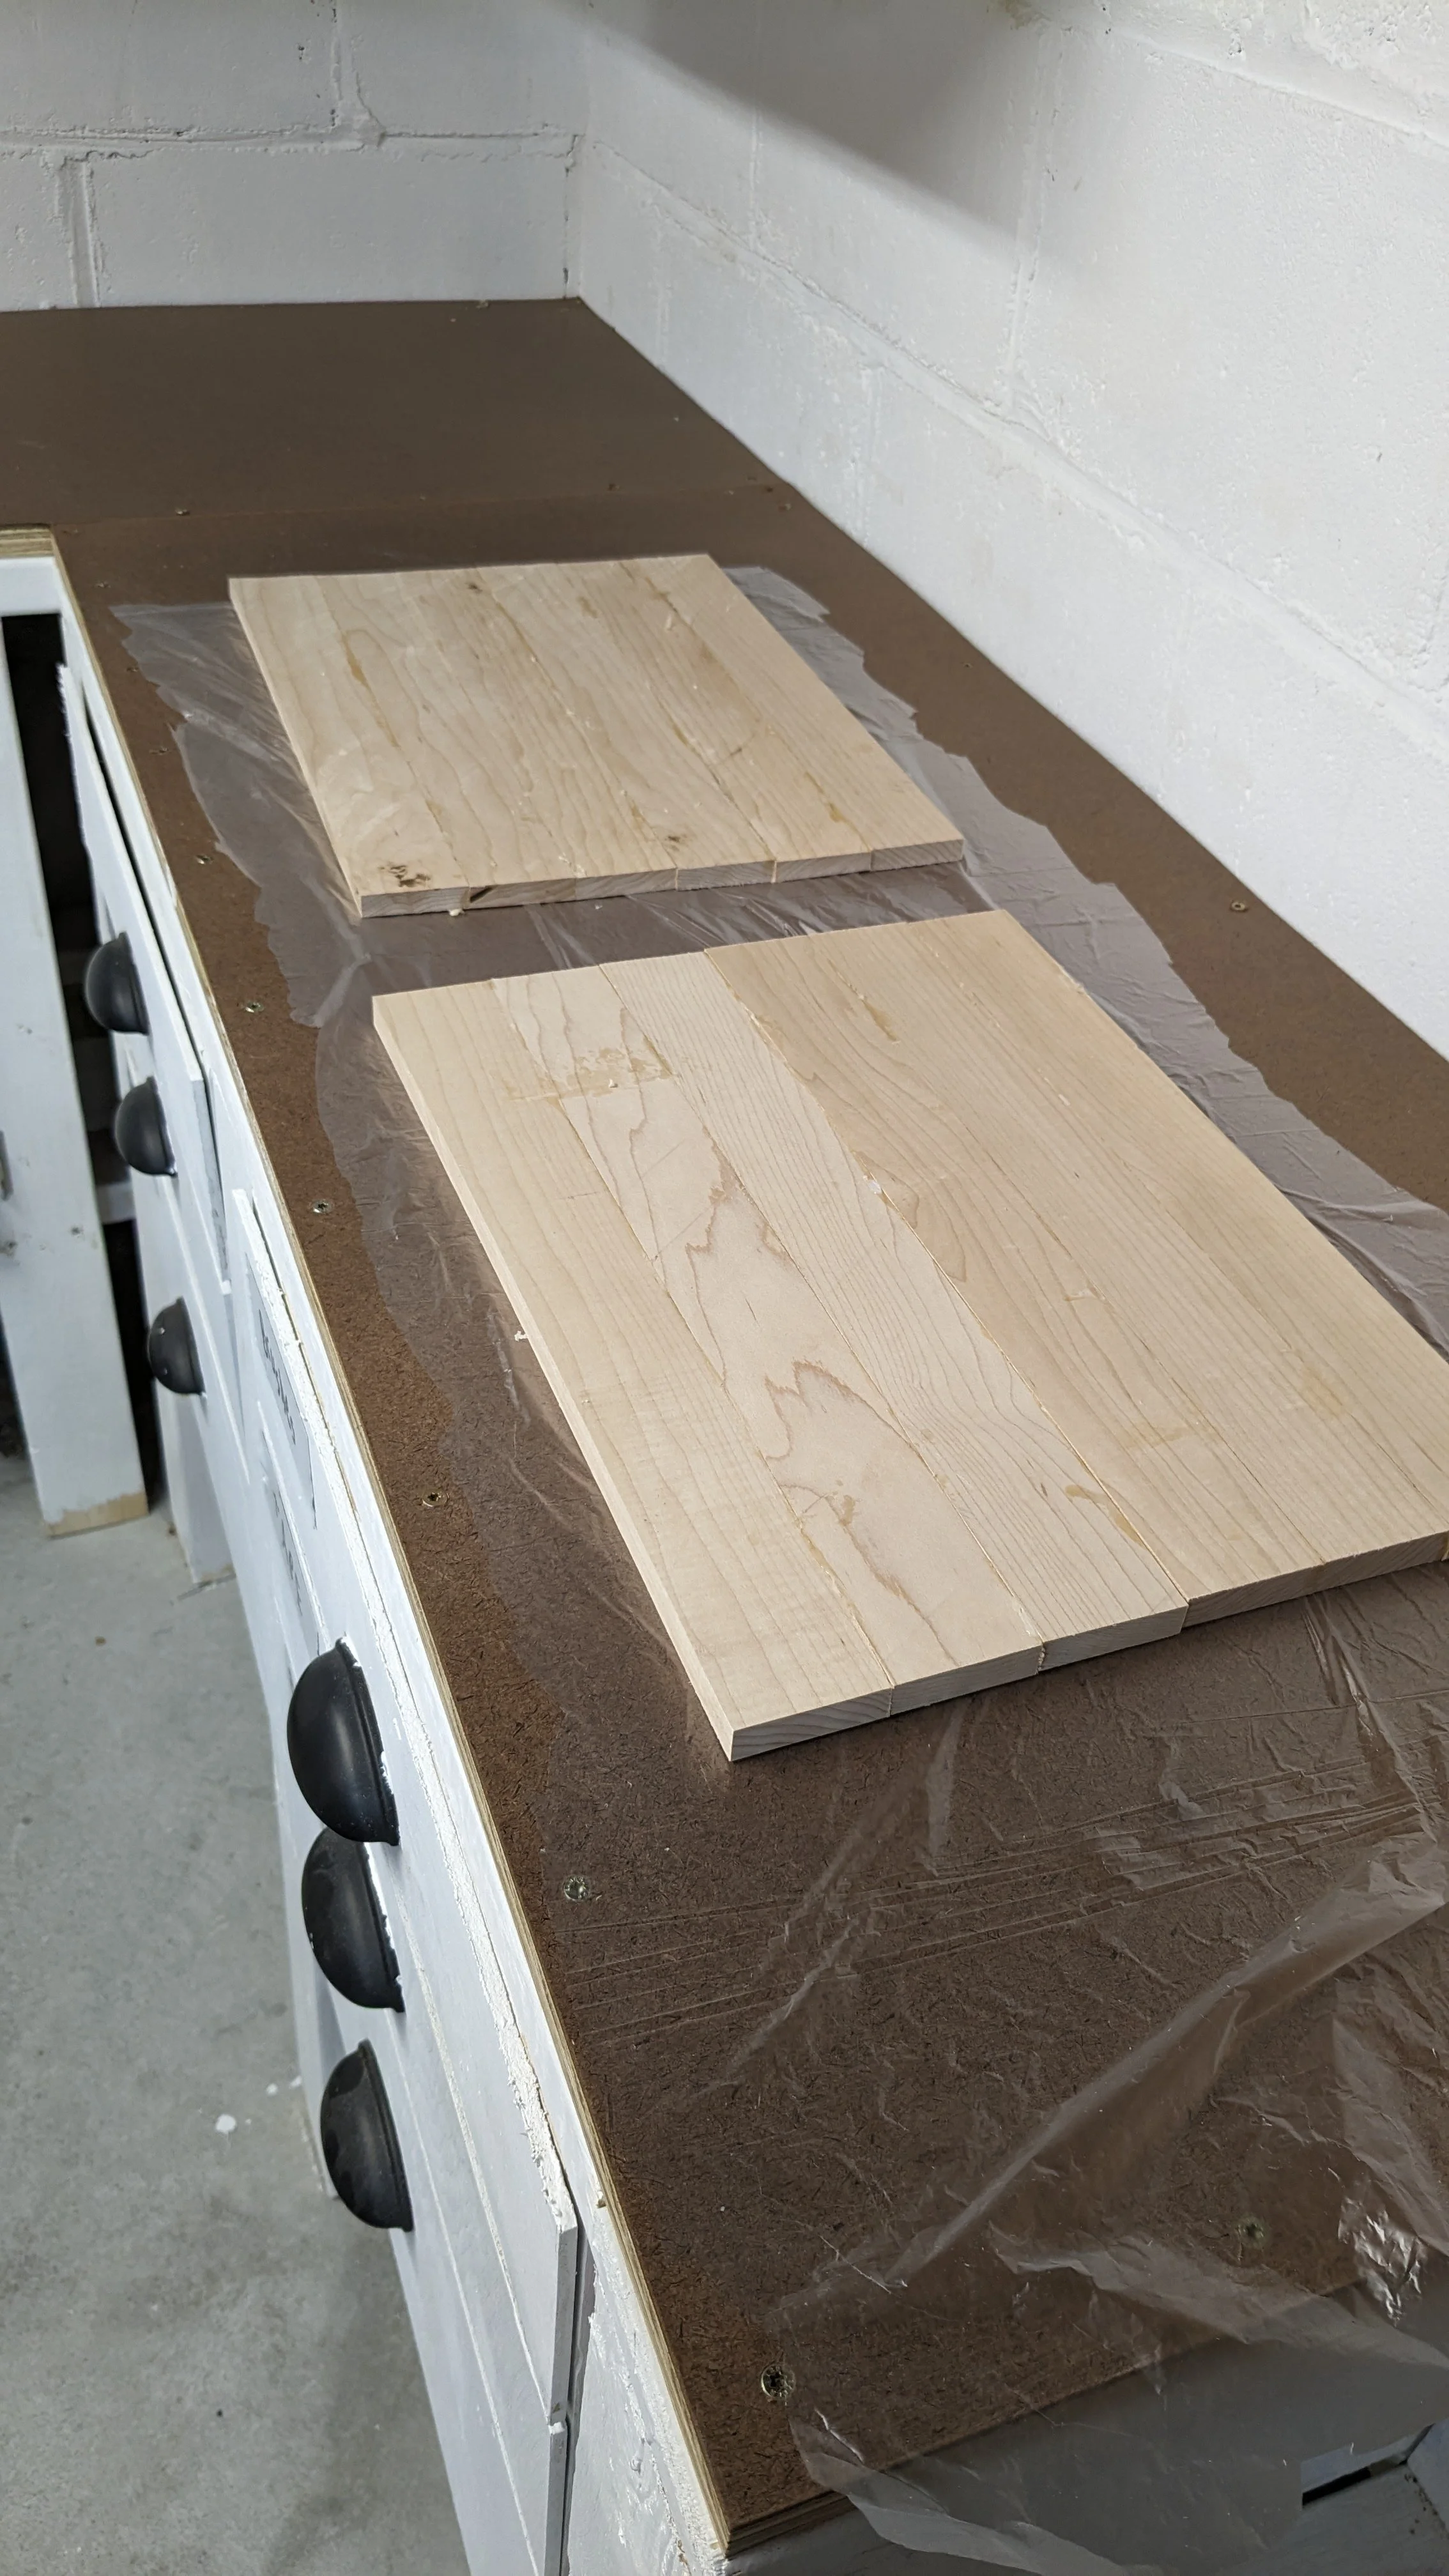


Also, the one limitation of the Rockler Panel Clamps is that they don’t do anything less that 3/4” material. I thought I could just stack two panels together with some plastic film between them and clamp them up that way. Lets just say the glue ups were not great and not very flat. At this point I just decided that this was a prototype and I was going to use it to see if the thing worked for us and I just plowed ahead. Through some hand planing, sanding, and scraping I got the panels “flat adjacent” but they were of varying thickness so milling things like rabbets on the edges was also inaccurate. So, what were supposed to be 4” x 4” box tubes were off in one or more dimensions by as much as 1/16”. Some of these issues I reduced using the 50 grit belt on my sanding station to square up the sides but of course they were now not 4” x 4” boxes they were rectangular.
The base of counter organizer was made of a glue up of the full thickness 1 1/16” maple boards. I thought these were quite flat when I glued them up, but unfortunately after a couple of days in the heated and very dry part of my shop they had developed a pronounced cup. Worse than that is that this happened after I had routed the recesses to custom fit each of the towers and the dividers into the base.


So another round of hand planing, sanding, and scraping ensued to get at least one side of it flat so it could sit on the counter. I couldn’t do much for the top without also removing the features I’d already routed there so I had to just accept it for what it was and tweak the orientation of the dividers and the towers when I glued them up.
I fabricated the aluminum hardware out of the 1” x 1/2” aluminum flat bar “drops” that I had. I used the aluminum cutting table saw blade that I had acquired for the fire table project. I made some custom clamping fixtures out of plywood to hold onto the small pieces of aluminum so they wouldn’t become projectiles. This worked very well and the plywood fixtures were useful for multiple operations since they were sacrificial and I could cut a feature through the plywood and the aluminum with no problems. The key hooks were the most interesting to make but the techniques were very much the same as cutting dados or tenons out of wood on a table saw, just using aluminum. The aluminum chips were no joke though and I ended up wearing nitrile gloves because they were stinging my hands a bit.


I cleaned up the aluminum with files and deburring tools and sanded it to 320 grit and then sprayed them with a clear acrylic lacquer to prevent oxidation. The finish has a nice smooth sparkly appearance.
Another problem was the light fixture which seems simple in theory but is in practice quite challenging, especially when you’re using uneven stock and using the wrong tools to shape it. In the end I was able to create a cube with the top and the bottom mitered together with a 1/4” rabbet around the inside. The sides were four corner pieces with the same profile. All of the acrylic had to be inside the cube for the glue up which was awkward and I tried using silicone adhesive to hold the acrylic in the frames, don’t do that, it doesn’t adhere to acrylic well at all.
But in the end I came up with a cube light that is slightly wonky but functional.

I cut all the holes in the tower for the bluetooth audio and speakers and the outlet on the back and a switch for the light and the exit for the plug wire. After determining that everything was actually going to fit I had to glue up everything and put finish on it before I could install the electrical elements.
The glue up went fine. I had to shim the divider panels and in some cases bend them slightly to fit the dado’s in the base but they all got glued in. Before I glued them into the base I drilled holes down the center of the dados so I could add screws from the underside for additional strength. I squared everything up as I went and even though they were not 90 degrees to the surface of the base which was somewhat arched they appeared relatively perpendicular from a distance and if you don’t look too hard. As Jimmy Diresta says “If it looks straight, it is straight.”
The finish was a little bit of a nightmare, I used a golden danish oil, which I’d used before, which was the problem, the can apparently had been quietly evaporating the mineral spirits and I didn’t realize that it was not the right solution until I had a applied a lot of it. So there was a lot of diluting with mineral spirits, wiping sticky spots etc… I eventually got it to a decent place.
Finally I finished up and installed the wiring and the hardware and it has been deployed. It seems to be functioning well, the counter is a lot more organized now and I will never do many of the things I did on this project again. I may revisit this project sometime in the future and do everything better, but I’ve got another project that actually has a deadline so I’m on to that.