


It’s been busy on the Sewing Table project. I found a local hardwood supplier Boulter Plywood which was great, they’re right over in Medford and they deliver locally. The milled stock and veneer plywood that they provided was really nice, super clean, the wood had clearly been stored really well. They even send along a bundle of off-cuts, so nice. It is all maple. The plywood is mdf in the middle with two veneer faces, super stable, no voids, gorgeous.

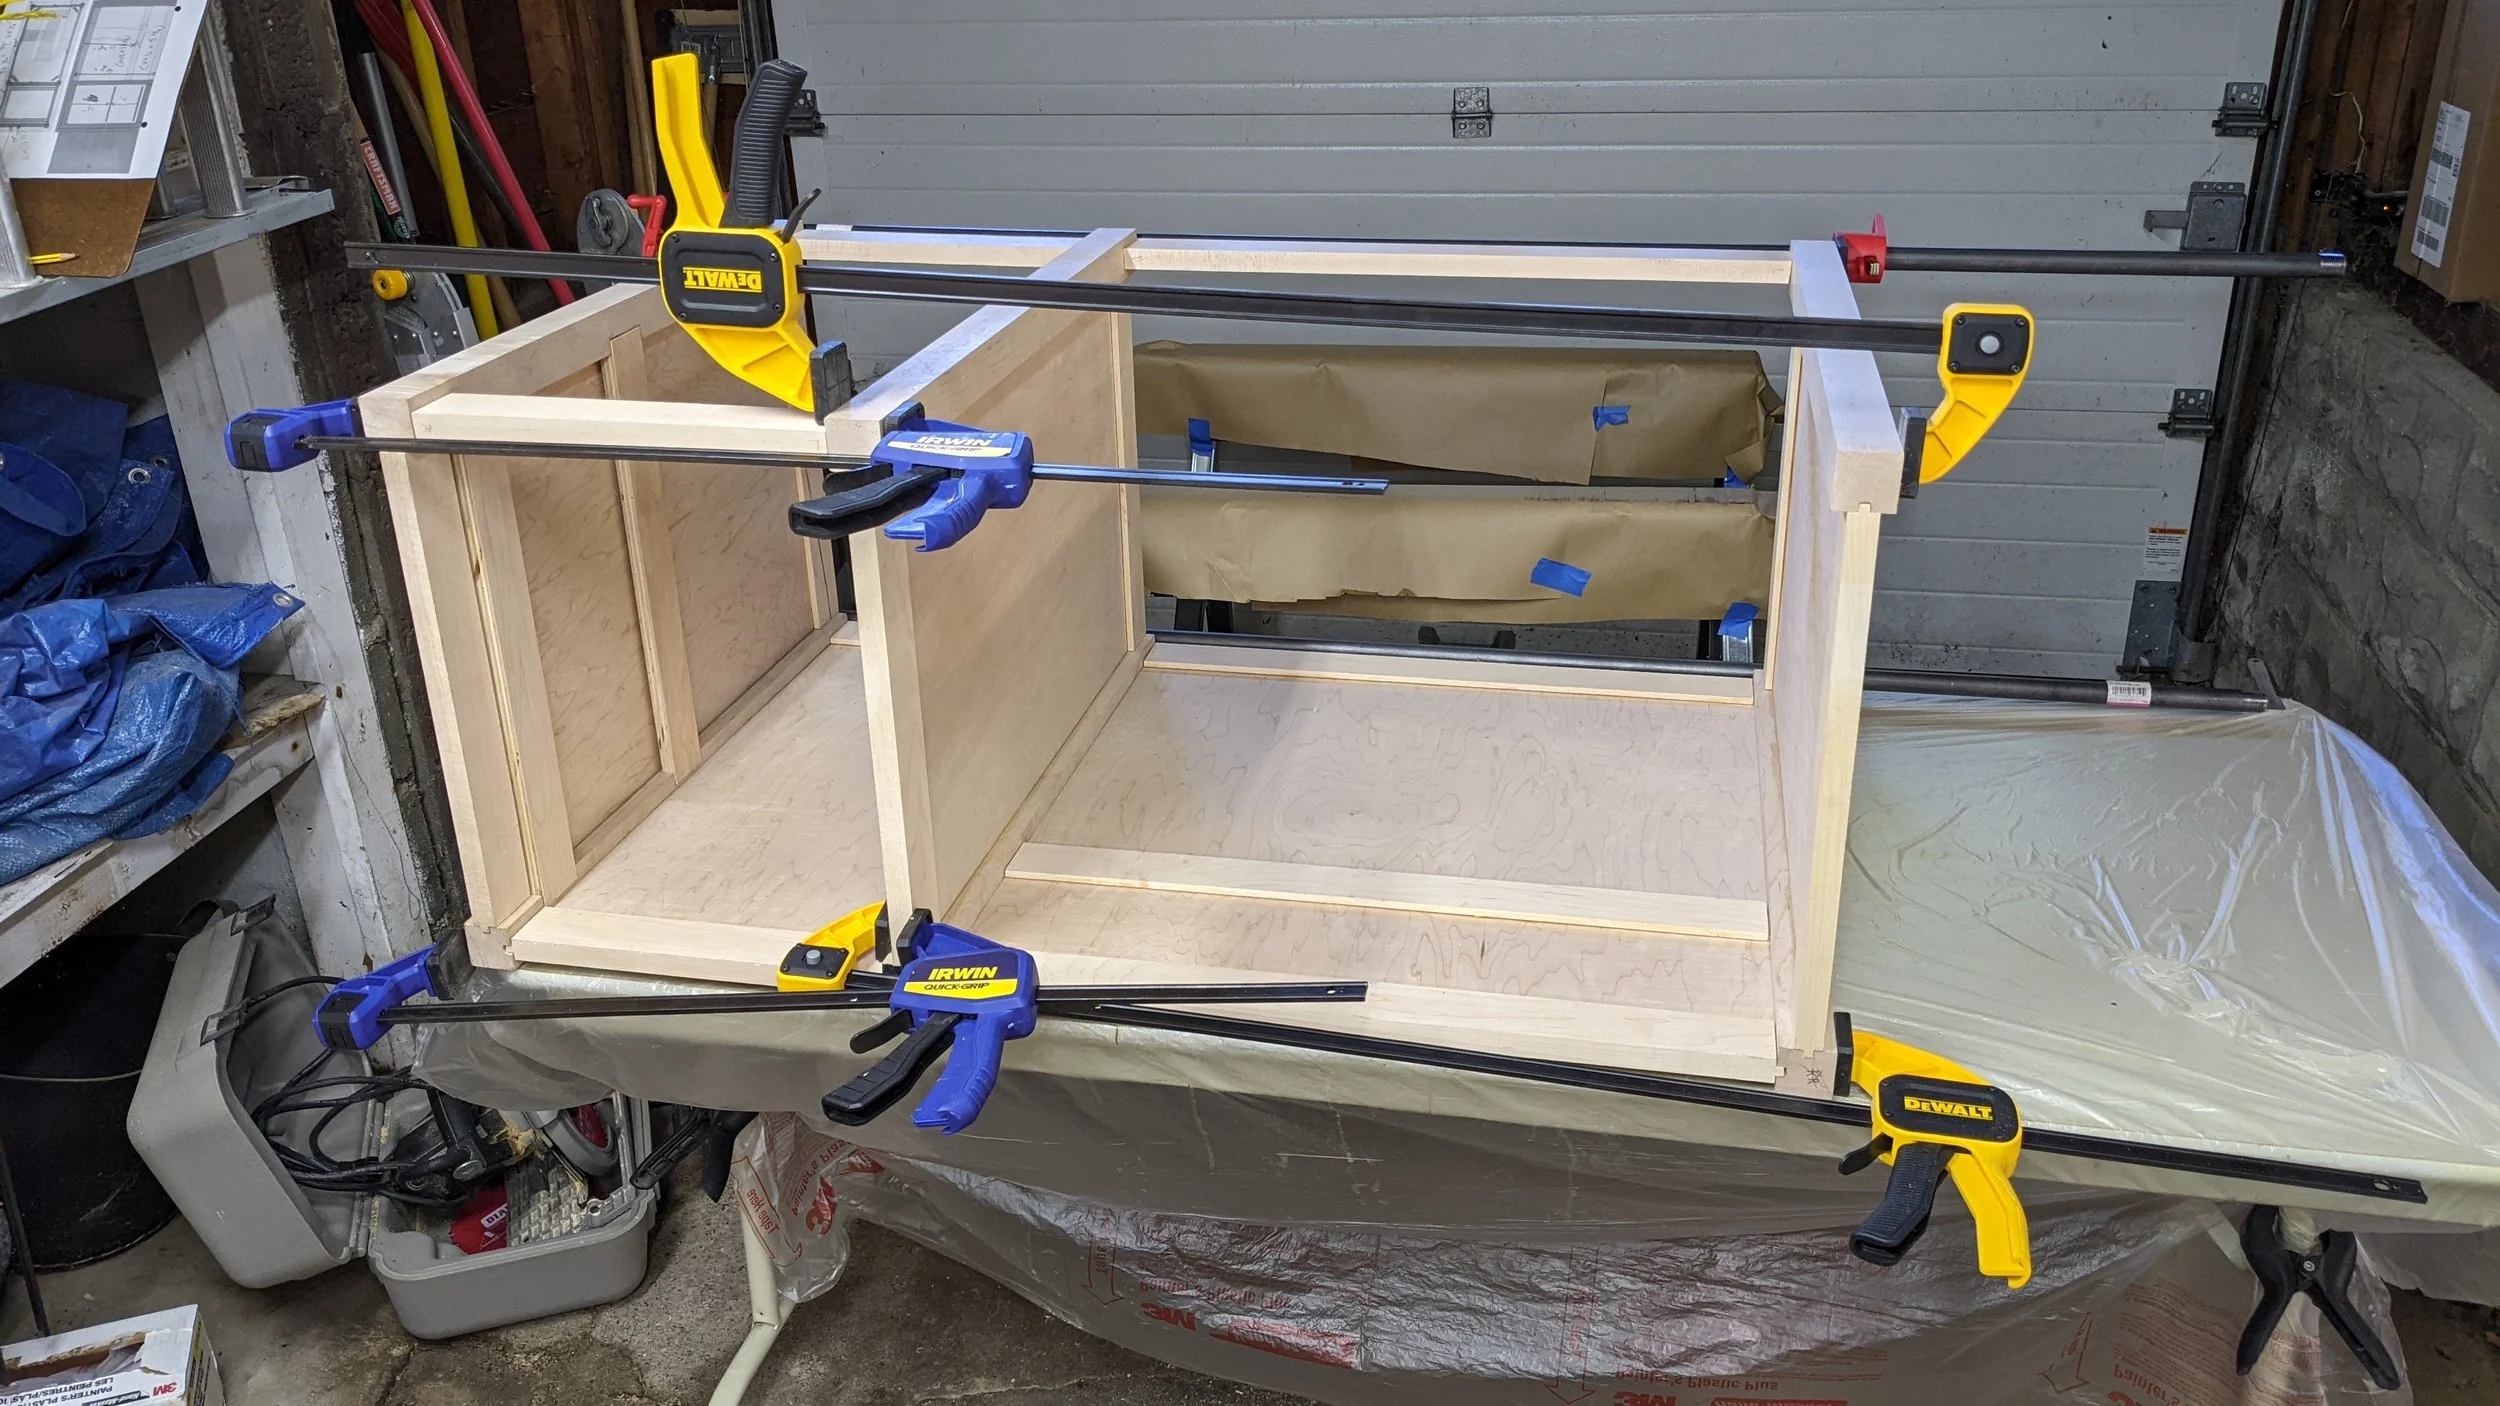
This was the most complex design I’ve done to date, a lot of joints, slide out shelves, solid wood table top, three doors, 270 degree hinges, a hole with a hatch in the tabletop, a sewing machine lift. Fortunately it was very repetitious in terms of fabrication. Groove all the uprights (paying attention to which way the grooves are supposed to be pointing), make the same mortise twenty four or so times, tenon all the tenons. I had a good repeatable setup on the drill press for the tenons. The cheek cuts on the band saw were OK, but I think I’m going to get a table saw jig for next time, the band saw blade deflects at the end of the cut just a little and leaves artifacts that have to be cleaned up.
I put together a little time-lapse video showing some of the repetitive parts of the build:
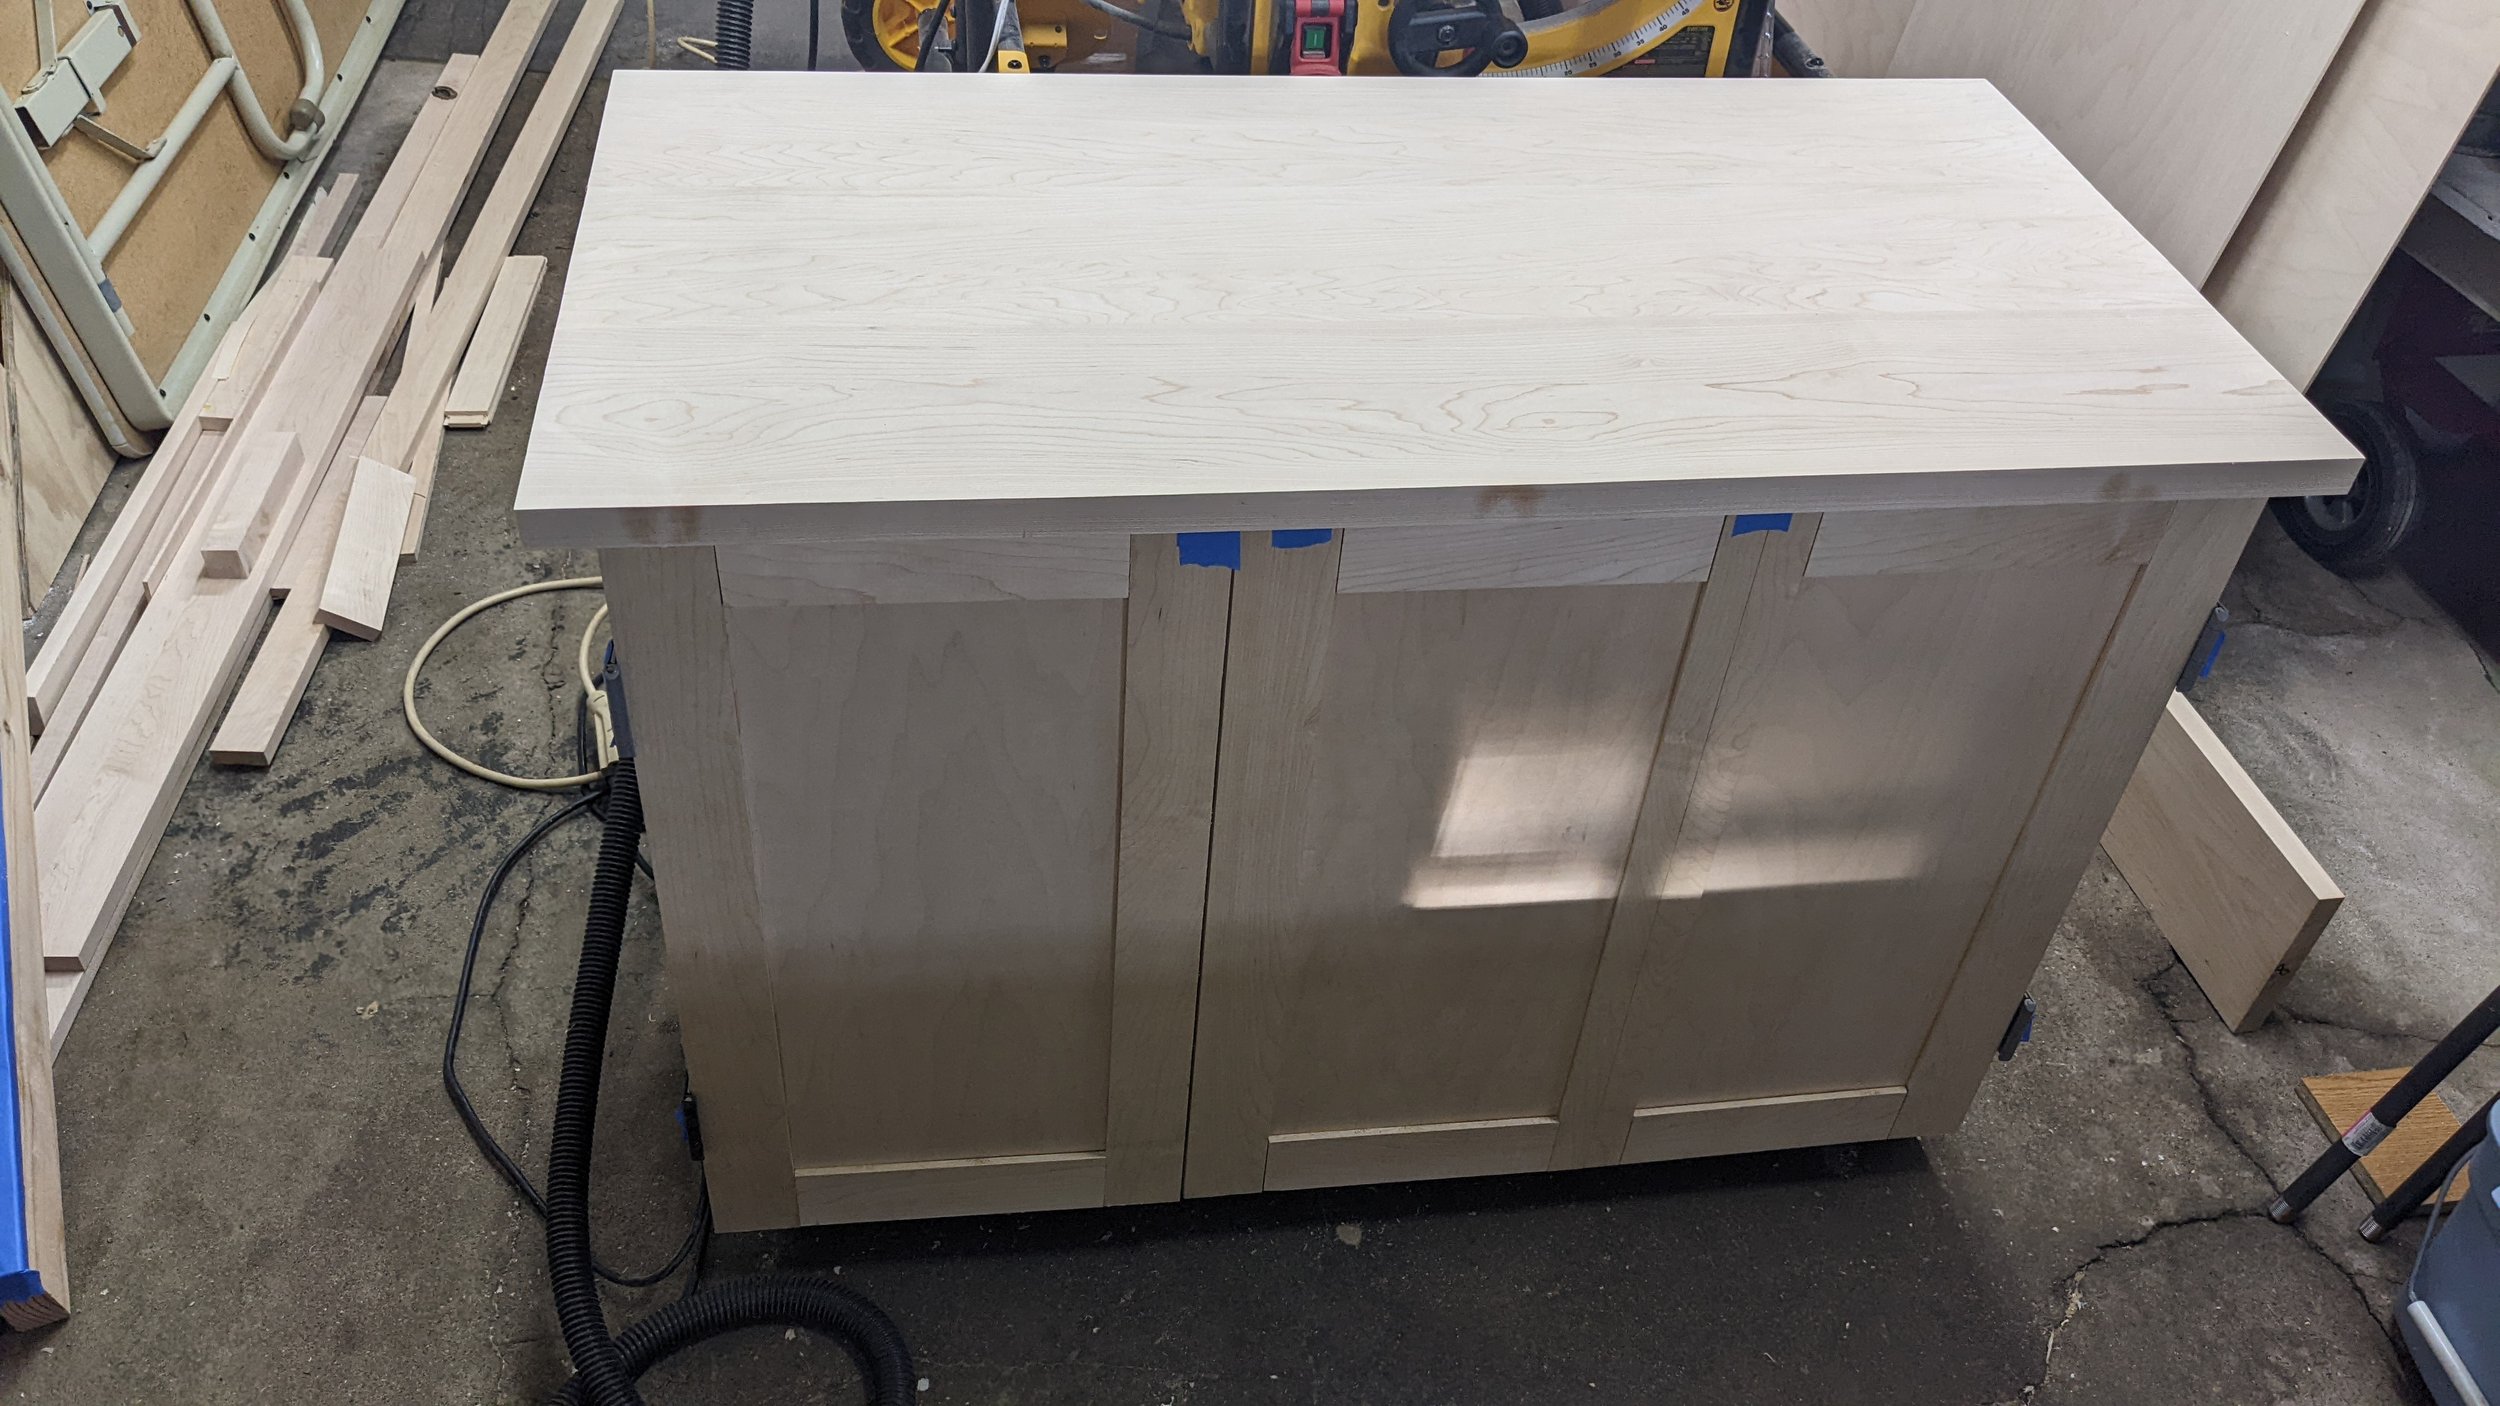
One new thing was gluing up my first tabletop. The mill provided very straight, very consistent boards and I was able to match the edges no problem. I made it slightly oversize so I could cut it to final dimension after the glue up. It was relatively flat and not bad at all for my first time. I did have to surface it with an 80 grit belt on the belt sander and aggressive diagonal sanding across the whole thing. But, it got into shape really quite quickly and I was very pleased with the result.


Of course the very next thing I needed to do was cut a hole in it for the sewing machine to come up through. This is my second time cutting a hole like this and was resolved to do better this time. I used the rectangular router guide jig that I’d bought after the last time. That seems to be my pattern, I struggle through something and it convinces me to buy the right tool for the next time. I got a really nice 1/4” spiral up cutting bit for the router 1 3/4” long. It did a beautiful job cutting through the over 1” thick solid maple. I did three passes and a lesson for next time is to probably do it in just two passes because the remaining wood wasn’t thick enough to support the piece I was cutting out and I had a small amount of tear out. But cutting from the backside of the tabletop with the up cutting spiral bit resulted in a super clean edge other than that. Fortunately the tear out was all just where I was going to rout a dado for the hatch to sit in in any case and so wasn’t really a problem.
The sewing machine lift from ROCKLER was super easy to install and adjust. I put a temporary plywood version of the lift table for marking the location on the underside of the tabletop. Fortunately I had a nice clean cutting experience with the lift hole and so I’m able to use the offcut as a perfectly matched lift table that fits the thickness of the top and looks really nice.
I did a separate glue-up for the hatch and had to do a 1/2” rabbet that matched depth perfectly both on the top and on the backside of the hatch. I used the same rectangular router guide jig and managed to do it without mangling anything. Probably the most precise routing job I’ve done to date, to within a thirty-second of an inch.


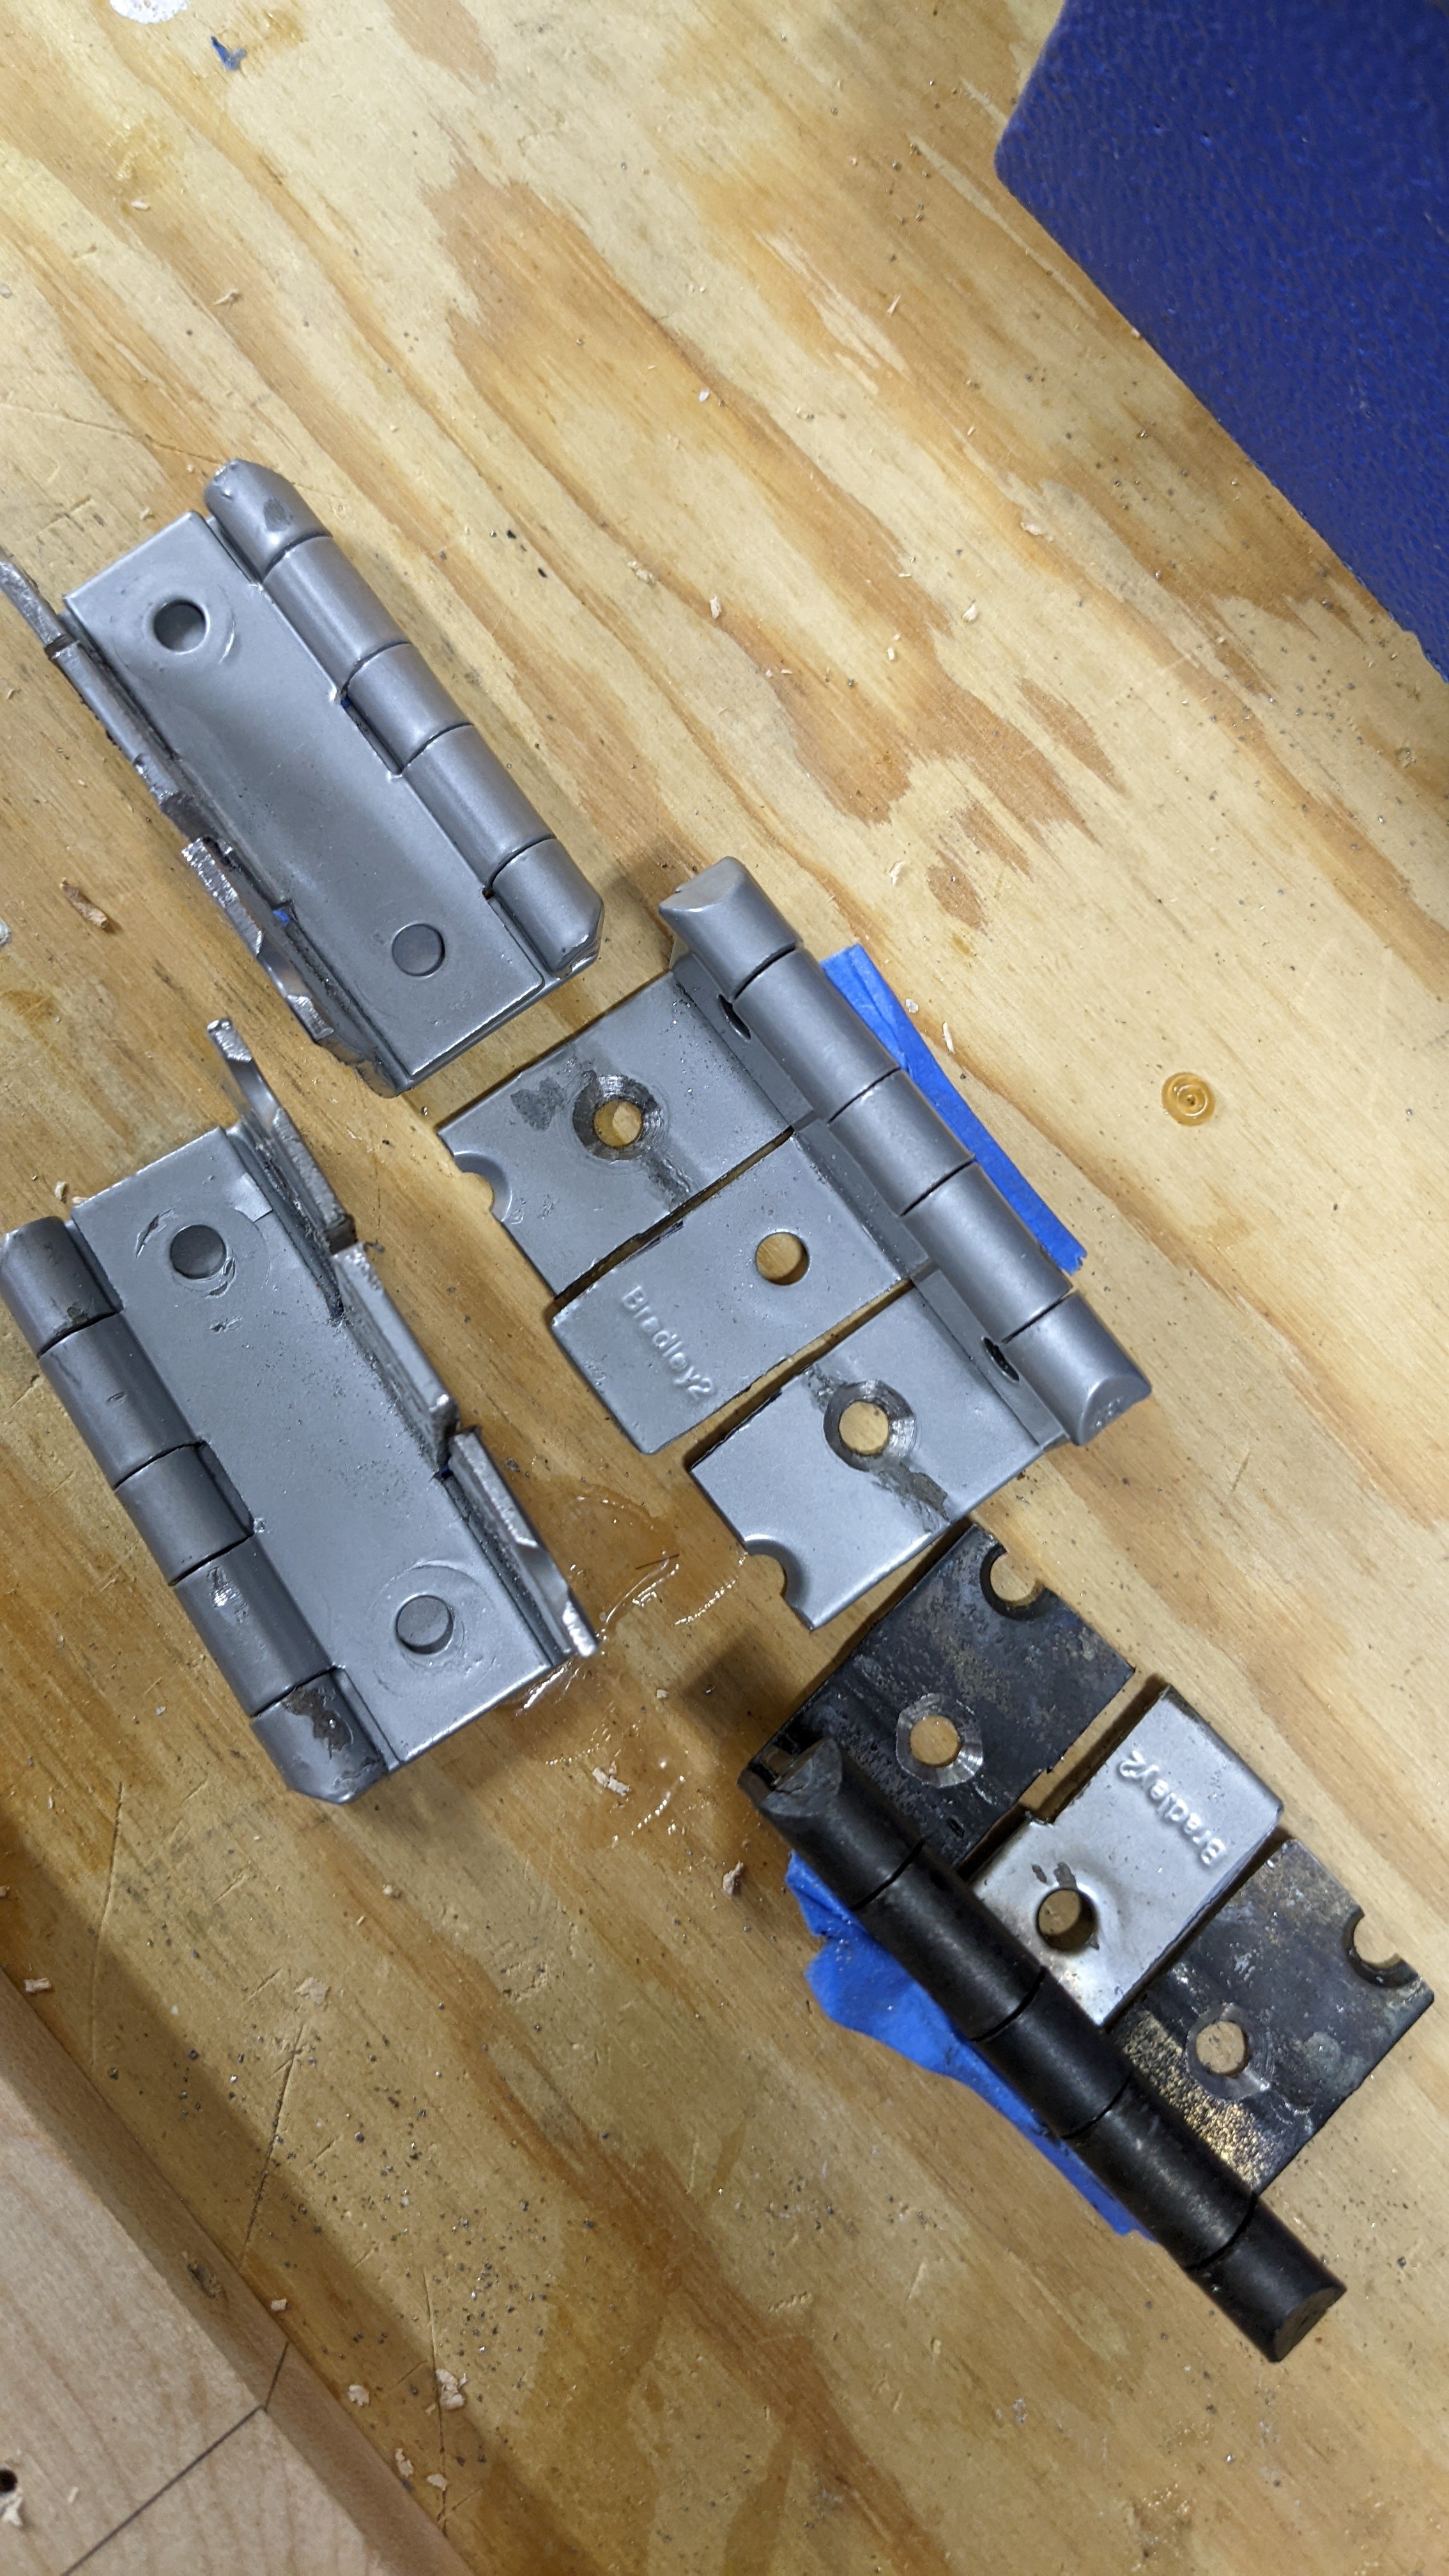
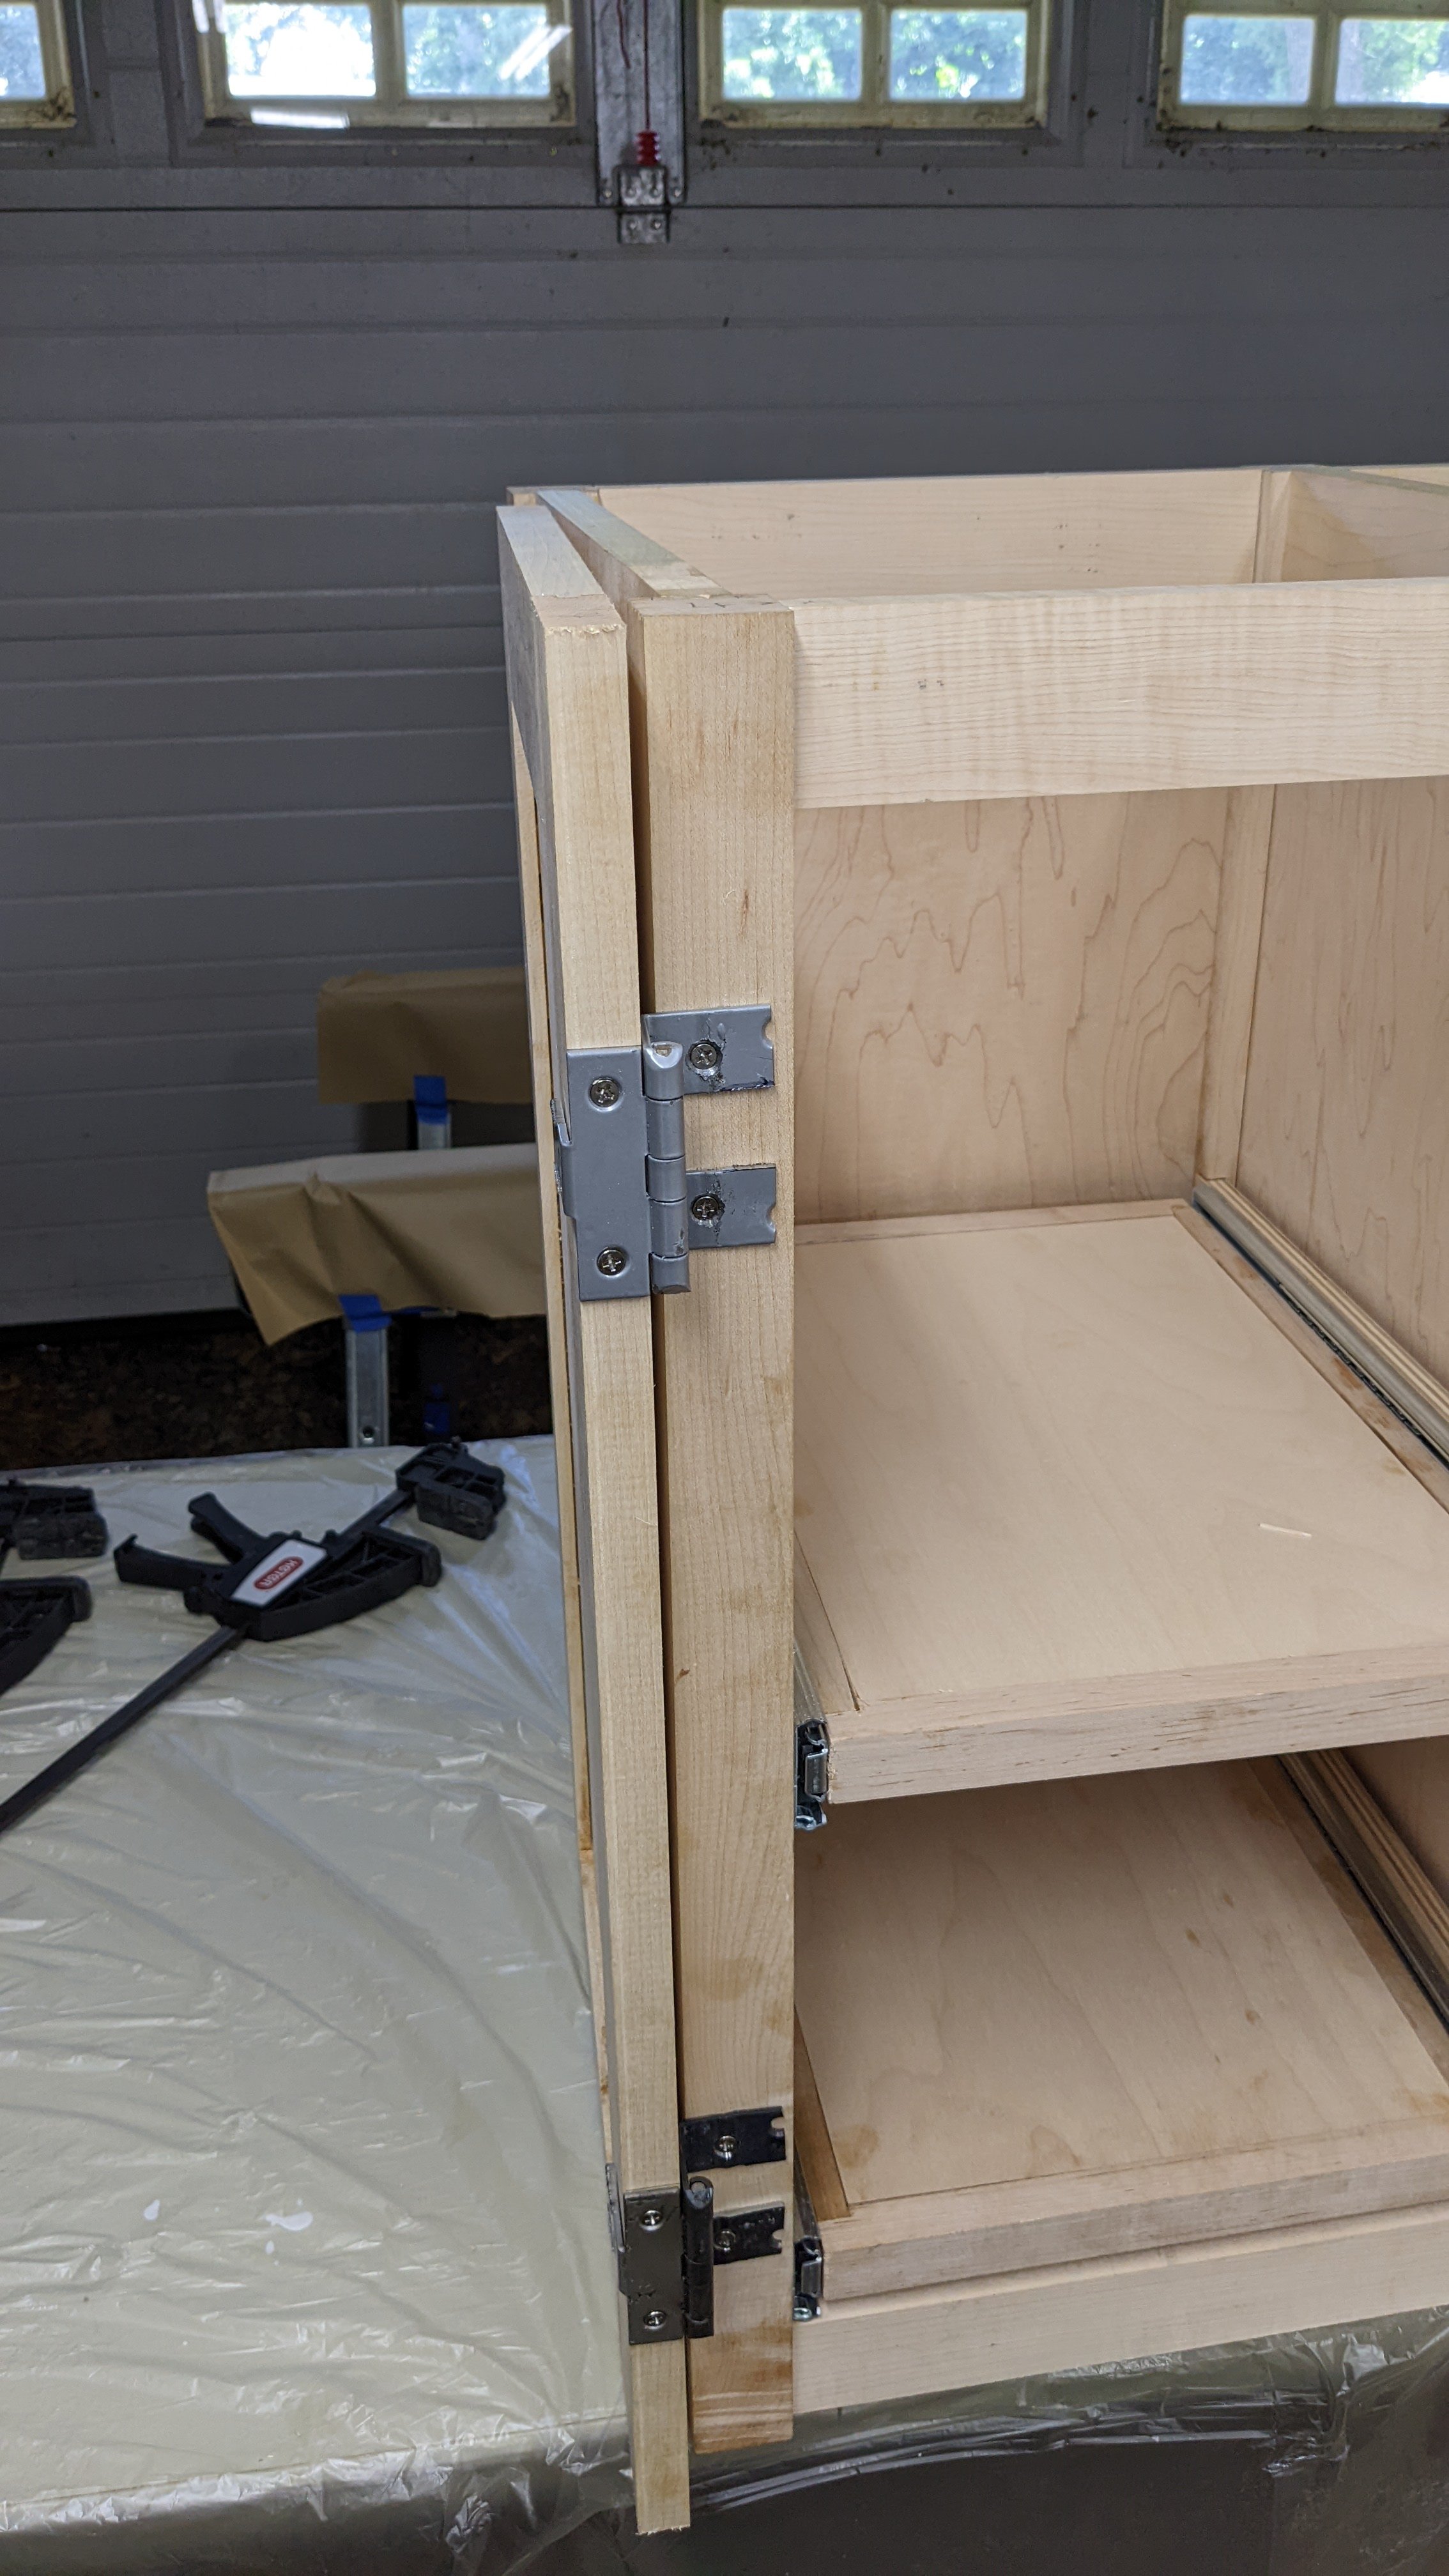
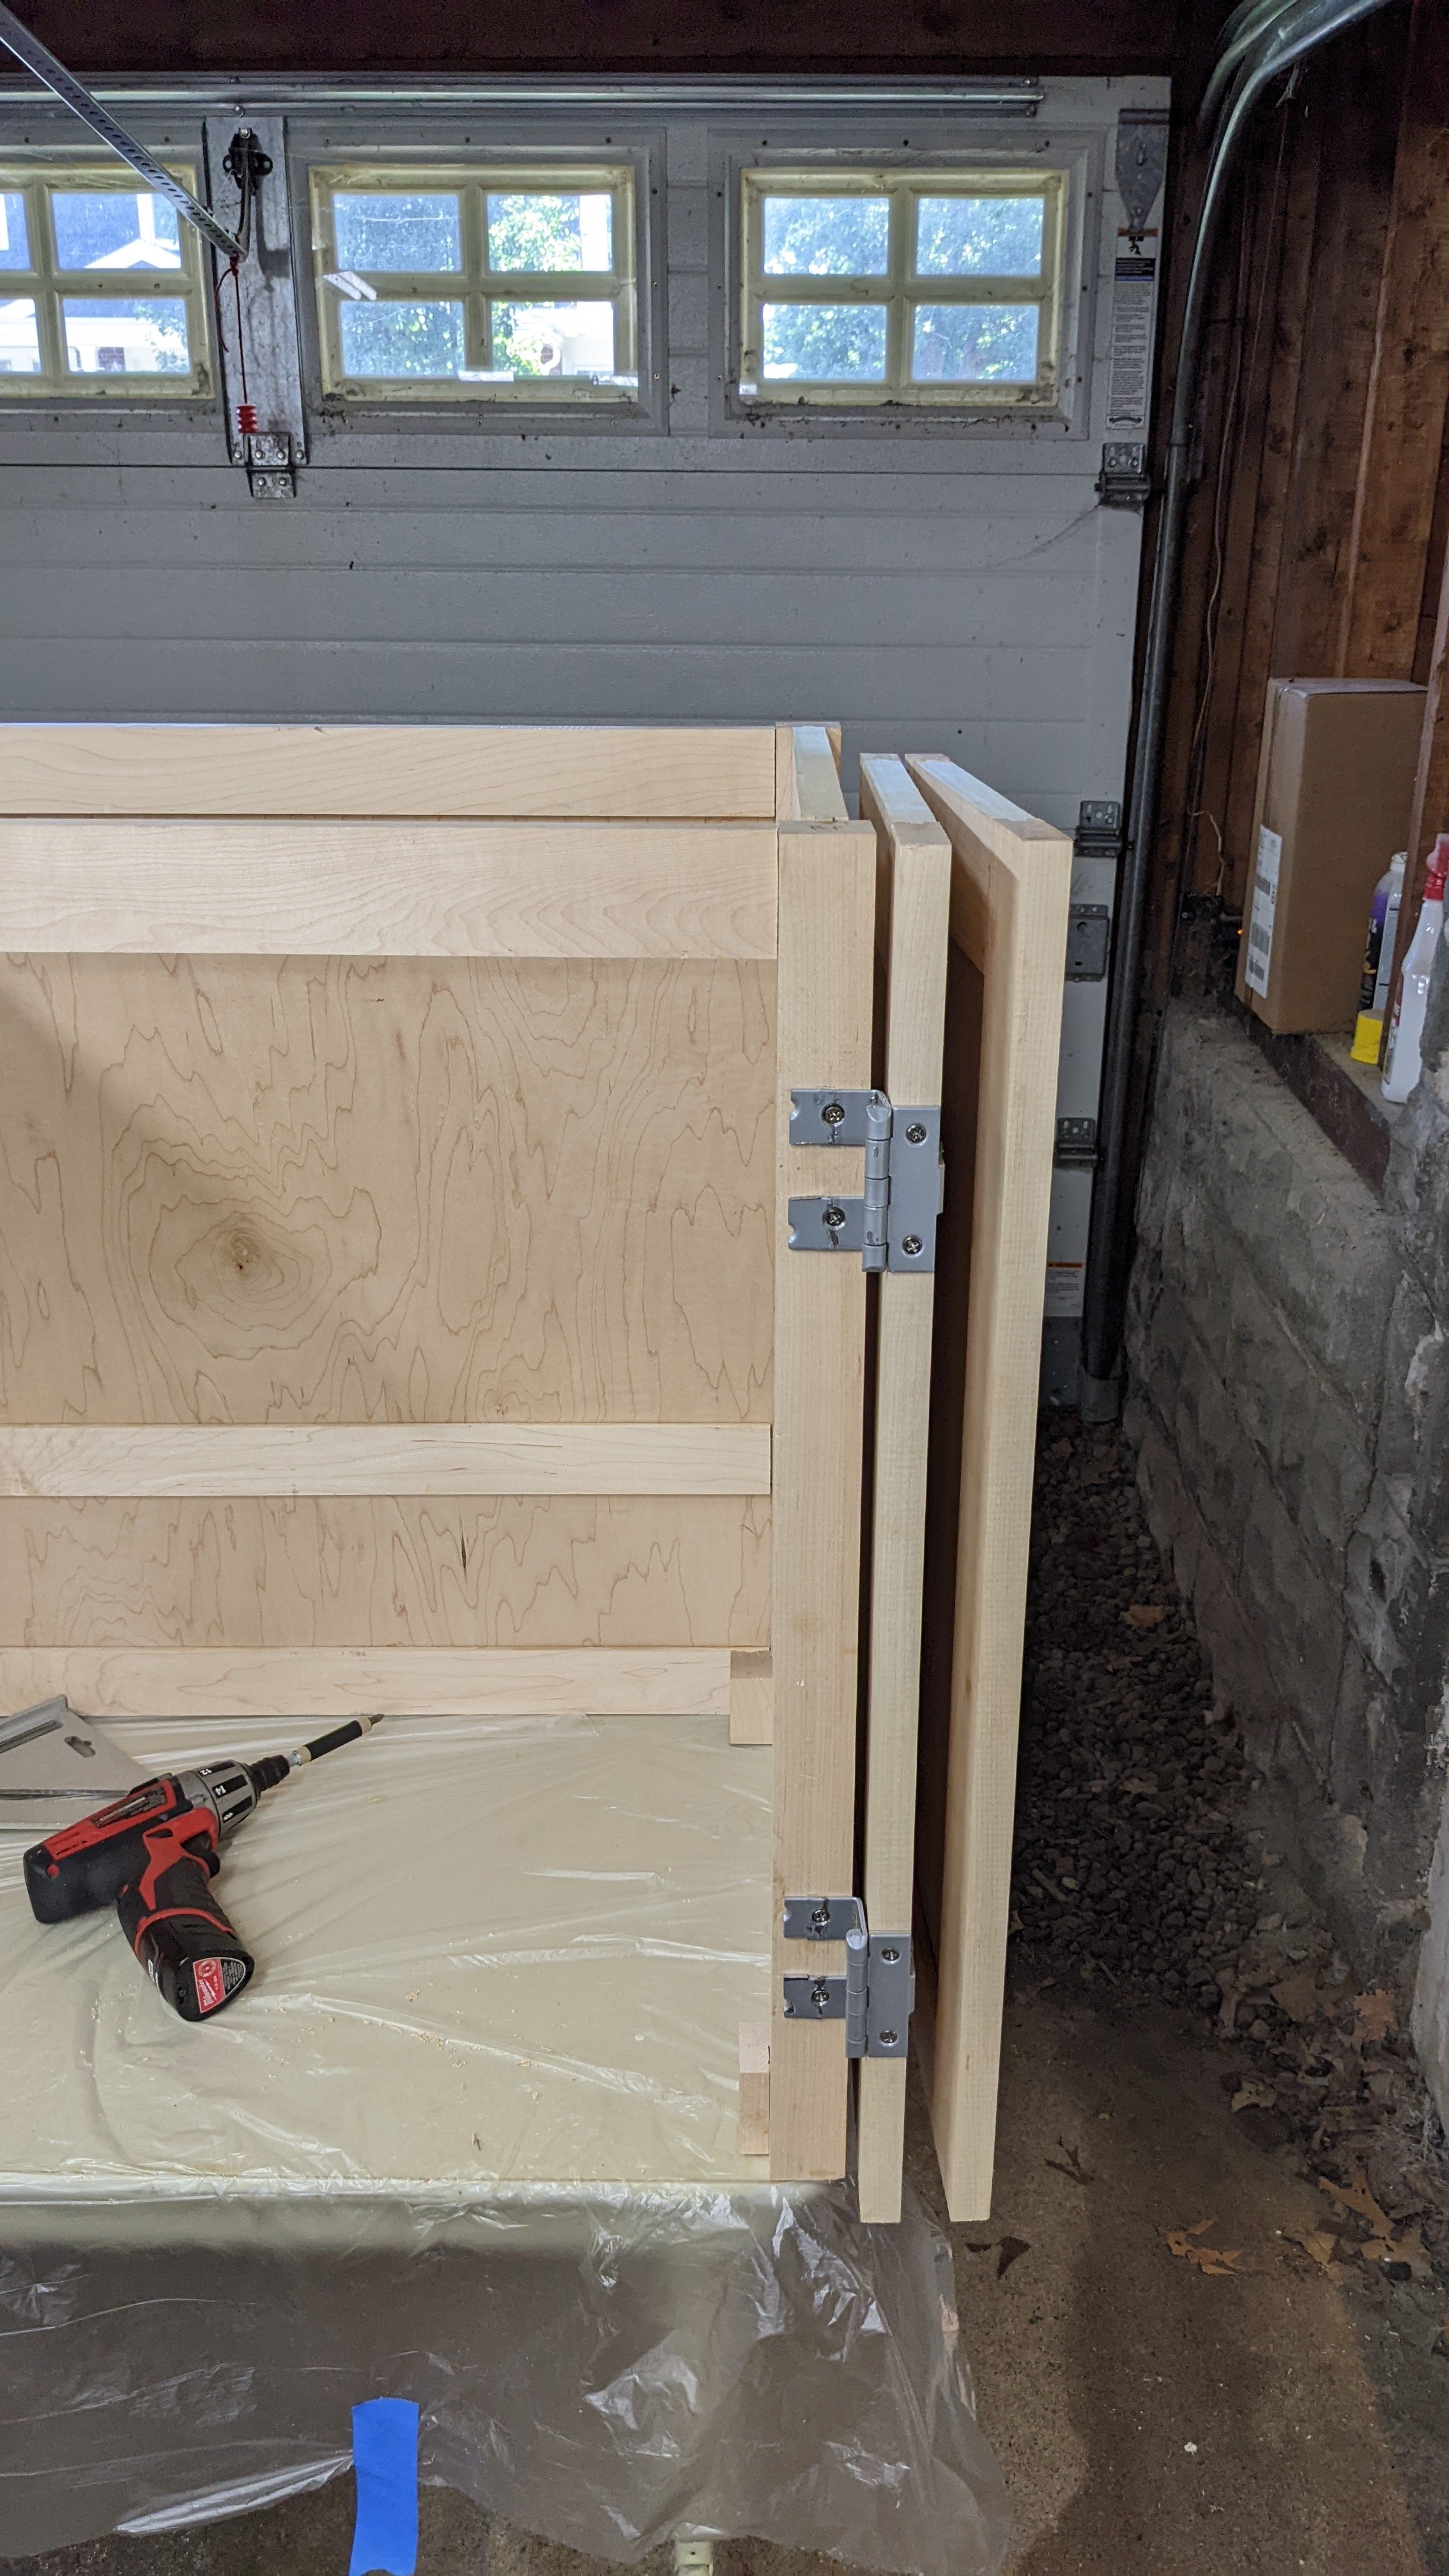
I had to modify the 270 degree hinges ( there aren’t a large selection that I could find ). I did find out that my puny band saw can rip through 1/8” steel no problem and I was able to drill new mounting holes and countersink them on my drill press. My first time using cutting oil, now the shop smells like a shop. I still have to clean them up and paint them black but they work.

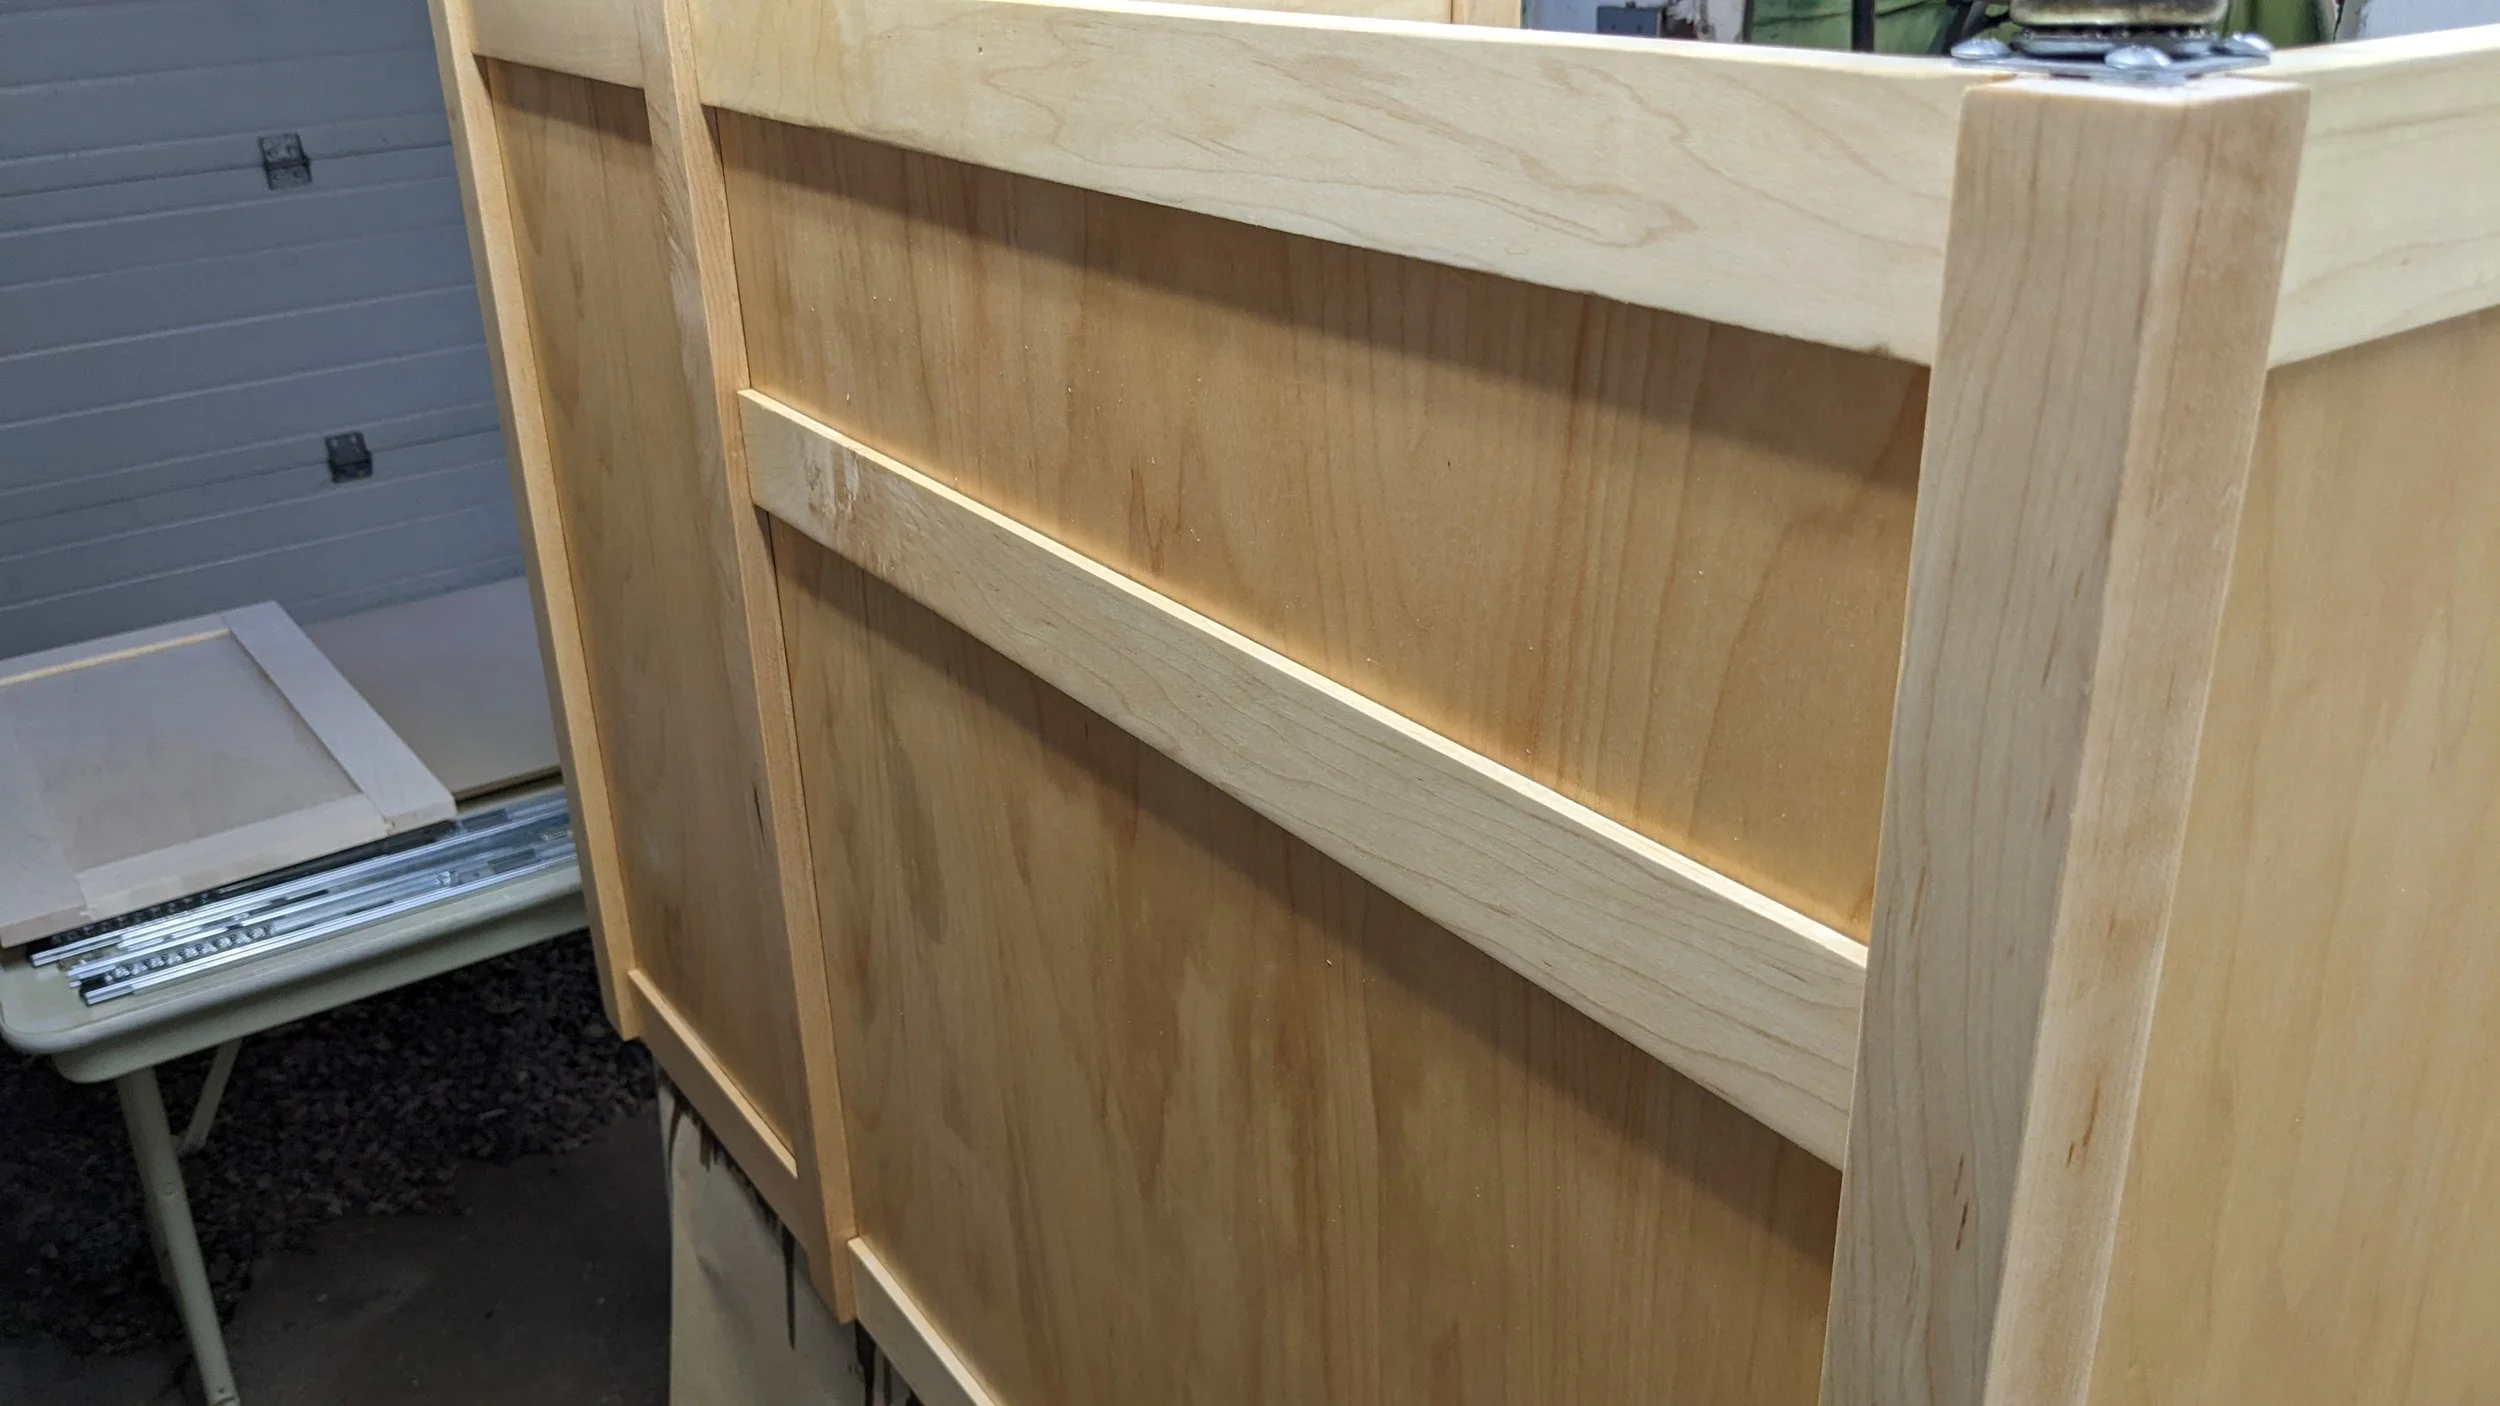
The slide out shelves were like very short upside down drawers and so they went pretty quickly. I’m getting better at fitting the slides but I still always get that first width a little too tight. Fortunately since they’re just glued up I was able to just rip a bit off and make them fit perfectly.


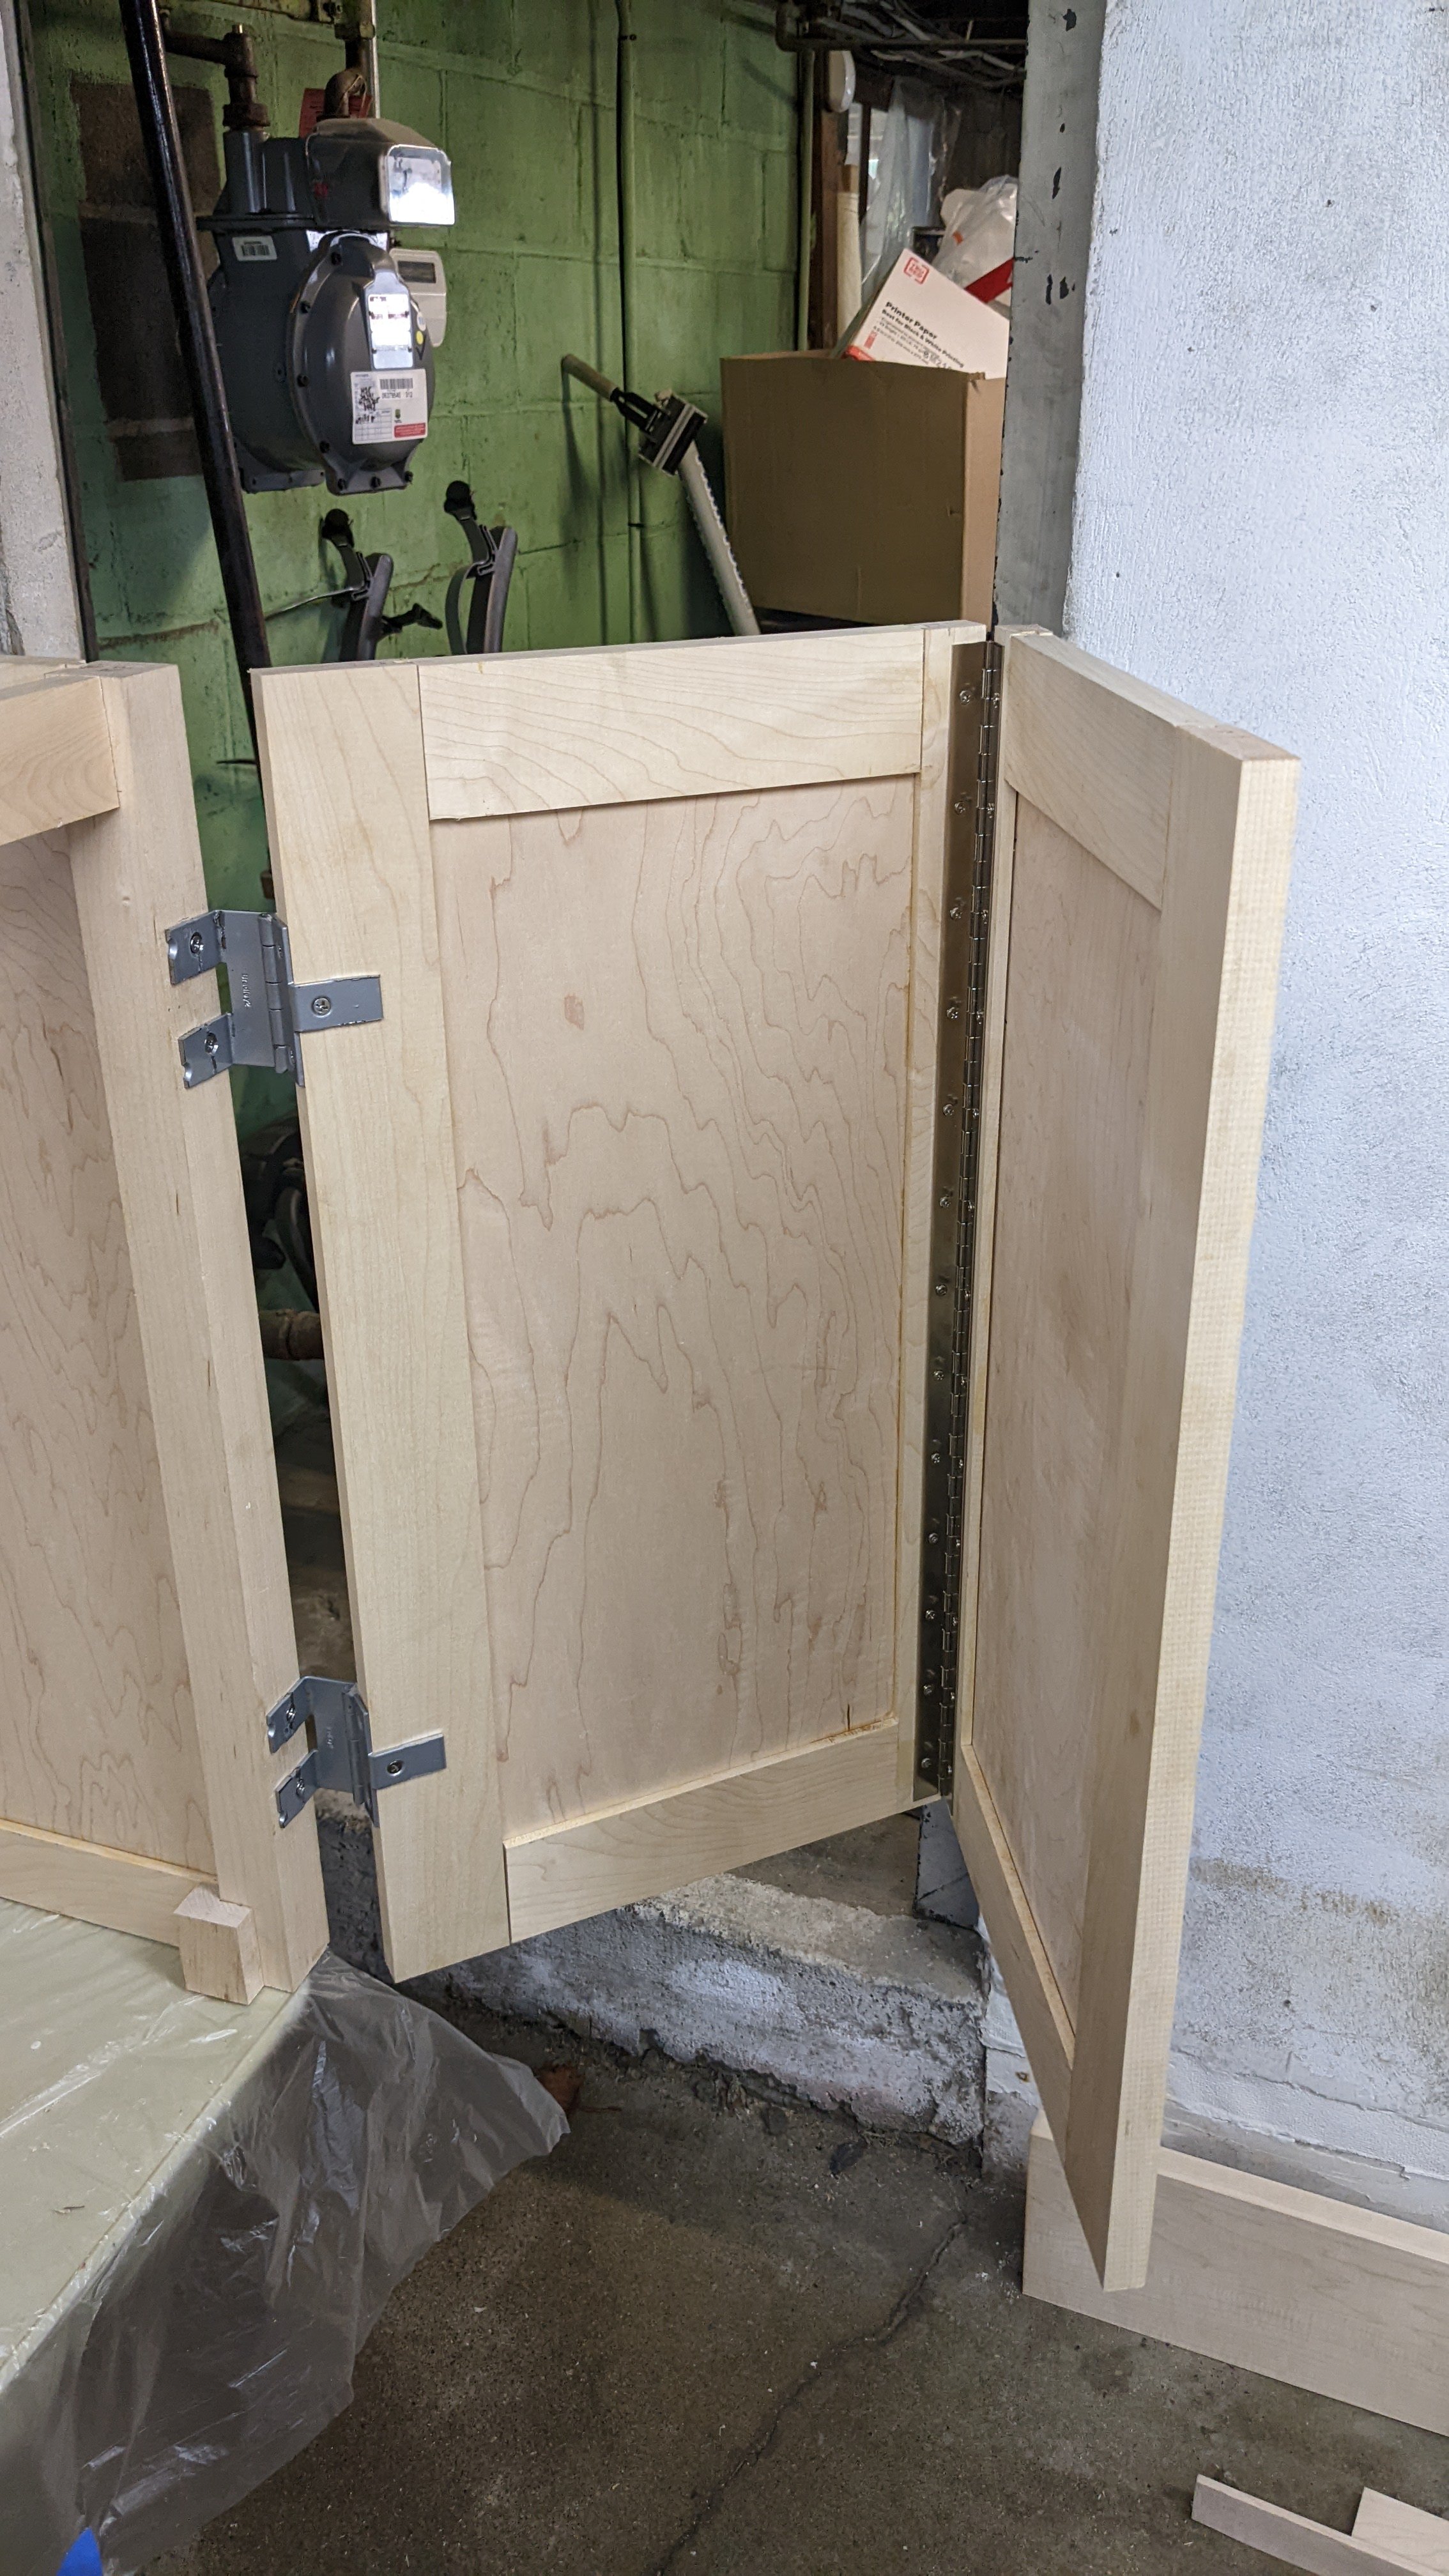
The doors were easier this time and they fit well. Splitting the right hand door down the middle and installing my first piano hinge was exciting. I wanted the table to look and function like a sideboard in our dining room when it isn’t in use and I think the doors work well for that.


Finally I had to round the corners ( traced a tuna can for the radius) and round over the top and bottom of the tabletop. My new hand held router did great doing the round over. And so after four grades of sanding on the whole thing today is the beginning of doing the finish. I’m doing a natural Danish Oil finish on this one, and I might put water based polyurethane on it as well, but I’m going to wait a few days and see what I think then.


That’s it for this update, more when it goes into service…